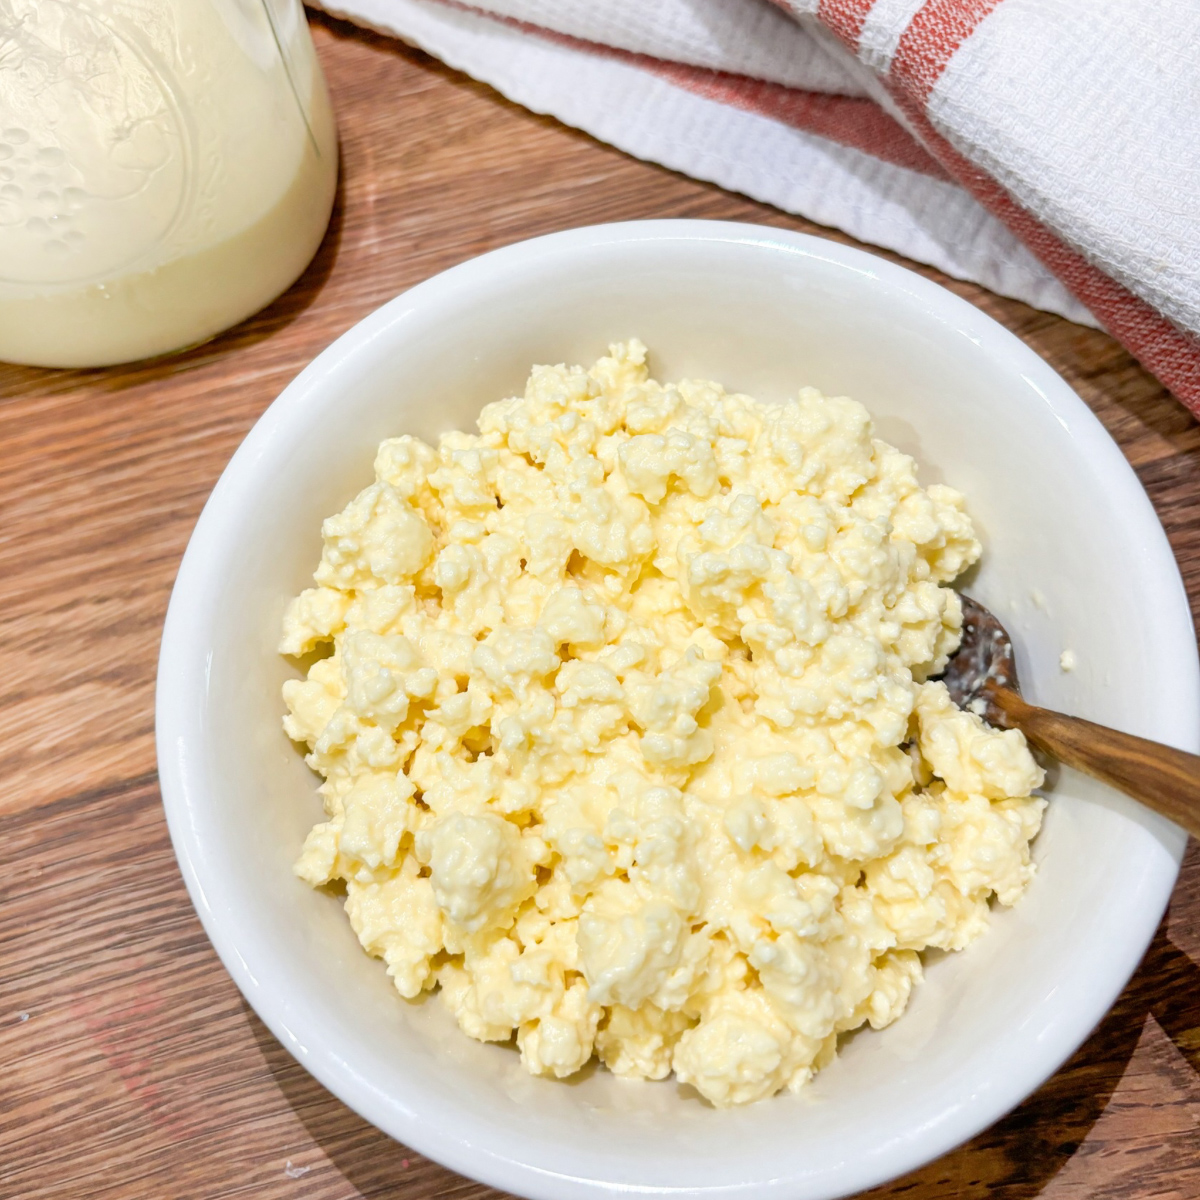
Are you new to the Raw Milk world? Do you have a milk cow and a large abundance of fresh raw milk? Maybe you just love cheese? Making this SUPER easy beginner cheese recipe is a must! This incredibly easy, 2 ingredient, homemade cottage cheese recipe (raw milk) is perfect for beginner cheese makers. Or anyone, really! As well as other soft cheeses.
The best part, the only other ingredient (besides the raw milk) is distilled white vinegar, which most households have on hand! No liquid rennet mixture or special starter culture necessary, nor do you need to ferment or clabber the milk! The entire process is actually quite simple and fool proof - who doesn’t love a simple recipe.
Starting with Raw Milk
When I first got started in the raw milk world, my family would enjoy the milk as is. I would skim the cream off the top to enjoy in my morning coffee, and we would each enjoy a large glass of milk with our meals. It didn’t take long for me to want to learn more about raw milk and what all I could do with it.
The first thing I dove into making with our raw milk, or cream rather, was homemade butter. It was a beautiful bright yellow and so delicious! Check out how to make homemade butter with raw milk here. BUT for this recipe, be sure to hold on to the skimmed heavy cream! It will be used in this homemade cheese recipe.
Jump to:
The second thing I wanted to learn was cheese! After a lot of research, and a course on cheese making, I was overwhelmed with information and didn’t even know where to begin. Many recipes called for multiple gallons of milk, which I did not have. Typically, I would have just a gallon of milk (raw) to use for my cooking.
In addition, there were other components and ingredients needed for the other cheese recipes, which again I did not have. Plus, I had a half gallon of milk that I needed to do something with as soon as possible before it went sour. Finally, I discovered methods that used vinegar and decided to give it a try. My family loved it! And I loved making my own cheese.
Another delicious beginner 2 ingredient raw milk cheese recipe is my Easy Homemade Mozzarella Cheese Recipe - check it out here!
An added bonus — use the mozzarella recipe above, and this cottage cheese recipe, together in my one pan lasagna dish!
Why Raw Milk?
Cow’s milk is actually really good for you! One of my children would break out in a horrible facial rash whenever they would consume pasteurized dairy or pasturized dairy products. It was at that point I started to really research all there is to know about store bought milk and raw milk.
Unpasteurized milk has beneficial bacteria, that can act as a great probiotic. This can benefit the digestive system and overall gut health. Raw milk is full of beneficial nutrients, beneficial enzymes, vitamins, and minerals - which can significantly benefit ones health and overall immune system.
There is a common misconception regarding the safety of consumption and the benefits of raw milk. However, this science backed article does a great job of explaining things. If the raw milk comes from a health cow, following a sanitary process safe for human consumption, the risk of becoming ill is incredibly low (somewhere around 1 in 6 million chance).
Plus, after having tasted your own homemade cottage cheese it will be hard to go back to eating store-bought options.
Sourcing Raw Milk
It is my dream to someday have a family milk cow. Until then, I was fortunate to find a local gal who sells raw milk from her jersey named Cloud. If you don’t have a milk cow of your own (many beginners in the raw milk world don’t) I would recommend searching realmilk.com. One important factor in choosing a raw milk supplier, for me, was a well cared for and healthy cow. In addition, I wanted to be sure the suppliers process was extremely sanitary. When we went for our first raw milk pick up, we got to meet Cloud. The supplier discussed the importance of a sanitary process - I was thrilled!
Ingredient List
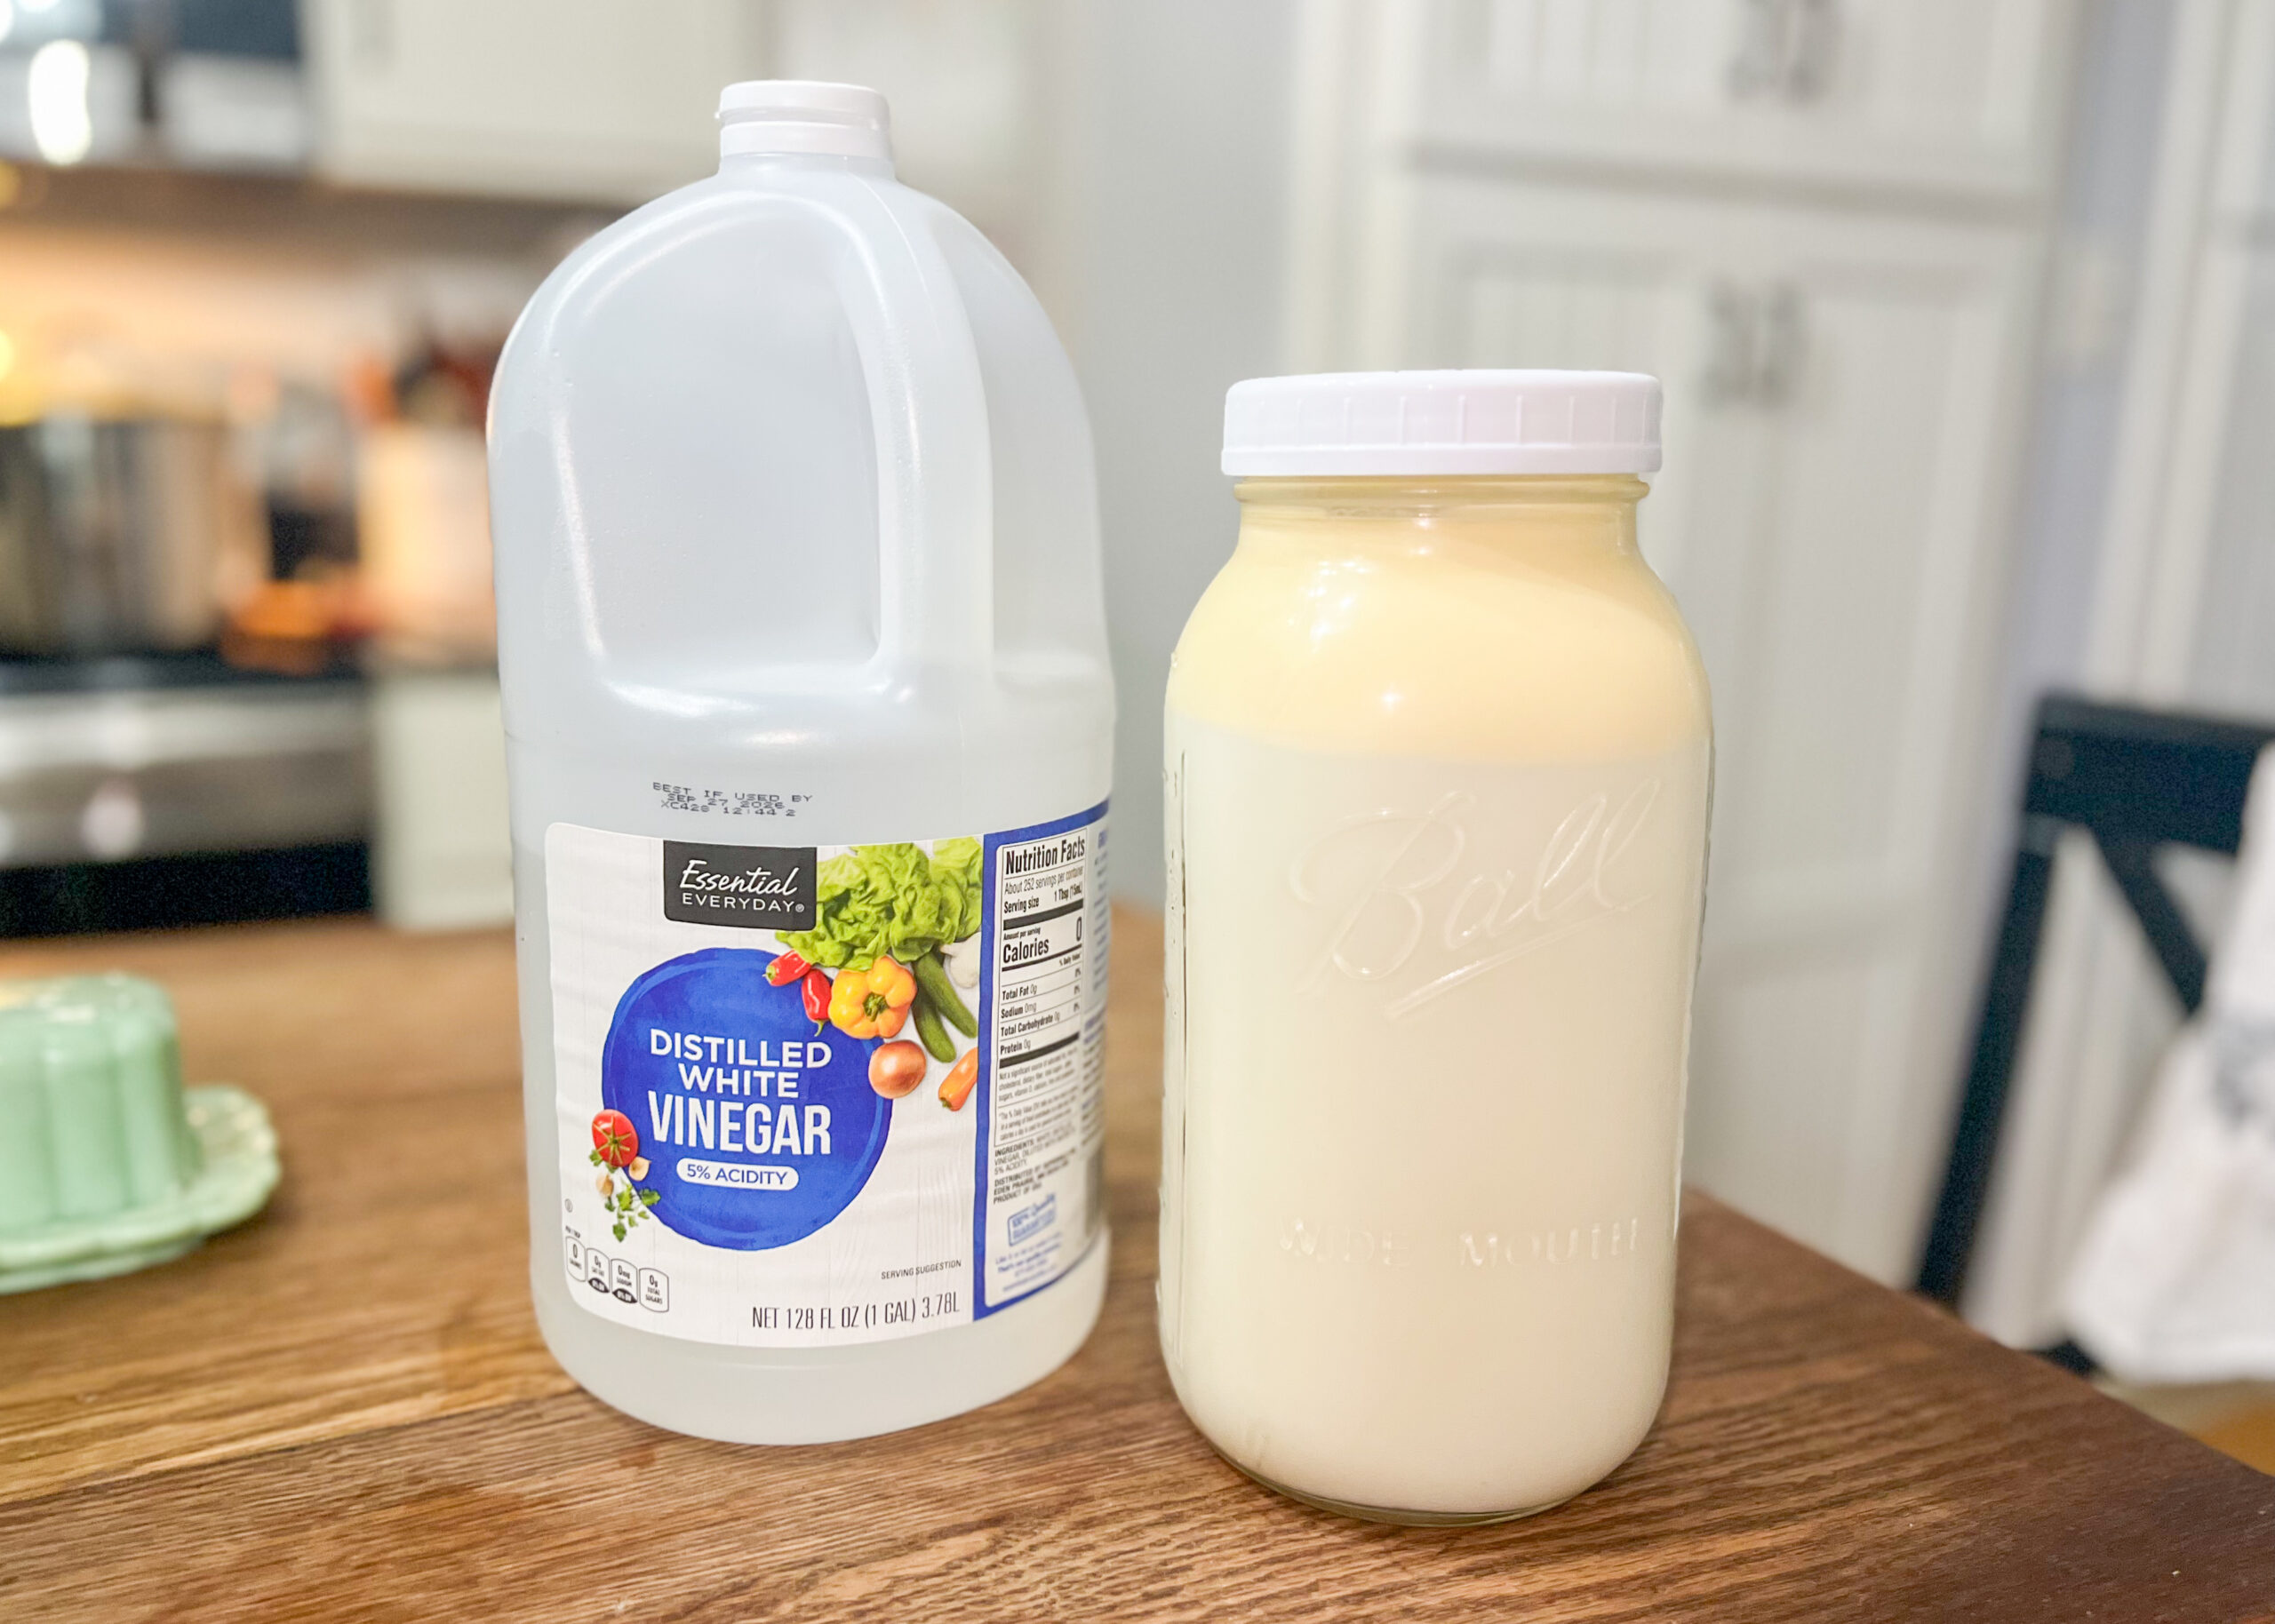
- Raw Milk AND the skimmed heavy cream - Raw Milk is required (the good stuff), most store-bought milk, pasteurized milk or ultra-pasteurized milk will not work. Typically, if I still have milk in the fridge on day 4 or 5, I like to use that milk to make my cottage cheese. Sometimes the cream has been skimmed off for other uses (most often it is skimmed milk). Other times it hasn’t been and is still a gallon of whole milk. The cream portion is REQUIRED for this recipe.
- White Distilled Vinegar - This is the only other ingredient needed for this homemade mozzarella cheese recipe. You will want it to be 4-5% acidic. This ingredient acts as the citric acid solution. ¼ Cup + 2 tablespoons of vinegar is required per half gallon of fresh milk.
See recipe card for quantities.
Equipment
- A Large Pot - I use this large pot, but a large Dutch oven or stockpot will work.
- Large Spoon - I like to use a large wooden spoon with holes, the set I have is this one
- Thermometer
- Mixing Bowl
- Strainer or colander
- Cheese cloth or nut milk bag - I like these reusable cheese cloth bags
- Measuring Spoons
Instructions for Making 2 Ingredient Homemade Cottage Cheese
Step 1: Skim and Heat the Milk
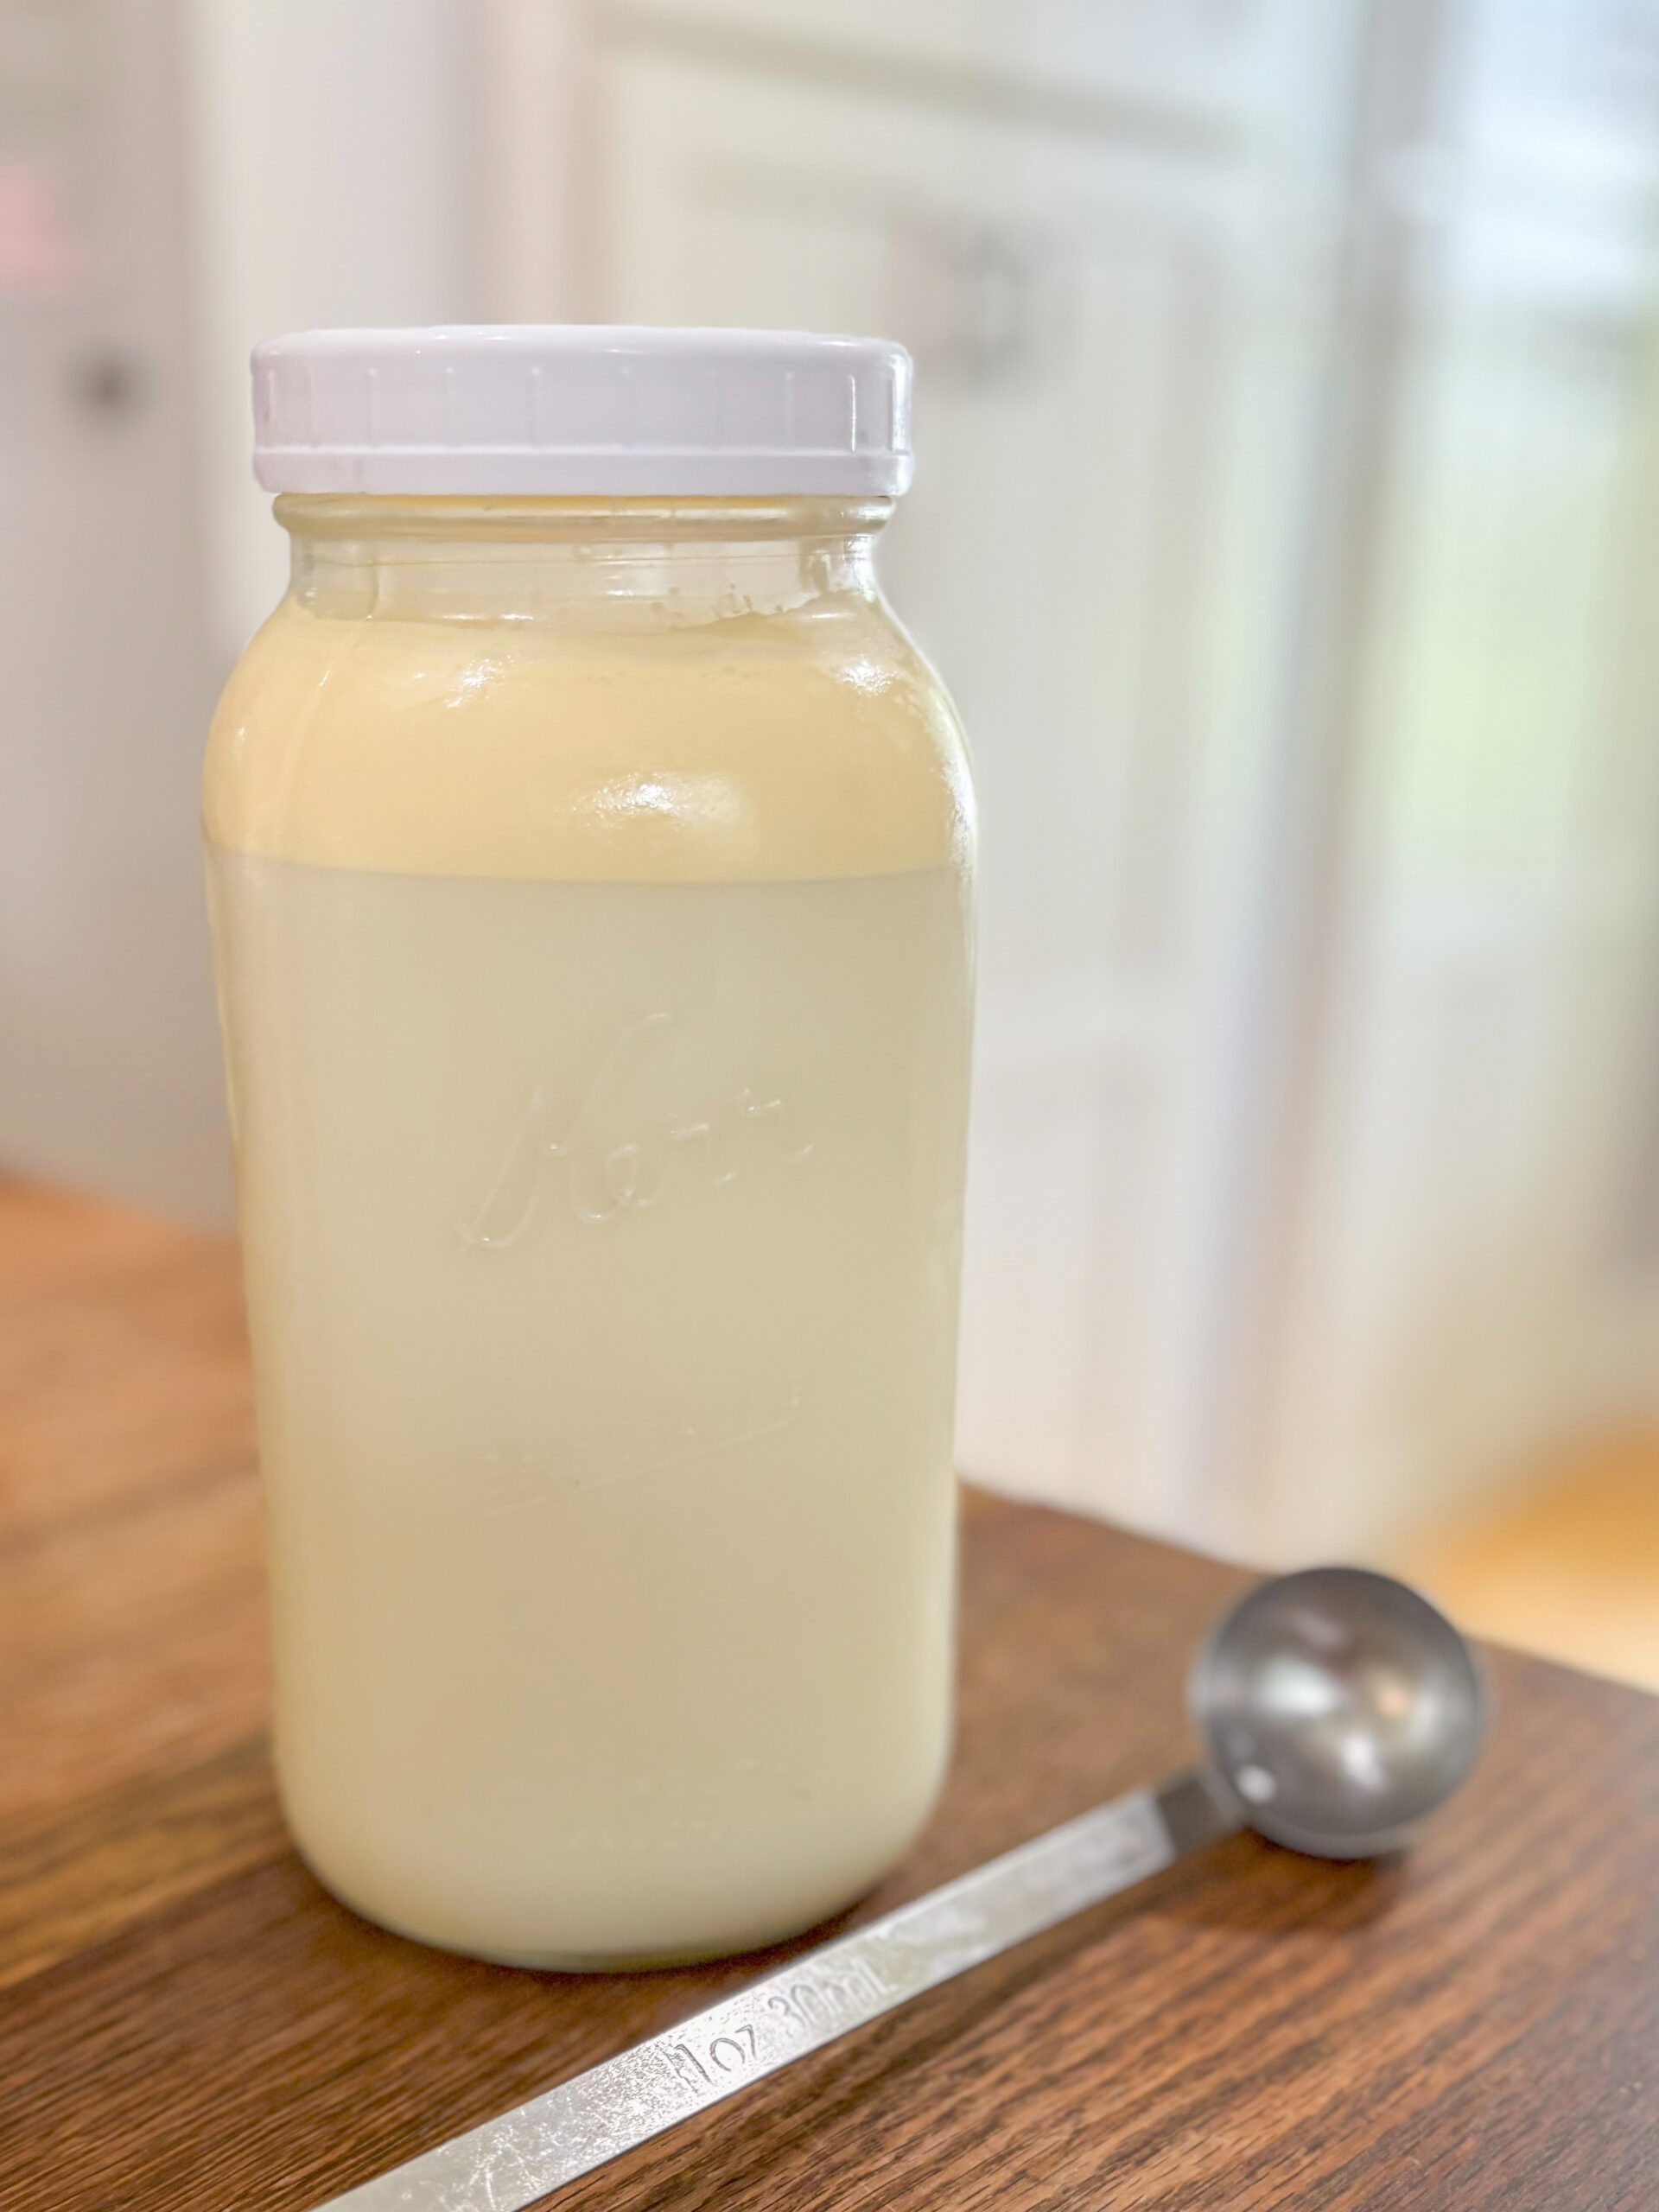
Once the raw cow’s milk has sat for about a day or more in the refrigerator, a cream line will form. First, skim the cream from the top of the milk using a ladle. Store the cream in a clean jar for a later step in the recipe. Pour milk (skimmed) into a large stock pot on the stove to heat.
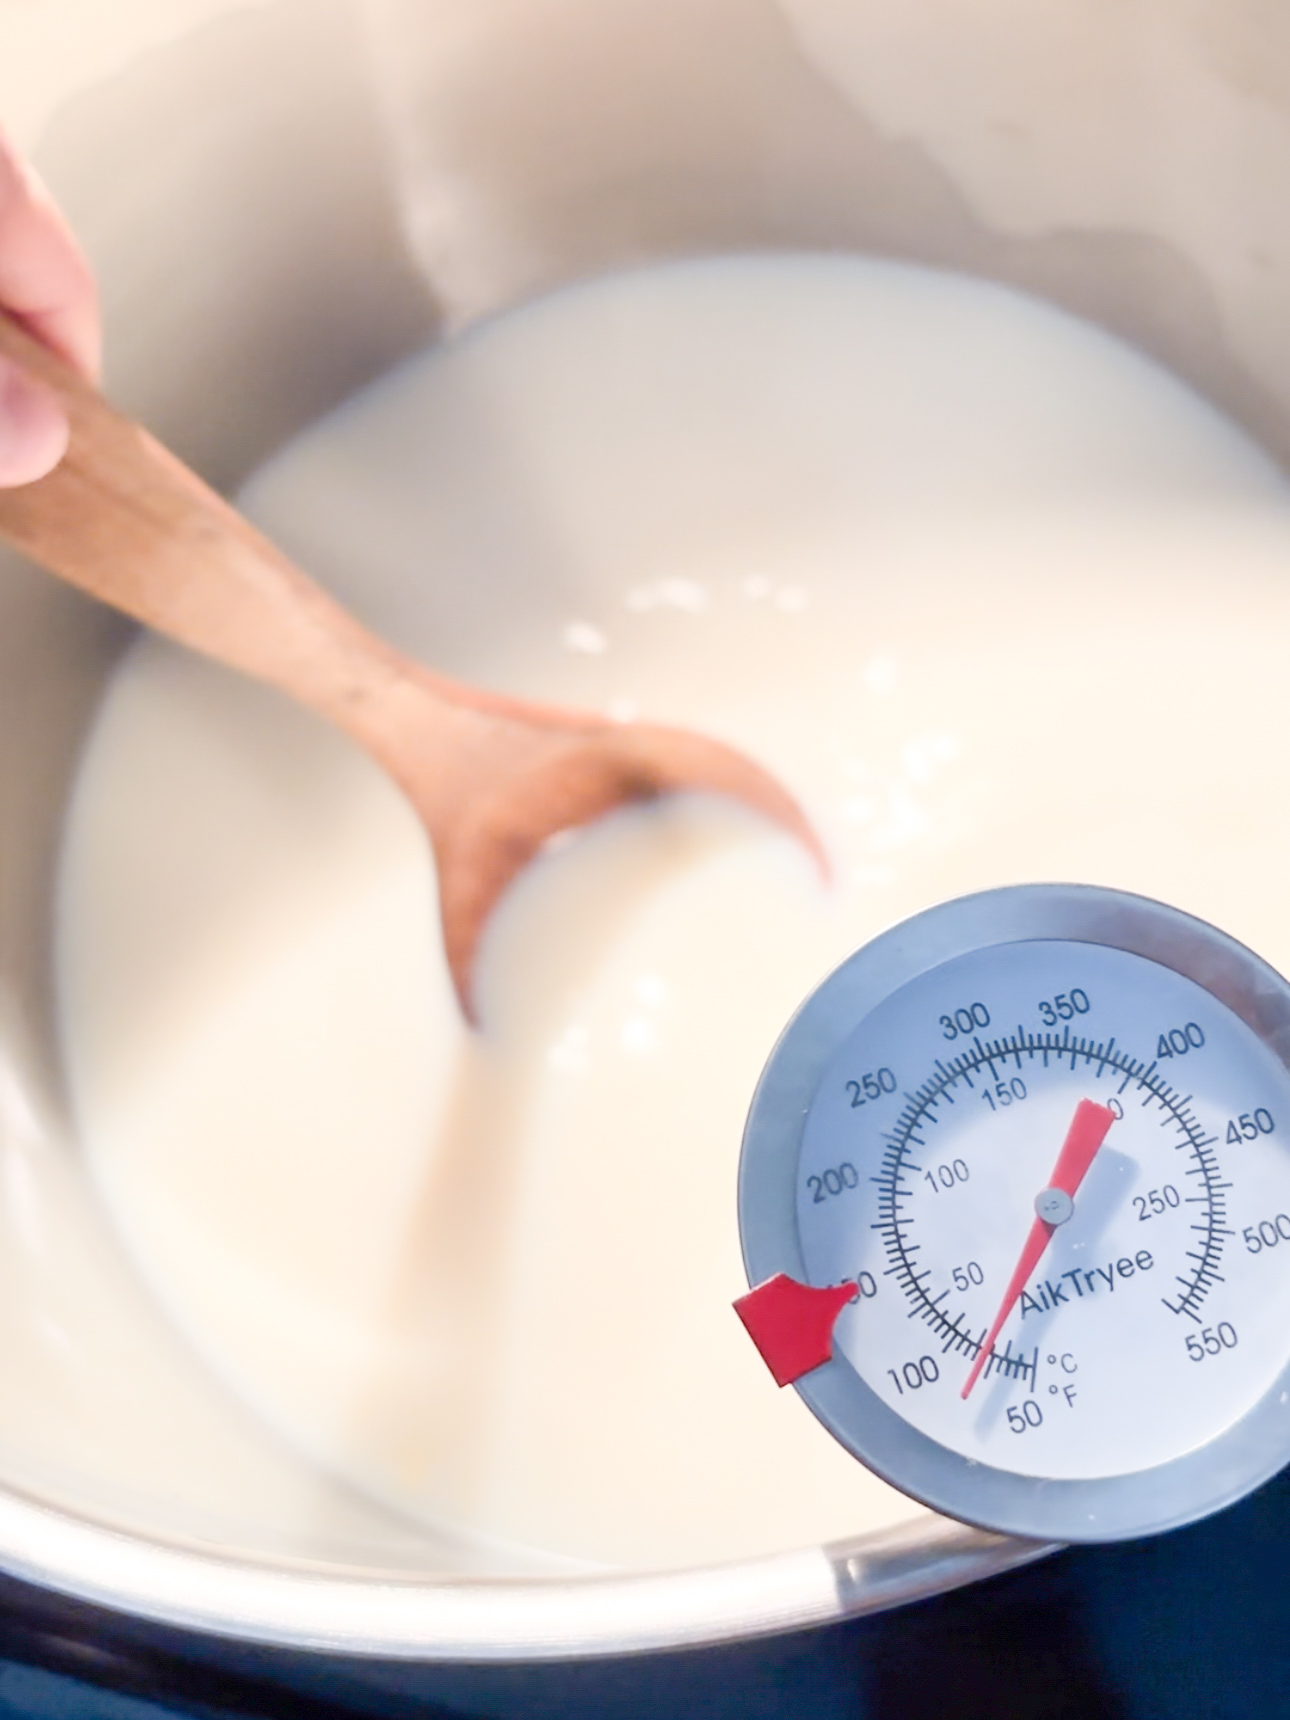
Turn the burner to medium heat to begin slowly heating the milk. Stir to evenly heat the milk to 200 degrees F (Fahrenheit).
Step 2: Gather and Strain the Curd
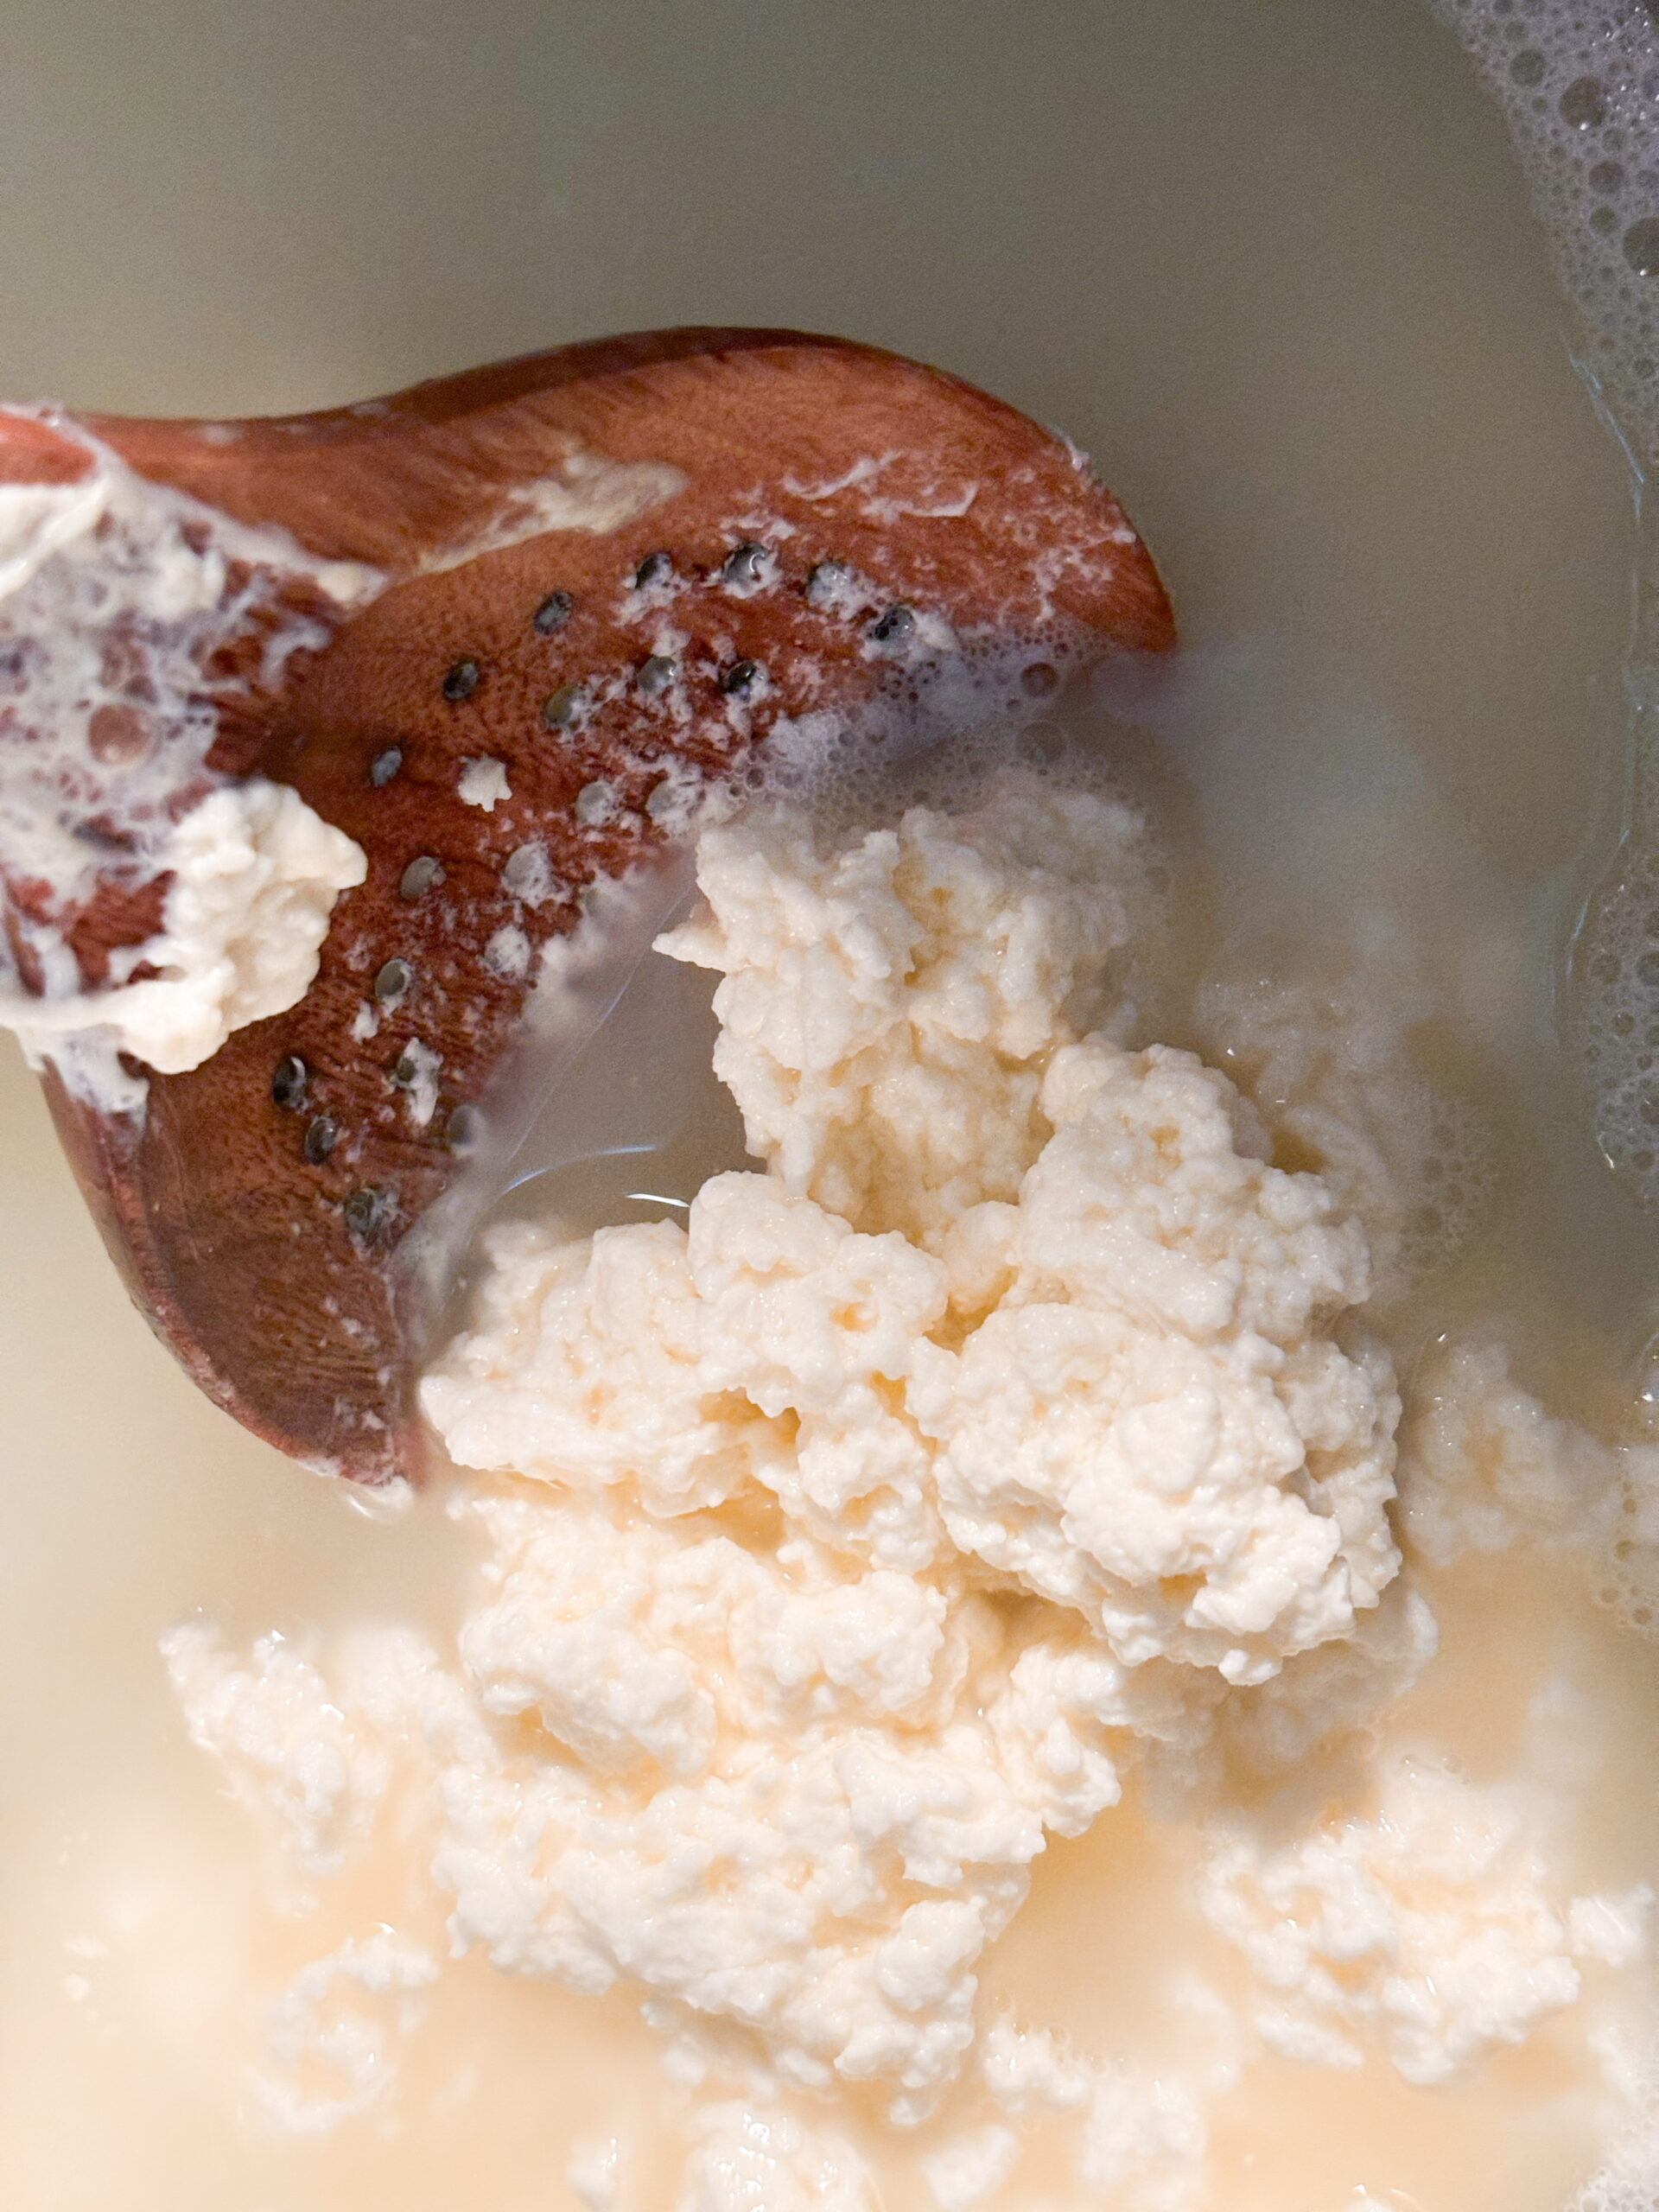
Once the milk reaches 200 degrees Fahrenheit, turn off the heat and add your white distilled vinegar (¼ Cup + 2 tablespoon per half gallon). [The heated milk may be foamy, but shouldn’t be boiling.] Gently stir in the vinegar for about 1 minute, you will see the curd forming. Add lid and let sit for 20 minutes.
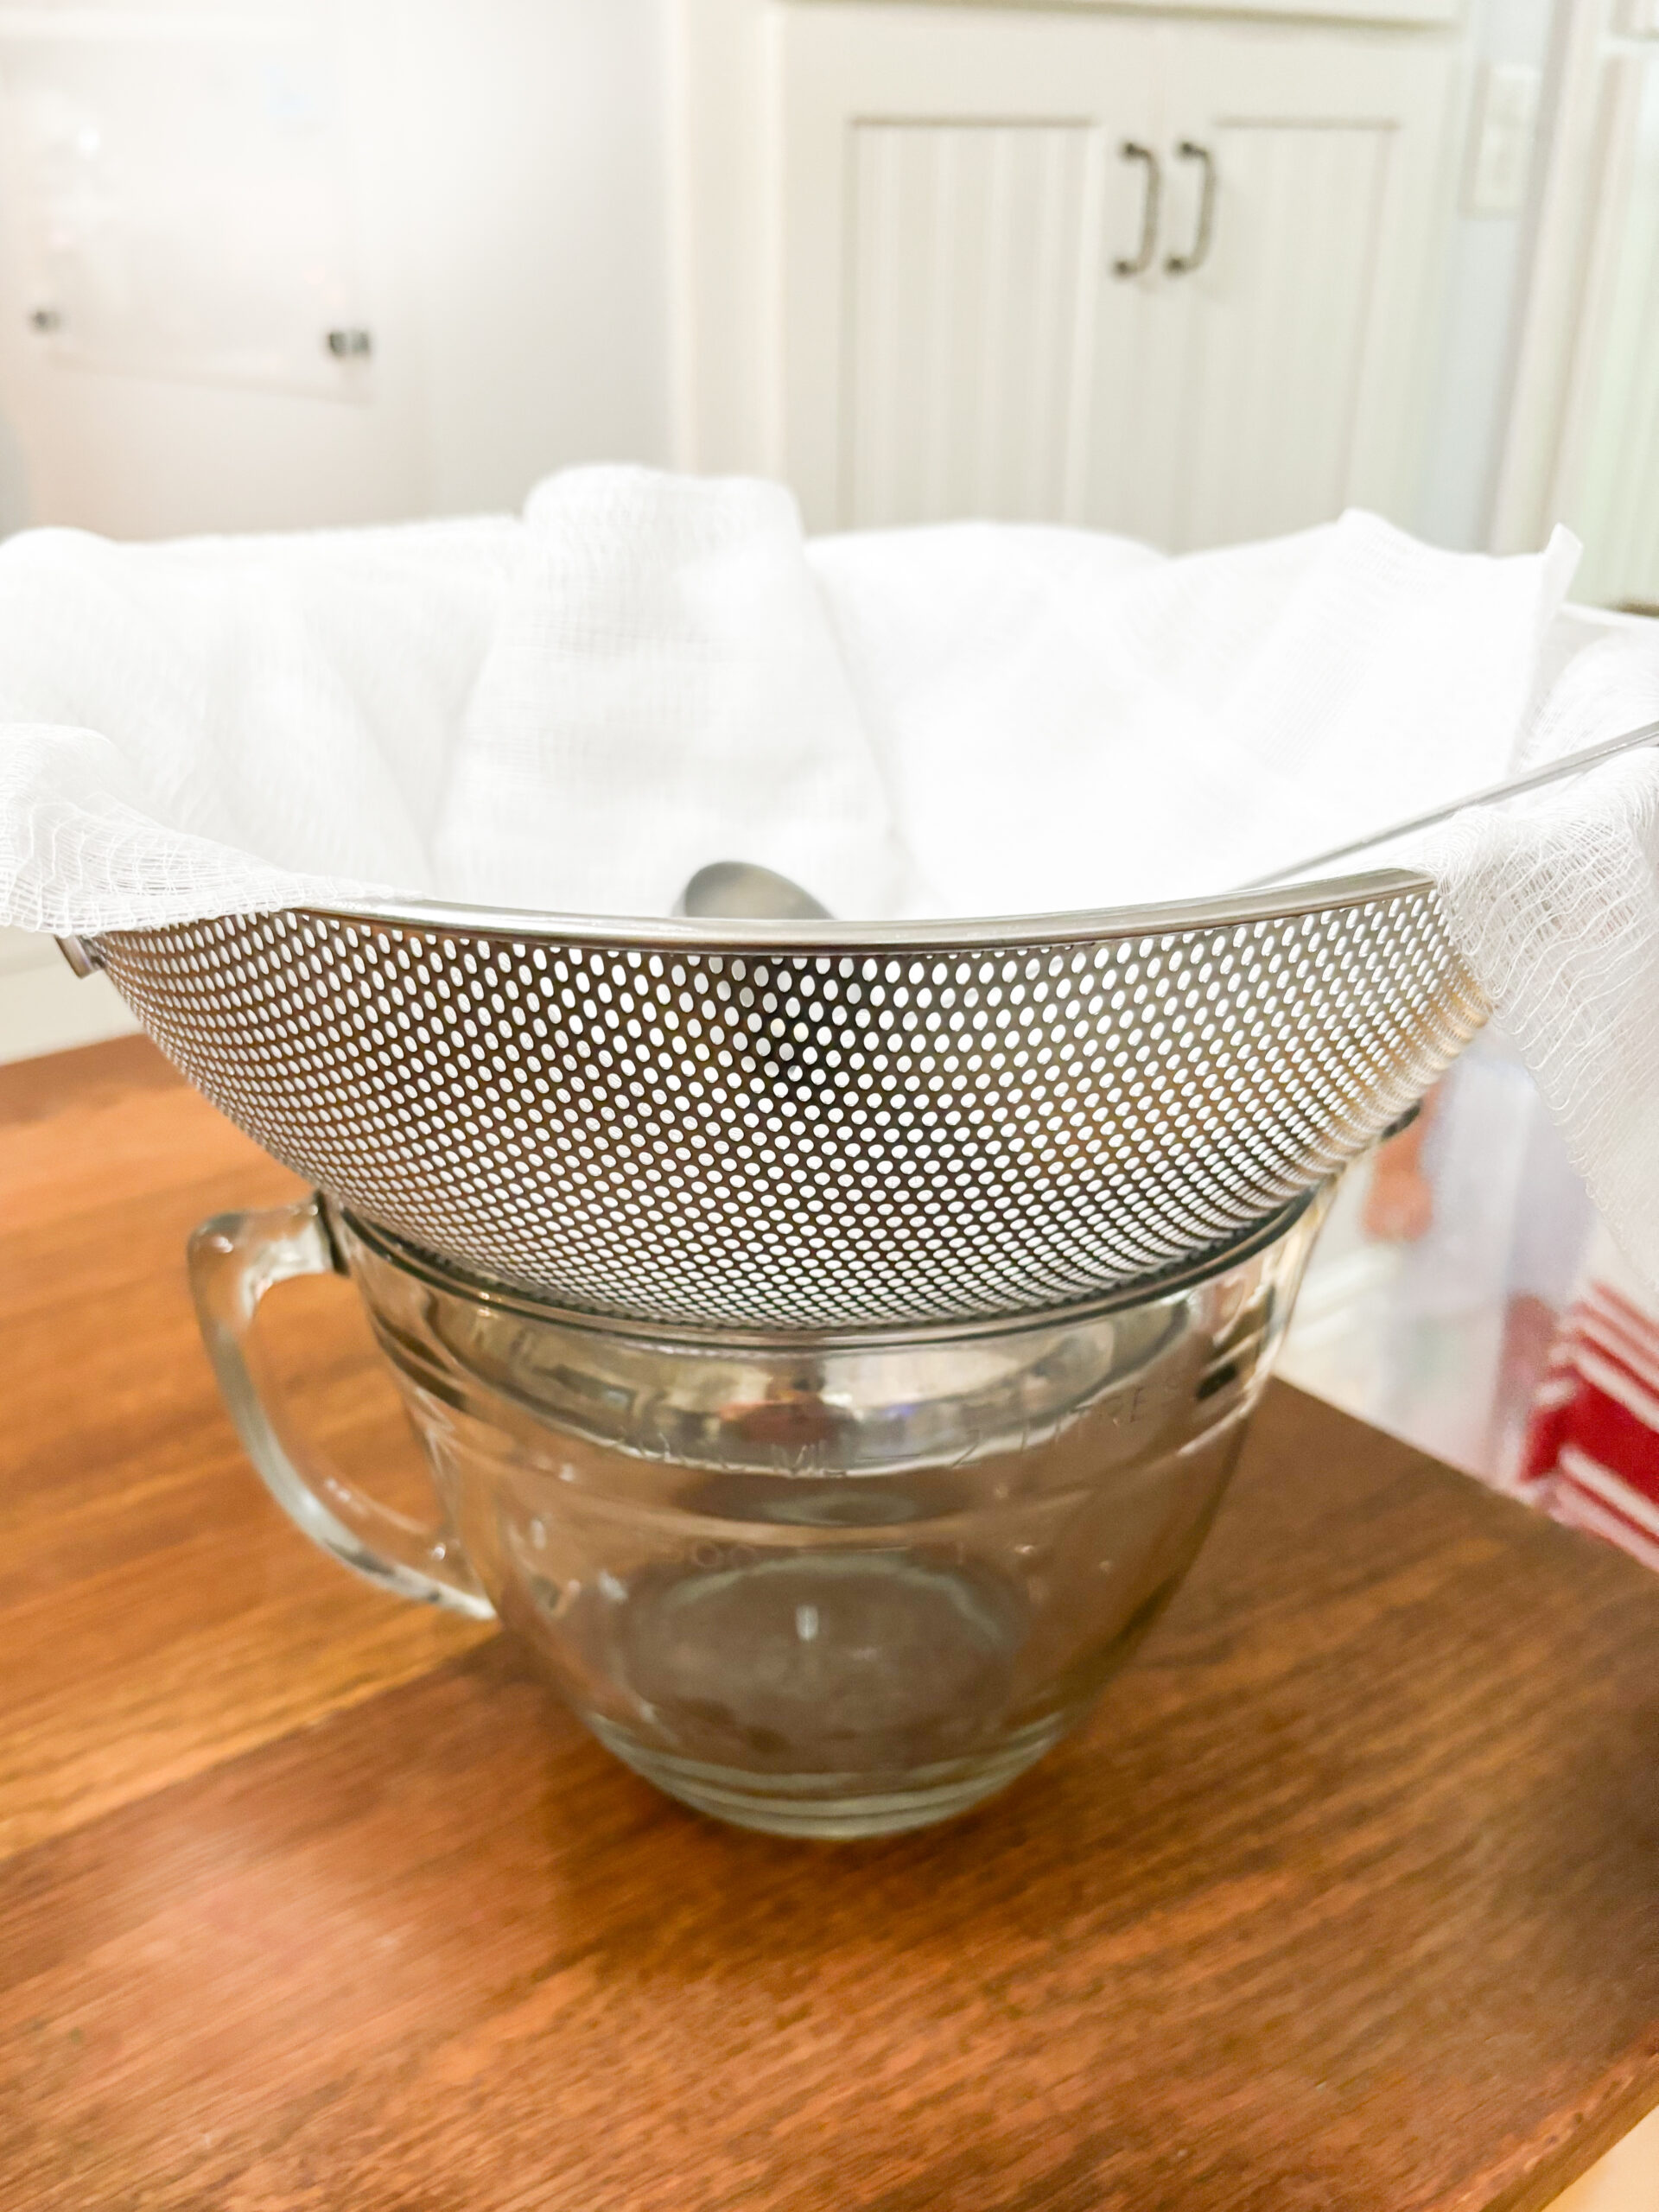
The next step is to set up the straining system that will be used to separate the curd from the whey. To do this, place a strainer on a large bowl and line the strainer with a cheesecloth. After the 20 minutes has passed, gently scoop the curd into the straining system. Allow the whey to strain for 10 minutes.
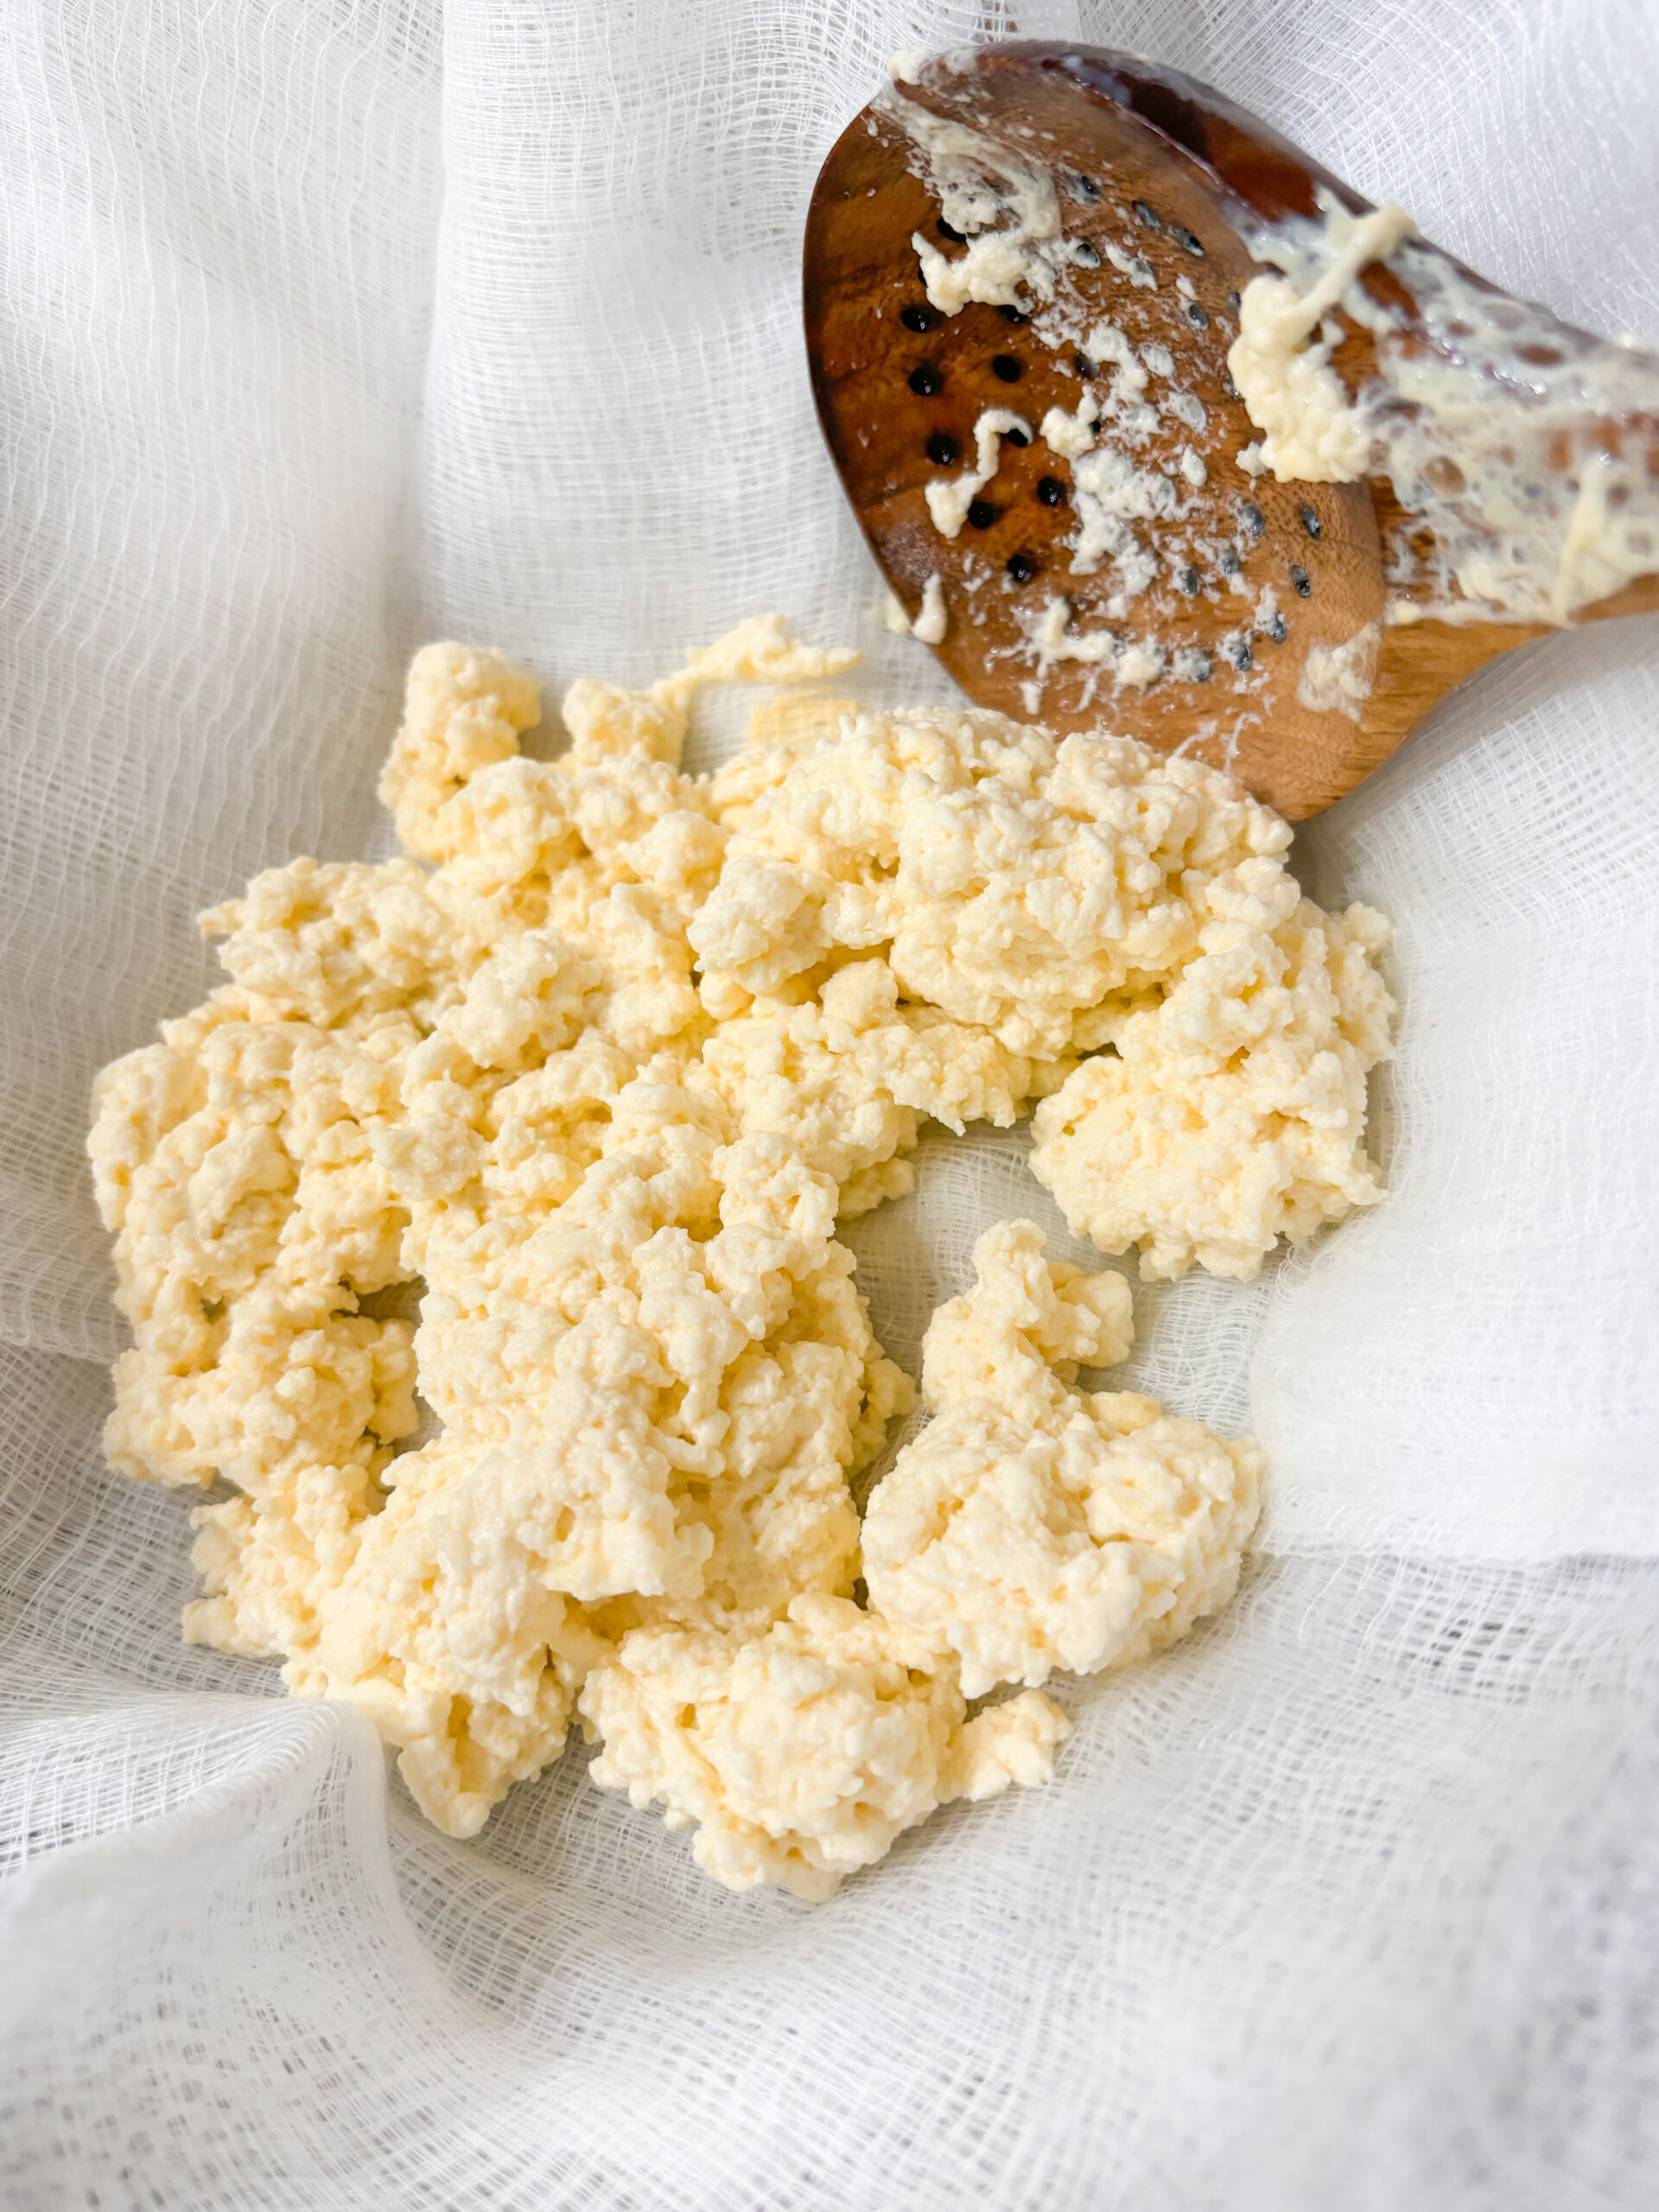
Once the curd has strained for 10 minutes, bring the curd to the sink (in the cheesecloth lined colander). Rinse the curd with cold water.
Step 3: Add in the Heavy Cream and Enjoy!
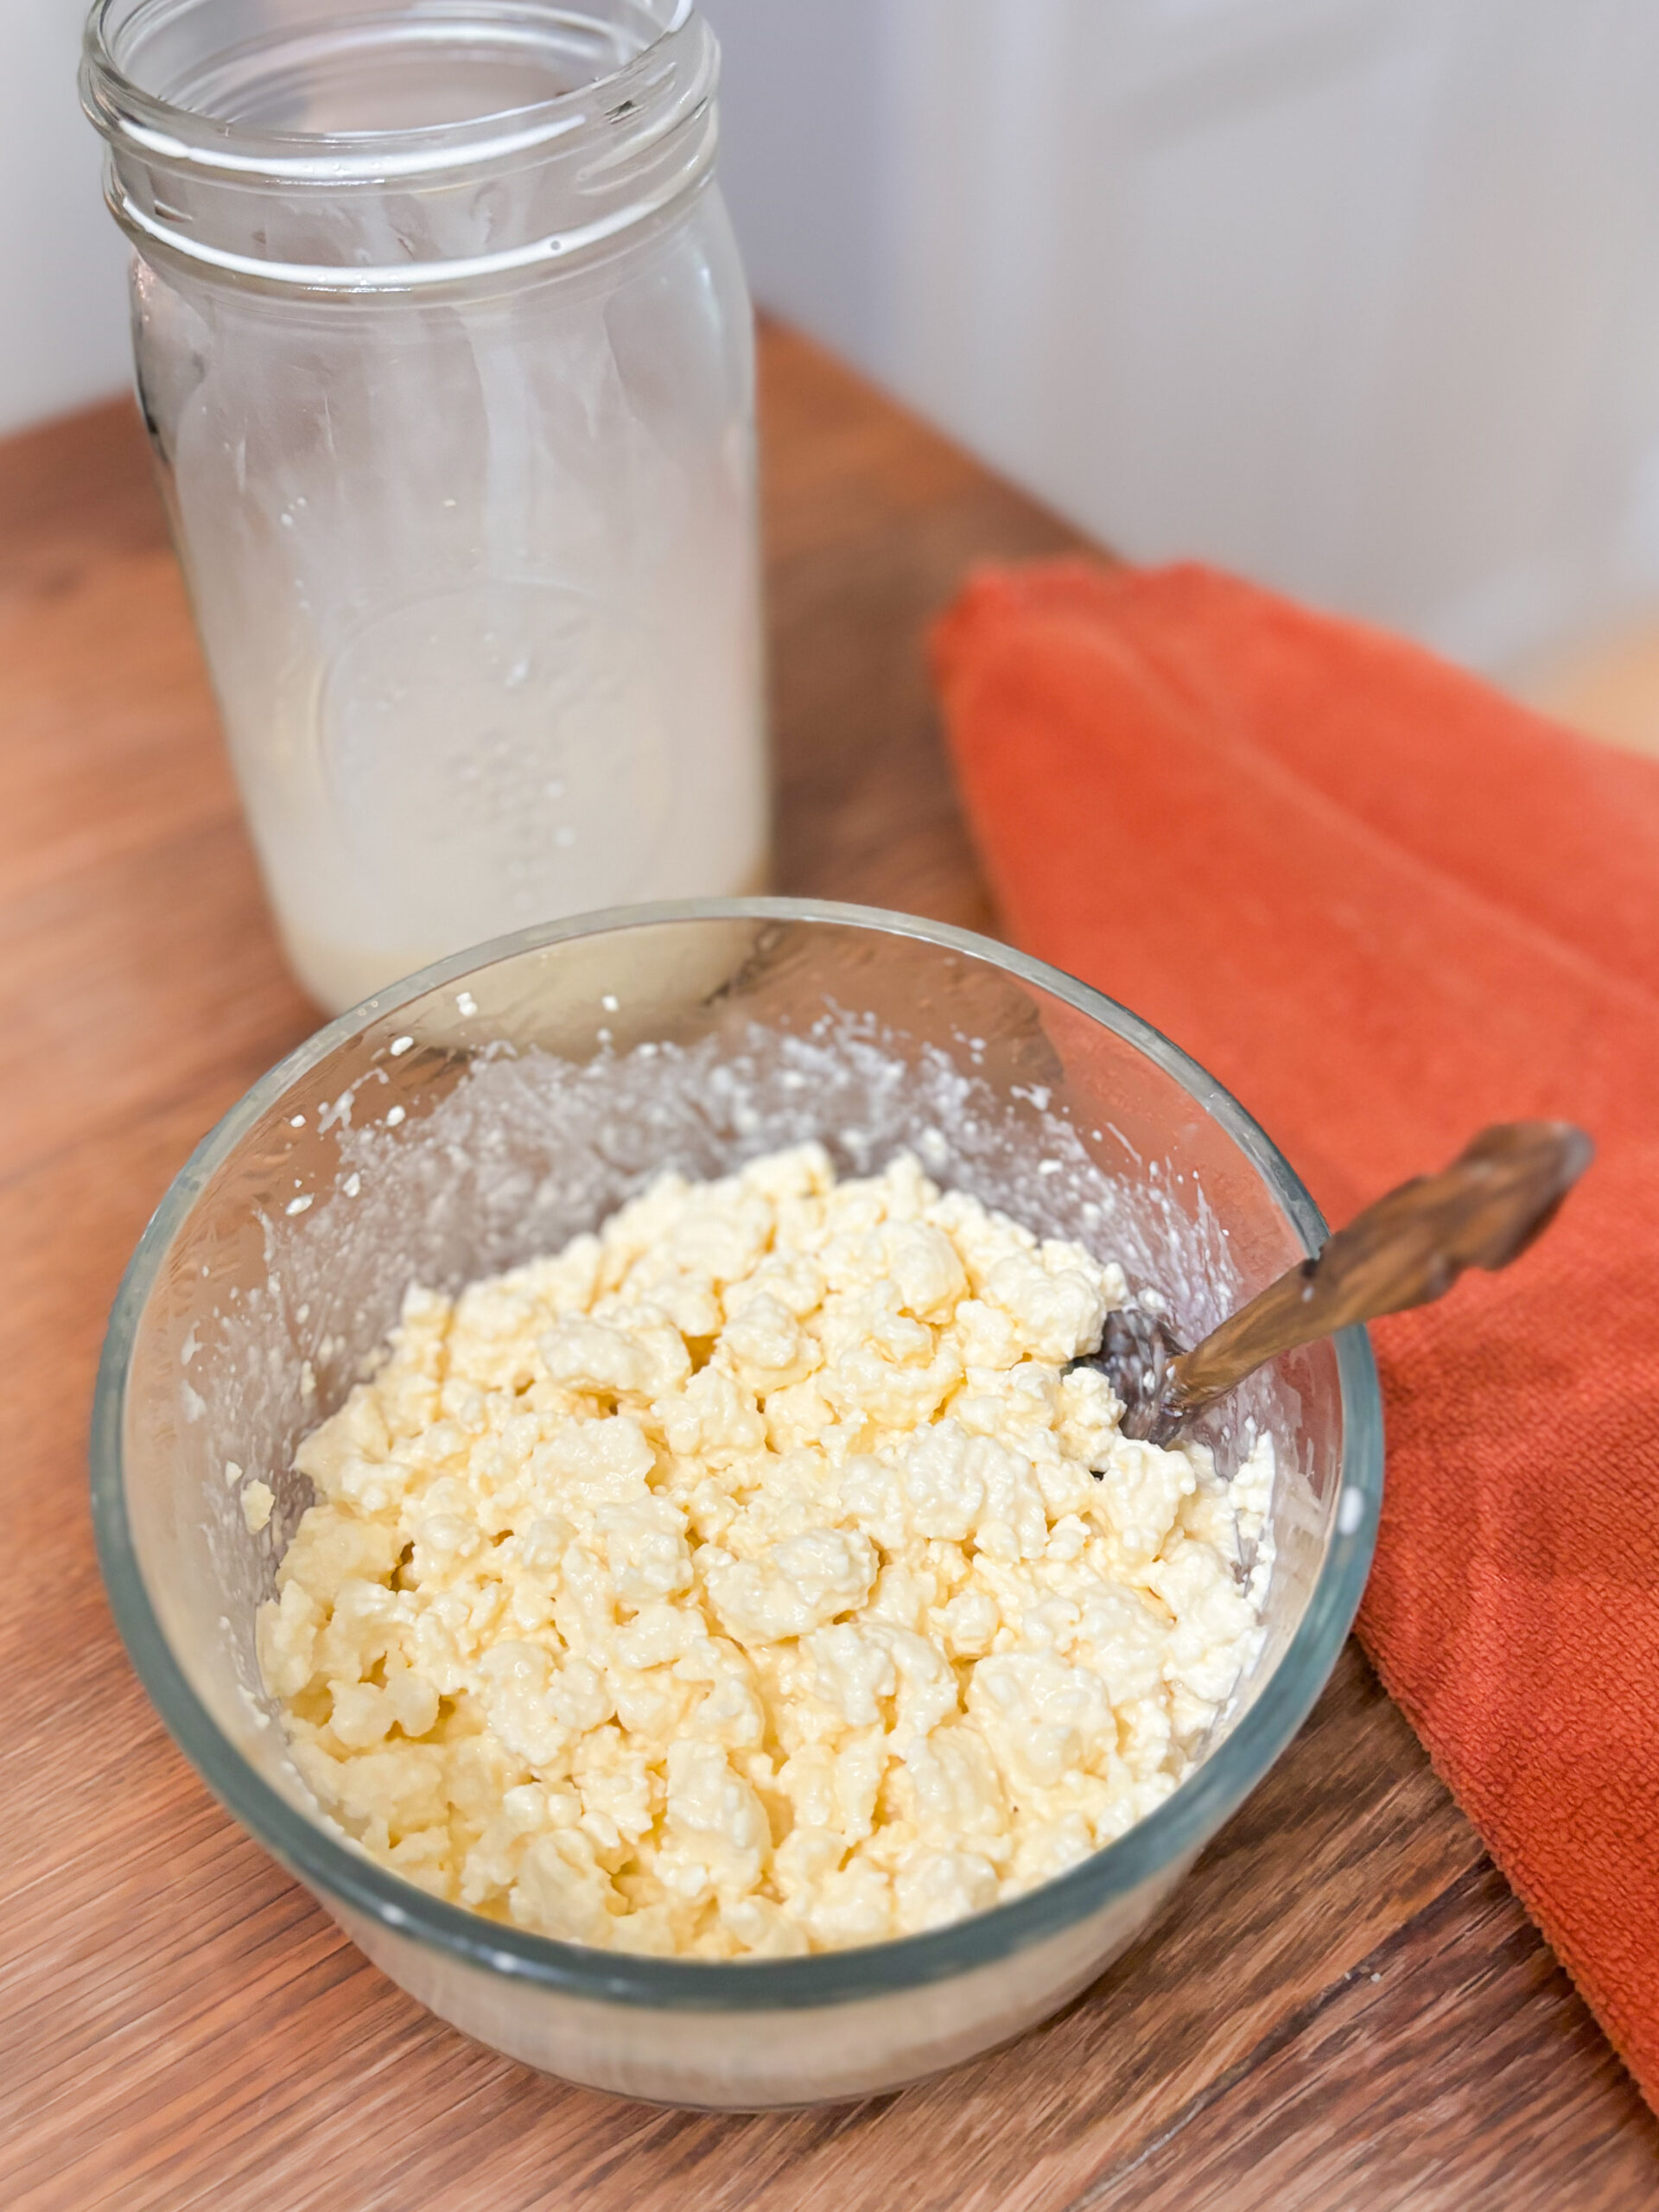
Finally, transfer the cooled curds to a bowl. Break up the curds with a wooden spoon until the curd is the desired size. It may take a little bit of time to break down the curd into small curds, but smaller curds can make an even creamier cottage cheese overall. Add cream to the curd to achieve the desired consistency and stir. ENJOY!
Note:
- The amount of raw milk used in the recipe doesn’t necessarily matter. [we will typically use any extra milk at the end of the week to make our own cottage cheese] ¾ cup of white distilled vinegar per gallon of raw milk is the ratio that needs to be used to make the curd (¼ cup + 2 tablespoons per half gallon of milk). A half gallon of milk will make a very small batch of cottage cheese.
- ½ gallon yields about 2 cups of creamy cottage cheese.
- Don’t toss the leftover whey! Store it in the refrigerator to use in smoothies, or substitute in baking recipes where the recipe calls for water.
Hint: My favorite way to enjoy to enjoy the cottage cheese is with some black pepper. Or fresh fruit, for a healthy snack!
Storage
The fresh 2 ingredient homemade raw milk cottage cheese should be stored in the refrigerator (in a glass container with a lid, like a Pyrex, or a mason jar.) Consume the cottage cheese within 1 week of making.
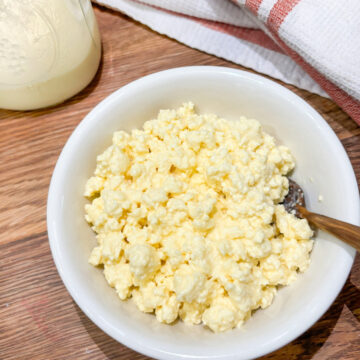
2 Ingredient Homemade Cottage Cheese
Equipment
- 1 Large Pot
- 1 Mixing Bowl
- Measuring Spoons
- Collander
Ingredients
- ½ Gallon Raw Milk (and the skimmed cream)
- ¼ Cup + 2 Tbsp White Distilled Vinegar (¾ Cup per Gallon)
Instructions
- Skim the cream from the half gallon of raw milk.
- Pour Raw Milk into the stockpot or Dutch oven.
- Turn burner to medium heat and stir milk to evenly heat to to 200 degrees Fahrenheit. The milk may become foamy.
- Turn off heat, add vinegar, stir for 1 minute. Curd will form.
- Add lid and allow to sit for 20 minutes.
- Set up the straining system. Line colander with the cheesecloth and place the colander on the bowl.
- Gently gather curd with large wooden spoon, draining off whey. Leave excess whey in the stockpot. Allow the curd to strain for 10 minutes.
- Bring the collander lined cheesecloth, with the curds, to the sink to rinse with cold water.
- Carefully transfer the curd to a bowl and use a wooden spoon to break apart the curds to the desired size.
- Add the desired amount of the skimmed cream to the curds and stir.
- Store in the fridge in a food safe container for up to 1 week.
Save this pin for later!


Hi, I’m Megan!
I’m the gal behind the blog, Porch on the Prairie.
My husband and I moved to our little century farm in 2021, and I’ve been learning all things homesteading ever…




Leave a Reply