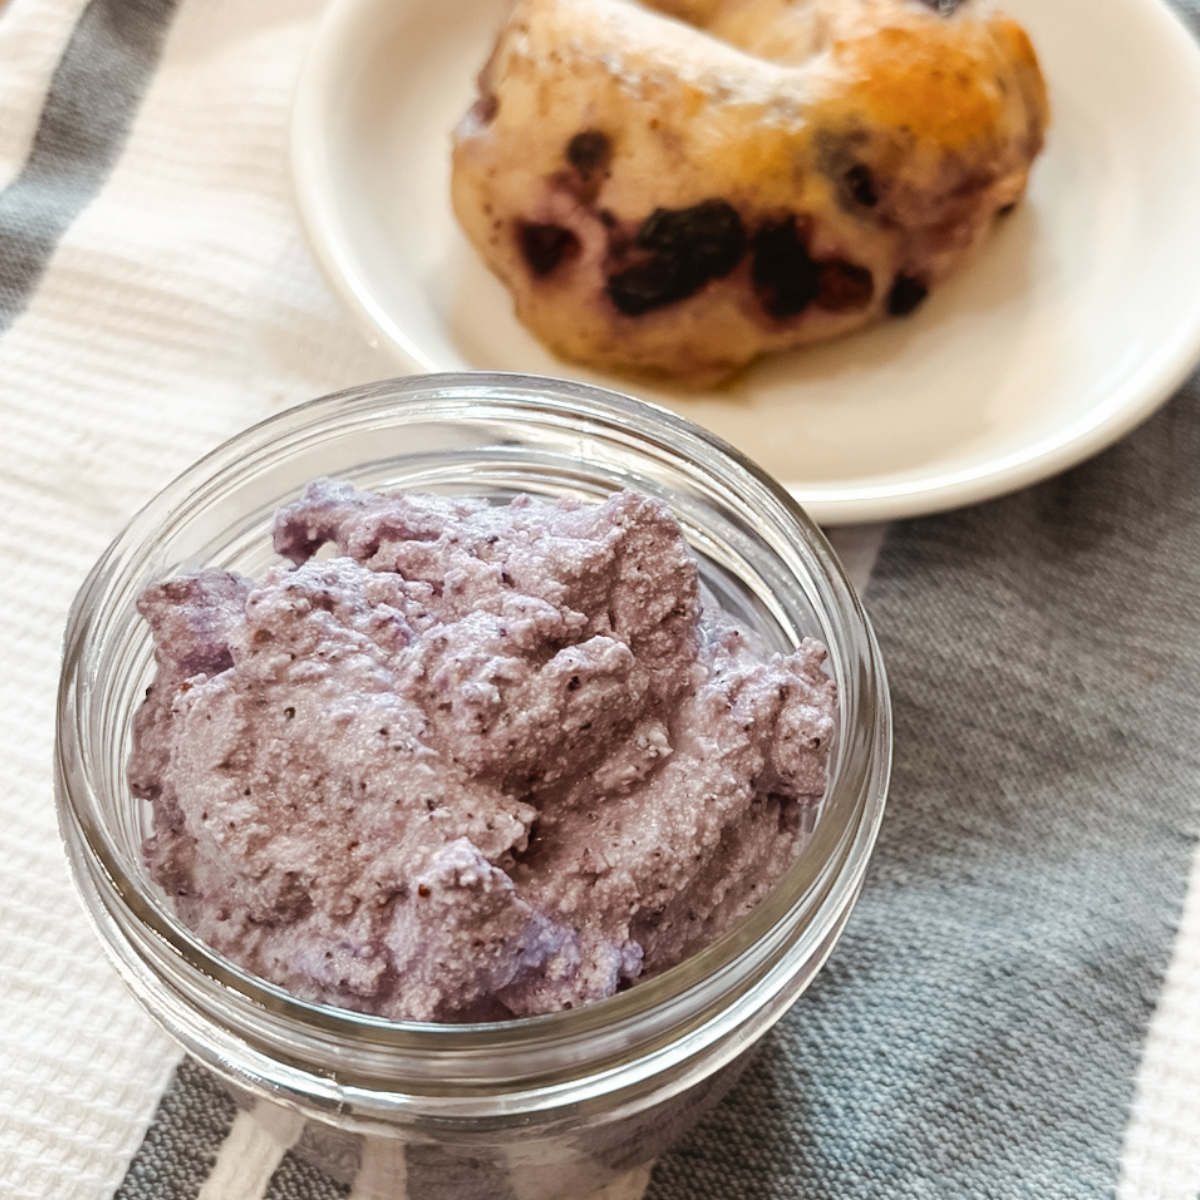
Learning to make homemade dairy products can be so rewarding for multiple reasons! In starting a raw milk journey, the goal was to reduce the amount of preservatives and unnecessary ingredients in the food my family consumes. My goal was to learn as much as I could so that when I was finally able to have a milk cow of my own (and an abundance of delicious and nutritious raw milk) I had a great knowledge base without being overwhelmed. It didn’t take long for us to develop a super simple and tasty homemade cream cheese recipe to spread on our sourdough bagels, or to use in a desert recipe such as homemade cream cheese frosting! Now we receive the added benefits of raw milk while avoiding the icky ingredients of store-bought cream cheese. The result is a delicious real cream cheese.
Jump to:
Why Raw Milk?
Cow’s milk, unpasteurized milk, has beneficial bacteria, that can act as a great probiotic, which can benefit the digestive system and overall gut health. Raw milk is full of beneficial nutrients, beneficial enzymes, vitamins, and minerals - which can significantly benefit one’s health and overall immune system. In short, raw dairy products have many health benefits.
There is a common misconception regarding the safety of consumption and the benefits of raw milk, but this science backed article does a great job of explaining things. If the raw milk comes from a healthy cow, following a sanitary process safe for human consumption, the risk of becoming ill is incredibly low (somewhere around 1 in 6 million chance).
Sourcing Raw Milk
It is my dream to someday have a family milk cow, my own cow. In the meantime, I was fortunate to find a local farm gal who sells raw milk from her jersey dairy cow named Cloud. If you don’t have a milk cow of your own (many beginners in the raw milk world don’t) I would recommend searching realmilk.com or using a raw milk finder. An important factor in choosing a raw milk supplier, for me, is a well cared for and healthy cow. In addition, I wanted to be sure the suppliers process was extremely sanitary. When we went for our first raw milk pick up, we got to meet Cloud, and the supplier discussed the importance of a sanitary process - I was thrilled. In some states the purchase of raw milk for human consumption is illegal, but other states do allow it and may even sell it in a local grocery store.

Easy & Delicious Homemade Cream Cheese Recipe
Raw Cream Cheese Ingredients
- ½ Gallon of Raw Milk (cream skimmed)
- ¼ Cup White Distilled Vinegar
- ¼ Cup Skimmed Heavy Cream
- 3 Tbs Plain Greek Yogurt (with live active cultures)
- ½ teaspoon Salt
Equipment
- Large Pot
- Food Thermometer
- Measuring Cup and Spoon
- Wooden Slotted Spoon
- Colander or Cheesecloth - I love these reusable bags
- Food Processor or Immersion Blender
Raw Milk Cream Cheese Instructions
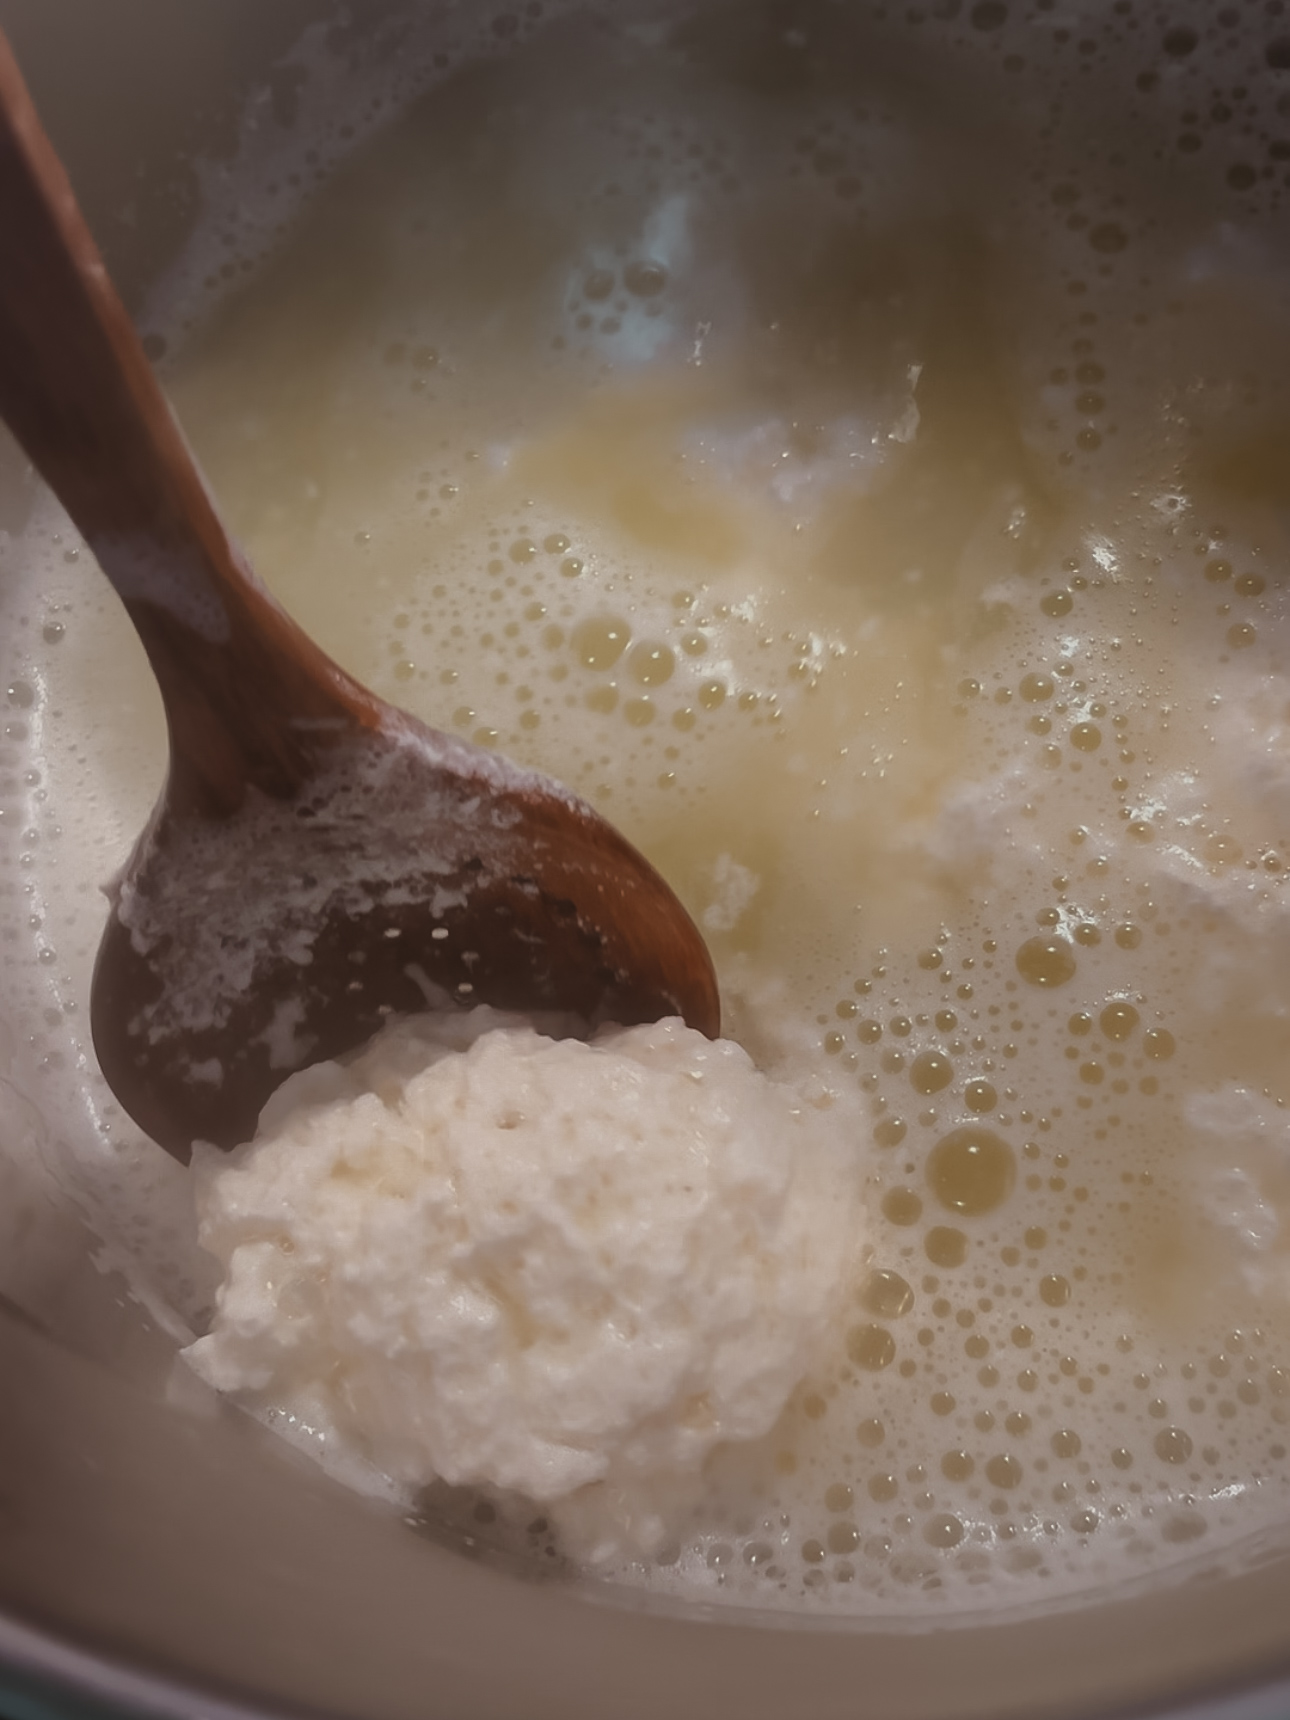
- Add the milk to the large pot and heat over medium heat. Stir continuously until the temperature reaches 175-195 degrees Fahrenheit.
- Remove the milk from the burner and slowly stirring in the white distilled vinegar. Curds will start to form and separate from the liquid whey.
- Let the milk sit in the large pot undisturbed for 10 minutes to allow the curds time to form.
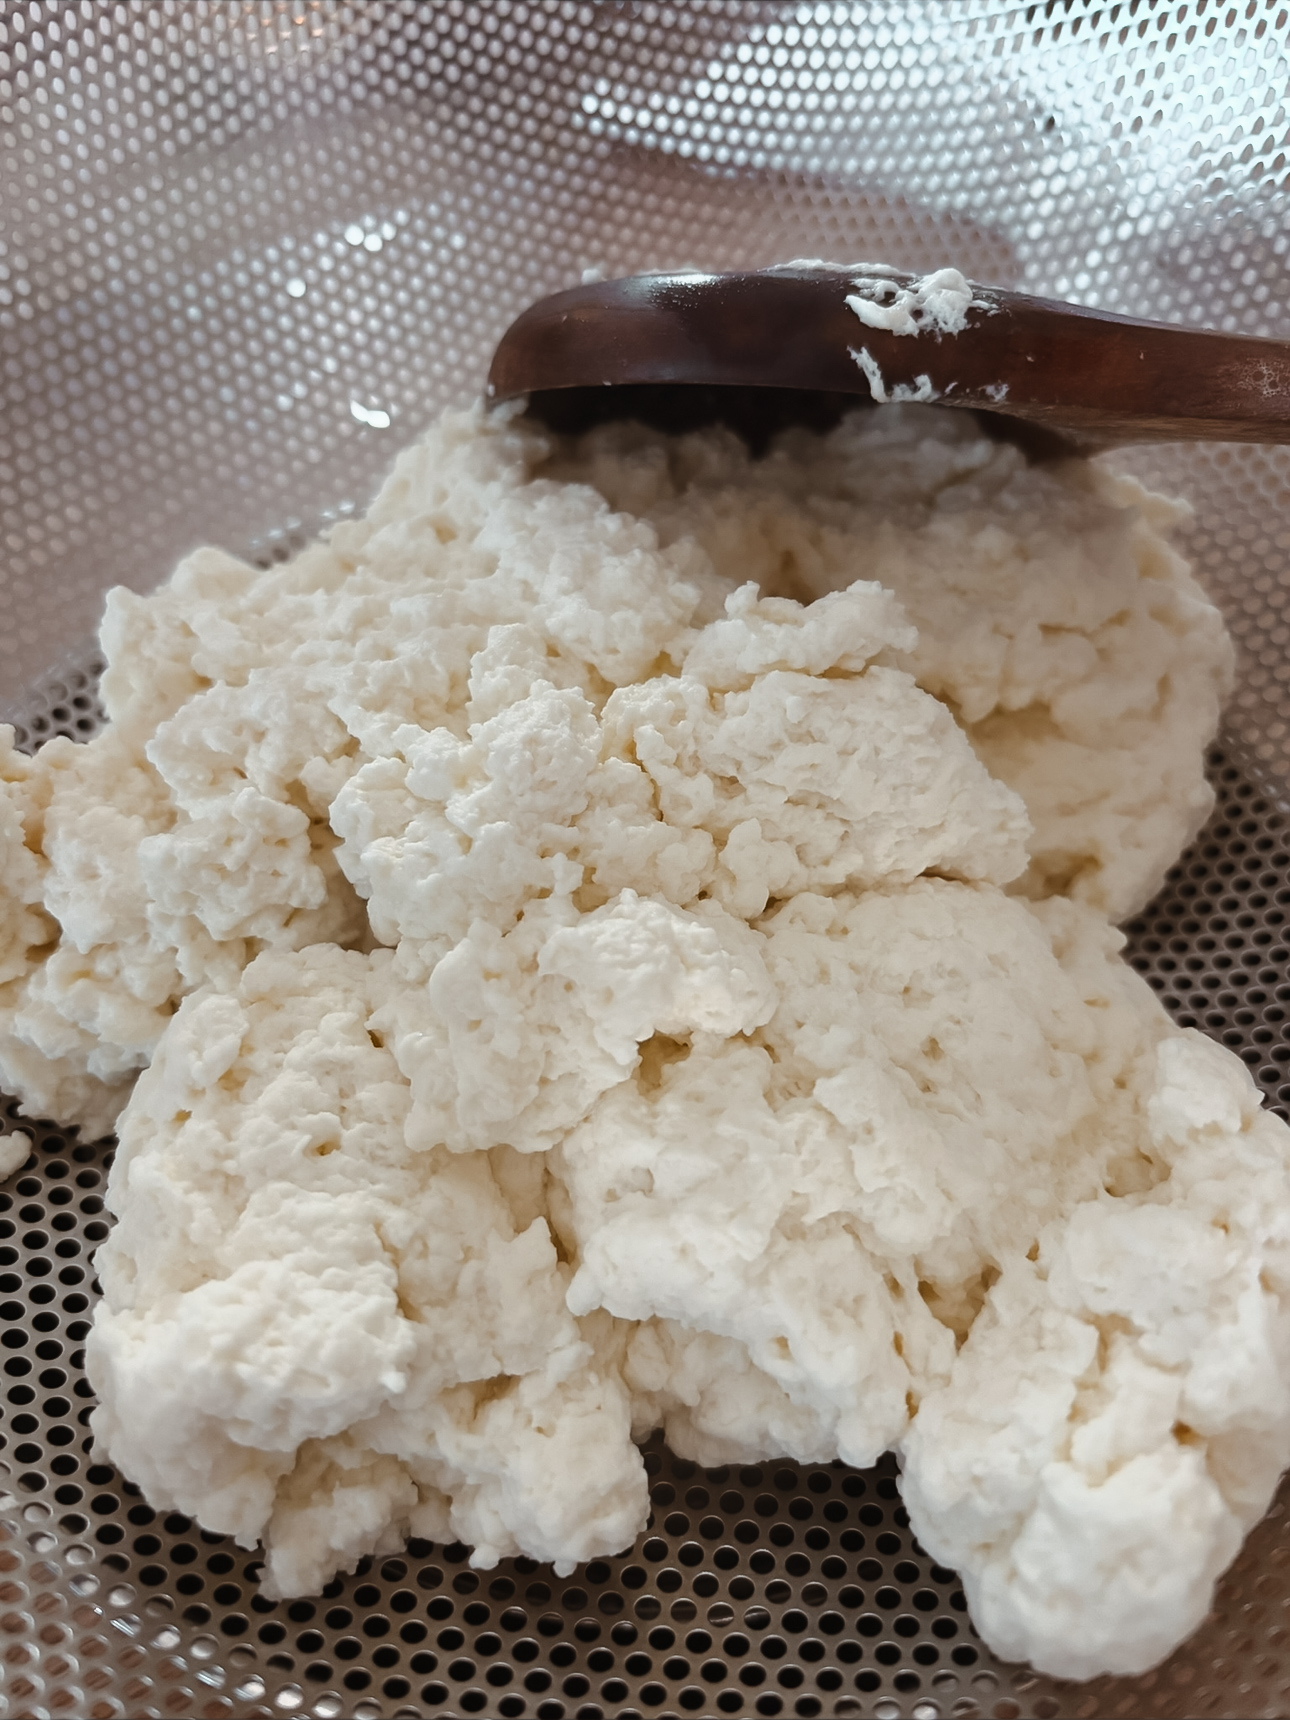
- Carefully place the curd into the cheesecloth over a bowl (to catch dripping whey) or into a colander over a large bowl. Allow whey to strain for 15 minutes.
- Combine the drained curds, 2 tablespoons of cream, plain Greek yogurt, and salt. Using a food processor or immersion blender, mix well. Add cream to achieve the desired texture and consistency.
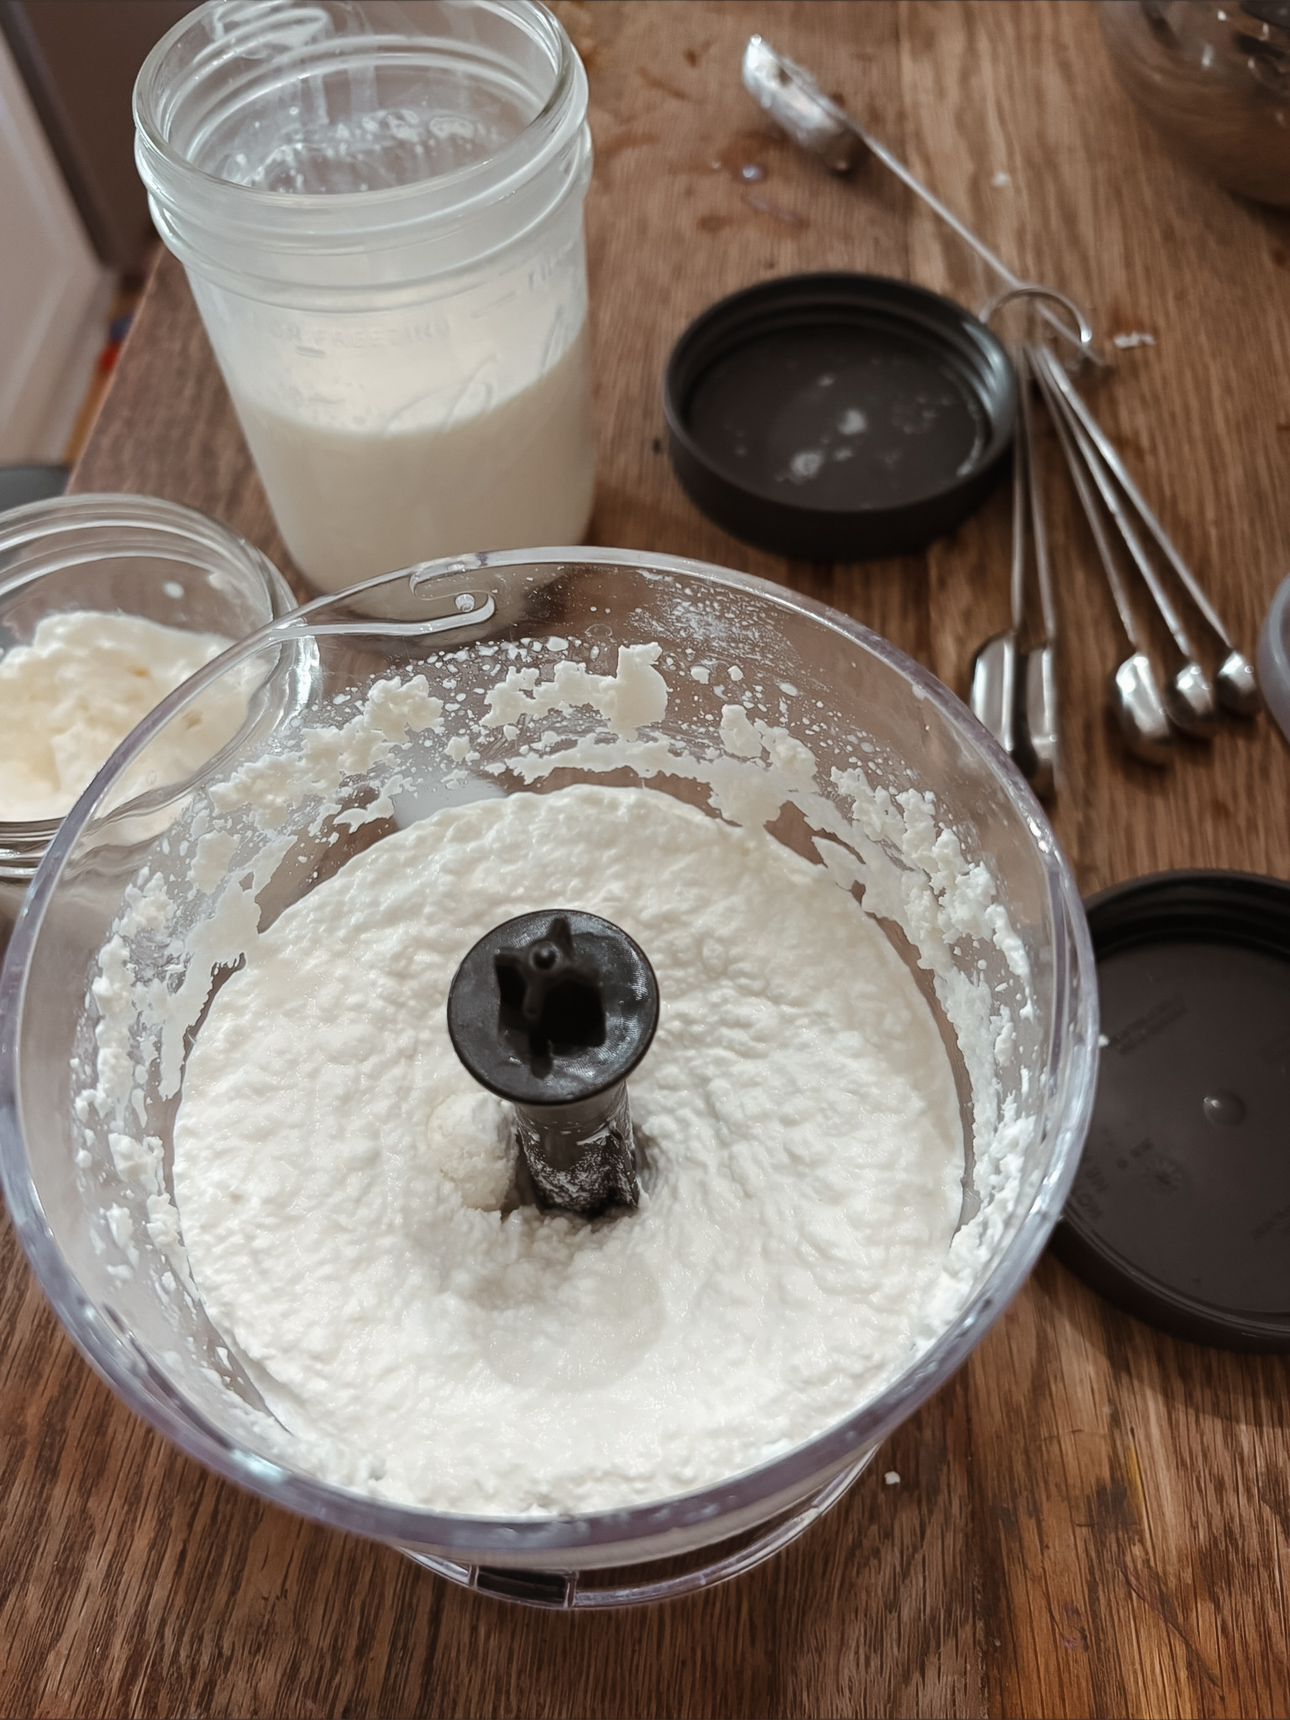
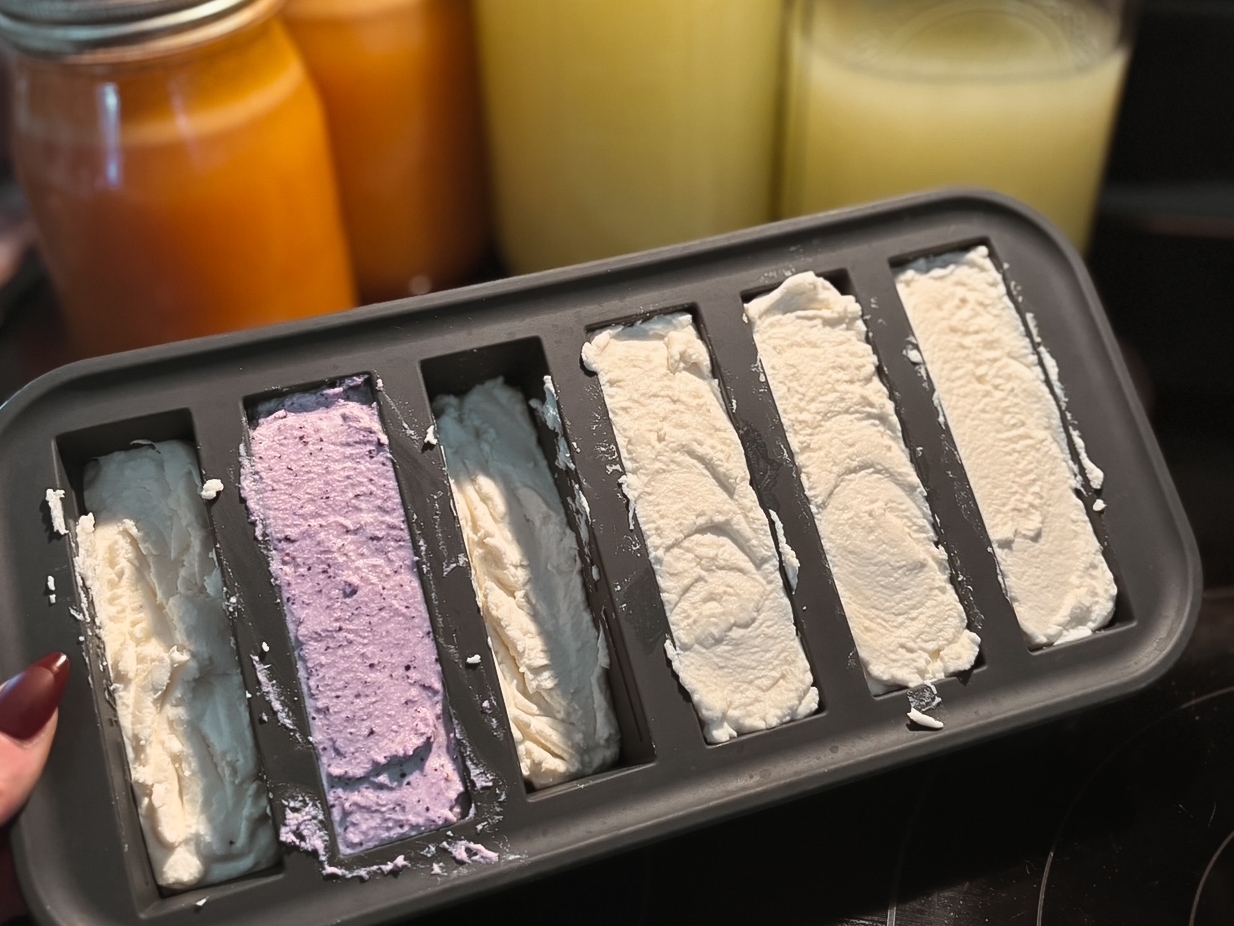
- Place soft homemade cream cheese in a small mason jar or glass container and refrigerate. Once cooled, the cream cheese will have a firmer consistency. (I like to use these Souper Cubes for freezing food, soups, etc. Be sure to flash freeze before vacuum sealing.)
Variations
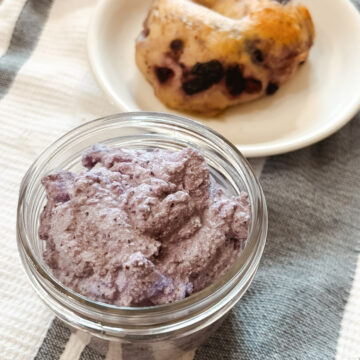
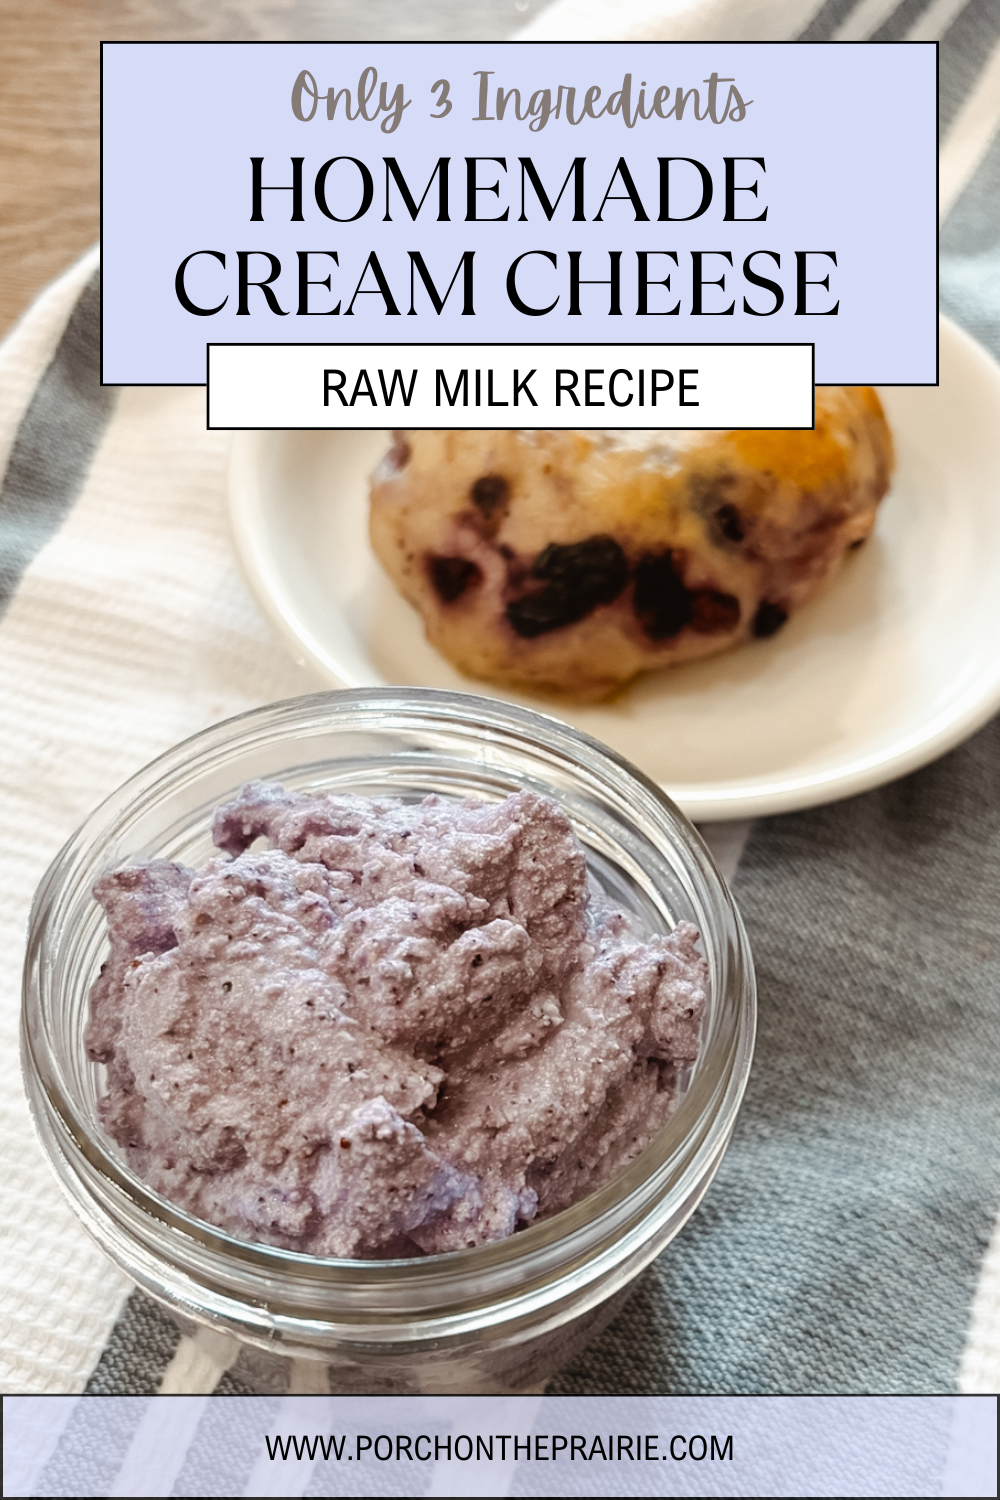
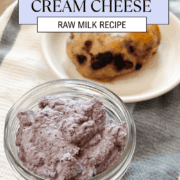
There are different ways to spruce up the most delicious cream cheese. Our favorite way is to pair the cream cheese with homemade sourdough bagels, add blueberries (fresh or frozen) to achieve the desired taste. For an added sweetness, add honey to taste. Other seasonings and ingredients can be added, don’t be afraid to experiment!
Note: there are a variety of different methods for making homemade cream cheese. However, this is our favorite and the easiest recipe. It contains ingredients we always have on hand, and is super straight forward and simple. No liquid rennet, special yogurt culture, mesophilic culture, or other different cultures needed. Just 5 simple ingredients that most homes keep on hand.
Storing Homemade Cream Cheese
Easy homemade cream cheese doesn’t have the added preservatives like a store-bought version of cream cheese. However, it will still keep for a decent amount of time. Store in the refrigerator in an airtight container for up to 3 weeks. For longer storage, vacuum seal or use a freezer safe container to store in the freezer for up to 3 months.
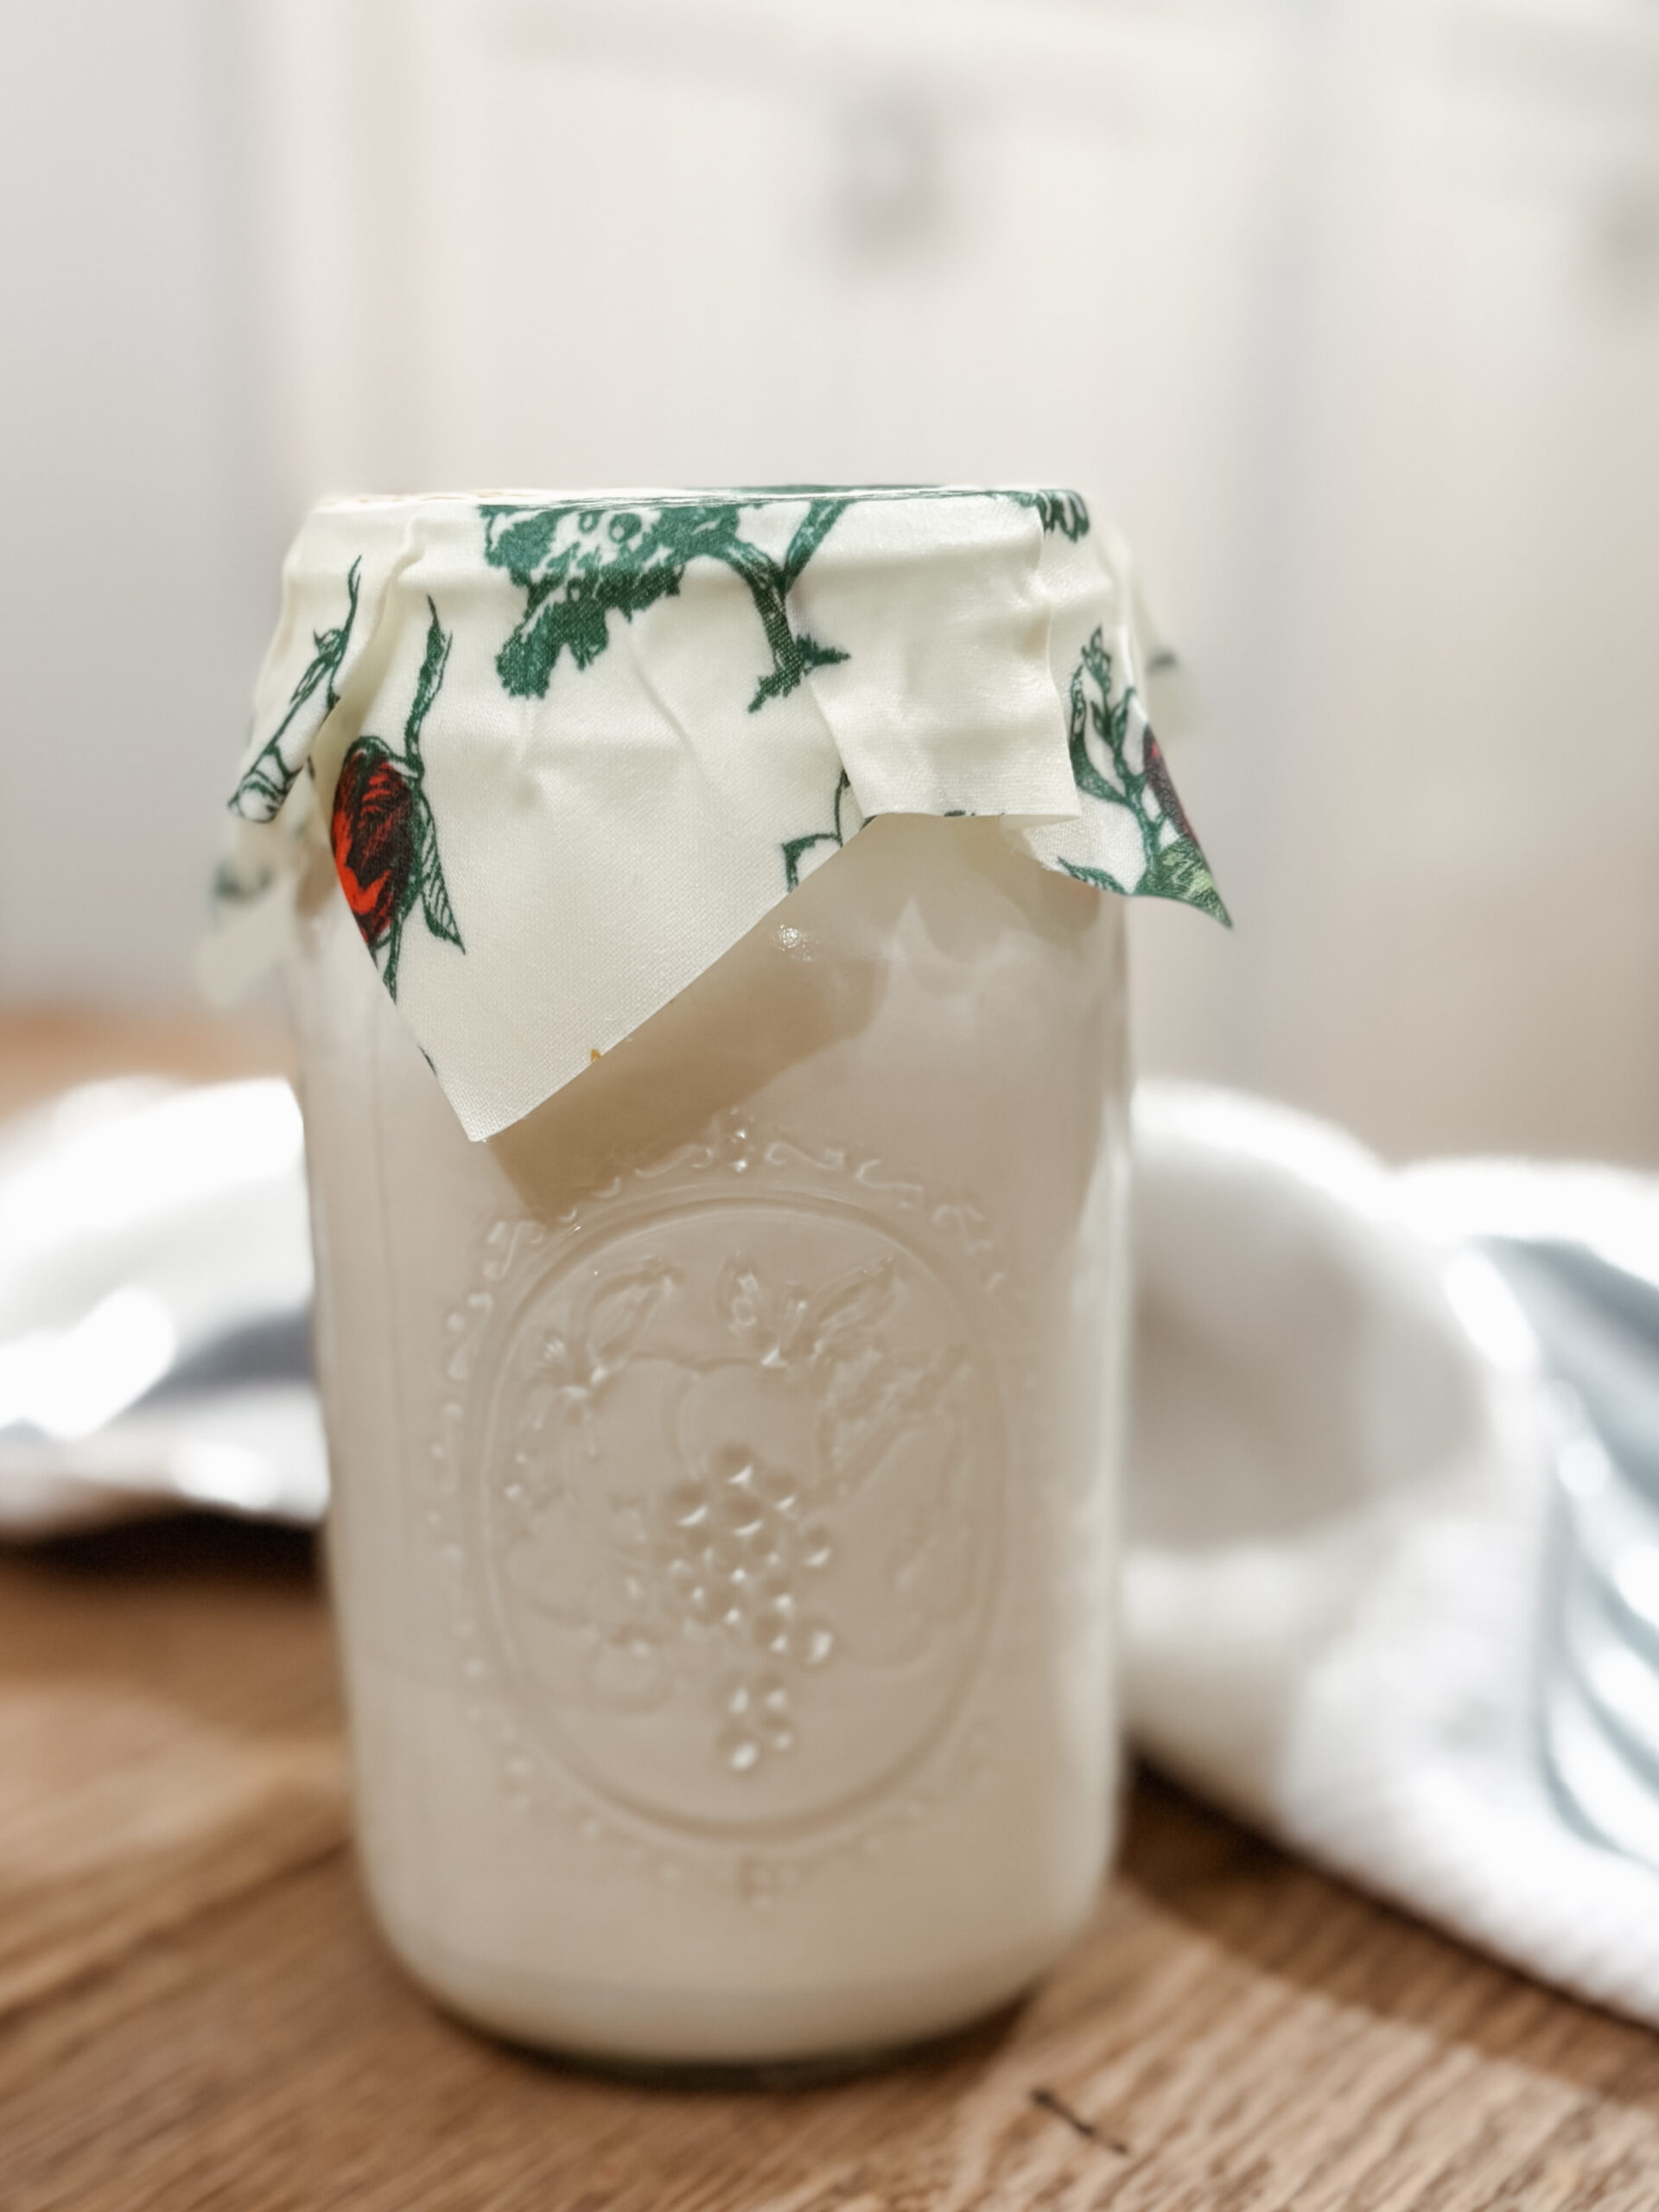
Check out these other Beginner Raw Milk Products/ Recipes:
For this recipe we always use homemade yogurt, check out the super simple recipe here. An added bonus is a two for one - homemade sour cream is also made, learn how here.
The easiest beginner Raw Milk product to make is homemade butter, learn how here.
To make the simplest cheeses check out this Homemade Mozzarella with only 2 Ingredients recipe here or Homemade Cottage Cheese here.
Many homemade dairy products separate curd and whey - learn how to make a delicious caramel sauce from the leftover whey here.
Easy & Delicious Homemade Cream Cheese - Raw Milk
Equipment
- Large Pot
- Measuring Cup and Spoon
- Wooden Slotted Spoon
- Colander or Cheesecloth - I love these reusable bags
- Food Processor or Immersion Blender
Ingredients
- ½ Gallon Raw Milk cream skimmed
- ¼ Cup White Distilled Vinegar
- ¼ Cup Skimmed Heavy Cream
- 3 Tbs Plain Greek Yogurt with live active cultures
- ½ teaspoon Salt
Instructions
- Add the milk to the large pot and heat over medium heat. Stir continuously until the temperature reaches 175-195 degrees Fahrenheit.
- Remove the milk from the burner and slowly stirring in the white distilled vinegar. Curds will start to form and separate from the liquid whey.
- Let the milk sit in the large pot undisturbed for 10 minutes to allow the curds time to form.
- Carefully place the curd into the cheesecloth over a bowl (to catch dripping whey) or into a colander over a large bowl. Allow whey to strain for 15 minutes.
- Combine the drained curds, 2 tablespoons of cream, plain Greek yogurt, and salt. Using a food processor or immersion blender, mix well. Add cream to achieve the desired texture and consistency.
- Place soft homemade cream cheese in a small mason jar or glass container and refrigerate. Once cooled, the cream cheese will have a firmer consistency.
Notes
Pin this post for later!

Hi, I’m Megan!
I’m the gal behind the blog, Porch on the Prairie.
My husband and I moved to our little century farm in 2021, and I’ve been learning all things homesteading ever…



Leave a Reply