Maybe you’re looking to eliminate the toxins from your home caused by burning store-bought candles. Maybe you’re interested in making some cheap and easy DIY gifts. No matter the desire, this easy homemade candles for beginners (step-by-step) guide walks through all there is to know to successfully make your own candles using natural ingredients. Candle making can be so much fun for diy projects with young or older children, and a great way to use up old (heat safe) containers.
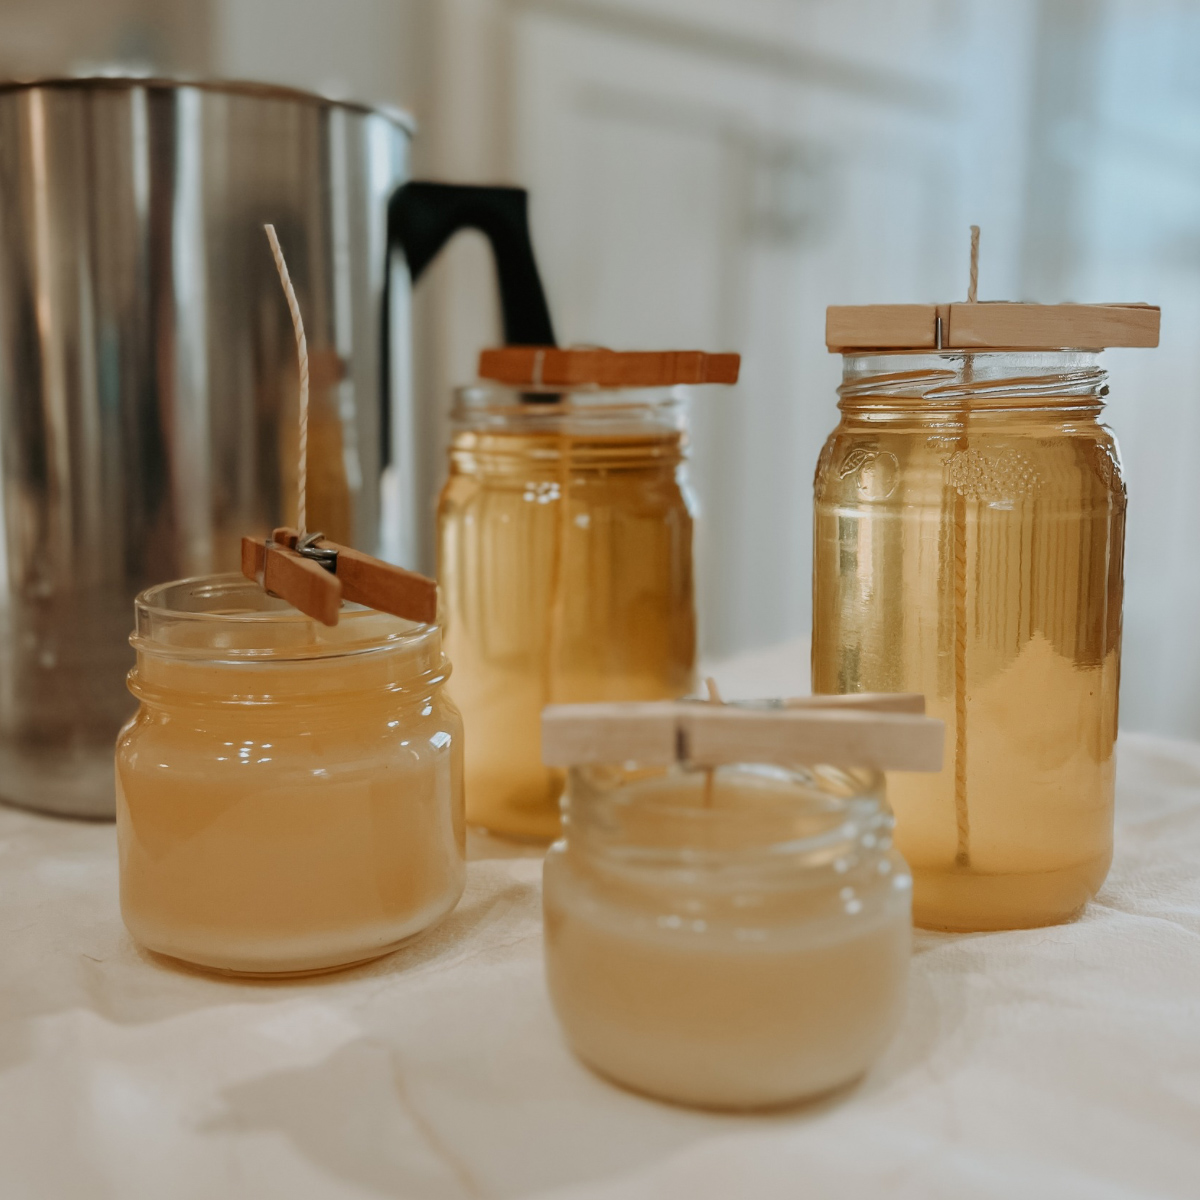
Why Homemade Candles?
Many store-bought candles are made from paraffin wax and synthetic fragrances. Burning these candles will release chemicals and small soot particle toxins into the air. This can negatively affect individuals with asthma and may cause respiratory problems, and in general can be detrimental to ones health. Beeswax is a much better (and safer) candle component than paraffin wax as it is a natural element that burns slow. Another great option is soy. In addition, natural fragrances are best. These are found in 100% pure essential oils such as Young Living.
Jump to:
Furthermore, homemade candles are quite cheap to make. DIY candles are super cute when made using thrifted tea cups, or other cute jars. I have cleaned small glass baby food jars and used those for candle containers. An old mason jar is another inexpensive candle jar option. While on a mission to save money and be extra resourceful, candle making has proven to be the perfect hobby.
Does it matter which essential oils are used?
Yes! My favorite essential oils are Young Living brand for multiple reasons. First, Young Living offers the Seed to Seal promise, which means the oils are guaranteed pure, authentic and science backed. Not all oils are created equal. Cheaper oils may not provide a very large fragrance load, or may smell off. There are other great essential oils on the market that are a bit cheaper than the Young Living brand, just do a little research to avoid the icky ones.
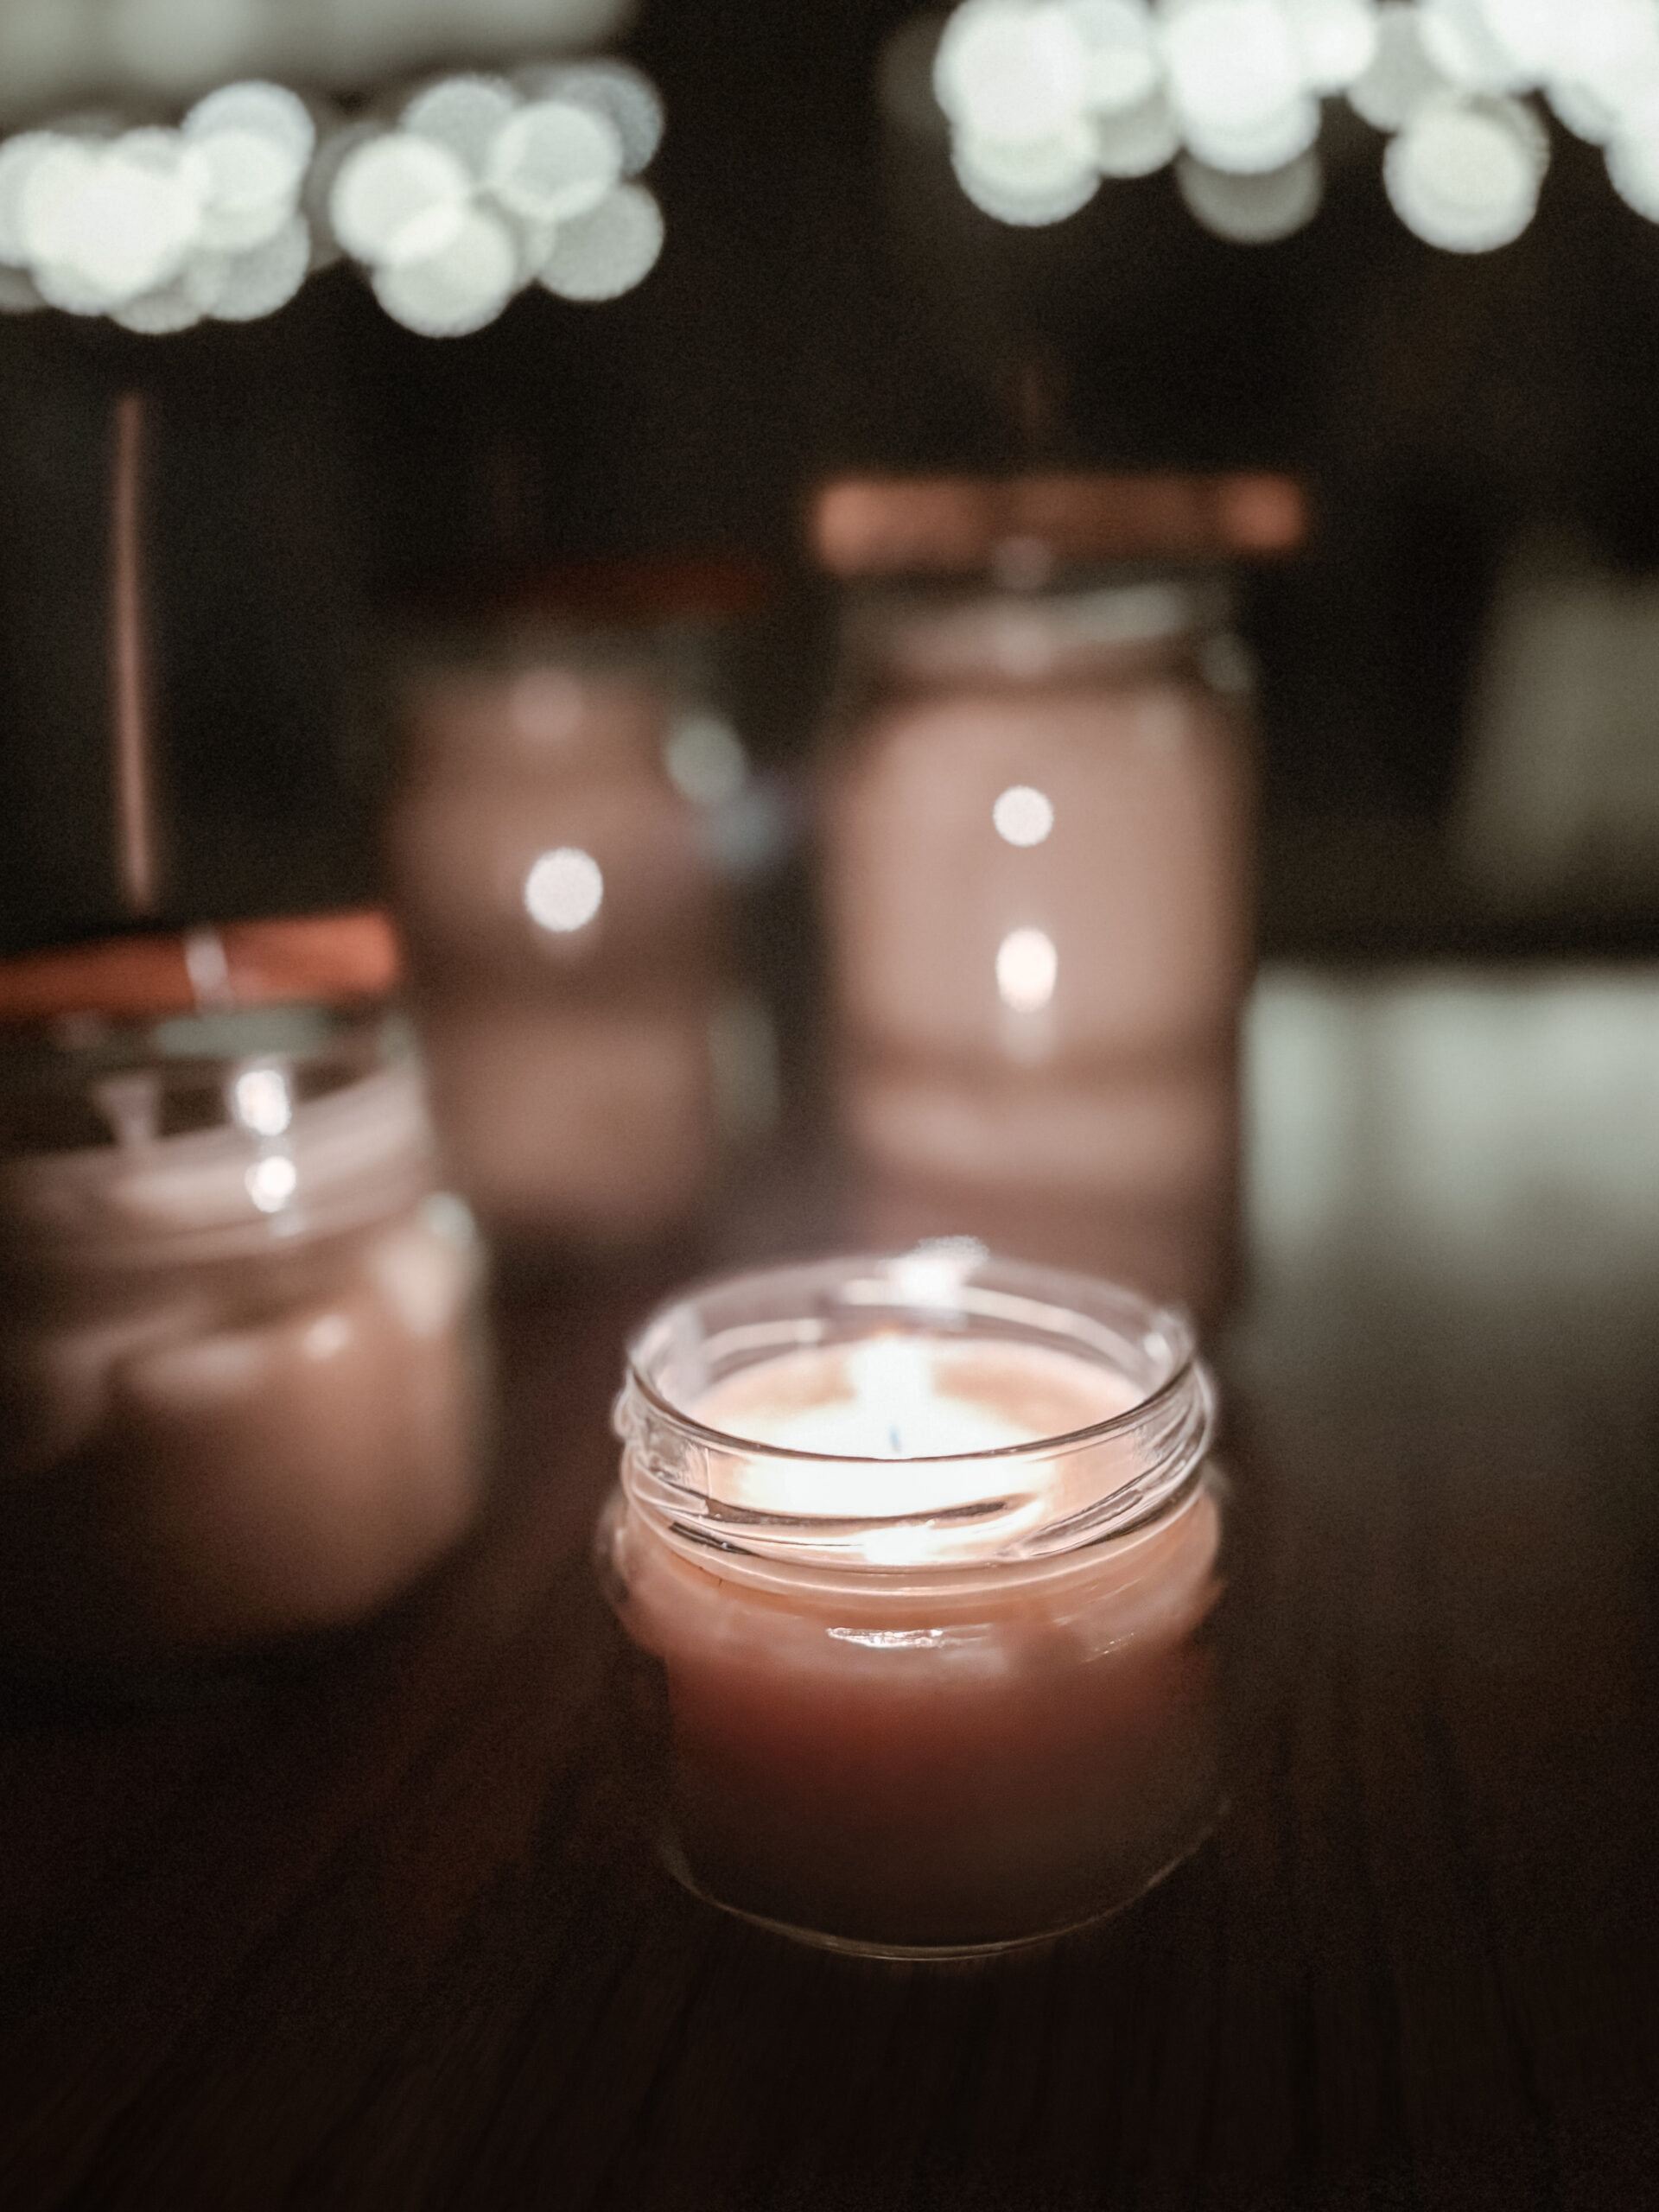
Recommended Fragrance Blends
My hubby is a sucker for a good pine candle, so that is a go-to scent of ours. I love the fresh and clean scent of lemon (and other citrus) and the calming scent of lavender. Get creative and use whichever scents you prefer!
Supply List
- Candle containers (glass jars, old tea cups, etc)
- Fragrance oils - pure essential oils are bests (100 drops per 1lb of wax)
- Beeswax or soy wax flakes
- Candle wicks
- Wooden clothespins (wick holders)
- Wick stickers (optional)
Equipment
- Saucepan for double boiler
- Wax canister or bowl dedicated to wax melting
- Kabob stick for stirring (or wooden popsicle sticks)
- Candy thermometer or old food thermometer
- Wick trimmer or sharp scissors
- Jar labels (optional)
Step-by-Step Instructions
Prep and Melt the Wax
First, prepare your candle container. It must be a heat safe container and should also be clean/ free of any food or debris.
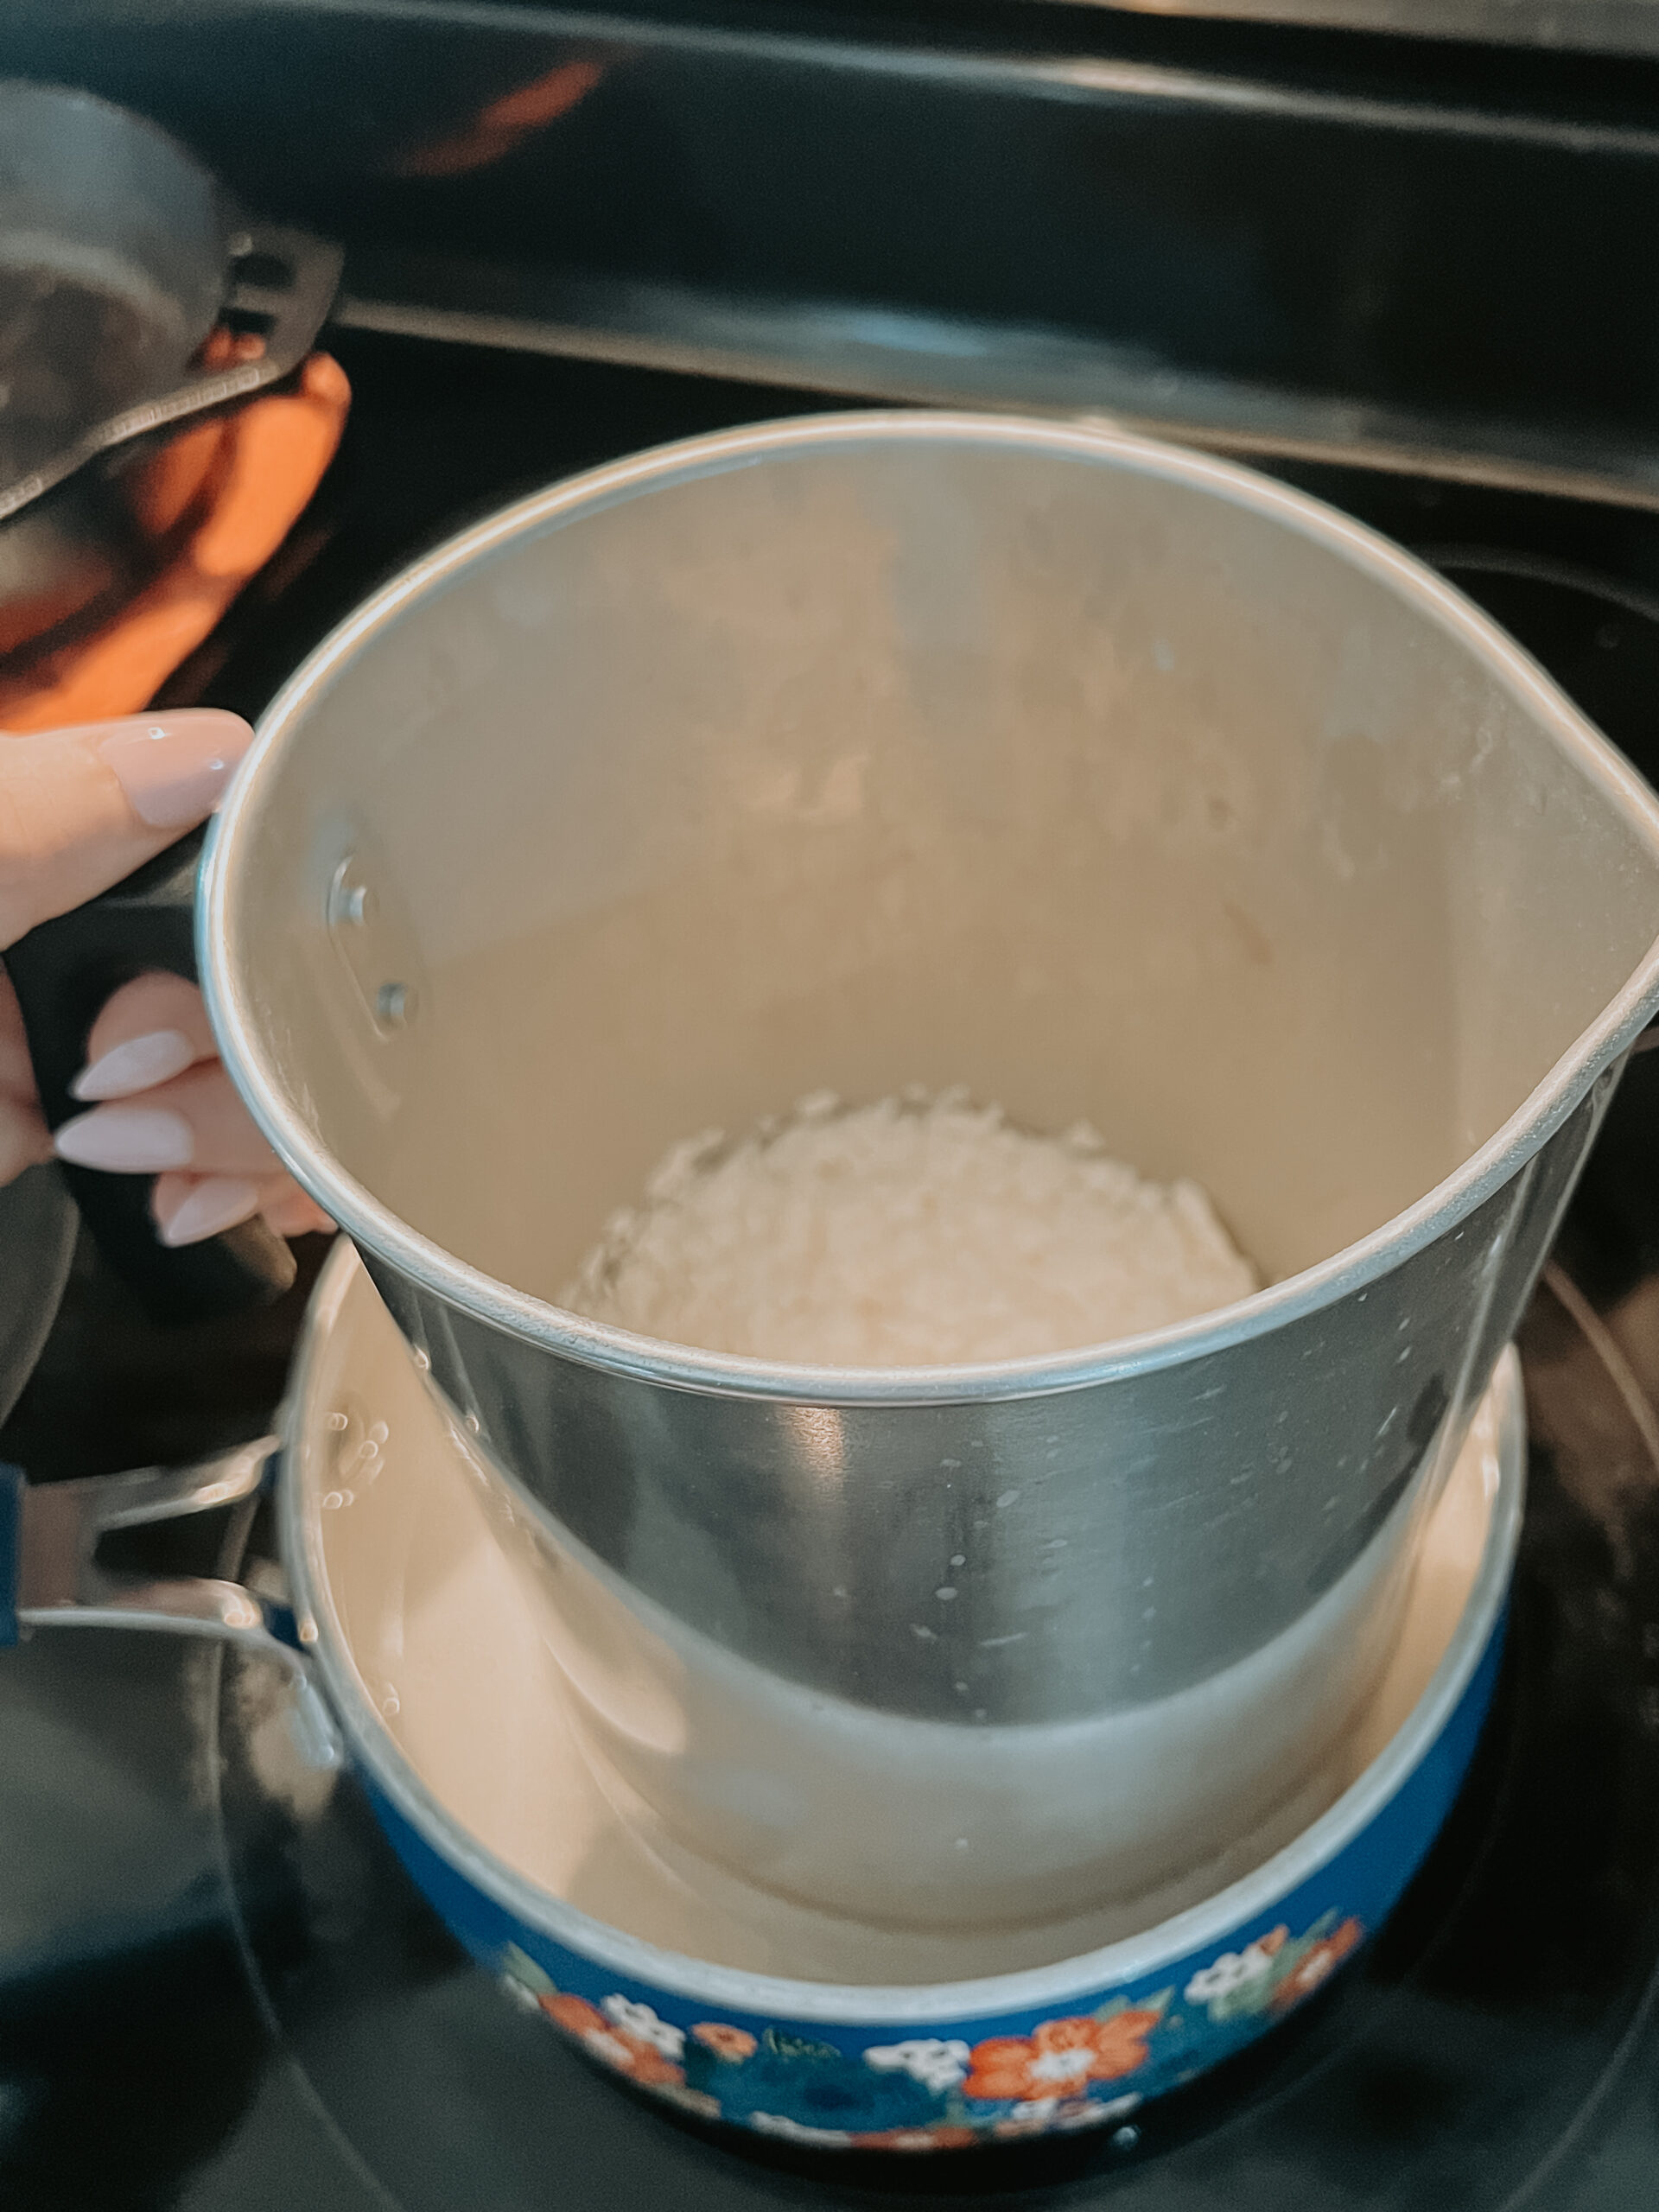
Next, using a double boiler, melt wax on the stove top. I use this wax melting pot. Simply add some water to a sauce pan and bring it to a boil. Pour the wax into the wax melting pot, and carefully place the melting pot into the sauce pan. BE SURE NOT TO BOIL OVER THE WATER IN THE SAUCEPAN. An old wooden kabob stick is a great stir stick to evenly melt the wax.
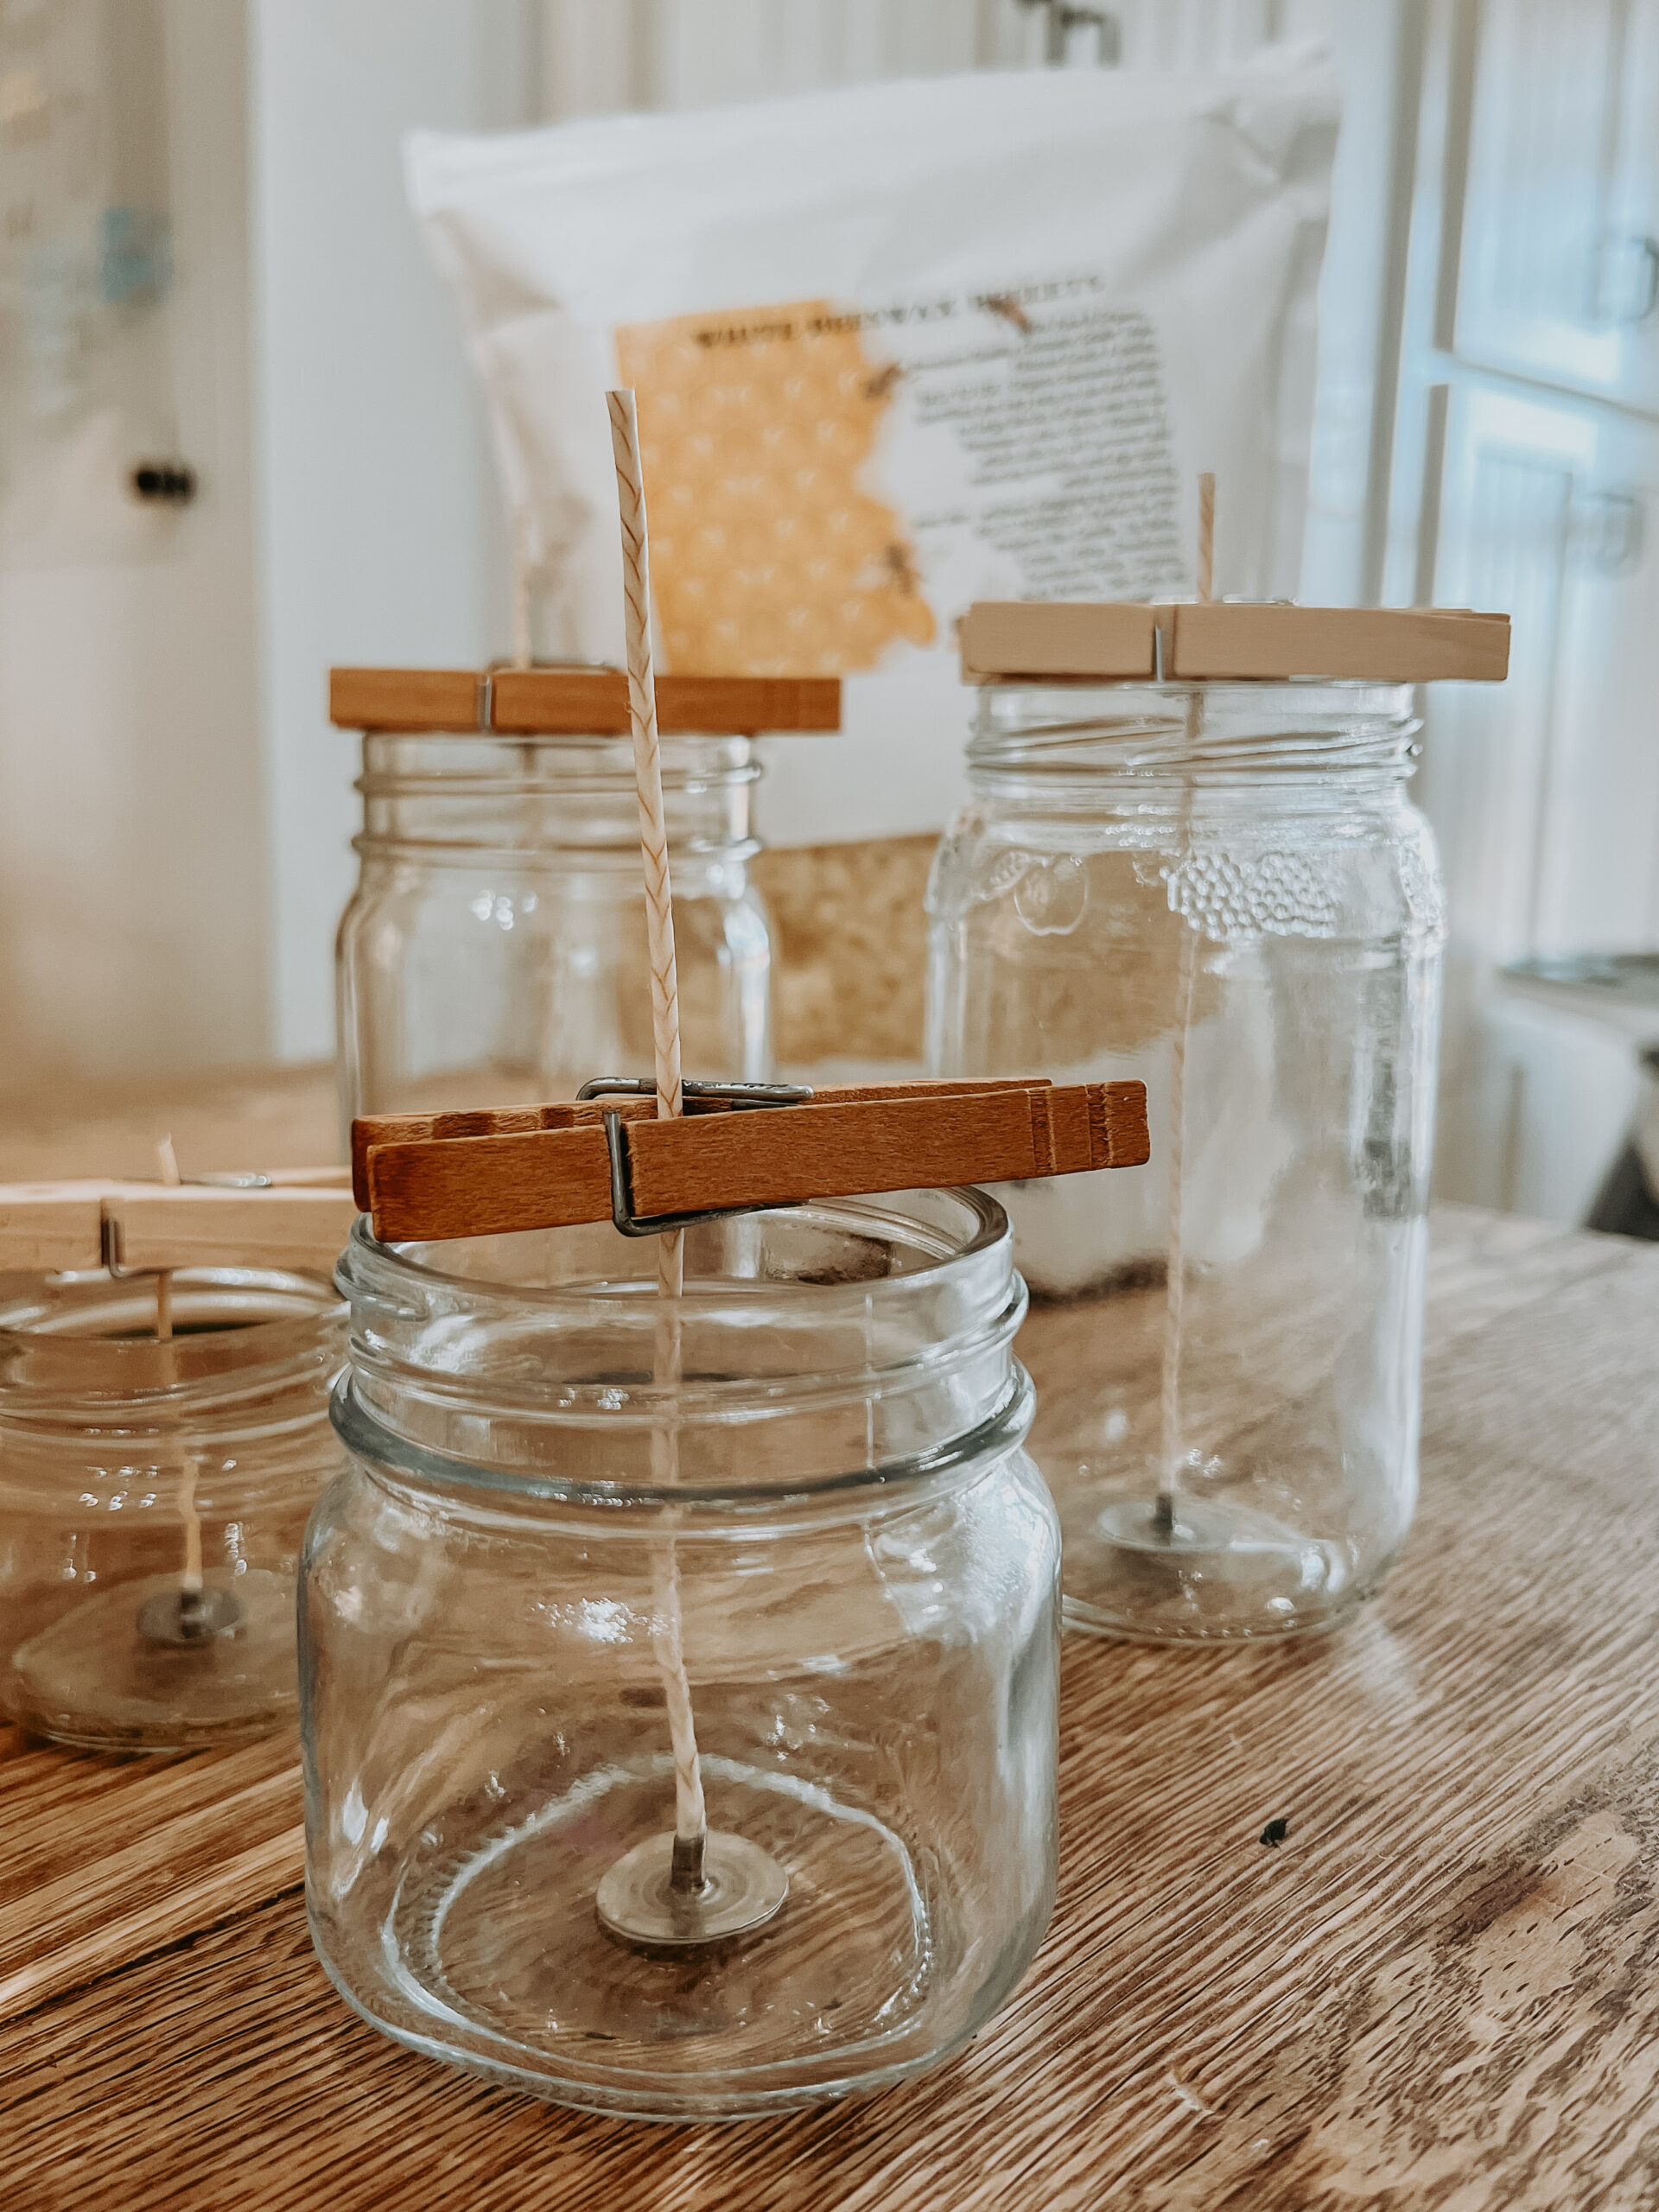
While the wax is melting, place the candle wicks into the bottom center of the candle jars. I like to use candle wick stickers to secure the wick in place (place the sticker onto the metal base of the wick and then into the bottom center of the jar.) This helps hold the wick upright nice and straight. Use a clothes pin laid horizontally on its side to grab a hold the top of the wick tightly to keep the wick nice and straight and upright in the jar.
Once the wax is melted, remove the wax from the heat source and let it cool to about 120 degrees Fahrenheit. Allowing the temperature of the wax to cool will prevent damage to essential oils and eliminate air bubbles and holes in the candle wax as it hardens.
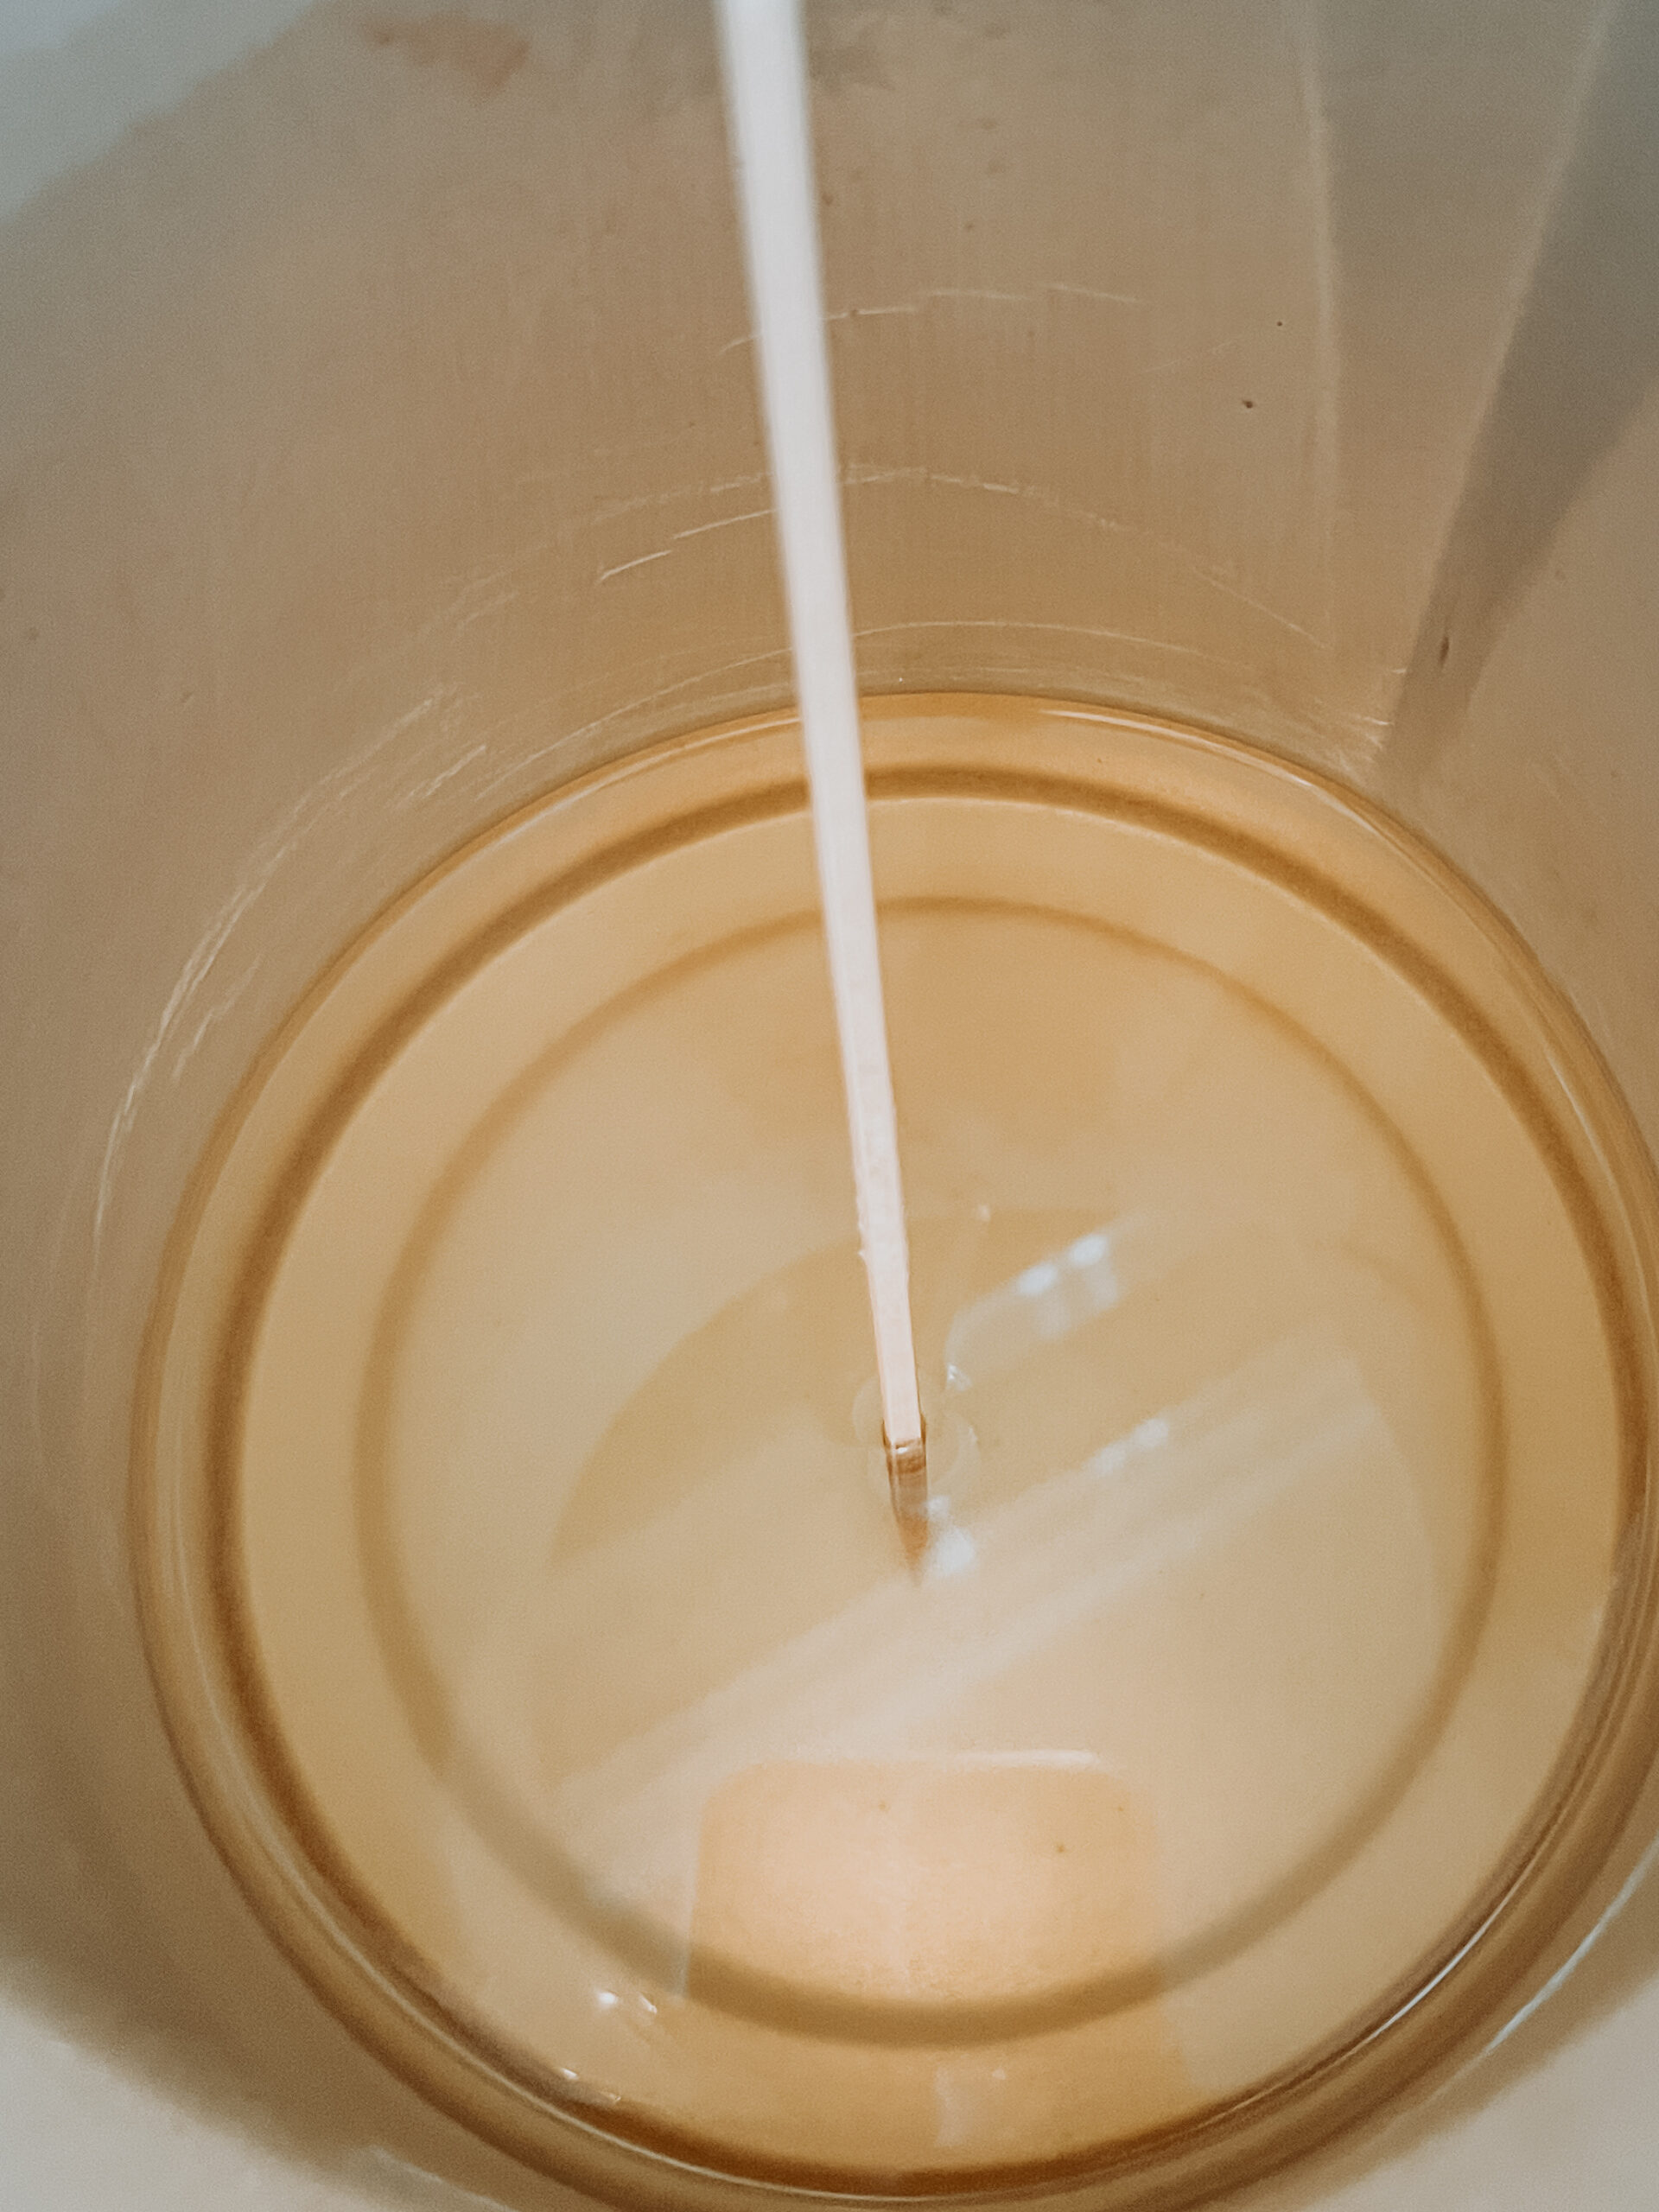
Next, add fragrance (100 drops per pound of wax roughly) to the melted wax. Using the kabob stick or disposable wooden stick, stir the fragrance into the wax.
Pour the Candles
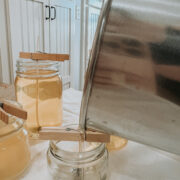
Finally, carefully pour the hot wax mixture into the candle jars (with the placed wicks). Leave some space at the top of the jar, and ensure there is wick sticking above what is poured.
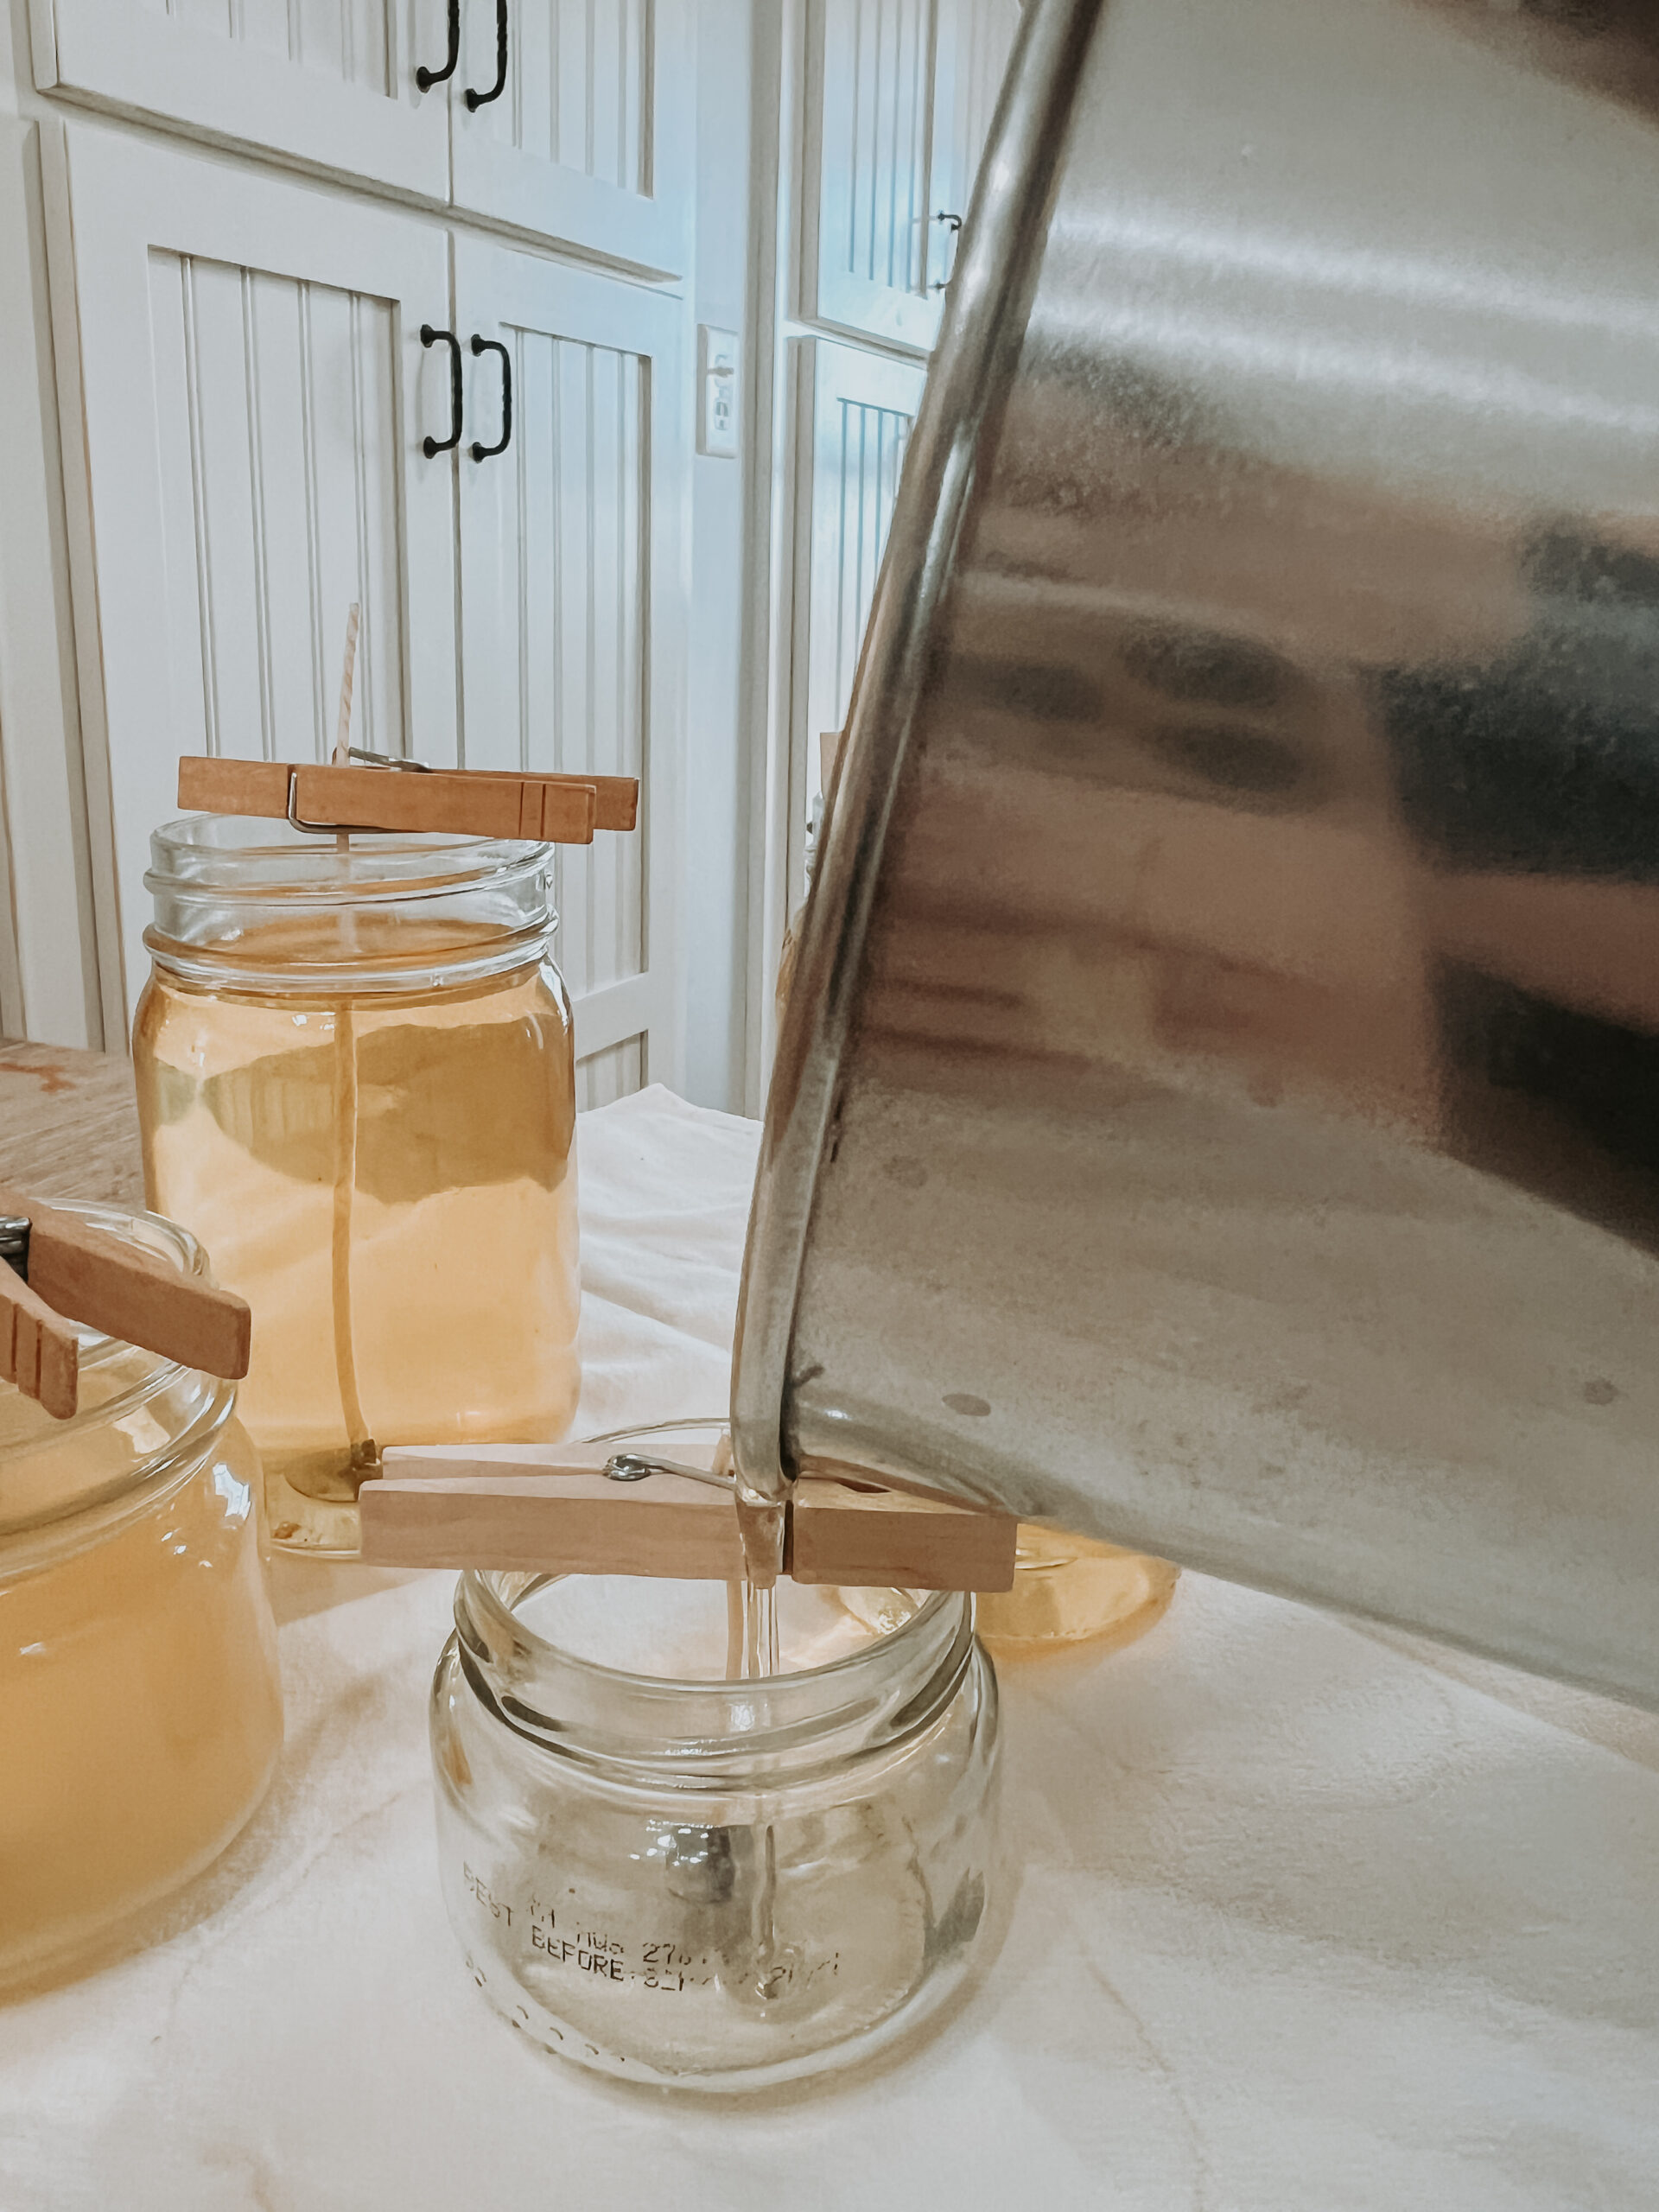
Allow candles to cool completely (wax will harden) before moving. Trim the wicks before burning, and enjoy!
FYI - handmade candles make the perfect homemade gift. Pair with a delicious sourdough discard banana bread (see recipe here) for a super simple and heartfelt gift anyone would love.
Note - the amount of wax and fragrance used will depend on the size of the containers being used. A good rule of thumb is 2 lbs of wax per DIY session. I like to start there and melt more wax as needed and/or choose which containers I will use based on the amount of melted wax.
DIY Beeswax Candles (step-by-step)
Equipment
- Saucepan for double boiler
- Wax canister or bowl dedicated to wax
- Kabob stick for stirring (or wooden popsicle sticks)
- Candy thermometer or old thermometer
- Wick trimmer or sharp scissors
- Jar Labels (optional)
Materials
- Glass jars old tea cups
- Fragrance oils 100 drops per 1lb of wax
- Beeswax or soy wax flakes
- Wicks
- Clothespins wick holders
- Wick stickers optional
Instructions
- First, prepare your candle container. It must be a heat safe container and should also be clean/ free of any food or debris.
- Next, using a double boiler, melt wax on the stove top. I use this https://amzn.to/4gJhig4 wax melting pot. Simply add some water to a sauce pan and bring it to a boil. Pour the wax into the wax melting pot, and carefully place the melting pot into the sauce pan. BE SURE NOT TO BOIL OVER THE WATER IN THE SAUCEPAN. An old wooden kabob stick is a great stir stick to evenly melt the wax.
- While the wax is melting, place the candle wicks into the bottom center of the candle jars. I like to use candle wick stickers to secure the wick in place (place the sticker onto the metal base of the wick and then into the bottom center of the jar.) This helps hold the wick upright nice and straight. Use a clothes pin laid horizontally on its side to grab a hold the top of the wick tightly to keep the wick nice and straight and upright in the jar.
- Once the wax is melted, remove from the heat source and let it cool to about 120 degrees Fahrenheit. Allowing the temperature of the wax to cool will prevent damage to essential oils and eliminate air bubbles and holes in the candle wax as it hardens.
- Next, add fragrance (100 drops per pound of wax roughly) to the melted wax. Using the kabob stick or disposable wooden stick, stir the fragrance into the wax.
- Finally, carefully pour the hot wax mixture into the candle jars (with the placed wicks). Leave some space at the top of the jar, and ensure there is wick sticking above what is poured.
- Allow candles to cool completely (wax will harden) before moving. Trim the wicks before burning, and enjoy!
Notes
Save this pin for later!

Leave a Reply