Canning can be intimidating and scary for those who have never done it, but it doesn’t have to be! I personally know people who will only eat their garden produce fresh, or who will process and freeze their harvest rather than canning it. This is simply because they are afraid of using a pressure canner or scared something will go wrong and the whole family will end up with botulism or food poisoning. There is nothing wrong with eating the produce fresh or freezing it, of course, but canning isn’t as difficult or scary as it may seem! There is an easy way that simply uses boiling water - water bath canning. Just follow the “how-to” for canning the best homemade pickles for beginners step-by-step below, it is so easy!
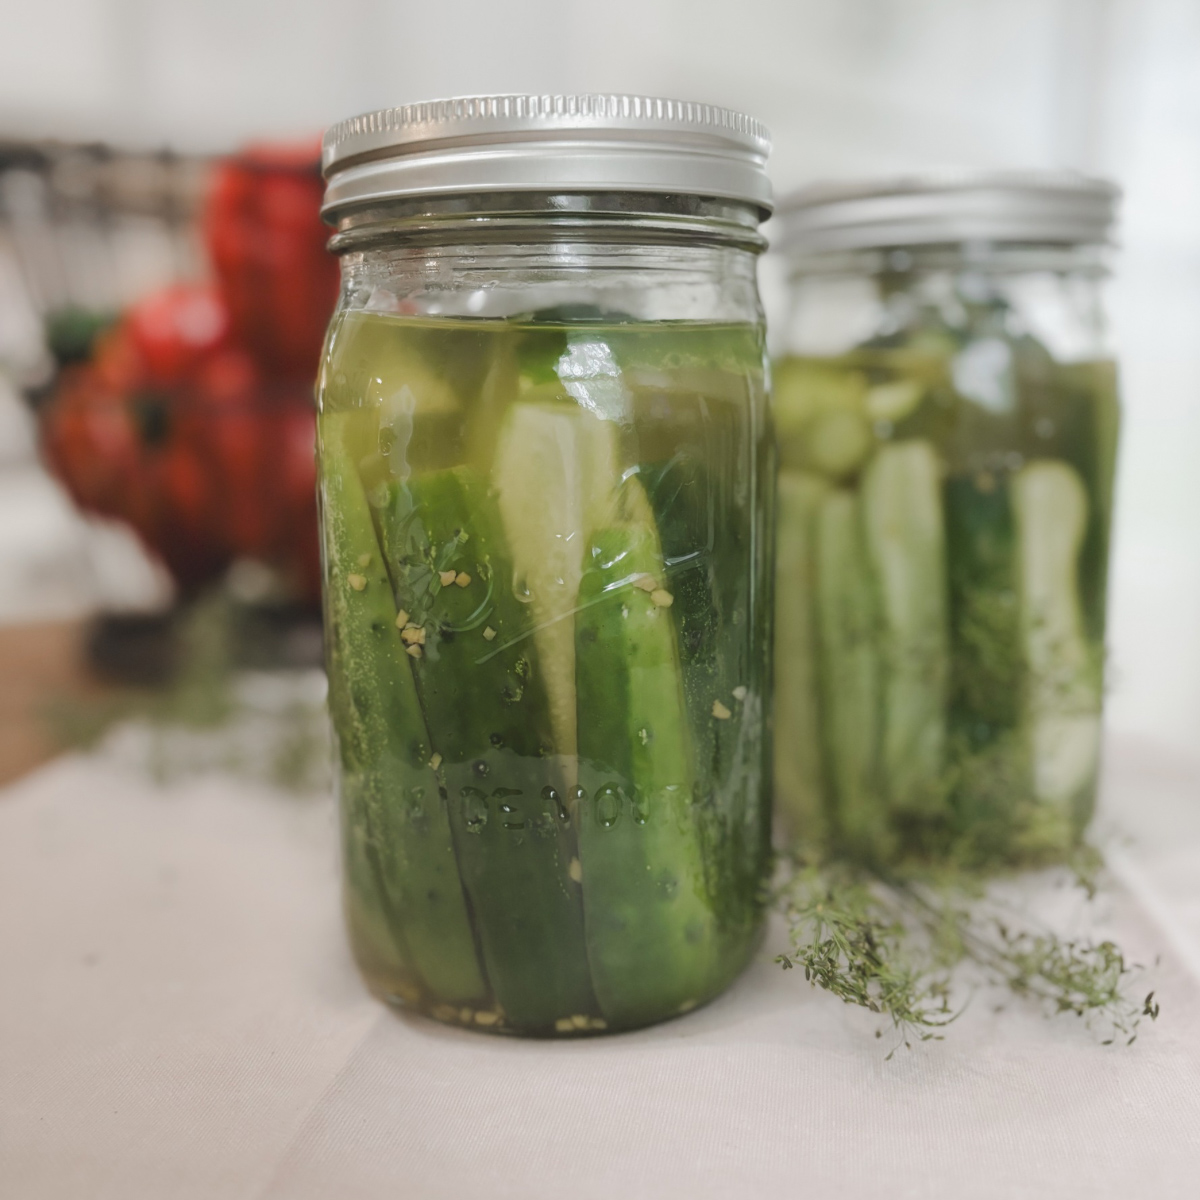
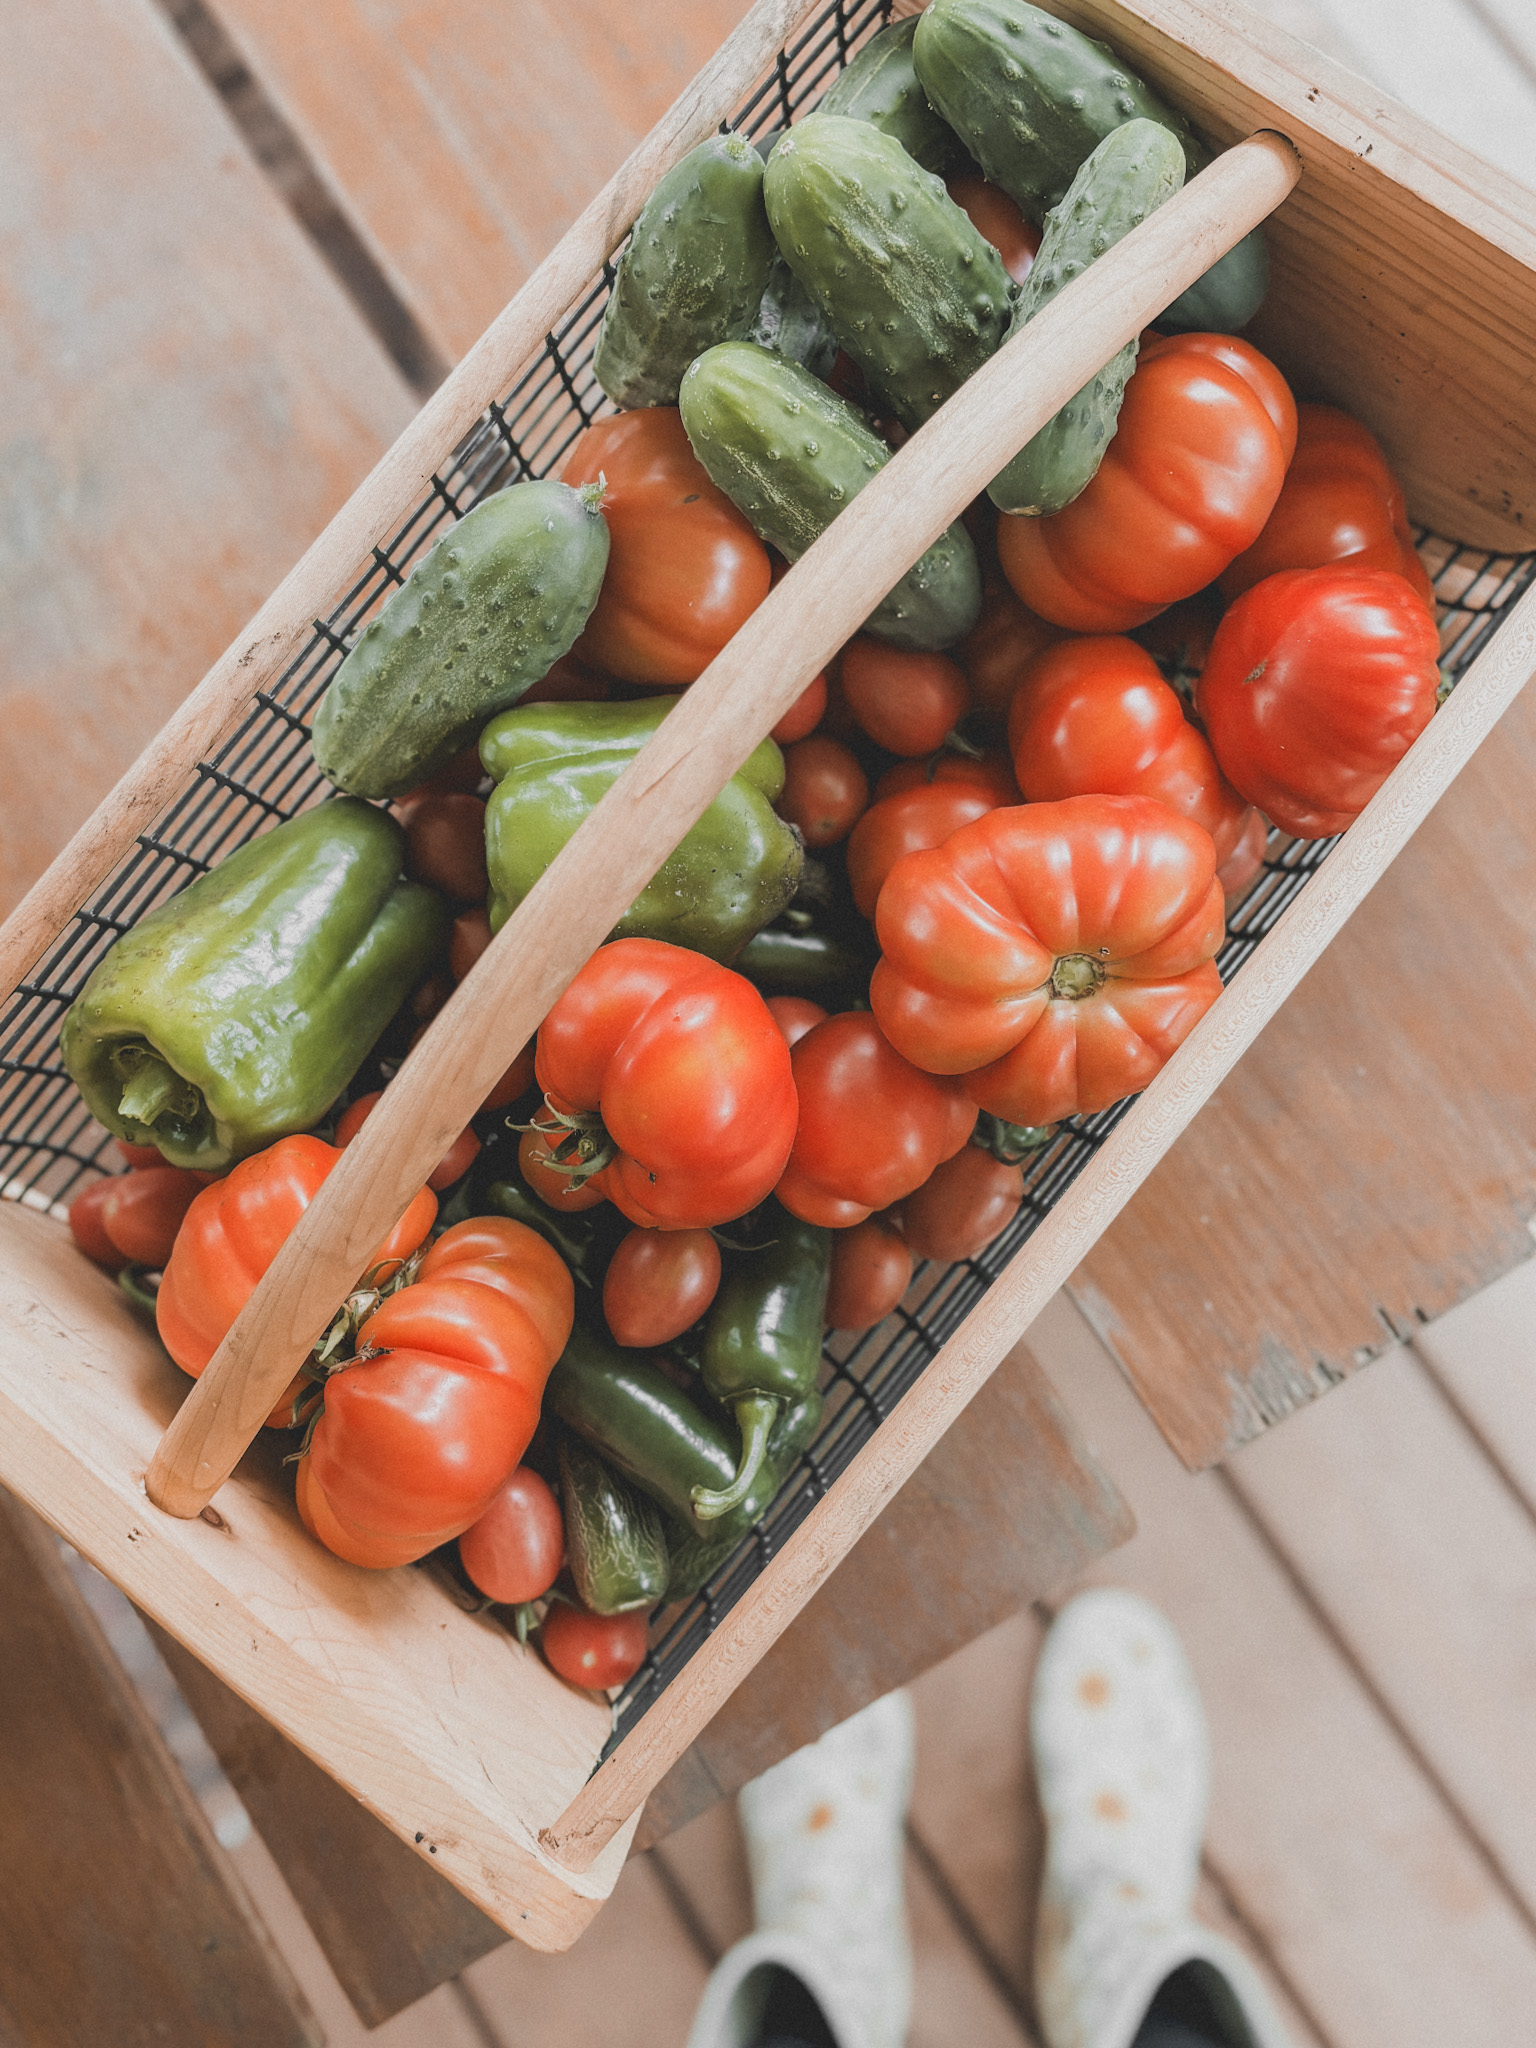
I was fortunate to have grown up in a family of gardeners - learning to plant, care for, harvest and can a garden from a young age. Now, my husband and I have multiple large gardens on our property and enjoy growing, harvesting, and canning our loot as a family. Here, I will teach you step-by-step how to easily process the fresh cucumbers, make the dill brine, and water bath can the homemade jars of pickles. This is a tried and true process that our family has followed for years, and great for a beginner canner! That being said, prepare to enjoy the bountiful cucumber harvest throughout the year!
Jump to:
- What is special about this method and recipe?
- Why make pickles when you can just buy them?
- The Best Cucumbers to Use for Pickles
- Ingredients Needed
- Equipment Needed:
- Instructions
- Storage
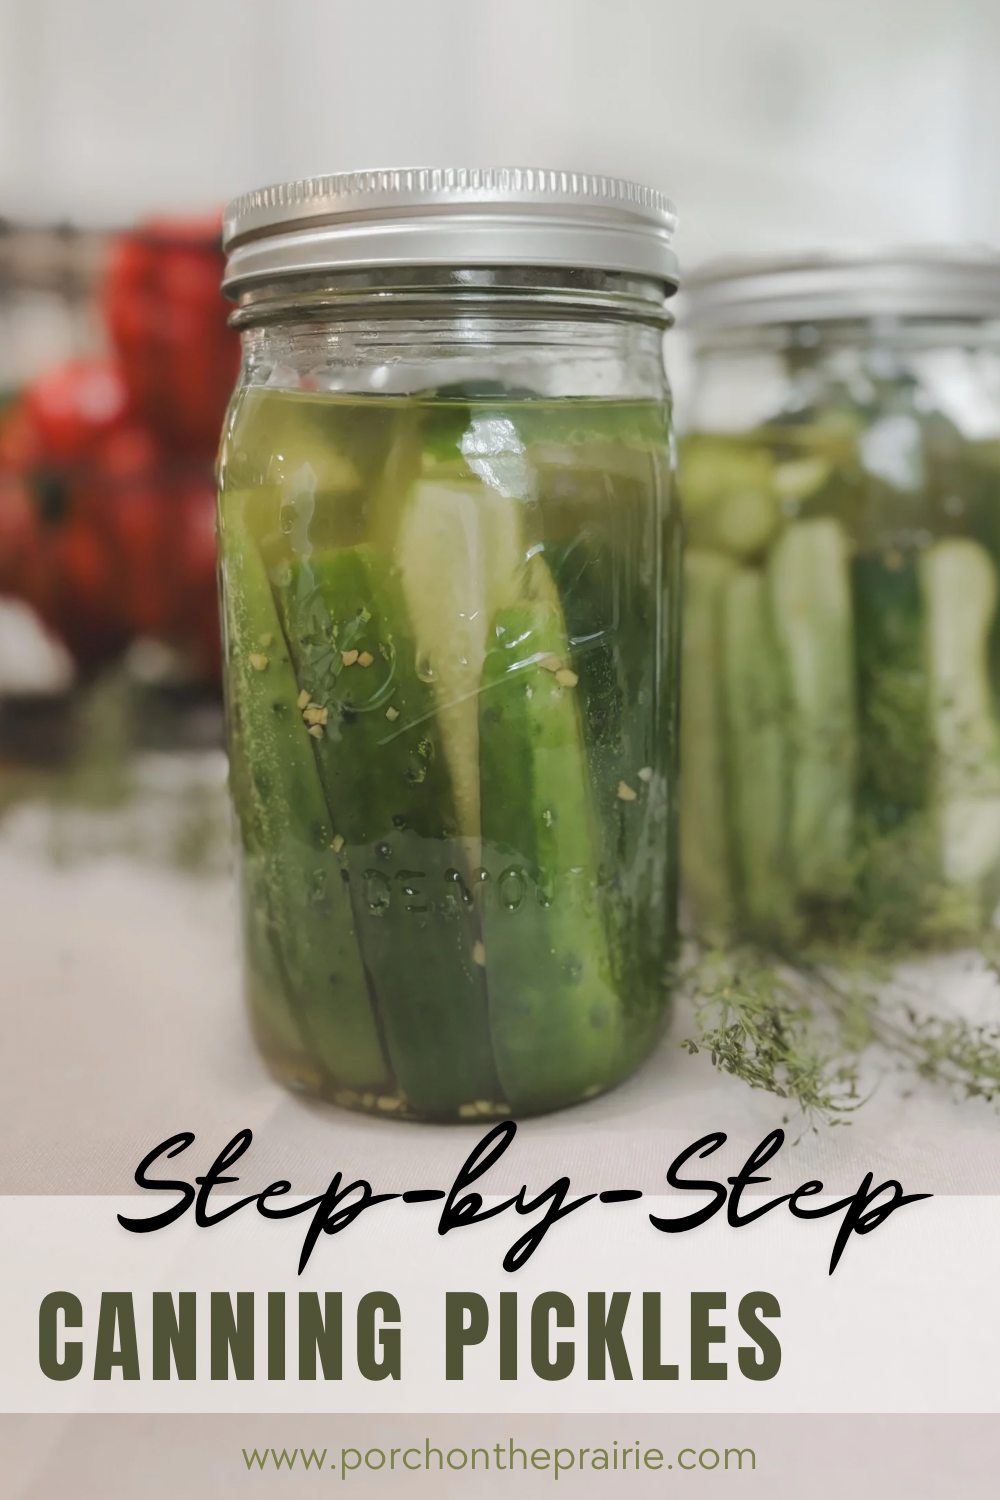
- Canning the Best Homemade Pickles for Beginners
- Additional Cucumber Recipes:
- Pin this post for later here!
- Check out my other food preservation posts:
- Making and Canning Homemade Applesauce - Step by Step
- Methods for Preserving Farm Fresh Eggs for Winter
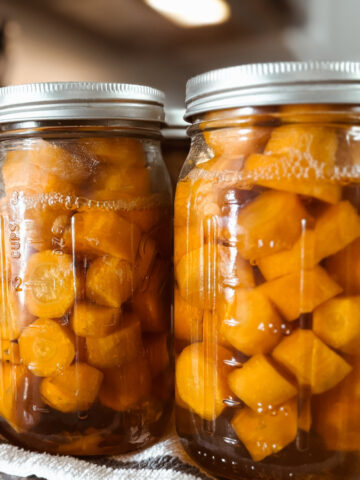
- Pressure Canning Carrots - Easy Method (How To)
What is special about this method and recipe?
This method and recipe is perfect for beginners or first time pickle makers. It is also perfect for anyone short on time, needing to process pickles quickly. It is easy and simple, only requiring 4 ingredients - cucumbers, white vinegar, and Mrs.Wages Kosher Dill Pickle Mix! Mrs. Wages Kosher Dill Pickle Mix takes the guess work (and a lot of prep work) out of the pickling brine making process. All of the herbs and spices needed to make a delicious pickle brine are right in the packet, and it is free of artificial flavor. However, another dill pickle recipe may call for dill seeds, celery seed, mustard seed, garlic clove, red pepper flakes, grape leaves, etc. That is a lot ingredients to have on hand! We grow fresh dill weed on our little hobby farm as well, so if we have some available we like to add that in too.
Why make pickles when you can just buy them?
Pickles are quite healthy! Generally, they are a low calorie snack and a great source of fiber, vitamin A and K, and contain antioxidants. Additionally, there is something very rewarding about being able to grow, harvest, and preserve your own food. These skills have been passed on for years (and generations) and I think that is pretty neat. In addition, I prefer to minimize processed foods where I am able. This helps my family eliminate excess added sugars and preservatives where we can - store-bought pickles. So in short, it is healthier, cheaper, and more delicious. We prefer home canning over the grocery store version, it is more fun to eat your own pickles!
The Best Cucumbers to Use for Pickles
The best cucumbers for pickle recipes are smaller pickles. Typically, a cucumber that is around 3-4 inches is best. If there are some small cucumbers available, around 1-2 inches, we like to pick those too to toss them into our jars whole. During the seed starting process, or plant buying process, look for seeds that specifically indicate the cucumbers are great for pickling, such as Boston Pickling, Little Leaf, or Bush. Cucumbers that are too large will be very seedy and not crisp. If it takes some time to collect enough cucumbers to make a batch of pickles, store them in a plastic bag like a grocery bag in the refrigerator. This will keep the cucumbers crisp and make crunchy pickles - nobody likes soggy pickles!
Ingredients Needed
- 9-11 lbs of pickling cucumbers (approximately 50 3-4 inch cukes)
- 3 ⅓ cups white distilled vinegar
- 7 ⅓ cups water
- 1 packet of Mrs. Wages Kosher Dill Pickle Mix
Equipment Needed:
- Canning Equipment - Large water bath canner
- Canning Tools - a great kit makes life easier! (jar lifter, funnel, magnetic lid lifter)
- Chopping Knife
- Large Mixing Bowl
- Large Stock Pot (non-reactive)
- Canning Jars - Quart Jars or Pint Jars (new mason jars and lids or used jars with new lid - seal must be intact)
Instructions
Sterilizing the Mason Jars and Lids
There are multiple ways to do this:
- Dishwasher Method - Some dishwashers have a sanitize function on the dishwasher which works well for preparing the mason jars. The downfall, however, is this can be a time consuming method.
- Oven Method - Wash the jars with soap, rinse, but do not dry. Place upside down on a baking sheet and put in the oven for 20 minutes at 275 degrees Fahrenheit (130 degrees Celsius). Carefully remove the hot jars for canning.
- Boiling Method - Wash the jars with soap and rinse. Place jars in a large pot of boiling water (like the water bath canner) and let them sanitize for 20 minutes. Remove jars and let air dry before use.
For the lids - place in a small sauce pan of hot water until it is time to add them to the jars.
Processing the Cucumbers
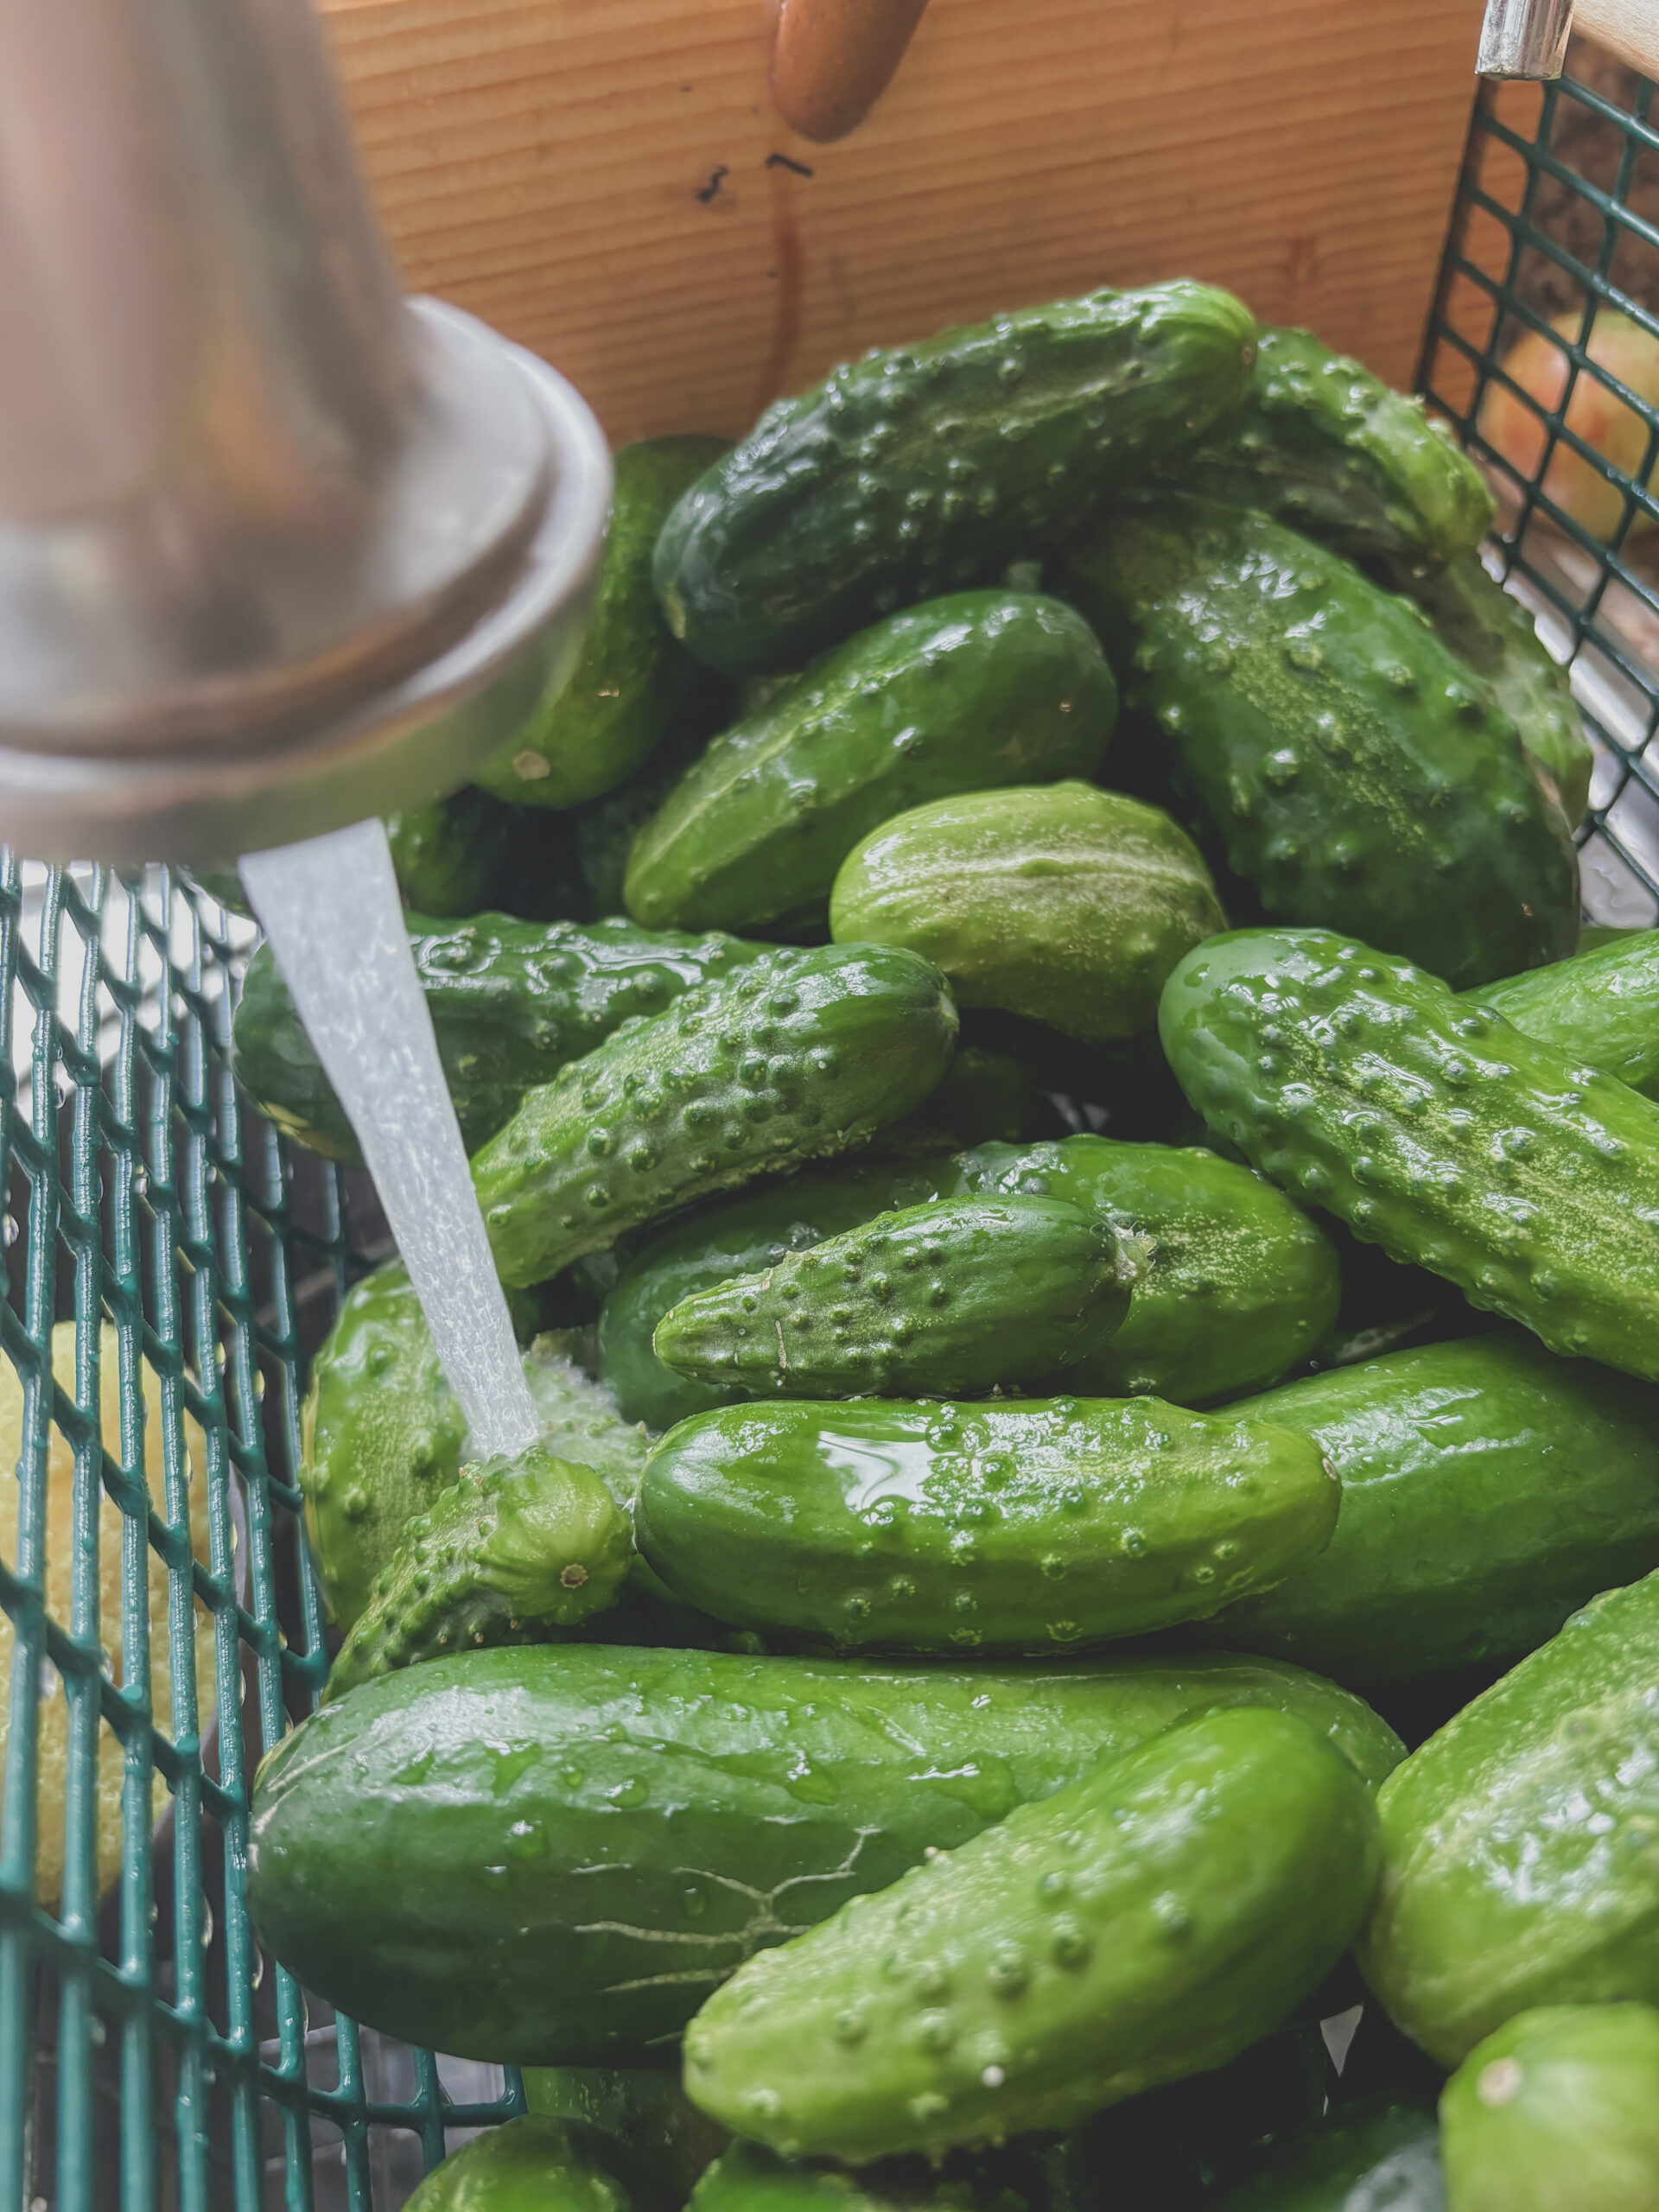
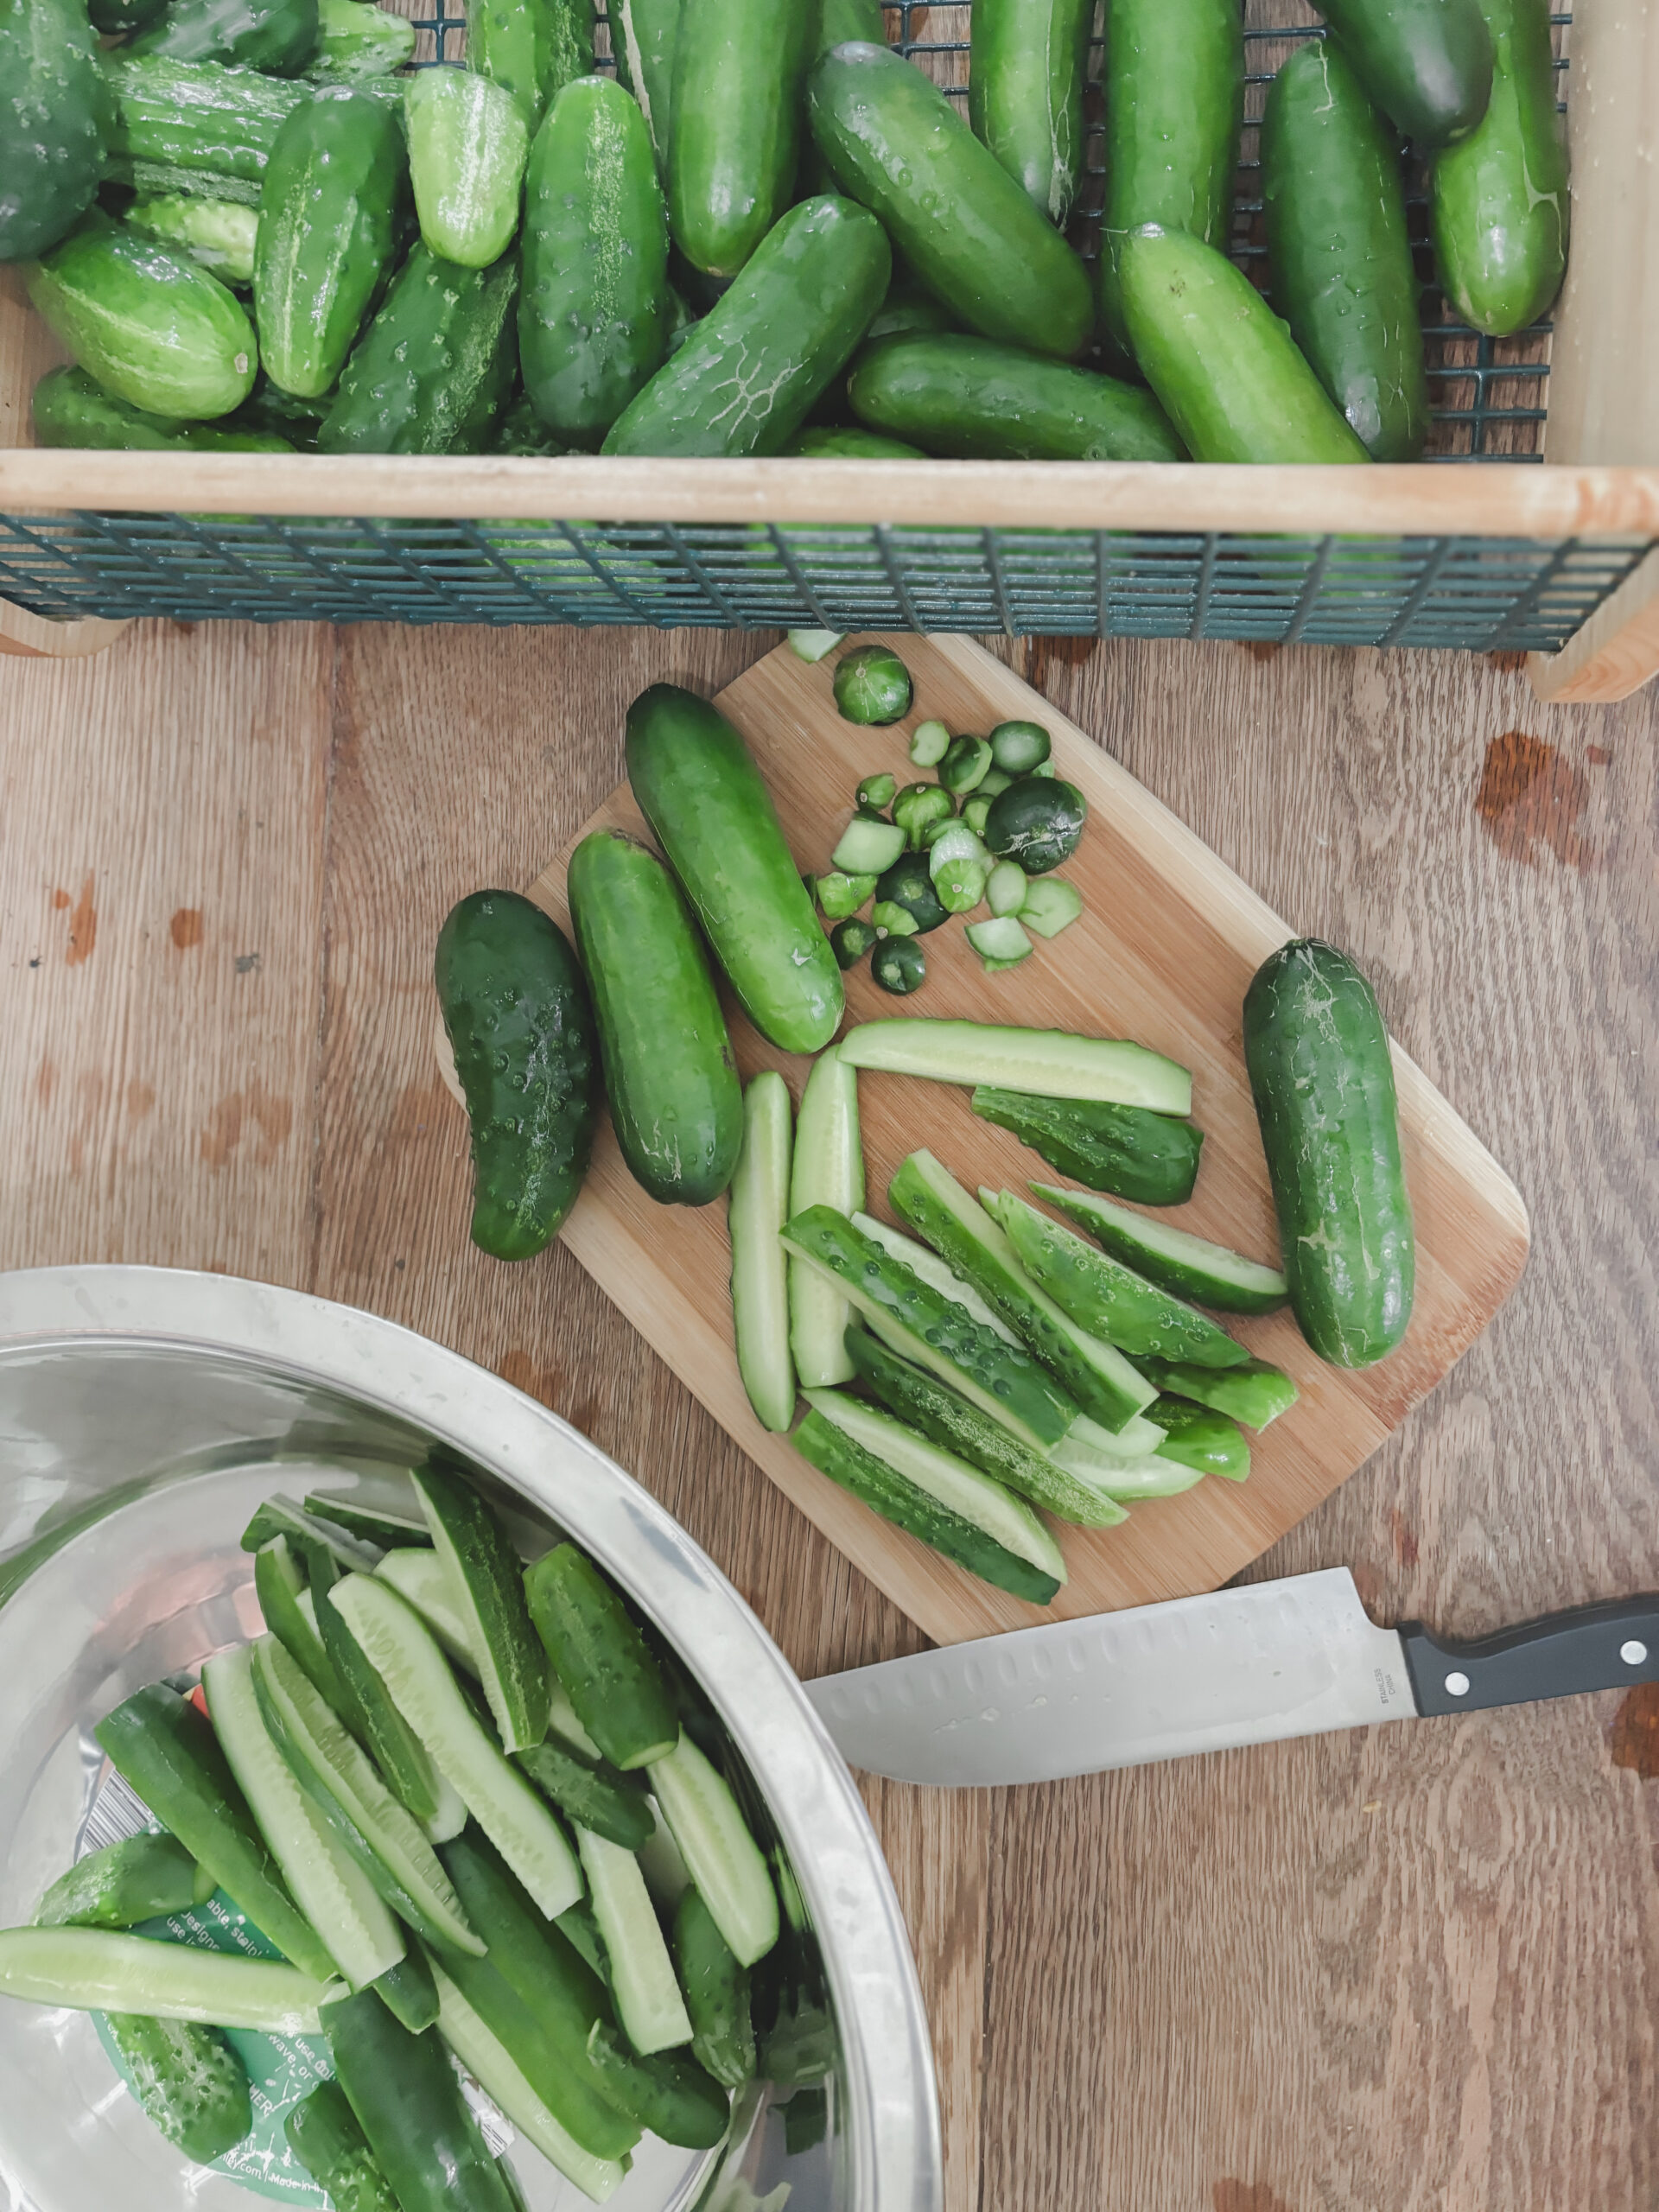
First wash cucumbers in cold water and drain. Cut 1/16 inch off the blossom end of the cucumber. Either leave the cucumbers whole, cut into slices, or cut into spears. The tiny cucumbers we like to leave whole, but the larger cucumbers get cut.
Making the Pickle Brine
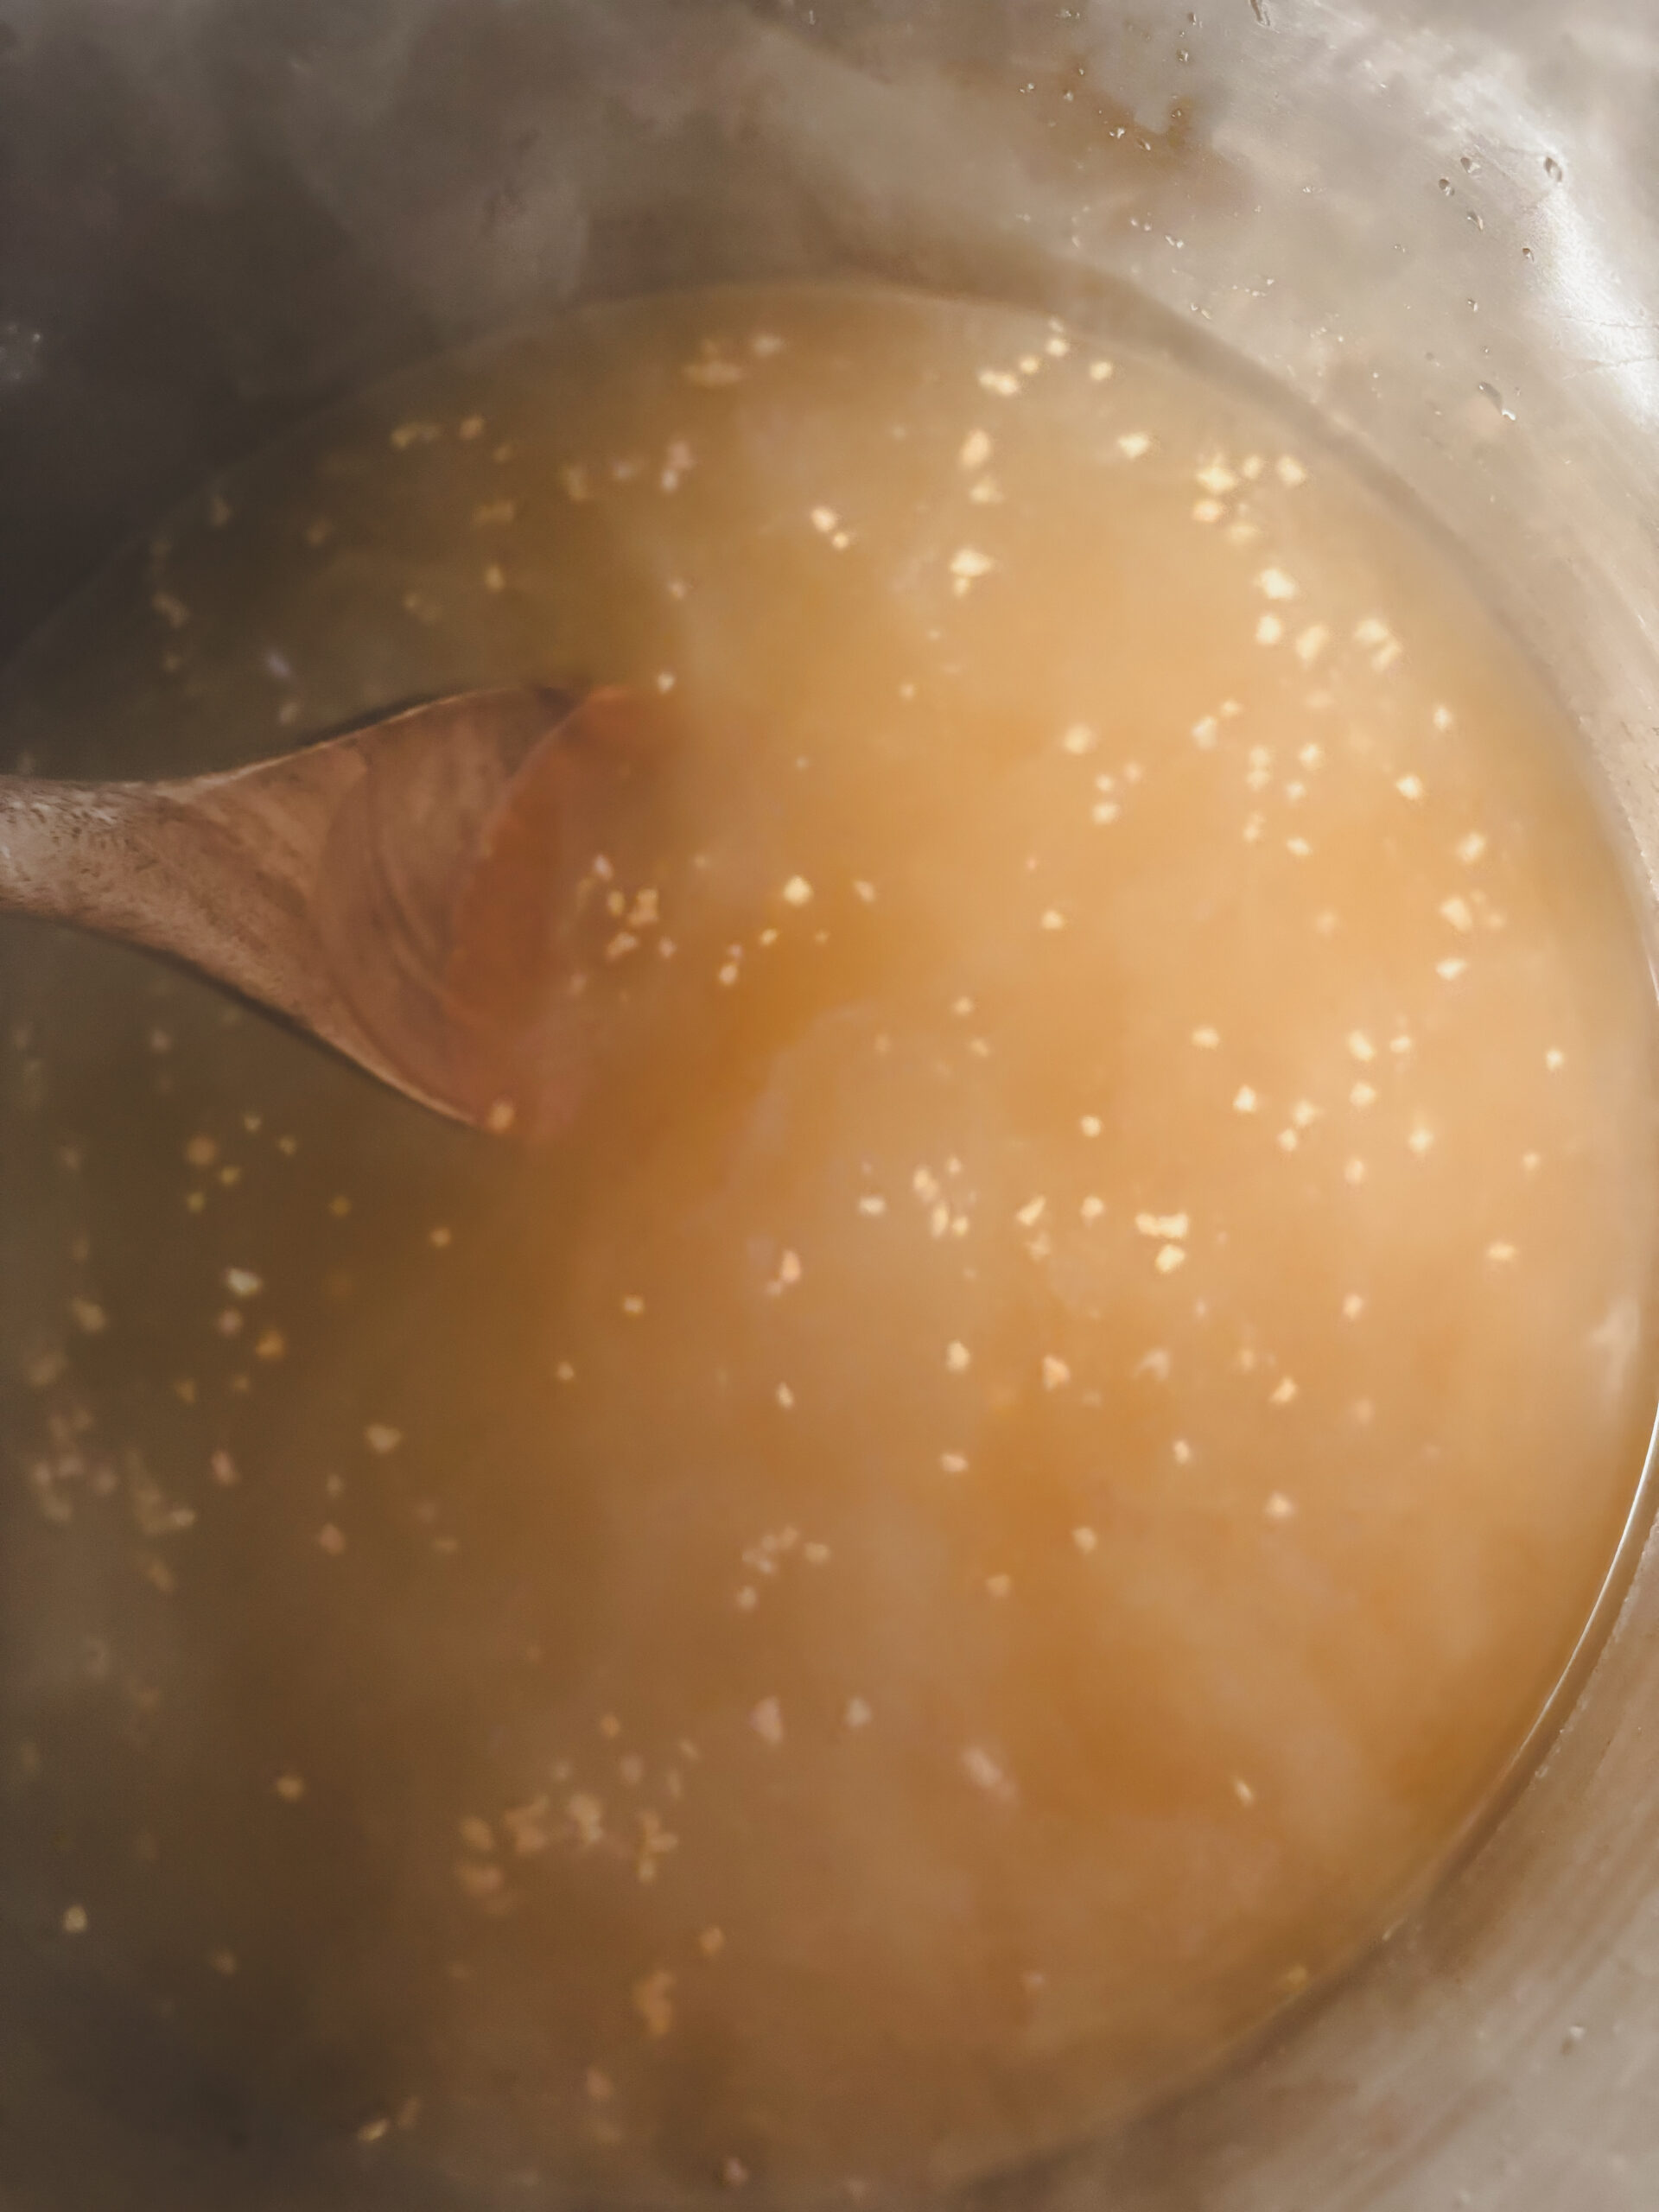
Combine the Vinegar, Water and Mrs.Wages Kosher Dill Pickle mix into a large non-reactive pot or saucepan. Bring to a boil over medium heat, stirring consistently until mixture dissolves. Remove from heat.
Hot Water Bath Canning Pickles
Add hot water to a little over ½ of the water bath canner and bring to a full boil.
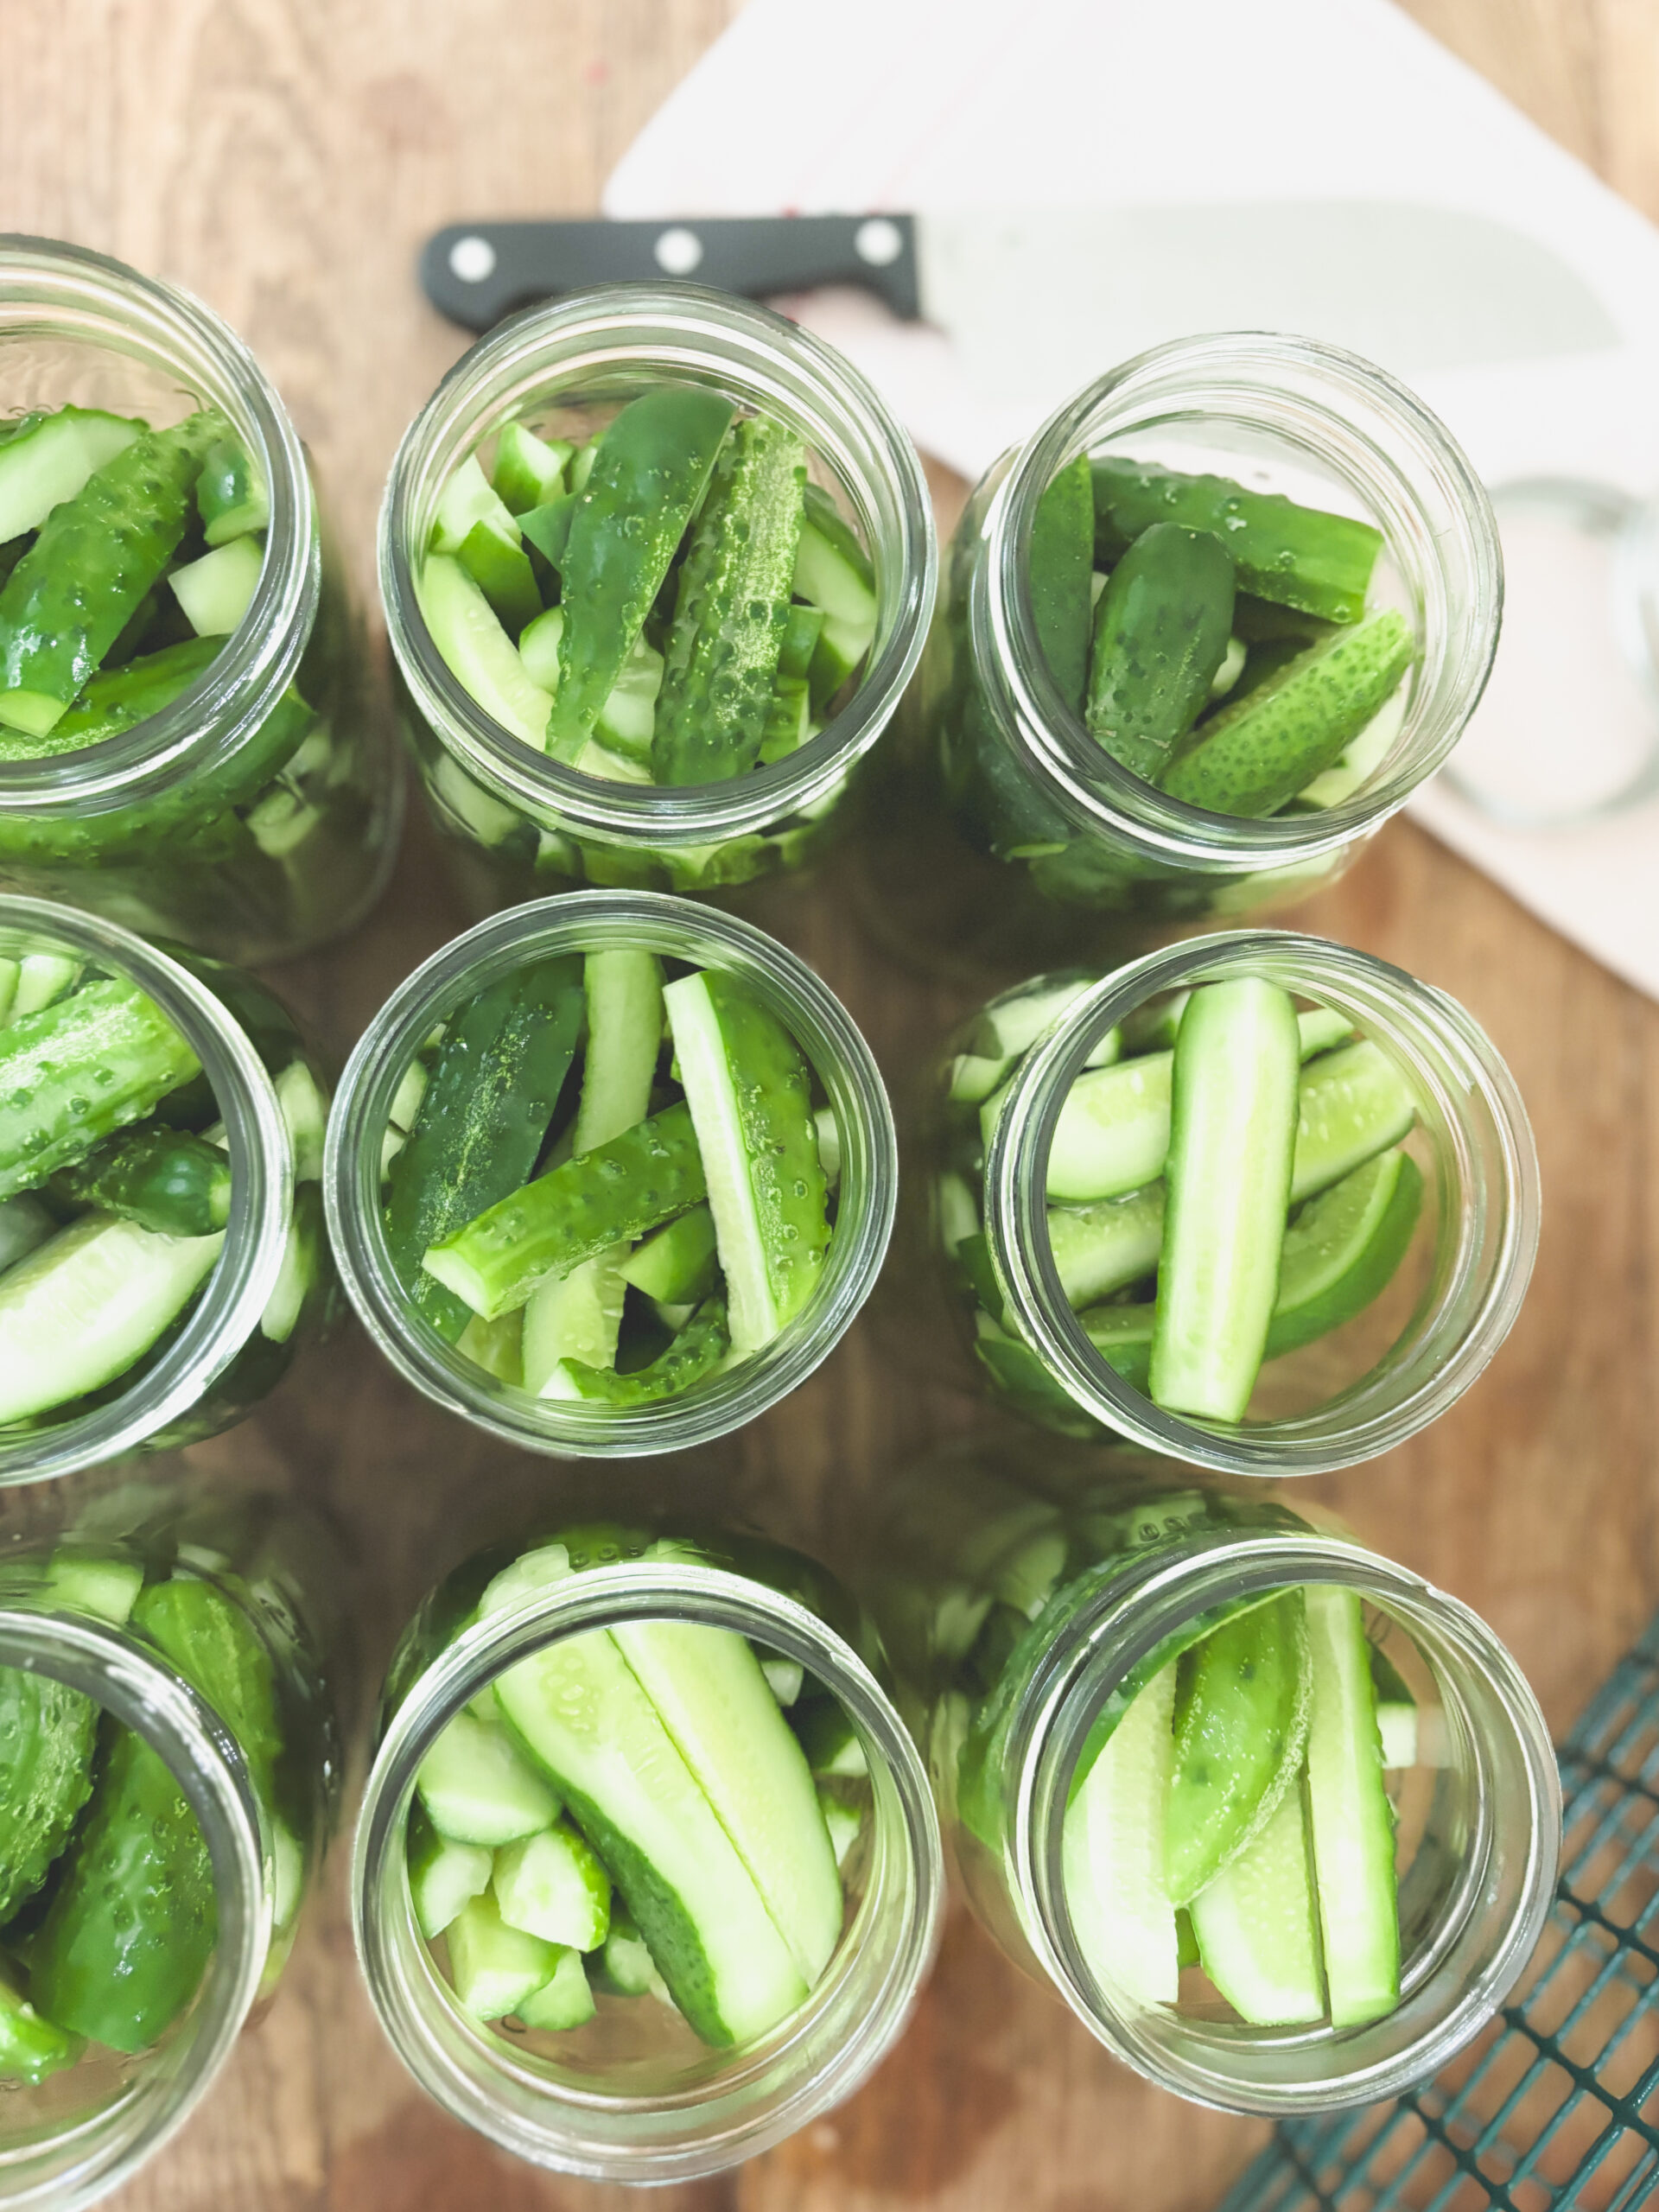
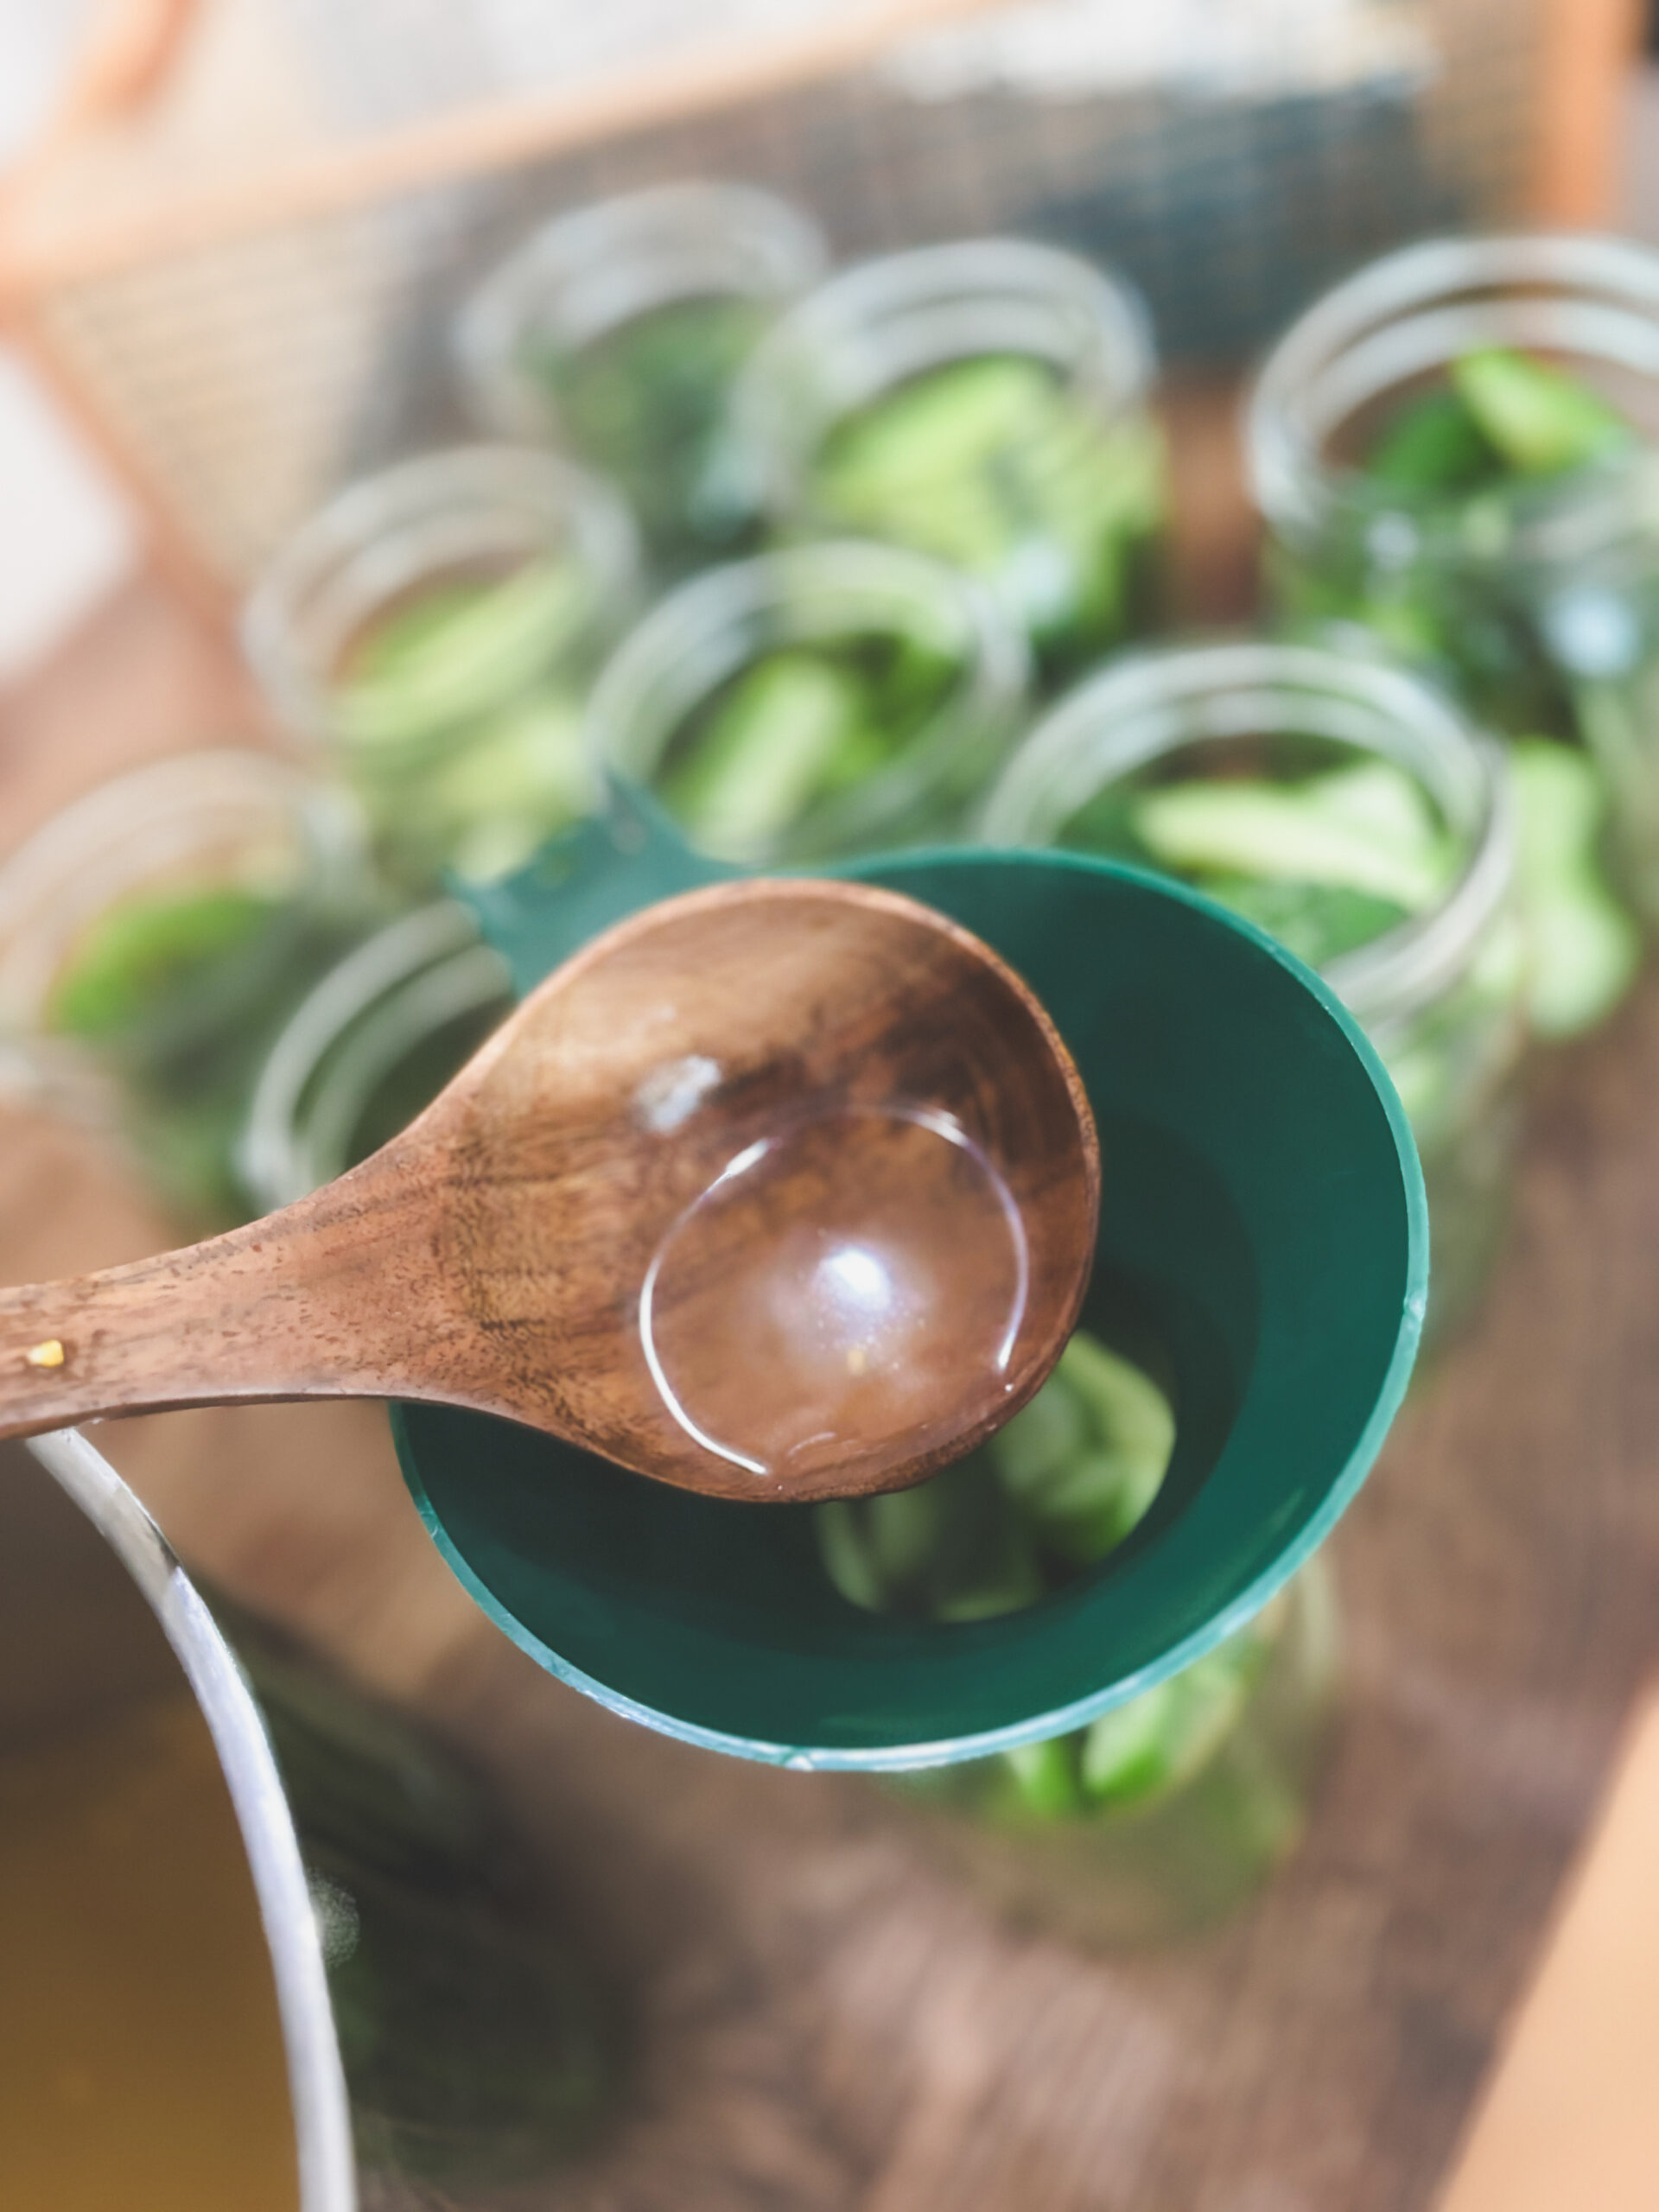
Pack the sanitized mason jars with the processed cucumbers, leaving ½ inch of headspace. Using a canning funnel and a ladle, pour the hot brine into the pickle filled sterilized jars, leaving ½ inch of headspace. Remove air bubbles and wipe the jar rim with a clean damp cloth or papertowel. Using the magnet lid lifter tool, grab the jar lid from the small sauce pan, and carefully place it on the jar. Loosely screw the rings onto the lids to ensure the lids stay in place.
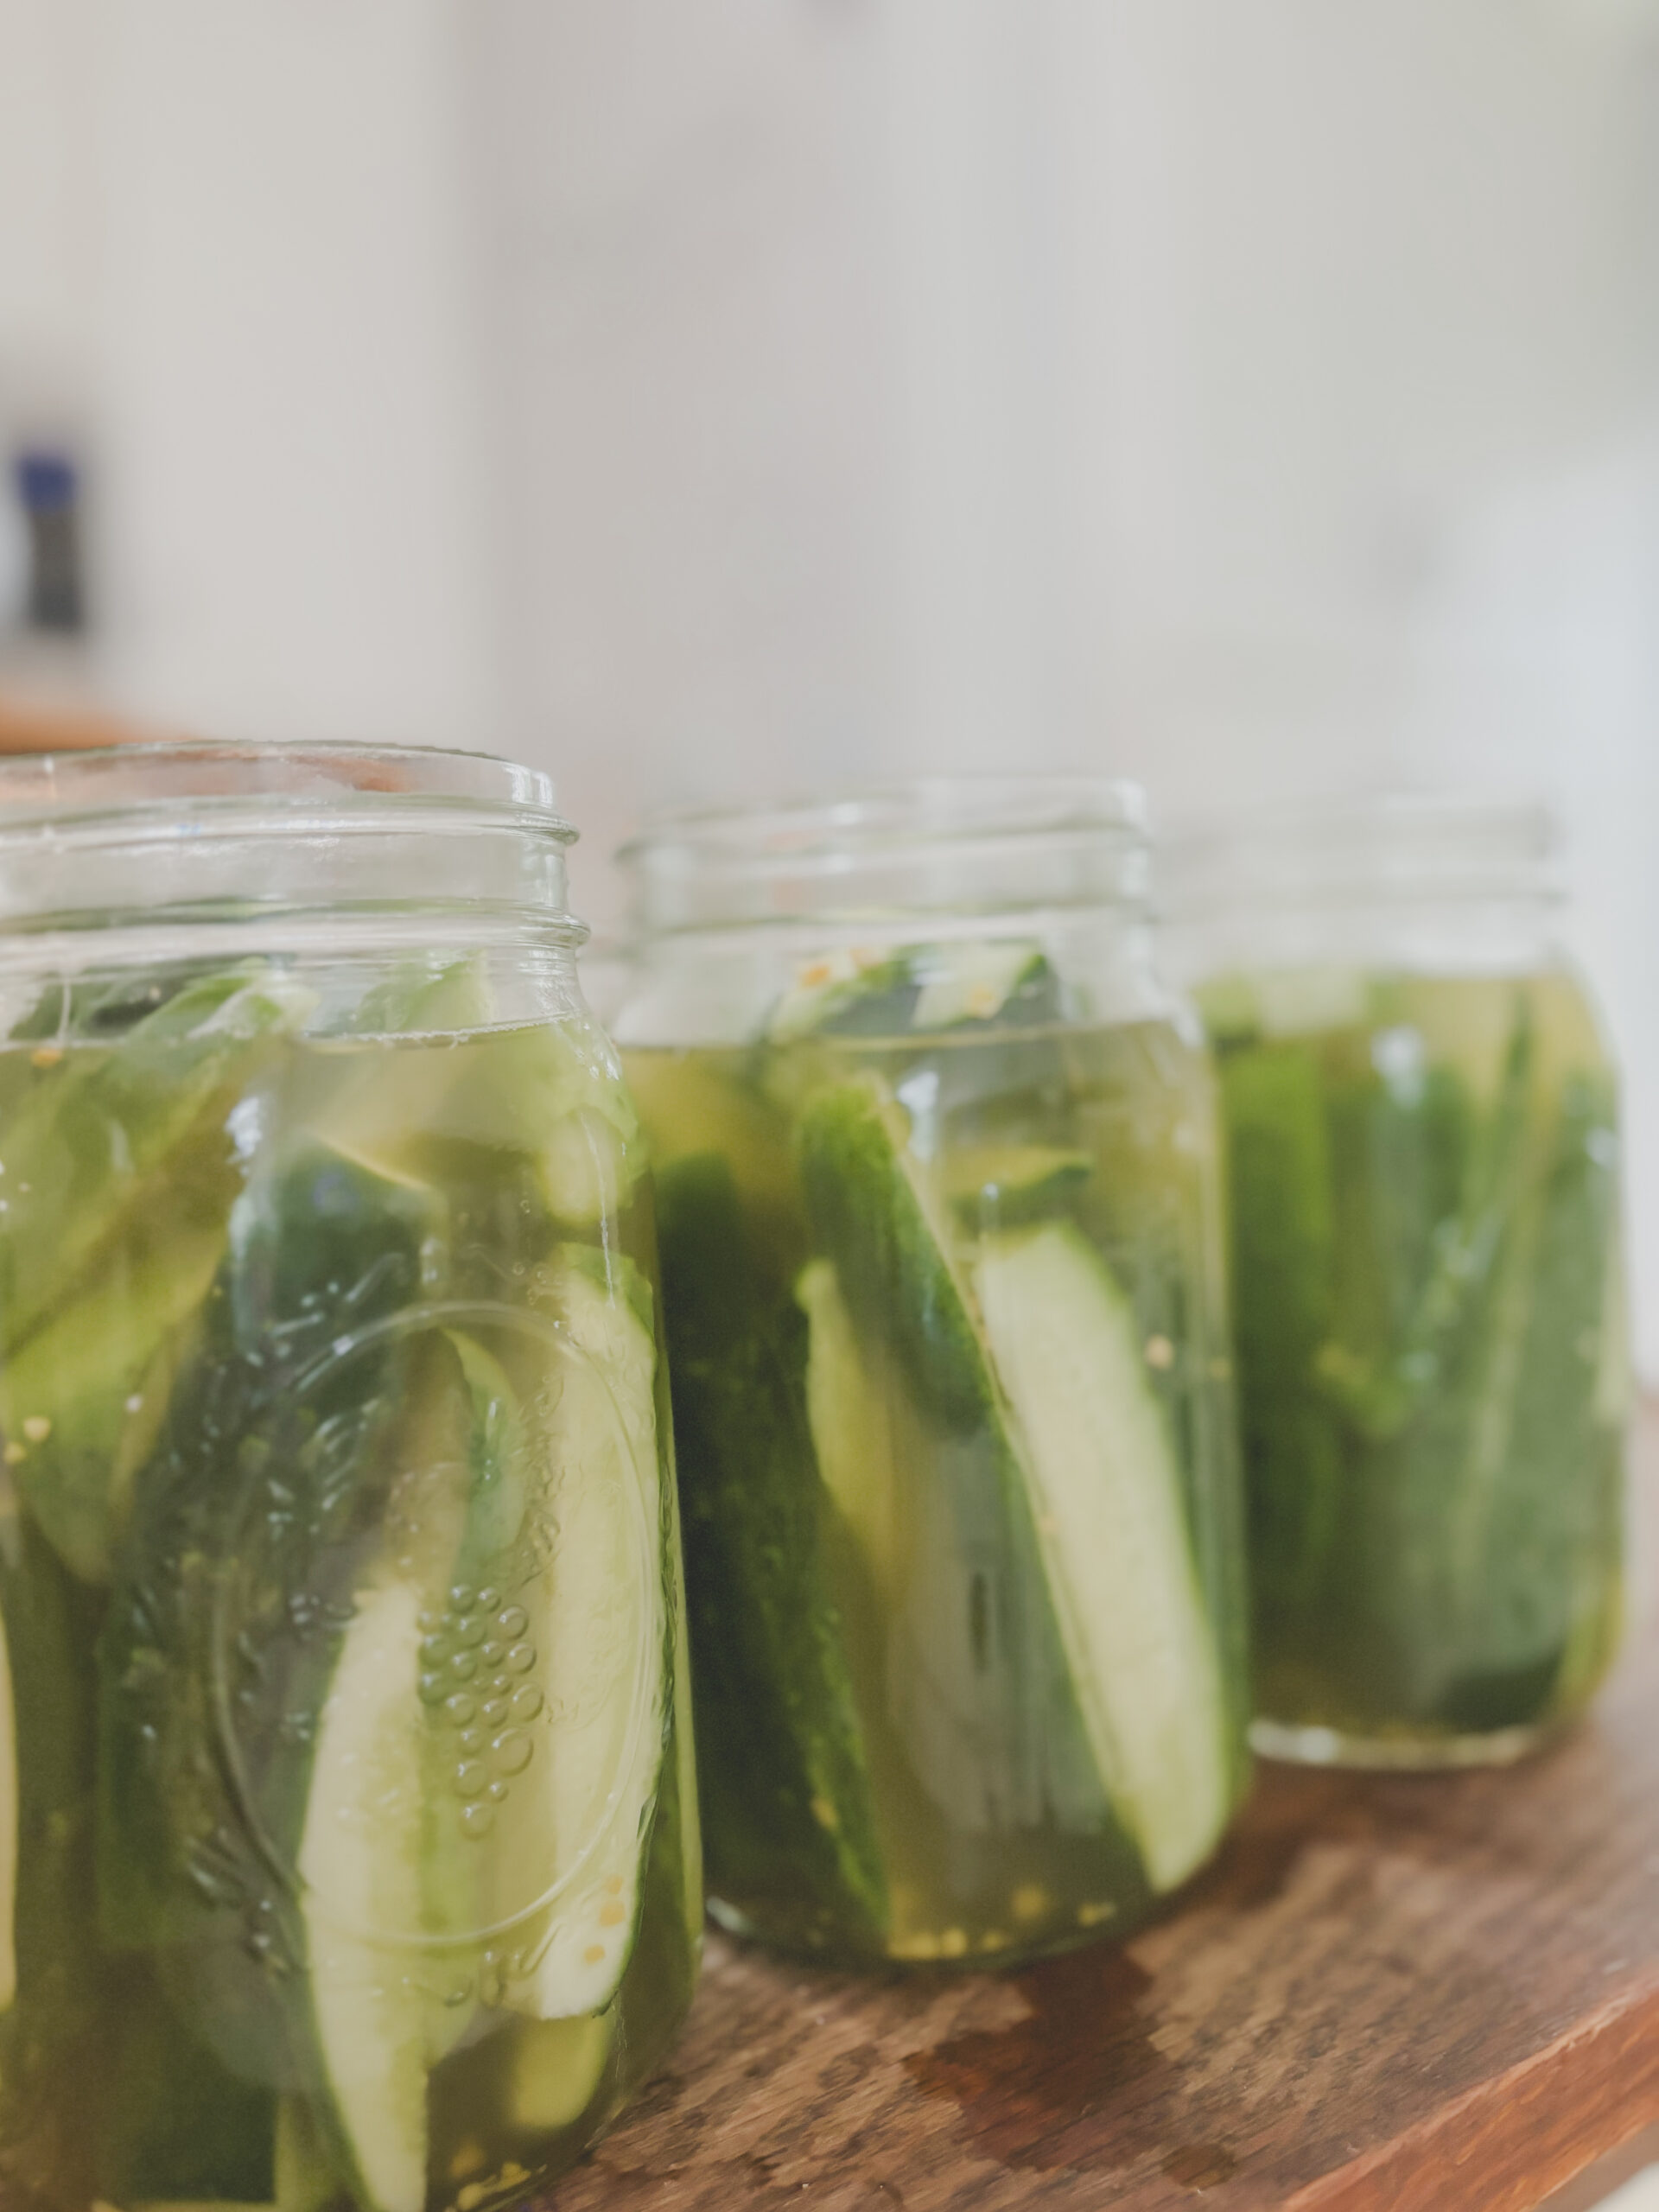
Place the filled jars on the inner wire rack of the water bath canner and lower it into the boiling water. Add the lid to the canner. Process for 15 minutes in boiling water (Quart Jars or process pint jars for 10 minutes).
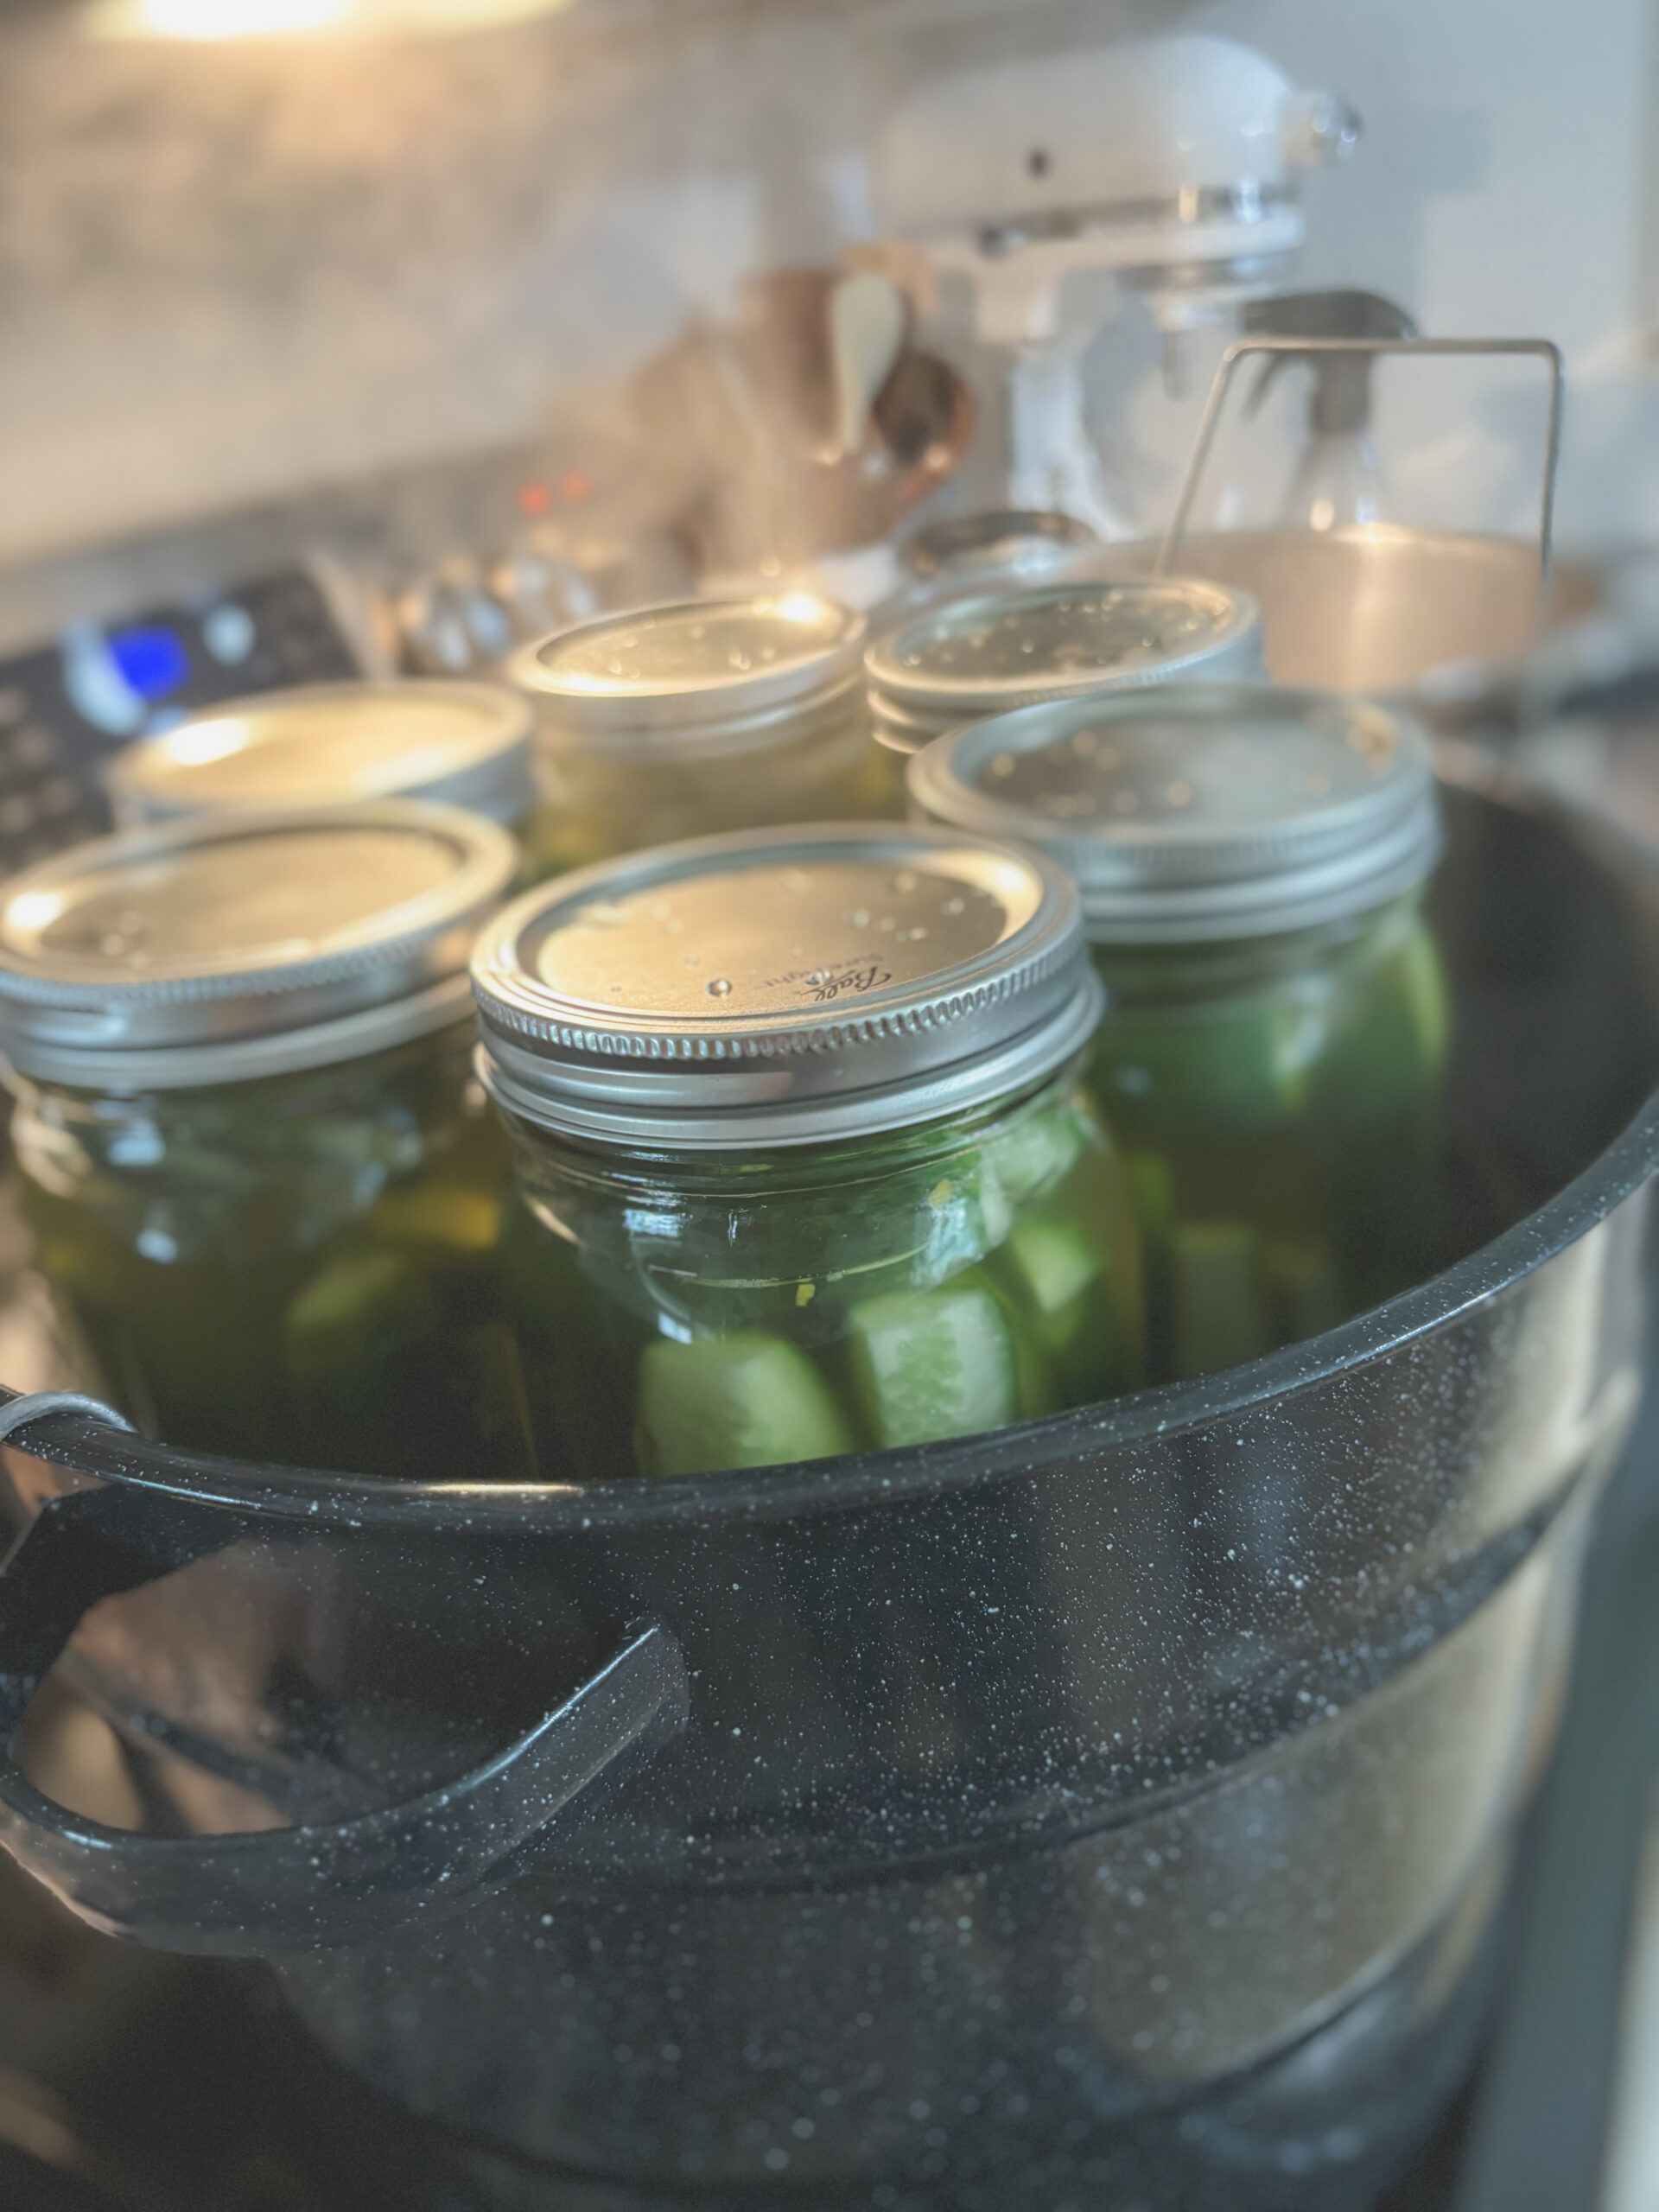
After the 15 minutes is up, turn off the heat and carefully remove the canner lid. Grab the metal insert by the handles (with oven mitts) and raise the jars up, carefully hooking the handles onto the edge of the water bath canner. Let the jars sit for 5 minutes.
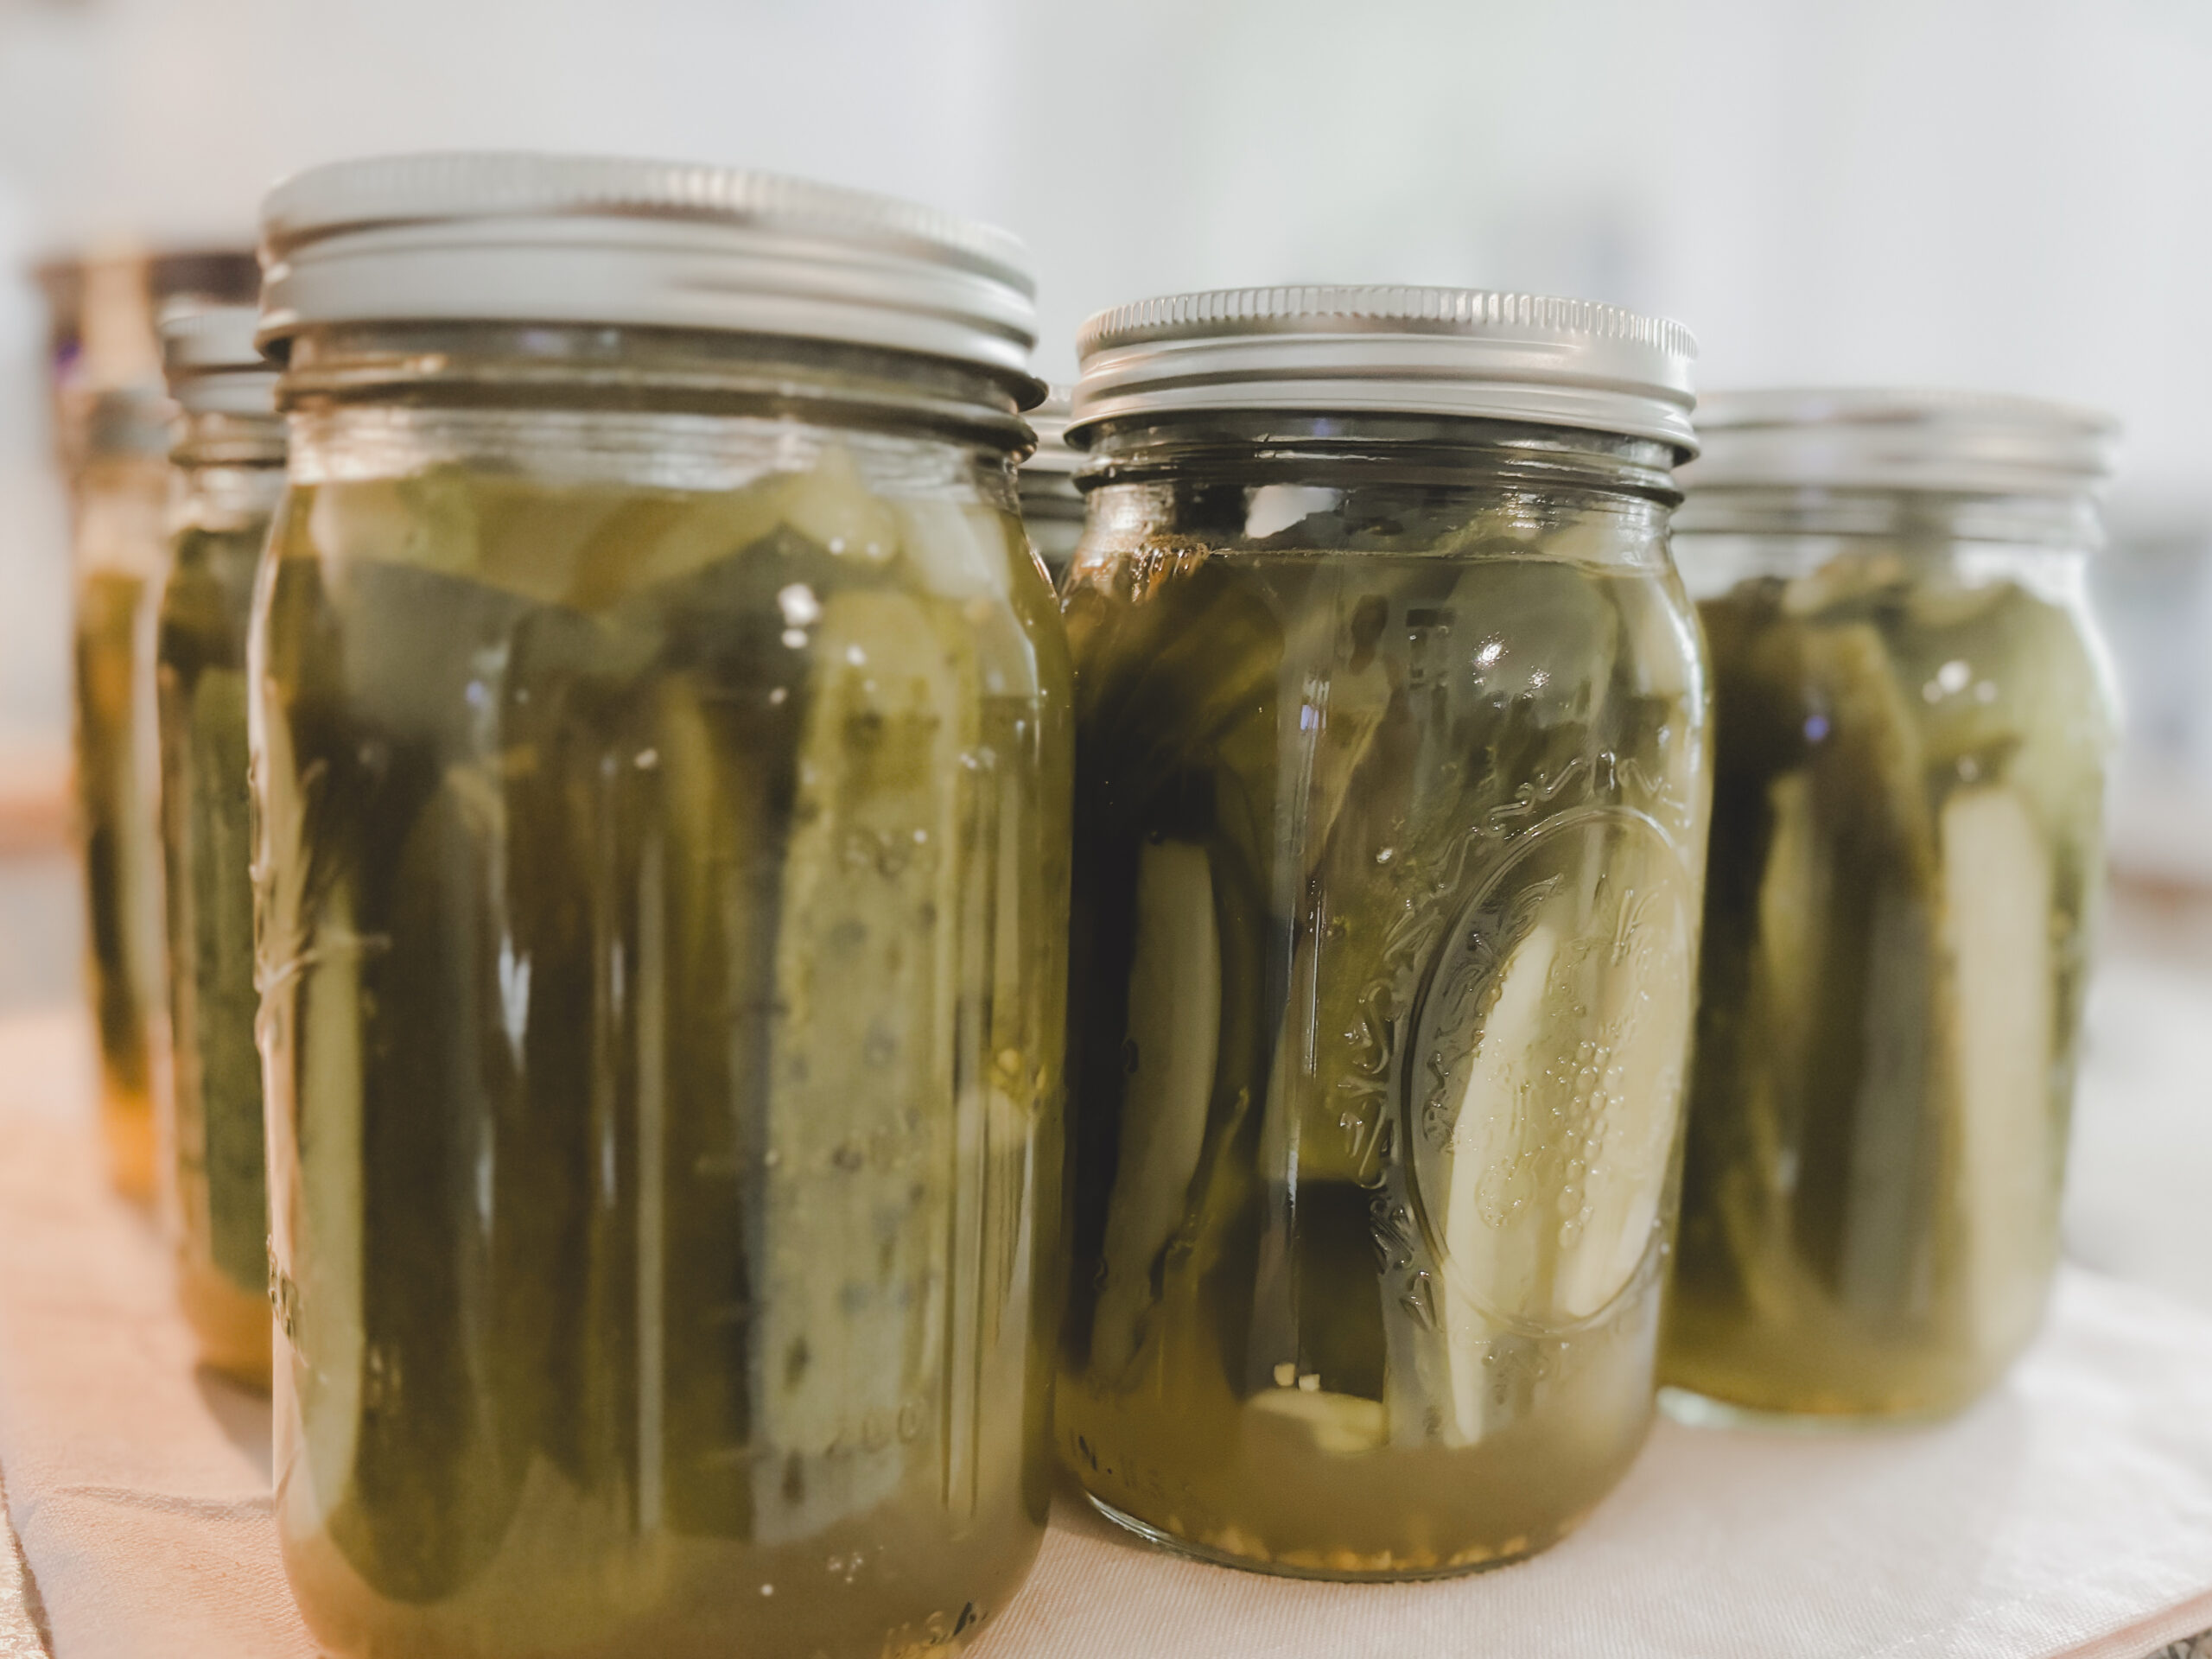
Lay out a hand towel or a doubled up flour sack towel on a counter surface. This will act as a barrier between the hot jars and cool counter, preventing the counter and keeping the jars from bursting with the drastic temperature change. Using the jar lifter tool, carefully remove the jars from the wire insert and place them on the towel. Allow jars to sit and cool, undisturbed, for 12-24 hours at room temperature. Test jars for airtight seals. The lids will not “pop” when pushed down on and will not pop off when pulled up on.
Note:
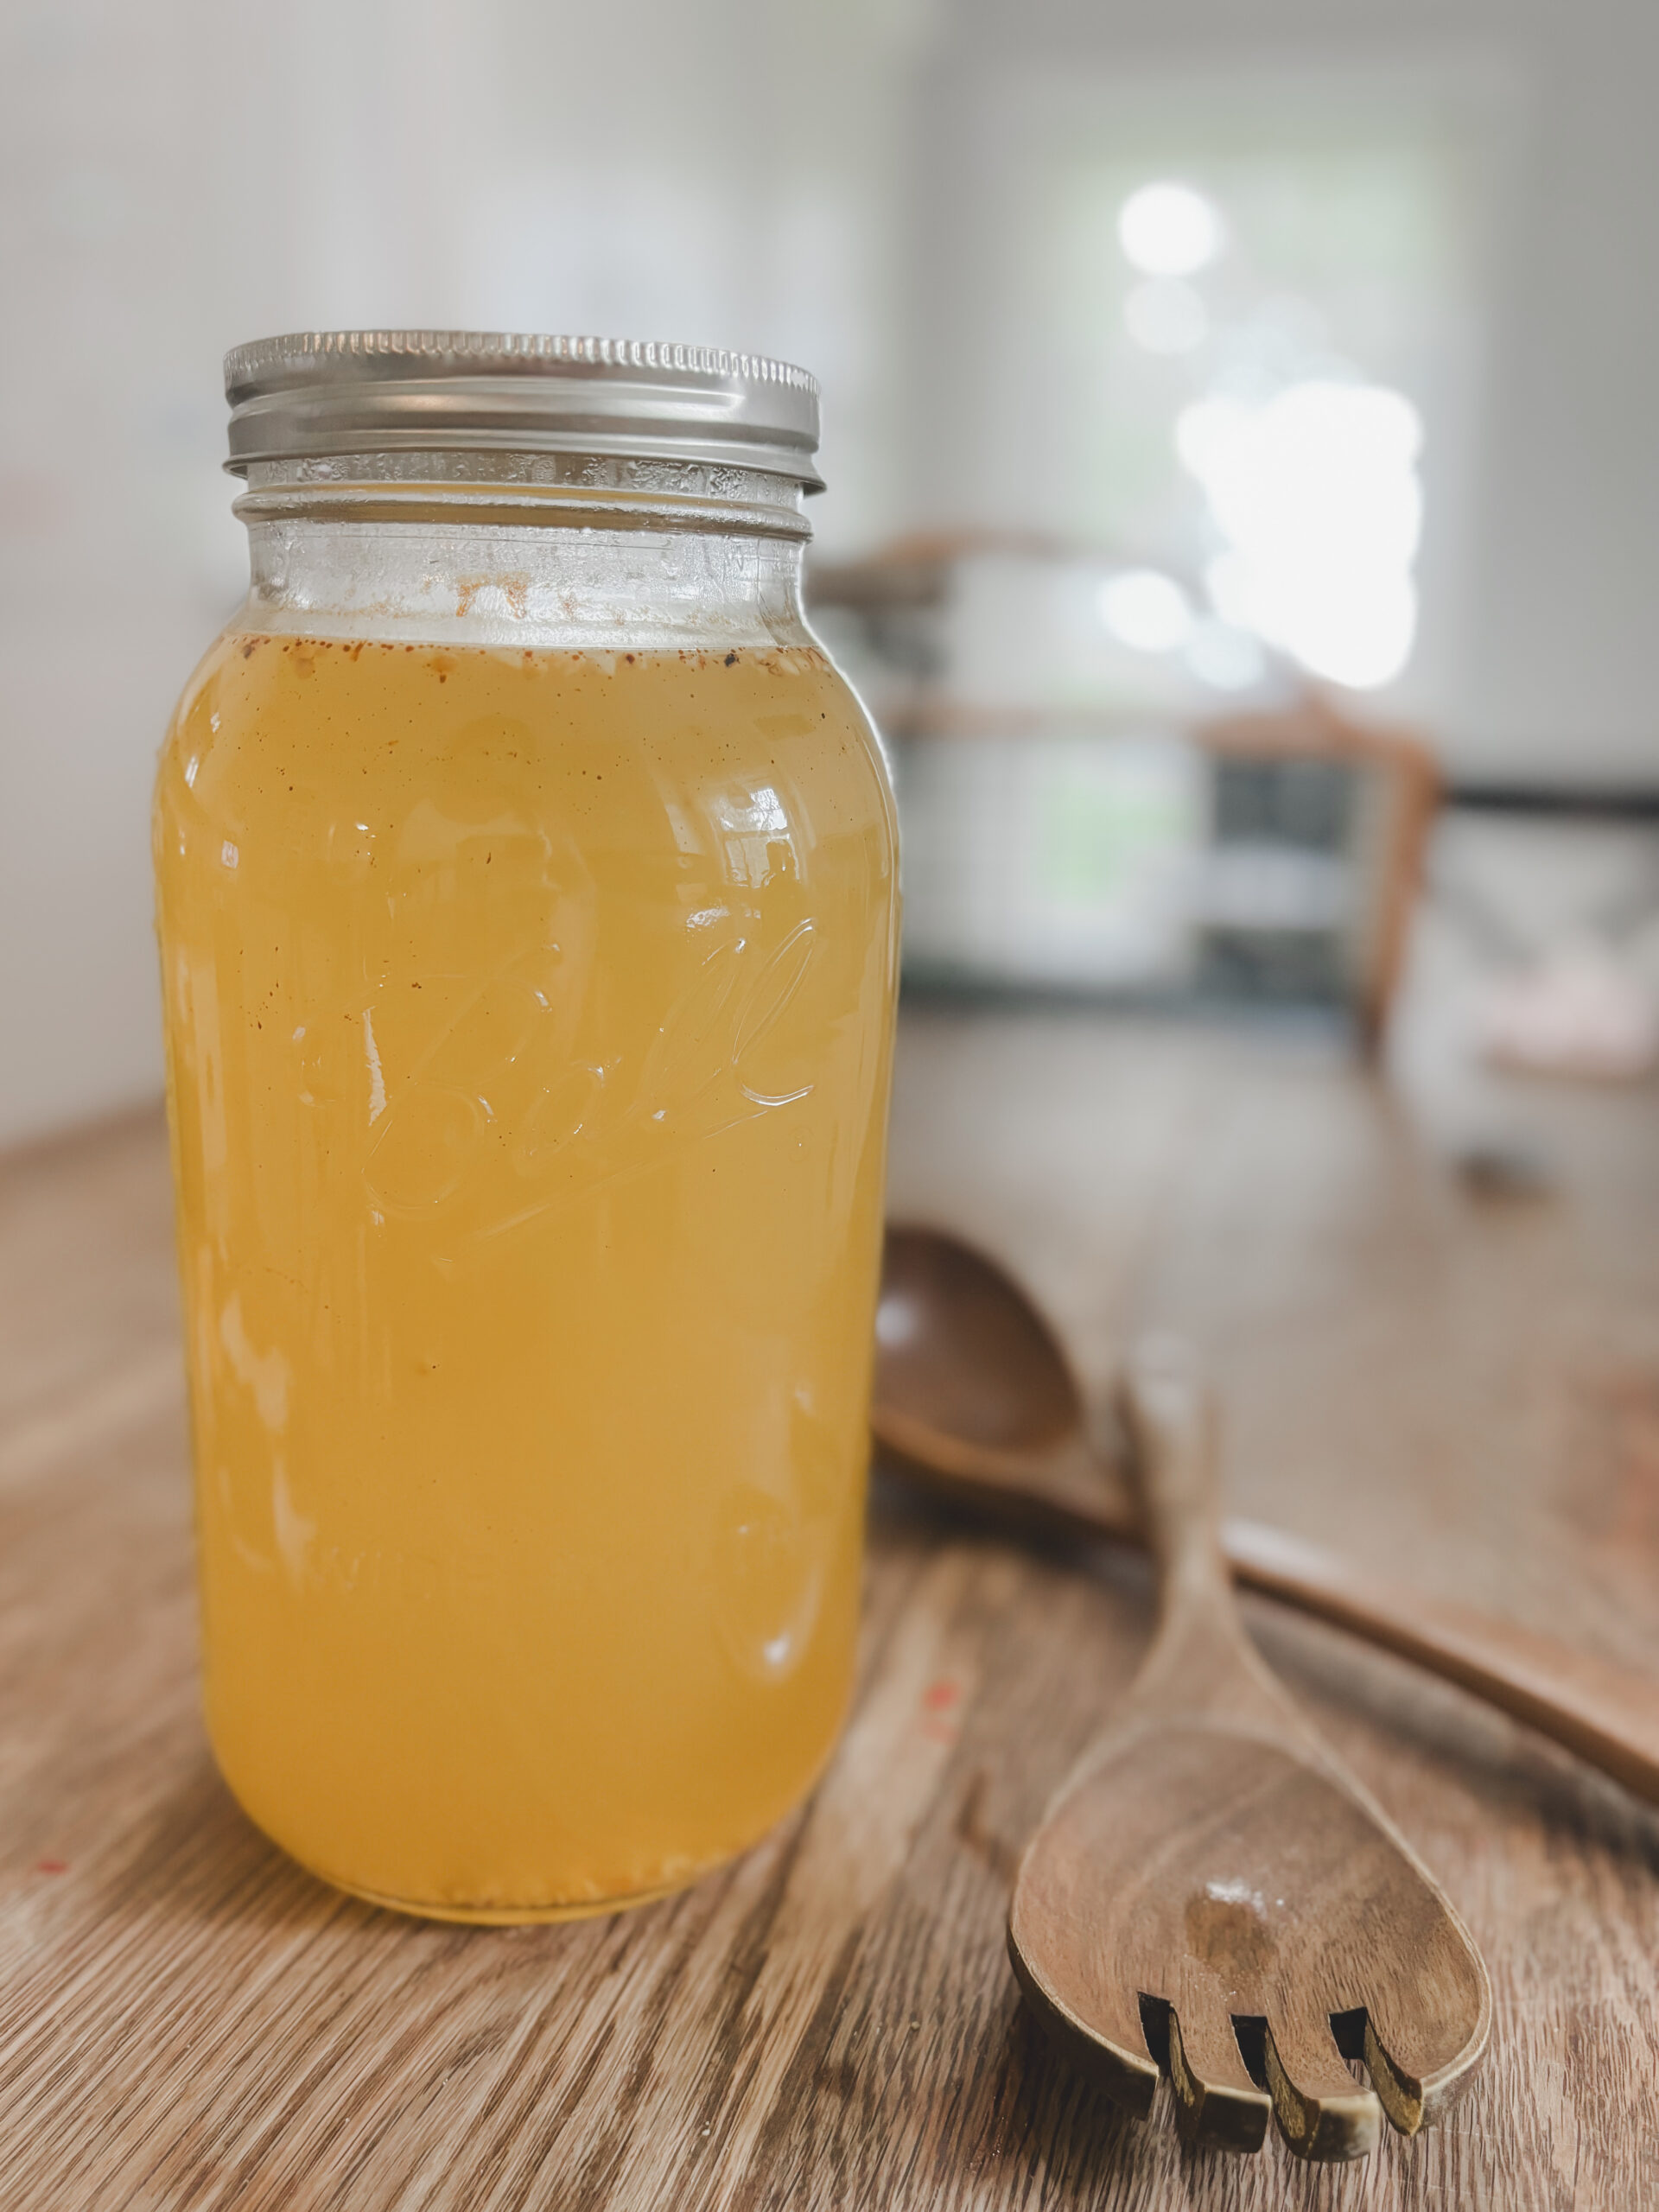
- Unused brine can be stored in a mason jar in the refrigerator for up to one week!
- The processing time for the pickles is different, depending on the size mason jar being used.
- If we have fresh dill, I like to add some to the jar before canning.
- Mrs. Wages has a product called Xtra Crunch, which is calcium chloride granules. This can be added in for additional crunch, but isn’t necessary. However, adding a natural tanning such as grape leaves is a better ingredient option for keeping the pickles firm.
- When I first started canning I would submerge the jars under the water, ensuring at least an inch of boiling water would cover the jars. This has been successful. However, I have since learned that is not necessary, and less water is required.
Storage
If a jar of homemade dill pickles does not completely seal, store in the refrigerator and consume within 1 week. Jars that seal will be shelf stable for up to 1 year, storing in a cool dark place. All of our canned goods are kept in the basement on sturdy shelves. In addition, we prefer to store our canned goods without the outer rings or screw bands on the jars. This is recommended because it prevents rust, mold, and vermin. Plus, the rings can trap moisture or food residue which can make bands difficult to remove.
Canning the Best Homemade Pickles for Beginners
Equipment
- Cutting Knife
- Large Mixing Bowl
- Large Stock Pot (non-reactive)
- Canning Jars - Quart Jars or Pint Jars (new mason jars and lids or used jars with new lid - seal must be intact)
Ingredients
- 9-11 lbs Pickling Cucumbers approximately 50 3-4 inch cukes
- 3 ⅓ cups White Distilled Vinegar
- 7 ⅓ cups Water
- 1 packet Mrs. Wages Kosher Dill Pickle Mix
Instructions
Sterilizing the Mason Jars and Lids
- There are multiple ways to do this:- Dishwasher Method - Some dishwashers have a sanitize function on the dishwasher which works well for preparing the mason jars. The downfall, however, is this can be a time consuming method.- Oven Method - Wash the jars with soap, rinse, but do not dry. Place upside down on a baking sheet and put in the oven for 20 minutes at 275 degrees Fahrenheit (130 degrees Celsius). Carefully remove the hot jars for canning.- Boiling Method - Wash the jars with soap and rinse. Place jars in a large pot of boiling water (like the water bath canner) and let them sanitize for 20 minutes. Remove jars and let air dry before use.For the lids - place in a small sauce pan of hot water until it is time to add them to the jars.
Processing the Cucumbers
- First wash cucumbers in cold water and drain.
- Cut 1/16 inch off the blossom end of the cucumber.
- Either leave the cucumbers whole, cut into slices, or cut into spears. The tiny cucumbers we like to leave whole, but the larger cucumbers get cut.
Making the Pickle Brine
- Combine the Vinegar, Water and Mrs.Wages Kosher Dill Pickle mix into a large non-reactive pot or saucepan.
- Bring to a boil over medium heat, stirring consistently until mixture dissolves.
- Remove from heat.
Hot Water Bath Canning Pickles
- Add hot water to a little over ½ of the water bath canner and bring to a full boil.
- Pack the sanitized mason jars with the processed cucumbers, leaving ½ inch of headspace. Using a canning funnel and a ladle, pour the hot brine into the pickle filled sterilized jars, leaving ½ inch of headspace. Remove air bubbles and wipe the jar rim with a clean damp cloth or papertowel. Using the magnet lid lifter tool, grab the jar lid from the small sauce pan, and carefully place it on the jar. Loosely screw the rings onto the lids to ensure the lids stay in place.
- Place the filled jars on the inner wire rack of the water bath canner and lower it into the boiling water. Add the lid to the canner. Process for 15 minutes in boiling water (Quart Jars or process pint jars for 10 minutes).
- After the 15 minutes is up, turn off the heat and carefully remove the canner lid. Grab the metal insert by the handles (with oven mitts) and raise the jars up, carefully hooking the handles onto the edge of the water bath canner. Let the jars sit for 5 minutes.
- Lay out a hand towel or a doubled up flour sack towel on a counter surface. This will act as a barrier between the hot jars and cool counter, preventing the counter and keeping the jars from bursting with the drastic temperature change. Using the jar lifter tool, carefully remove the jars from the wire insert and place them on the towel. Allow jars to sit and cool, undisturbed, for 12-24 hours at room temperature. Test jars for airtight seals. The lids will not “pop” when pushed down on and will not pop off when pulled up on.
Notes
- Unused brine can be stored in a mason jar in the refrigerator for up to one week!
- The processing time for the pickles is different, depending on the size mason jar being used.
- If we have fresh dill, I like to add some to the jar before canning.
- Mrs. Wages has a product called Xtra Crunch, which is calcium chloride granules. This can be added in for additional crunch, but isn’t necessary. However, adding a natural tanning such as grape leaves is a better ingredient option for keeping the pickles firm.
- When I first started canning I would submerge the jars under the water, ensuring at least an inch of boiling water would cover the jars. This has been successful. However, I have since learned that is not necessary, and less water is required.
Additional Cucumber Recipes:
- Mrs. Wages also has a Bread and Butter Pickles Mix. This mix creates a sweeter tasting Cucumber brine, and is processed the same as above (just swap the ingredients/ Mrs. Wages packets).
- If you’re looking for a cucumber recipe that doesn’t require any canning, check out my Refrigerator Pickles recipe here (coming soon)! Or my delicious and refreshing Creamy Ranch Cucumber Recipe (coming soon).
- Jalapeño Pickle Relish is another family favorite! It calls for fresh jalapeños in addition to the cucumbers, and is the perfect addition to hot dogs and brats.
Pin this post for later here!
Check out my other food preservation posts:
-
Making and Canning Homemade Applesauce - Step by Step
Canning homemade applesauce is one of those timeless, comforting recipes that transforms a simple fruit into a pantry staple. Whether you're looking to preserve the sweet taste of fall for the winter months ahead, or you just can’t resist the cozy, homemade goodness of applesauce, this…
-
Methods for Preserving Farm Fresh Eggs for Winter
For years it had been a dream to someday have my own chickens. When we finally moved to the country, I knew one of the first things we needed on the homestead were laying hens. As luck would have it, I had a friend needing to…
-
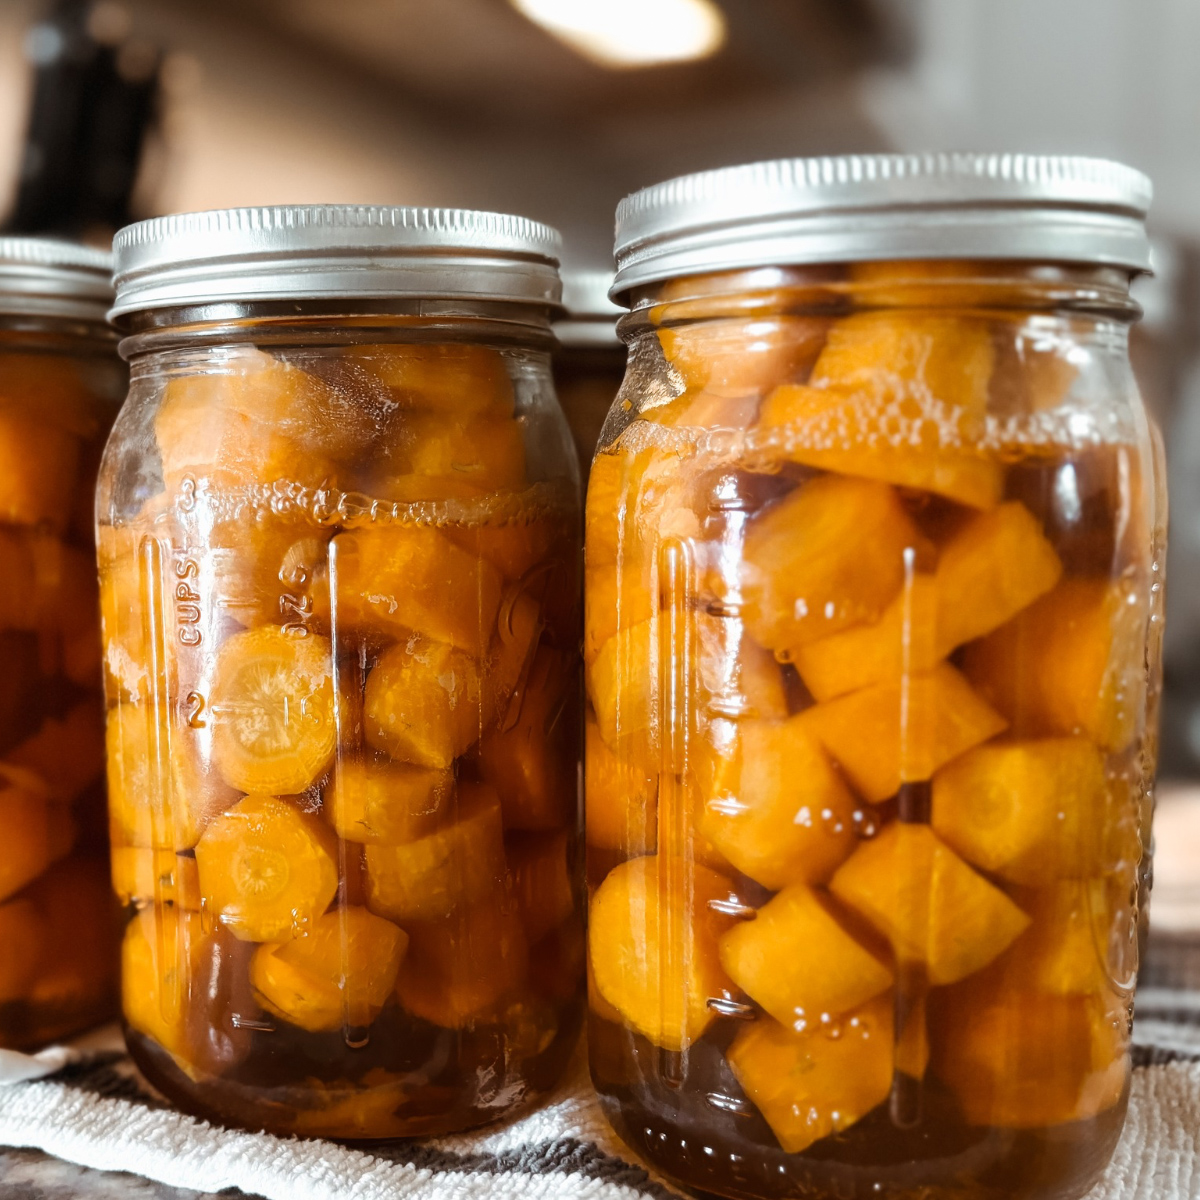
Pressure Canning Carrots - Easy Method (How To)
Canning can be intimidating and scary for those who have never done it, but it doesn’t have to be! I personally know people who will only eat their garden produce fresh, or who will process and freeze their harvest rather than canning it. This is simply…

Leave a Reply