
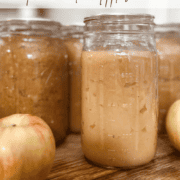
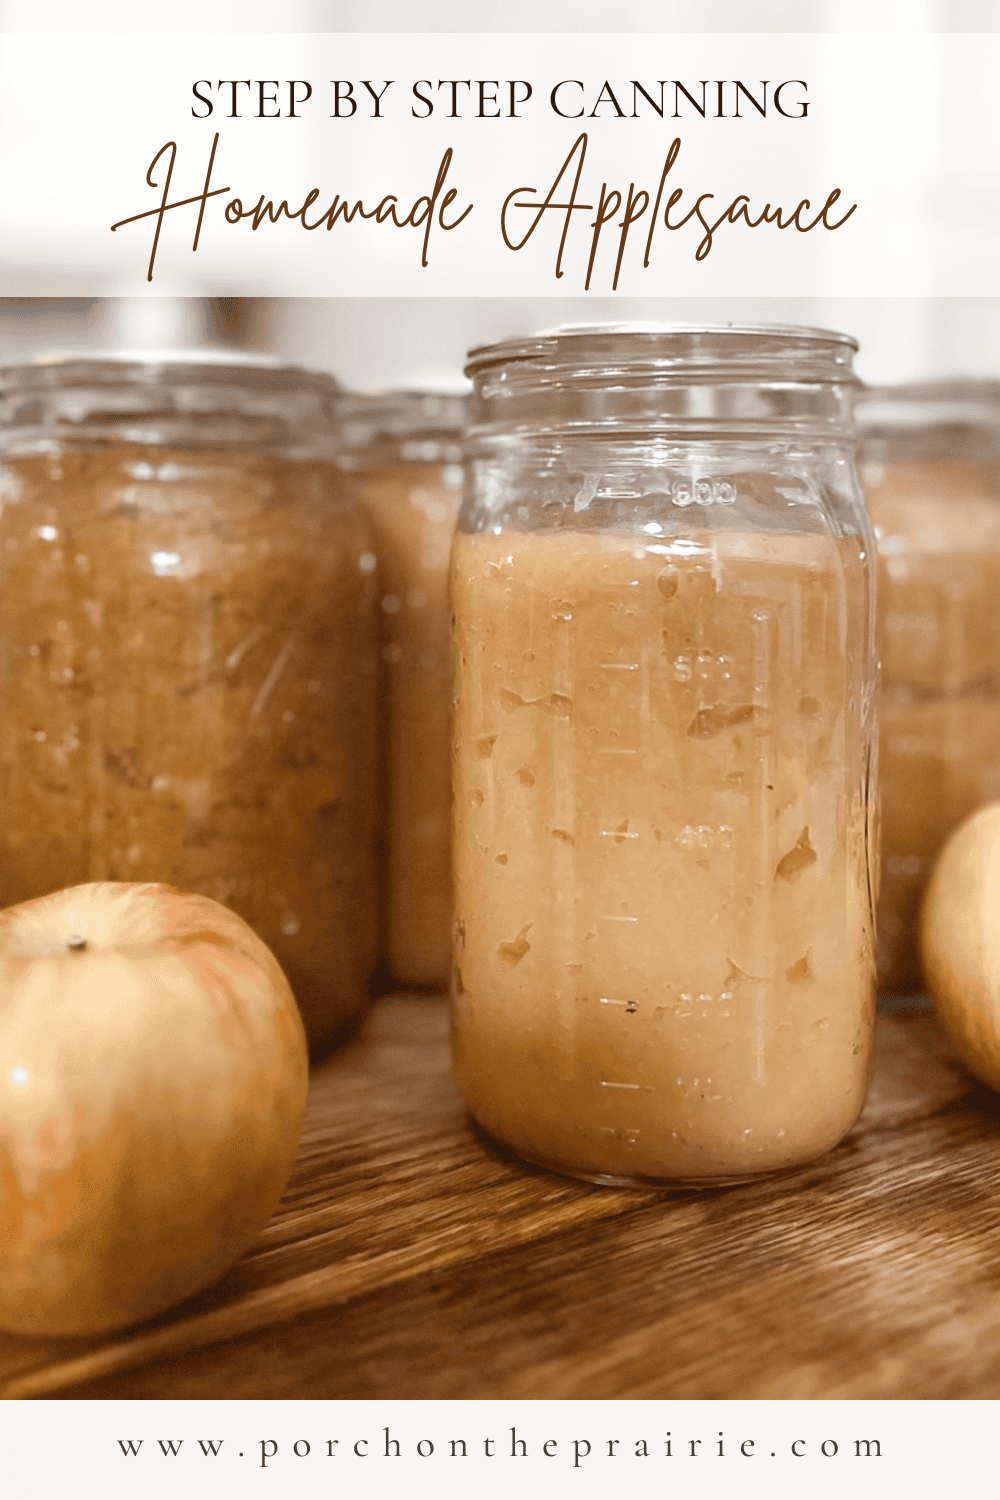
Canning homemade applesauce is one of those timeless, comforting recipes that transforms a simple fruit into a pantry staple. Whether you're looking to preserve the sweet taste of fall for the winter months ahead, or you just can’t resist the cozy, homemade goodness of applesauce, this recipe is the perfect way to do it. Making and Canning Homemade Applesauce - Step by Step walks through the most delicious homemade applesauce recipe and how to preserve it for the year ahead.
Something really special about the homemade applesauce the past few years, is that my hubby planted the tree we pick the apples from on our little homestead back when he lived here as a young boy.
Jump to:
Last year we added 2 honey crisp apple trees and 2 state fair apple trees to the homestead, so we are looking forward to finally having apples from those trees. Also, new to the homestead this year is a cherry tree, 6 pear trees, and 6 more apple trees. Adding trees to the homestead is truly an investment, but it will pay for itself many times over as the years go on.
Why make applesauce when you can just buy it?
In general, we like to avoid the highly processed foods where we can. So this means skipping the grocery store if we are able. If I can make it myself, that is typically my first choice. Plus, once you have tried this recipe for homemade applesauce, store-bought options just won’t cut it anymore.
This canning applesauce recipe is 100x more delicious, flavorful, and has such a yummy warmth to it. Additionally, there is something very rewarding about being able to grow, harvest, and preserve your own food. These home canning skills have been passed on for years (and generations) and I think that is pretty neat. So in short, it is healthier, cheaper, and more delicious.
For a delicious and simple apple pie filling recipe (and step-by-step canning instructions) check out this recipe!
Ingredients
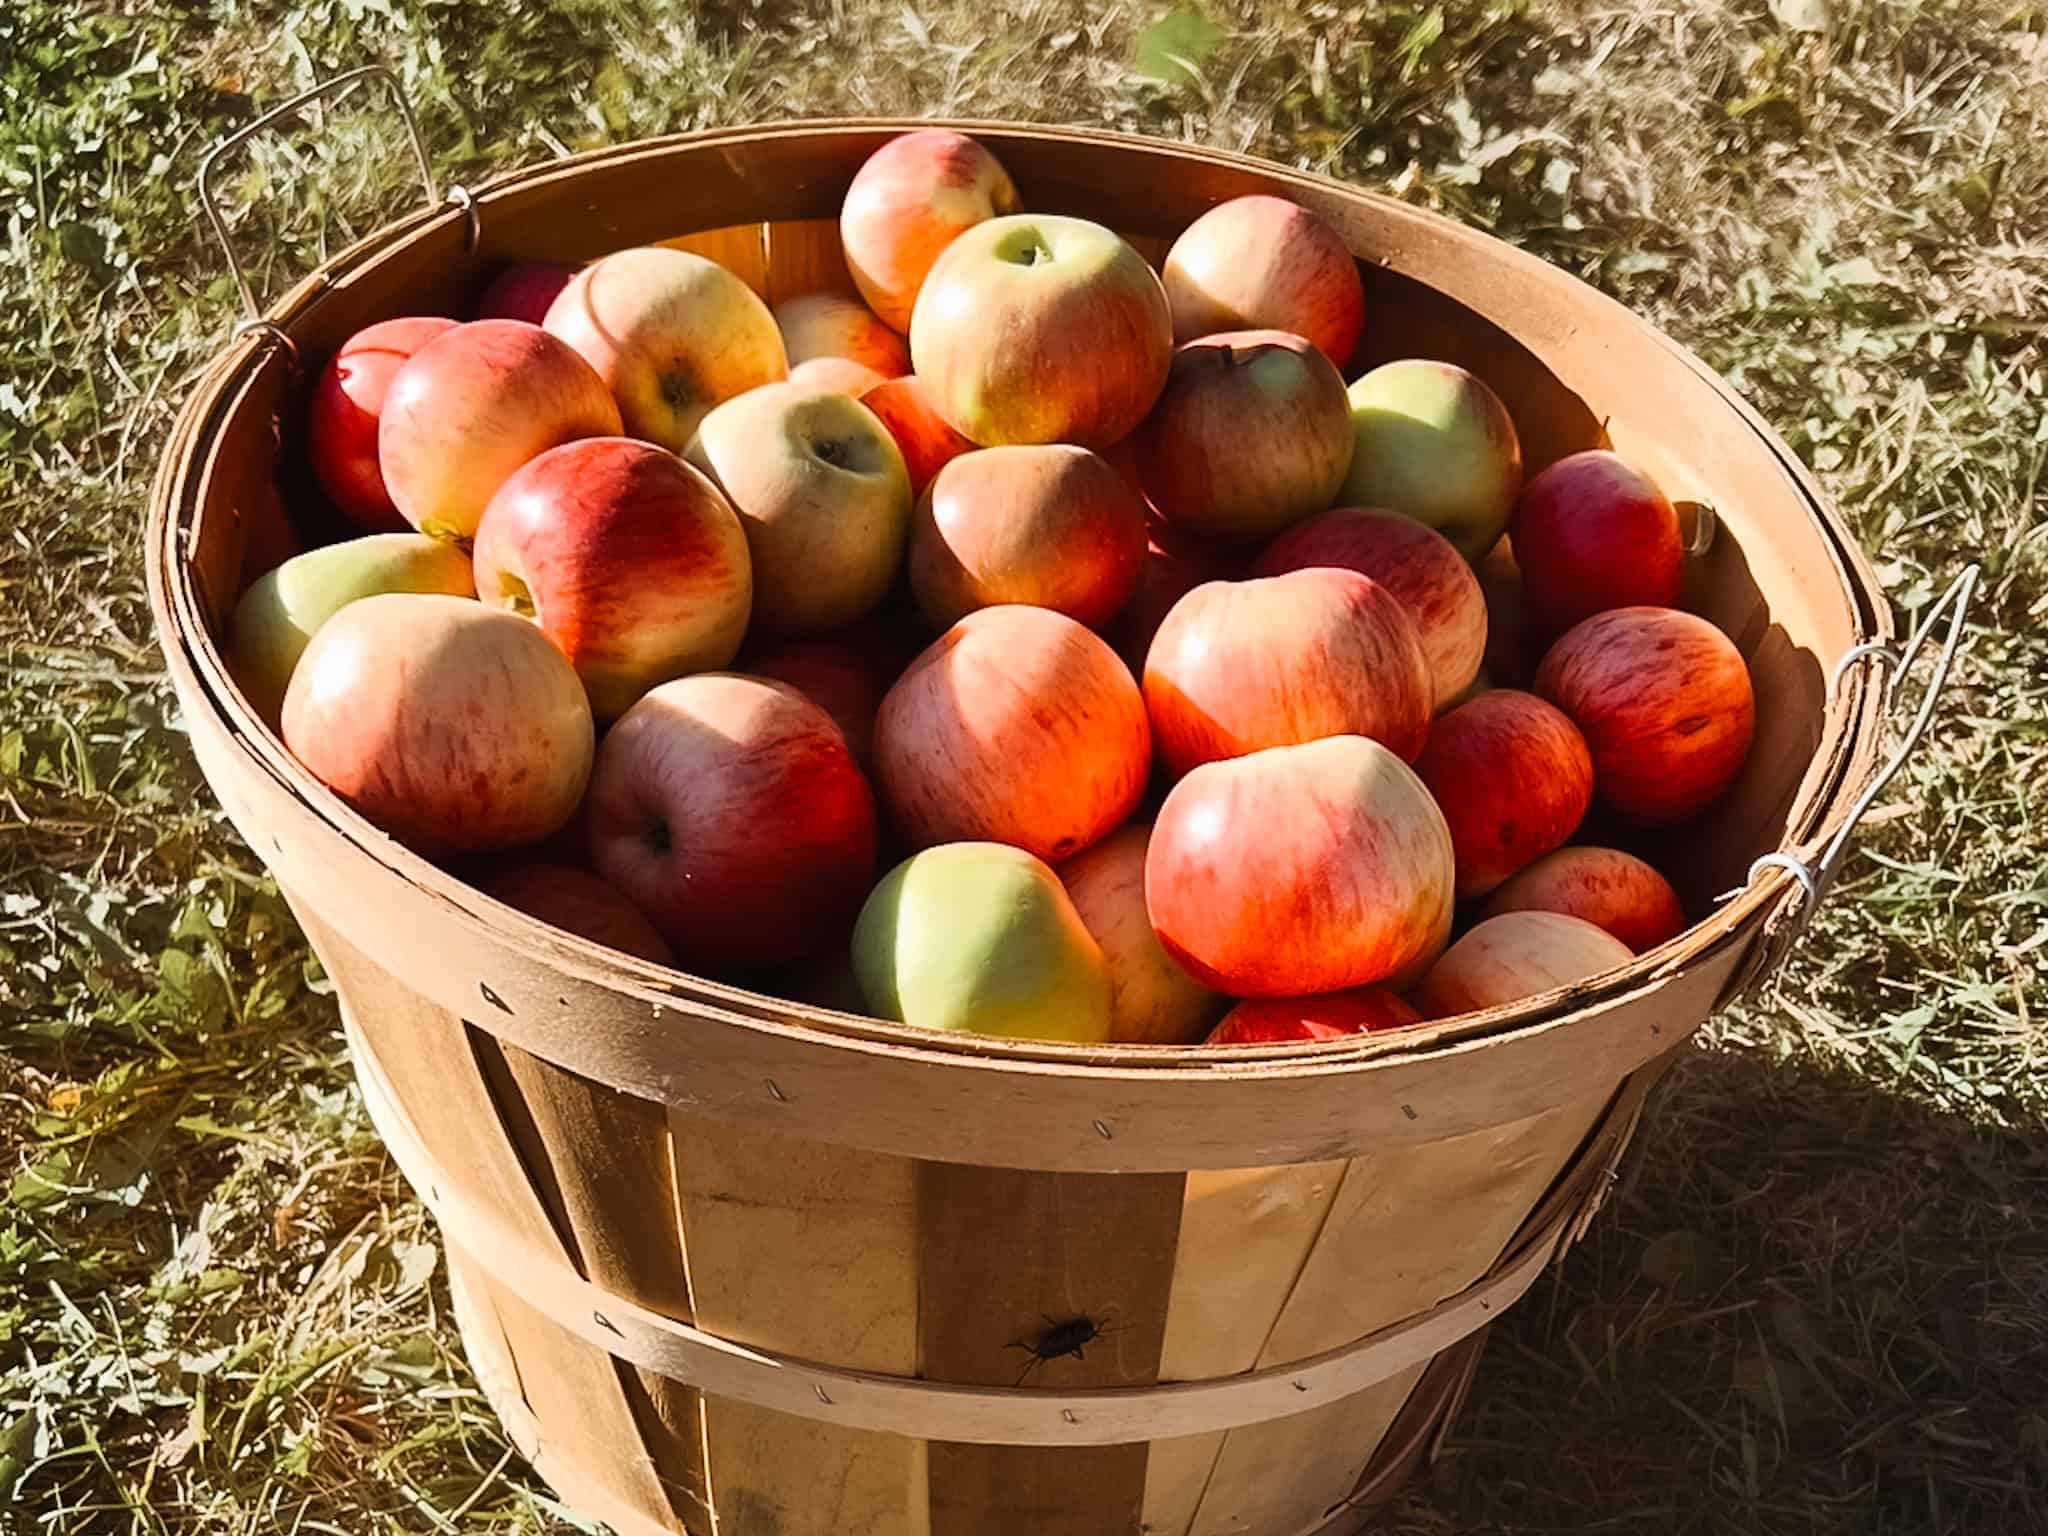
- Approximately 26 cups of apples prepared (cored, peeled, and sliced) - use fresh apples
- 1 Cup Water
- Sugar (optional)
- Cinnamon (to taste)
See recipe card for quantities.
Instructions
Sterilizing the Mason Jars and Lids
There are multiple ways to do this:
- Dishwasher Method - Some dishwashers have a sanitize function on the dishwasher which works well for preparing the mason jars. The downfall, however, is this can be a time consuming method.
- Oven Method - Wash the jars with soap, rinse, but do not dry. Place upside down on a baking sheet and put in the oven for 20 minutes at 275 degrees Fahrenheit (130 degrees Celsius). Carefully remove the hot jars for canning.
- Boiling Method - Wash the jars with soap and rinse. Place jars in a large pot of boiling water (like the water bath canner) and let them sanitize for 20 minutes. Remove jars and let air dry before use.
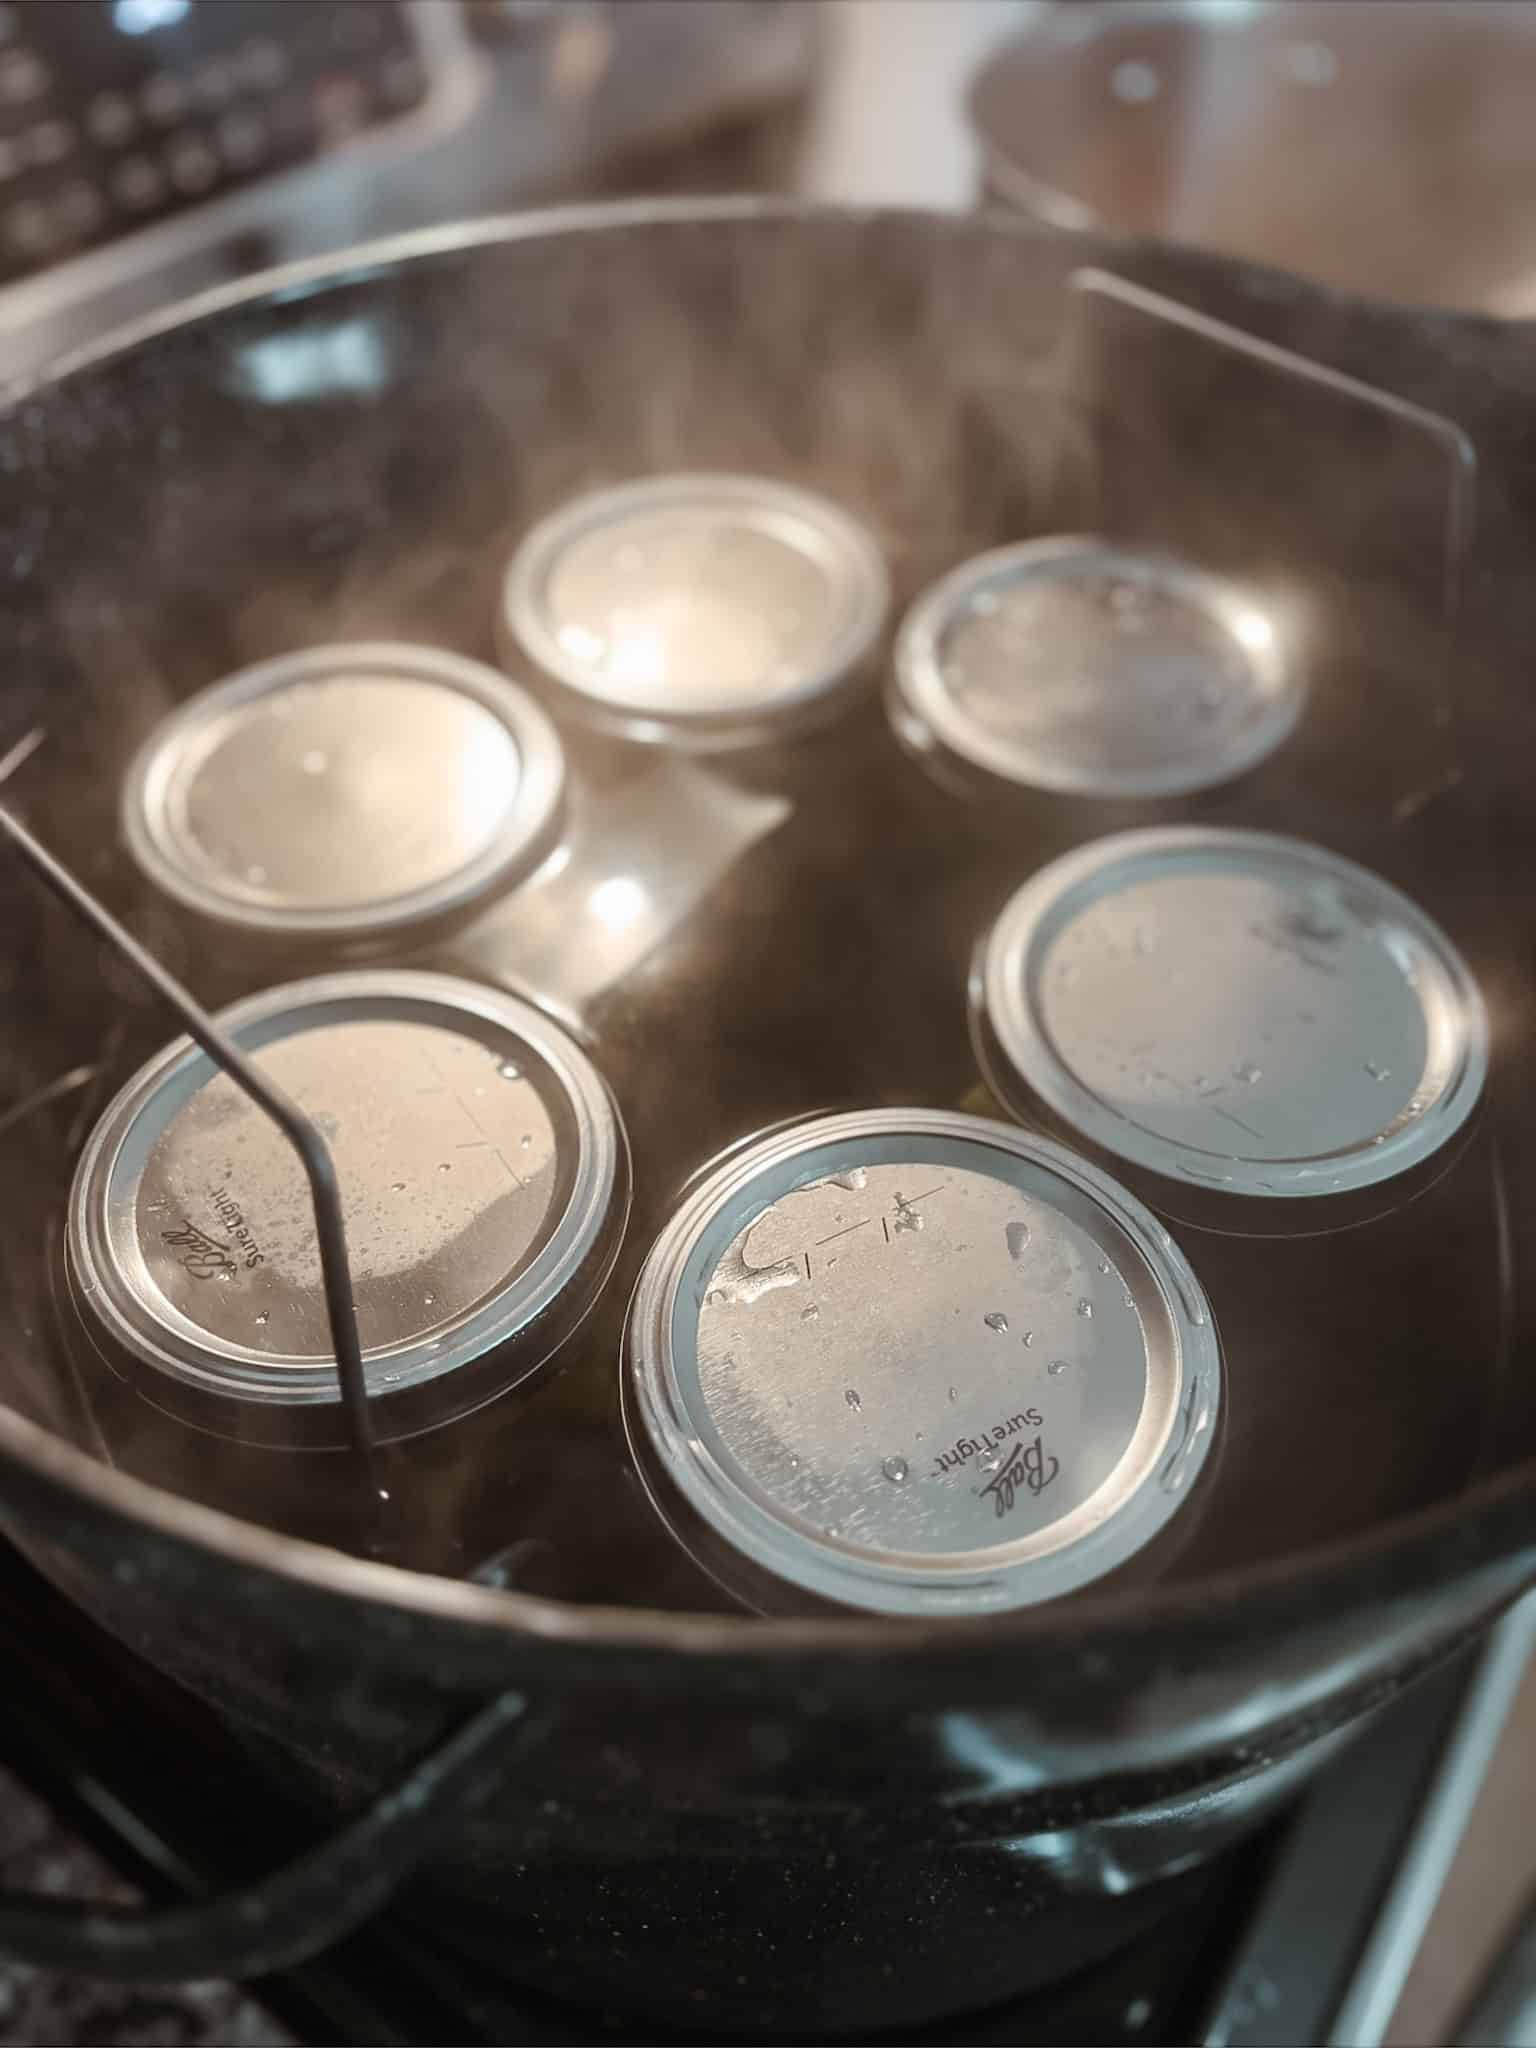
For the lids - place in a small sauce pan of hot water until it is time to add them to the jars.
Preparing the apples:
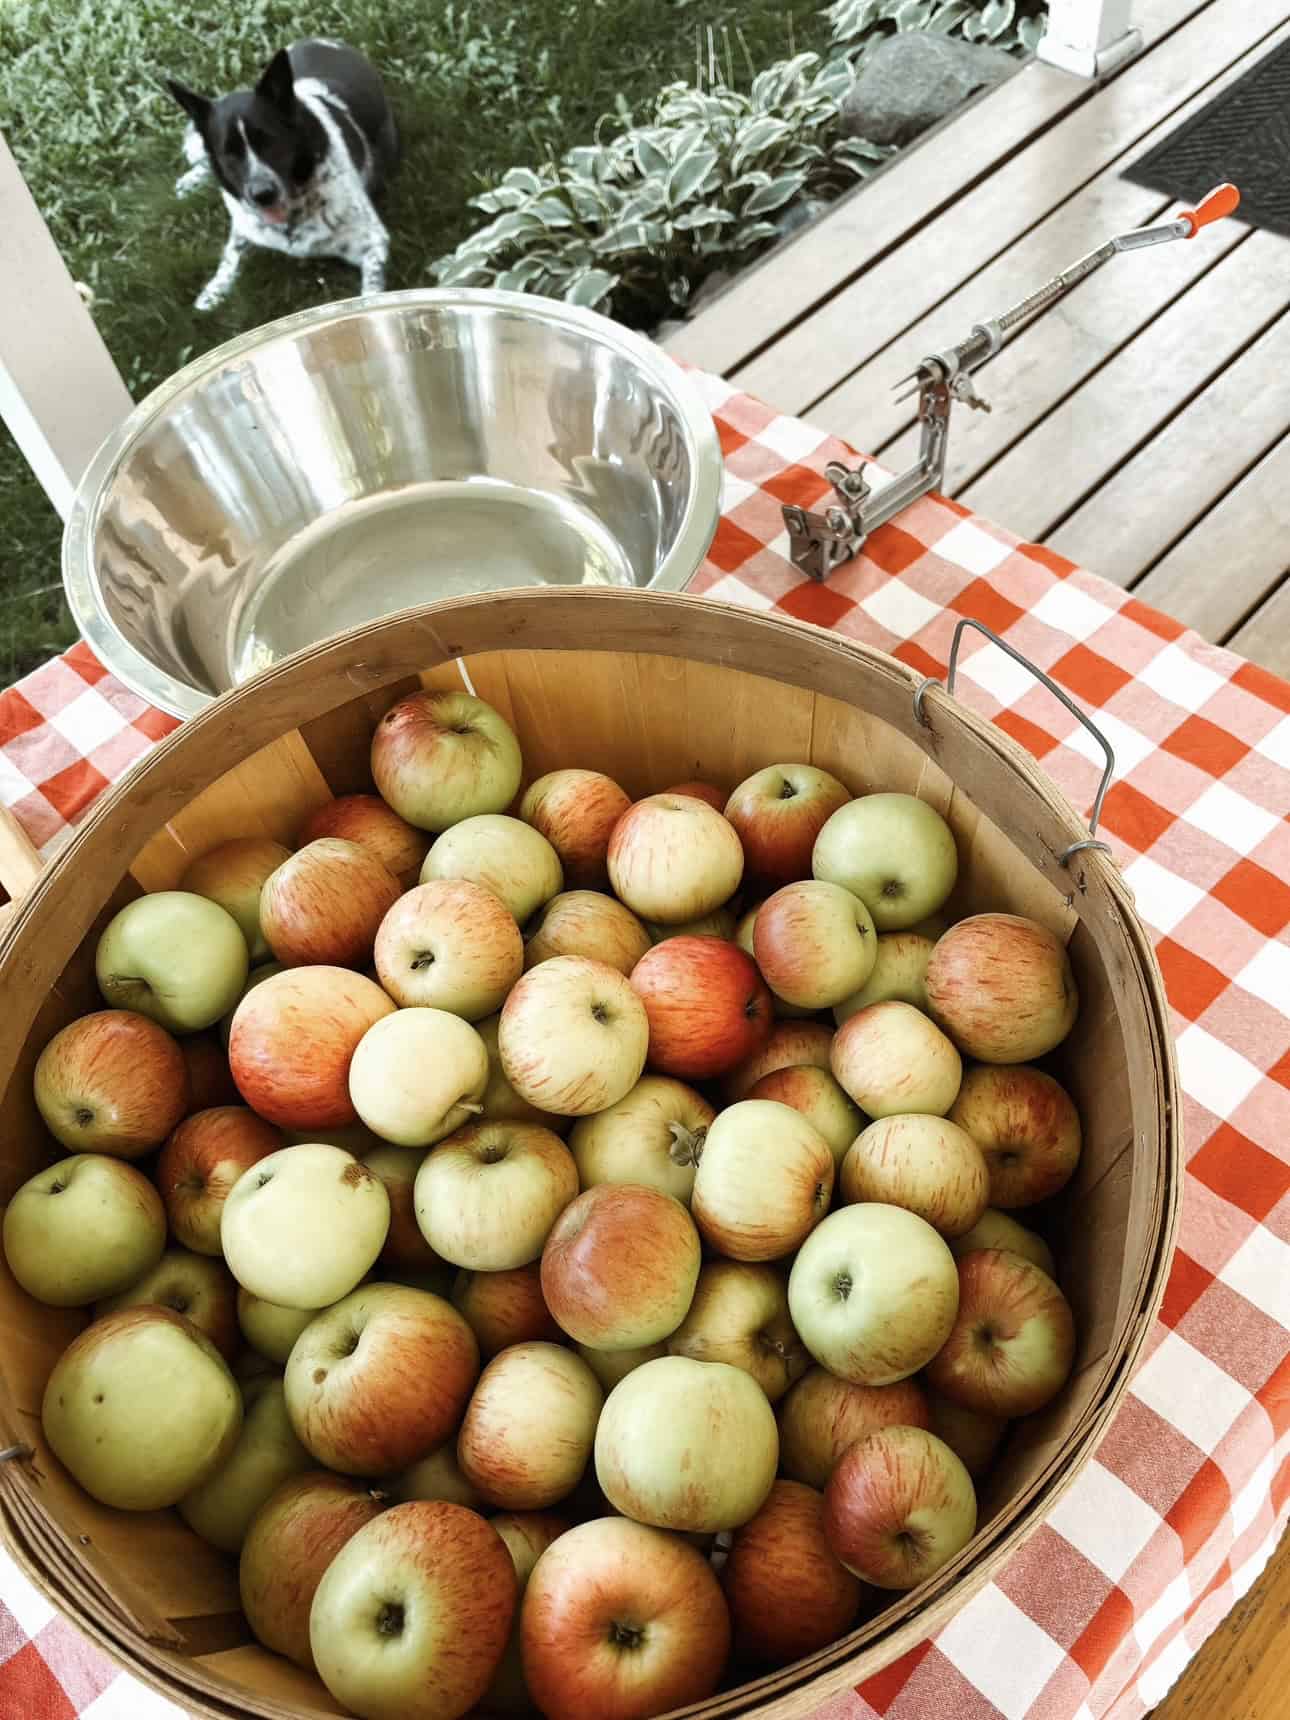
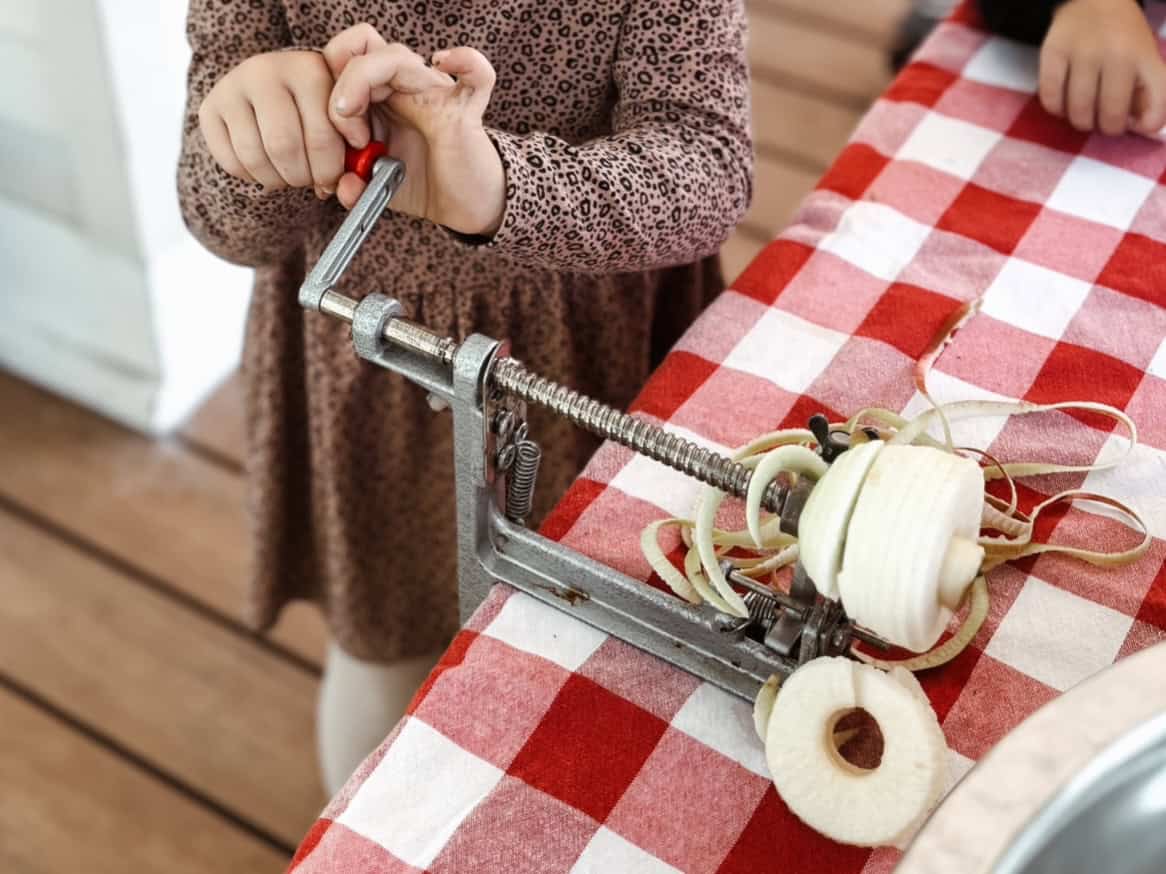
Peel, core, and slice apples. Remove any bruises or blemishes/ bug holes.
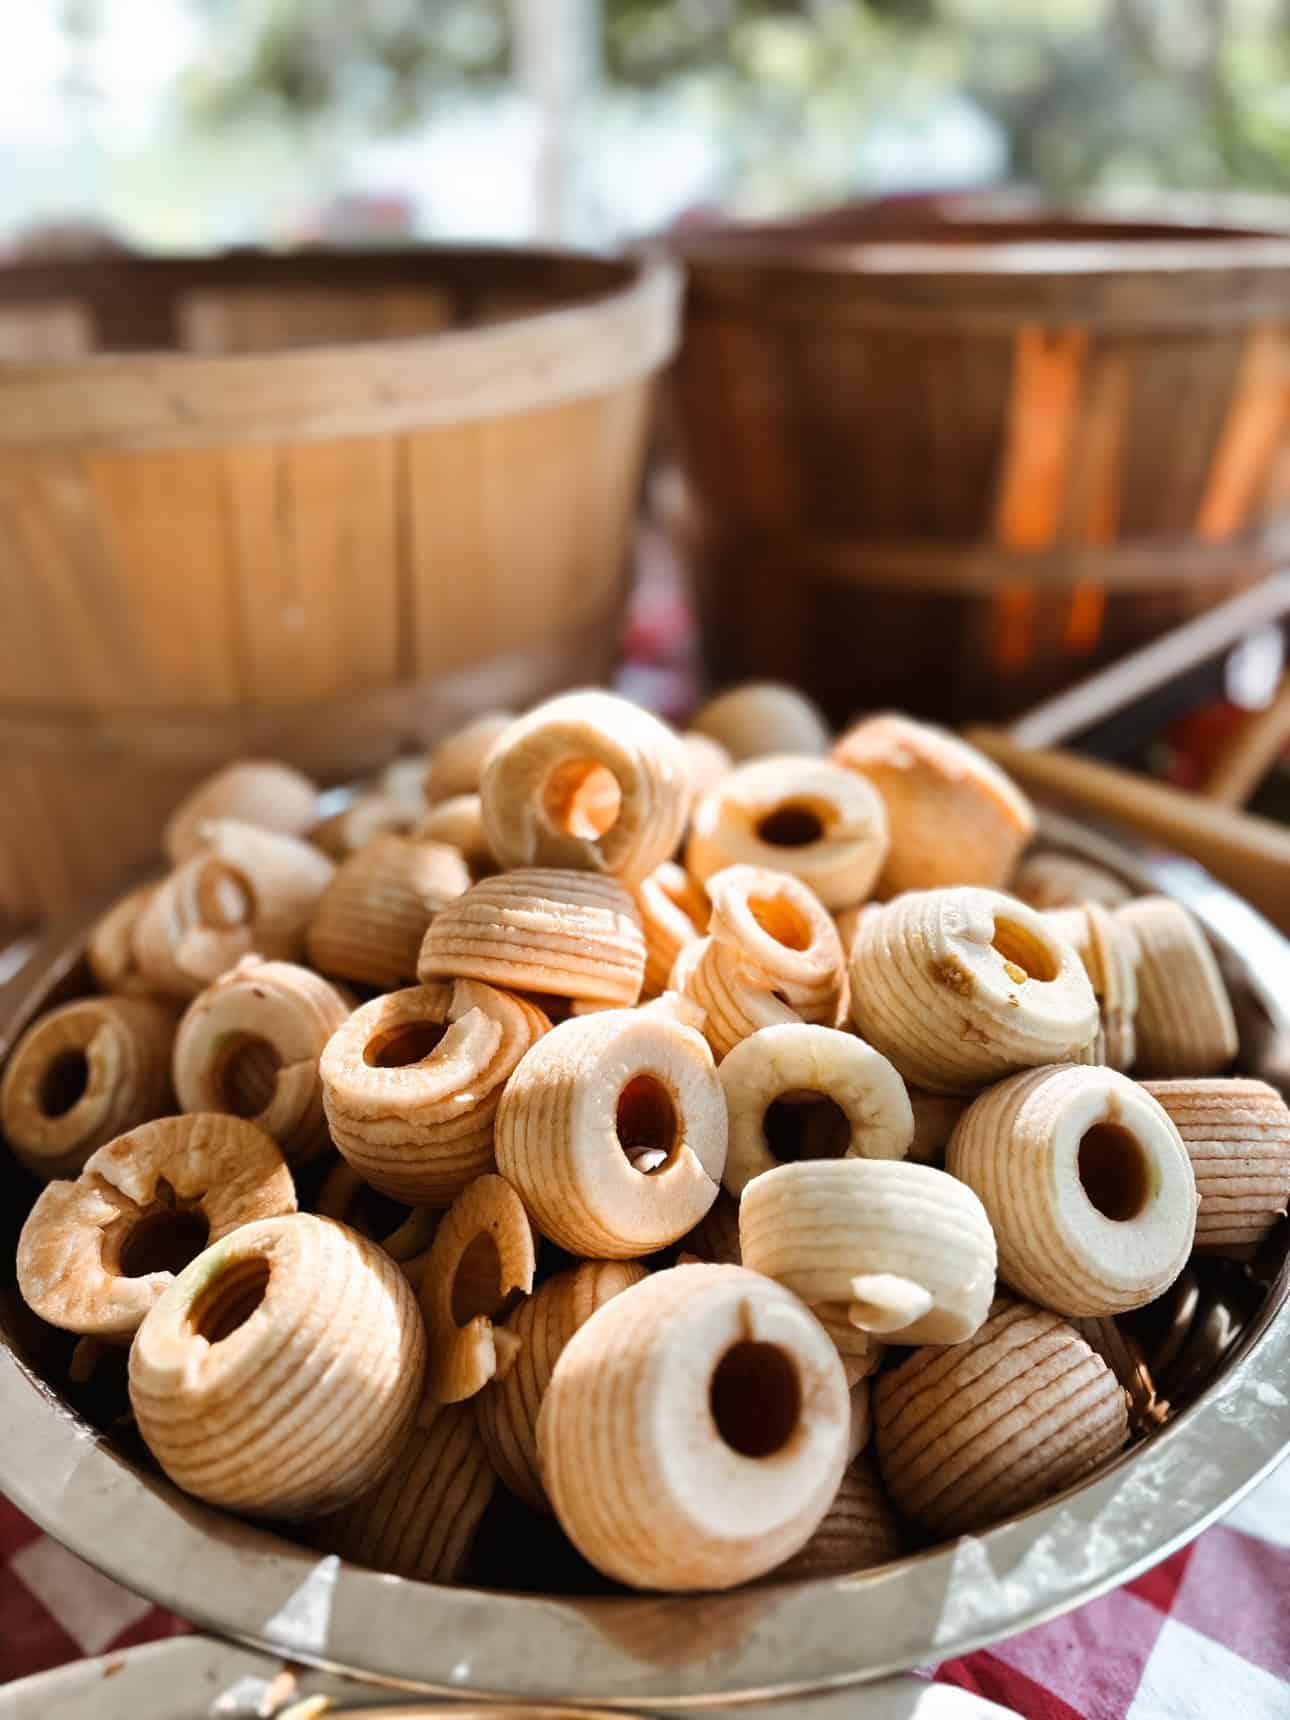
THIS tool is a lifesaver and significantly cuts down on the time it would take to do this with a knife.
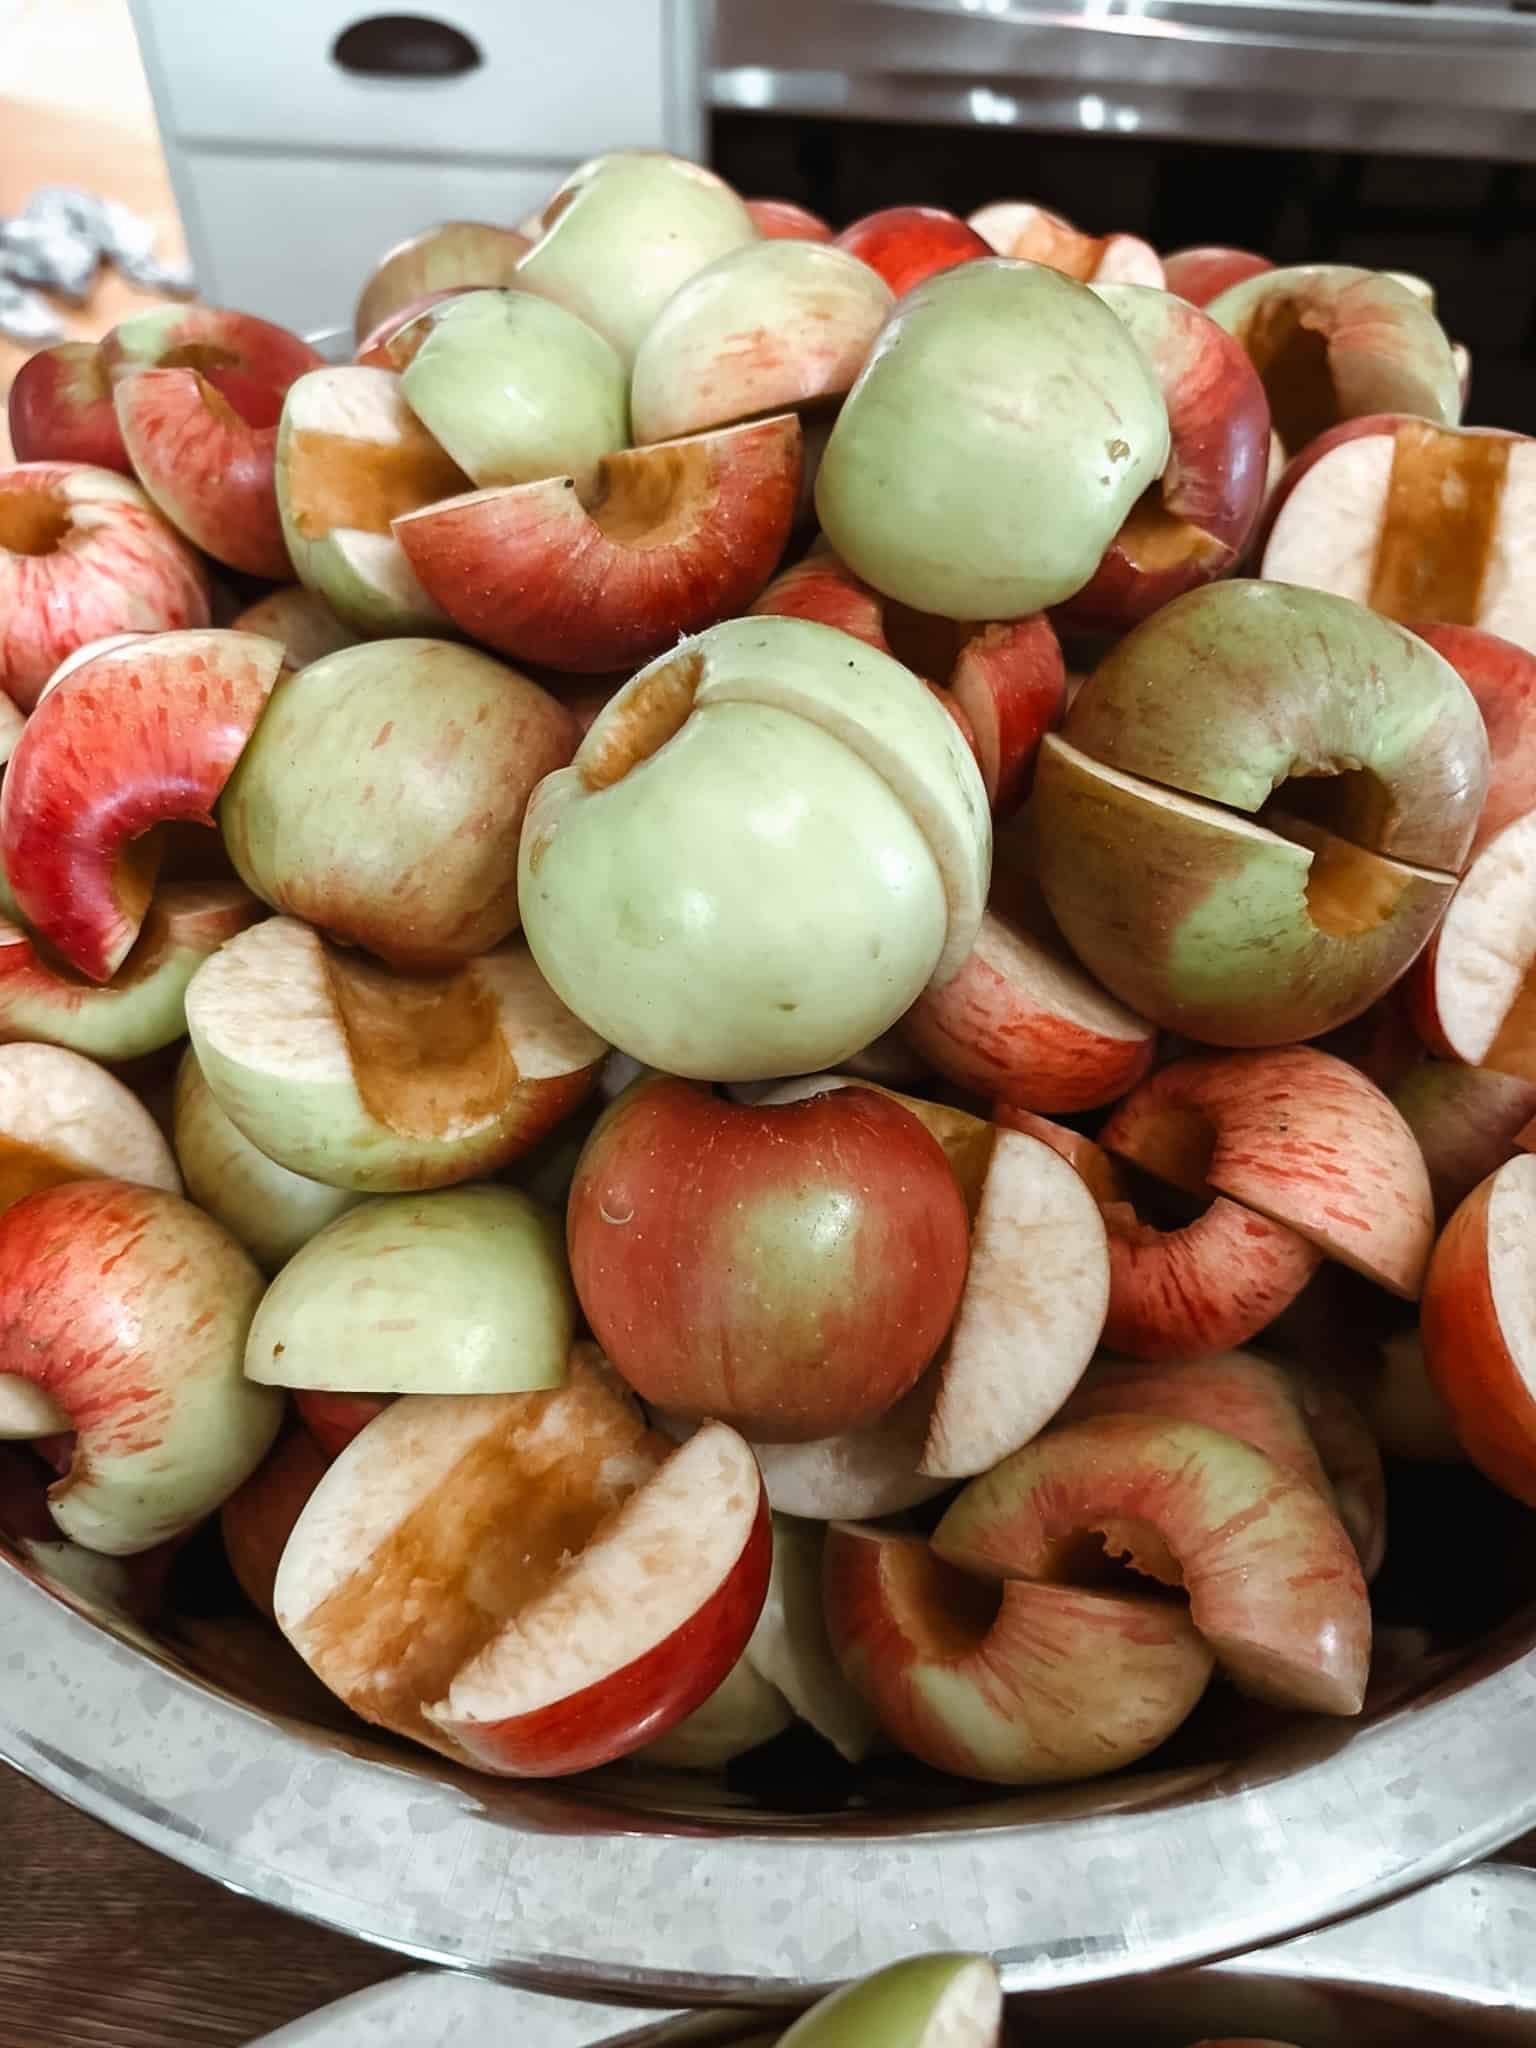
Or simply cut the apples in half and remove the cores.
Cooking the Applesauce
In a large, non-reactive cooking pan add 1 cup of water to the bottom of the pot. Next add the apples and cook down until soft. To make a smooth applesauce, use a potato masher, immersion blender, or food processor until the apples reach the desired consistency.
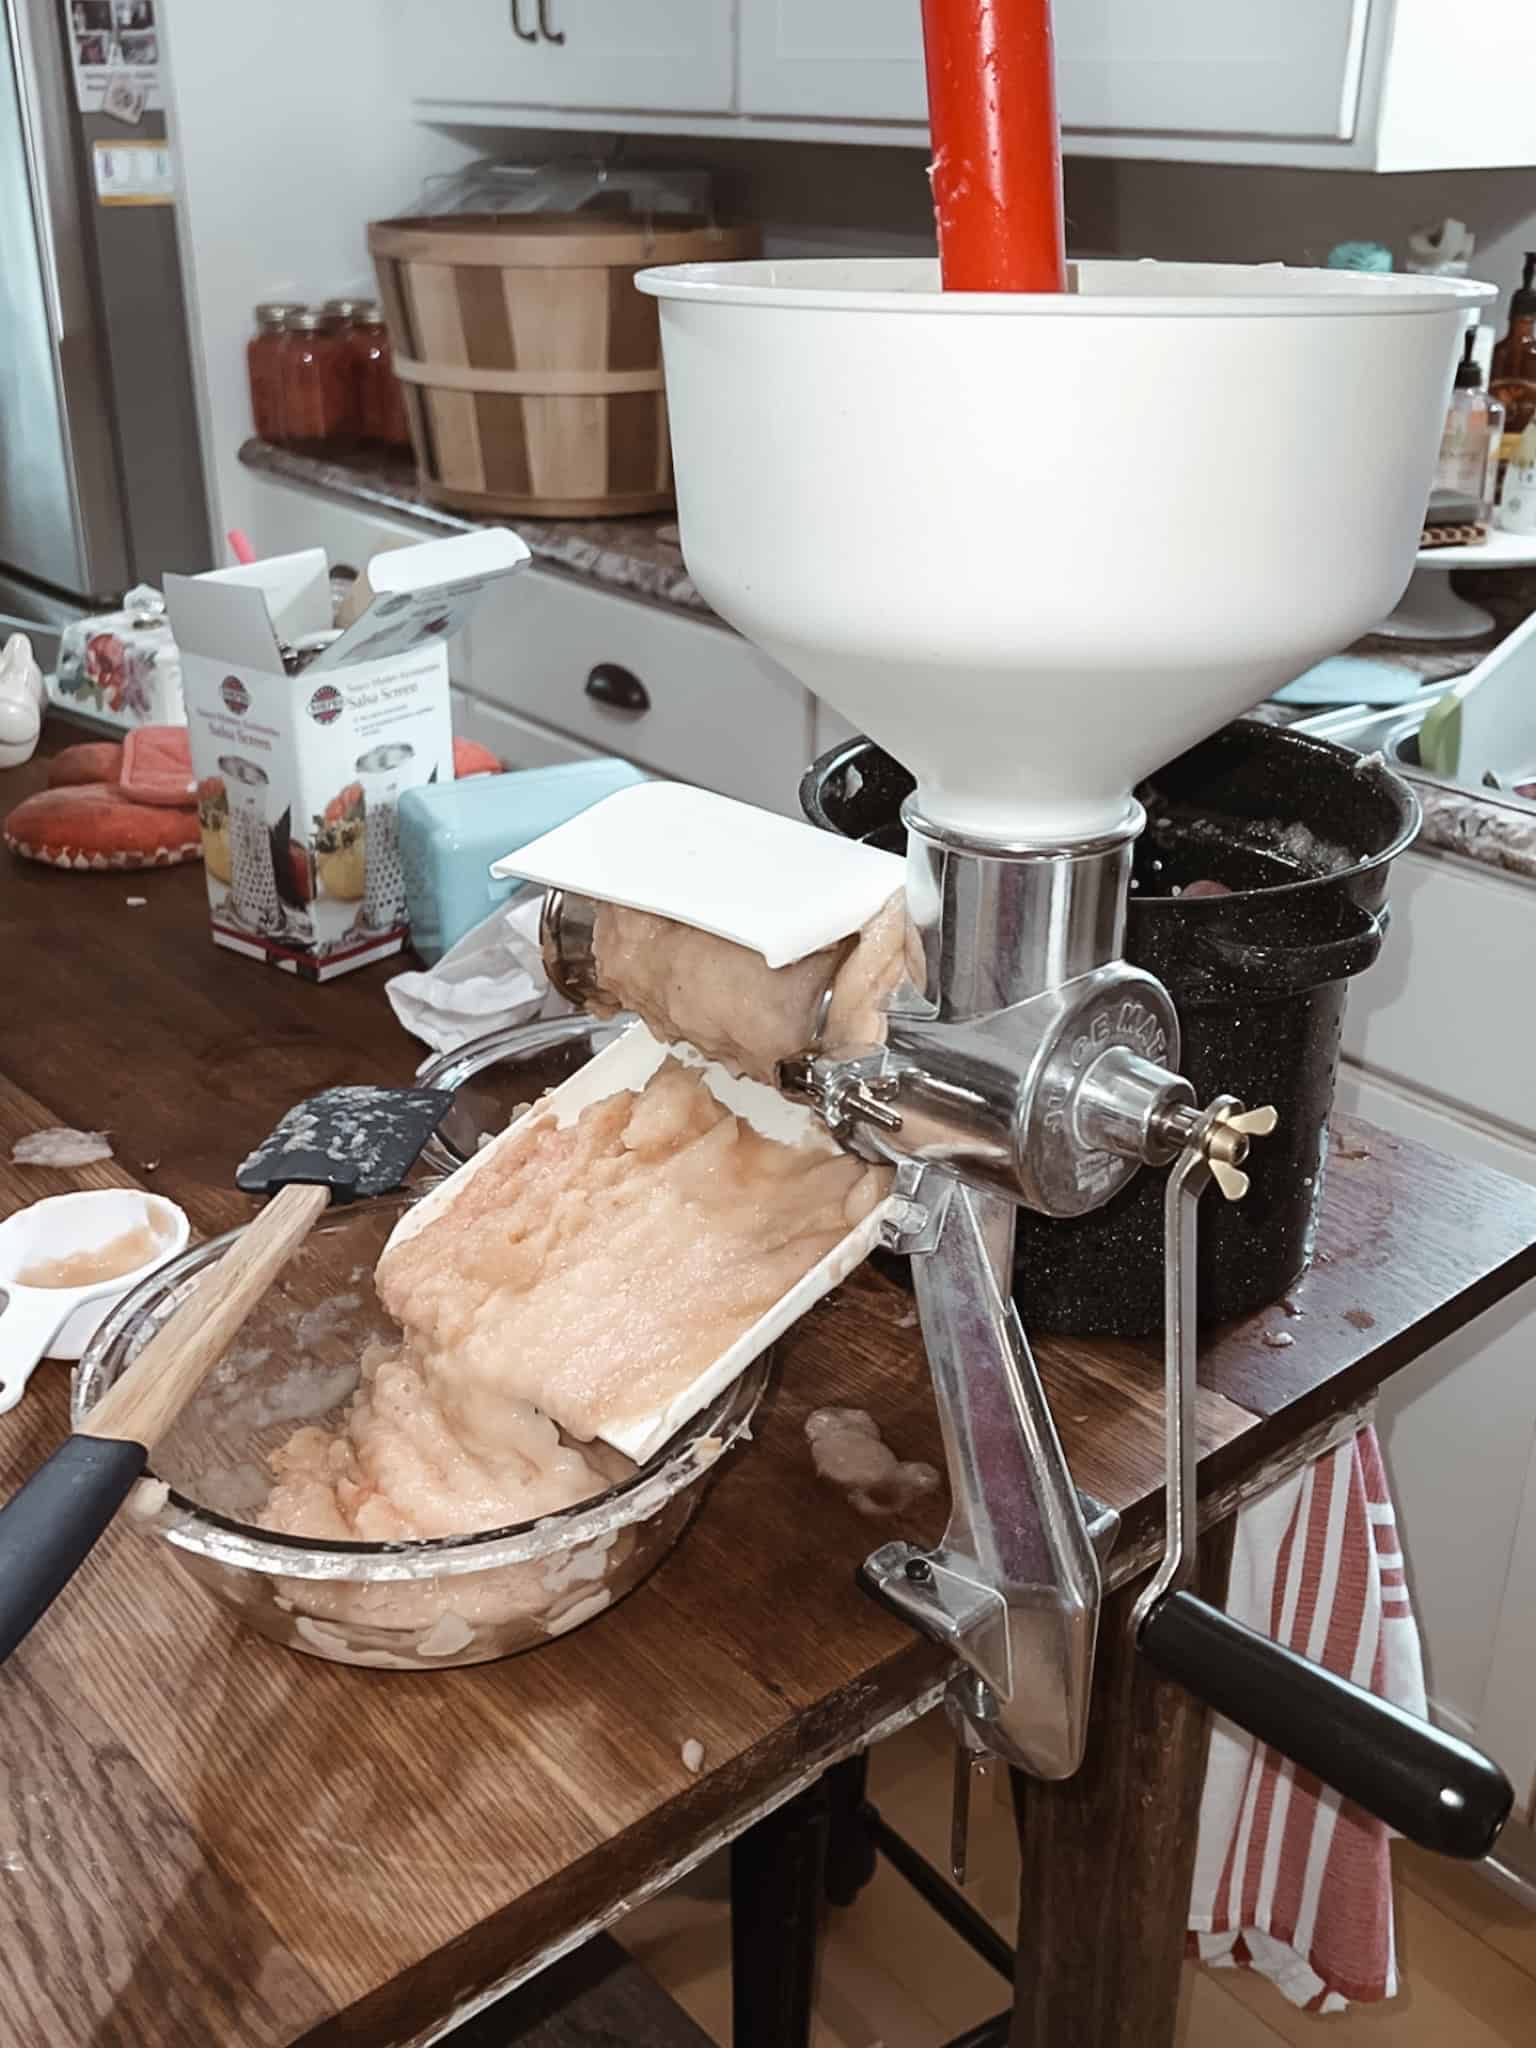
A chunkier applesauce can always be ran through the food processor when ready to use. The food mill (seen below) will produce a smooth applesauce. This food mill separates the sauce from the skins and cores for a smooth applesauce. (Pssst I use this tool for canning tomatoes too, it is a great investment!)
Once desired consistency has been reached, place the sauced apples back into the stockpot, add cinnamon and sugar (optional) and bring to a boil.
Note - the amount of sugar used may depend on the variety of apple being used. Sweet apples may not need sugar added at all. If the kind of apples being used is tart, sugar may be a good idea.
Water Bath Canning Process
Using a canning funnel and a ladle, carefully ladle homemade apple sauce into the sterilized mason jars (quart jars).
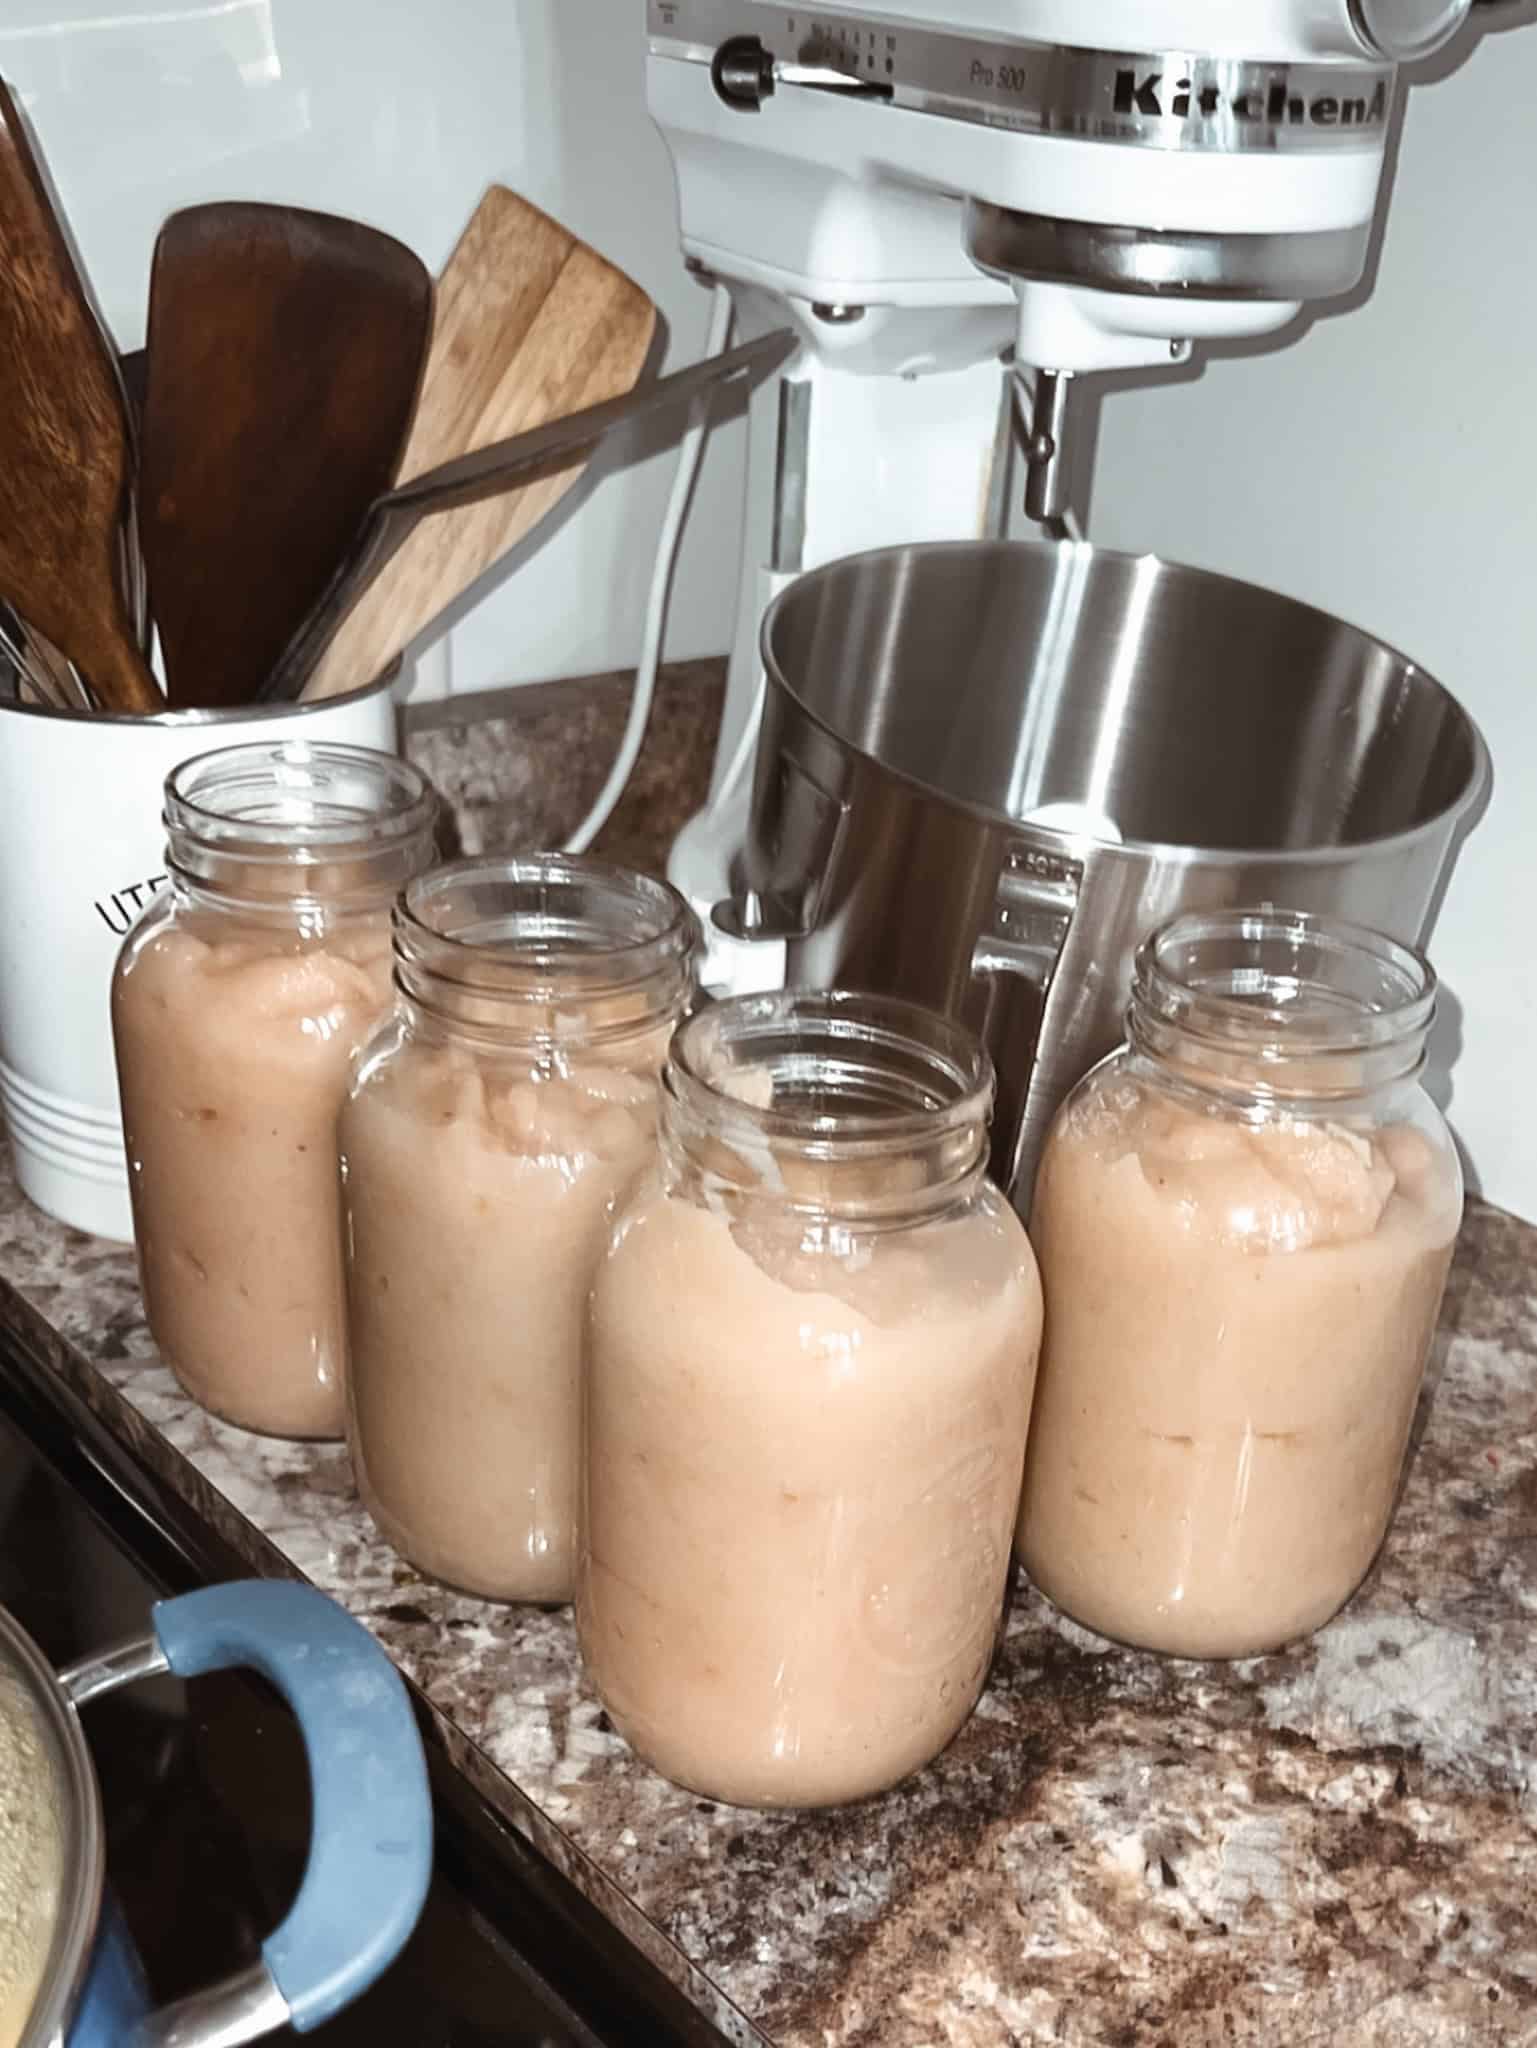
Using a packing tool (or the handle side of a butter knife) release any air bubbles and pack in the applesauce within one half inch of the top of the jar (½ inch headspace).
Wipe the rim of the jar with a clean damp cloth or wipe jar rim with a damp paper towel. Using the magnet lid lifter tool, grab the jar lid from the small sauce pan, and carefully place it on the tops of the jars. Loosely screw band onto the lids of each jar to ensure the lids stay in place.
Place the jars on the inner wire rack of the water bath canner and lower it into the boiling water. Add the lid to the canner.
Process for 25 minutes in boiling water.
After the 25 minutes is up, turn off the heat and carefully remove the canner lid. Grab the metal insert by the handles (with oven mitts) and raise the jars up, carefully hooking the handles onto the edge of the water bath canner. Let the jars sit for 5 minutes.
Lay out a hand towel or a doubled up flour sack towel on a counter surface. This will act as a barrier between the hot jars and cool counter, preventing the counter and keeping the jars from bursting with the drastic temperature change.
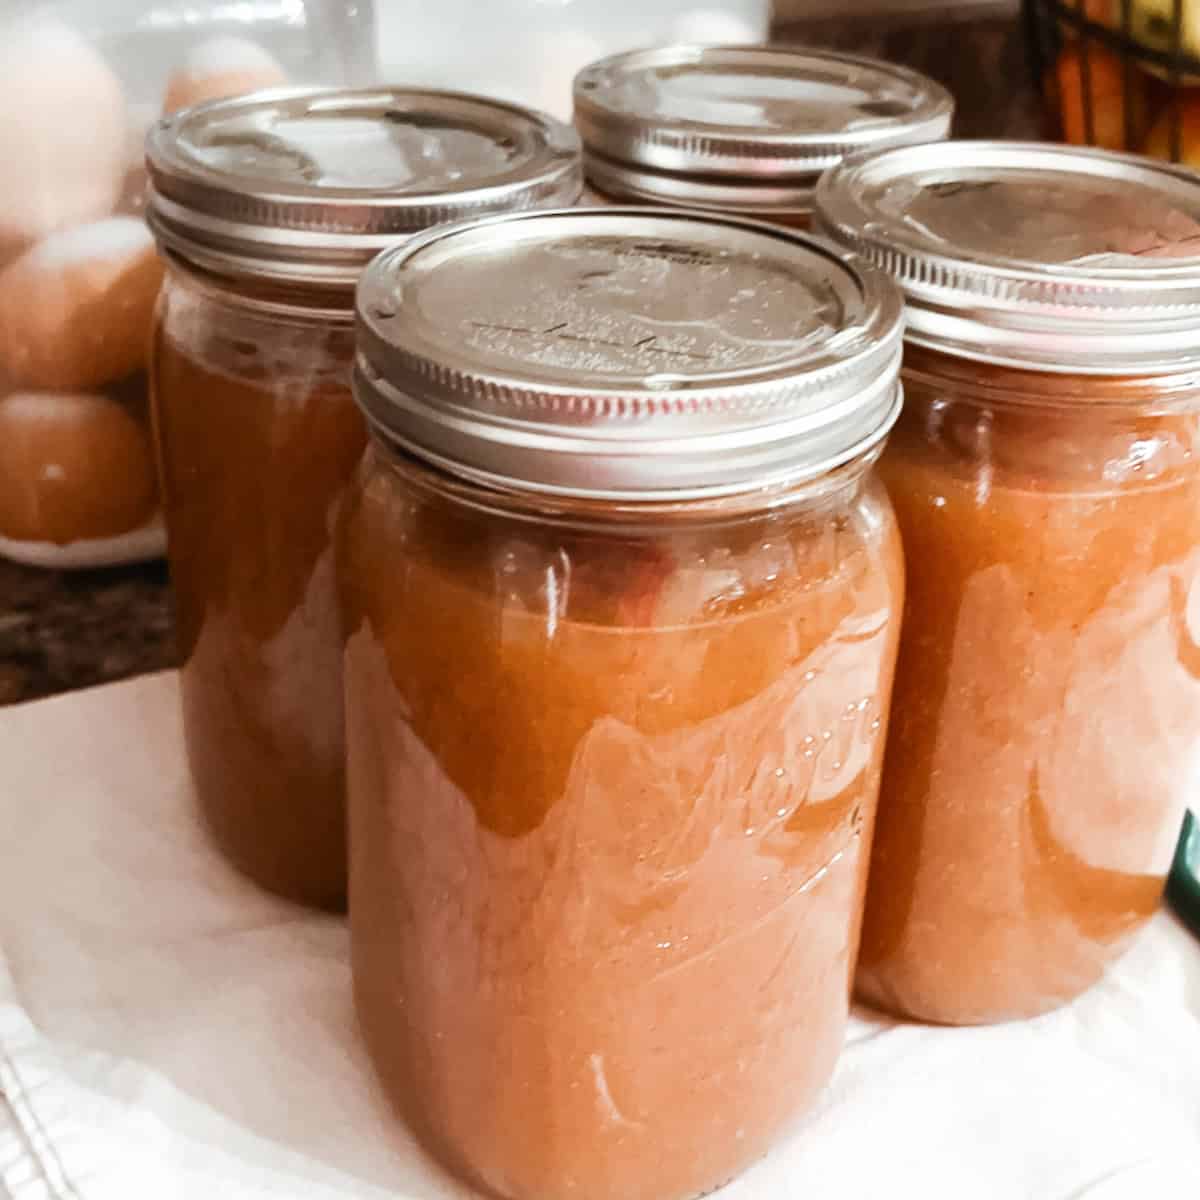
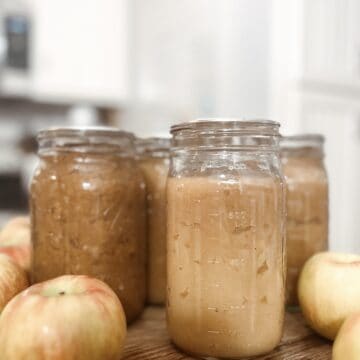
Using the jar lifter tool, carefully remove the jars from the wire insert and place them on the towel. Allow jars to sit and cool, undisturbed, for 12-24 hours. Test jars for airtight seals. The lids will not “pop” when pushed down on and will not pop off when pulled up on.
Important Notes:
Pint jars can also be used, processing time should be 20 minutes.
When I first started canning I would submerge the jars under the water, ensuring at least an inch of boiling water would cover the jars. This has been successful. However, I have since learned that is not necessary, and less water is required.
Processing time listed is for altitudes less than 1000 feet. At Altitudes of 1000 feet or more, increase processing time 1 minute for each 1000 feet of altitude.

Alternative Preservation Methods:
Making and Canning Homemade Applesauce - Step by Step is by far the tastiest and simplest method for making and preserve apple pie filling. Water bath canning is definitely my preferred method!
Freezing - this is a great way to preserve the homemade apple pie filling, however, if freezer space is limited it may not be the best option. I like to use this as a back-up option (if for some reason a jar doesn’t seal properly). To freeze, pour into freezer-safe containers [we like these] and then vacuum seal.
Pressure canning - this is a great method, however can be a little more intimidating for first time canners. And of course requires a pressure canner.
Equipment
- Food Mill, Food Processor, Immersion Blender or Potato Masher
- Canning Equipment - Large hot water bath canner
- Canning Tools - a great kit makes life easier! (jar lifter, funnel, magnetic lid lifter)
- Apple Peeler, Corer, Slicer - trust me, you will want this. This one clamps to the tabletop!
- Chopping Knife
- Large Stock Pot (non-reactive)
- Canning Jars - Wide Mouth Quart Jars (new mason jars and lids or used jars with new lid - seal must be intact)
Storage
If a jar does not completely seal, store in the refrigerator and consume within 1 week or repackage for freezing (pour into freeze safe containers and let cool, then freeze for up to 1 year). Jars that seal will be pantry shelf stable for up to 1 year. Do not store with the metal rings on.
Using the Homemade Applesauce:
We love to enjoy our homemade applesauce as a side with any meal, or as a delicious and healthy snack. Often, we process the apples as unsweetened applesauce, so will sweeten it when it comes time to enjoy it.
One of my favorite ways to enjoy the applesauce is on the go, and the easiest way to do that is with homemade squeeze pouches. Check out my super simple method here! You will never have to buy another applesauce pouch again.
For a tasty sweet treat we love homemade applesauce bread or muffins, check out these super delicious and simple recipe here!
FAQ
Many recipes do call for lemon juice, however this one does not. Others may substitute apple cider vinegar for lemon juice.
No, our favorite method is water bath canning. However pressure canning and freezing are also preservation options.
Nope. Sometimes I wait to add it until we open and serve it.
Making and Canning Homemade Applesauce - Step by Step
Equipment
- Apple Peeler, Corer, Slicer - trust me, you will want this. This one clamps to the tabletop!
- Chopping Knife
- Large Stock Pot (non-reactive)
- Canning Jars - Wide Mouth Quart Jars (new mason jars and lids or used jars with new lid - seal must be intact)
- Food Mill, Food Processor, Immersion Blender or Potato Masher
Ingredients
- Approximately 26 cups of apples prepared cored, peeled, and sliced - use fresh apples
- 1 Cup Water
- Sugar optional
- Cinnamon to taste
Instructions
Sterilizing the Mason Jars and Lids
There are multiple ways to do this:
- Dishwasher Method - Some dishwashers have a sanitize function on the dishwasher which works well for preparing the mason jars. The downfall, however, is this can be a time consuming method.
- Oven Method - Wash the jars with soap, rinse, but do not dry. Place upside down on a baking sheet and put in the oven for 20 minutes at 275 degrees Fahrenheit (130 degrees Celsius). Carefully remove the hot jars for canning.
- Boiling Method - Wash the jars with soap and rinse. Place jars in a large pot of boiling water (like the water bath canner) and let them sanitize for 20 minutes. Remove jars and let air dry before use.
- For the lids - place in a small sauce pan of hot water until it is time to add them to the jars.
Preparing the apples:
- Peel, core, and slice apples. Remove any bruises or blemishes/ bug holes. THIS tool is a lifesaver and significantly cuts down on the time it would take to do this with a knife. Or simply cut the apples in half to cook down and use THIS food mill that removes the skins and cores.
Cooking the Applesauce
- In a large, non-reactive cooking pan add 1 cup of water to the bottom of the pot. Next add the apples and cook down until soft. To make a smooth applesauce, use a potato masher, immersion blender, or food processor until the apples reach the desired consistency. A chunkier applesauce can always be ran through the food processor when ready to use. The food mill will produce a smooth applesauce. Once desired consistency has been reached, with apples back in the stockpot, add cinnamon and sugar (optional) and bring to a boil.
- Note - the amount of sugar used may depend on the variety of apple being used. Sweet apples may not need sugar added at all. If the kind of apples being used is tart, sugar may be a good idea.
Water Bath Canning Process
- Using a canning funnel and a ladle, carefully ladle homemade apple sauce into the sterilized mason jars (quart jars).
- Using a packing tool (or the handle side of a butter knife) release any air bubbles and pack in the applesauce within one half inch of the top of the jar (½ inch headspace).
- Wipe the rim of the jar with a clean damp cloth or wipe jar rim with a damp paper towel. Using the magnet lid lifter tool, grab the jar lid from the small sauce pan, and carefully place it on the tops of the jars. Loosely screw band onto the lids of each jar to ensure the lids stay in place.
- Place the jars on the inner wire rack of the water bath canner and lower it into the boiling water. Add the lid to the canner.
- Process for 25 minutes in boiling water.
- After the 30 minutes is up, turn off the heat and carefully remove the canner lid. Grab the metal insert by the handles (with oven mitts) and raise the jars up, carefully hooking the handles onto the edge of the water bath canner. Let the jars sit for 5 minutes.
- Lay out a hand towel or a doubled up flour sack towel on a counter surface. This will act as a barrier between the hot jars and cool counter, preventing the counter and keeping the jars from bursting with the drastic temperature change. Using the jar lifter tool, carefully remove the jars from the wire insert and place them on the towel. Allow jars to sit and cool, undisturbed, for 12-24 hours. Test jars for airtight seals. The lids will not “pop” when pushed down on and will not pop off when pulled up on.
Notes
When I first started canning I would submerge the jars under the water, ensuring at least an inch of boiling water would cover the jars. This has been successful. However, I have since learned that is not necessary, and less water is required. Processing time listed is for altitudes less than 1000 feet. At Altitudes of 1000 feet or more, increase processing time 1 minute for each 1000 feet of altitude. Pint jars can also be used, processing time should be 20 minutes.
Related
Looking for other recipes like this? Try these:

Pin this post for later here!
Leave a Reply