Canning can be intimidating and scary for those who have never done it, but it doesn’t have to be! I personally know people who will only eat their garden produce fresh, or who will process and freeze their harvest rather than canning it. This is simply because they are afraid of using a pressure canner or scared something will go wrong and the whole family will end up with botulism or food poisoning. There is nothing wrong with eating the produce fresh or freezing it, of course, but canning isn’t as difficult or scary as it may seem! These step by step instructions makes canning carrots so simple! Choose between two different methods (raw pack or hot pack) and enjoy home-canned carrots all year.
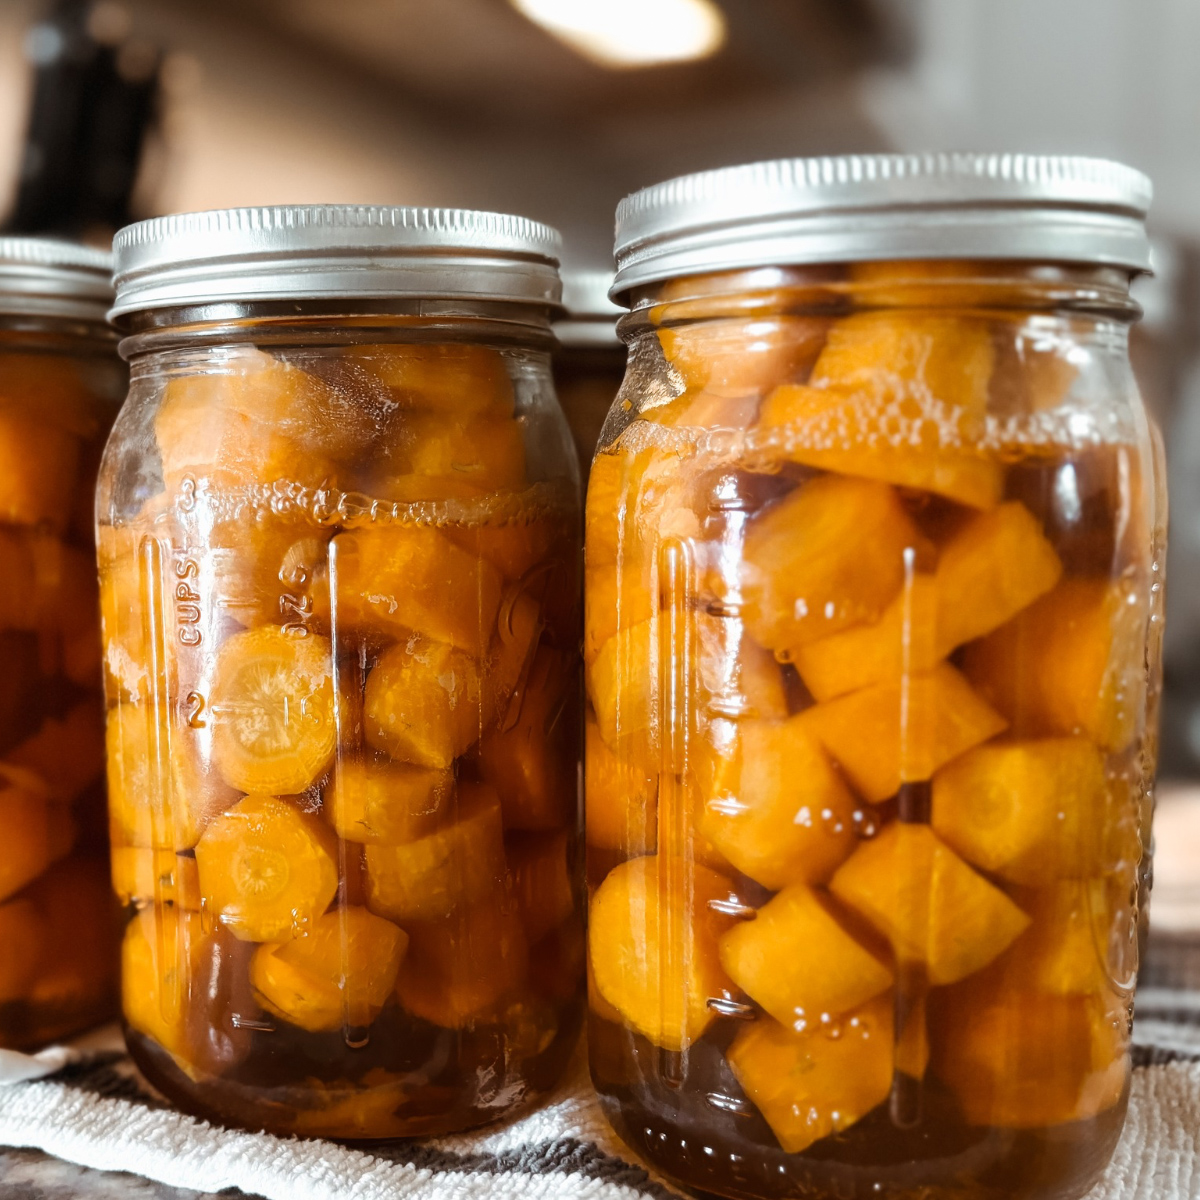
I was fortunate to have grown up in a family of gardeners - learning to plant, care for, harvest and can a garden from a young age. Now, my husband and I have multiple large gardens on our property and enjoy growing, harvesting, and canning our loot as a family. Here, I will teach you step-by-step how to easily process the fresh carrots, and safely pressure can your own carrots. This is a tried and true process that our family has followed for years, found in the Ball Complete Book of Home Preserving, and great for a beginner pressure canner!
Jump to:
- Why Preserve Carrots?
- Can I Water Bath Can the Carrots?
- Ingredients Needed
- Canning Supplies Needed
- Instructions
- Pressure Canning Carrots - Easy Method (How To)
- Storage
- Pin this post for later here!
- Check out other canning recipes here:
- Sourdough Apple Crisp - Easy Discard Snack Recipe
- How to Make Bone Broth (Delicious Crock Pot Recipe)
- Making and Canning Homemade Applesauce - Step by Step
Why Preserve Carrots?
Pressure canning carrots is an easy and safe way to preserve carrots for use throughout the winter. Once upon a time I thought “why grow or can carrots when they’re so cheap at the store?” Well, did you know that store bought carrots are washed with a small amount of chlorine? No thank you! For me and my family, we will take our veggies without the chemicals thank you. In addition, canning carrots is a great way to extend their shelf life.
Can I Water Bath Can the Carrots?
No. Carrots are considered a low acid food, unlike other fruits and vegetables (such as apples and tomatoes). Low-acid vegetables and fruits are more susceptible to the growth of harmful bacteria, which can cause major food borne illness if consumed, such as botulism. To prevent the harmful bacteria from growing on low acid fruits and vegetables (such as carrots), pressure canning is the method used for preservation. Pressure canning brings the temperatures high enough to destroy any harmful bacteria that may be present, making it a much safer option. Hot water bath canning doesn’t bring the temperature high enough to ensure safe processing of low acid foods, but is a great option for foods containing higher acid levels.
A great beginner water bath canning recipe is my Spaghetti Sauce Recipe - check it out here.
Ingredients Needed
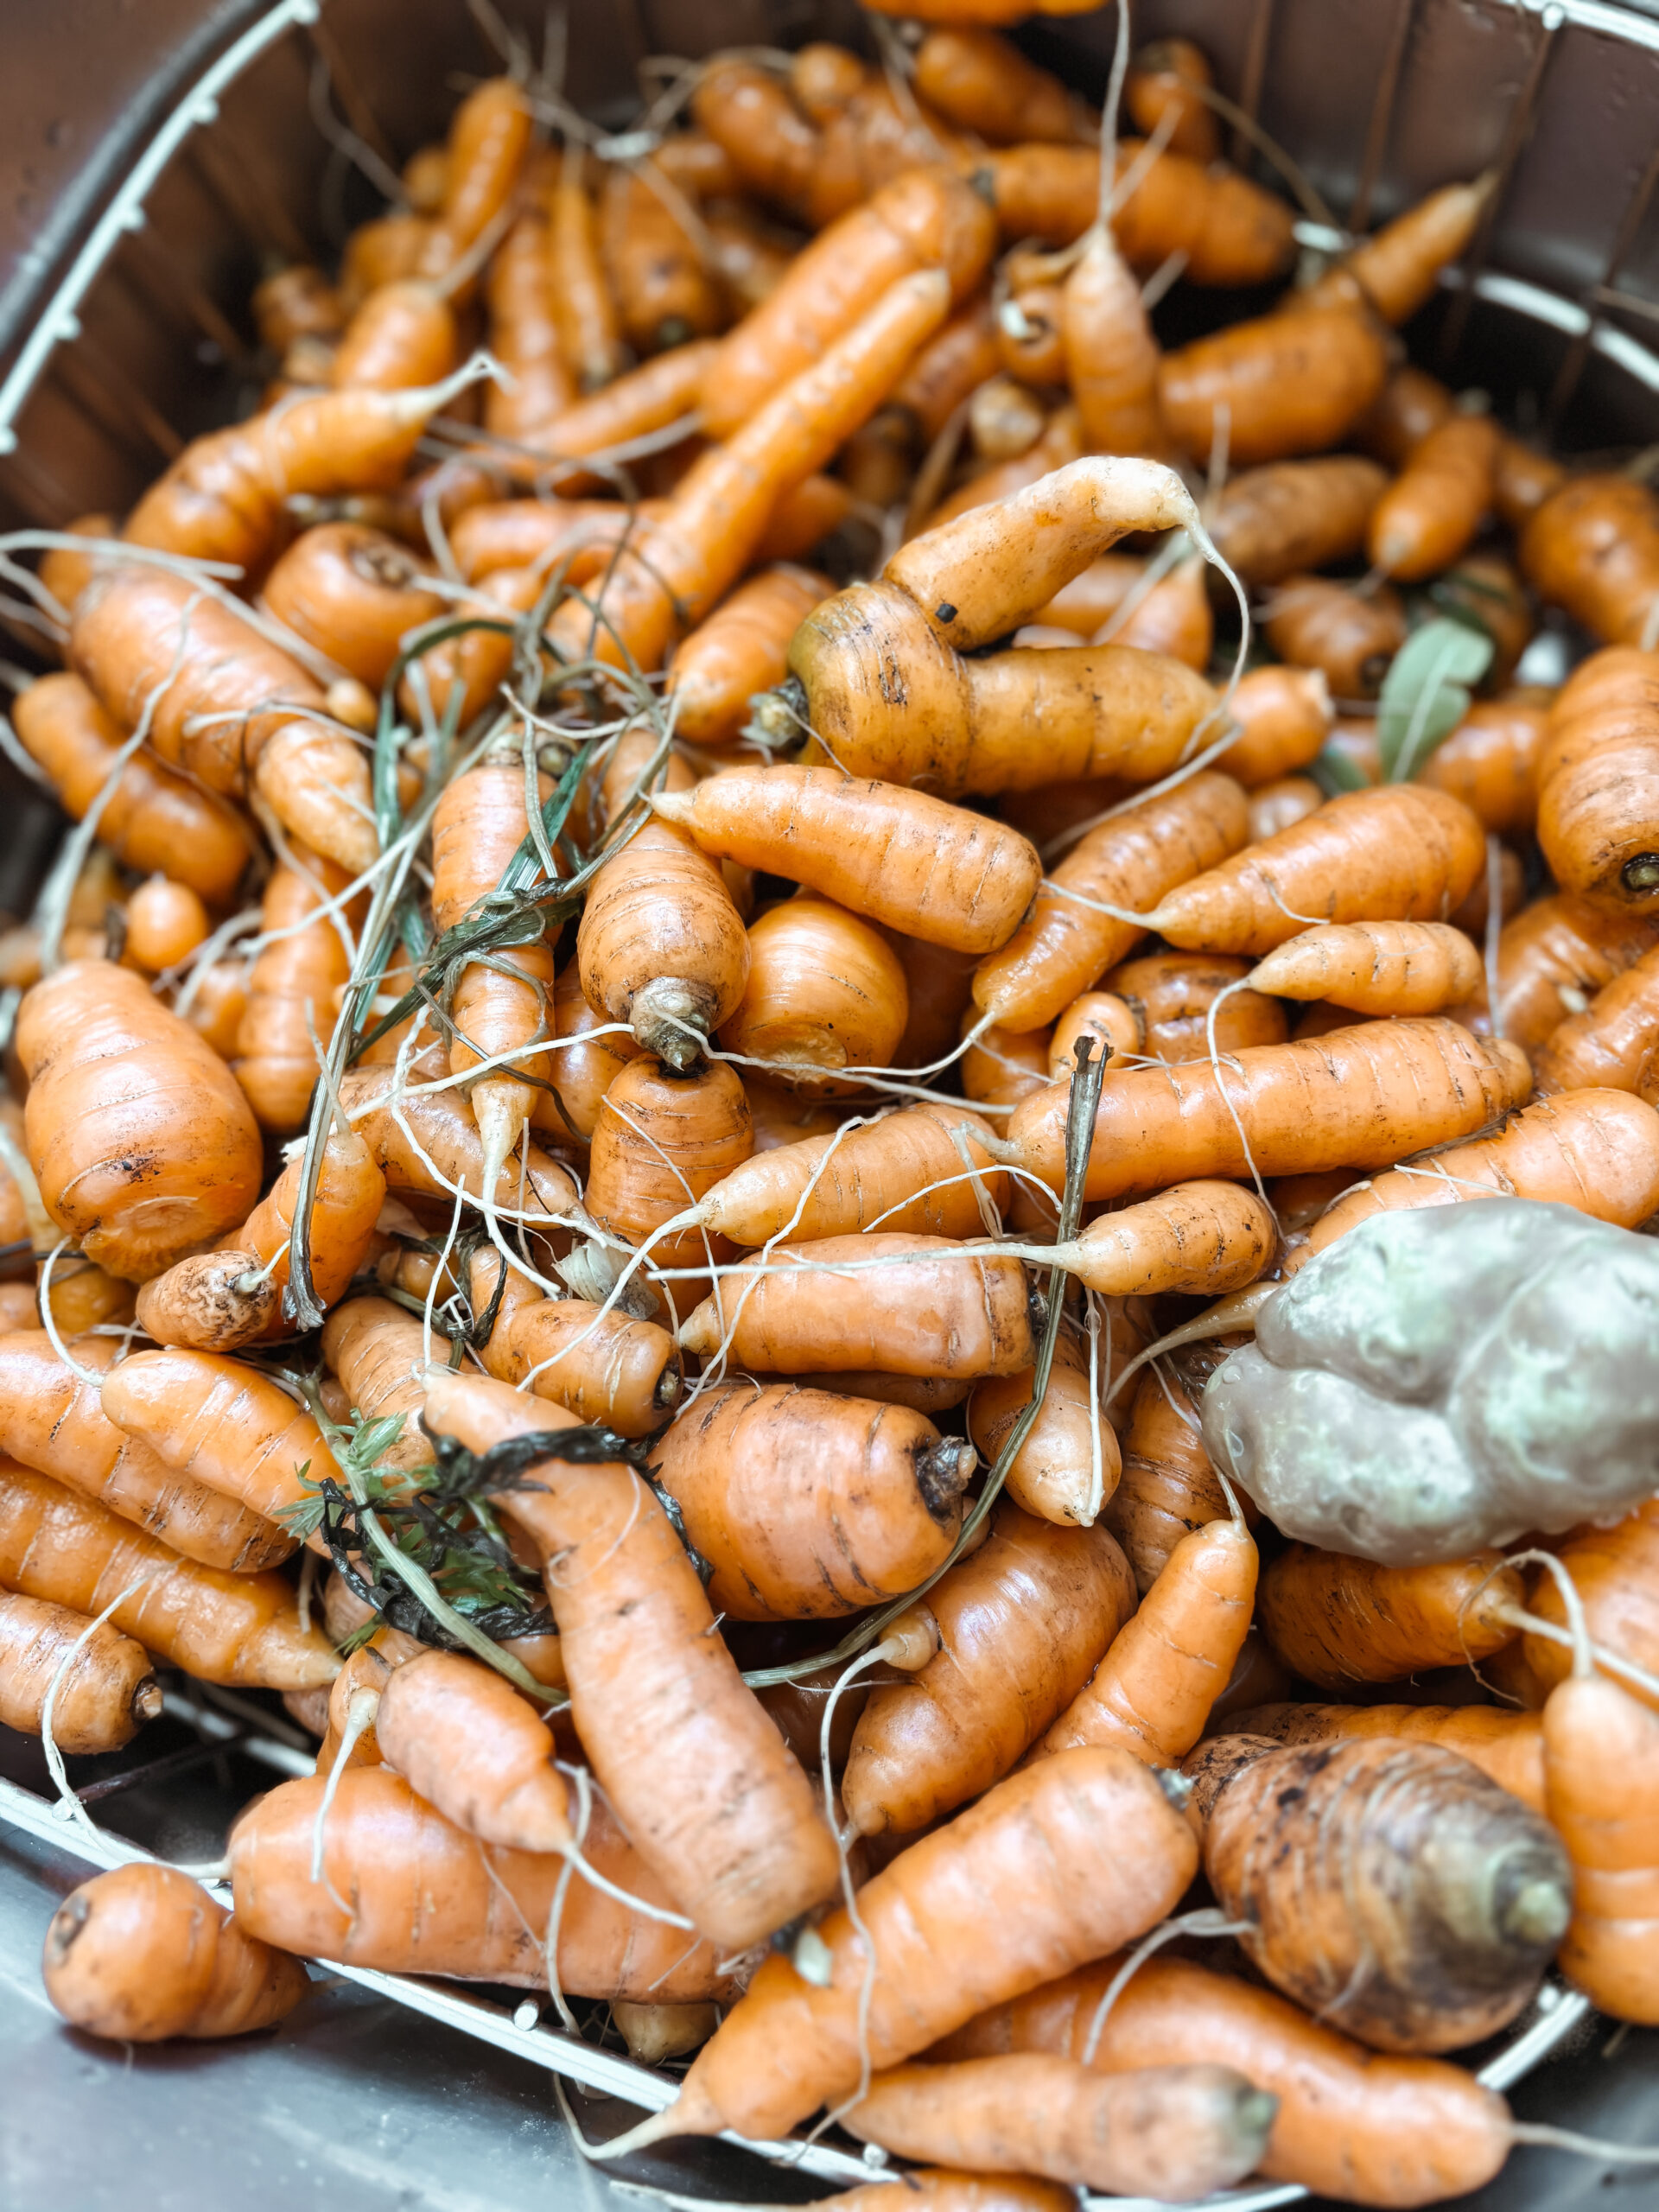
- Approximately 9lbs fresh raw carrots
- Water
- Salt (optional)
Canning Supplies Needed
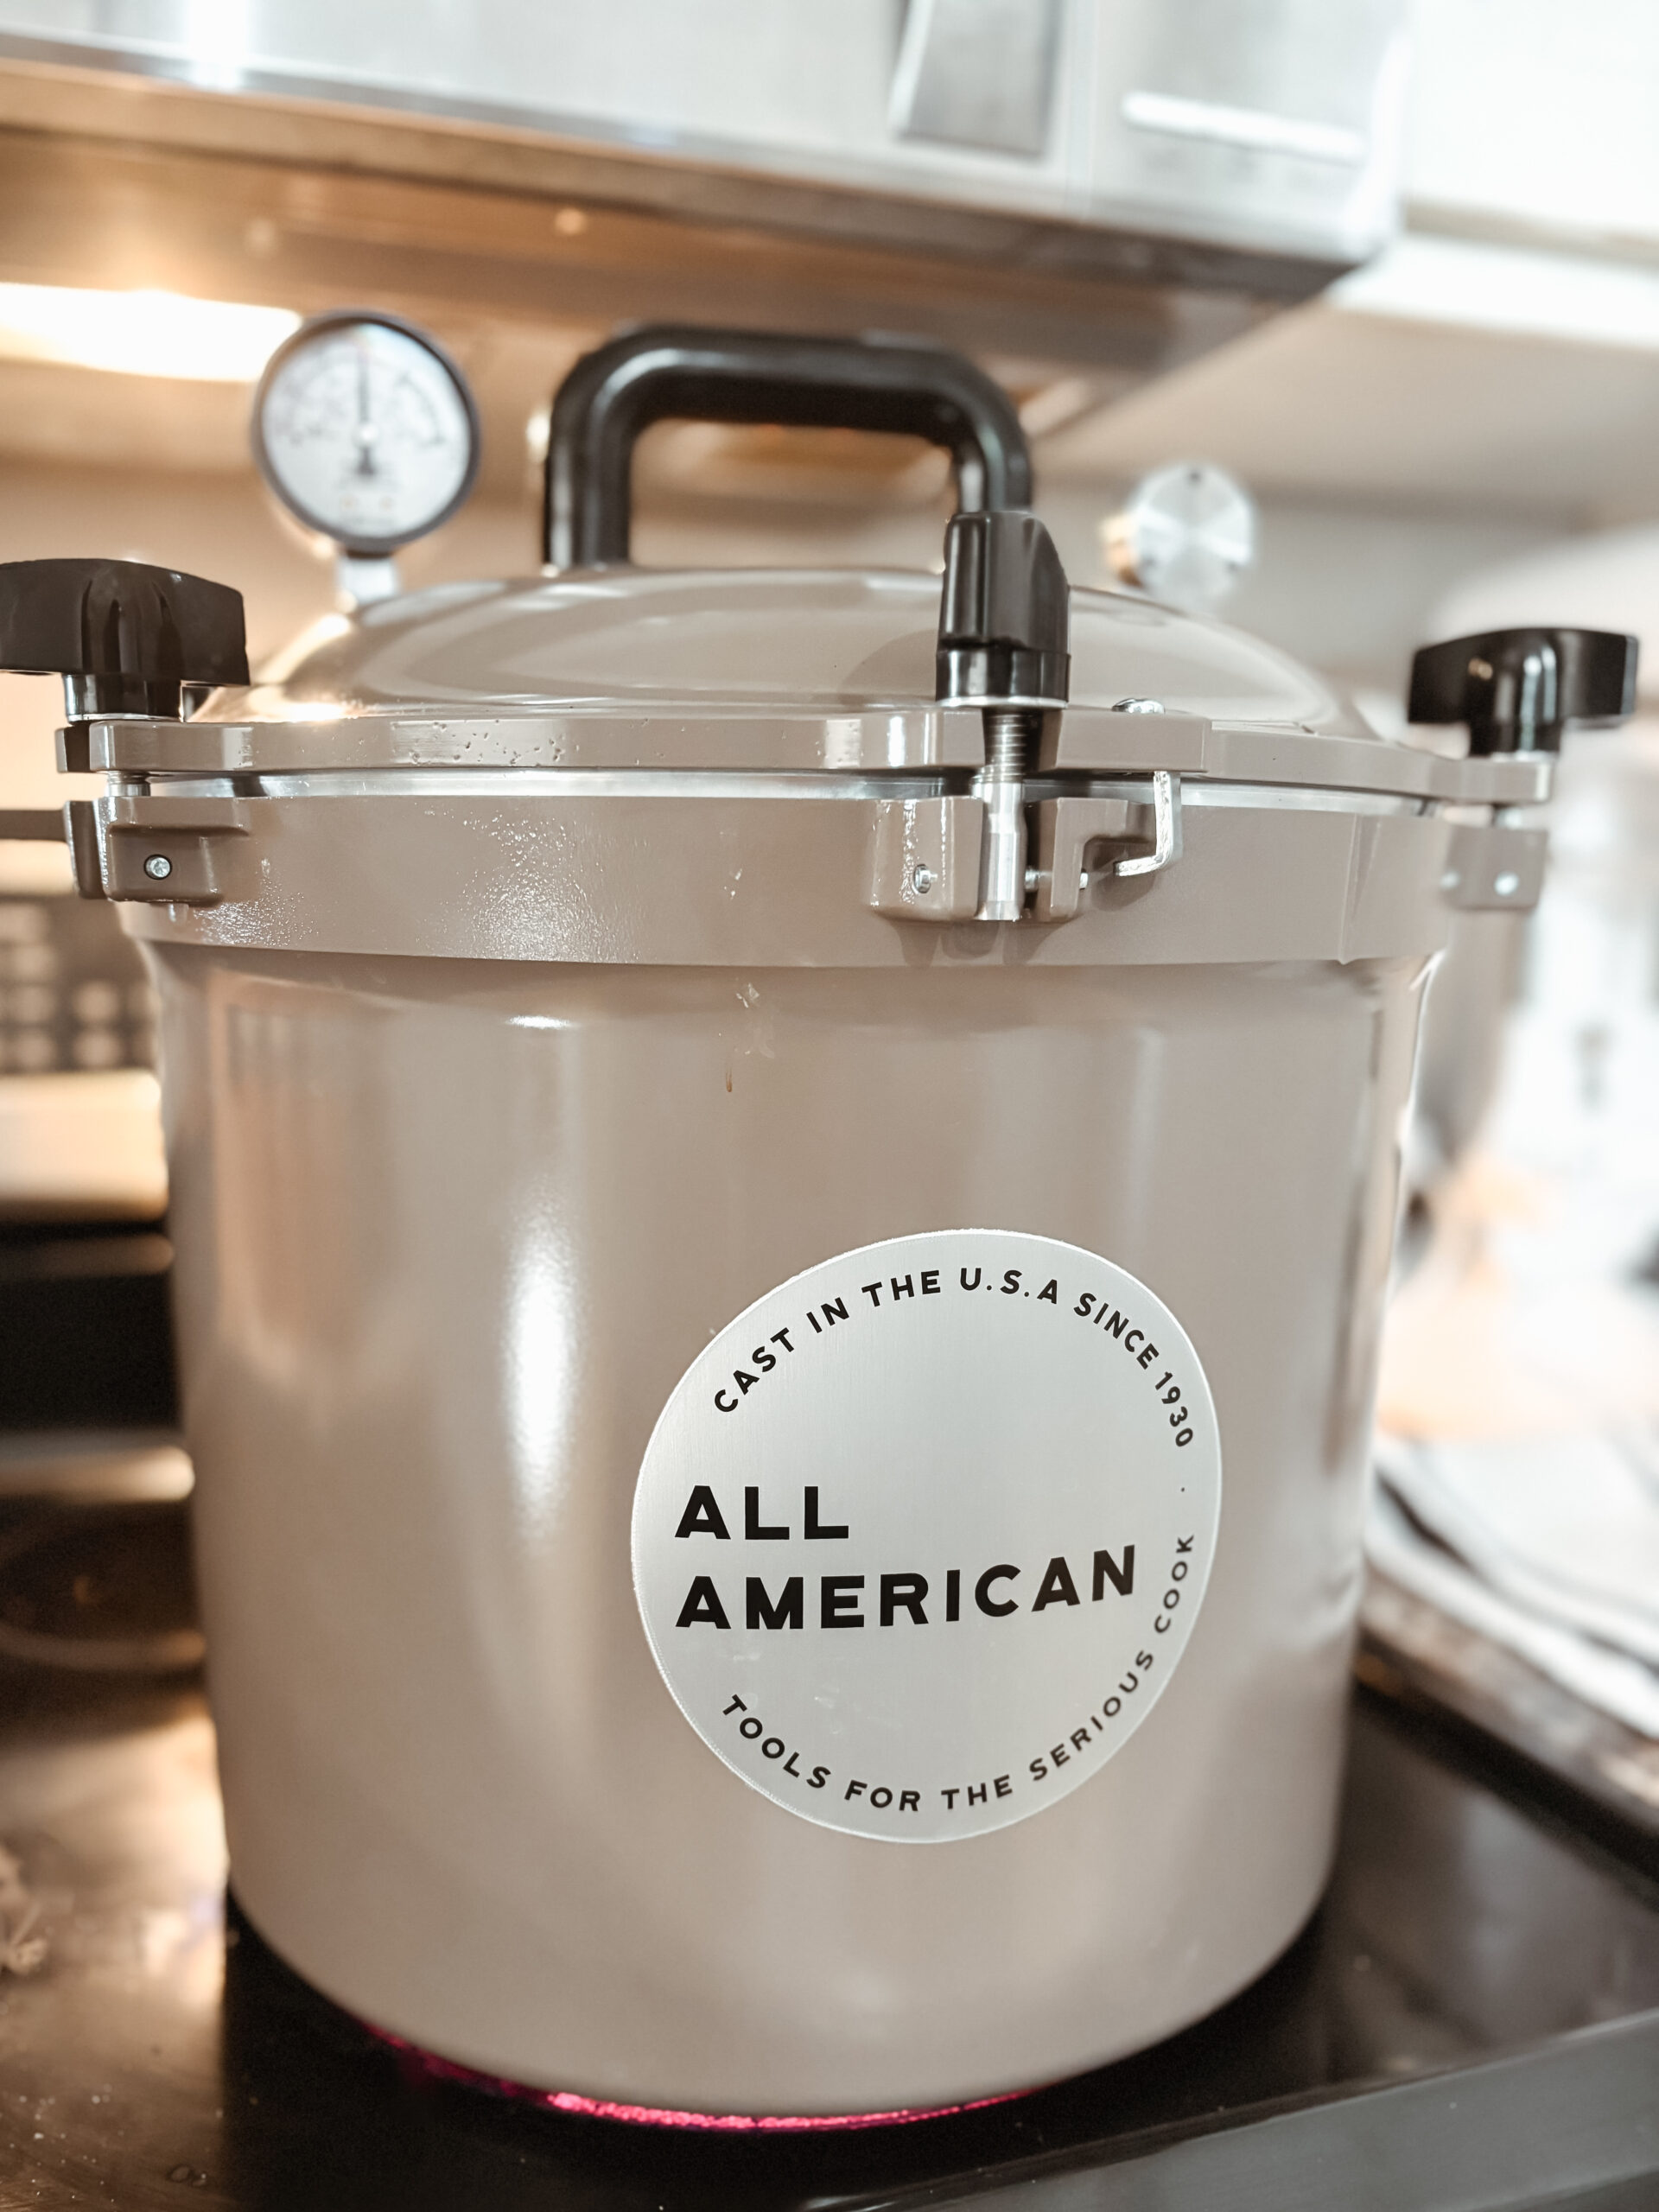
- Pressure canner - we invested in an All American canner which we absolutely love
- Vegetable peeler
- Food Processor (or cutting knife) - the food processor significantly speeds up the chopping process and was a great investment for our kitchen
- Beginner canning tool kit
- Quart glass jars and new lids (or pint)
Instructions
Prepare the Jars
There are multiple ways to do this:
- Dishwasher Method - Some dishwashers have a sanitize function on the dishwasher which works well for preparing the mason jars. The downfall, however, is this can be a time consuming method.
- Oven Method - Wash the jars with soap, rinse, but do not dry. Place upside down on a baking sheet and put in the oven for 20 minutes at 275 degrees Fahrenheit (130 degrees Celsius). Carefully remove the hot jars for canning.
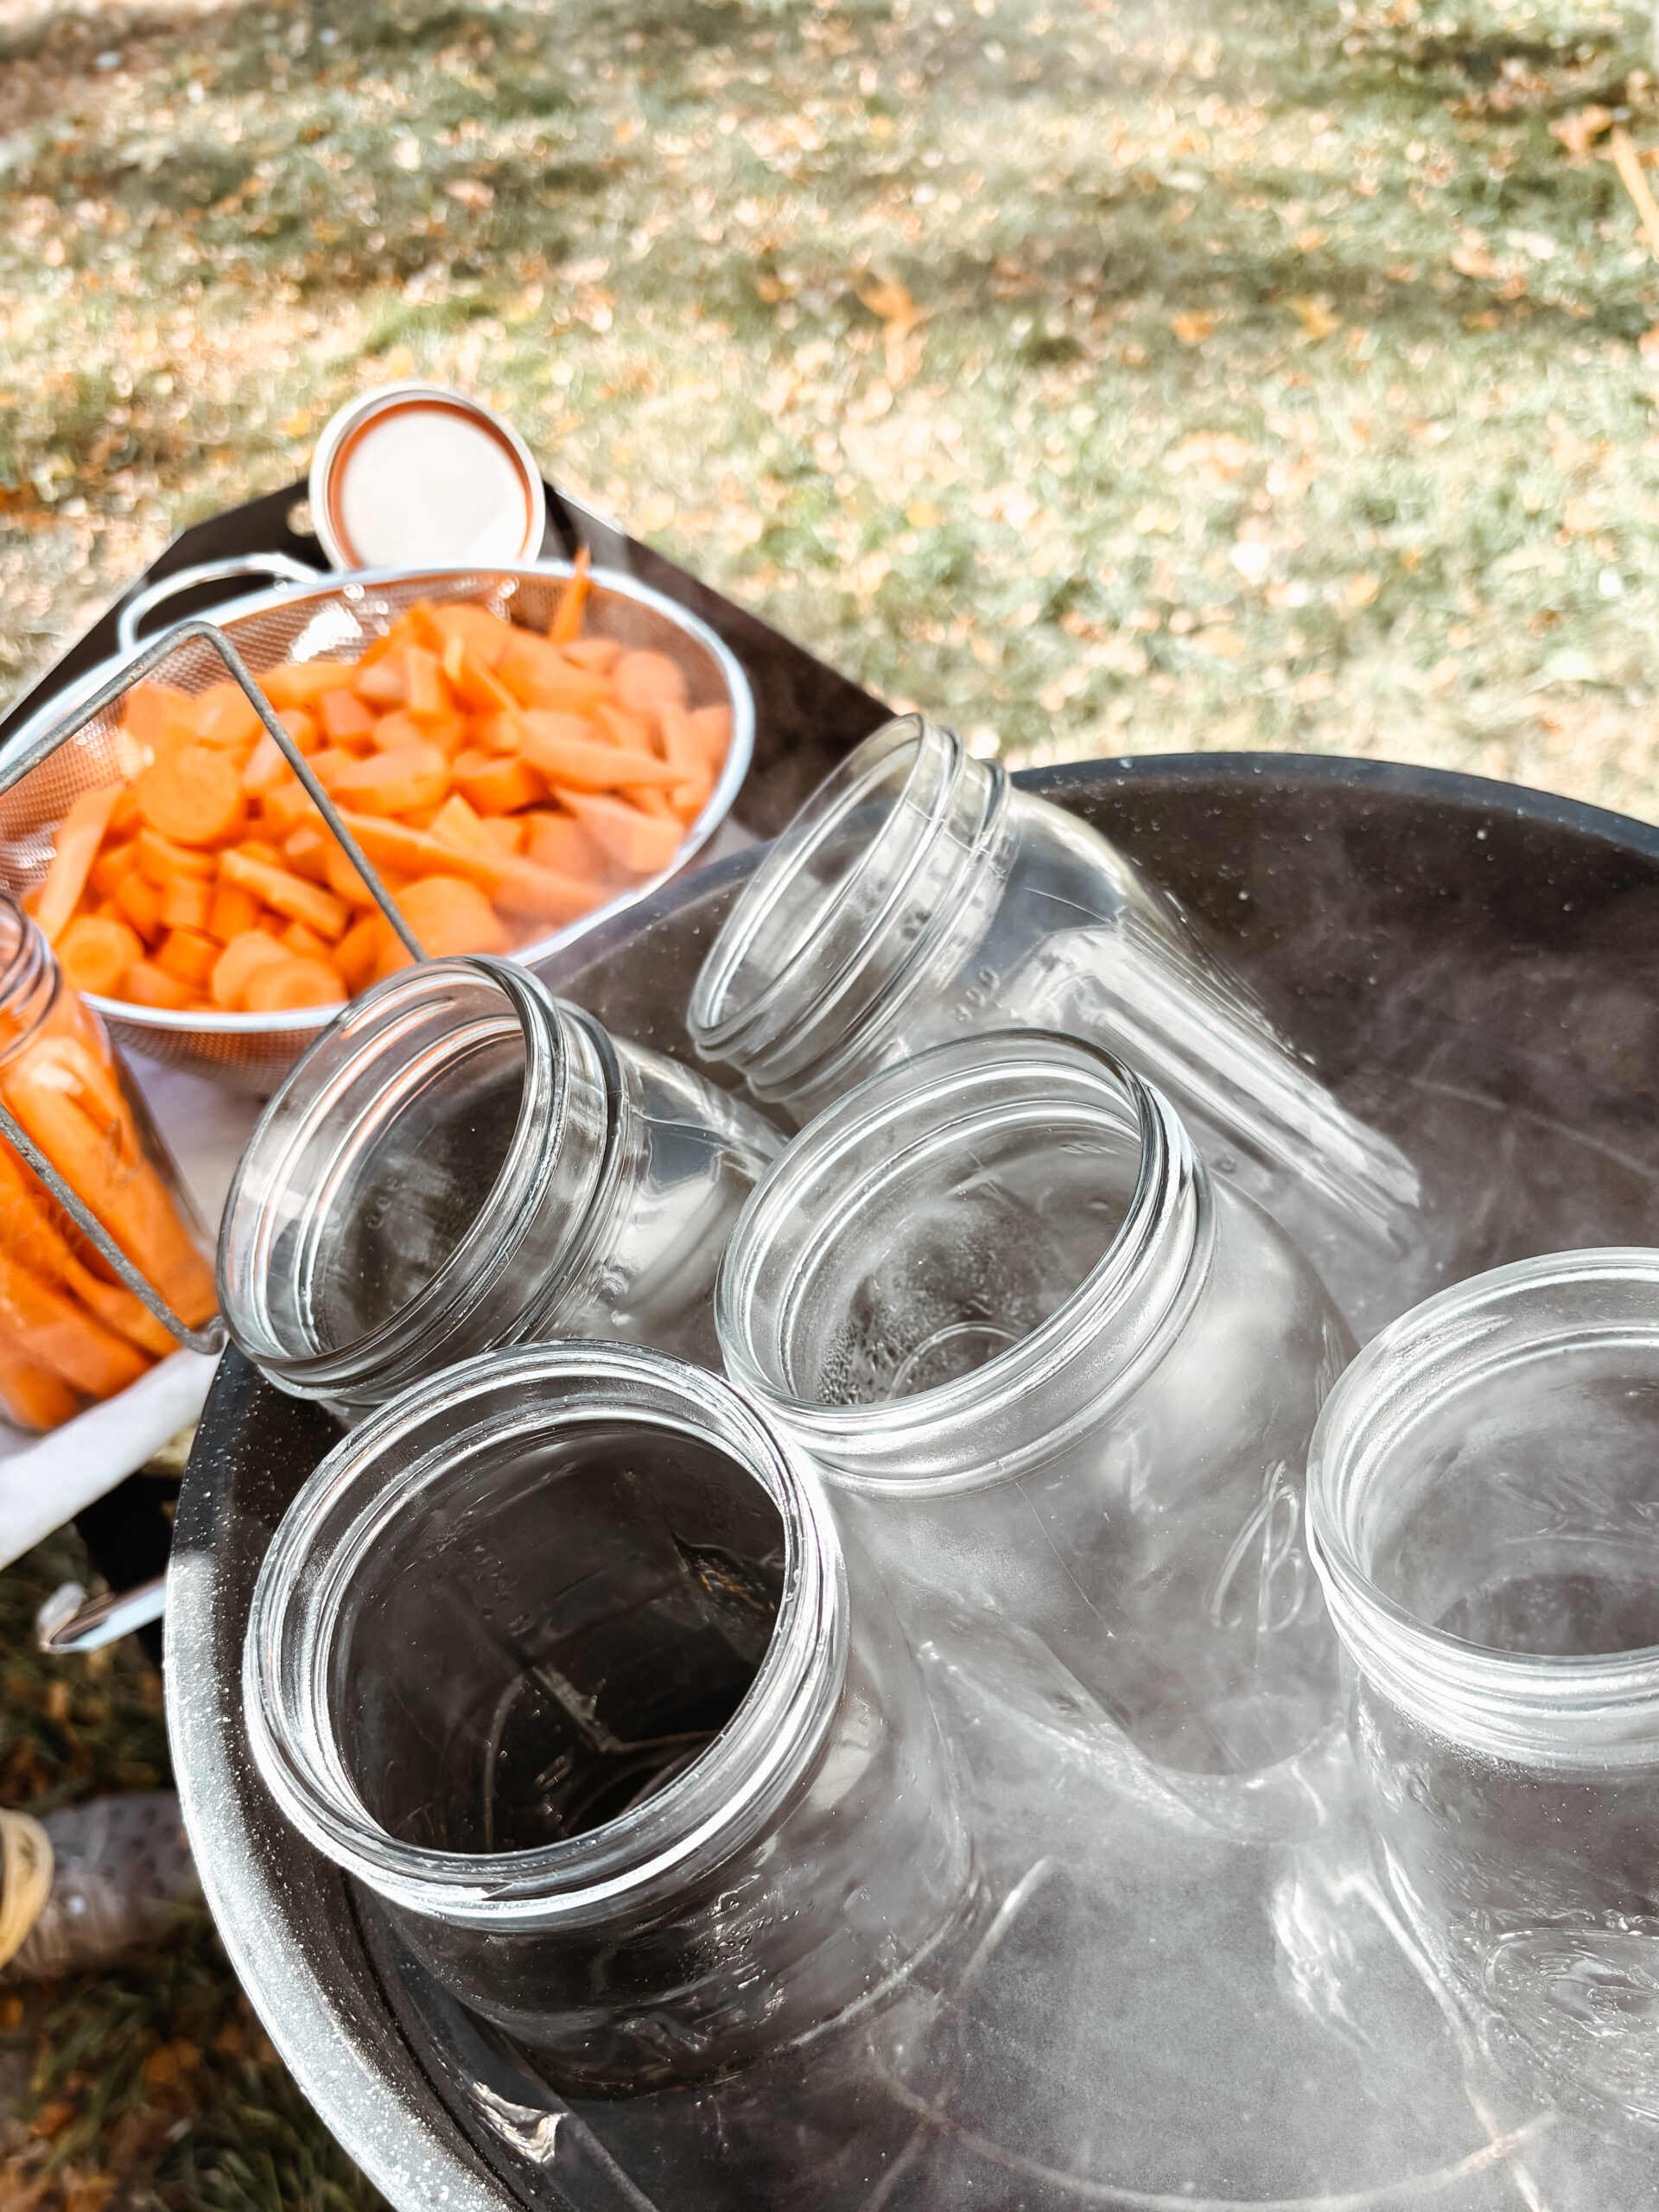
- Boiling Method - Wash jars with hot soapy water and rinse. Place jars in a large pot of boiling water (like the water bath canner) and let them sanitize for 20 minutes. Remove jars and let air dry before use.
For the lids - place in a small sauce pan of hot water until it is time to add them to the jars.
Prepare the Pressure Canner
Follow the manufacturers instructions for your specific pressure canner. In addition, heat the sterilized jars in hot water - they must be hot before packing the carrots.
Prepare the Carrots
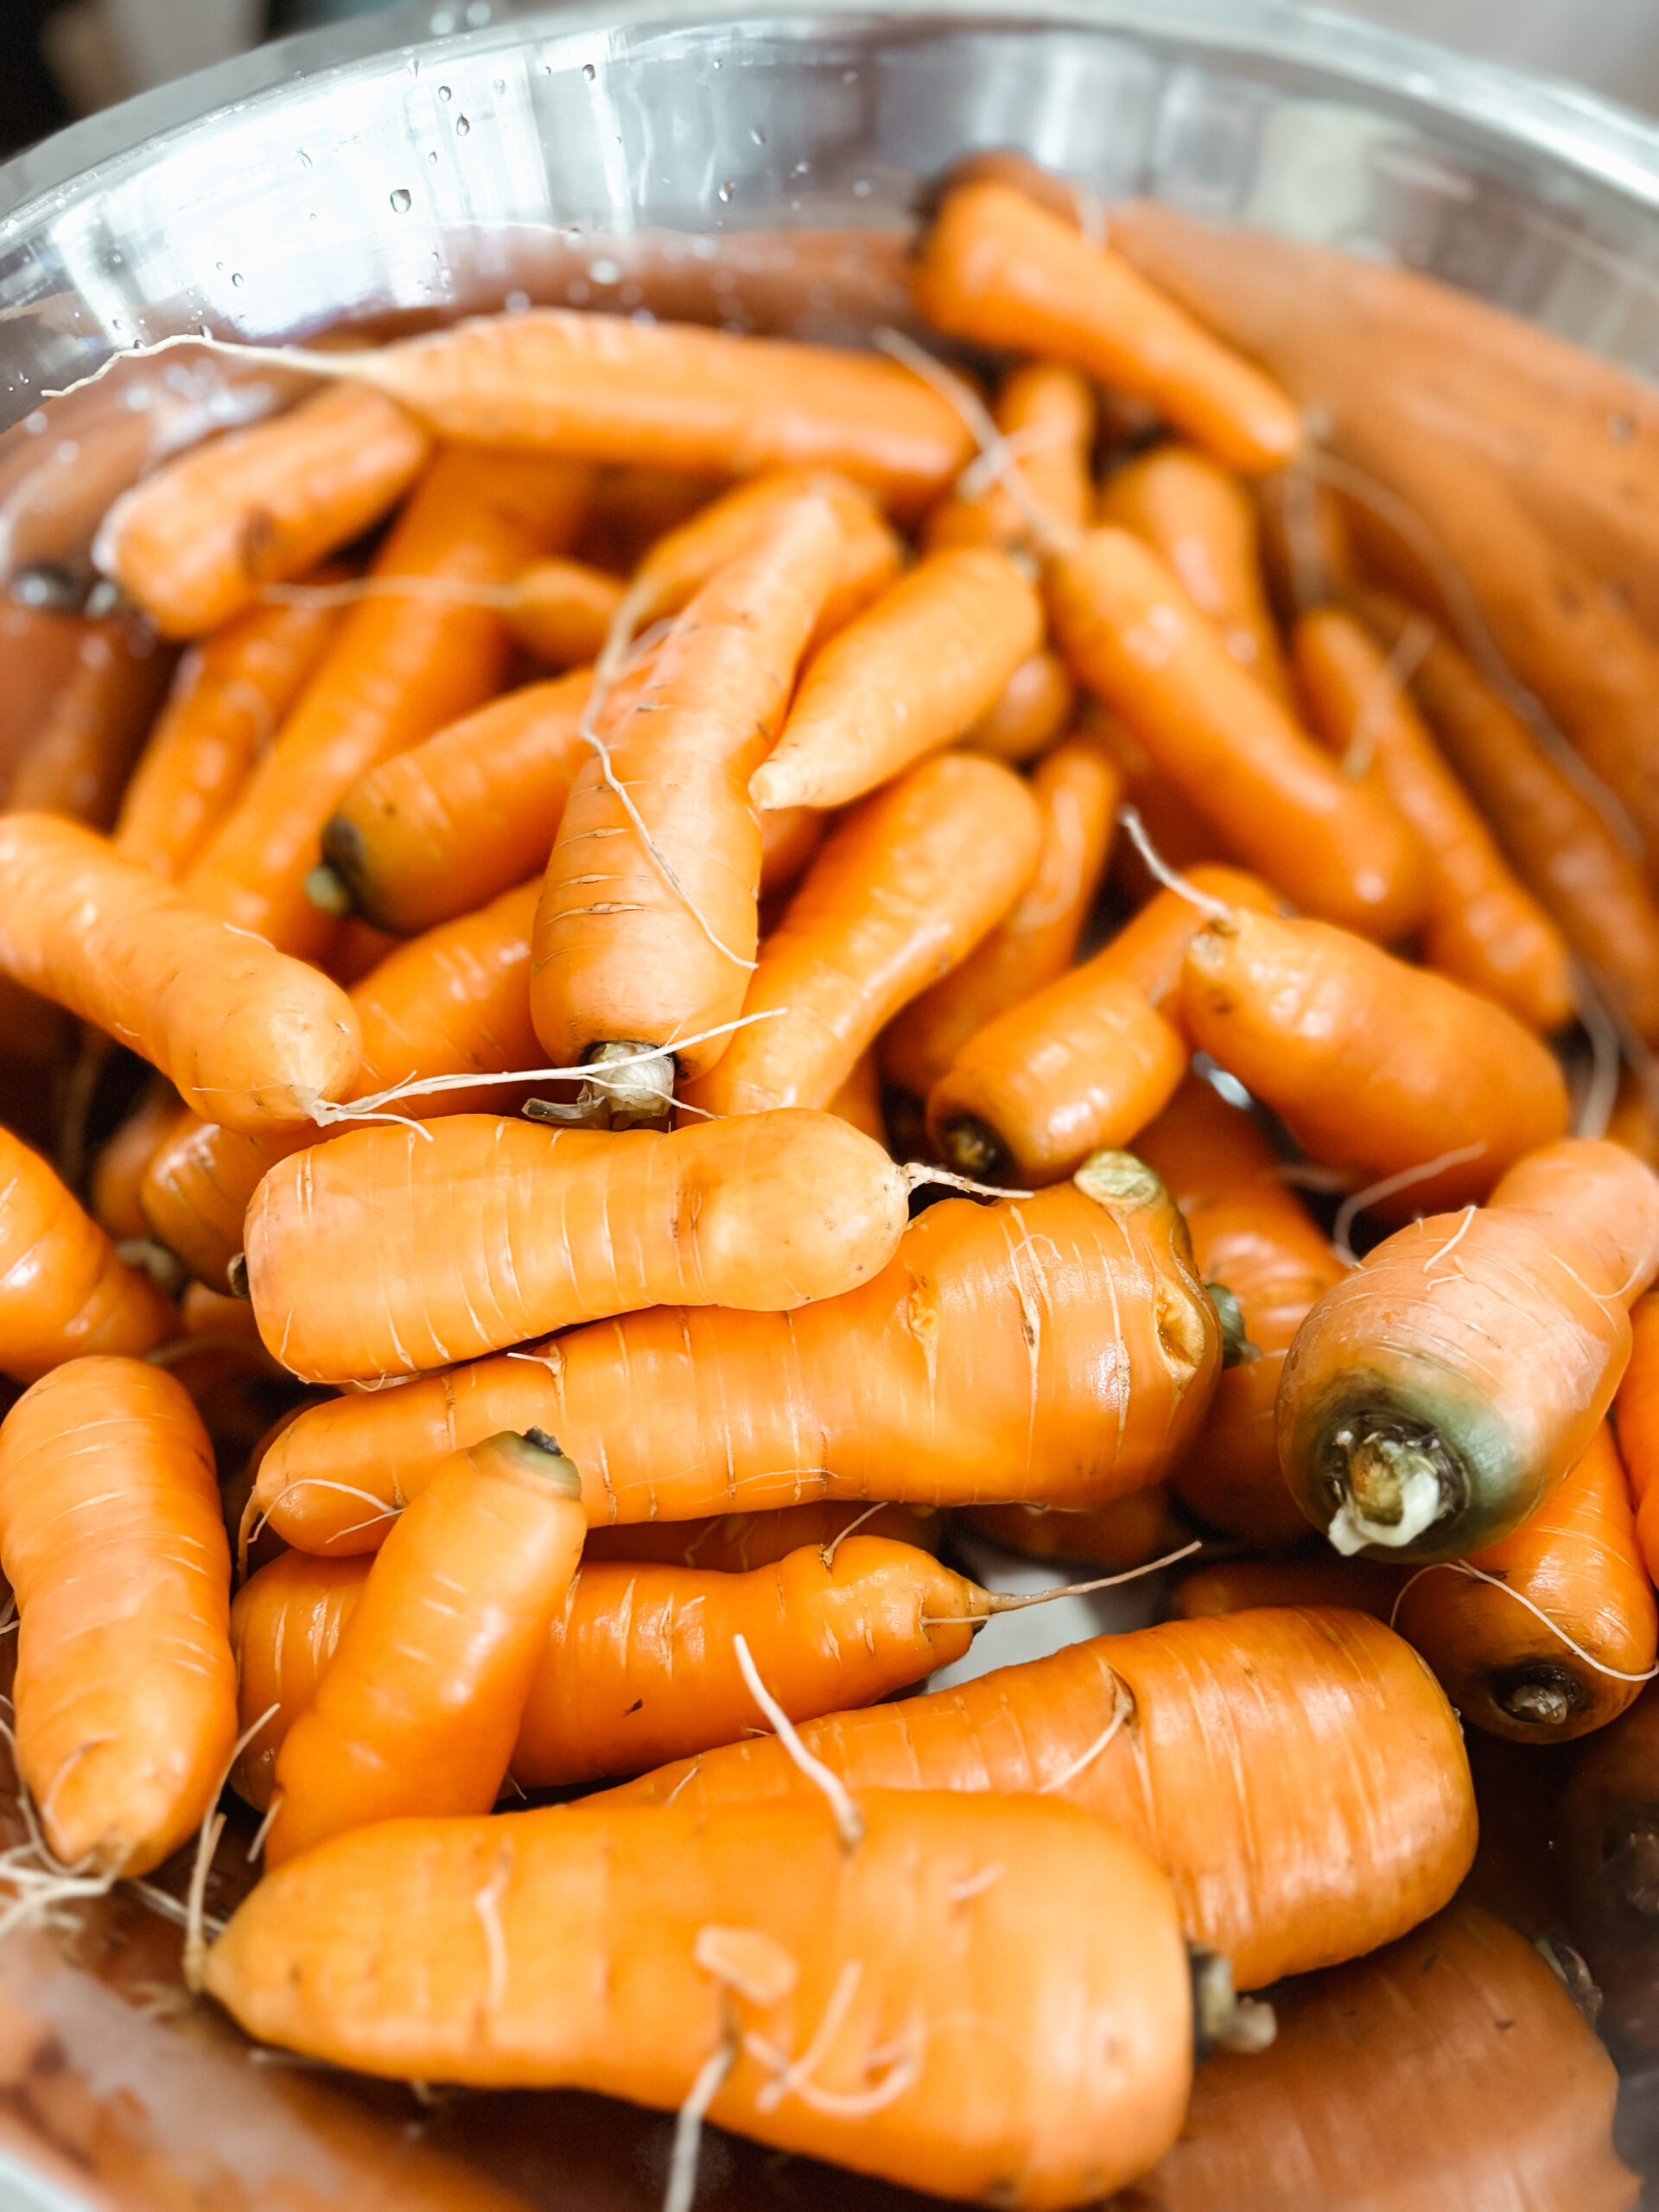
First, wash the raw carrots well. Discard any carrots that are soft or carrots that are blemished. Peel carrots, then wash carrots again. Small carrots can be left whole like baby carrots, otherwise cut down the carrots to a manageable size. Either slice them into round discs about ¼ inch thick or into carrot spears.
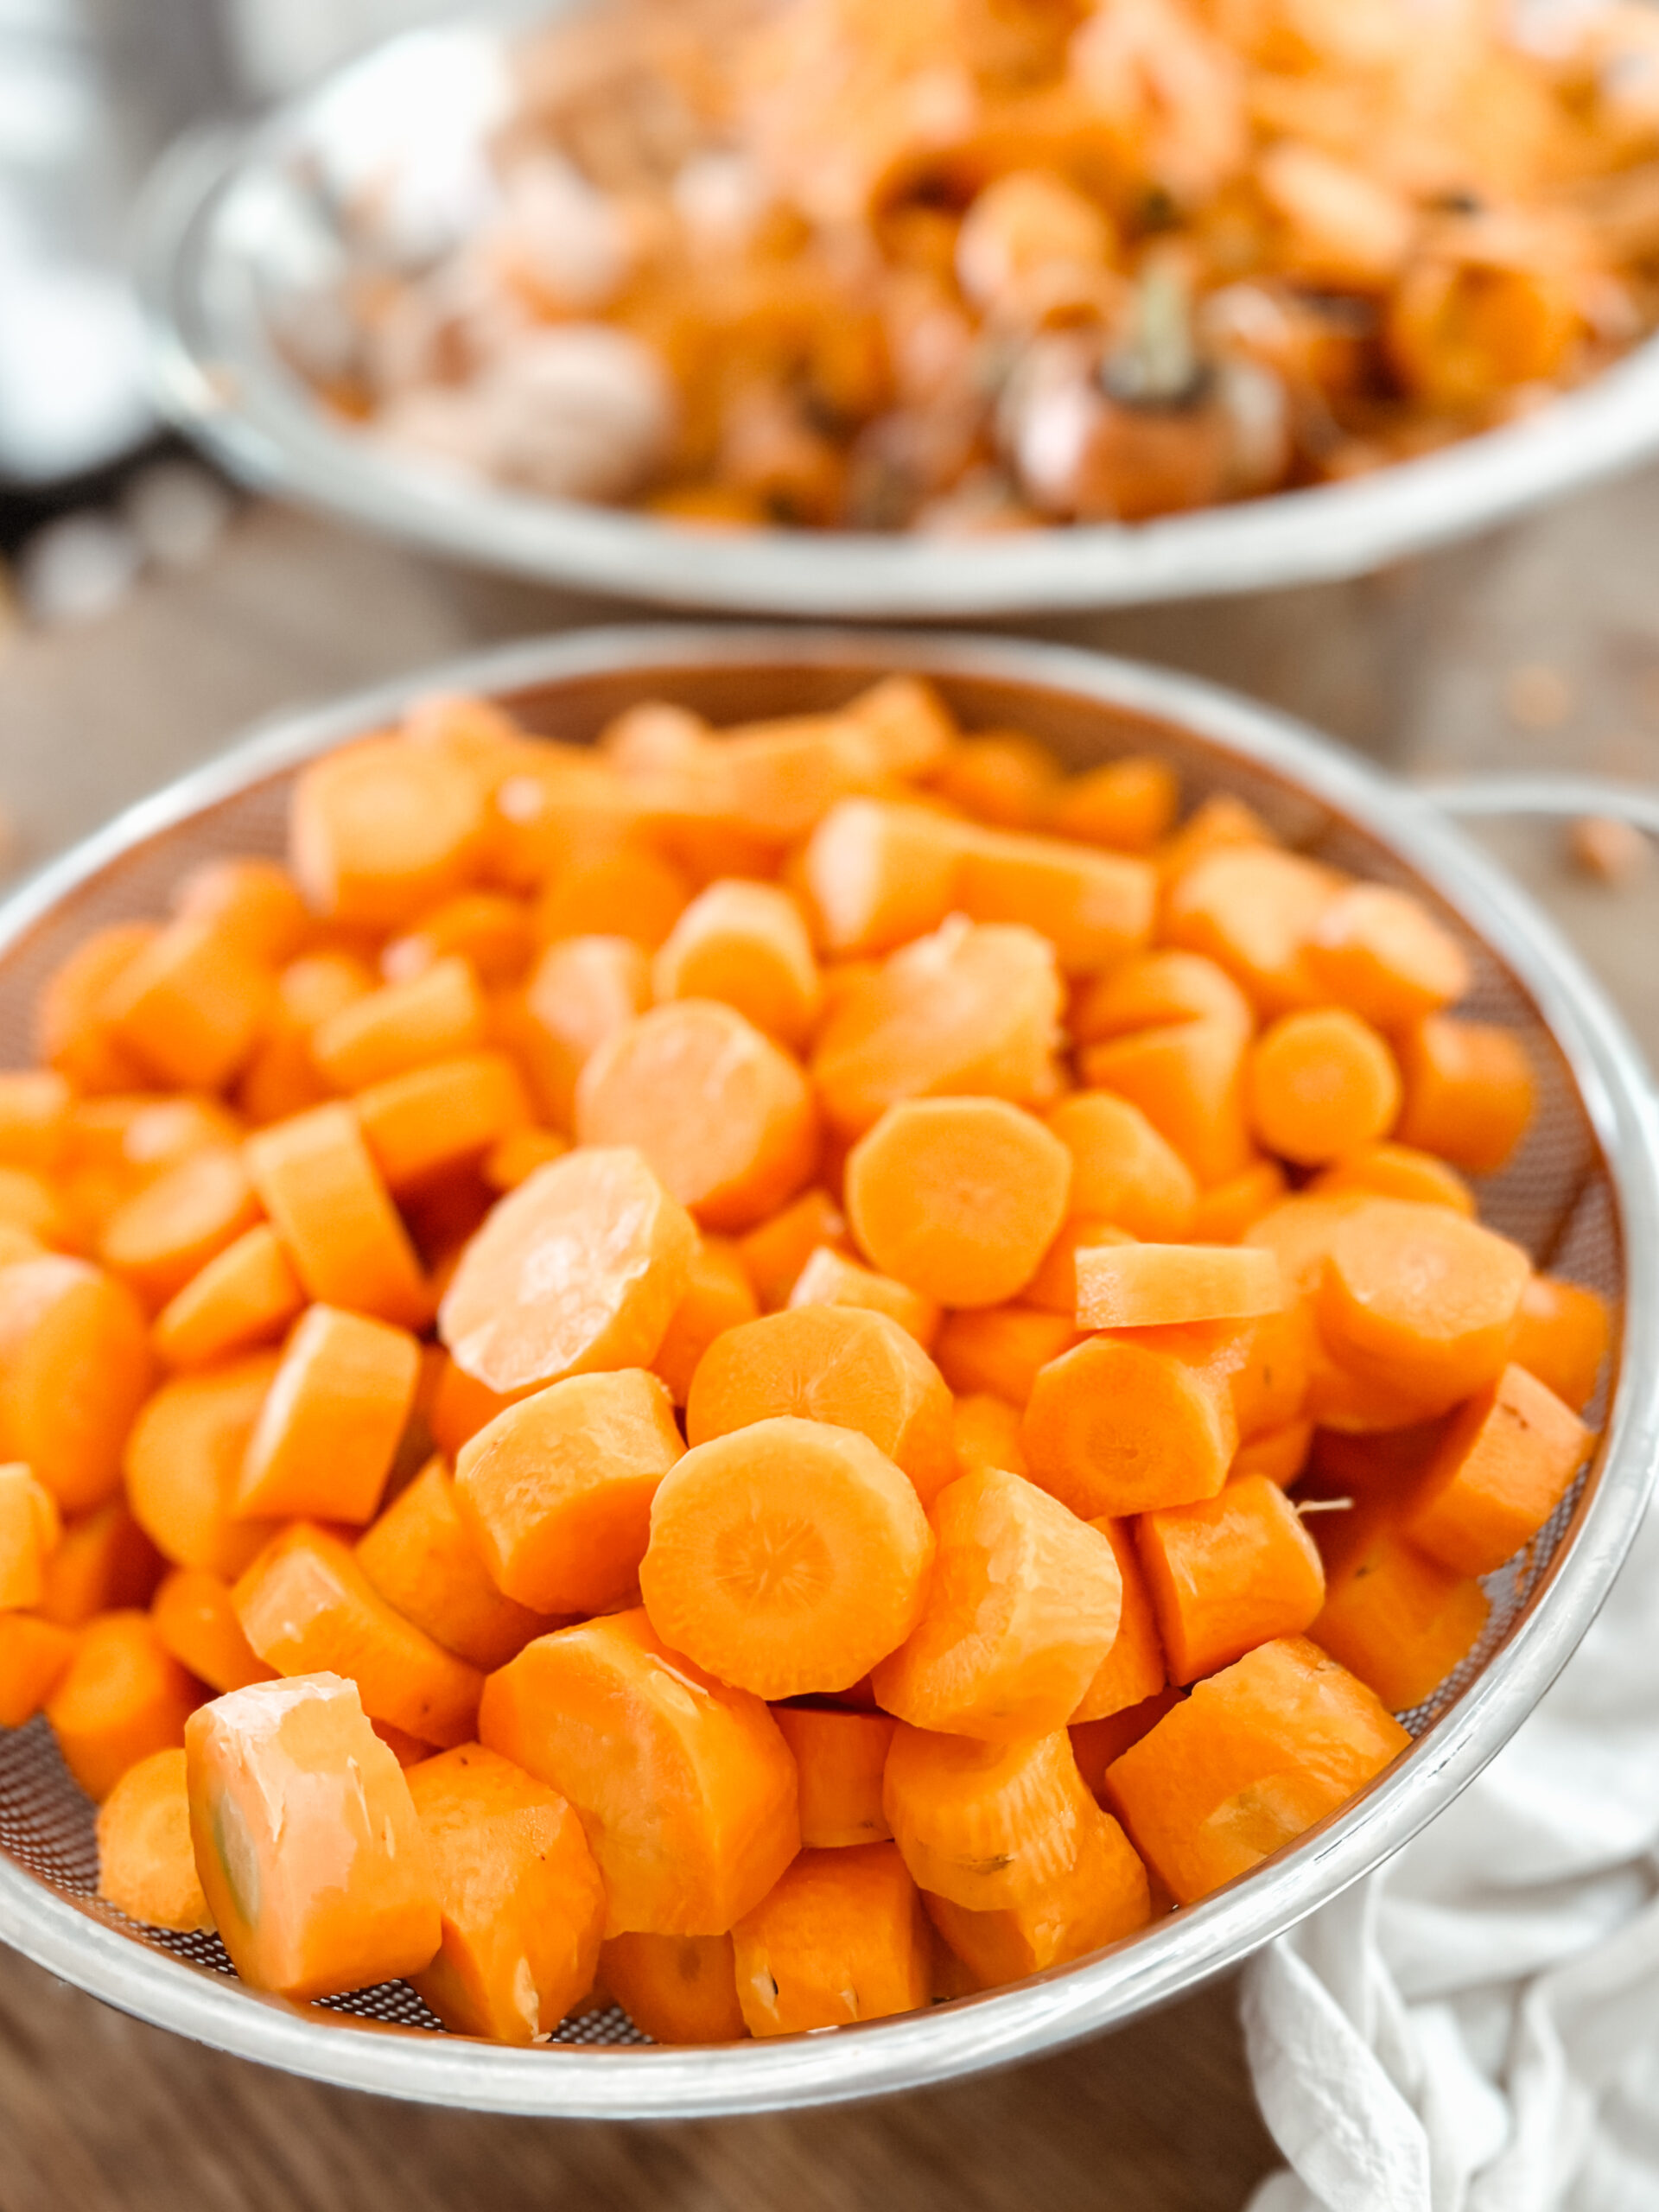
Hot Packing Method
Add carrots to a large pot with enough water to cover them.
Turn burner on to medium-high heat and bring to a boil.
Reduce heat and stir gently while boiling for 5 minutes. Carrots should be tender yet crisp.
Drain carrots, but SAVE the boiling carrot water for packing. (fresh boiled water works too, but can take more time)
Using a canning funnel, pack hot carrots into the hot quart jars. Leave one inch of head space.
Optional - add 1 teaspoon of salt to the quart jar of carrots (½ teaspoon to pint jar)
Add the boiled carrot water to the jars of packed carrots, leaving 1 inch of headspace. (or use fresh boiled water)
Raw Packing Method
In a large pot, bring water to a boil. Reduce to a simmer.
Using a canning funnel, pack carrots (raw, prepared) into the hot quart jar. Leave one inch of headspace.
Optional - add 1 teaspoon of salt to the quart jar of carrots (½ teaspoon to pint jar)
Add the hot water to the jars of packed carrots, leaving 1-inch headspace.
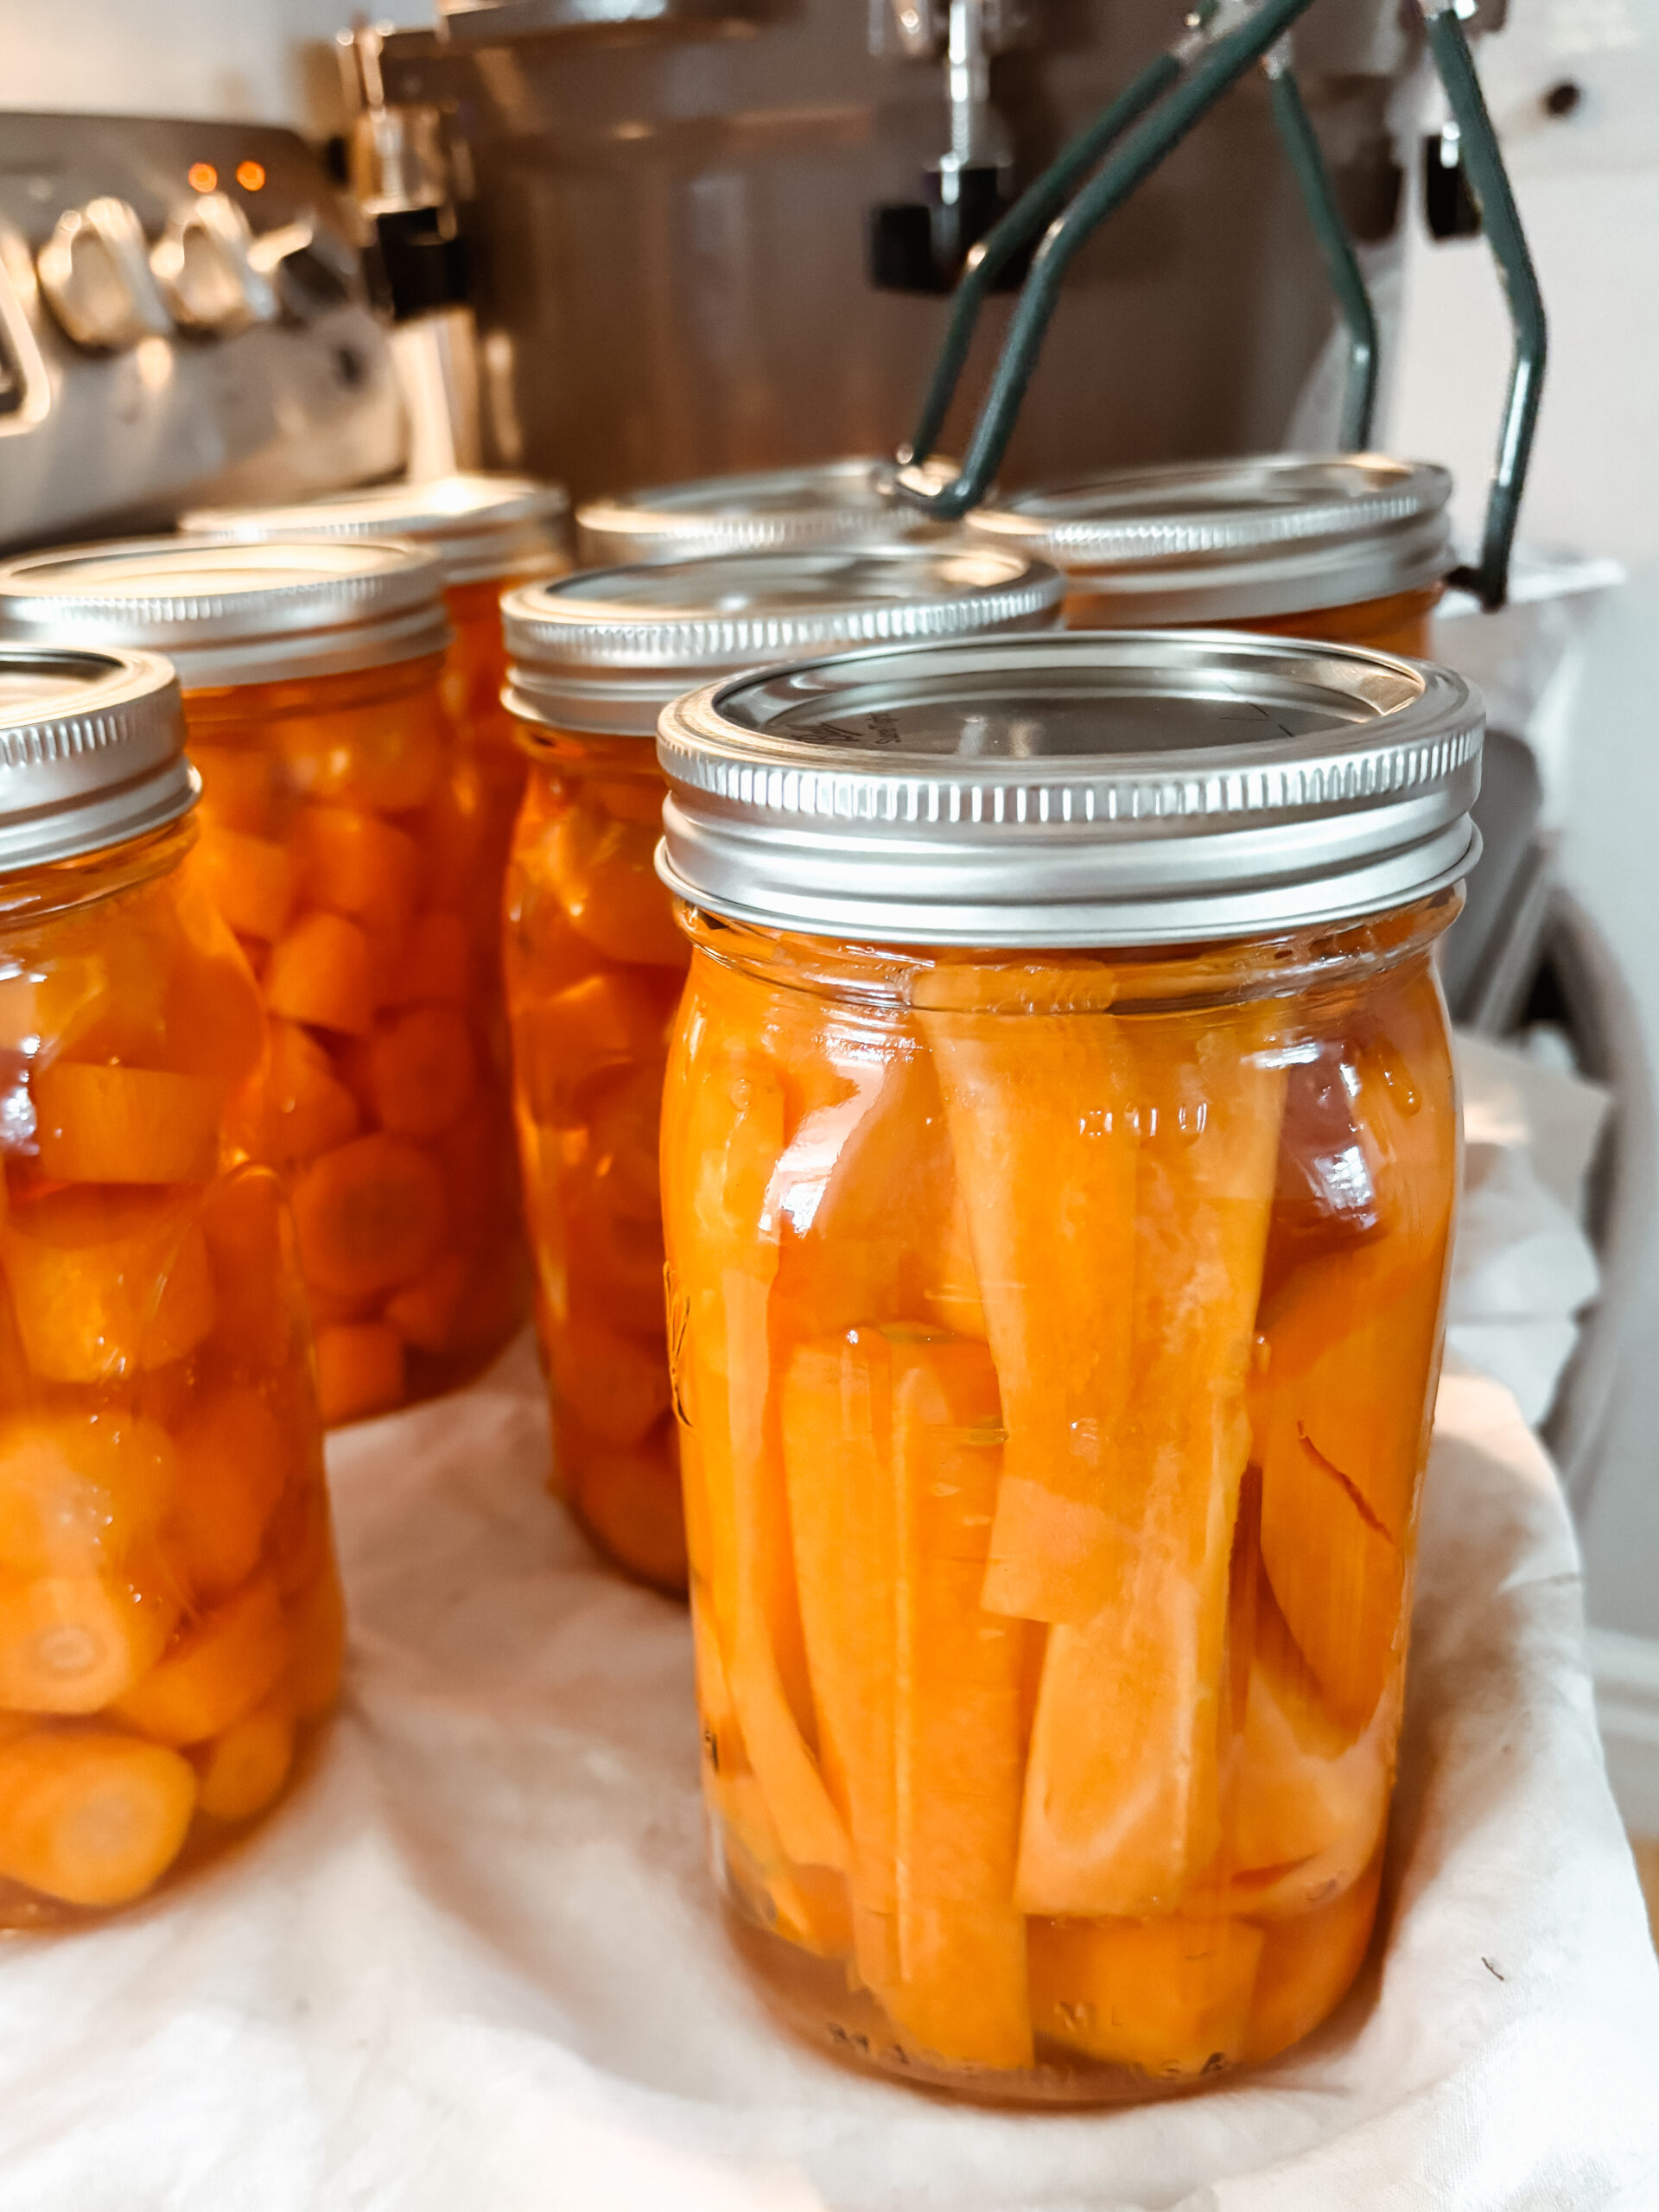
Pressure Canning Carrots - Easy Method (How To)
Remove any air bubbles from the jars using a de-bubbler tool or the back end of a sanitized butter knife.
Using a damp paper towel, wipe jar rims clean.
Place the new jar lid (sanitized) and screw band on each jar. Tighten just enough so there isn’t movement with the lid.
Using a jar lifter tool or oven mitts, add the carrot jars to the prepared pressure canner.
Follow canner instructions for the recommended amount of water in the canner (typically 2-3 inches in the bottom of the canner). Lock the canner lid and bring to a boil over medium-high heat.
Vent the steam for 10 minutes, then close the vent.
Continue heating the pressure canner to achieve 10 pounds of pressure. Maintain pressure for the entire duration of the cooking time. (Adjust for altitude)
Quart jars should be processed for 30 minutes (pint jars for 25 minutes).
After the allotted time has passed, turn of the heat. Let the pressure return to zero naturally. Once the pressure gauge reaches zero, wait a few minutes and open the vent. Carefully remove the canner lid.
Allow jars to stand in the canner for an additional ten minutes.
Lay out a hand towel or a doubled up flour sack towel on a counter surface. This will act as a barrier between the hot jars and cool counter, preventing the counter and keeping the jars from bursting with the drastic temperature change. Using the jar lifter tool, carefully remove the jars from the wire insert and place them on the towel. Allow jars to sit and cool, undisturbed, for 12-24 hours. Test jars for airtight seals. The lids will not “pop” when pushed down on and will not pop off when pulled up on. This indicates a proper seal.
Pressure Canning Carrots - Easy Method (How To)
Equipment
Ingredients
Ingredients Needed
- Approximately 9lbs fresh raw carrots
- Boiling water
- Salt optional
Instructions
Prepare the Jars
- There are multiple ways to do this:Dishwasher Method - Some dishwashers have a sanitize function on the dishwasher which works well for preparing the mason jars. The downfall, however, is this can be a time consuming method.Oven Method - Wash the jars with soap, rinse, but do not dry. Place upside down on a baking sheet and put in the oven for 20 minutes at 275 degrees Fahrenheit (130 degrees Celsius). Carefully remove the hot jars for canning.Boiling Method - Wash jars with hot soapy water and rinse. Place jars in a large pot of boiling water (like the water bath canner) and let them sanitize for 20 minutes. Remove jars and let air dry before use.For the lids - place in a small sauce pan of hot water until it is time to add them to the jars.
Prepare the Pressure Canner
- Follow the manufacturers instructions for your specific pressure canner. In addition, heat the sterilized jars in hot water - they must be hot before packing the carrots.
Prepare the Carrots
- First, wash the raw carrots well. Discard any carrots that are soft or carrots that are blemished. Peel carrots, then wash carrots again. Small carrots can be left whole like baby carrots, otherwise cut down the carrots to a manageable size. Either slice them into round discs about ¼ inch thick or into carrot spears.
Hot Packing Method
- Add carrots to a large pot with enough water to cover them.
- Turn burner on to medium-high heat and bring to a boil.
- Reduce heat and stir gently while boiling for 5 minutes. Carrots should be tender yet crisp.
- Drain carrots, but SAVE the boiling carrot water for packing. (fresh boiled water works too, but can take more time)
- Using a canning funnel, pack hot carrots into the hot quart jars. Leave one inch of head space.
- Optional - add 1 teaspoon of salt to the quart jar of carrots (½ teaspoon to pint jar)
- Add the boiled carrot water to the jars of packed carrots, leaving 1 inch of headspace. (or use fresh boiled water)
Raw Packing Method
- In a large pot, bring water to a boil. Reduce to a simmer.
- Using a canning funnel, pack carrots (raw, prepared) into the hot quart jar. Leave one inch of headspace.
- Optional - add 1 teaspoon of salt to the quart jar of carrots (½ teaspoon to pint jar)
- Add the hot water to the jars of packed carrots, leaving 1-inch headspace.
Canning the Carrots
- Remove any air bubbles from the jars using a de-bubbler tool or the back end of a sanitized butter knife.
- Using a damp paper towel, wipe jar rims clean.
- Place the new jar lid (sanitized) and screw band on each jar. Tighten just enough so there isn’t movement with the lid.
- Using a jar lifter tool or oven mitts, add the carrot jars to the prepared pressure canner.
- Follow canner instructions for the recommended amount of water in the canner (typically 2-3 inches in the bottom of the canner). Lock the canner lid and bring to a boil over medium-high heat.
- Vent the steam for 10 minutes, then close the vent.
- Continue heating the pressure canner to achieve 10 pounds of pressure. Maintain pressure for the entire duration of the cooking time. (Adjust for altitude)
- Quart jars should be processed for 30 minutes (pint jars for 25 minutes).
- After the allotted time has passed, turn of the heat. Let the pressure return to zero naturally. Once the pressure gauge reaches zero, wait a few minutes and open the vent. Carefully remove the canner lid.
- Allow jars to stand in the canner for an additional ten minutes.
- Lay out a hand towel or a doubled up flour sack towel on a counter surface. This will act as a barrier between the hot jars and cool counter, preventing the counter and keeping the jars from bursting with the drastic temperature change. Using the jar lifter tool, carefully remove the jars from the wire insert and place them on the towel. Allow jars to sit and cool, undisturbed, for 12-24 hours. Test jars for airtight seals. The lids will not “pop” when pushed down on and will not pop off when pulled up on. This indicates a proper seal.
Storage
If a jar does not completely seal, store in the refrigerator and consume within 1 week or repackage for freezing (flash freeze and vacuum seal, then freeze for up to 1 year). Jars that seal will be shelf stable for up to 1 year. If there is less that ¾ liquid remaining in the canned jar, follow refrigeration instructions. Do not store with the metal rings (screw bands) on the jars.
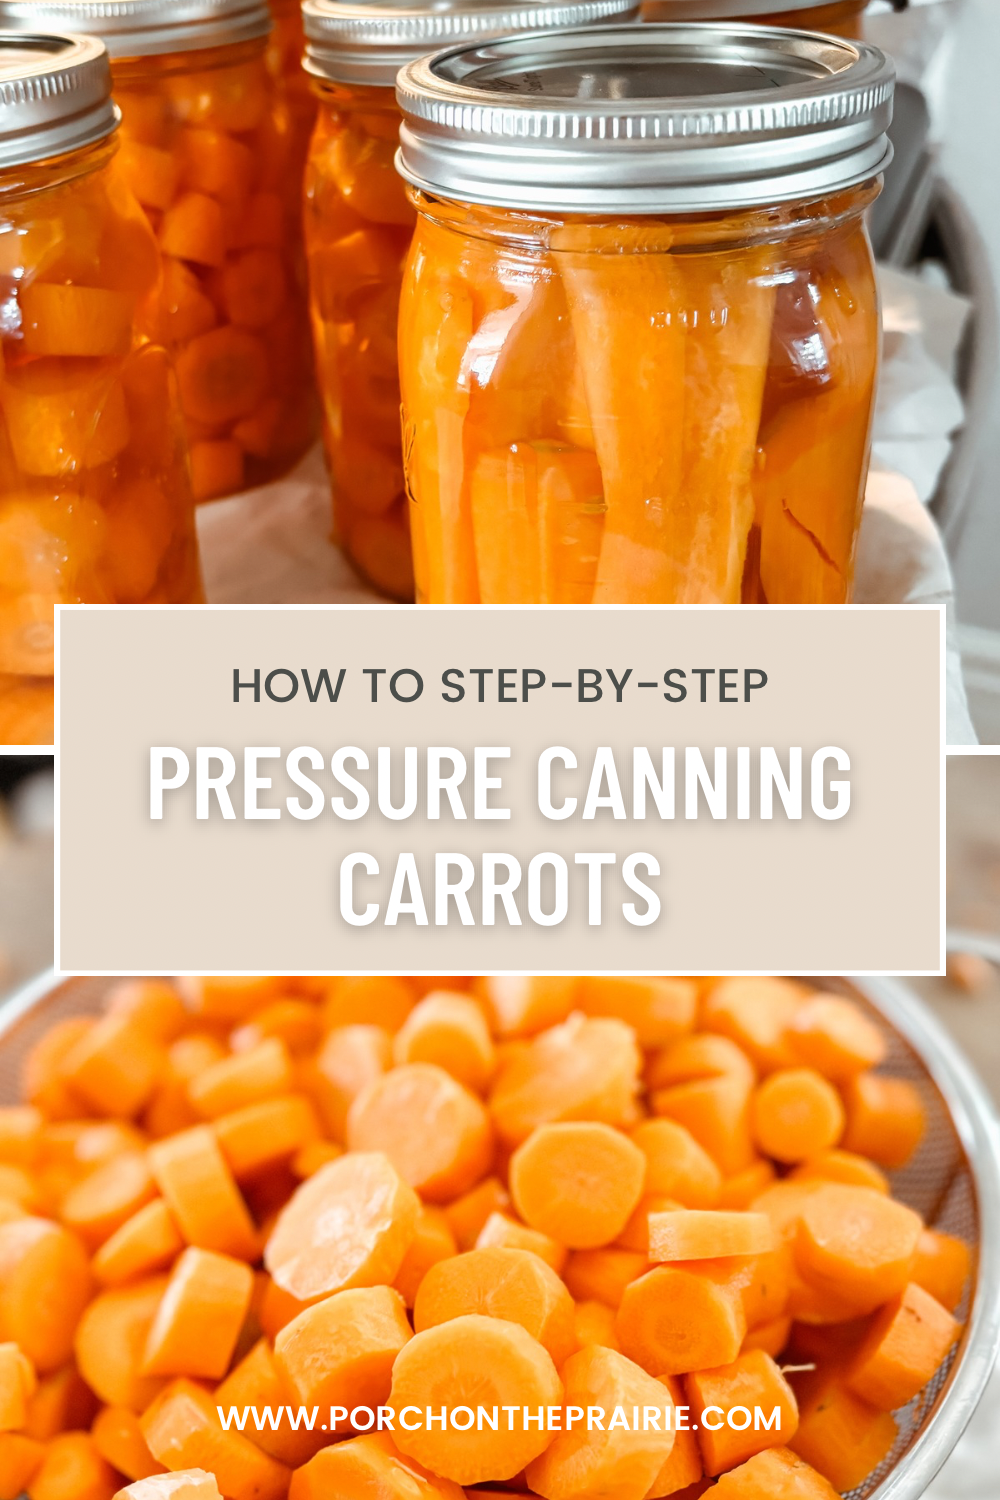
Pin this post for later here!
Pressure Canning Carrots - Easy Method (How To)
Check out other canning recipes here:
-
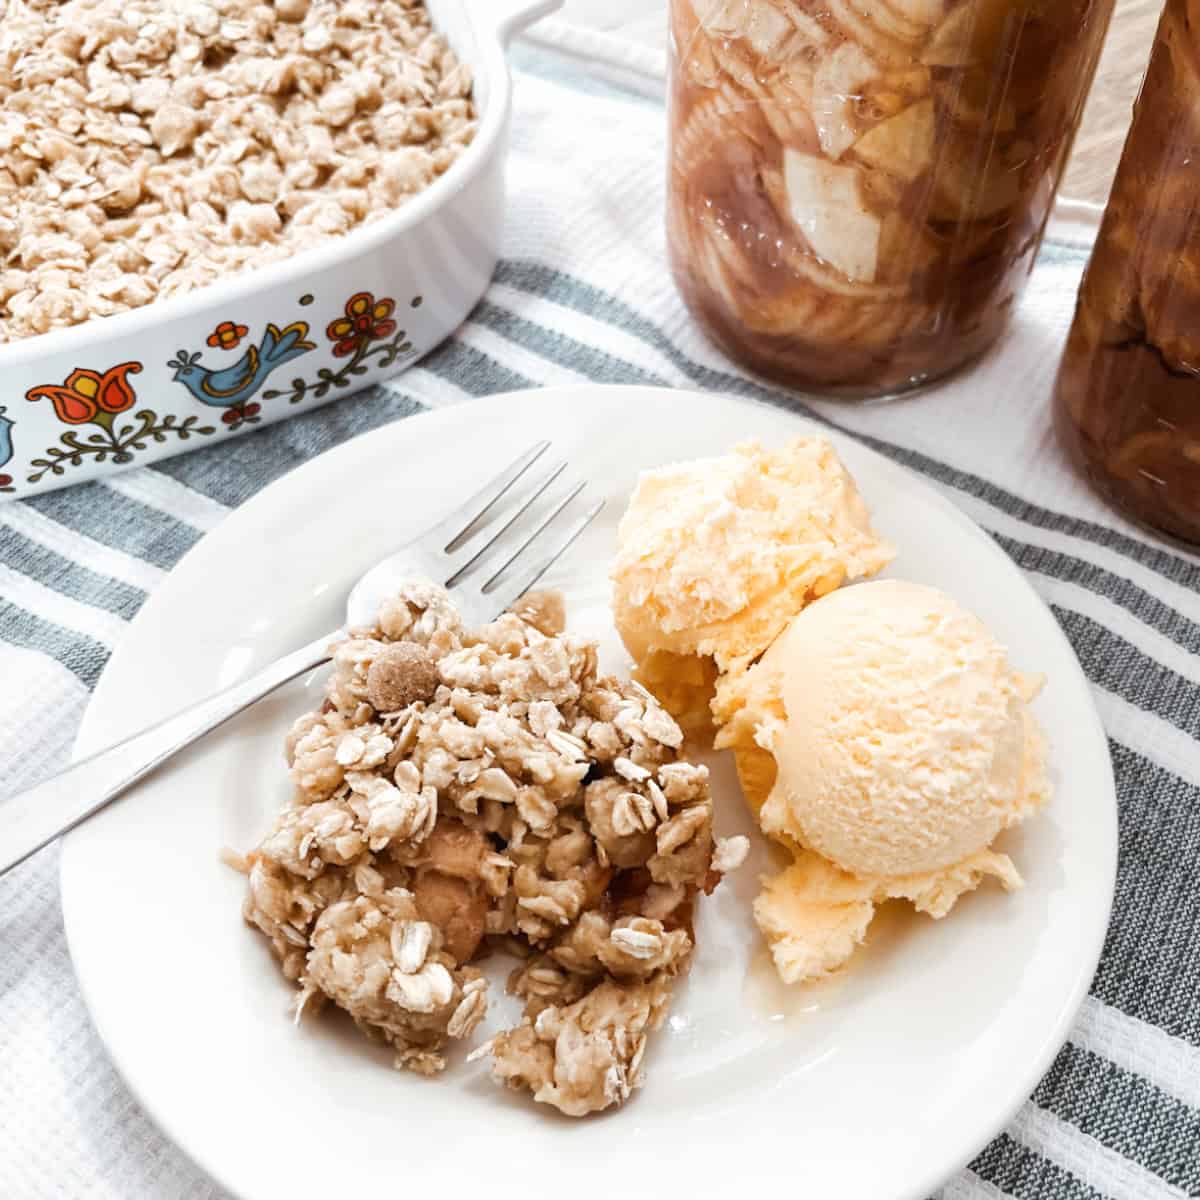
Sourdough Apple Crisp - Easy Discard Snack Recipe
Do you ever find yourself with extra sourdough discard and wonder what to do with it? Instead of tossing it out, why not turn it into the perfect discard dessert…
-
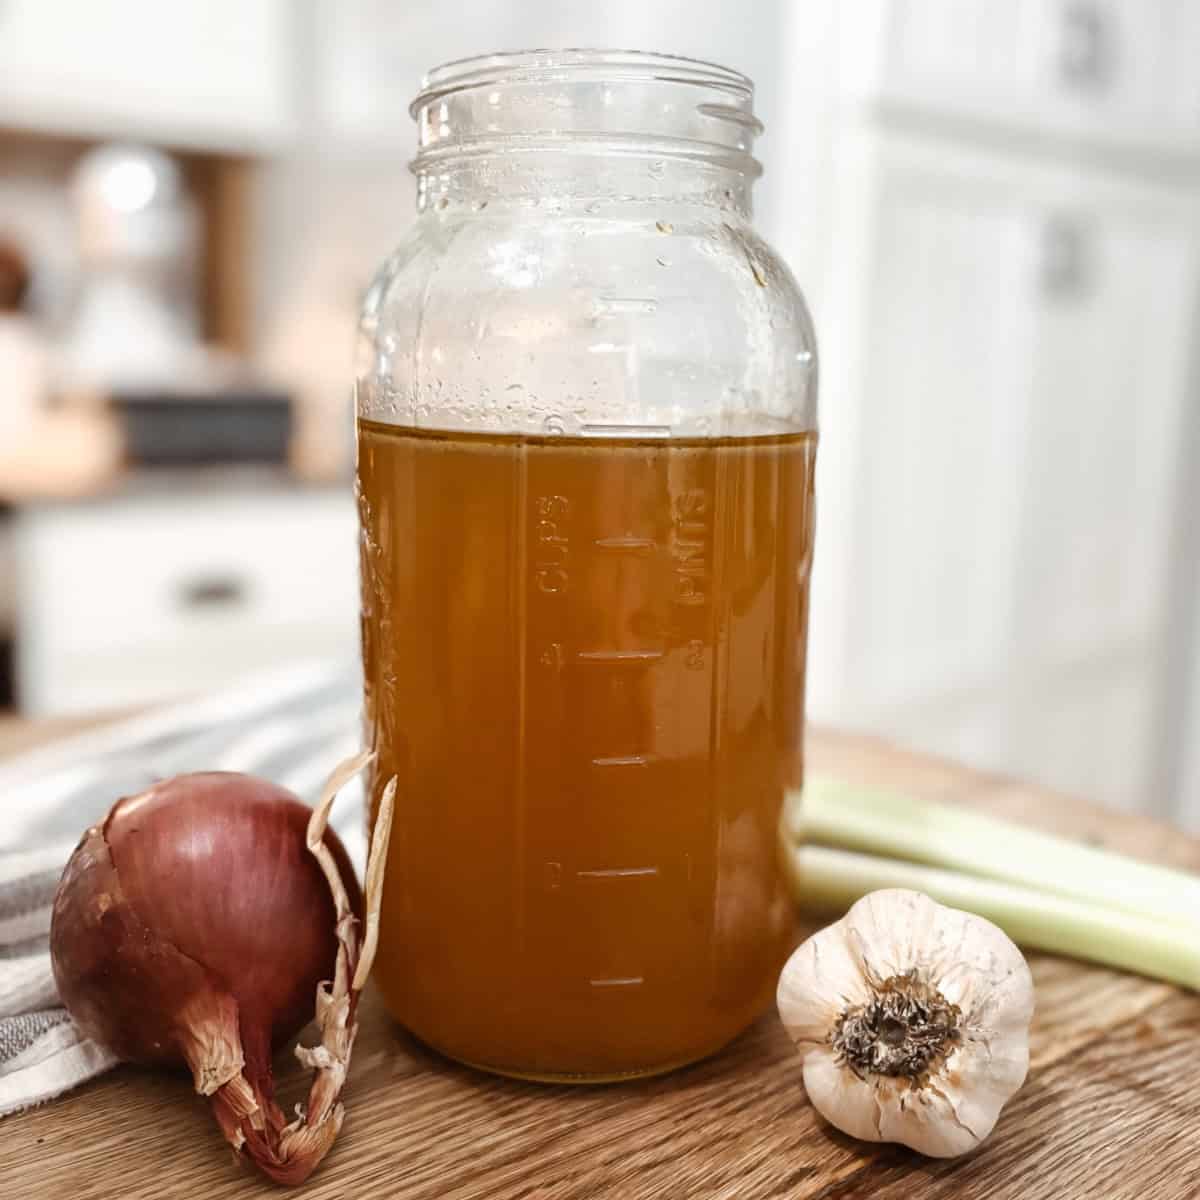
How to Make Bone Broth (Delicious Crock Pot Recipe)
There’s something beautifully simple and nourishing about a warm cup or homemade bone broth. Packed with vitamins and minerals, delicious bone broth is a time-tested kitchen staple that is as…
-
Making and Canning Homemade Applesauce - Step by Step
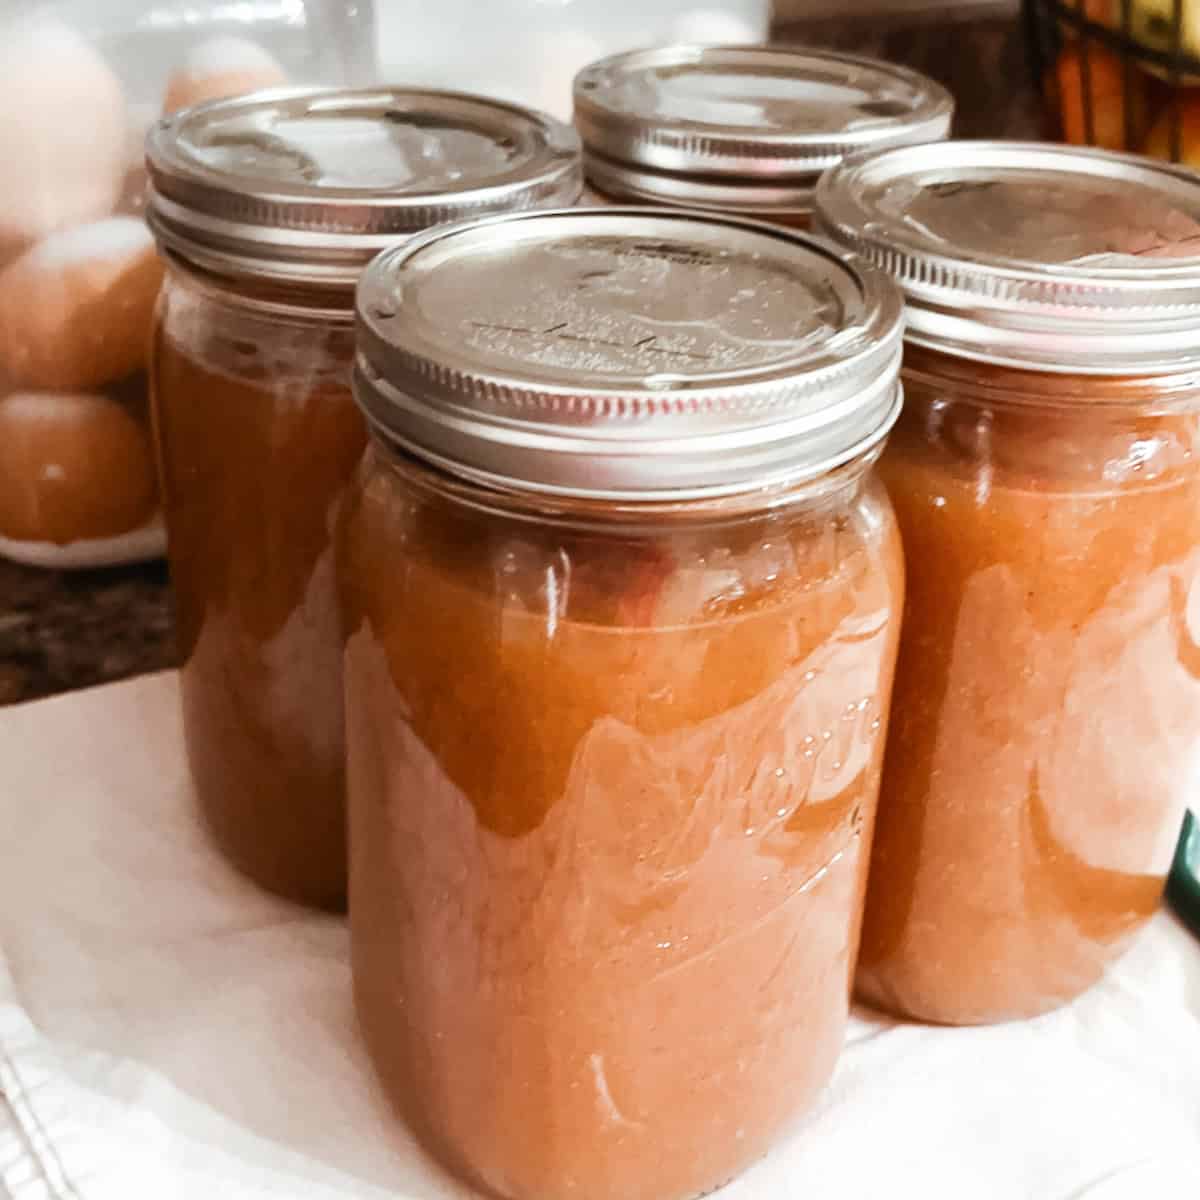
Canning homemade applesauce is one of those timeless, comforting recipes that transforms a simple fruit into a pantry staple. Whether you're looking to preserve the sweet taste of fall for…

Heidi says
I saved your post, this will come in handy later this year when it's harvest time. I like your easy steps on your recipe card. That will sure help. Thanks for sharing!