Simple Water Bath Canning Peaches for Beginners
There’s nothing quite like opening a jar of home-canned peaches in the middle of winter and tasting pure summer sunshine. In this easy guide Simple Water Bath Canning Peaches for Beginners, I’ll walk you through the entire process—from preparing the fruit to packing your jars—so you can confidently fill your pantry with beautiful, shelf-stable peaches you’ll enjoy all year long.
If you’ve been wanting to learn water bath canning but feel a little intimidated, peaches are the perfect place to start. They’re beginner-friendly, forgiving, and turn into the most delicious jars of golden sweetness with just a few simple steps. Whether you’re stocking up for your homestead, building your canning skills, or simply capturing summer at its peak, this water bath canning tutorial makes it simple, approachable, and incredibly rewarding.
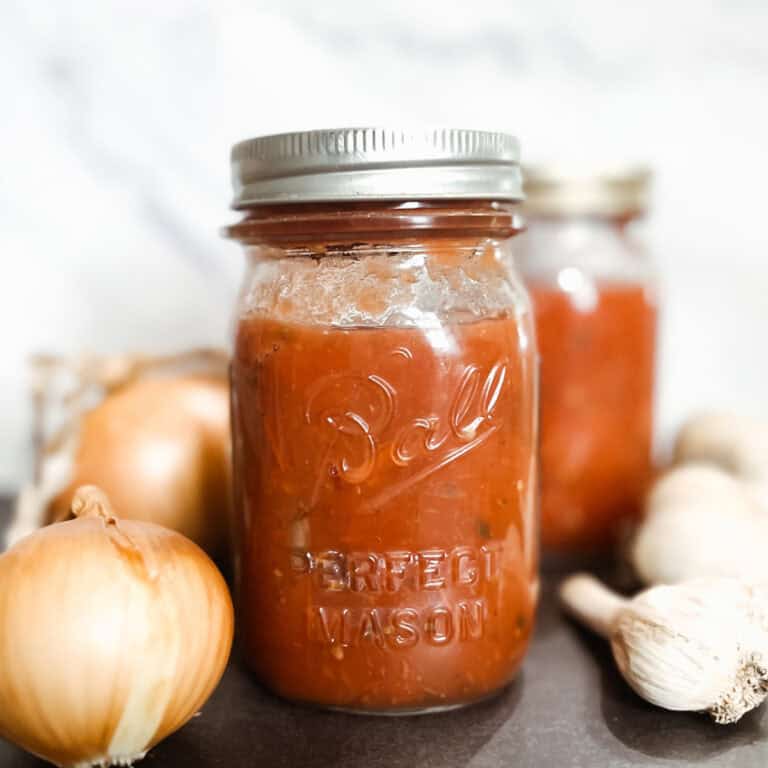
For other super simple beginner canning recipes check out how to water bath can spaghetti sauce or apple pie filling!
Let’s get canning!
Which Peaches Should be Used
It is important to know that white peaches cannot be used for water bath canning – their acidity is too low to safely water bath can following this method. In addition, overly ripe peaches will fall apart and are also not ideal. Instead, choose firm, ripe, yellow fleshed peaches.

Ingredients
- Peaches
- Water
- Lemon Juice (optional)
See recipe card for quantities.
Instructions
Step 1: Sterilizing the Mason Jars and Lids
There are multiple ways to do this:
- Dishwasher Method – Some dishwashers have a sanitize function on the dishwasher which works well for preparing the mason jars. The downfall, however, is this can be a time consuming method.
- Oven Method – Wash the jars with soap, rinse, but do not dry. Place upside down on a baking sheet and put in the oven for 20 minutes at 275 degrees Fahrenheit (130 degrees Celsius). Carefully remove the hot jars for canning.
- Boiling Method – Wash the jars with soap and rinse. Place jars in a large pot of boiling water (like the water bath canner) and let them sanitize for 20 minutes. Remove jars and let air dry before use.
For the new lids – place in a small sauce pan of hot water until it is time to add them to the jars.
Step 2: Preparing the Peaches
First, fill a large nonreactive pot half full of water and bring to a boil. Fill another large pot with cold ice water. Wash the peaches. Cut a small “x” in the bottom of each peach.

Once the water is boiling, add the peaches to the pot. Boil the peaches for 60-90 seconds and then carefully transfer them to the cold water. (The peaches are ready to transfer when the skins start to peal back. Firm peaches will need a longer time in the pot and softer peaches will need less time.)


Peel the skins off the peaches and remove the pit. Half or quarter the peaches. To avoid browning or discoloring, place peaches in a large bowl or pot and toss with some lemon juice. The color does look appealing again once canned (less browning), even without tossing in lemon juice.

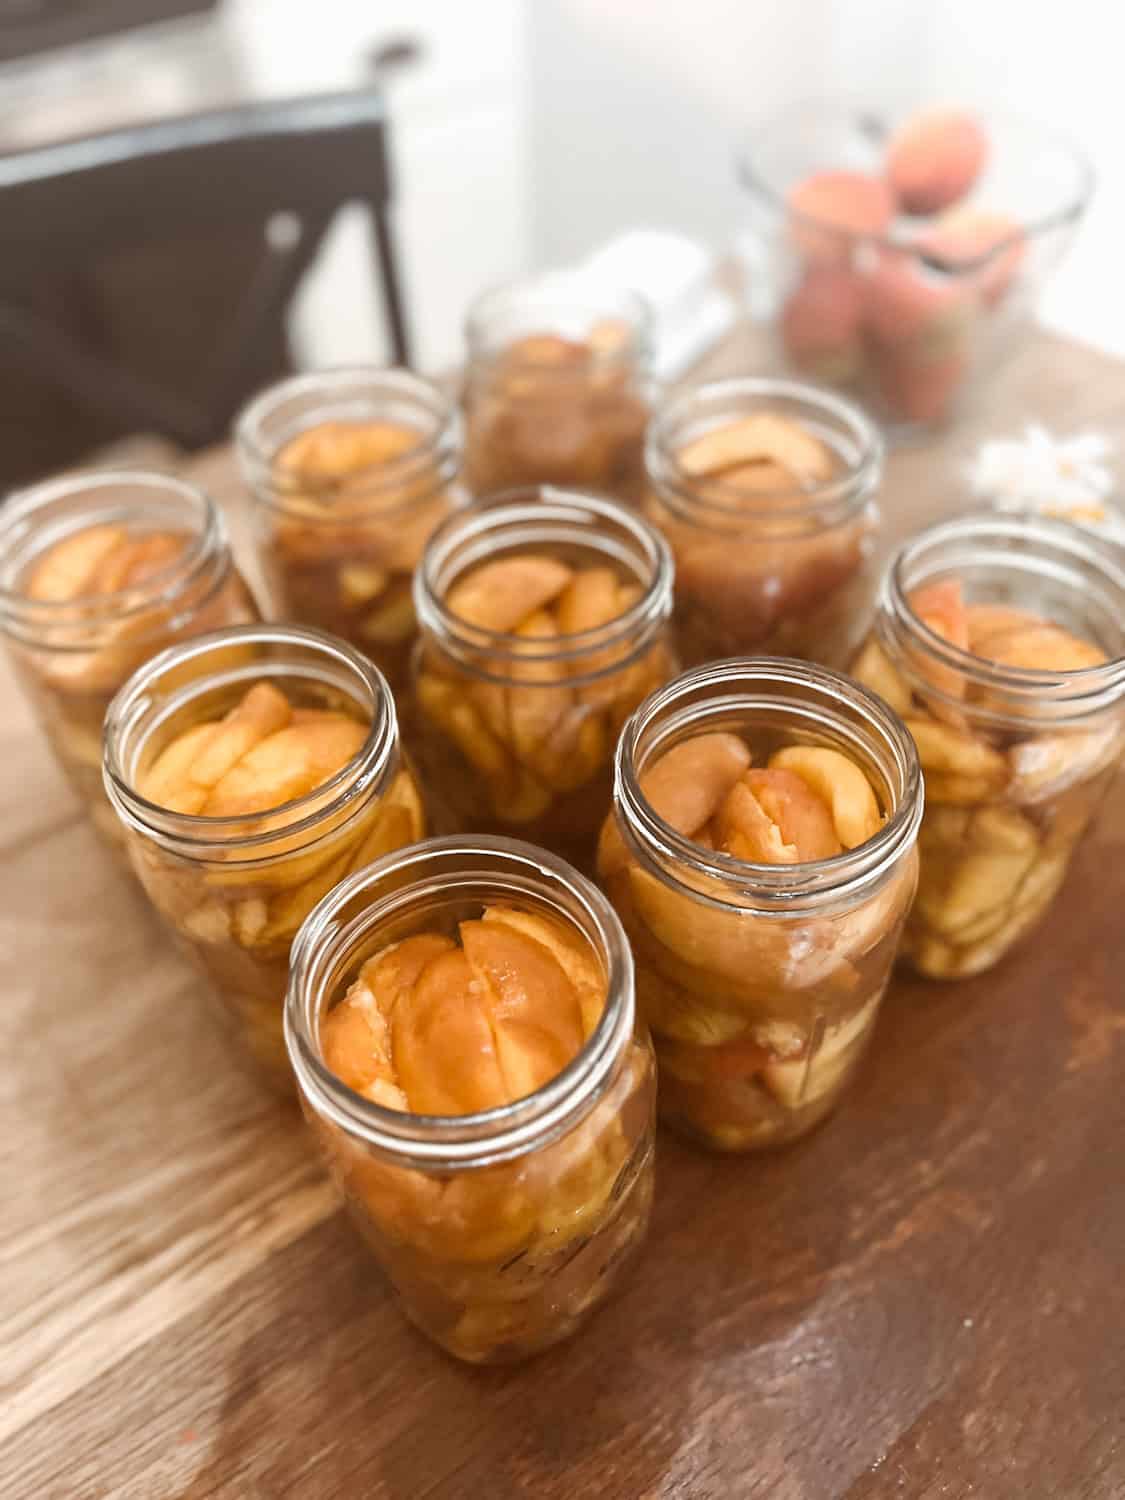
Step 3: Packing the Peaches
There are two options for packing the peaches – raw pack or hot pack. I prefer the raw pack method.
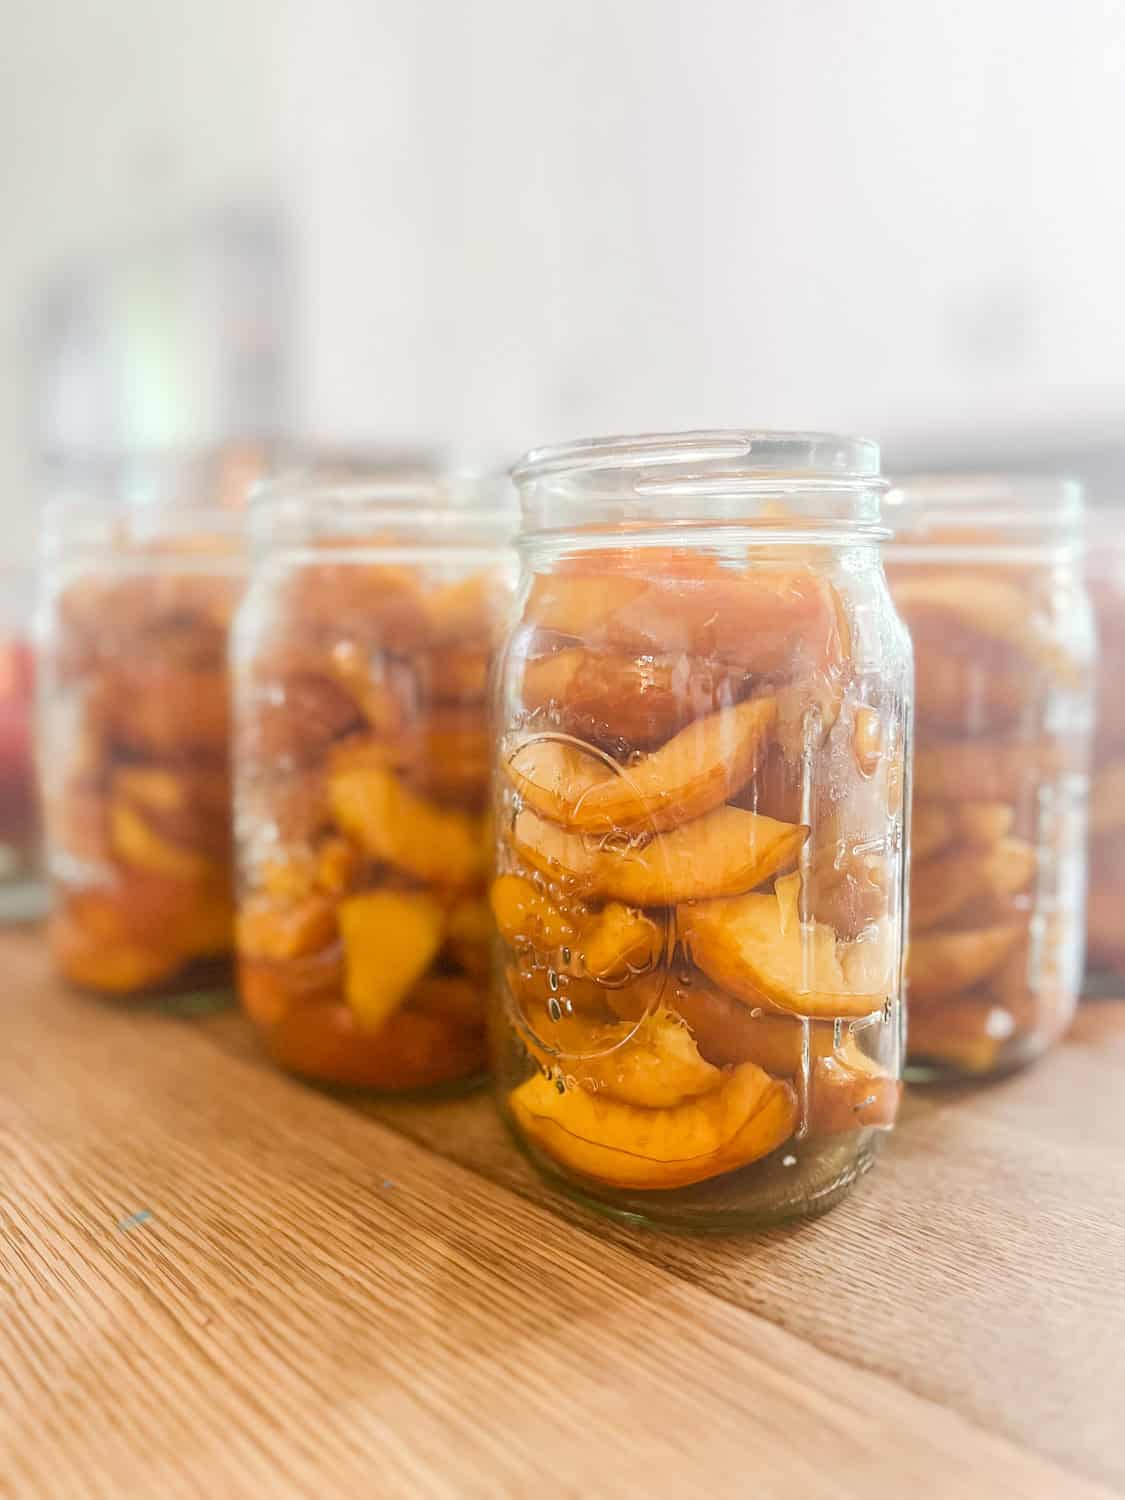
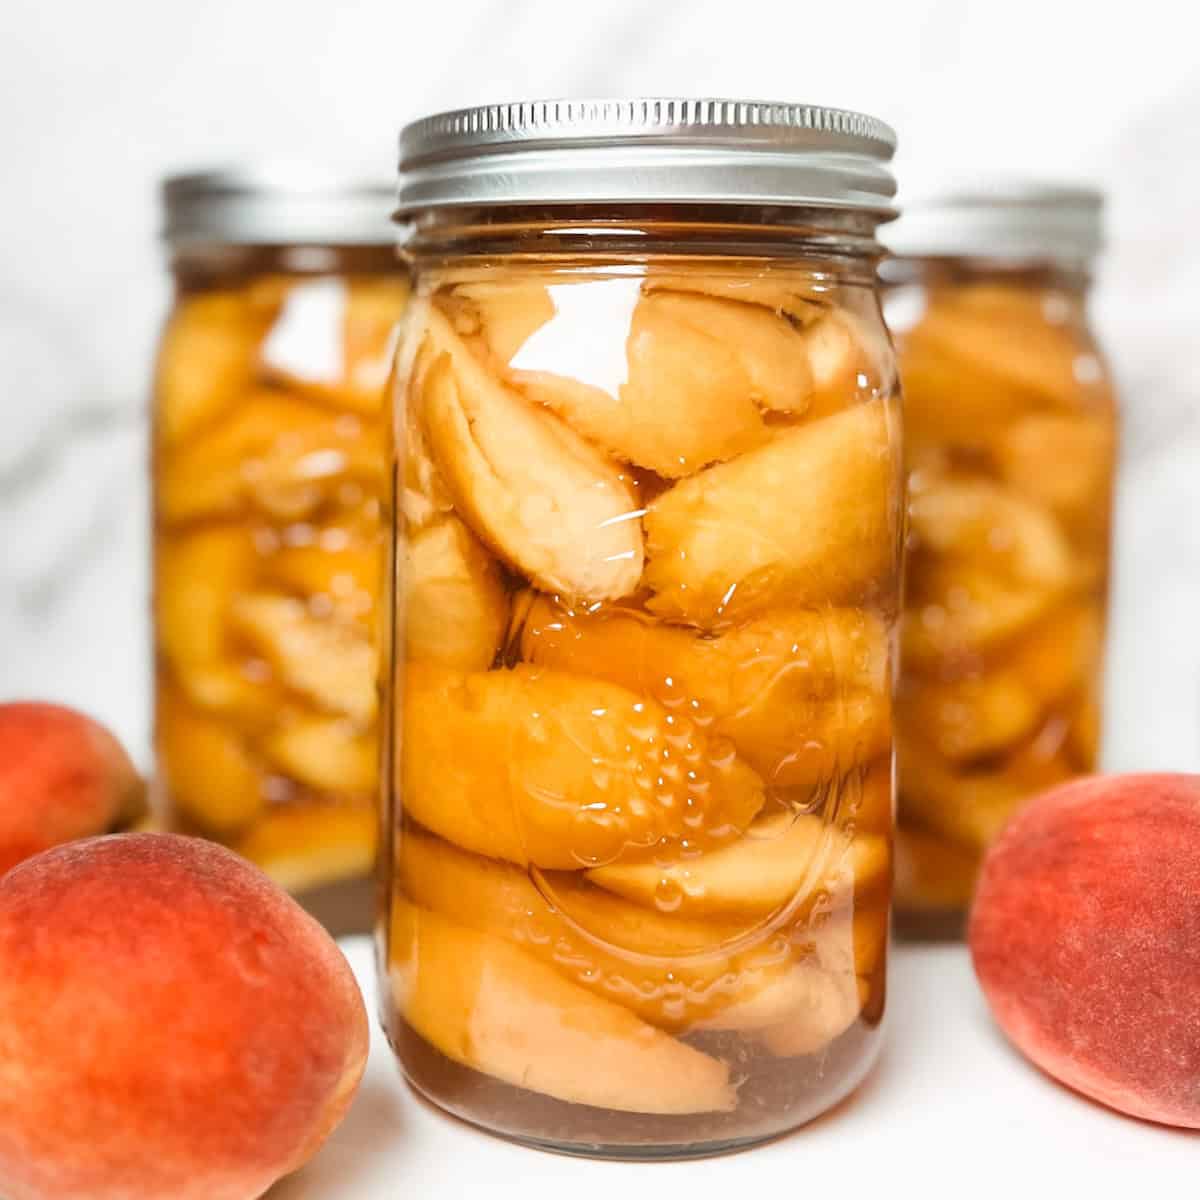
- Raw Pack Method – To raw pack peaches, simply place the prepared peaches into the sanitized jars, leaving about 1 inch of headspace (space above the peaches to the top of the jar).
Using a funnel and ladle, pour hot water over the peaches, leaving about 1/2 inch headspace. Using a special bubble remover tool or a butter knife, poke into the jars to remove all air bubbles.

- Hot Pack Method – Bring 10 cups of water or syrup to a boil. Place the prepared peaches in the boiling water or syrup for about 5 minutes. Transfer the peaches to prepared sanitized jars using a funnel and slotted spoon.
Hot packing the peaches tightly into the jars, leave about 1 inch head space. Using a ladle pour the hot syrup/ cooking liquid over the peaches in the prepared jars, leaving about 1/2 inch head space.

Wipe the rims of the jars with a clean damp cloth or papertowel. Using the magnet lid lifter tool, grab the jar lid from the small sauce pan, and carefully place it on the tops of the jars. Screw the rings onto the lids to ensure the lids stay in place.
Step 4: Water Bath Canning the Peaches
Add hot water to a little over ½ of the water bath canner and bring to a boil. Place the jars on the inner wire rack of the water bath canner and lower it into the boiling water. Add the lid to the canner.

Process Raw Pack Method for 25 minutes (pints) and 30 minutes (quarts) in boiling water. Process Hot Pack Method for 20 minutes (pints) and 25 minutes (quarts) in boiling water.
**See notes on elevation from the National Center for Home Food Preservation.
After the processing time is up, turn off the heat and carefully remove the canner lid. Grab the metal insert by the handles (with oven mitts) and raise the jars up, carefully hooking the handles onto the edge of the water bath canner. Let the jars sit for 5 minutes.
Lay out a hand towel or a doubled up flour sack towel on a counter surface. This will act as a barrier between the hot jars and cool counter, preventing the counter and keeping the jars from bursting with the drastic temperature change. Using the jar lifter tool, carefully remove the jars from the wire insert and place them on the towel. Allow jars to sit and cool, undisturbed, for 12-24 hours.

Test jars for airtight seals. The metal lids will not “pop” when pushed down on and will not pop off when pulled up on.
**Note on elevation and times from the National Center for Home Food Canning

Equipment
- Canning Equipment – Large water bath canner
- Canning Tools – a great kit makes life easier! (jar lifter, funnel, magnetic lid lifter)
- Chopping Knife
- Large Mixing Bowl
- Large Stock Pot (non-reactive)
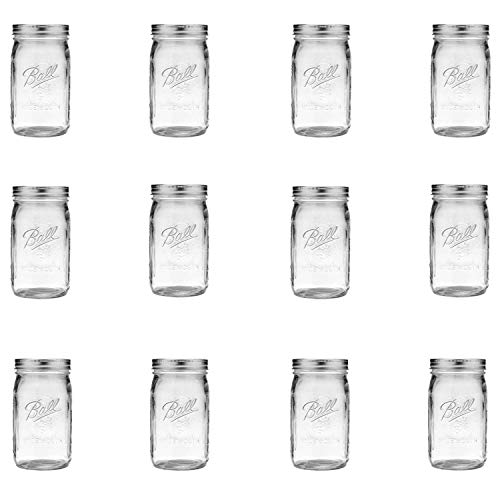
- Canning Jars – Quart Jars or Pint Jars (new mason jars and lids or used jars with new lid – seal must be intact)
Storage
If a jar does not completely seal, store it in the refrigerator and consume within 1 week. Jars of peaches that seal will be shelf stable for up to 1 year.
Canned goods should be stored at room temperature in a cool dark place. All of our canned goods are kept in the basement on sturdy shelves.
In addition, we prefer to store our canned goods without the outer rings or screw bands on the jars. This is recommended because it prevents rust, mold, and vermin. Plus, the rings can trap moisture or food residue which can make bands difficult to remove.

Variations
There are many different syrup options to choose from when canning peaches. Syrups can be extra light, light, medium, heavy, or extra heavy – this depends on the amount of sugar used. Lighter syrups have less sugar and heavier syrups have more.
- Plain Water
- Fruit Juice – apple juice and grape juice, or a combination of both, are often used.
- Honey or Maple Syrup
- Sugar Syrup – this sugar and water mixture can be made as light or heavy as desired.
Alternative Methods
This guide covers step by step the water bath method to can the peaches. Other options for preserving peaches would be to freeze them or via pressure canning.
FAQ
Lemon juice can help minimize browning, but it is not necessary for acidity purposes.
Sugar can help with flavor long term, however, I haven’t found it necessary.
Peaches can get mushy if they’re cooked too long, this is why I prefer the raw pack method.
Yes! You CANNOT can white flesh peaches, you must use yellow flesh.
Save Pin for Later!


Simple Water Bath Canning Peaches for Beginners
Equipment
- Chopping Knife
- Large Mixing Bowl
- Large Stock Pot (non-reactive)
- Canning Jars – Quart Jars or Pint Jars (new mason jars and lids or used jars with new lid – seal must be intact)
Ingredients
- 18 lbs Peaches
- Water
- Lemon Juice optional
Instructions
Step 1: Sterilizing the Mason Jars and Lids
- There are multiple ways to do this:1. Dishwasher Method – Some dishwashers have a sanitize function on the dishwasher which works well for preparing the mason jars. The downfall, however, is this can be a time consuming method.2. Oven Method – Wash the jars with soap, rinse, but do not dry. Place upside down on a baking sheet and put in the oven for 20 minutes at 275 degrees Fahrenheit (130 degrees Celsius). Carefully remove the hot jars for canning.3. Oven Method – Wash the jars with soap, rinse, but do not dry. Place upside down on a baking sheet and put in the oven for 20 minutes at 275 degrees Fahrenheit (130 degrees Celsius). Carefully remove the hot jars for canning.4. Boiling Method – Wash the jars with soap and rinse. Place jars in a large pot of boiling water (like the water bath canner) and let them sanitize for 20 minutes. Remove jars and let air dry before use.
- For the new lids – place in a small sauce pan of hot water until it is time to add them to the jars.
Step 2: Preparing the Peaches
- First, fill a large nonreactive pot half full of water and bring to a boil. Fill another large pot with cold ice water. Wash the peaches. Cut a small “x” in the bottom of each peach.
- Once the water is boiling, add the peaches to the pot. Boil the peaches for 60-90 seconds and then carefully transfer them to the cold water. (The peaches are ready to transfer when the skins start to peal back. Firm peaches will need a longer time in the pot and softer peaches will need less time.)
- Peel the skins off the peaches and remove the pit. Half or quarter the peaches. To avoid browning or discoloring, place peaches in a large bowl or pot and toss with some lemon juice. The color does look appealing again once canned (less browning), even without tossing in lemon juice.
Step 3: Packing the Peaches
- There are two options for packing the peaches – raw pack or hot pack. I prefer the raw pack method.
- Raw Pack Method – To raw pack peaches, simply place the prepared peaches into the sanitized jars, leaving about 1 inch of headspace (space above the peaches to the top of the jar). Using a funnel and ladle, pour hot water over the peaches, leaving about 1/2 inch headspace. Using a special bubble remover tool or a butter knife, poke into the jars to remove all air bubbles.
- Hot Pack Method – Bring 10 cups of water or syrup to a boil. Place the prepared peaches in the boiling water or syrup for about 5 minutes. Transfer the peaches to prepared sanitized jars using a funnel and slotted spoon. Hot packing the peaches tightly into the jars, leave about 1 inch head space. Using a ladle pour the hot syrup/ cooking liquid over the peaches in the prepared jars, leaving about 1/2 inch head space.
- Wipe the rims of the jars with a clean damp cloth or papertowel. Using the magnet lid lifter tool, grab the jar lid from the small sauce pan, and carefully place it on the tops of the jars. Screw the rings onto the lids to ensure the lids stay in place.
Step 4: Water Bath Canning the Peaches
- Add hot water to a little over ½ of the water bath canner and bring to a boil.
- Place the jars on the inner wire rack of the water bath canner and lower it into the boiling water. Add the lid to the canner. Process Raw Pack Method for 25 minutes (pints) and 30 minutes (quarts) in boiling water. Process Hot Pack Method for 20 minutes (pints) and 25 minutes (quarts) in boiling water. **See notes on elevation from the National Center for Home Food Preservation.
- After the processing time is up, turn off the heat and carefully remove the canner lid. Grab the metal insert by the handles (with oven mitts) and raise the jars up, carefully hooking the handles onto the edge of the water bath canner. Let the jars sit for 5 minutes.
- Lay out a hand towel or a doubled up flour sack towel on a counter surface. This will act as a barrier between the hot jars and cool counter, preventing the counter and keeping the jars from bursting with the drastic temperature change. Using the jar lifter tool, carefully remove the jars from the wire insert and place them on the towel. Allow jars to sit and cool, undisturbed, for 12-24 hours.
- Test jars for airtight seals. The metal lids will not “pop” when pushed down on and will not pop off when pulled up on.
Notes
Nutrition


Related
Looking for other recipes like this? Try these: