
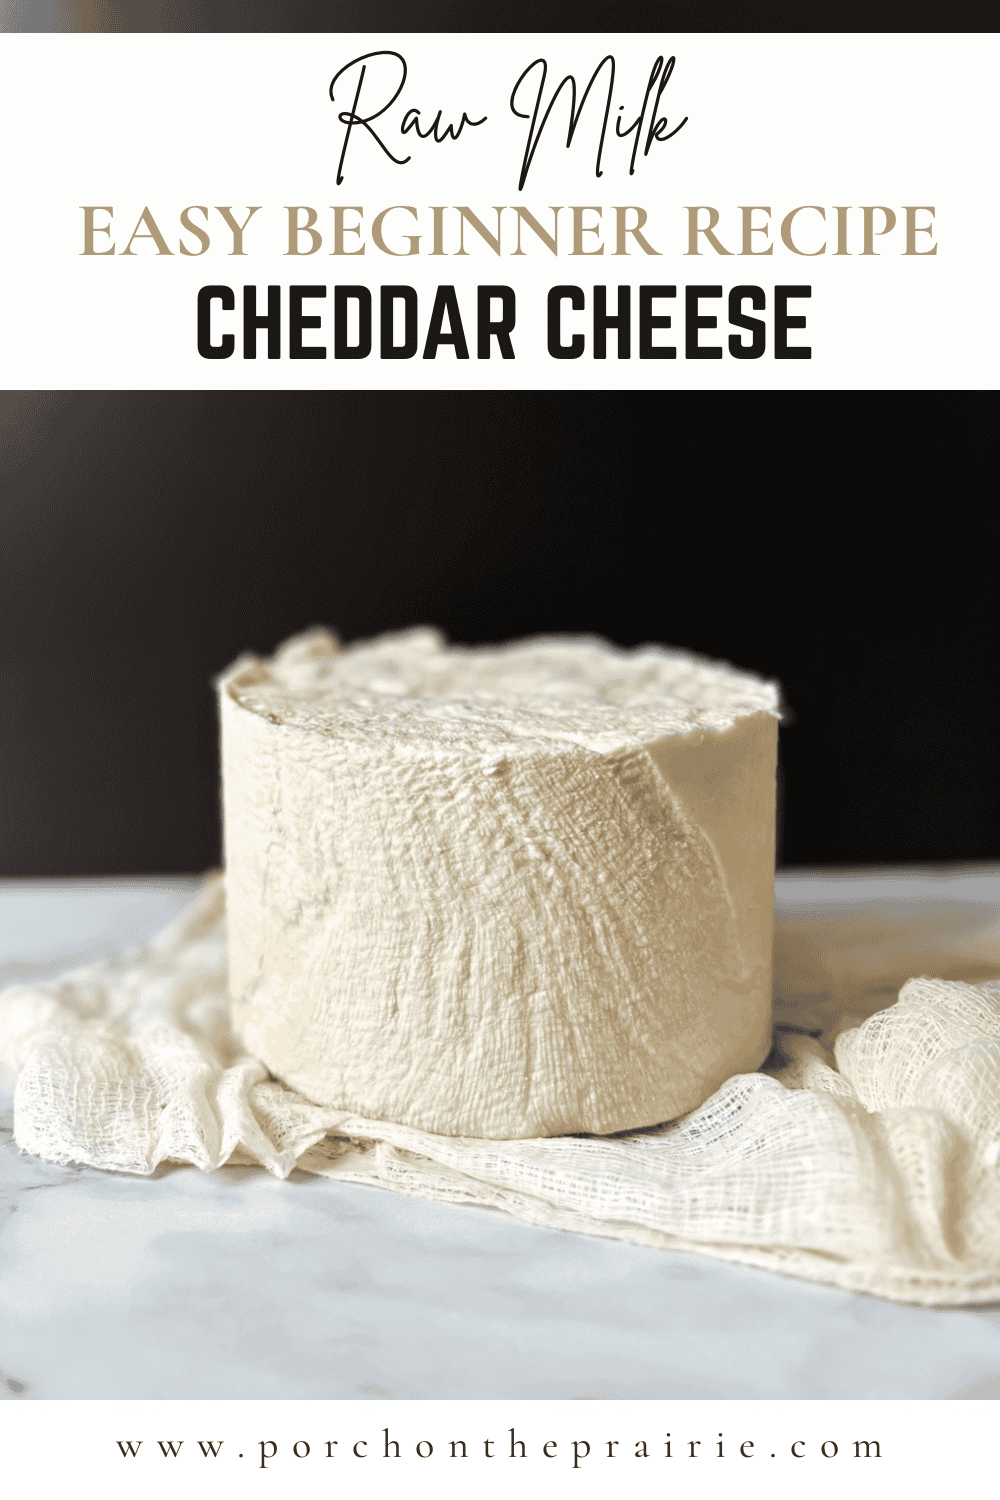
How to Make Cheddar Cheese with Raw Milk (Easy)
There’s something incredibly satisfying about turning fresh raw milk into a beautiful block of homemade cheddar cheese. If you’ve ever dreamed of trying your hand at homemade cheddar cheese, but felt intimidated by the idea of hard cheesemaking, this recipe is going to be your new favorite project. With just a few simple tools, quality raw milk, and a bit of patience, you can learn How to Make Cheddar Cheese with Raw Milk (Easy) that tastes far better than anything store-bought.
Whether you’re already comfortable with easy cheesemaking techniques or you’re diving into hard cheese for the first time, this step-by-step guide will walk you through the entire process in a way that’s approachable, practical, and deeply rewarding. Homemade cheddar has a depth and warmth that only raw milk can provide, and once you taste the final result, you’ll understand why so many home dairy enthusiasts call this their go-to cheese recipe.
Get ready to fill your kitchen with the nostalgic aroma of warming milk, slowly forming curds, and the promise of a wheel of Raw Milk Cheddar Cheese that’s entirely your own cheese. Let’s get started!
Why Raw Milk?
Cow’s milk is actually really good for you! One of my children would break out in a horrible facial rash whenever they would consume pasteurized dairy, and it was at that point I started to really research all there is to know about store bought milk and raw milk.
Unpasteurized A2A2 milk has beneficial bacteria, that can act as a great probiotic, which can benefit the digestive system and overall gut health. Raw milk is full of beneficial nutrients, beneficial enzymes, vitamins, and minerals – which can significantly benefit ones health and overall immune system.
There is a common misconception regarding the safety of consumption and the benefits of raw milk, but this science backed article does a great job of explaining things. If the raw milk comes from a health cow, following a sanitary process safe for human consumption, the risk of becoming ill is incredibly low (somewhere around 1 in 6 million chance).
Sourcing Raw Milk
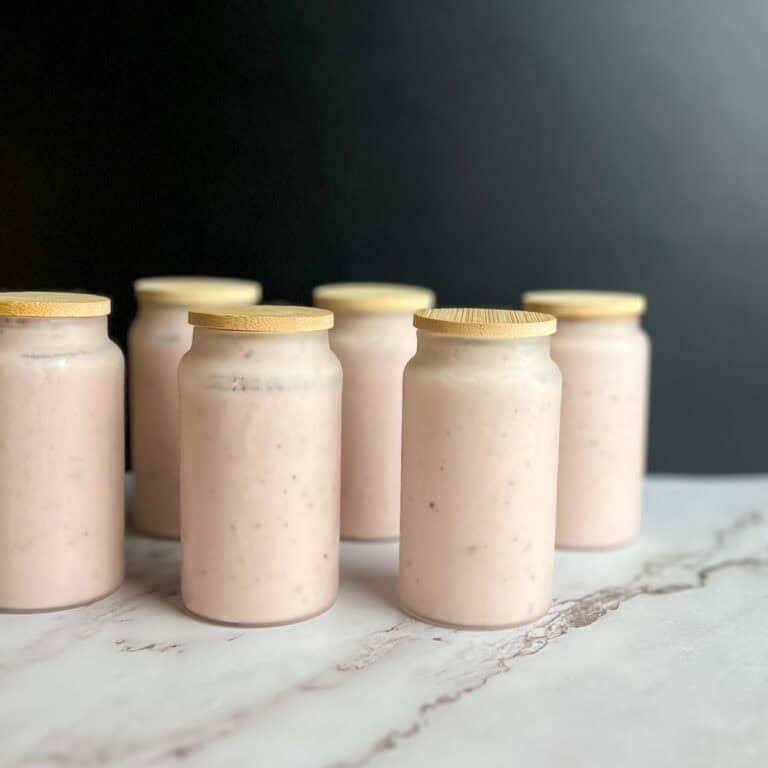
It is my dream to someday have a family milk cow, my own cow. In the meantime, I was fortunate to find a local farmer gal who sells raw milk from her jersey dairy cow named Cloud. If you don’t have a milk cow of your own (many beginners in the raw milk world don’t) I would recommend searching realmilk.com.
An important factor in choosing a raw milk supplier, for me, is a well cared for and healthy cow. In addition, I wanted to be sure the suppliers process was extremely sanitary. When we went for our first raw milk pick up, we got to meet Cloud, and the supplier discussed the importance of a sanitary process – I was thrilled.
In some states the purchase of raw milk for human consumption is illegal, but other states do allow it and may even sell it in a local grocery store.
Traditional Farmhouse Cheddar Cheese Recipe
When I first started cheese making, I started with a super simple mozzarella recipe. Check out my 2 ingredient mozzarella recipe here! Then I moved on to cottage cheese and cream cheese, check out those beginner recipes as well. Next, I wanted to tackle our most used household cheese – cheddar!
I knew that in order to make my own cheddar cheese, a hard cheese, I would need a cheese press. Some folks make their own homemade cheese press, but as a beginner I purchased this press. Below is the recipe included with the press, that I have used over and over.
The best part is that this recipe only calls for 2 gallons of raw milk. Unless you have a milk cow of your own (most beginners don’t) then purchasing gallons of milk to experiment with can be rather expensive.
Ingredients
- 2 Gallons of Milk (raw whole milk)
- 1 packet direct-set mesophilic starter
- 1/2 tsp rennet
- 1/2 tsp calcium chloride (if desired – see substitution note)
- 10 tsp purified water
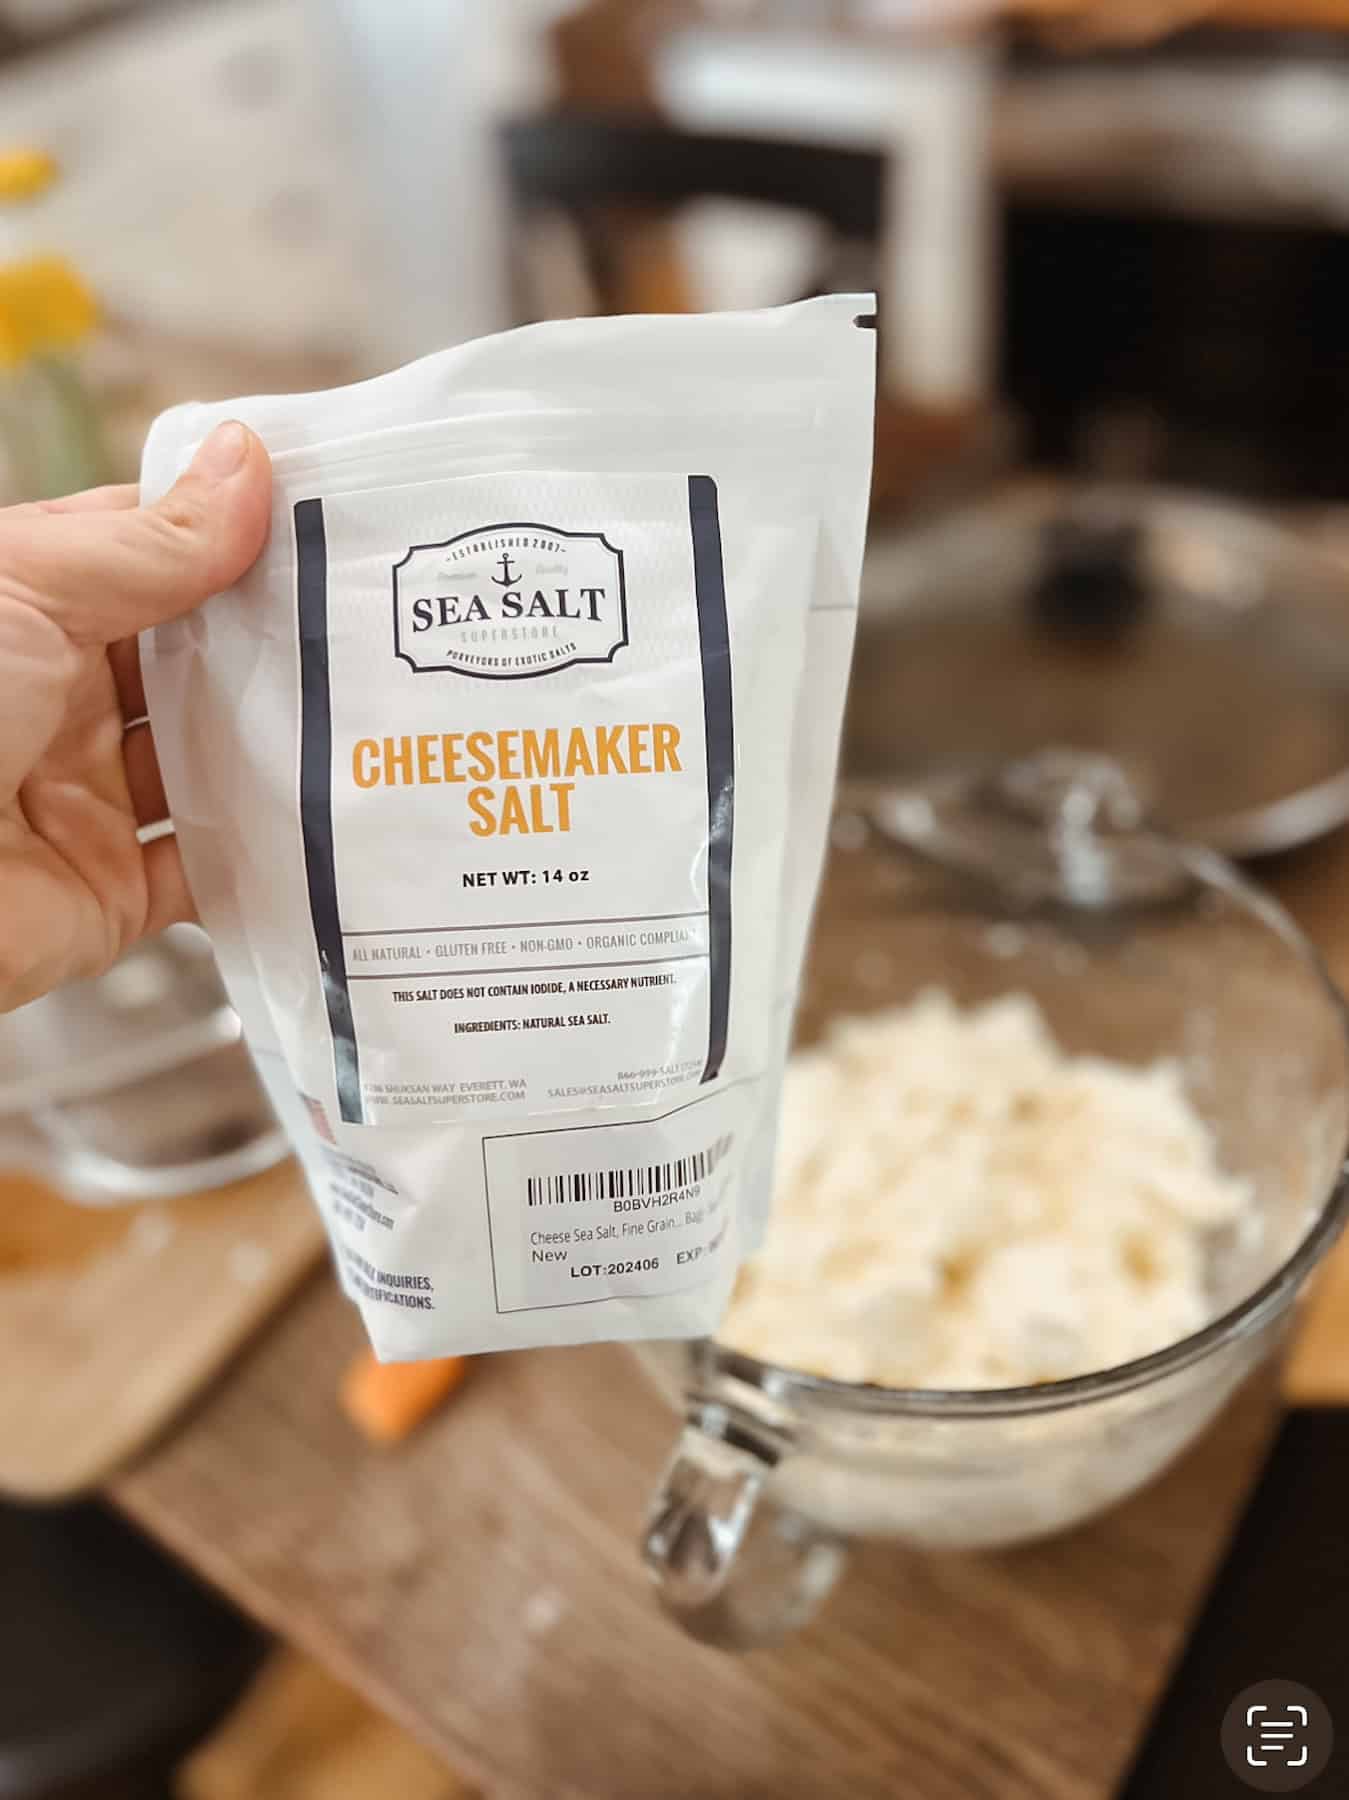
- 1 tablespoon cheese salt
- Cheese wax (optional)
Instructions
Heating the Milk, Adding Culture and Rennet
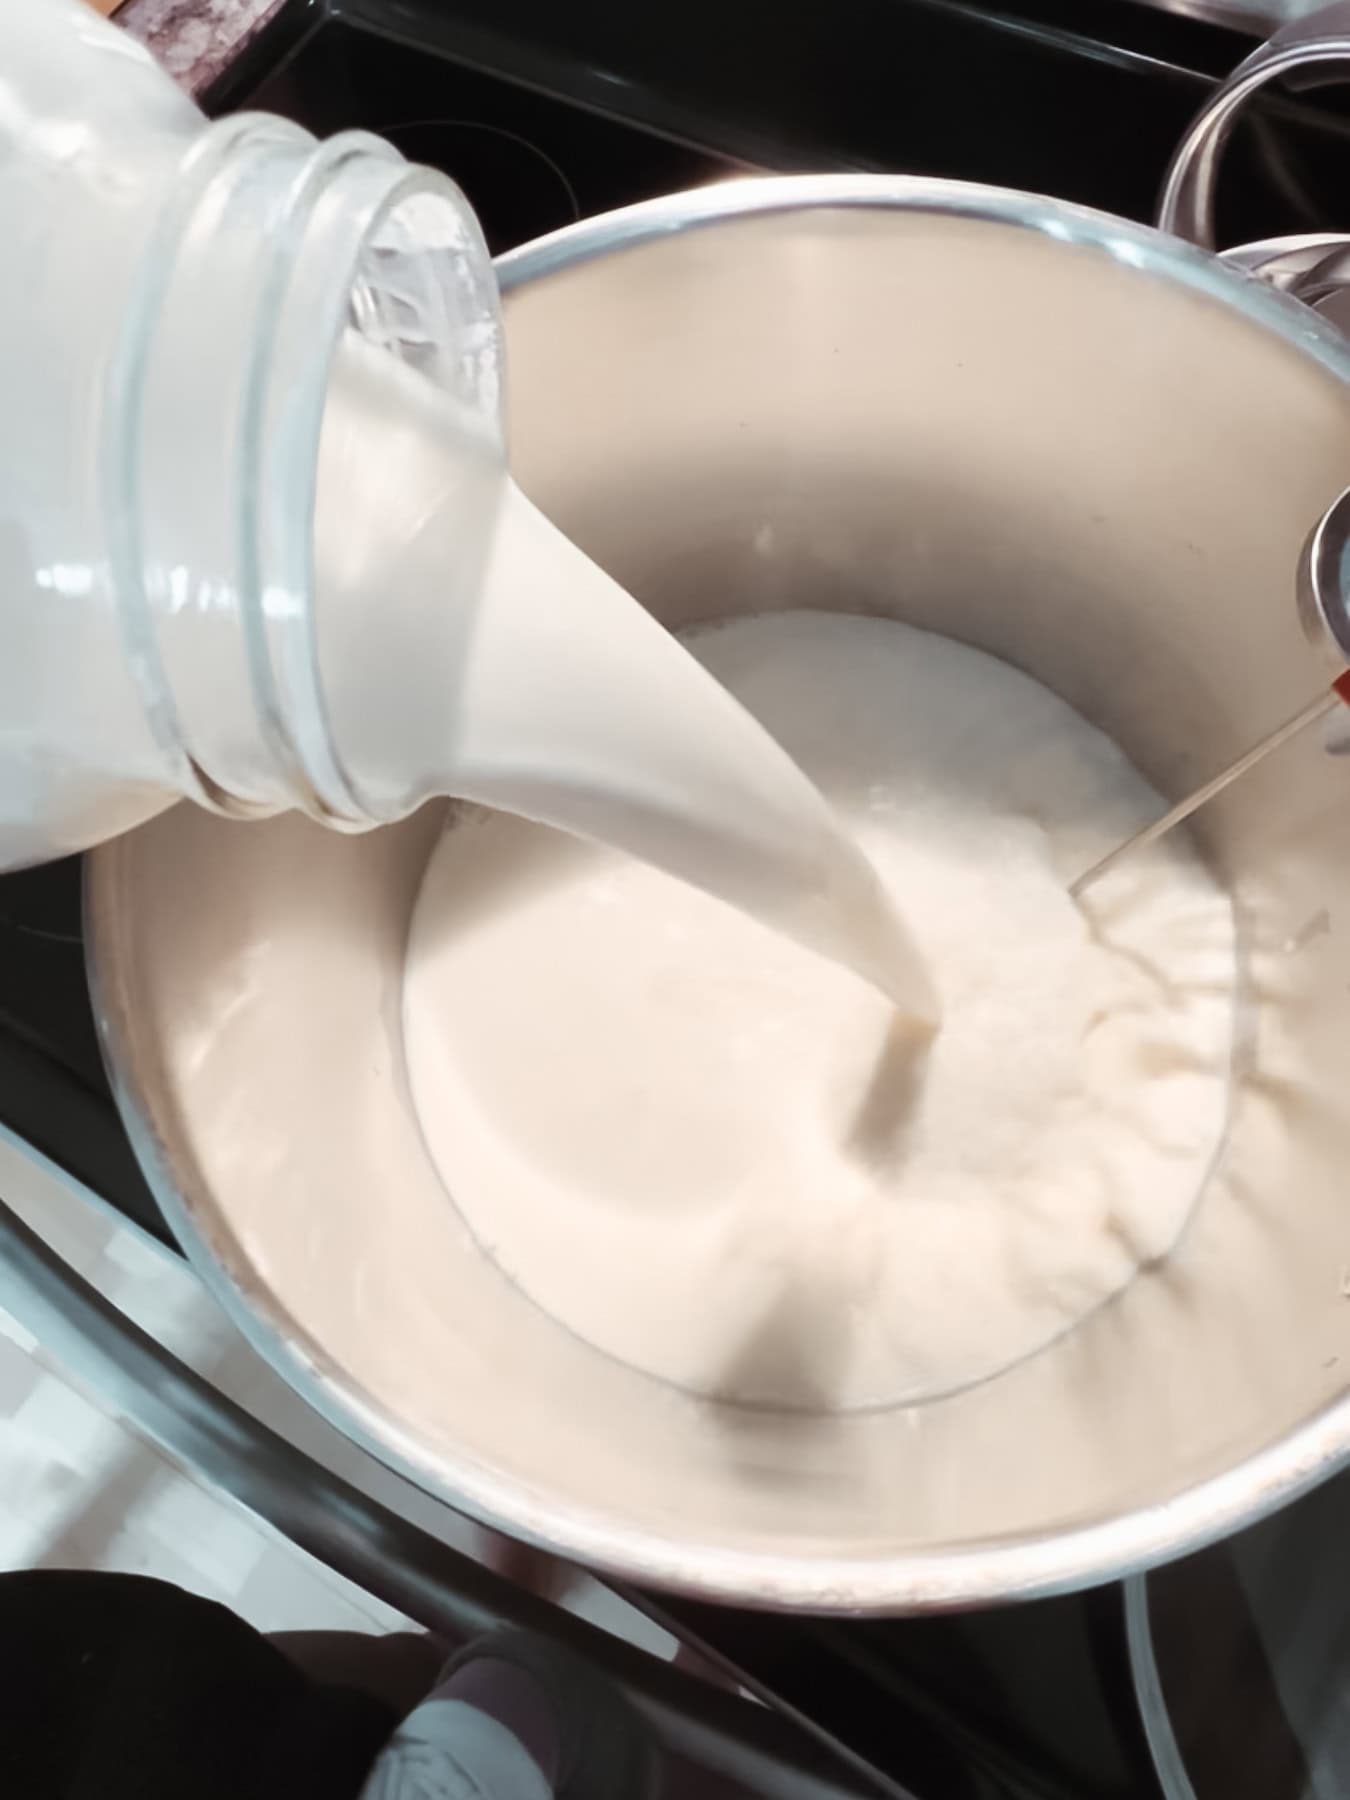
Step one is to ensure all equipment is sanitized, including the surface area being used. Then, heat the milk on medium/low in a heavy pot to 86 degrees Fahrenheit.
Turn off the heat and add the packet of mesophilic starter culture.
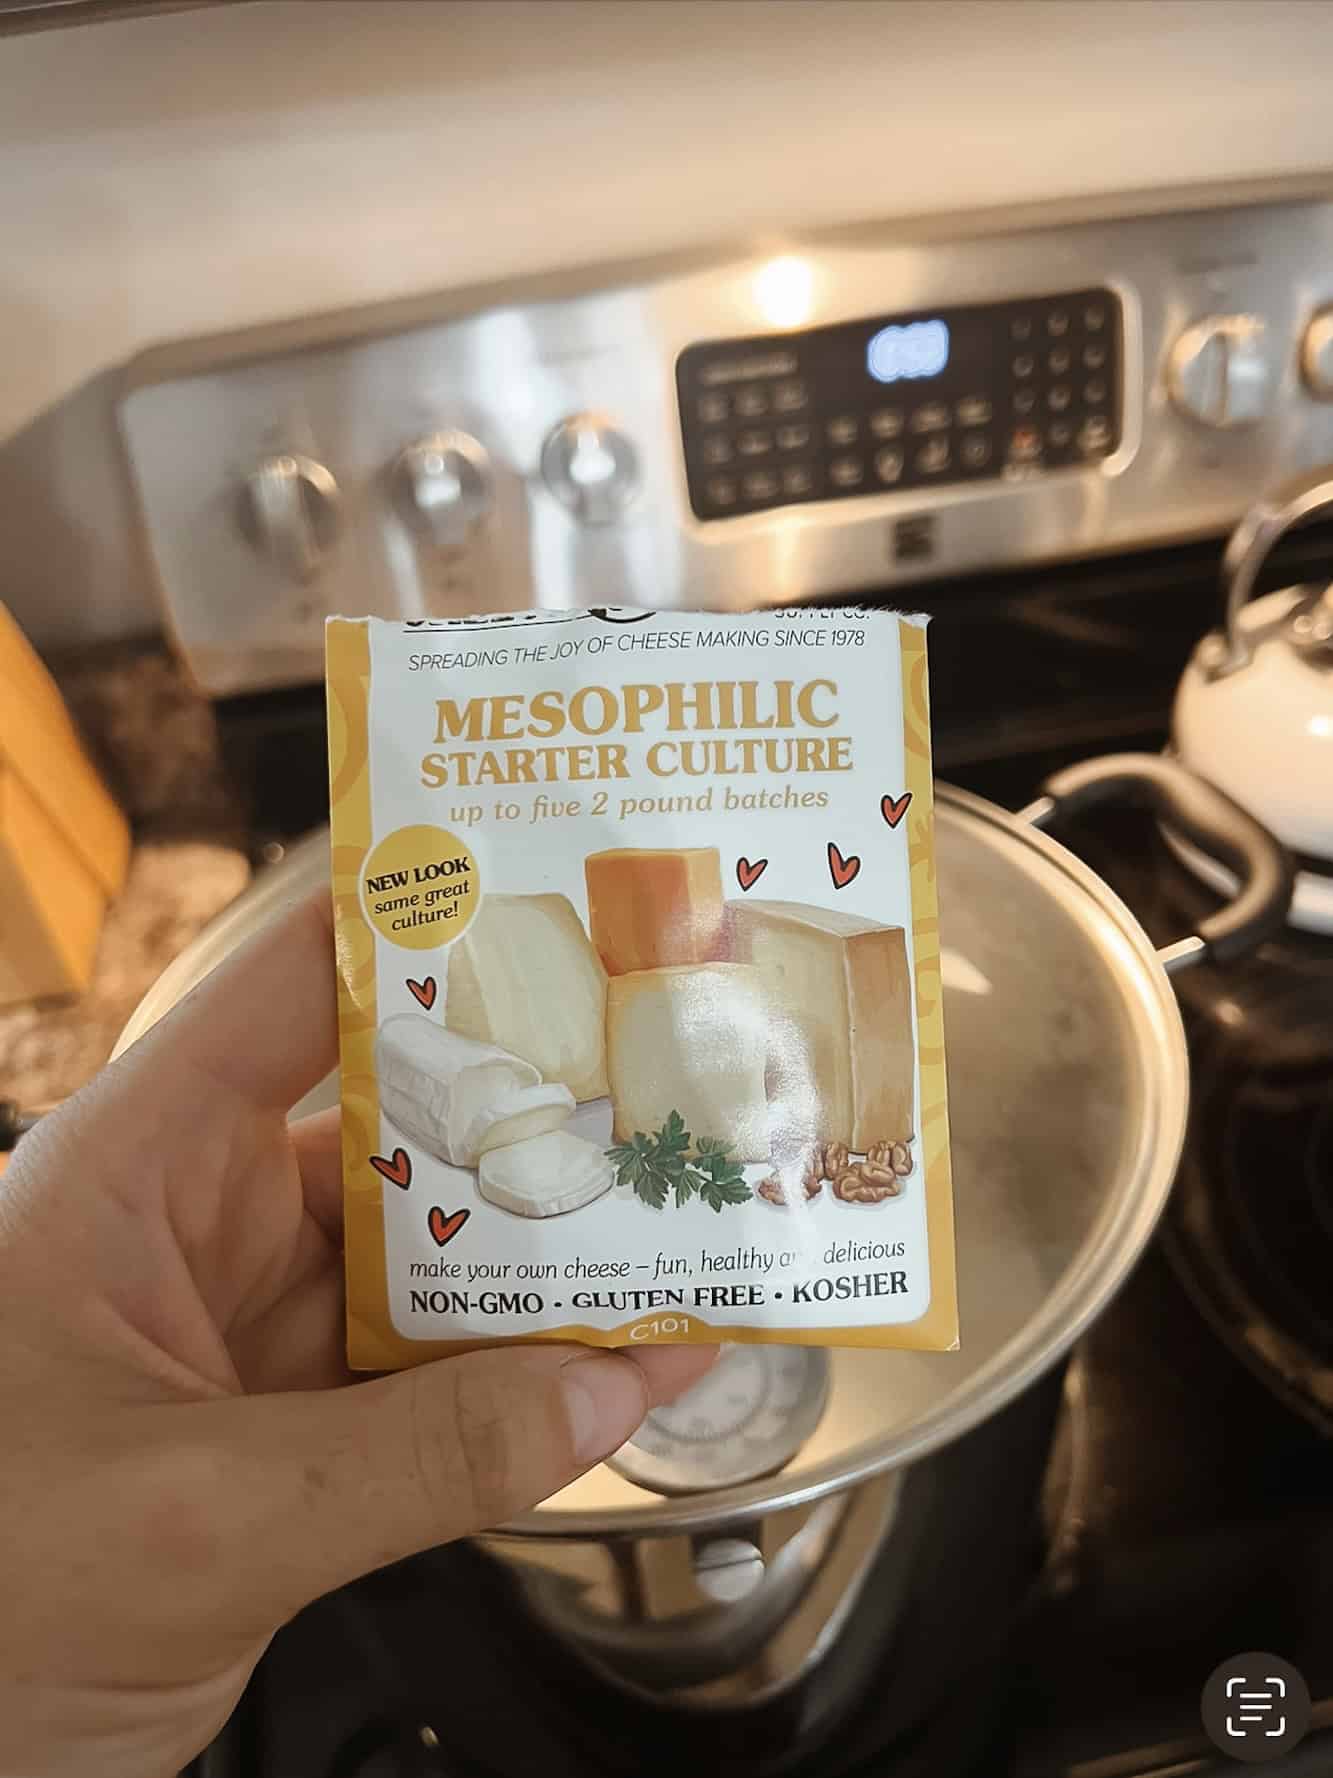
Allow the starter culture to dissolve on the surface of the milk for a few minutes, then stir the starter culture well into the milk. Cover and allow the milk to sit (ripen) undisturbed at 86 degrees Fahrenheit for 45 minutes.
Dilute the rennet in the purified water and stir. Ideally this should be done at least 20 minutes prior to adding it to the milk.
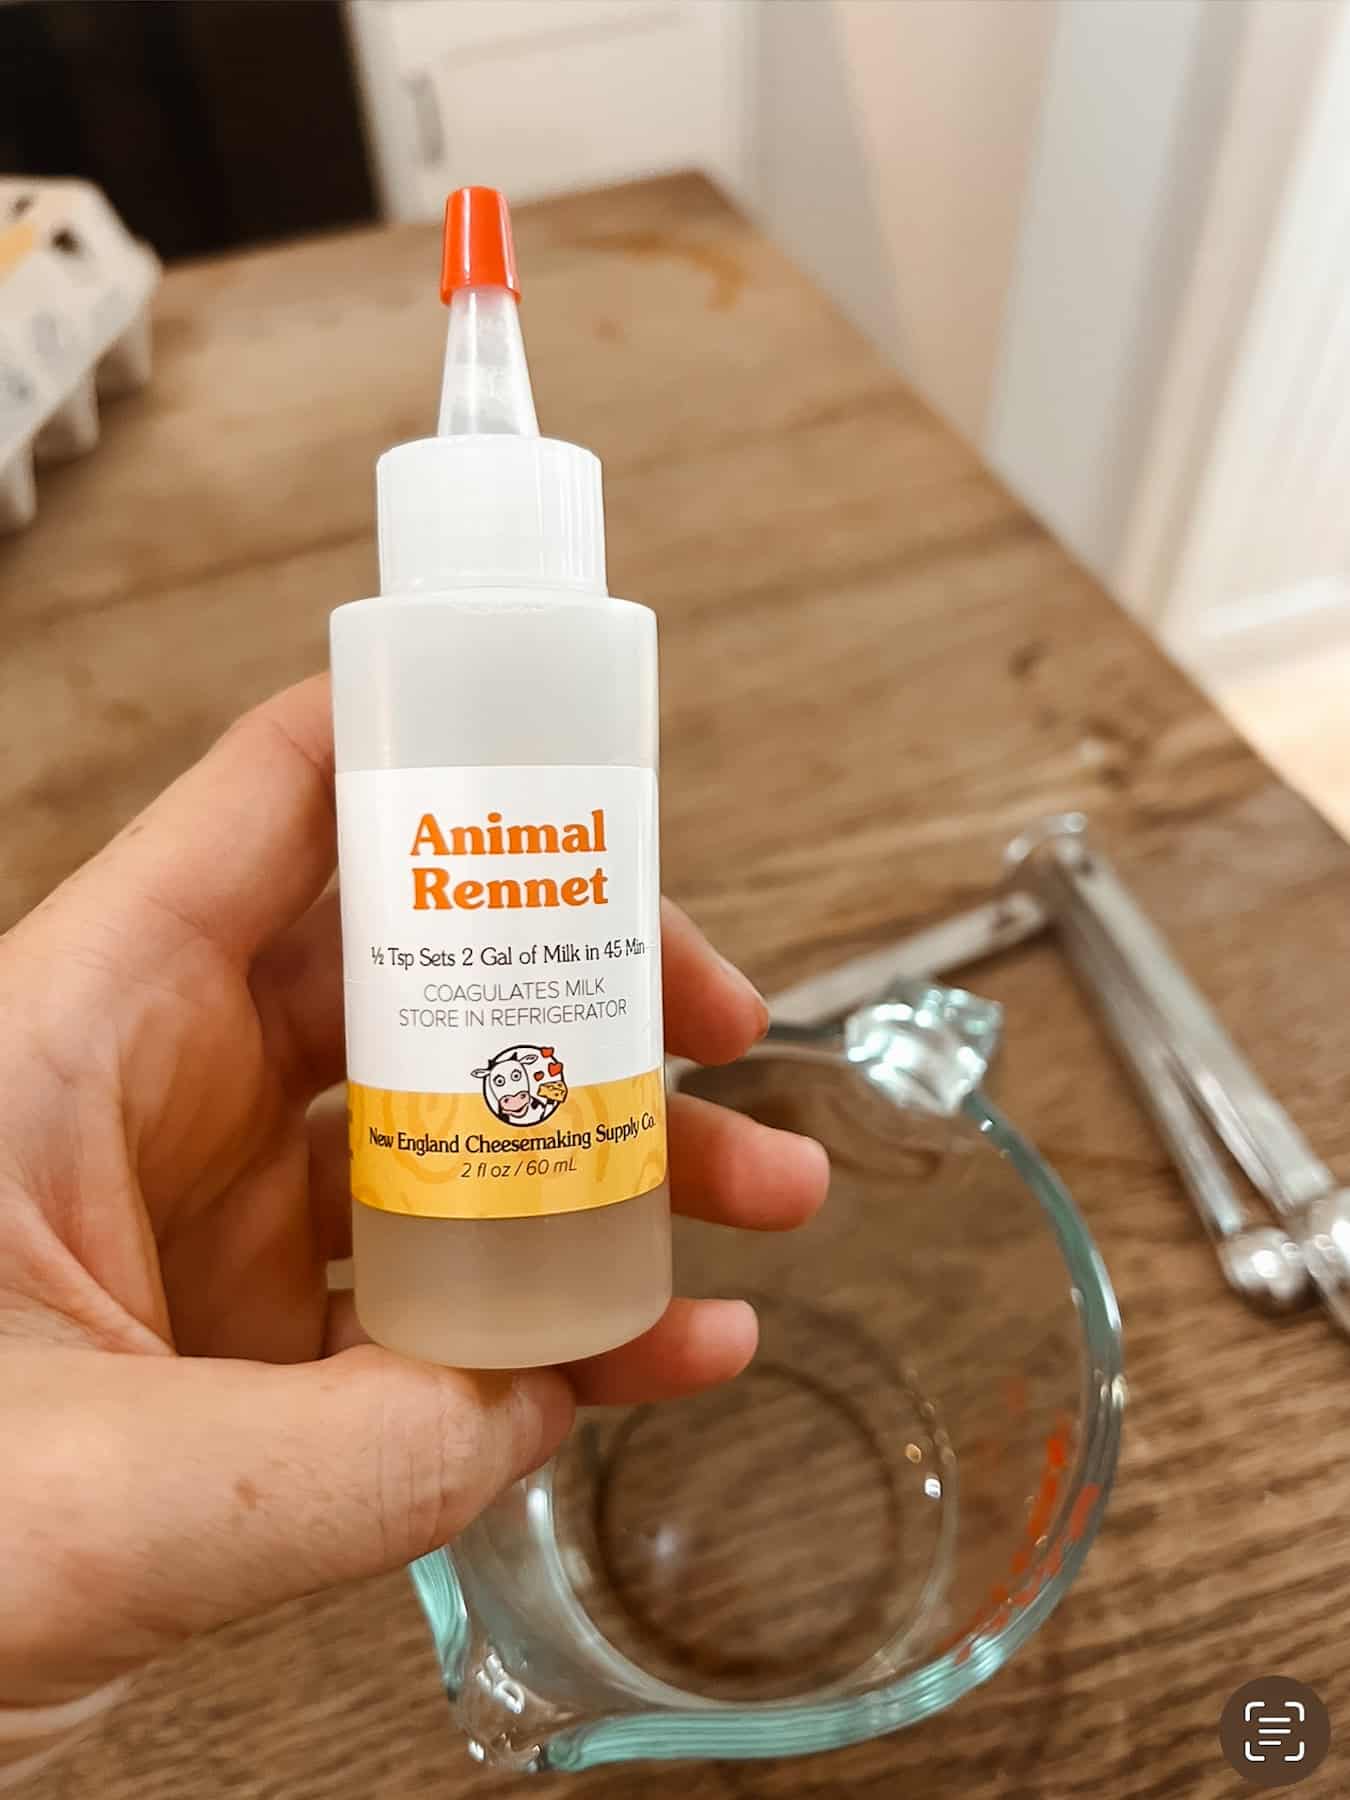
Ensure the milk temperature is still at 86 degrees Fahrenheit and gently add in the diluted rennet. Stir the rennet into the milk using a gentle up and down motion for 5 minutes. If using calcium chloride, add it now.
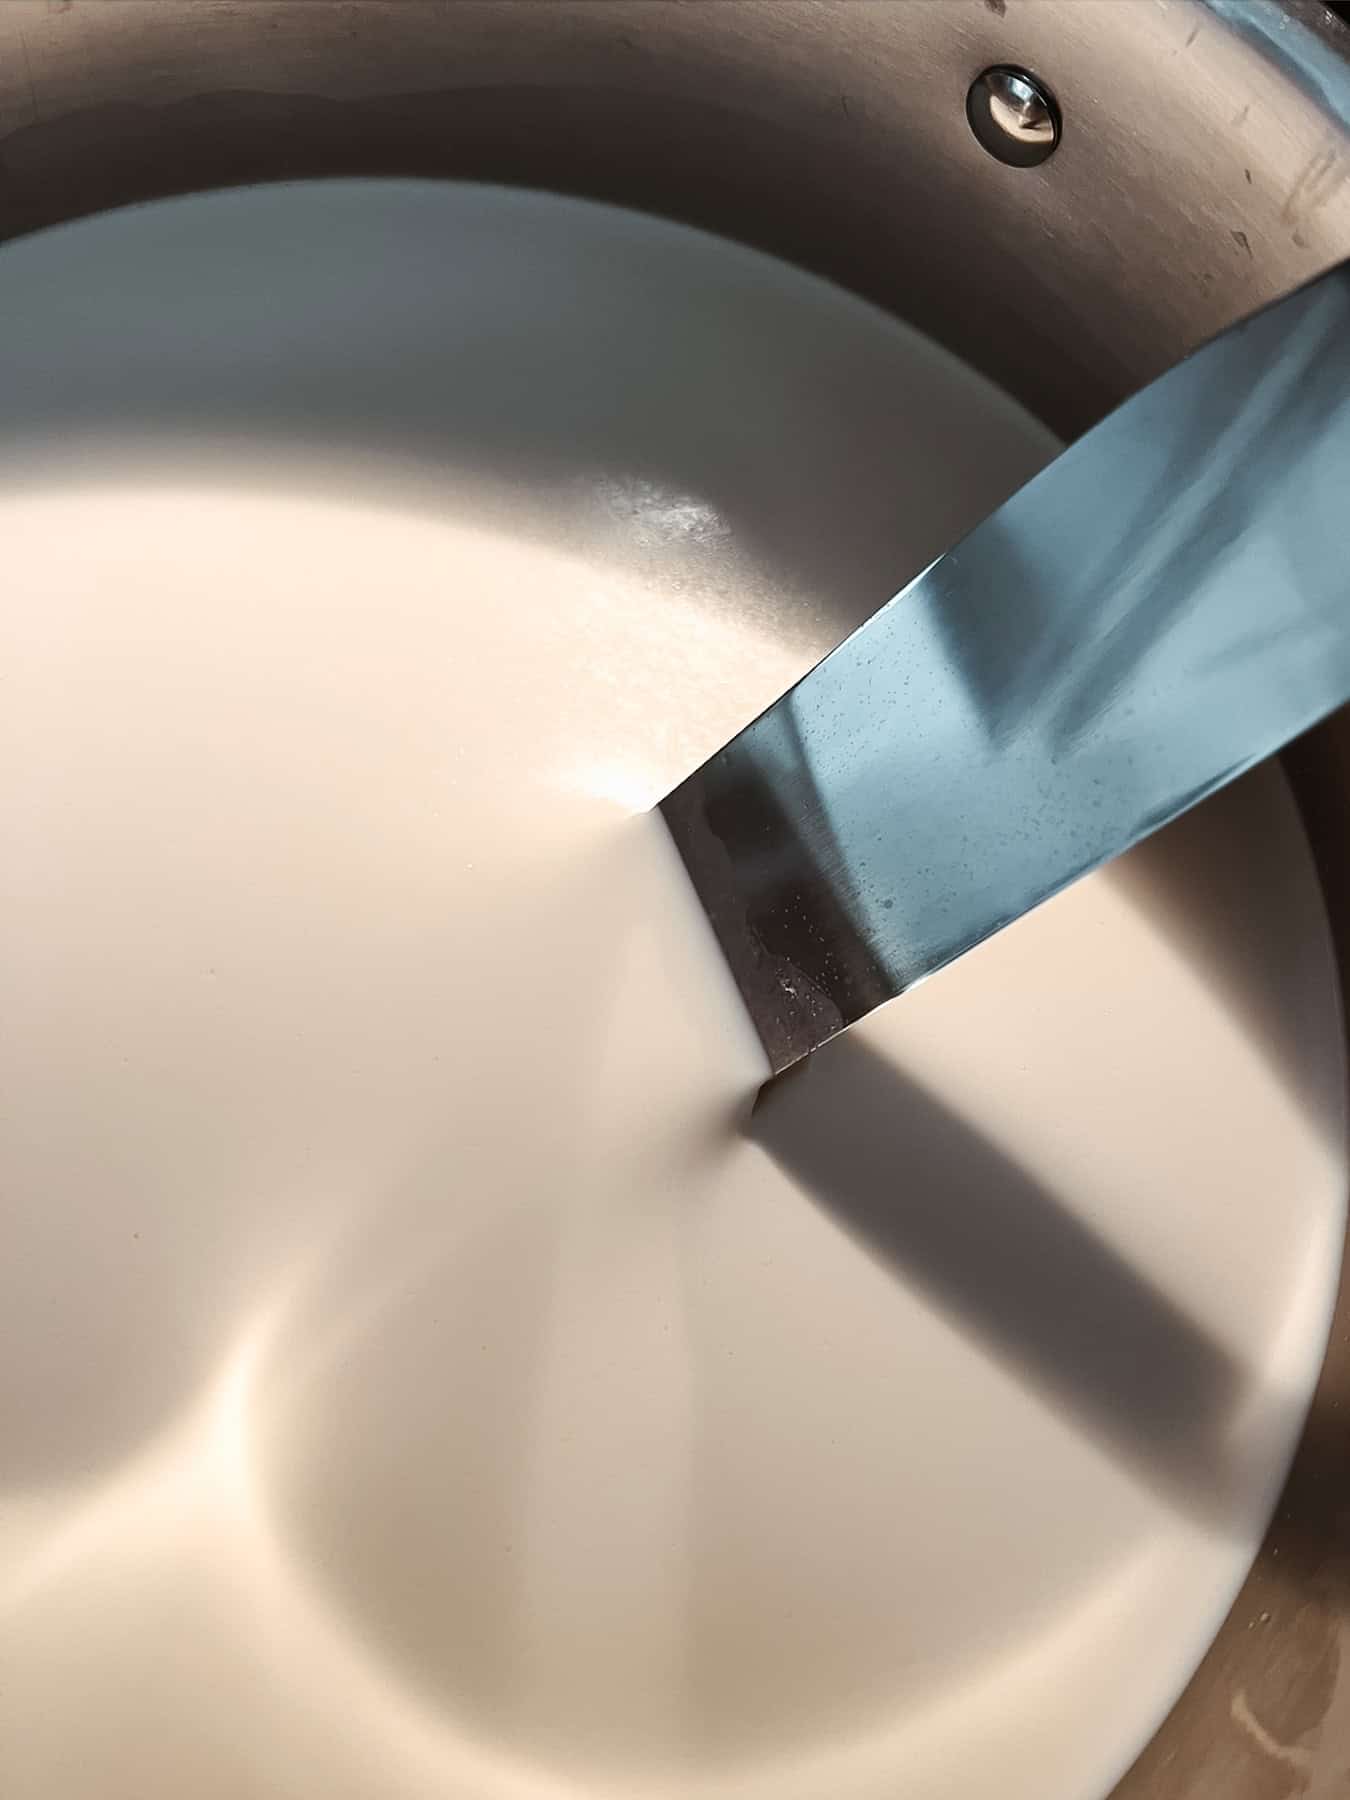
Cover the milk and let it sit undisturbed for 30-45 minutes (until the curds show a clean break).
Curds and Whey
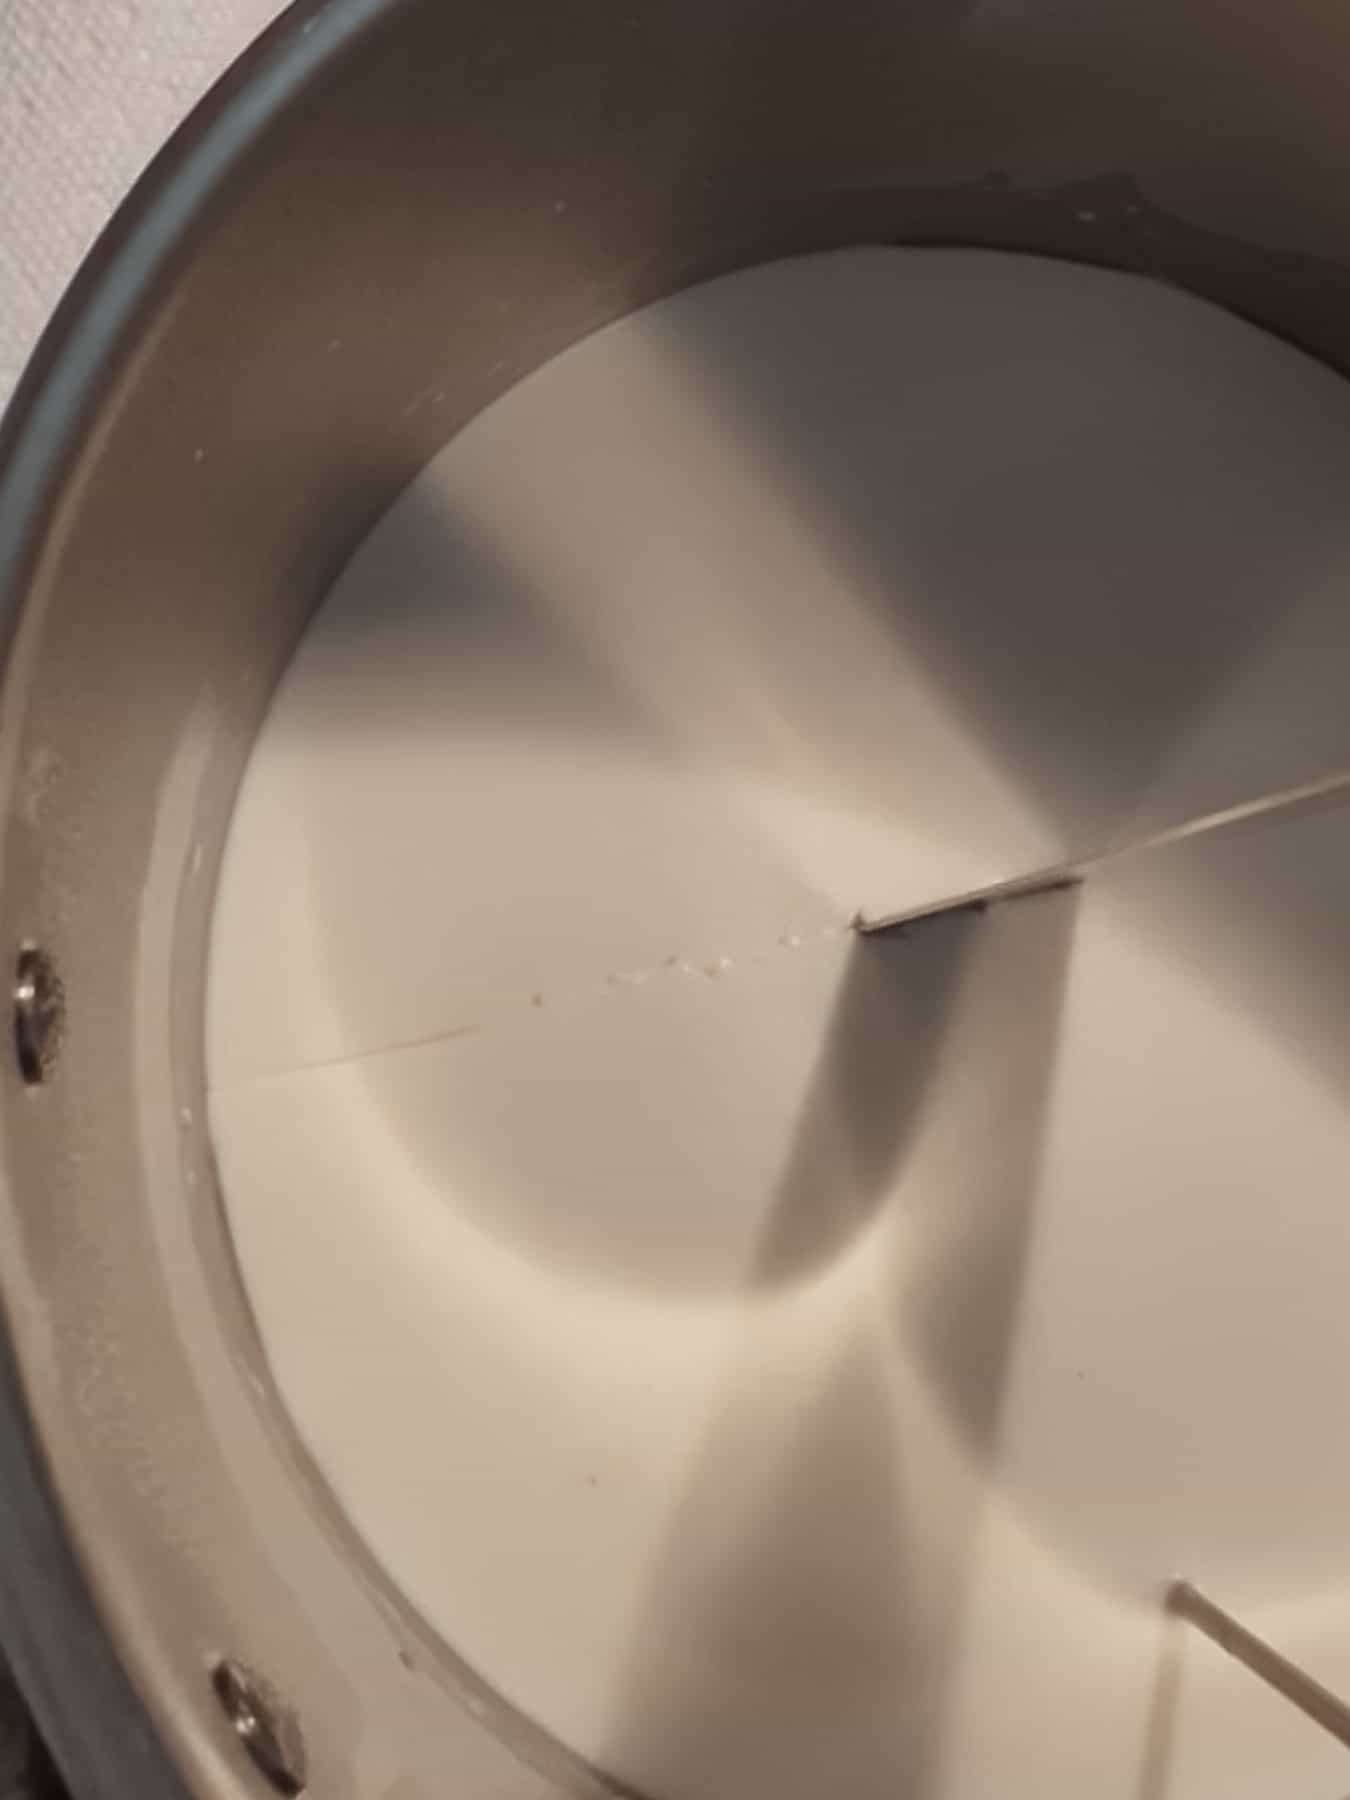
Using a long knife, once the curds show a clean break, cut the curd into 1/2 inch pieces / cubes. Be sure to cut the curd cubes all the way to the bottom of the pot.
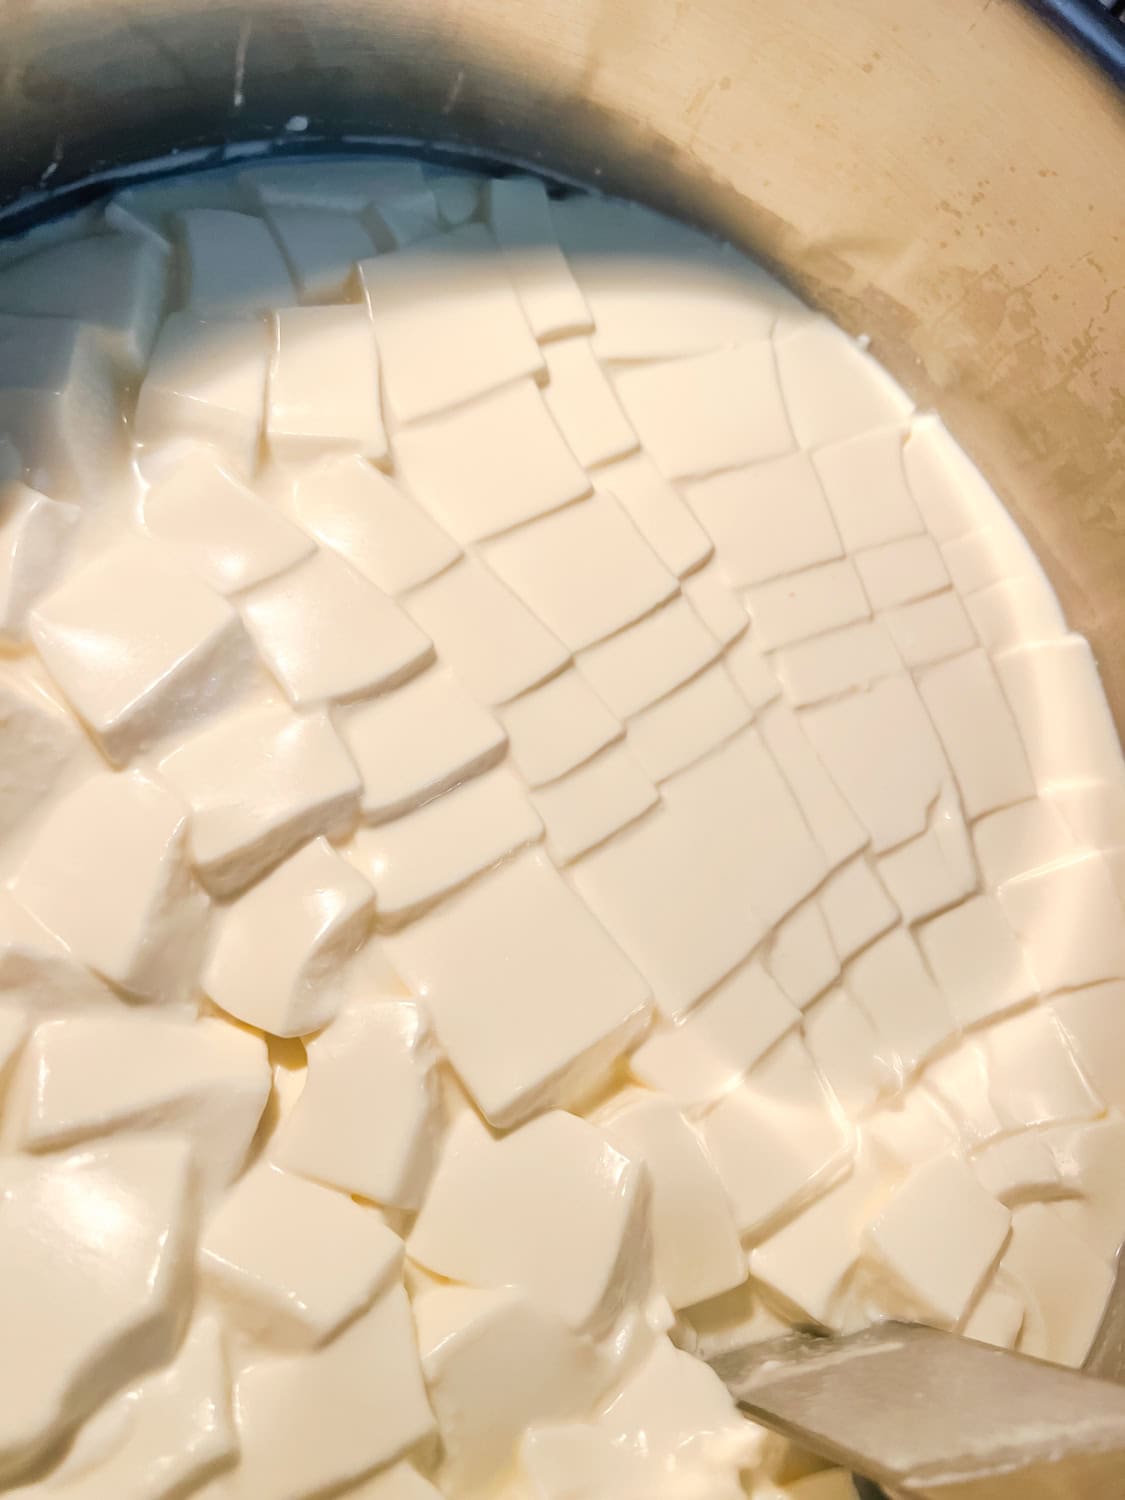
Stir gently to break the curds and allow them to set for 5 minutes.
Slowly heat the cut curds (on low heat) to 102 degrees Fahrenheit. This step should take about 30 minutes or more, not less. Maintaining the 102 degree Fahrenheit temperature, continue to stir the warm curds as they reduce in size. This step should take 15 minutes.
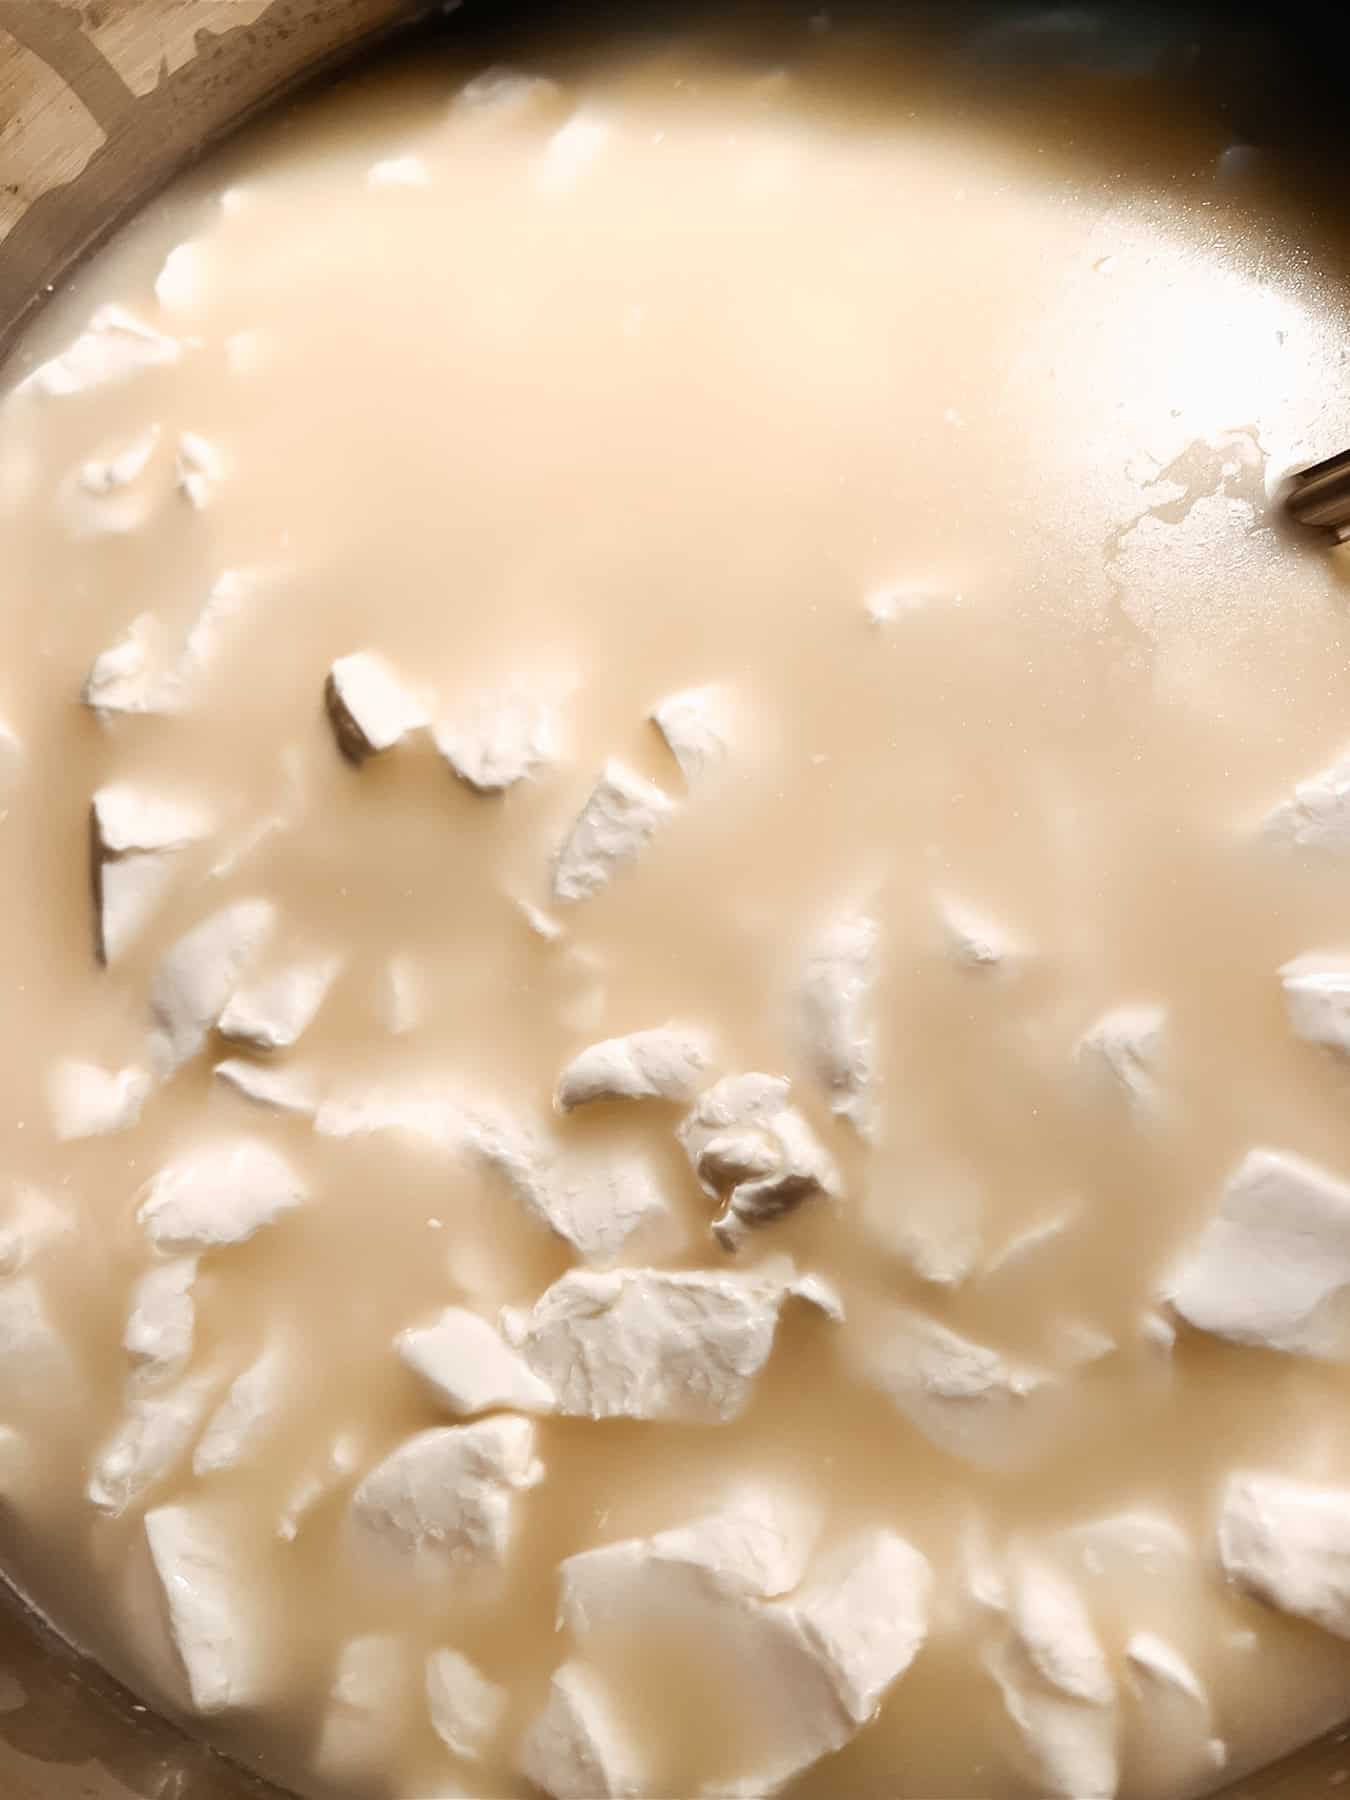
Strain the curds from the whey in a colander over the heavy pot. Place the lid on the colander full of curds and let it sit for 45-60 minutes undisturbed.

Prepping and Pressing the Curd
Transfer the curd mass to a cutting board and cut the curd into 3 inch slices or strips. The texture of the curd should now be similar to that of chicken meat.

Break the slices into 1/2 inch cubes and put them back into the empty heavy pot. Add the cheese salt and stir the curds with your hand. Be careful to not squeeze the curds.
Line the cheese mold with cheesecloth and place the curds in the mold. Add the mold to the press and crank the handle until you feel resistance. Be sure to have a tray to catch the whey as it drains from the curd.
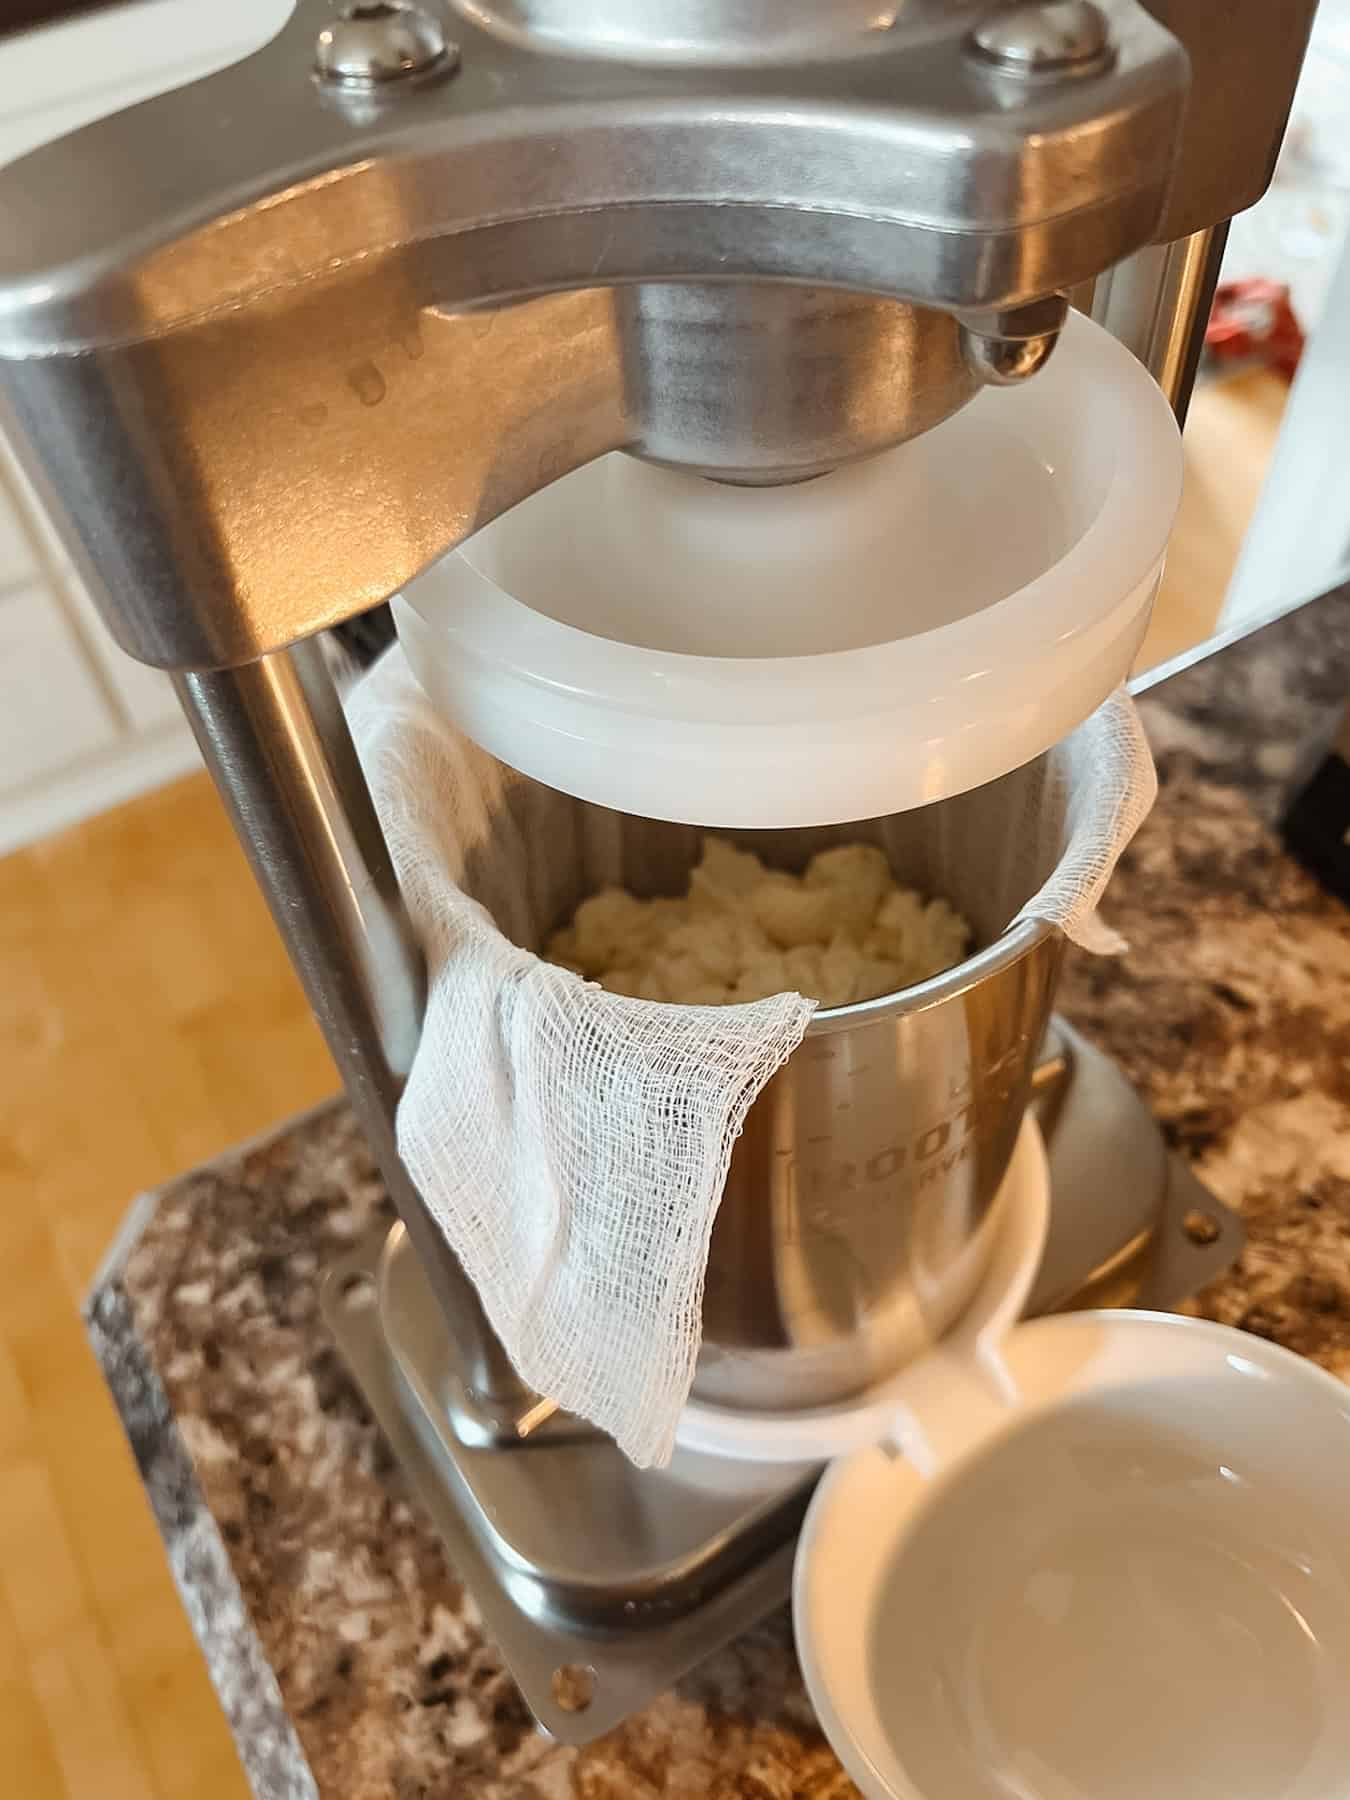
Allow it to sit and drain for 15 minutes.
Remove the cheese from the mold and gently pull away the cheesecloth. Flip the cheese over onto the cheesecloth and place it back into the mold. Press further until resistance is felt.

Allow cheese to set at room temperature for 12 hours. Keep constant pressure on the cheese by checking the handle periodically and cranking further.
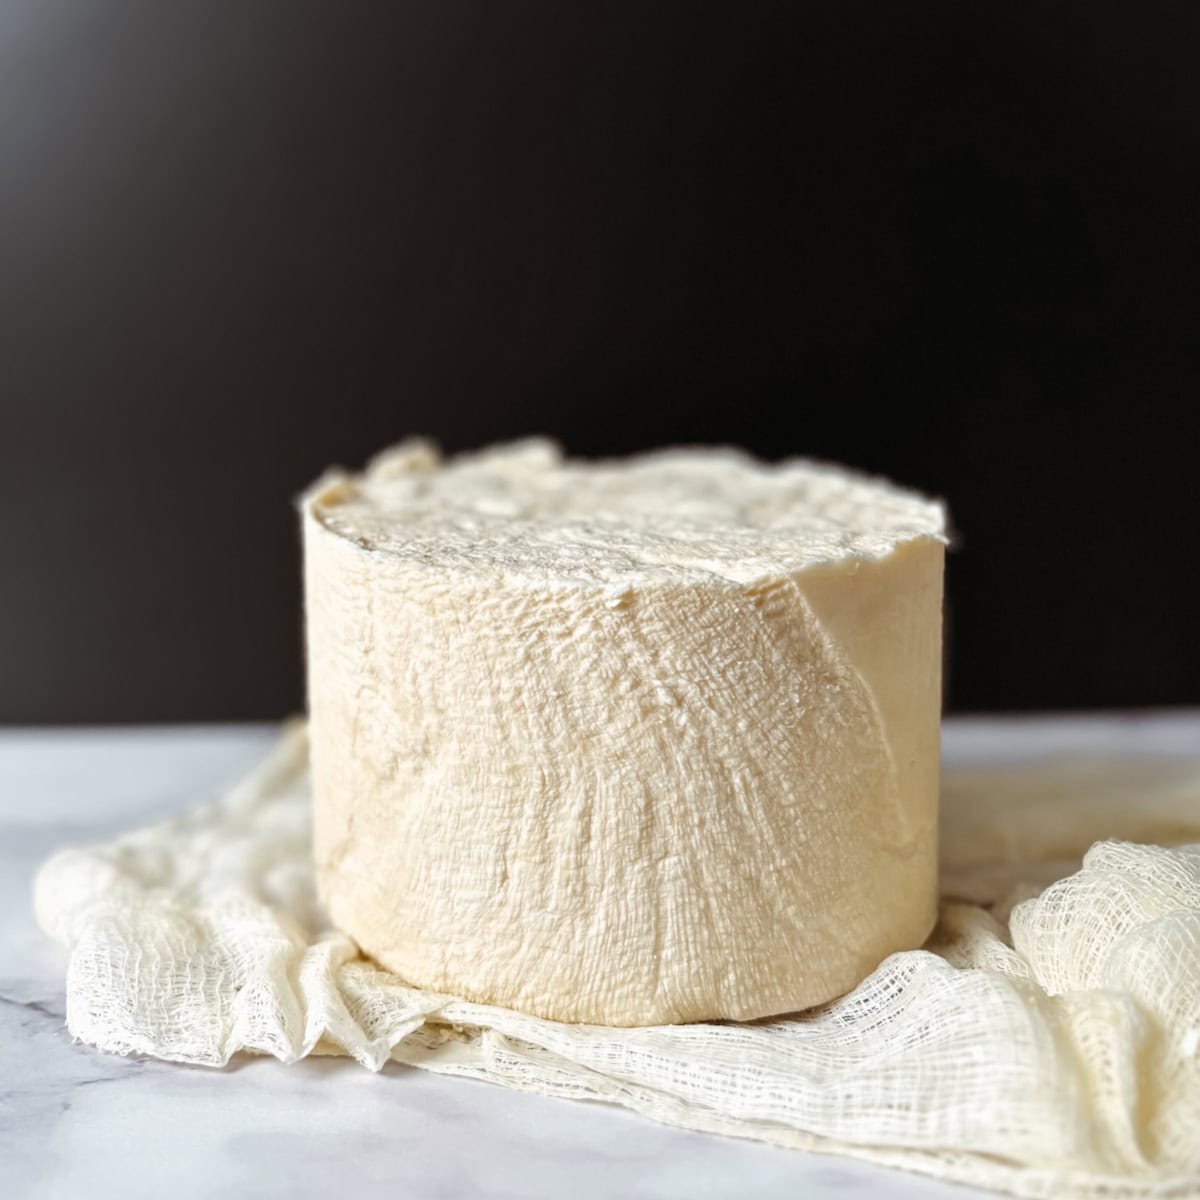
Remove the cheese from the mold and carefully remove the cheesecloth. Air dry the cheese at room temperature for 2-5 days, until the cheese is dry to the touch.
The cheese is now ready to eat or wax.
To age cheese, store at 50 to 55 degrees Fahrenheit for 3-12 months. The longer the cheese is aged the sharper the flavor will be, extra sharp cheddar cheese should be aged for closer to 12 months. Without aging the cheese through the aging process, the result will be a very mild cheddar cheese.
Equipment
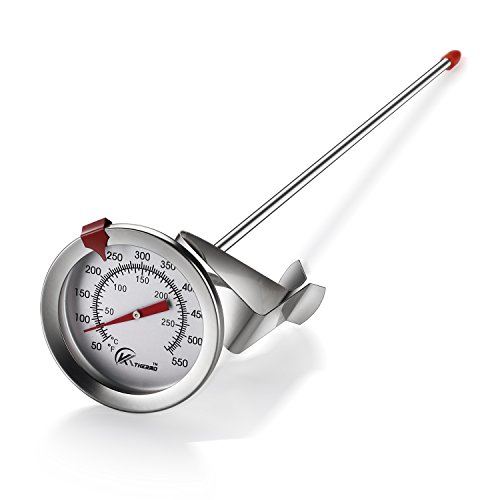
- Food thermometer (digital)
- Colander
- Large pot
- Large wooden spoon
- Cutting board
- Long knife
- Cheesecloth
- Cheese press
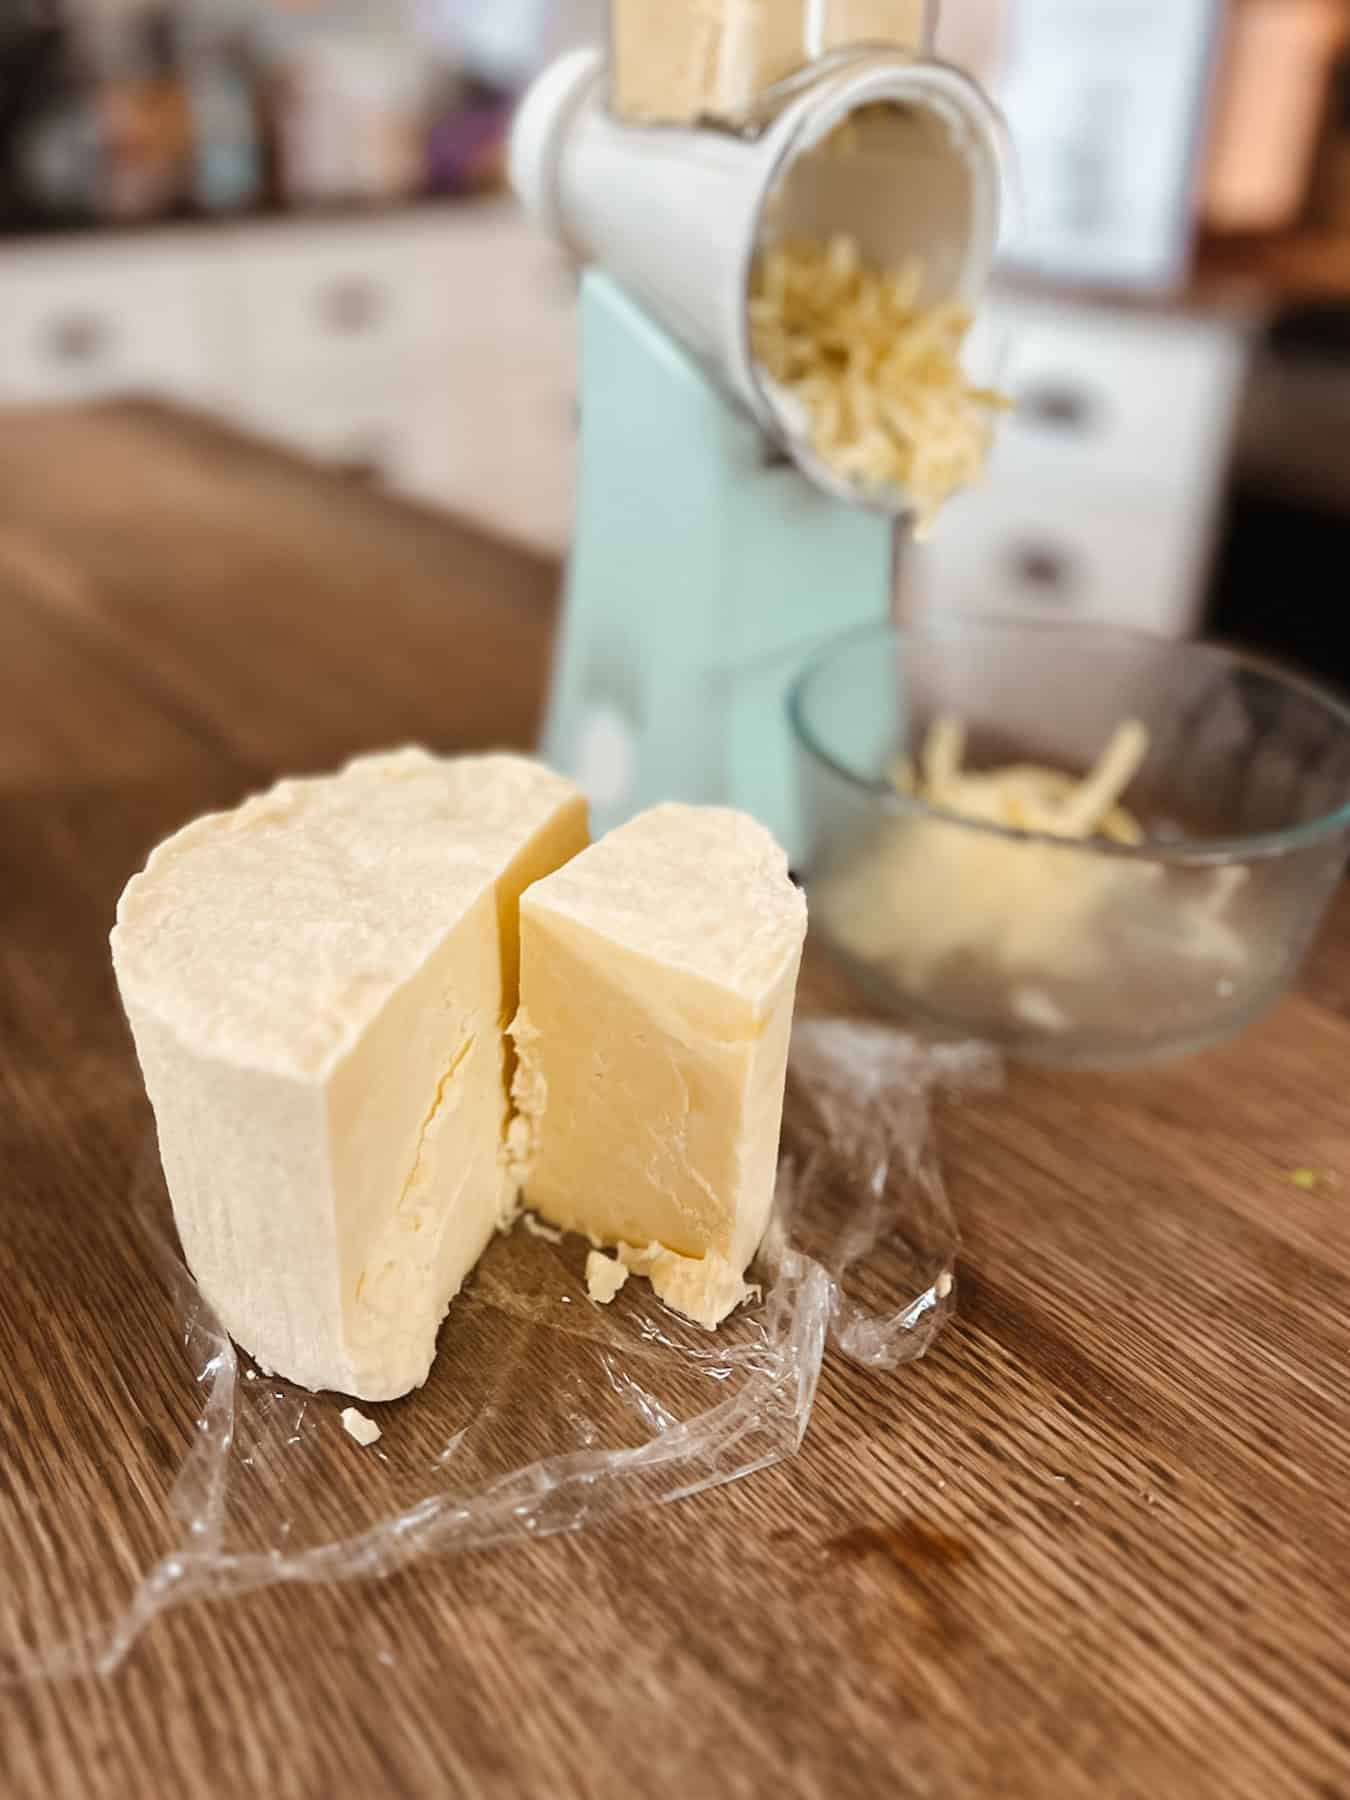
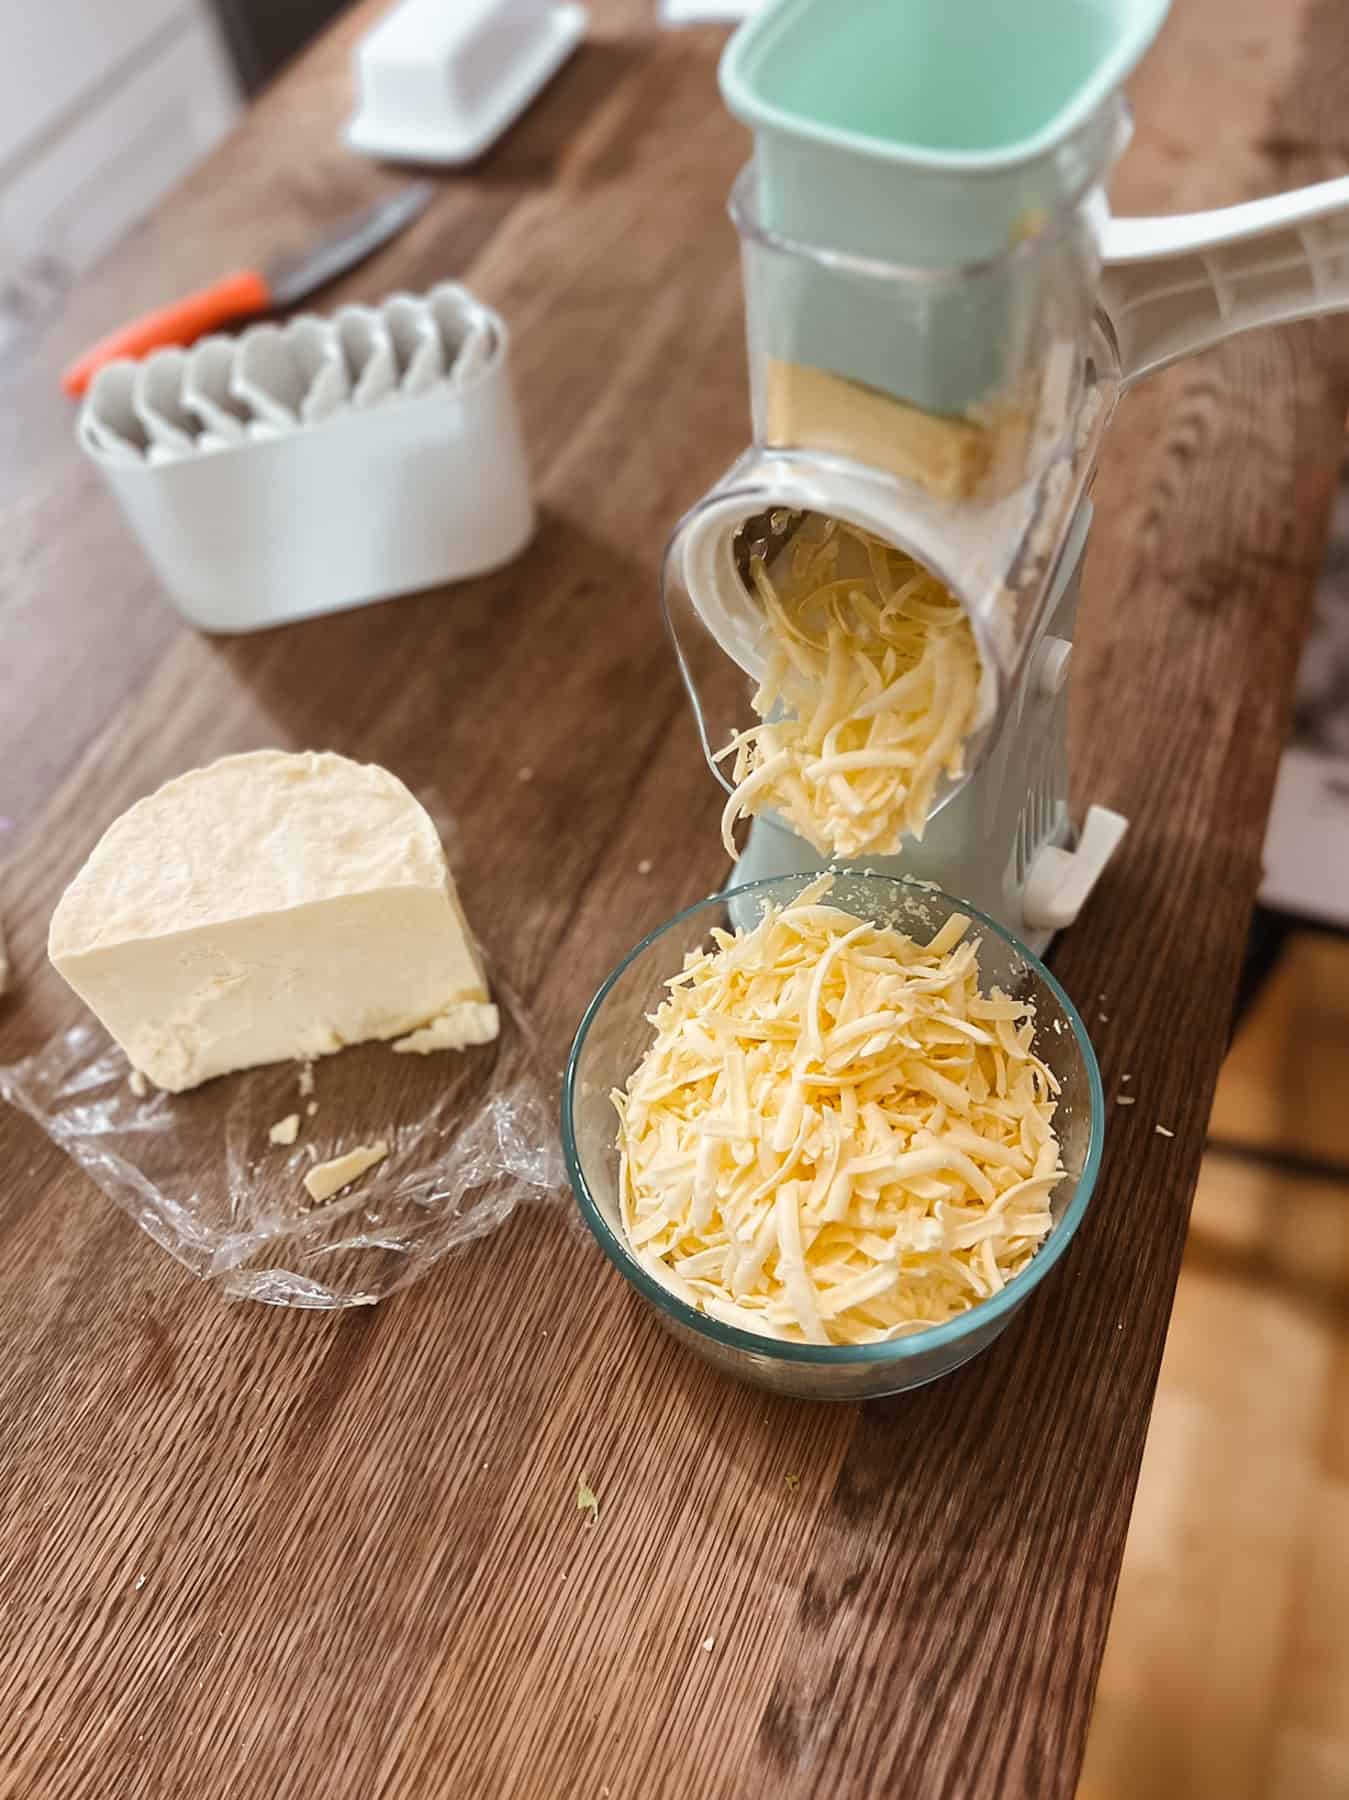
Pro tip: Get a super handy and easy to clean cheese shredder like this one and level up your homemade family pizza nights!
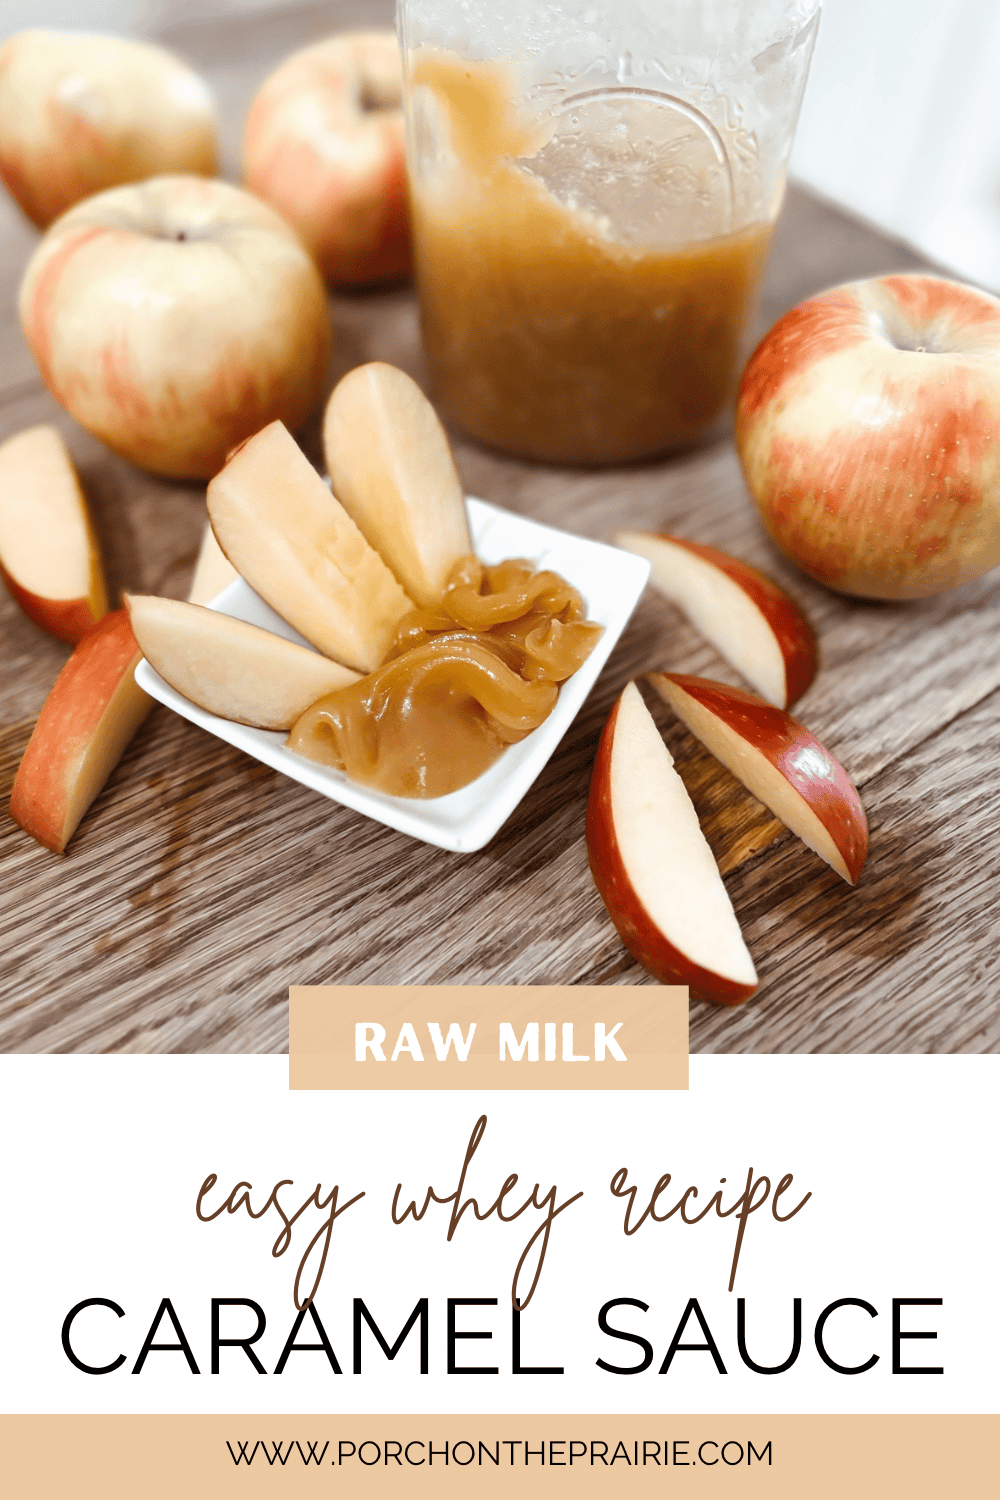
Note – wondering what to do with all the strained whey? Check out my super simple and delicious whey caramel recipe here.
Storage
Wrap the cheese in wax or parchment paper and store it in the refrigerator. Do not use a plastic bag or airtight container as it will trap moisture and lead to mold. If mold appears, do not be alarmed – cut off the moldy area.
Vacuum seal and freeze for longer storage, but note the the thawed texture may be different.
Substitutions
Store bought milk, pasteurized, or homogenized milk can be used in this recipe. If these other milk options are used in place of raw milk, calcium chloride must be used as well.
FAQ
Try to reduce the heat quickly and simply start over. Overheating the cheese will kill the culture, so start back at step one.
Yes! Did you know, store bought pre-shredded cheese is coated with anti-cake agents such as powdered cellulose, potato starch or calcium sulfate.
Yes, fresh milk (up to 3 days old) is ideal for cheesemaking.
There are no jagged edges when running the long cheese knife through the curd to cut it.
No, this is a beginner recipe with a simple cheese press that doesn’t use actual weight.
Yes, there are methods for sanitizing cheesecloth such as soaking in baking soda, vinegar, and water and then boiling.
Save Pin for later!

How to Make Cheddar Cheese with Raw Milk (Easy)
Equipment
- Food thermometer (digital)
- Colander
- Large Pot
- Large wooden spoon
- Cutting board
- Long knife
- Cheese press
Ingredients
- 2 Gallons Raw Milk raw whole milk
- 1 Packet Direct-set Mesophilic Starter
- 1/2 teaspoon Rennet
- 10 teaspoon Purified Water
- 1 tablespoon Cheese Salt
- 1/2 tsp Calcium Chloride if desired – see substitution note
- Cheese wax optional
Instructions
- Step one is to ensure all equipment is sanitized, including the surface area being used. Then, heat the milk on medium/low in a heavy pot to 86 degrees Fahrenheit. Turn off the heat and add the packet of mesophilic starter culture.
- Allow the starter culture to dissolve on the surface of the milk for a few minutes, then stir the starter culture well into the milk. Cover and allow the milk to sit (ripen) undisturbed at 86 degrees Fahrenheit for 45 minutes.
- Dilute the rennet in the purified water and stir. Ideally this should be done at least 20 minutes prior to adding it to the milk.
- Ensure the milk temperature is still at 86 degrees Fahrenheit and gently add in the diluted rennet. Stir the rennet into the milk using a gentle up and down motion for 5 minutes. If using calcium chloride, add it now.
- Cover the milk and let it sit undisturbed for 30-45 minutes (until the curds show a clean break).
- Using a long knife, once the curds show a clean break, cut the curd into 1/2 inch pieces / cubes. Be sure to cut the curd cubes all the way to the bottom of the pot. Stir gently to break the curds and allow them to set for 5 minutes.
- Slowly heat the curds (on low heat) to 102 degrees Fahrenheit. This step should take about 30 minutes or more, not less. Maintaining the 102 degree Fahrenheit temperature, continue to stir the warm curds as they reduce in size. This step should take 15 minutes.
- Strain the curds from the whey in a colander over the heavy pot. Place the lid on the colander full of curds and let it sit for 45-60 minutes undisturbed.
- Transfer the curd mass to a cutting board and cut the curd into 3 inch slices or strips. The texture of the curd should now be similar to that of chicken meat.
- Break the slices into 1/2 inch cubes and put them back into the empty heavy pot. Add the cheese salt and stir the curds with your hand. Be careful to not squeeze the curds.
- Line the cheese mold with cheesecloth and place the curds in the mold. Add the mold to the press and crank the handle until you feel resistance. Be sure to have a tray to catch the whey as it drains from the curd.
- Allow it to sit and drain for 15 minutes.
- Remove the cheese from the mold and gently pull away the cheesecloth. Flip the cheese over onto the cheesecloth and place it back into the mold. Press further until resistance is felt.
- Allow cheese to set at room temperature for 12 hours. Keep constant pressure on the cheese by checking the handle periodically and cranking further.
- Remove the cheese from the mold and carefully remove the cheesecloth. Air dry the cheese at room temperature for 2-5 days, until the cheese is dry to the touch.
- The cheese is now ready to eat or wax.
- To age cheese, store at 50 to 55 degrees Fahrenheit for 3-12 months. The longer the cheese is aged the sharper the flavor will be, extra sharp cheddar cheese should be aged for closer to 12 months. Without aging the cheese through the aging process, the result will be a very mild cheddar cheese.
Notes
Nutrition


Related
Looking for other recipes like this? Try these:


Looks pretty easy! Will have to try!
This is on my to do list! Thank you so much for this recipe. I have been intimidated to try making cheese with my raw milk but you make it look so simple and easy!
I have experimented with soft fresh cheeses but never cheddar. I def want to give it a go. Pinning this so I can come back to it later!!
Yes! Love to hear it – would love to know how it turns out 🙂
I am still intimidated by the thought of cheese making. And all the items I need to get to do it. I keep wondering if it’s less expensive just to keep buying the raw cheese I have access to. But, I see this is a large serving. I just wonder how far the rennet goes and that seems like a lot for starter culture when your own culture can be made at home. I want to start by making my cultures. If I do, is the rest of this recipe the same? Do I still need rennet and cheese salt?
I totally understand! Making your own cultures will save on that portion of cost. Rennet is what coagulates the milk, turning it into solid curds. There are many people who do their own rennet as well! Also, many people use simple items around the house as cheese forms and things such as heavy books for weight or presses. There are many thrifty ways to be a cheesemaker 🙂 As far as the salt goes, just a non-iodized salt is all that’s needed!