How to Preserve Pumpkin (Freezing or Canning) – Easy
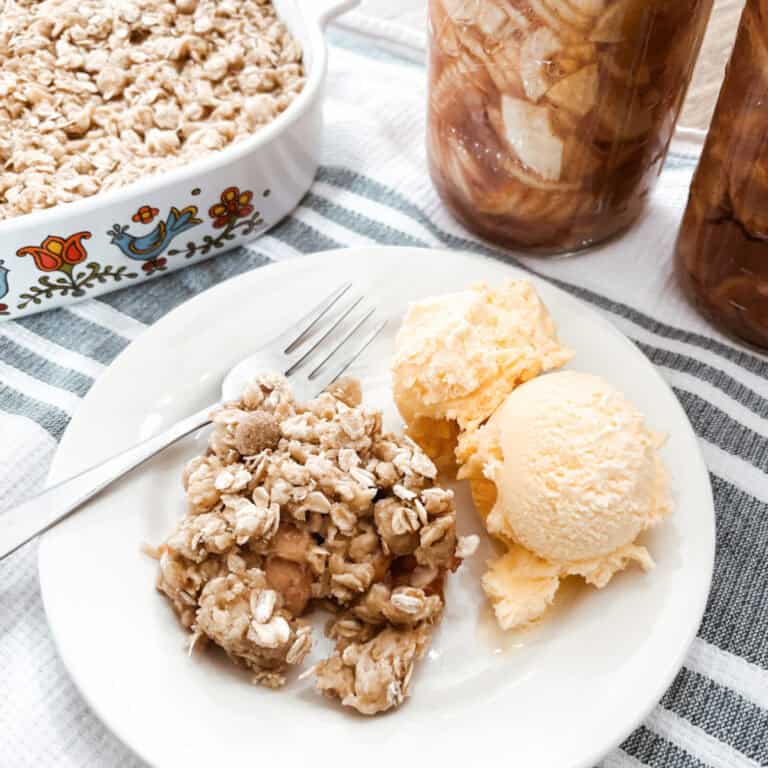
There are a couple of ways to preserve the fall pumpkin, either by freezing a pumpkin puree or pressure canning. To determine the method that will work best for you, consider what you would like to use this pumpkin for later. Luckily, How to Preserve Pumpkin (Freezing or Canning) – Easy is a super simple step-by-step guide for tackling both methods like a pro.

In this guide, I’ll walk you through two easy, effective methods for preserving pumpkin so you can enjoy that sweet, earthy flavor long into the winter months. Whether you’re interested in pressure canning or freezing your pumpkin, both options will allow you to enjoy freshly prepared pumpkin purée or cubed pumpkin straight from your pantry or freezer—perfect for pies, muffins, and everything in between.
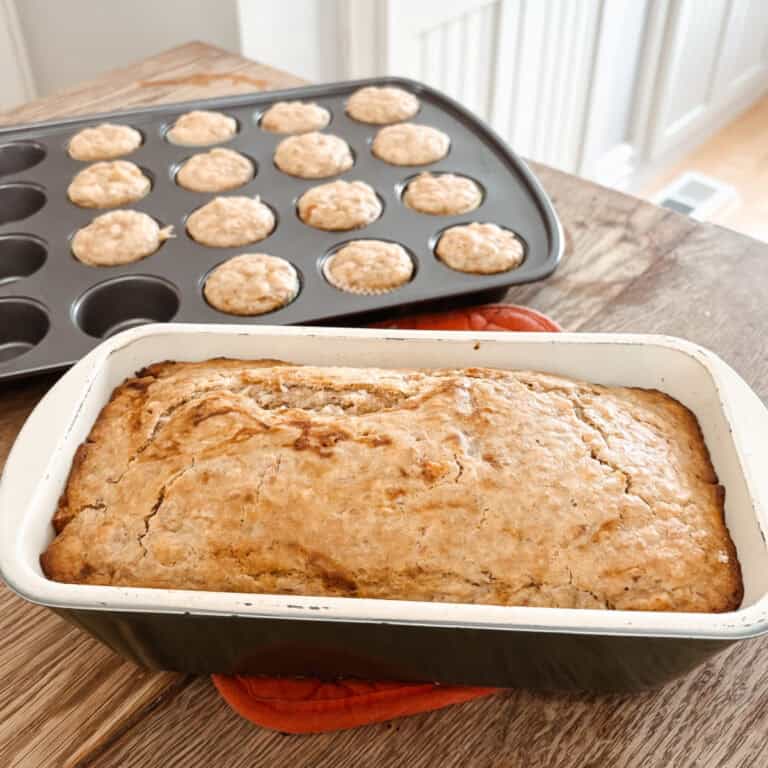
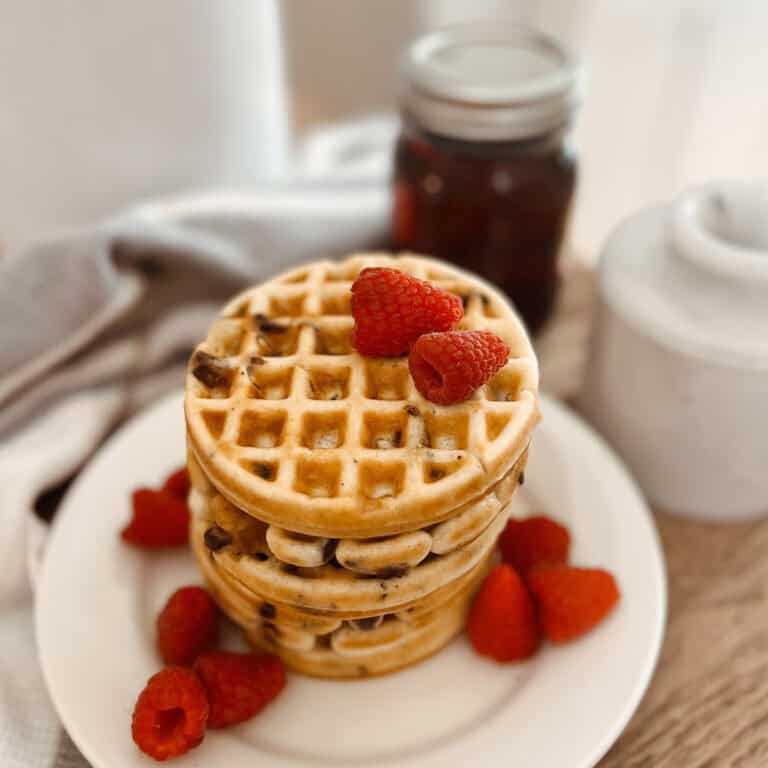
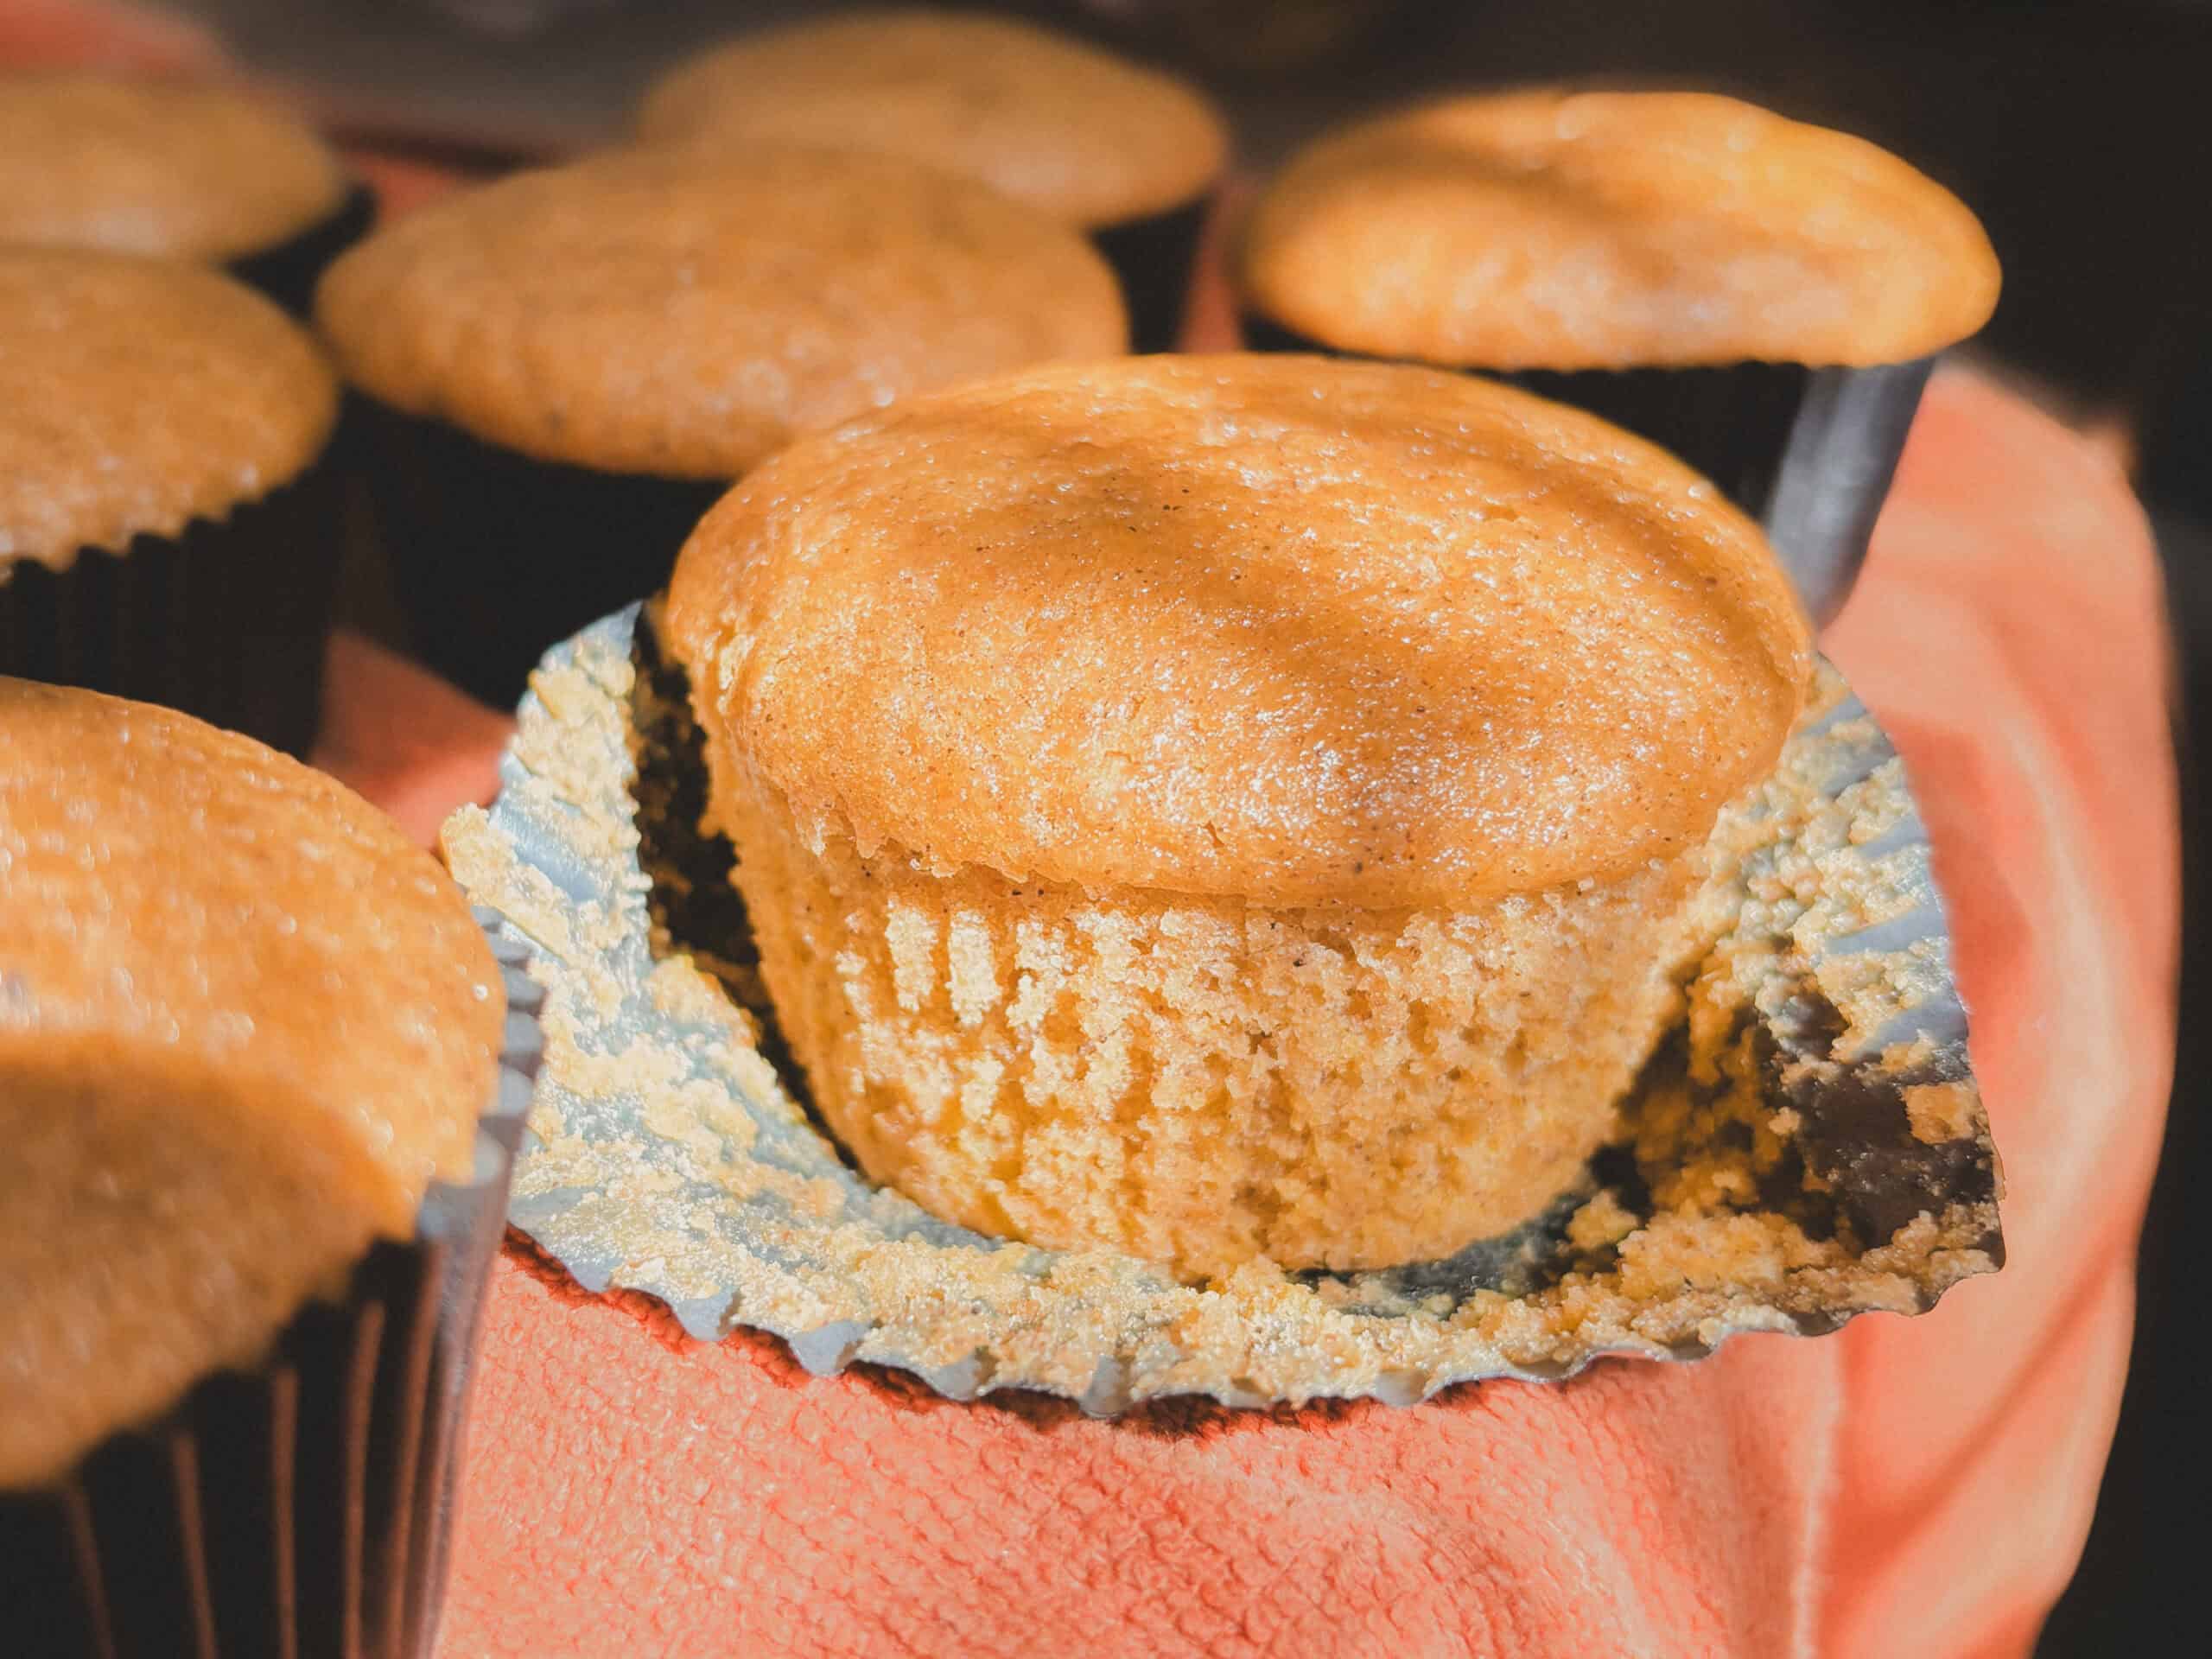
Check out my easy and delicious sourdough discard pumpkin muffin recipe here – this is one of my favorite pumpkin recipes!
Why Preserve Pumpkins
Pumpkins can be stored in a cool dry place, and keep well for a number of months after pumpkin season has officially come to a close. However, when the time comes to clear the fall decor from the front porch, it is often easier to just tackle the pumpkin preservation while we are still in food preservation mode. If done correctly, long-term storage is for up to 18 months!
The cost to preserve pumpkins is close to nothing. And how incredible is it to be able to grow, harvest, and preserve your own food. The best part – you wont have to purchase grocery store pumpkin purée again!

Why Pumpkins Should be Preserved
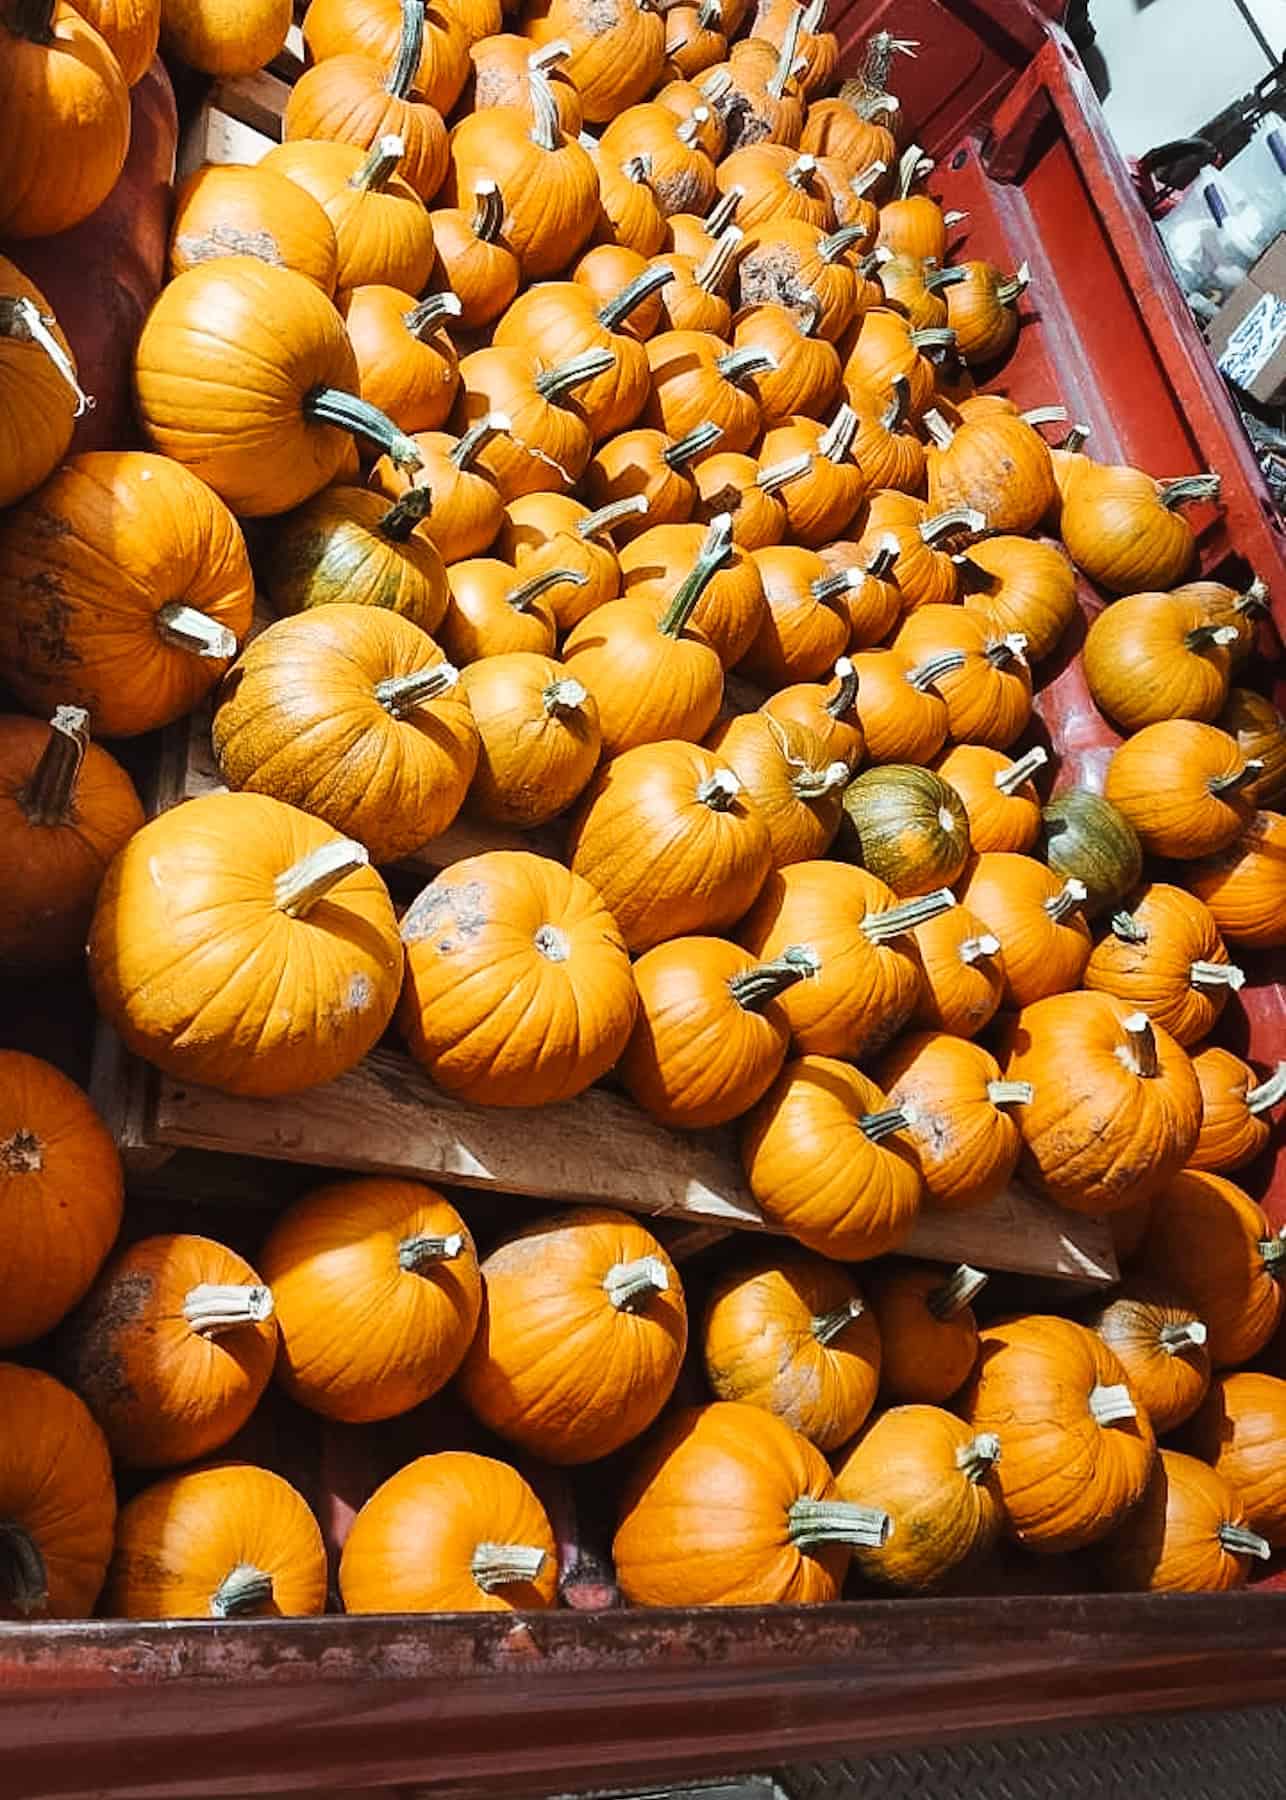
Personally, I like to do a variety. I will always plant and harvest Sugar Pie Pumpkins. In addition, I don’t like to let the kids painted pumpkins or our pumpkin decor go to waste, so I like to preserve those as well.
I do only use uncarved pumpkins however, as the carved pumpkins tend to get gross and buggy fast. Fresh pumpkins do work best.
Also, many squash varieties can be preserved to use in recipes calling for pumpkin! (Winter squash or butternut squash to name a couple.) This can be a great way to sneak veggies into recipes without the kiddos knowing.
Which of the Different Methods Should I Choose
The freezing method is a method anyone can do! No special equipment required. However, for longer storage, canning pumpkin may be the best option.
To can pumpkin, a pressure canner is required, so if you do not own one then opt for freezing! Or invest in one, they’re incredible and the canning opportunities are endless.
When considering the different ways of home food preservation, don’t let the pressure canner scare you. Freezing is a great beginner option, but I encourage everyone to venture into pressure canning. Home canning is a skill that can be easily learned and passed on for generations.
Another simple step-by-step pressure canning recipe is my carrot recipe – learn how here!
Freezing Method
Ingredients
- Pumpkins (any variety)
- Butter (or olive oil)
- Salt
Instructions
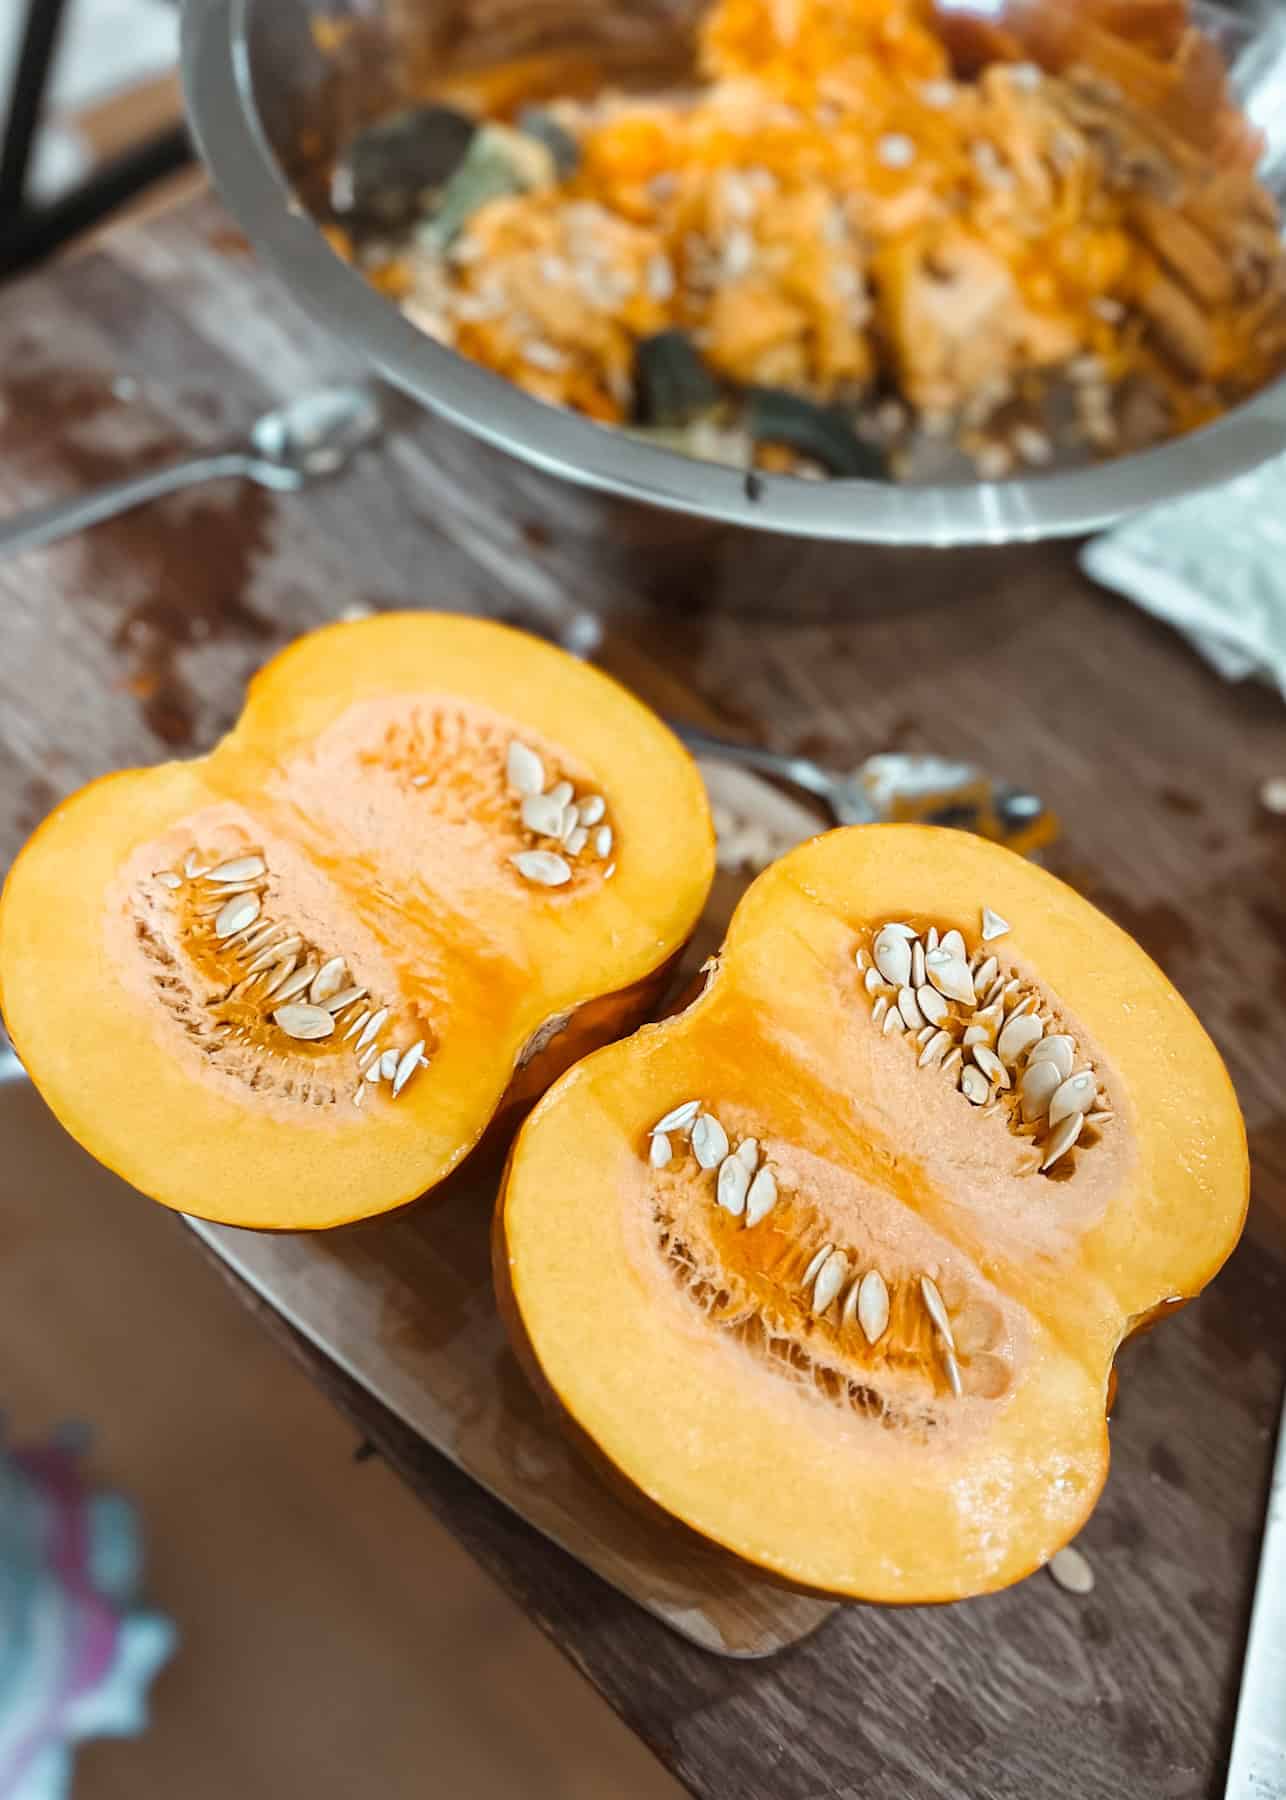
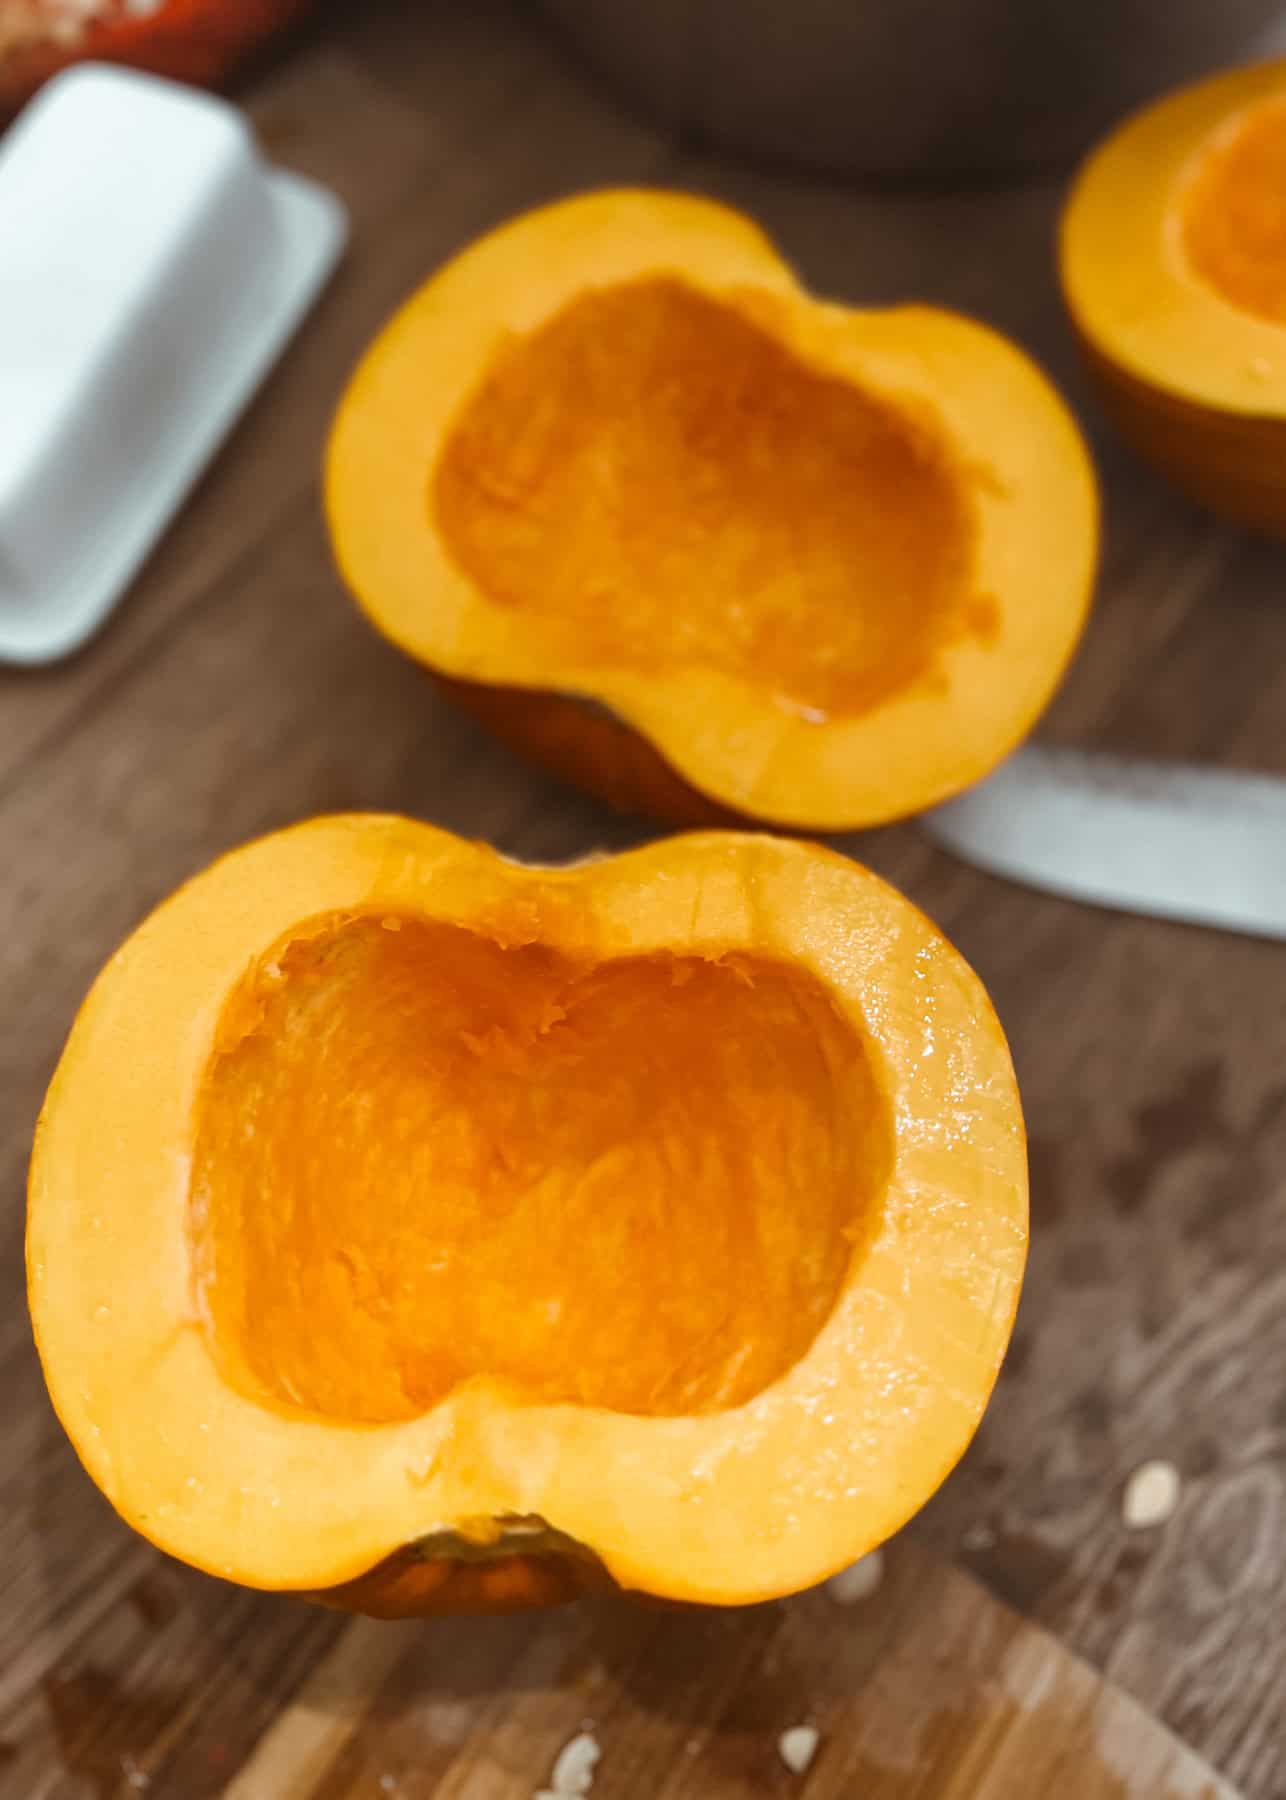
Preheat oven to 350 degrees. Cut each pumpkin in half with a sharp knife and clean out the middle part (the pumpkin guts and pumpkin seeds).
Spread the inner pumpkin with some butter or oil and sprinkle with salt.
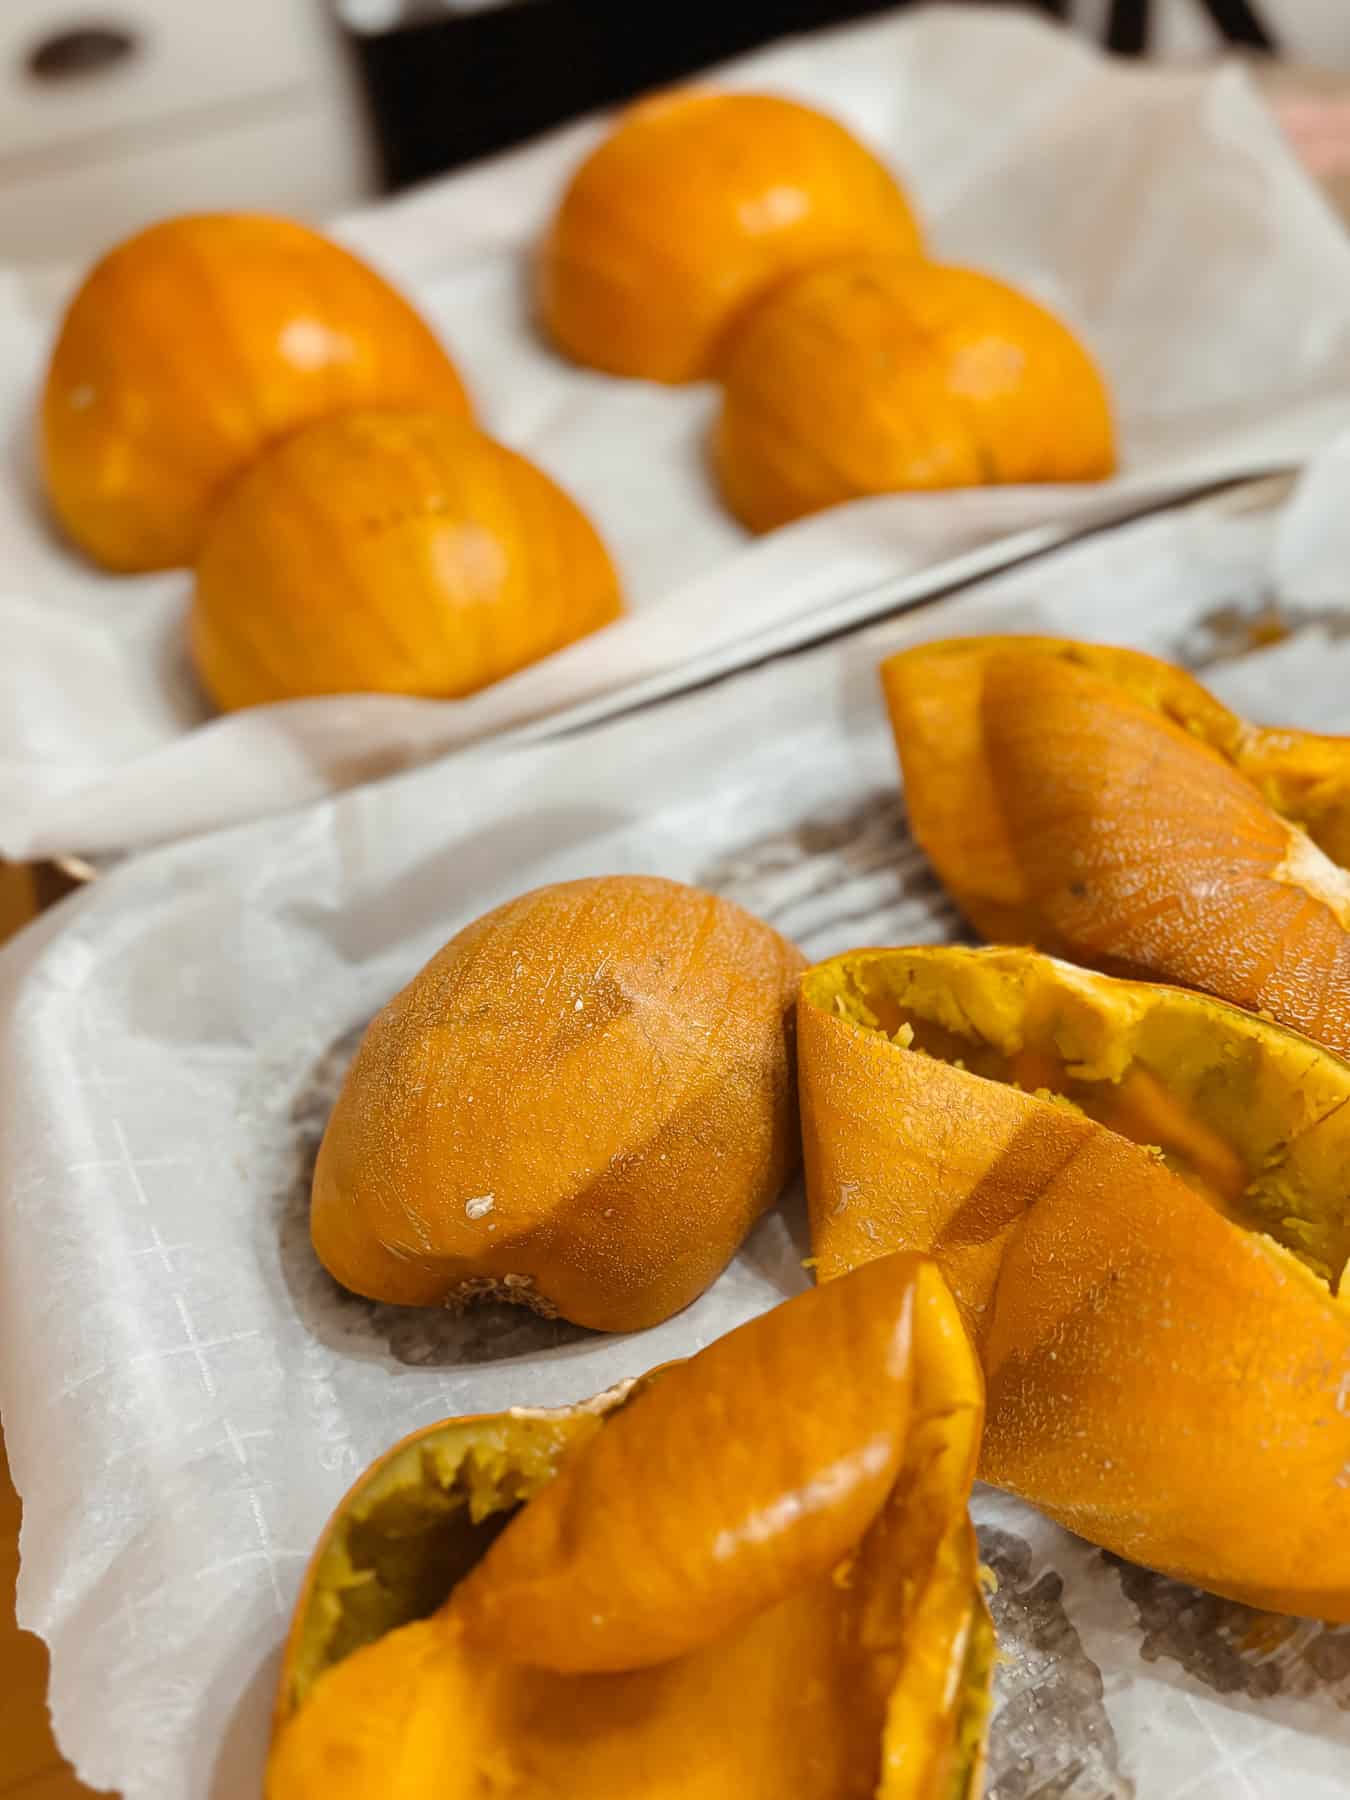
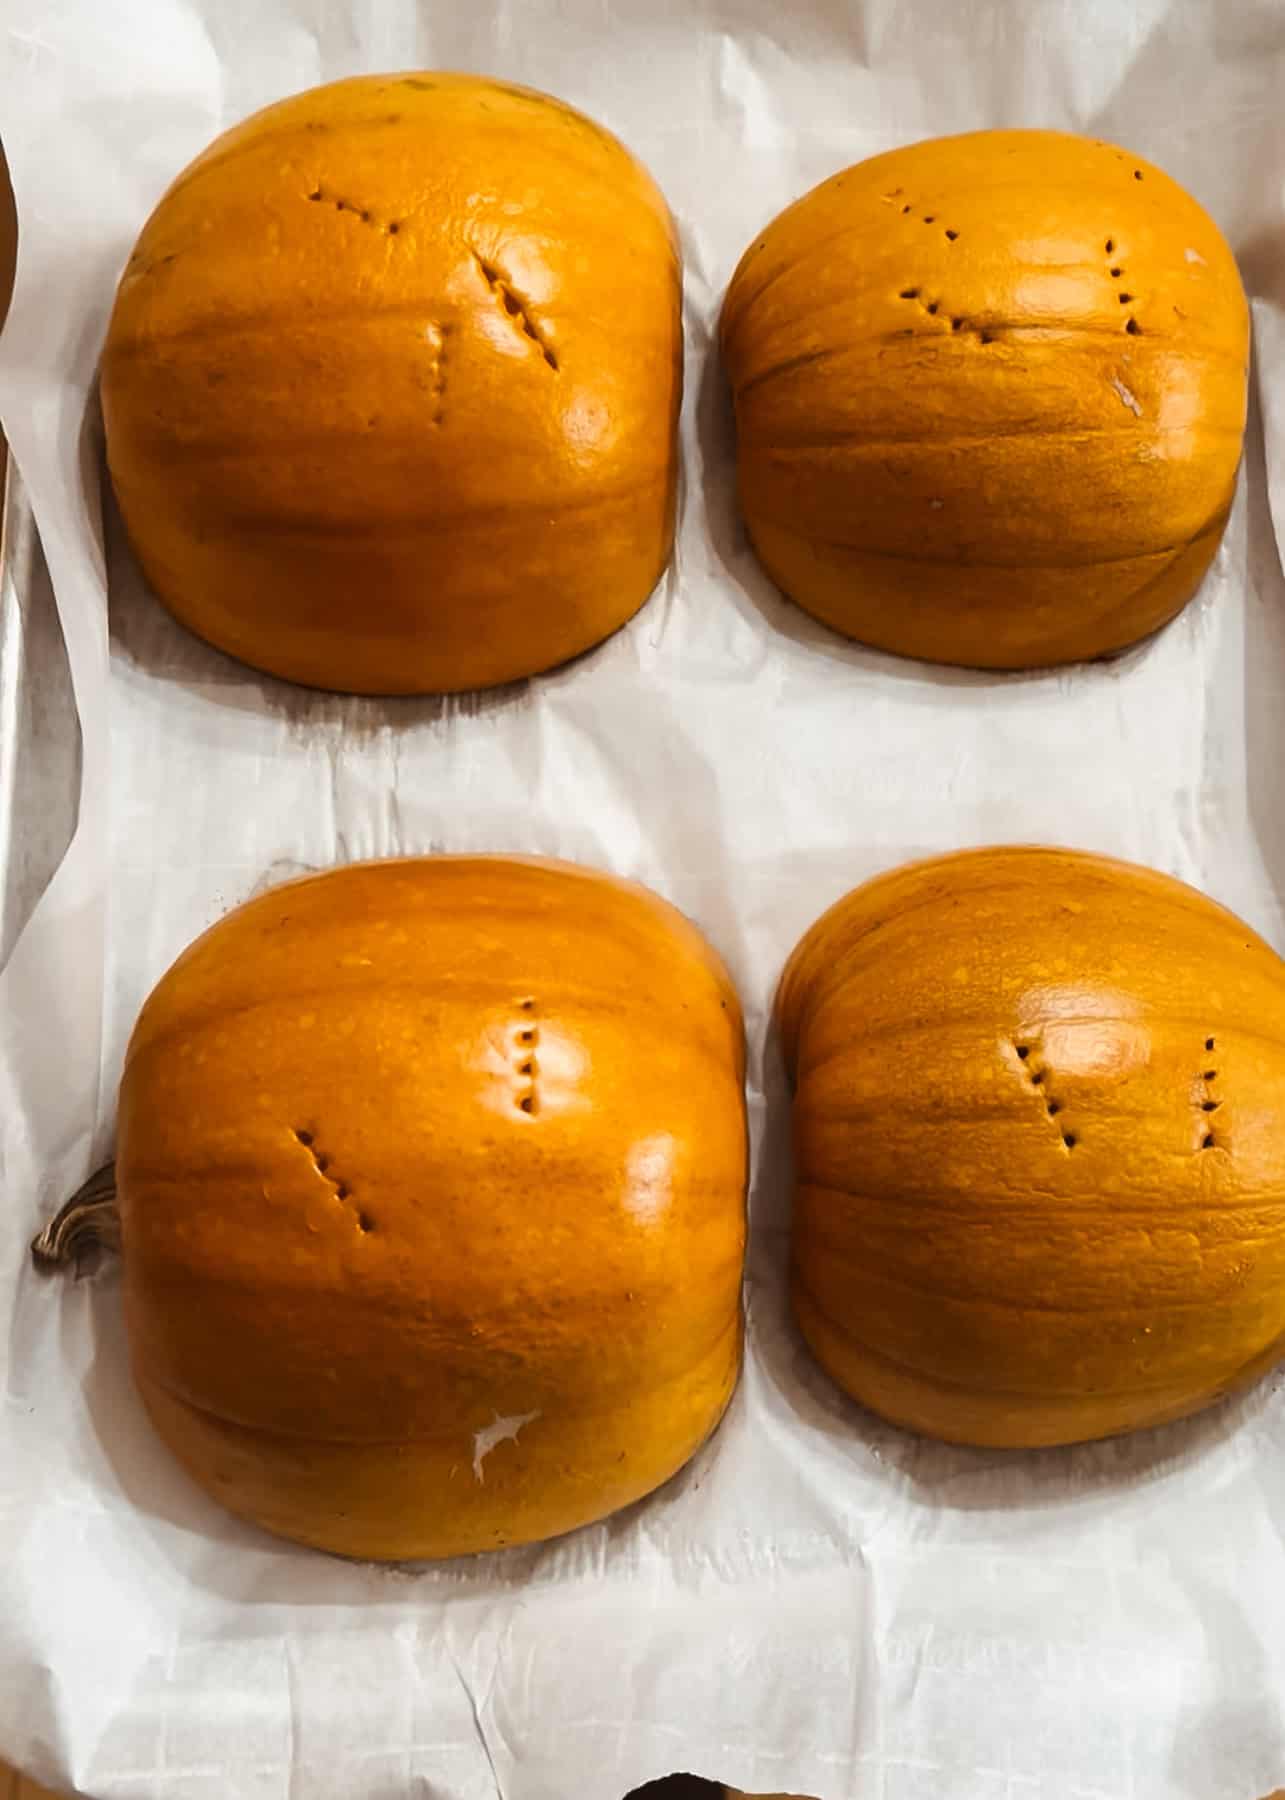
Line a cookie sheet with aluminum foil or parchment paper. Place the pumpkin halves face down on the prepared baking sheet (outer shell side up).
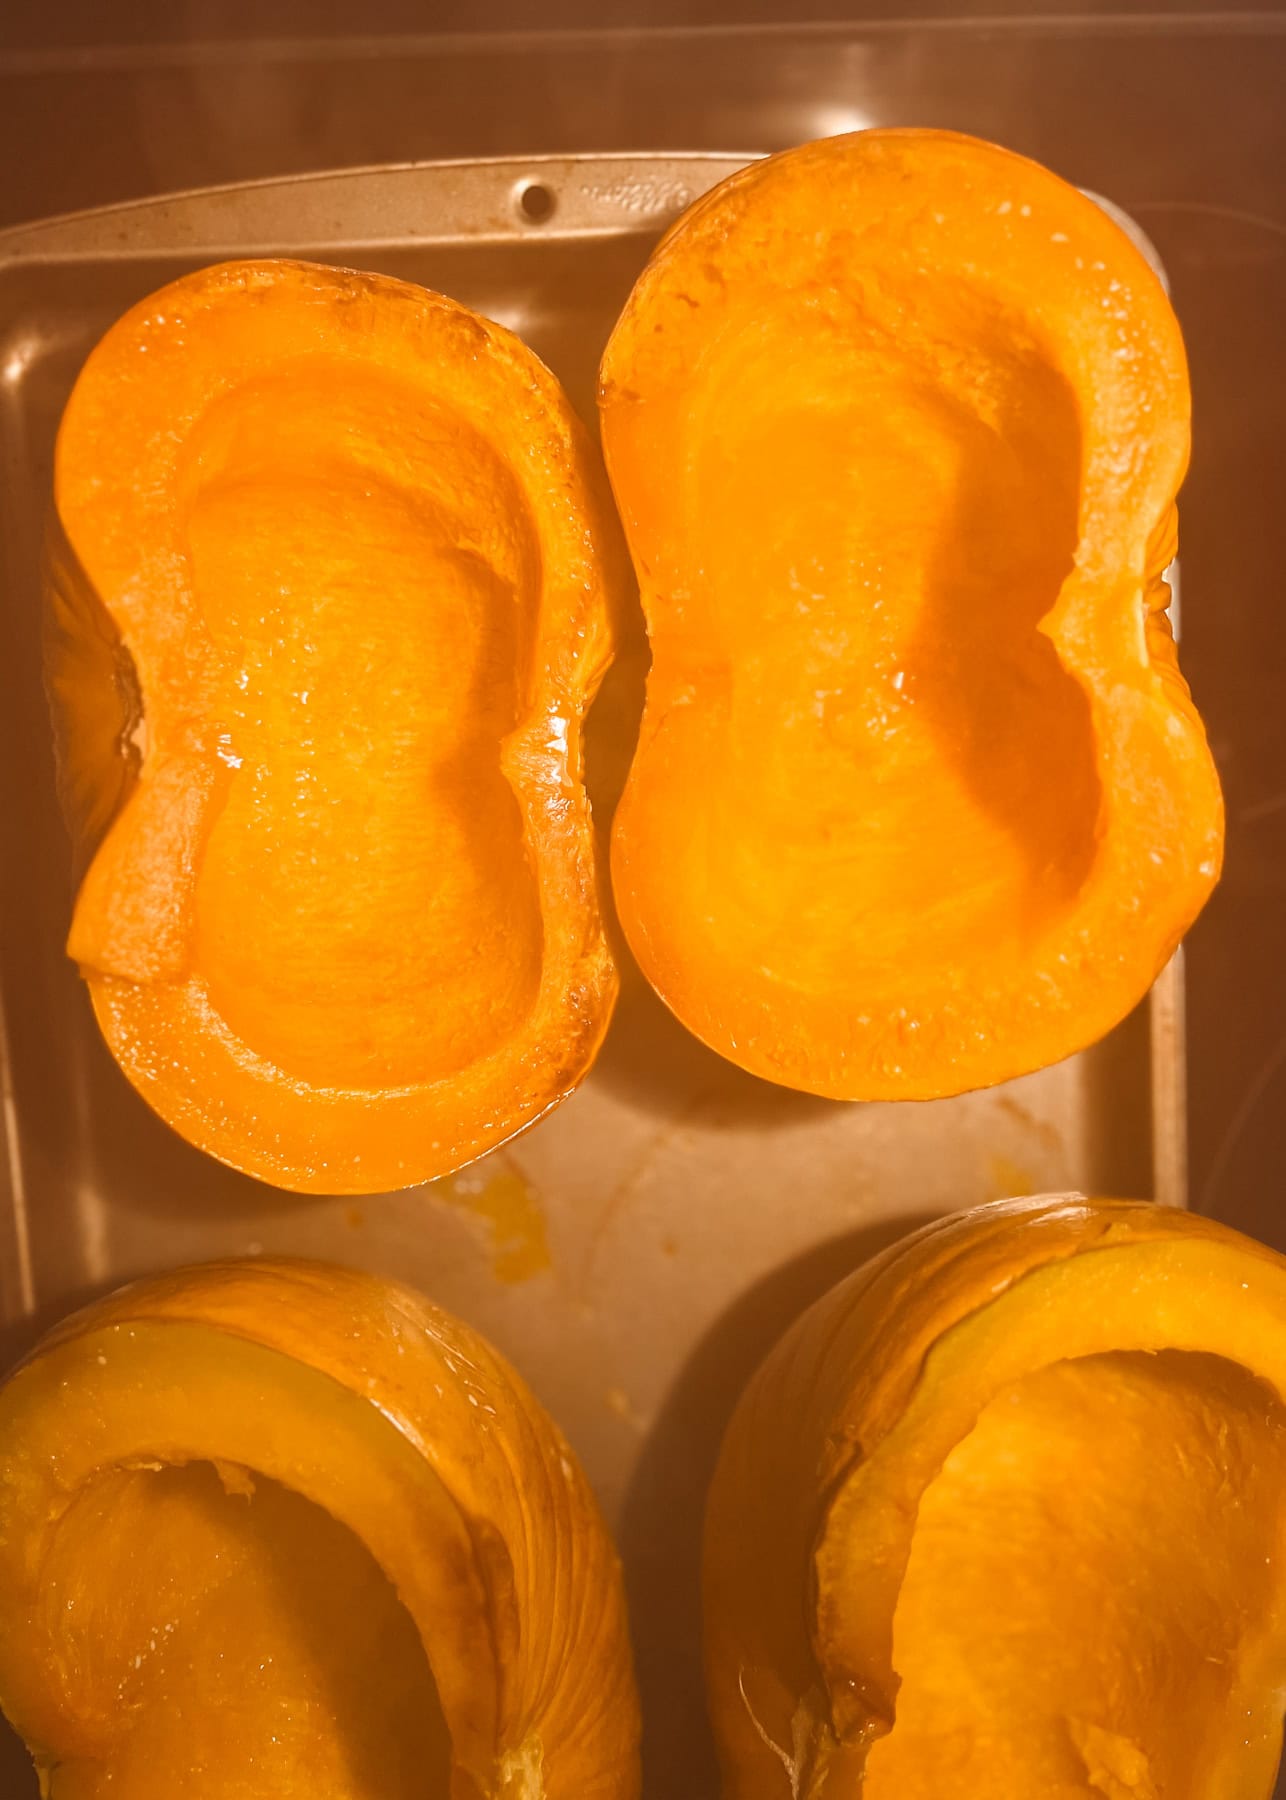
Bake for 30 minutes or until fork tender. Once pumpkin is easily pierced with a fork, remove from the oven and allow to cool at room temperature.
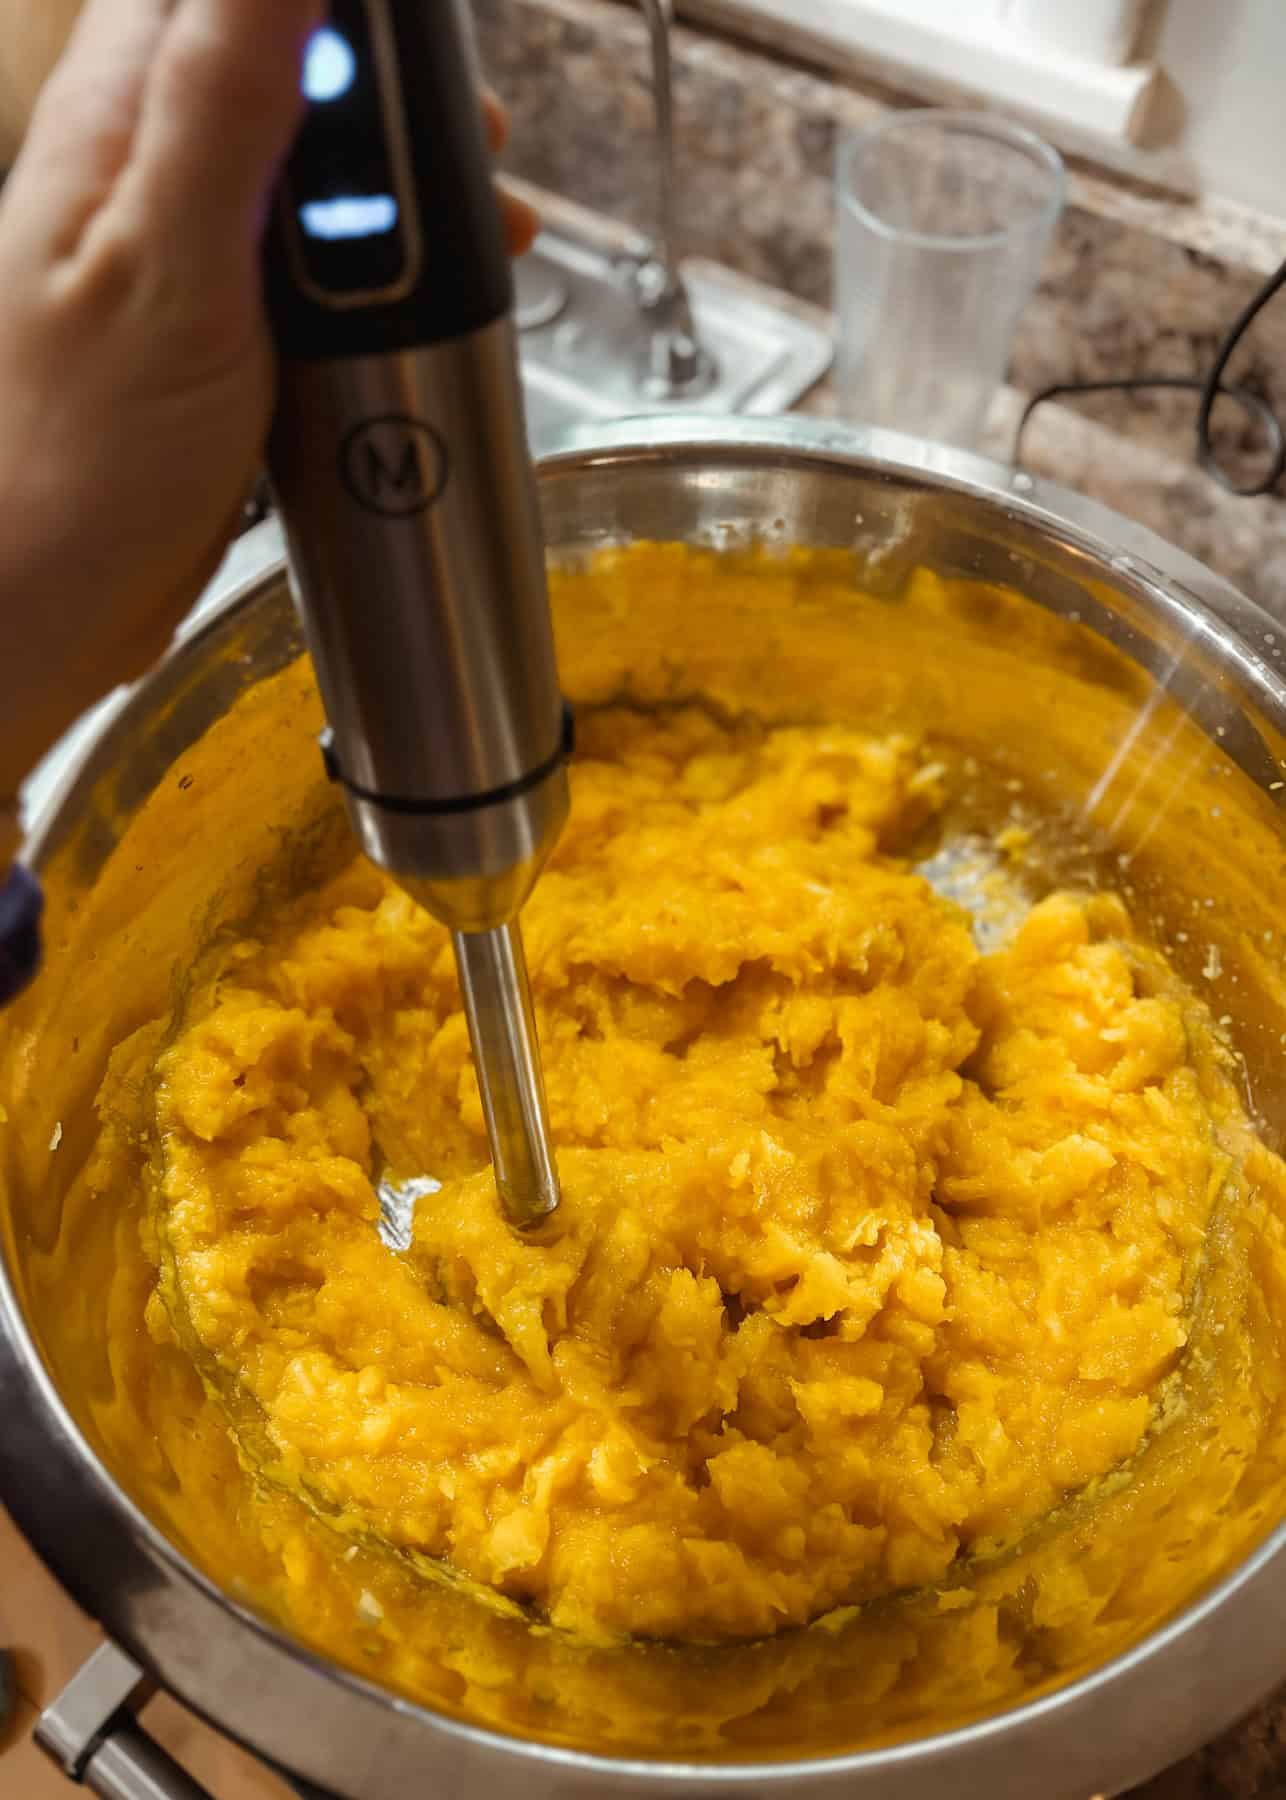
Remove the inner pumpkin (flesh) from the pumpkin shell and place it in a large mixing bowl.
Using an immersion blender or food processor, purée the pumpkin until smooth.
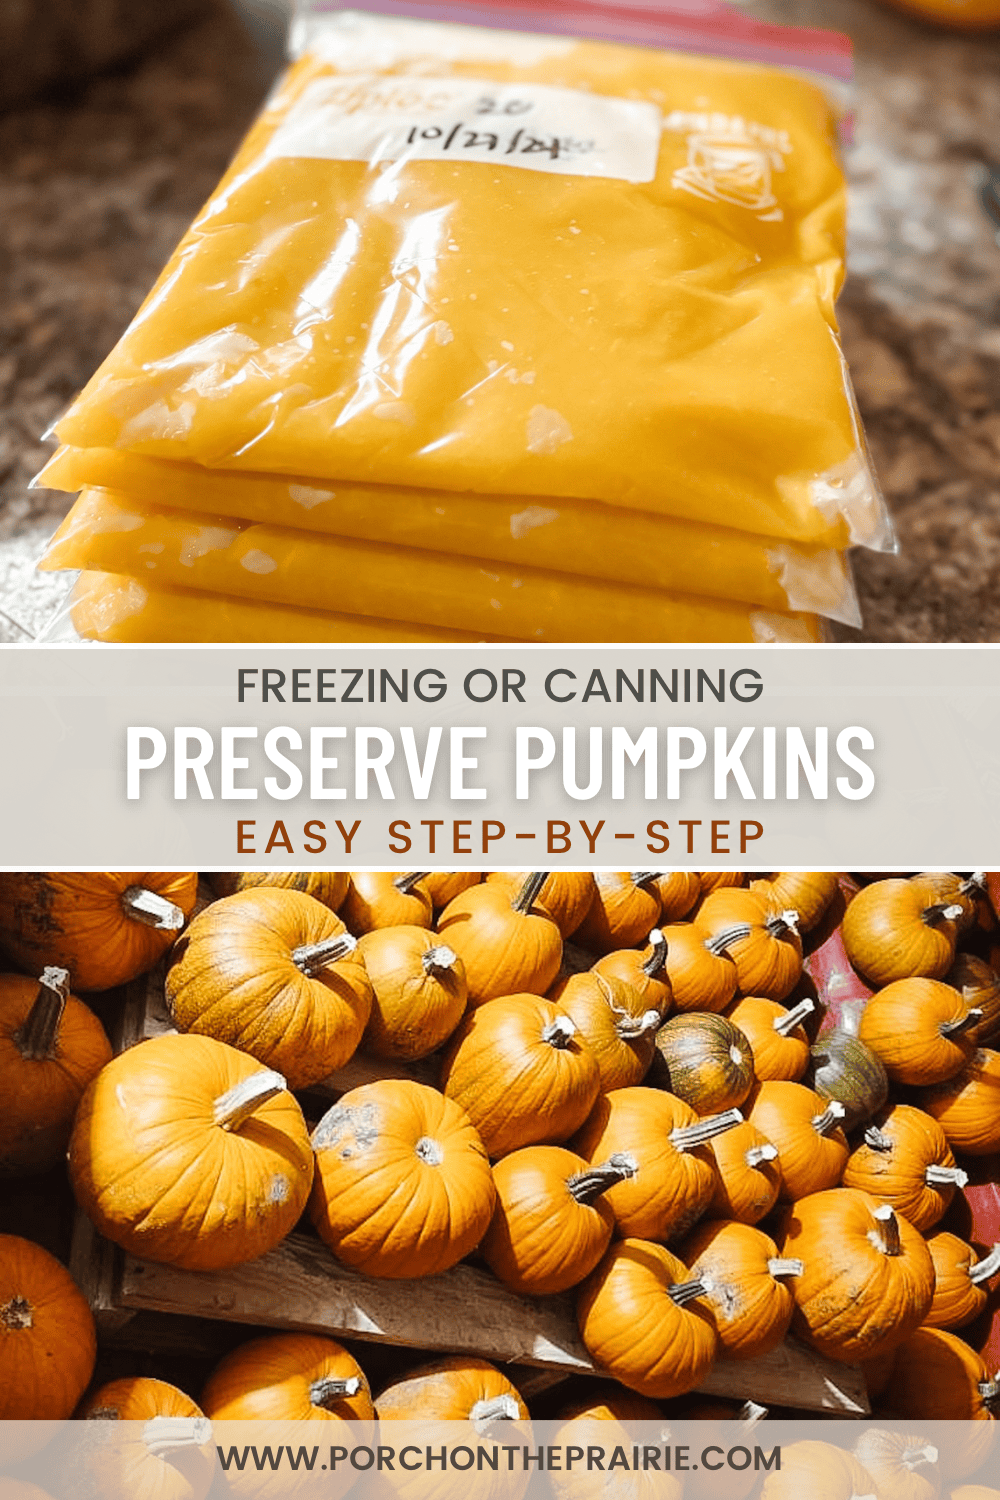
Measure the puréed pumpkin into 2 cup portions and add to freezer bags. Flatten and stack baggies for easy freezing.
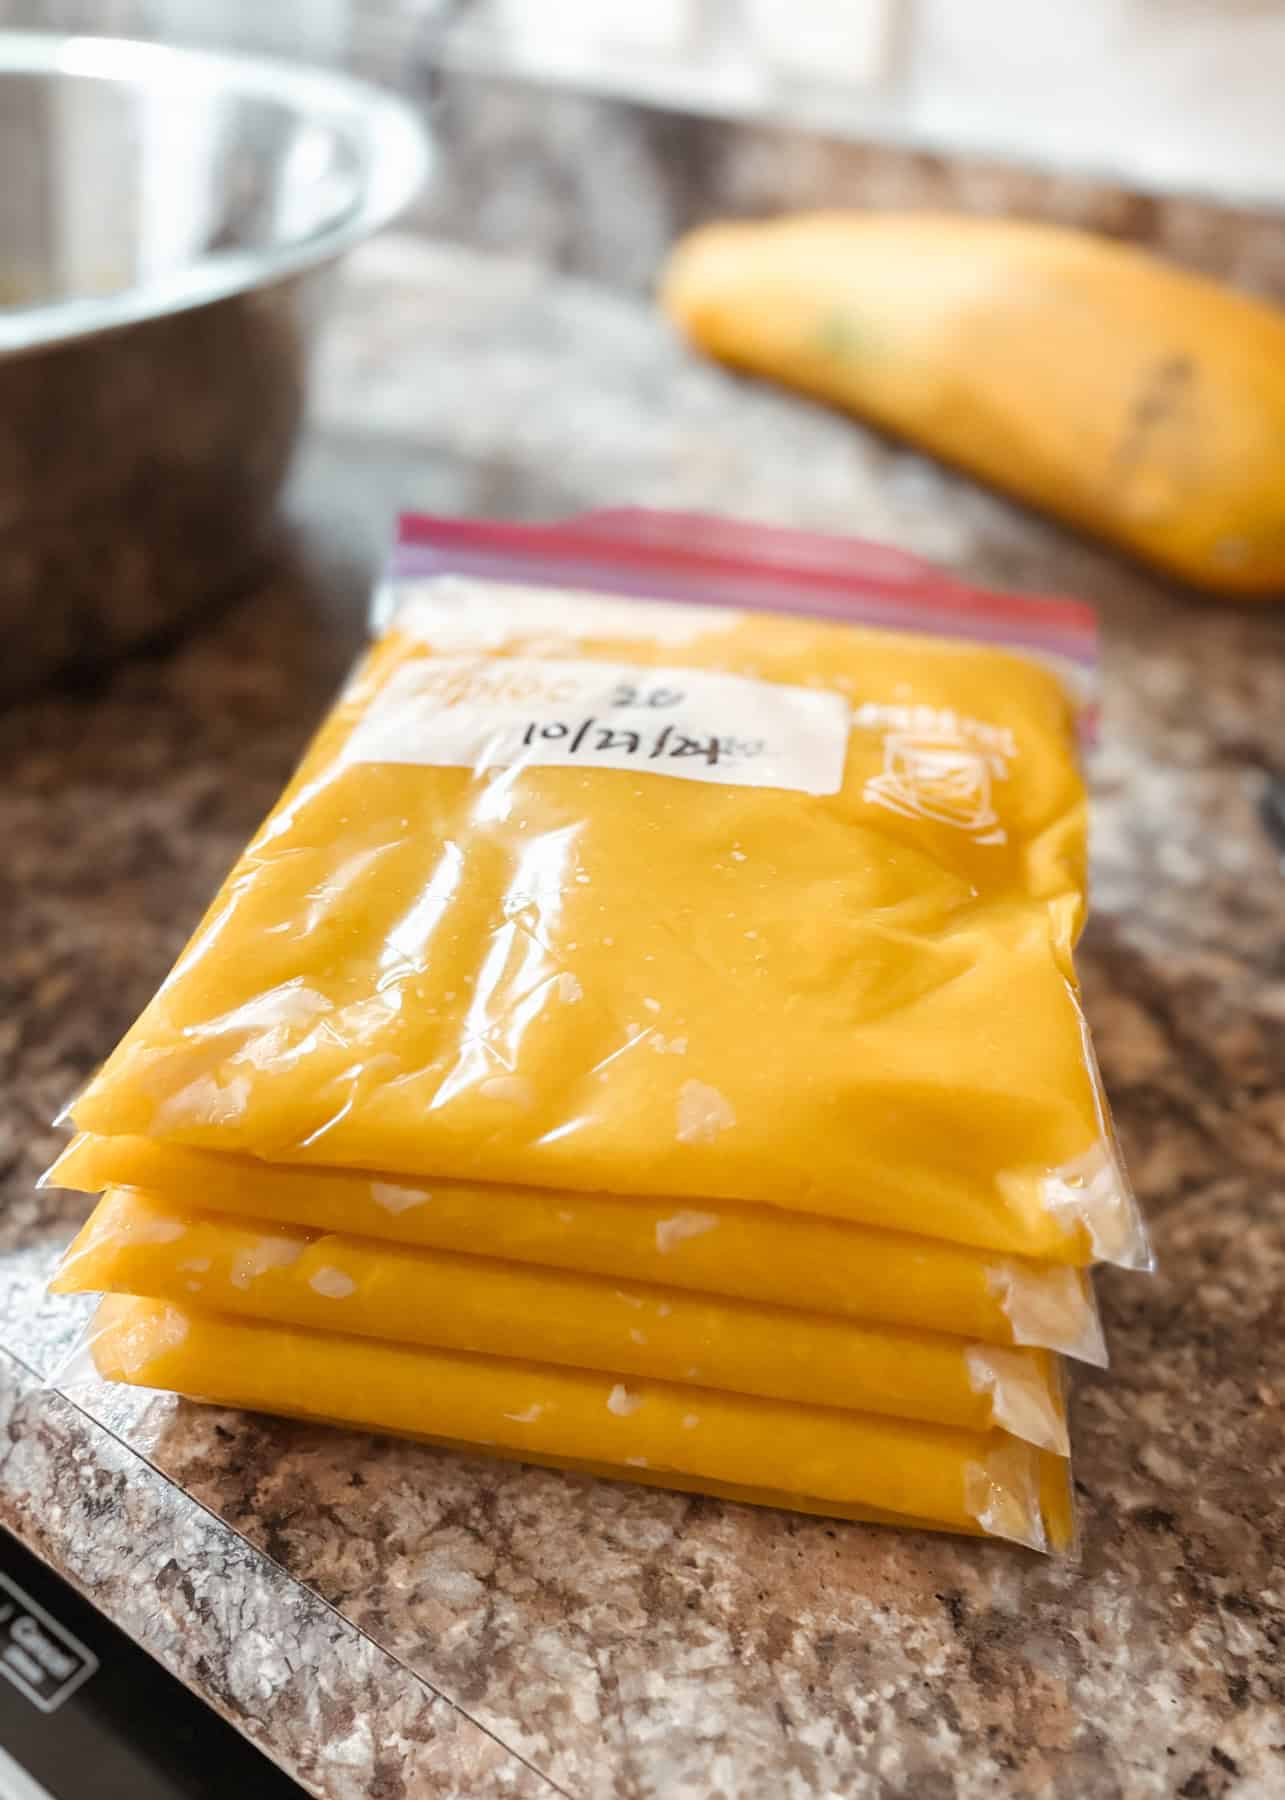
Note – I have started to freeze my pumpkin purée using the soupercubes, then vacuum sealing.
Equipment
- Immersion Blender or Food Processor
- Cookie Sheet or Baking Sheet
- Large Knife
- Souper Cubes (optional)
- Vacuum Sealer (optional)
Pressure Canning Method
Ingredients
- Pumpkins
- Water
Instructions
Prepare the Jars
There are multiple ways to do this:
- Dishwasher Method – Some dishwashers have a sanitize function on the dishwasher which works well for preparing the mason jars. The downfall, however, is this can be a time consuming method.
- Oven Method – Wash the jars with soap, rinse, but do not dry. Place upside down on a baking sheet and put in the oven for 20 minutes at 275 degrees Fahrenheit (130 degrees Celsius). Carefully remove the hot jars for canning.
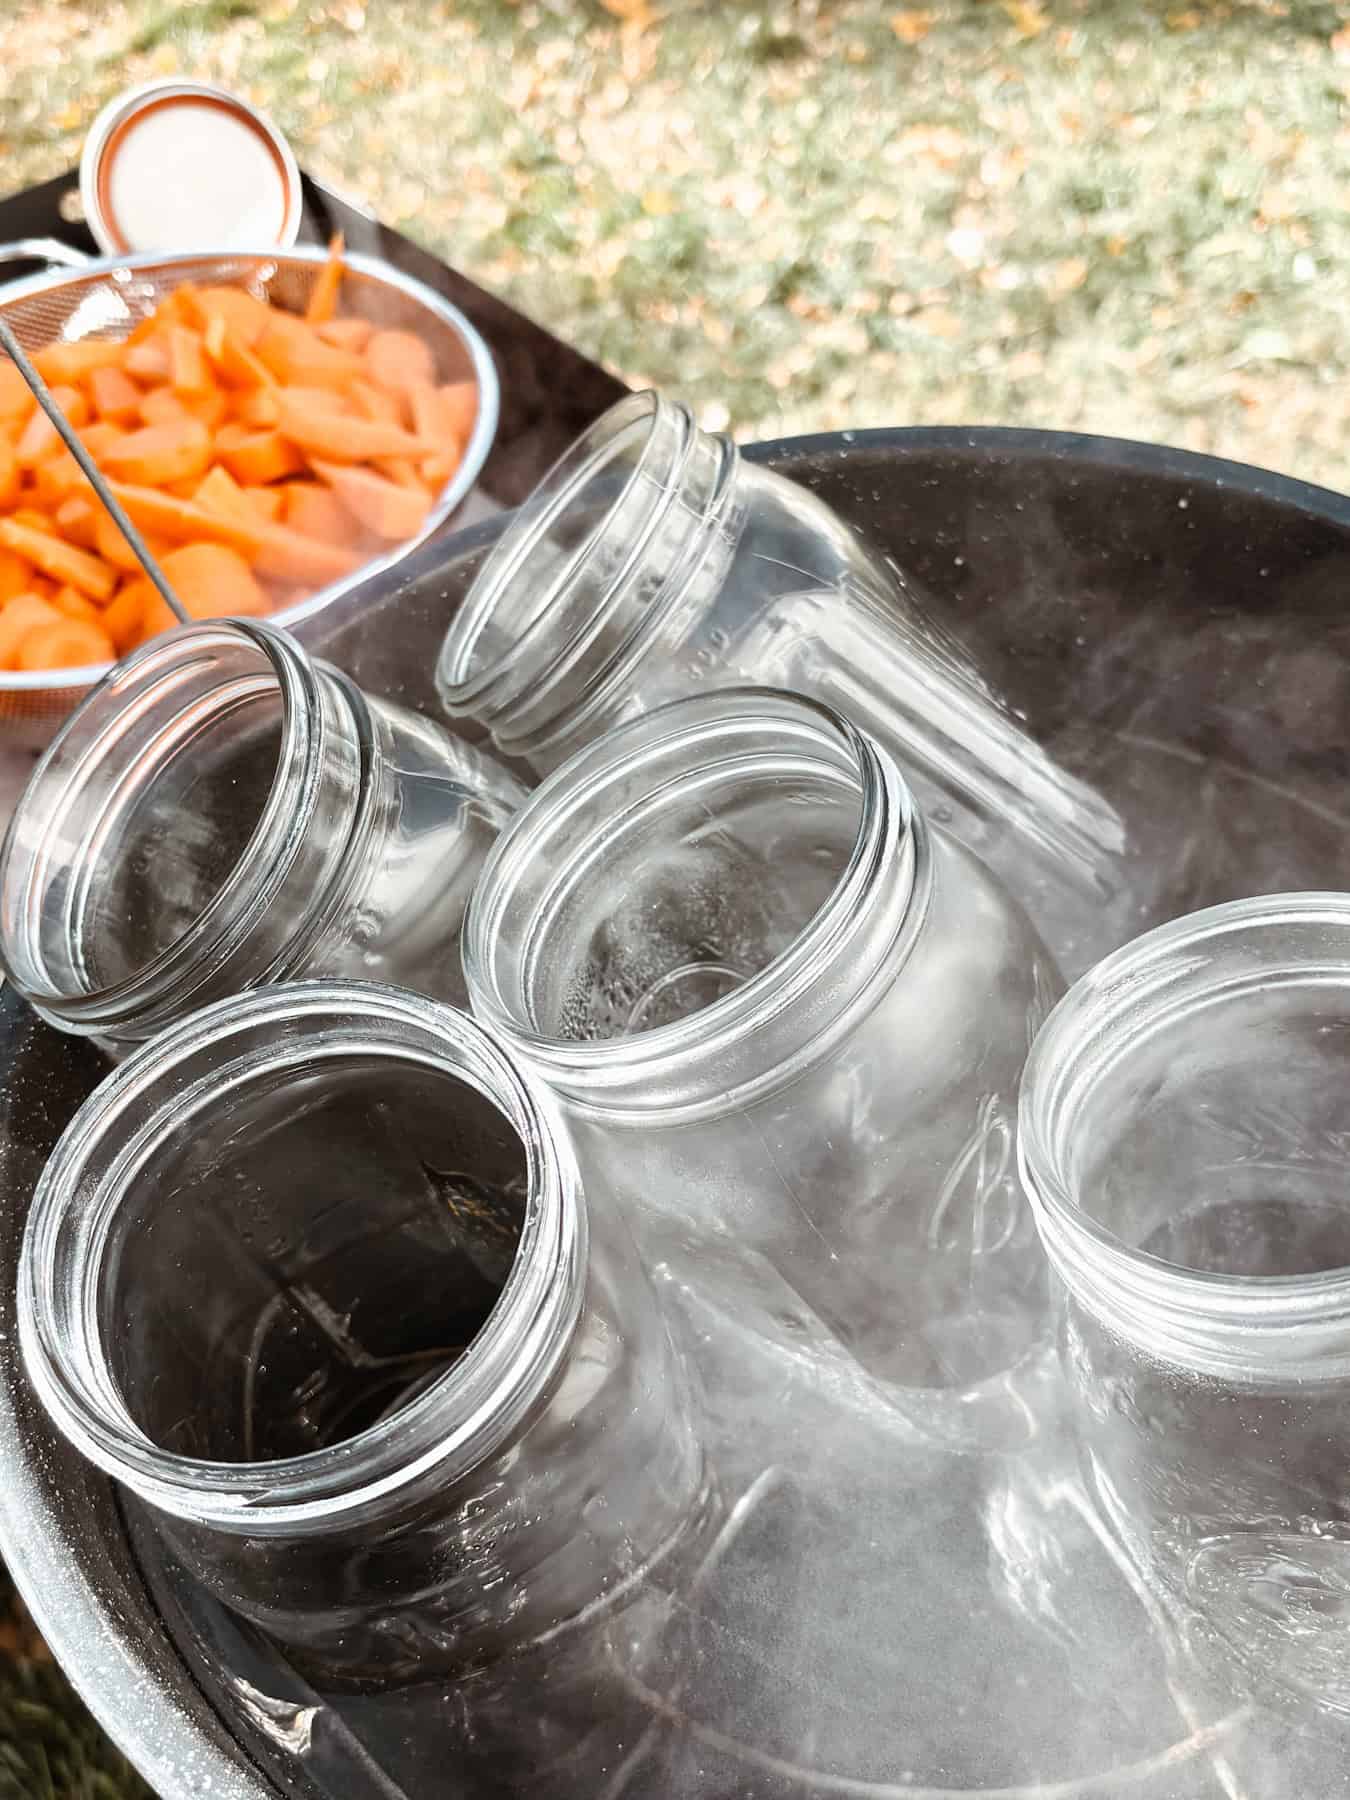
- Boiling Method – Wash jars with hot soapy water and rinse. Place jars in a large pot of boiling water (like the water bath canner) and let them sanitize for 20 minutes. Remove jars and let air dry before use.
For the lids – place in a small sauce pan of hot water until it is time to add them to the jars.
Prepare the Pressure Canner
Follow the manufacturers instructions for your specific pressure canner. In addition, heat the sterilized jars in hot water – they must be hot before packing the pumpkin cubes into the jars.
Follow canner instructions for the recommended amount of water in the canner (typically 2-3 inches in the bottom of the canner). Lock the canner lid and bring to a boil over medium-high heat.
Prepare the Pumpkin
First, cut the pumpkin in half. Remove the middle part (guts and seeds) by scraping with a spoon. Slice the pumpkin into smaller slices and remove the peeling or shell from the flesh or inner pumpkin. Cube the flesh of the pumpkin in 1-inch cubes.
[Hint – place pumpkin halves in the microwave for up to 1 minute to soften. This makes cubing the pumpkin easier.]
In boiling water, add the pumpkin cubes. Boil for two minutes.
Add the boiled pumpkin pieces to the hot canning jars carefully. Add the boiling water to the jars of boiled pumpkin as well, leaving 1 inch headspace. Using a damp paper towel, wipe the rims of the jars. Finally, add the lids and rings to the jars.
Pressure Canning the Pumpkin
Using the canning tongs, gently place the jars of pumpkin into the pressure canner and lock the lid. Steam will start to pass through the vent pipe, allow this to happen for about 10 minutes. Add the canning weight.
Bring the canner up to pressure (see note below for appropriate pounds of pressure) and process the jars at pressure (pints for 55 minutes and quarts for 90 minutes).
After the allotted time has passed, turn of the heat. Let the pressure return to zero naturally. Once the pressure gauge reaches zero, wait a few minutes and open the vent. Carefully remove the canner lid.
Allow jars to stand in the canner for an additional ten minutes.
Lay out a hand towel or a doubled up flour sack towel on a counter surface. This will act as a barrier between the hot jars and cool counter, preventing the counter and keeping the jars from bursting with the drastic temperature change.
Using the jar lifter tool, carefully remove the jars from the wire insert and place them on the towel. Allow jars to sit and cool, undisturbed, for 12-24 hours.
Test jars for airtight seals. The lids will not “pop” when pushed down on and will not pop off when pulled up on. This indicates a proper seal.
Altitude Adjustments – Canning time should remain the same, but pressure will increase at higher altitudes.
Weighted Gauge Canner:
- Sea Level : 10 pounds pressure in a weighted gauge canner
- Above 1000 feet : increase to 15 pounds pressure using a weighted gauge canner
Dial Gauge Canner:
- 0 – 2,000 feet : 11 pounds pressure
- 2,000 – 4,000 feet : 12 pounds pressure
- 4,000 – 6,000 feet : 13 pounds pressure
- 6,000 – 8,000 feet : 14 pounds pressure
Equipment
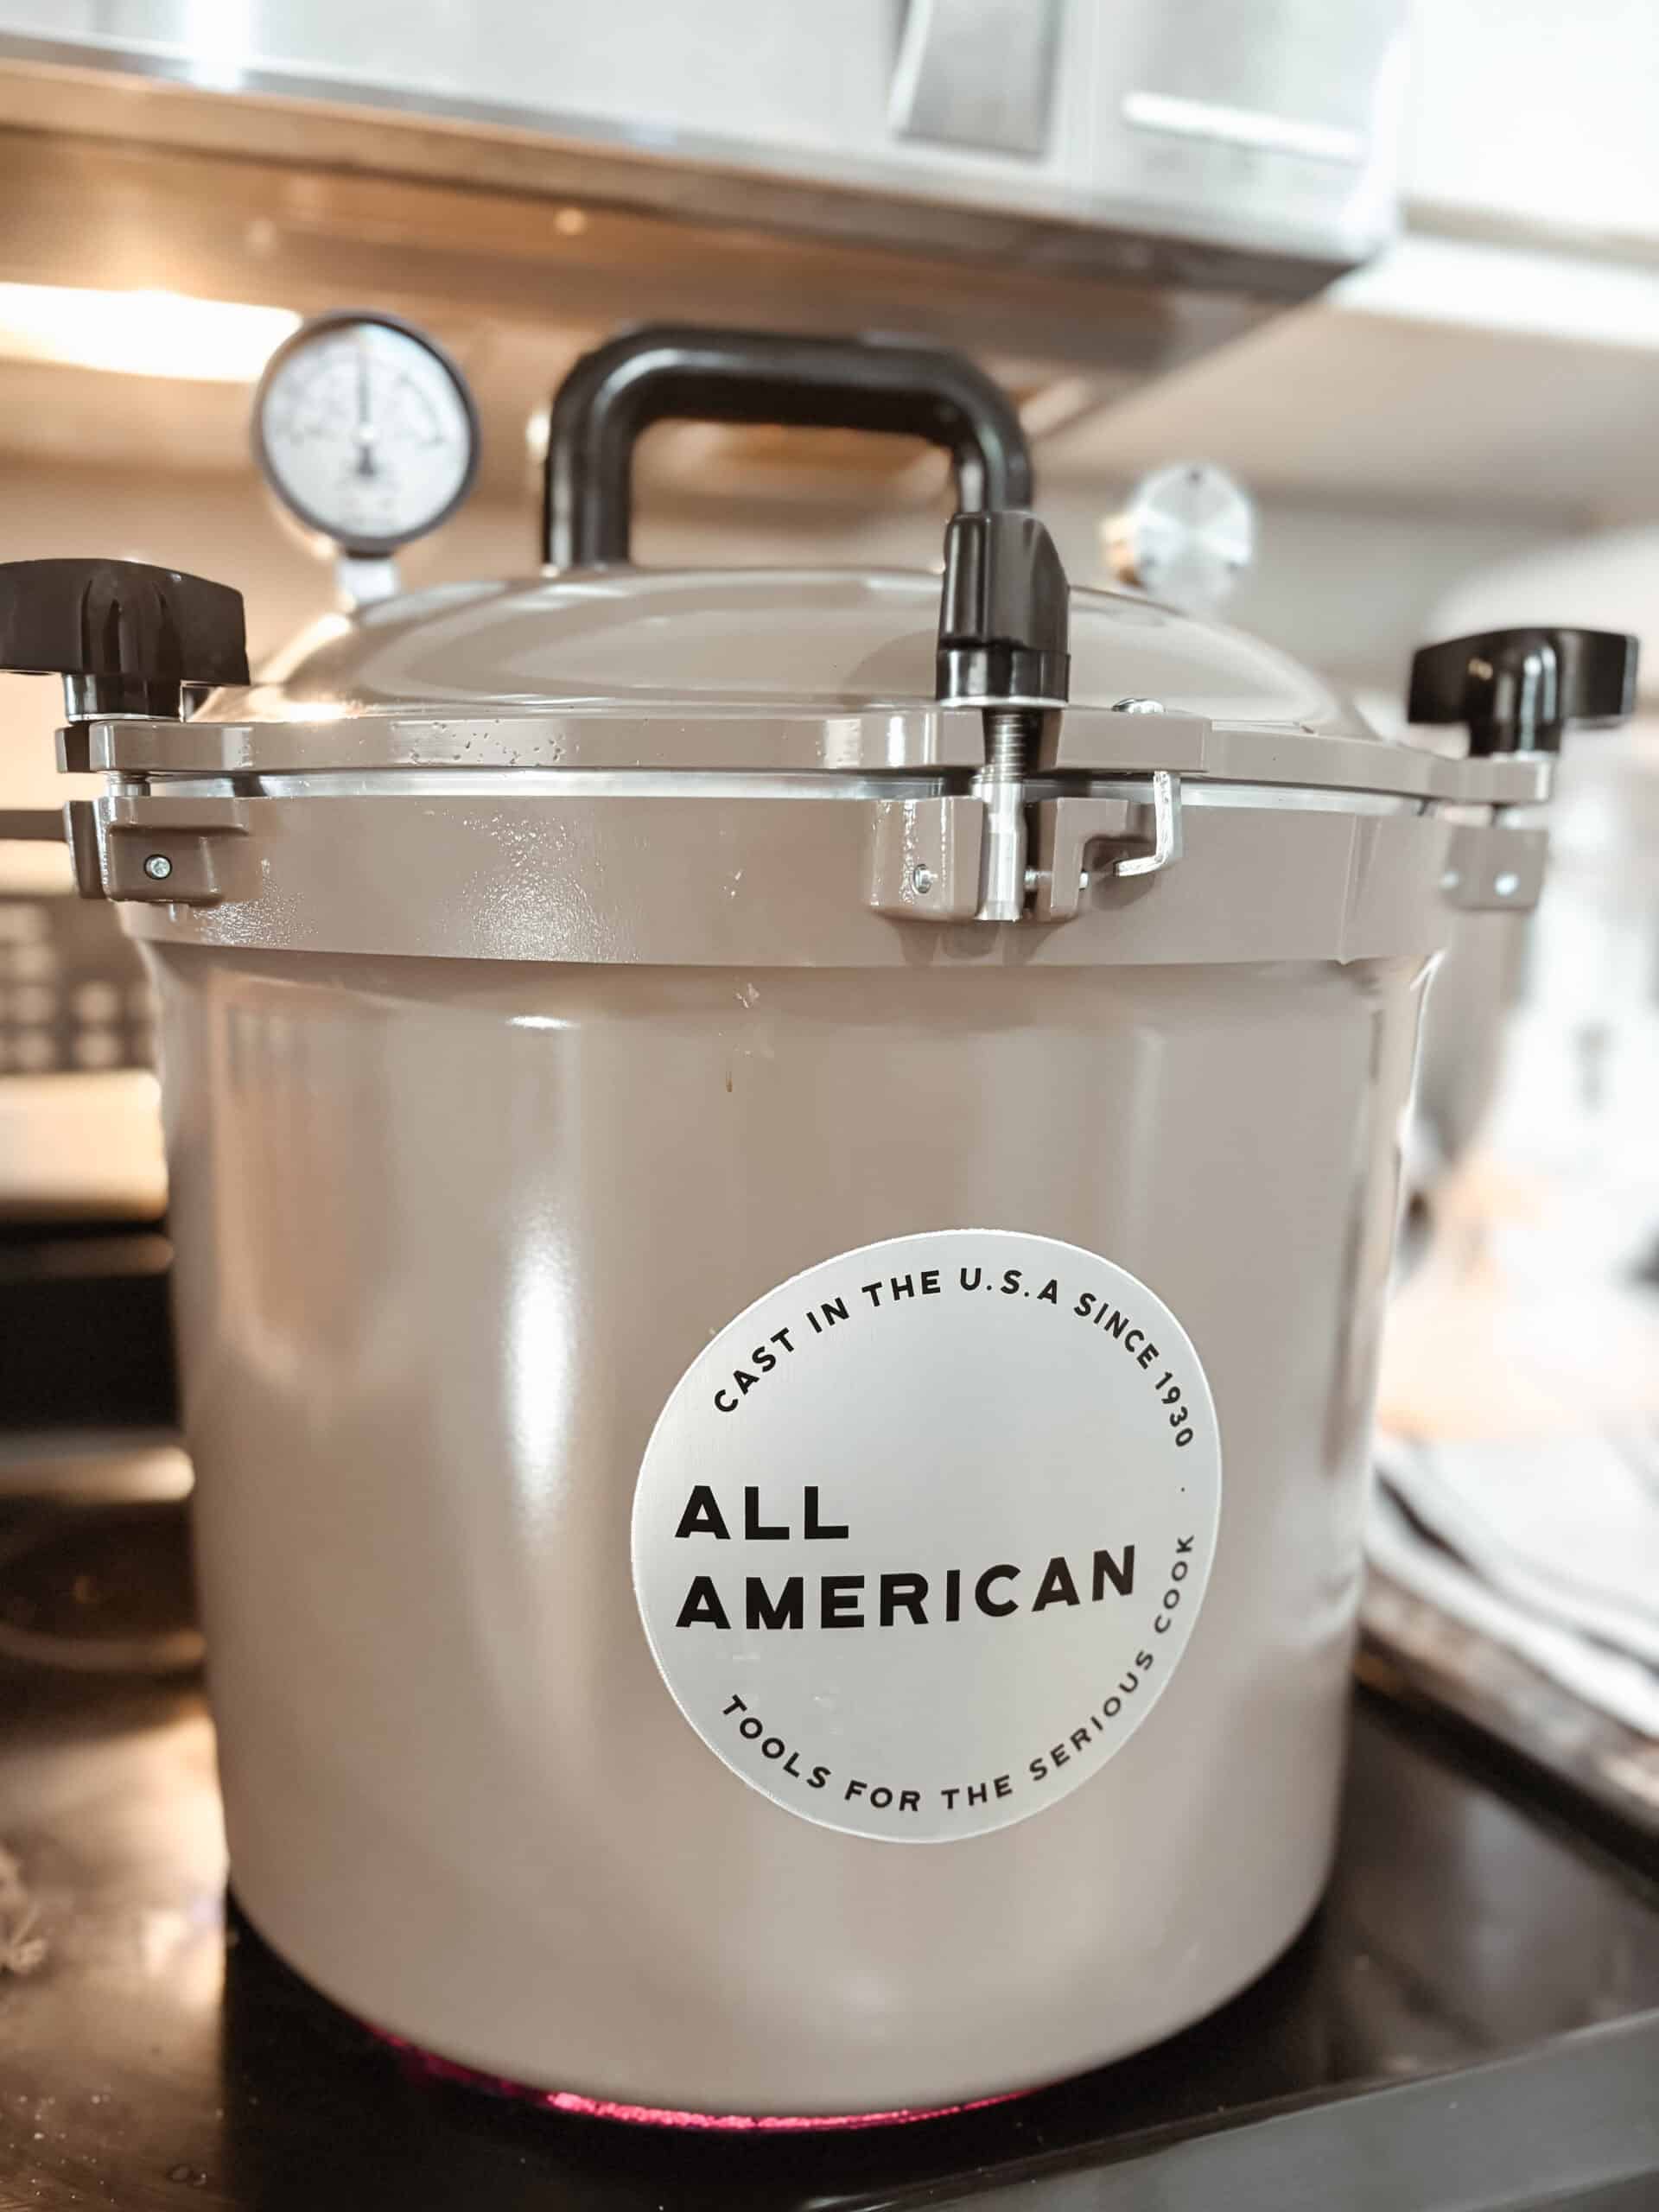
- Pressure Canner (we love our All American, an heirloom appliance)
- Canning Tools
- Jars and Lids
Storage
Pressure canned pumpkin (if jars have sealed correctly) can be stored in a cool dry pantry space for up to 18 months. Likewise, frozen pumpkin purée can be stored for up to a year in the freezer.
FAQ
No, pumpkin and squash is considered a low-acid food, so it is not safe to water bath can.
No, pureed pumpkin cannot be canned, it doesn’t heat evenly which may allow harmful bacteria to survive in a purée.
Save pin for later!

Freezing Method – Preserving Pumpkin (puree)
Equipment
- Cookie Sheet or Baking Sheet
- Large Knife
Ingredients
- 20 Pie Pumpkins (any variety)
- Butter or olive oil
- Salt
Instructions
- Preheat oven to 350 degrees. Cut each pumpkin in half with a sharp knife and clean out the middle part (the pumpkin guts and pumpkin seeds). Spread the inner pumpkin with some butter or oil and sprinkle with salt.
- Line a cookie sheet with aluminum foil or parchment paper. Place the pumpkin halves face down on the prepared baking sheet (outer shell side up).
- Bake for 30 minutes or until fork tender. Once pumpkin is easily pierced with a fork, remove from the oven and allow to cool at room temperature.
- Remove the inner pumpkin (flesh) from the pumpkin shell and place it in a large mixing bowl.
- Using an immersion blender or food processor, purée the pumpkin until smooth.
- Measure the puréed pumpkin into 2 cup portions and add to freezer bags. Flatten and stack baggies for easy freezing.
Notes
Nutrition

Pressure Canning Pumpkin – Pumpkin Preservation
Equipment
- Canning Tools
- Jars and Lids
Ingredients
- 20 Pie Pumpkin
- Water
Instructions
Prepare the Jars
- There are multiple ways to do this:– Dishwasher Method – Some dishwashers have a sanitize function on the dishwasher which works well for preparing the mason jars. The downfall, however, is this can be a time consuming method.– Oven Method – Wash the jars with soap, rinse, but do not dry. Place upside down on a baking sheet and put in the oven for 20 minutes at 275 degrees Fahrenheit (130 degrees Celsius). Carefully remove the hot jars for canning.– Boiling Method – Wash jars with hot soapy water and rinse. Place jars in a large pot of boiling water (like the water bath canner) and let them sanitize for 20 minutes. Remove jars and let air dry before use.
- For the lids – place in a small sauce pan of hot water until it is time to add them to the jars.
Prepare the Pressure Canner
- Follow the manufacturers instructions for your specific pressure canner. In addition, heat the sterilized jars in hot water – they must be hot before packing the pumpkin cubes into the jars.
- Follow canner instructions for the recommended amount of water in the canner (typically 2-3 inches in the bottom of the canner). Lock the canner lid and bring to a boil over medium-high heat.
Prepare the Pumpkin
- First, cut the pumpkin in half. Remove the middle part (guts and seeds) by scraping with a spoon. Slice the pumpkin into smaller slices and remove the peeling or shell from the flesh or inner pumpkin. Cube the flesh of the pumpkin in 1-inch cubes. [Hint – place pumpkin halves in the microwave for up to 1 minute to soften. This makes cubing the pumpkin easier.]
- In boiling water, add the pumpkin cubes. Boil for two minutes.
- Add the boiled pumpkin pieces to the hot canning jars carefully. Add the boiling water to the jars of boiled pumpkin as well, leaving 1 inch headspace. Using a damp paper towel, wipe the rims of the jars. Finally, add the lids and rings to the jars.
Pressure Canning the Pumpkin
- Using the canning tongs, gently place the jars of pumpkin into the pressure canner and lock the lid. Steam will start to pass through the vent pipe, allow this to happen for about 10 minutes. Add the canning weight.
- Bring the canner up to pressure (see note below for appropriate pounds of pressure) and process the jars at pressure (pints for 55 minutes and quarts for 90 minutes).
- After the allotted time has passed, turn of the heat. Let the pressure return to zero naturally. Once the pressure gauge reaches zero, wait a few minutes and open the vent. Carefully remove the canner lid.
- Allow jars to stand in the canner for an additional ten minutes.
- Lay out a hand towel or a doubled up flour sack towel on a counter surface. This will act as a barrier between the hot jars and cool counter, preventing the counter and keeping the jars from bursting with the drastic temperature change. Using the jar lifter tool, carefully remove the jars from the wire insert and place them on the towel. Allow jars to sit and cool, undisturbed, for 12-24 hours. Test jars for airtight seals. The lids will not “pop” when pushed down on and will not pop off when pulled up on. This indicates a proper seal.
Notes
– Sea Level : 10 pounds pressure in a weighted gauge canner
– Above 1000 feet : increase to 15 pounds pressure using a weighted gauge canner Dial Gauge Canner:
0 – 2,000 feet : 11 pounds pressure
2,000 – 4,000 feet : 12 pounds pressure
4,000 – 6,000 feet : 13 pounds pressure
6,000 – 8,000 feet : 14 pounds pressure
Nutrition


Related
Looking for other recipes like this? Try these: