
When it feels like every trip to the grocery store costs more than the last, finding simple ways to stretch your dollar can feel overwhelming. The good news is that saving money doesn’t have to mean extreme couponing or sacrificing the things you love. Explore 50+ simple ways to save money & stretch your dollar and decide which ones may be easy enough for your family to implement!

With a few thoughtful habits and intentional choices, everyday expenses can be trimmed in ways that truly add up over time. In this post, you’ll find 50 easy ways to save money that focus on real-life solutions—practical, doable ideas that help your household spend less while still living well. Whether you’re looking to make small changes or build long-term money-saving habits, these tips are designed to help you feel more confident, capable, and in control of your finances.
[feast_advanced_jump_to]Transportation/ Vehicle
Many households need at least one vehicle these days, but there are ways to save and stretch the dollar when it comes to vehicle expense. The first money saving tip would be to drive a vehicle that is paid for to avoid paying interest, however, sometimes a loan may be necessary.
Assess your current situation and determine if it makes sense to drive a vehicles(s) with a monthly loan and interest payment, or to trade for a vehicle that is paid for.
We found our 2011 suburban on an auction for only $2500, and although she isn't pretty she is reliable and can transport our whole family of 6. My husband is handy, thankfully, so he can do any maintenance as needed.
If a loan is necessary, please do the math to understand how much the total cost of the vehicle is with interest. In addition, take out as short of a loan as possible. I've known many people who have had the loan outlive the vehicle, meaning the vehicle is totaled or no longer functioning yet the loan payments still need to be made as the vehicle is not paid off.
There is a simple formula to determine how much interest would be paid on a vehicle, see the examples below:
Step-by-Step Calculation
- Determine Loan Principal (P): This is the car's price minus your down payment, plus taxes, fees, and other costs.
- Get Your Interest Rate (R): Use the Annual Percentage Rate (APR) as a decimal (e.g., 6% becomes 0.06).
- Identify Loan Term (T): The length of the loan in years (e.g., 60 months is 5 years).
- Calculate Monthly Payment: Use a loan payment formula or an online calculator.
- Calculate Total Paid: Multiply your fixed monthly payment by the total number of months (Term in Years x 12).
- Find Total Interest: Subtract the original loan principal (P) from the total amount paid.
- Total Cost: The total cost of the loan is your original principal plus the total interest paid.
Example
- Loan Amount (P): $20,000
- APR (R): 6% (0.06)
- Term (T): 60 months (5 years)
- Monthly Payment: ~$386.66 (using a calculator)
- Total Paid: $386.66 x 60 = $23,199.60
- Total Interest: $23,199.60 - $20,000 = $3,199.60
- Total Vehicle Cost (with interest): $20,000 (Principal) + $3,199.60 (Interest) = $23,199.60
Gasoline
Most households have the unavoidable expense of gas. When it comes to getting to and from work, getting the kids to where they need to be, purchasing household groceries, etc. gas is often an expense that cannot be eliminated completely. Especially for rural households.
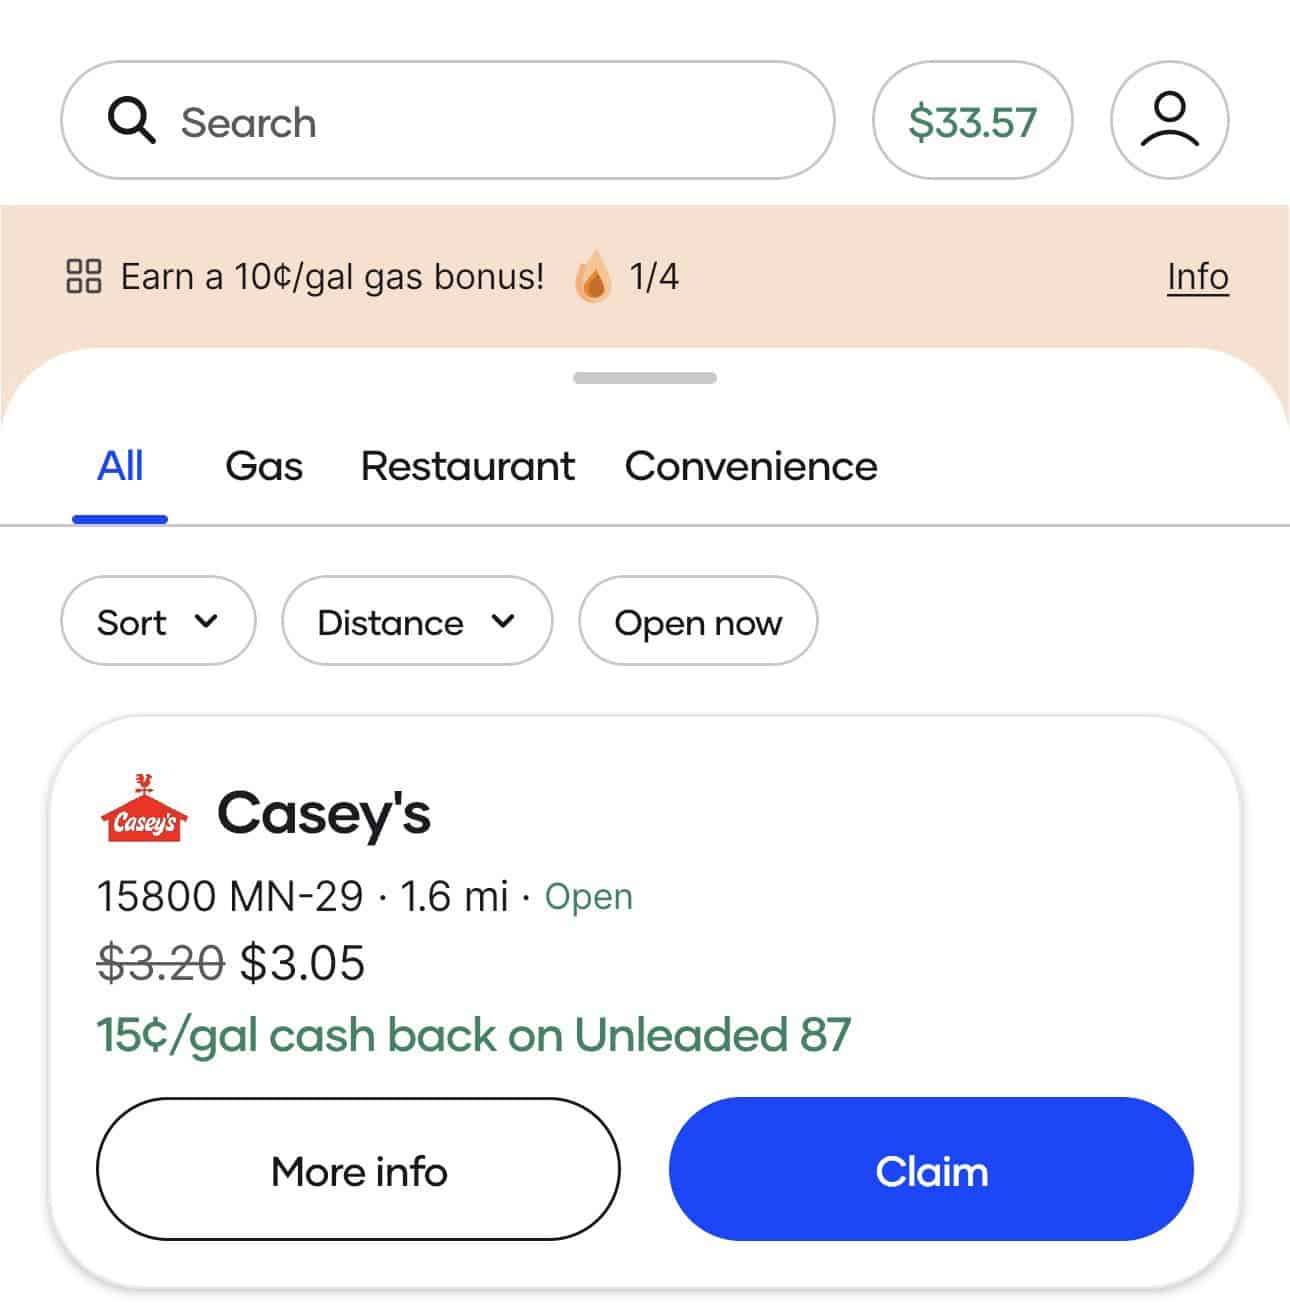
The biggest method our household has implemented to save on gas is through a free app called Upside. The app is free and super simple to use, it will show the near by gas stations and the price of gas at each (along with the money back per gallon at each.) Plus, each time we put gas in the vehicle we are awarded with money back by following the instructions in the app.
Lastly, stay out of the gas station! The little snacks, beverages, and treats add up fast. Resist the temptation by avoiding going inside all together to avoid the impulse purchases.
Insurance
It can be wise to shop around to see if any savings exist for insurance. Many agencies offer discounts or a better deal for bundling home, car, etc. Requesting quotes from a few different agencies every 6-12 months can be super beneficial to ensure you're getting a good deal.
Sometimes, calling your current carrier or agency and requesting better rates or lower rates can be beneficial.
In addition, my husband and I have Farm Bureau car insurance. This agency offers a free program and app called Driveology that will monitor your driving habits, and give financial rewards for being a safe driver. We save over $500 annually on our car insurance, just by driving safely (without phone distraction, following the speed limit, and not braking excessively.)
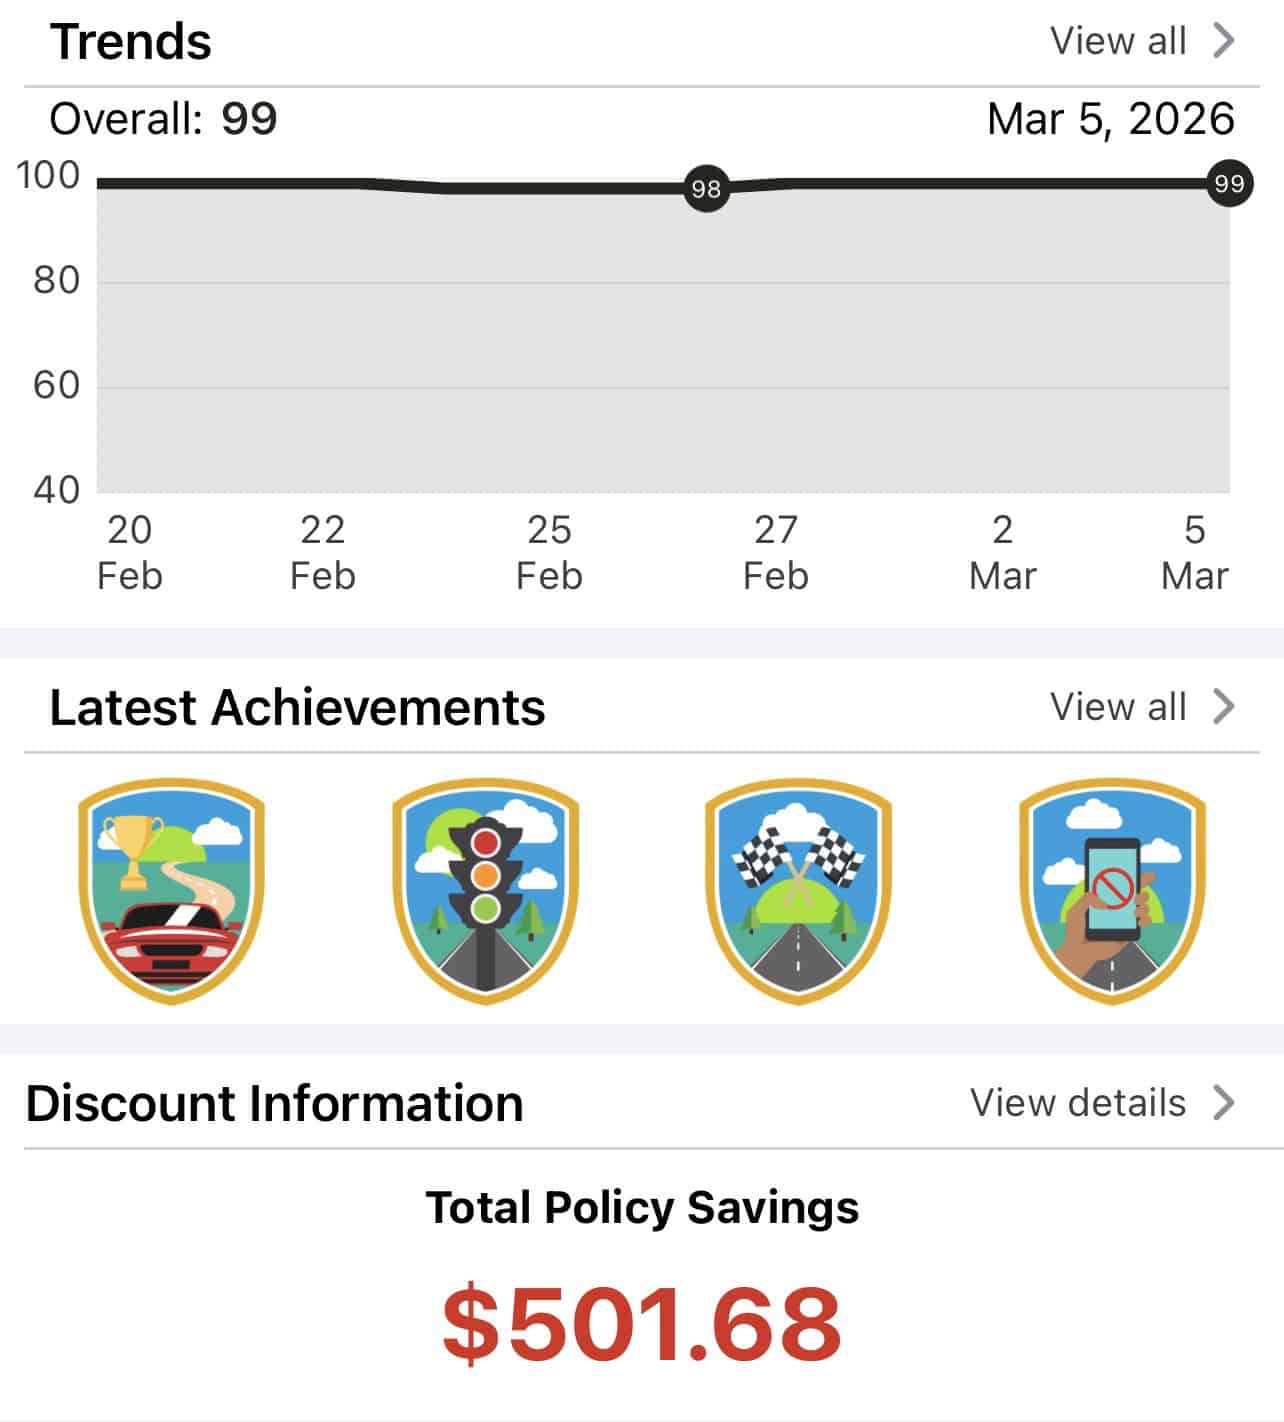
*Note that savings will vary depending on the overall policy cost and driving habits
Food
Food is another unavoidable expense for many households, but again, there are ways to save and stretch the dollar further. The biggest way to save with food is to avoid eating out (yes that includes the overpriced coffee shop "treats") - or at a minimum, cut back the amount of eating out and/ or fast food.
The most obvious way to avoid eating out is by meal planning. Buy groceries for what is planned for the weekly menu, and nothing extra. Be sure to have a plan for the busy nights to avoid the temptation of fast food (think crockpot, meal prepping, etc.)
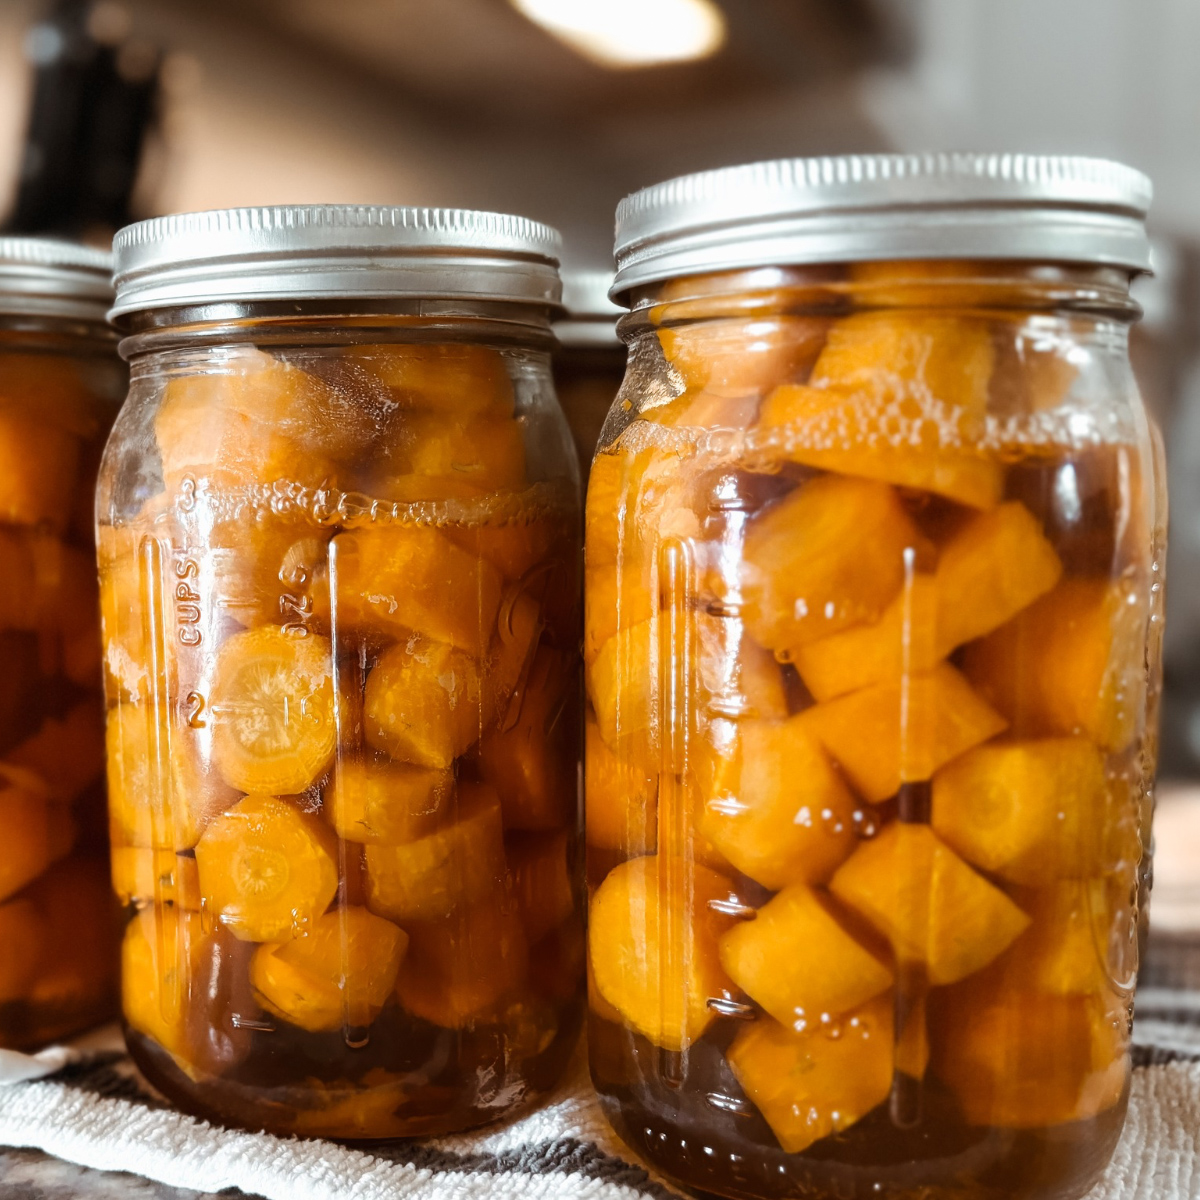
A bag of potatoes, rice, and beans are all very cheap and make the meal go further. We like to keep canned vegetables and fruit on hand as well, a cheaper option to fresh fruit and vegetables.
In addition to meal planning, I grocery shop at Aldi. Aldi is the most cost friendly grocery store option near us, with quality food products.
Did you know that Aldi's food and goods are often made in the same facilities as other name brand items, often with identical ingredients, but different packaging? Don't pay more for the same thing!
Furthermore, I stick to grocery pickup and rarely step foot in the store - no more impulse buys or pressure from the kids for items not in budget. By doing this, I can see the cost of groceries in my cart before I even check out, and can make any additions or subtractions to meet my grocery budget. An added bonus, it saves me over an hour of shopping time!
Food costs can be expensive, so get creative with recipes! Use up what is in the refrigerator or pantry to avoid any and all food waste.
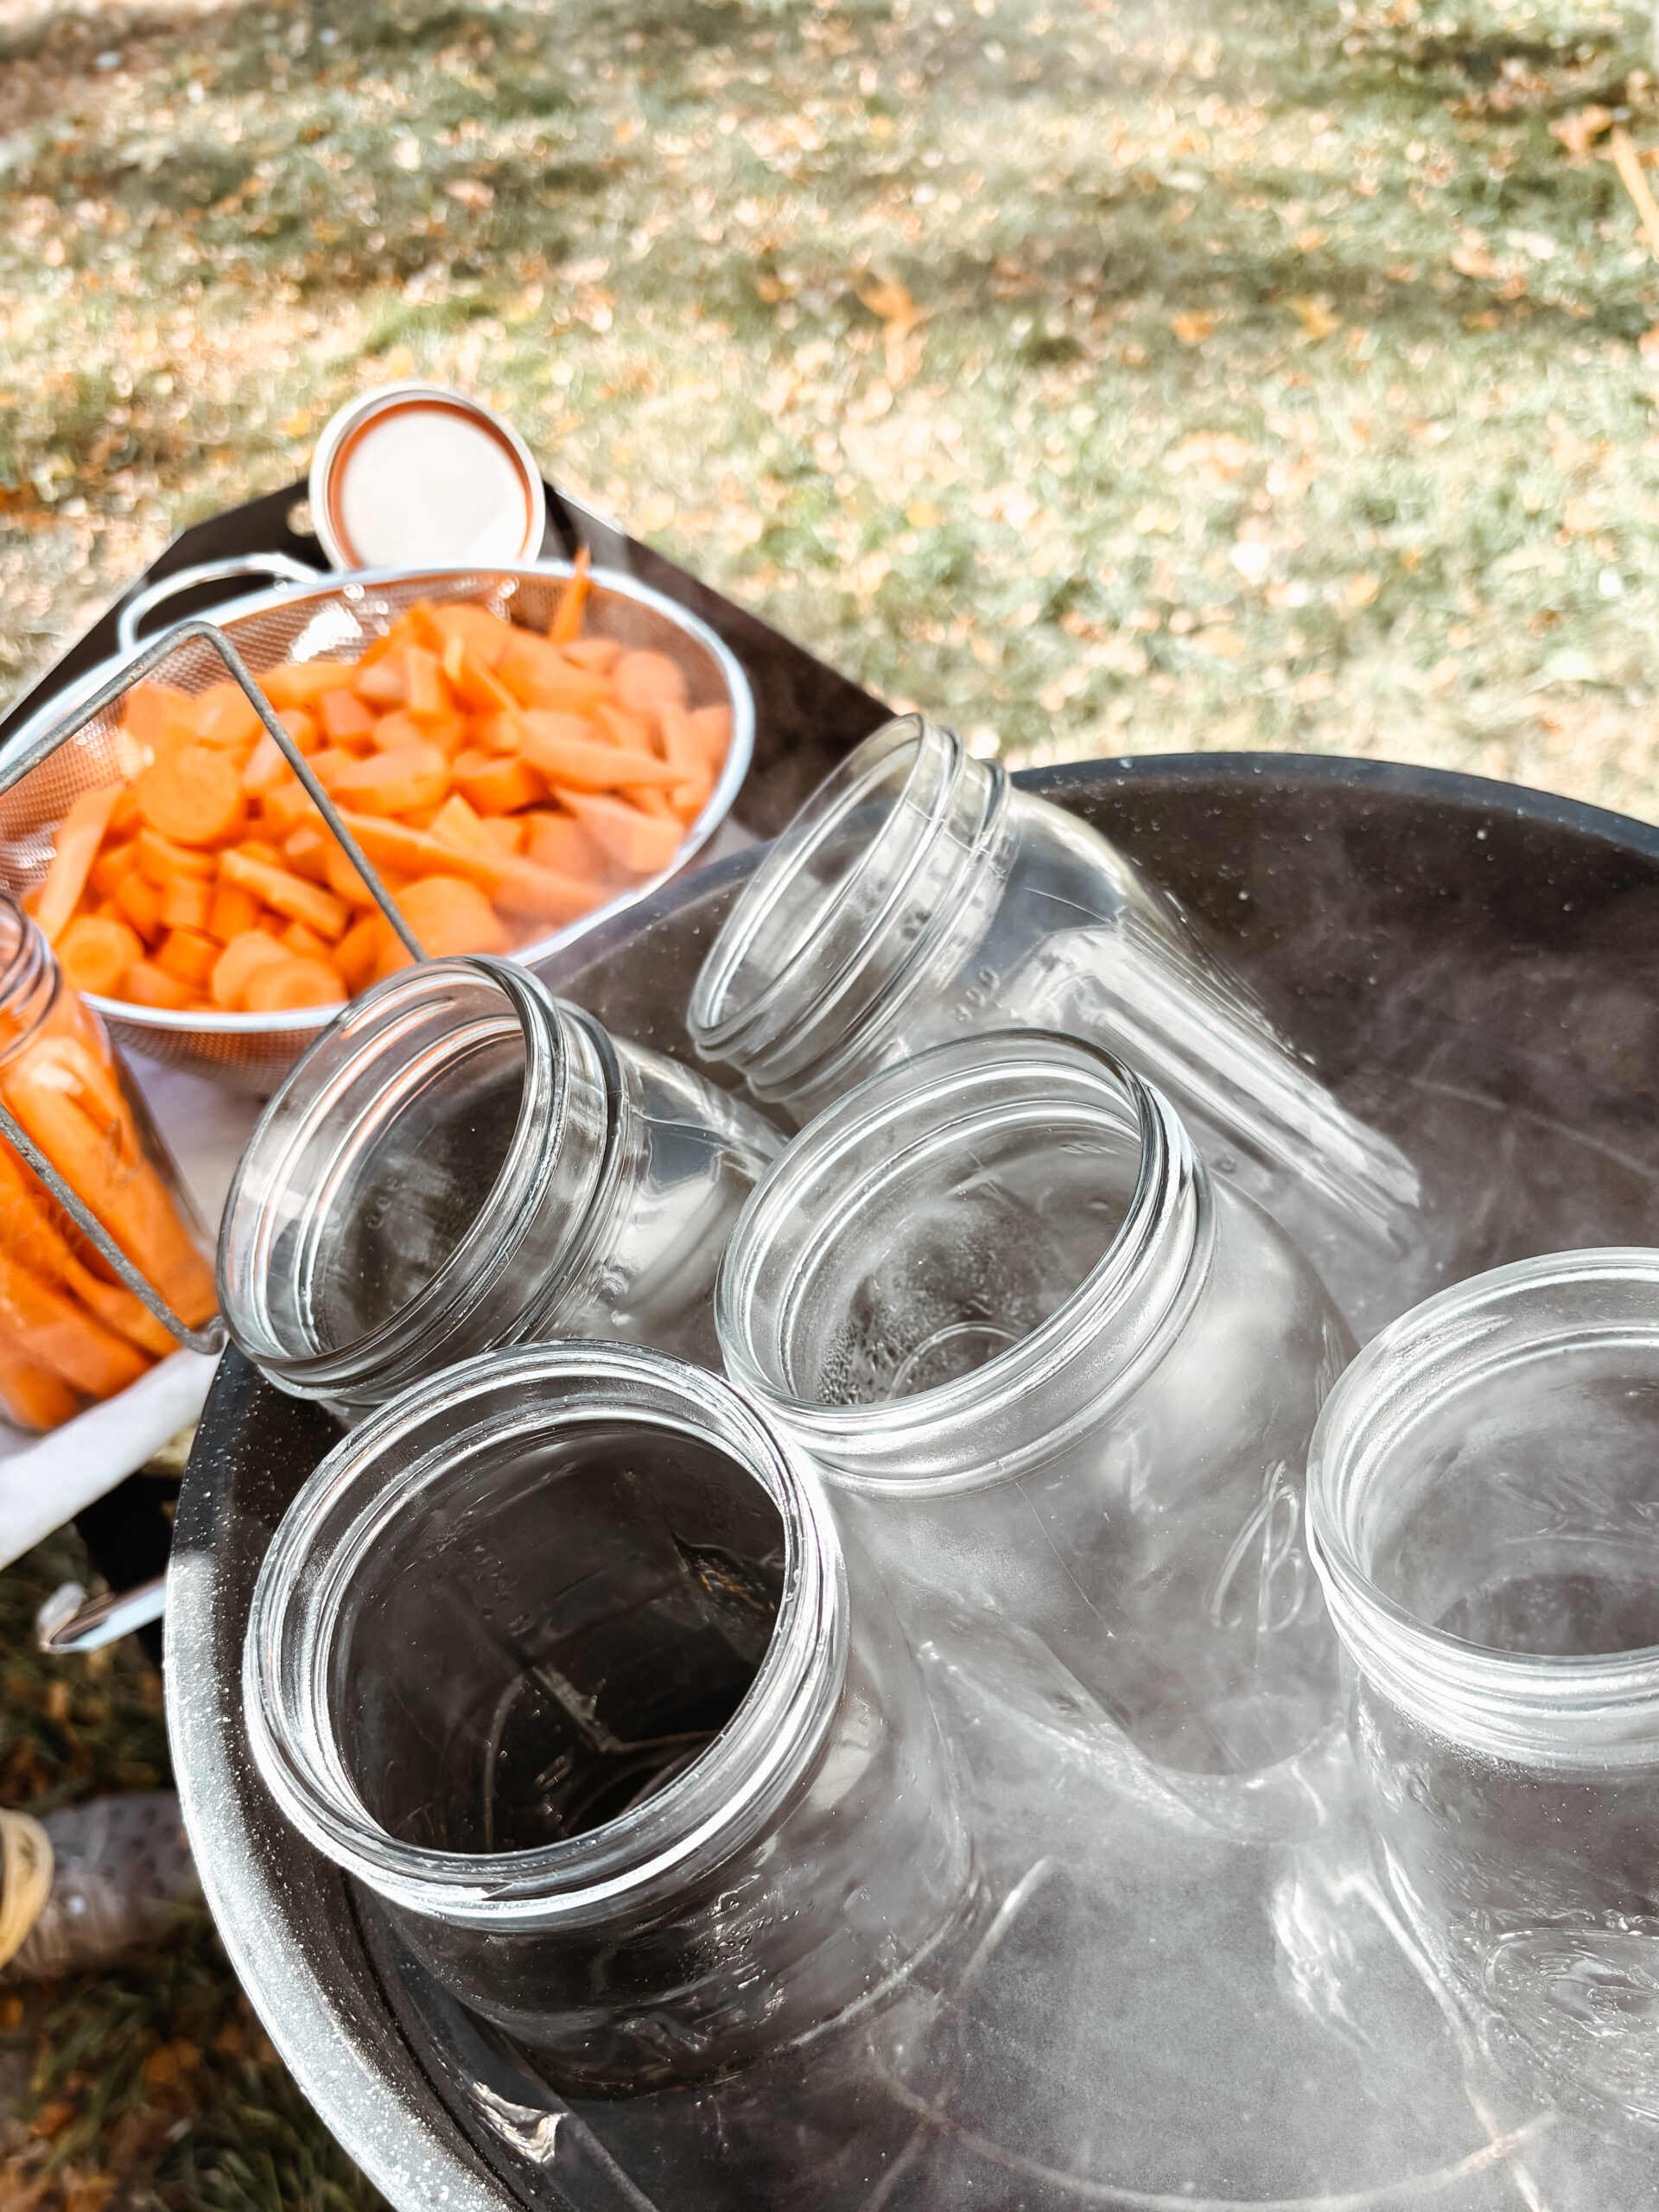
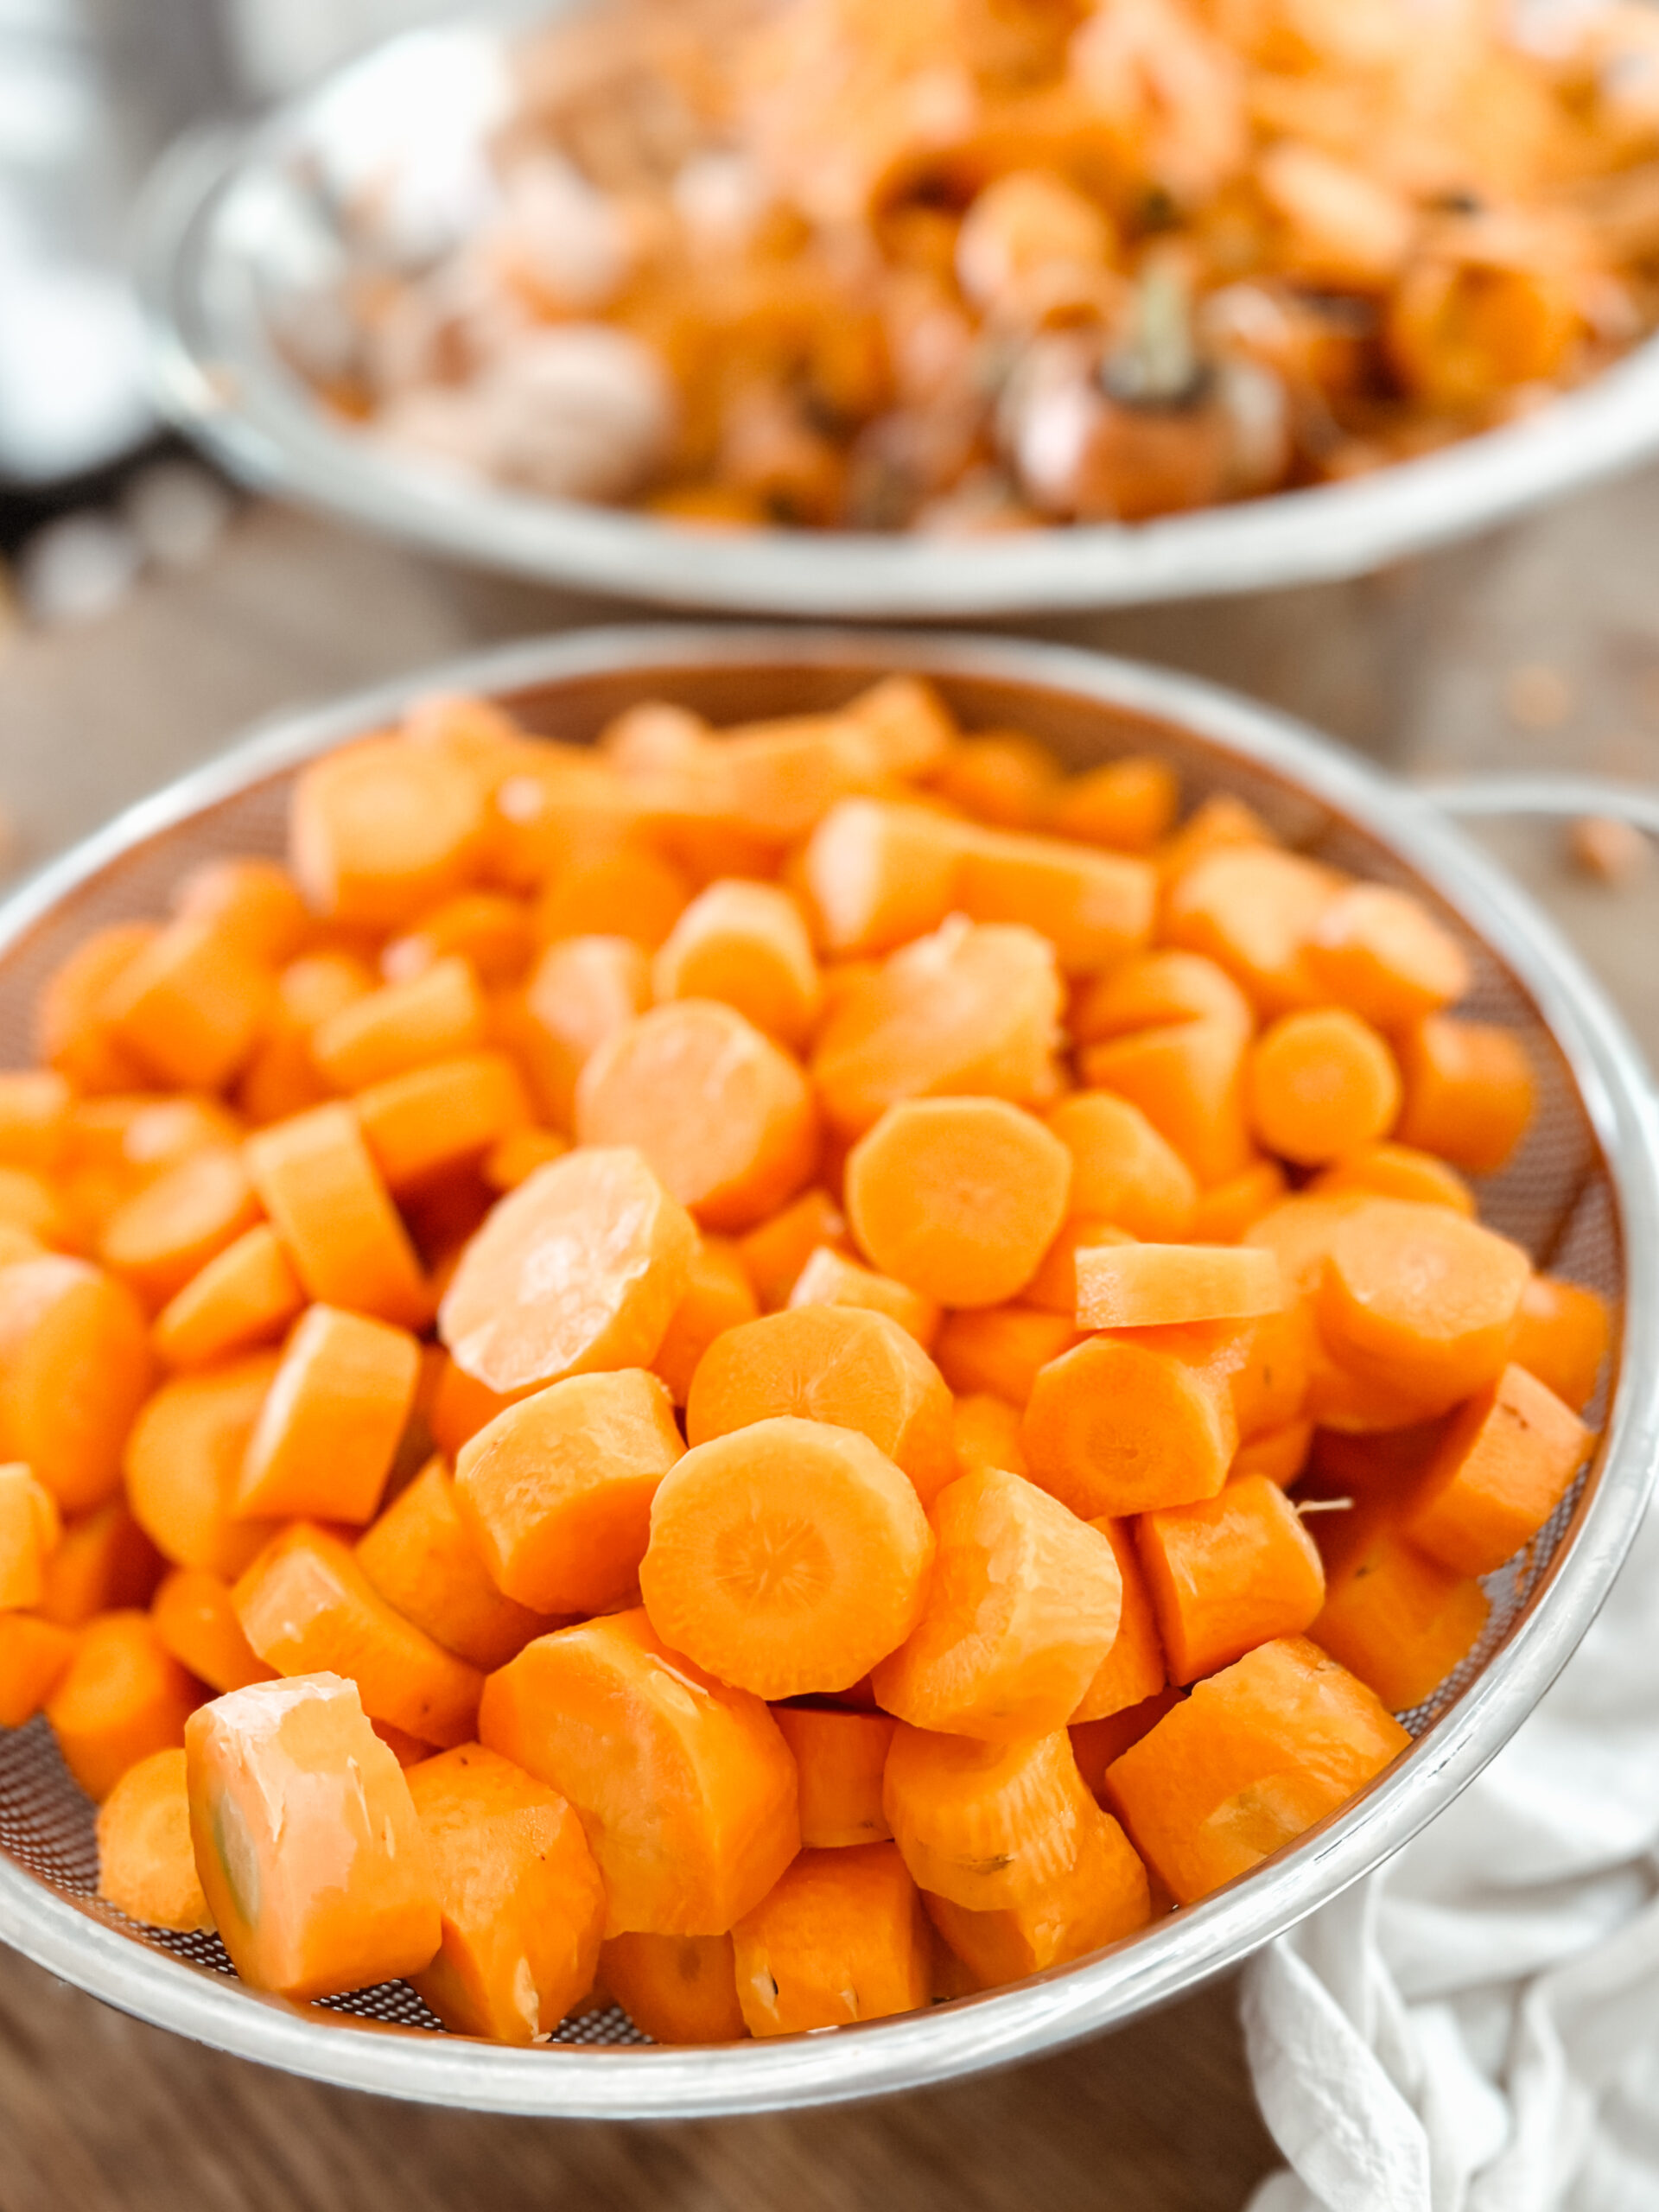
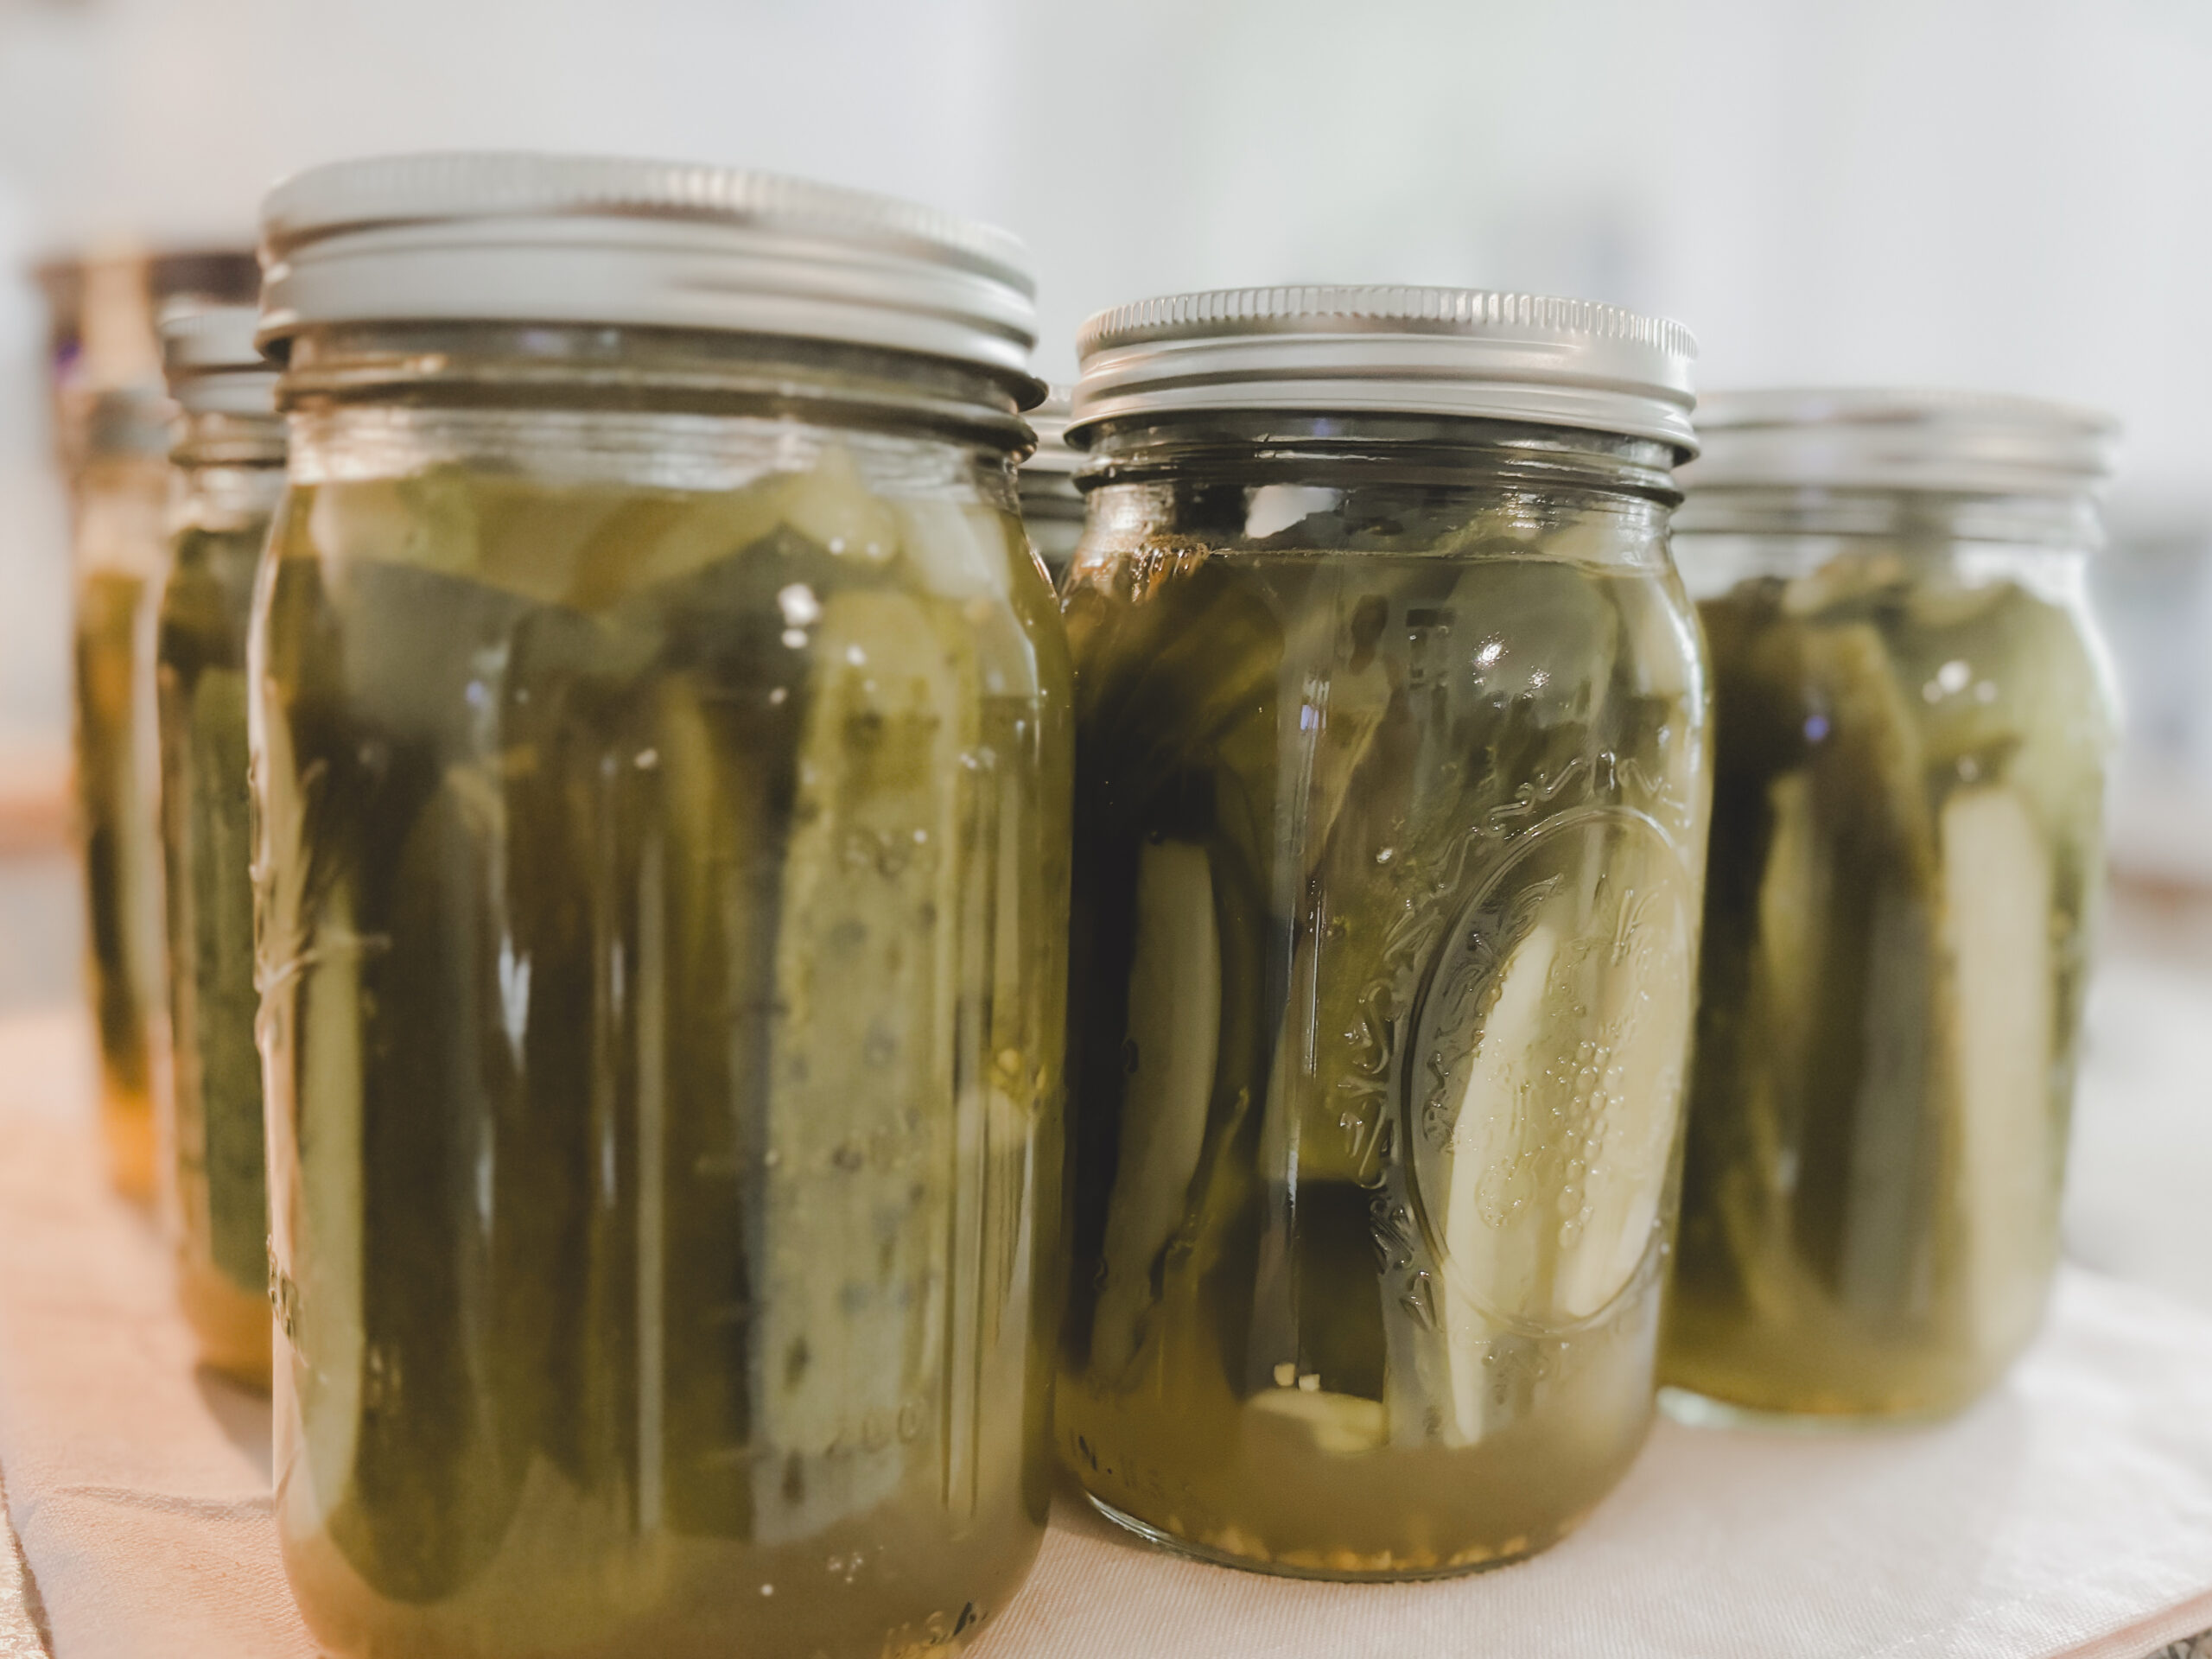
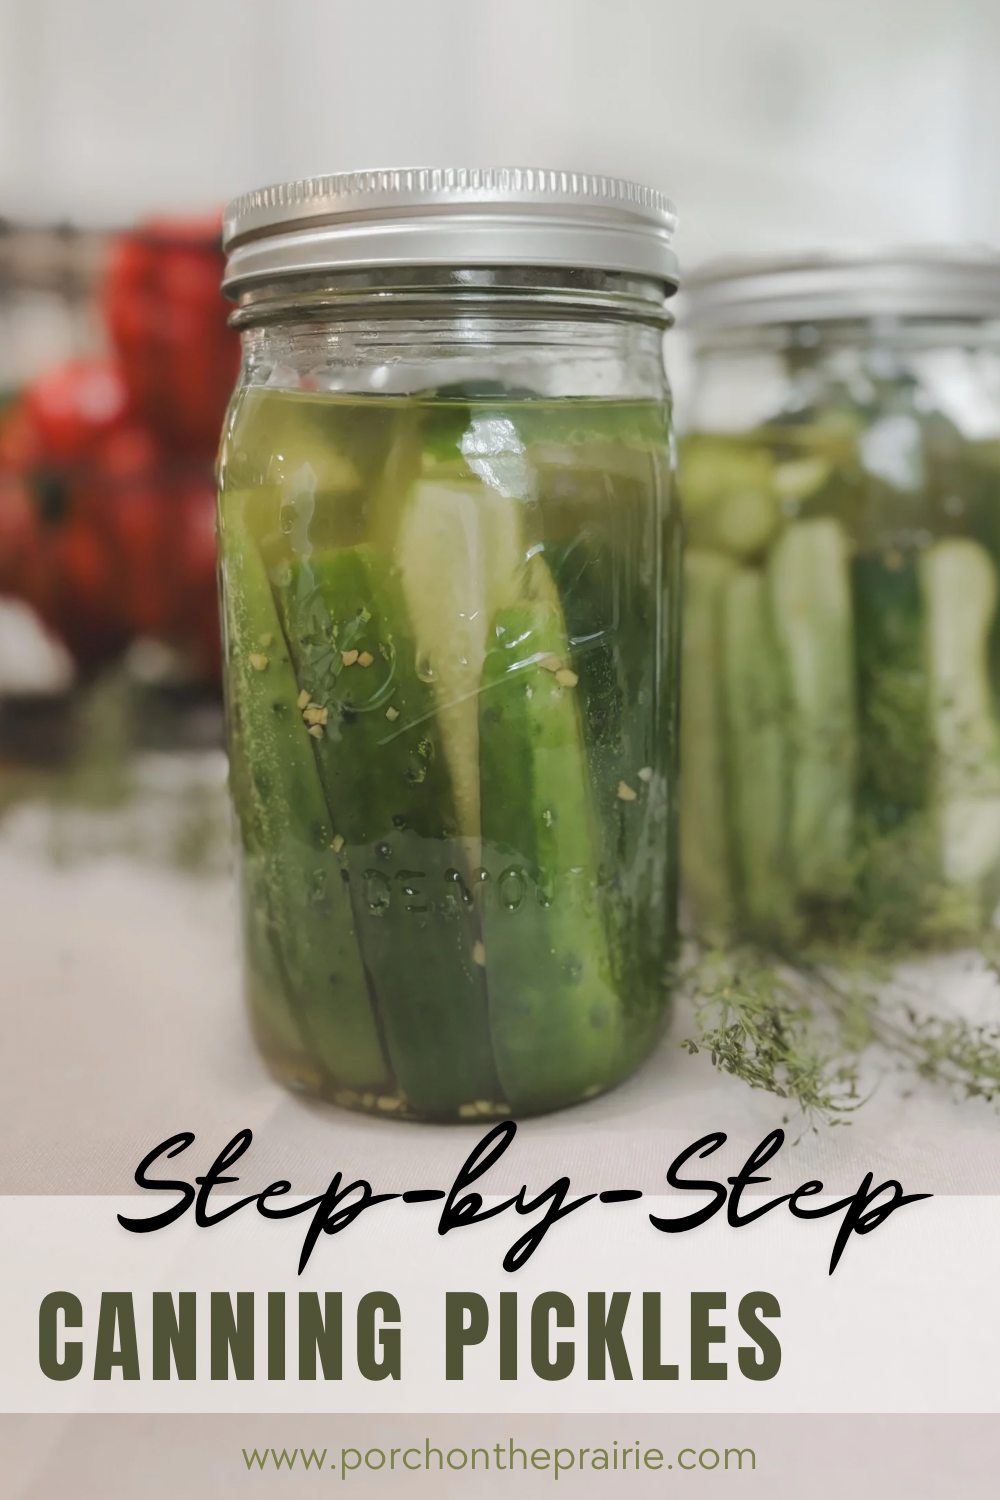
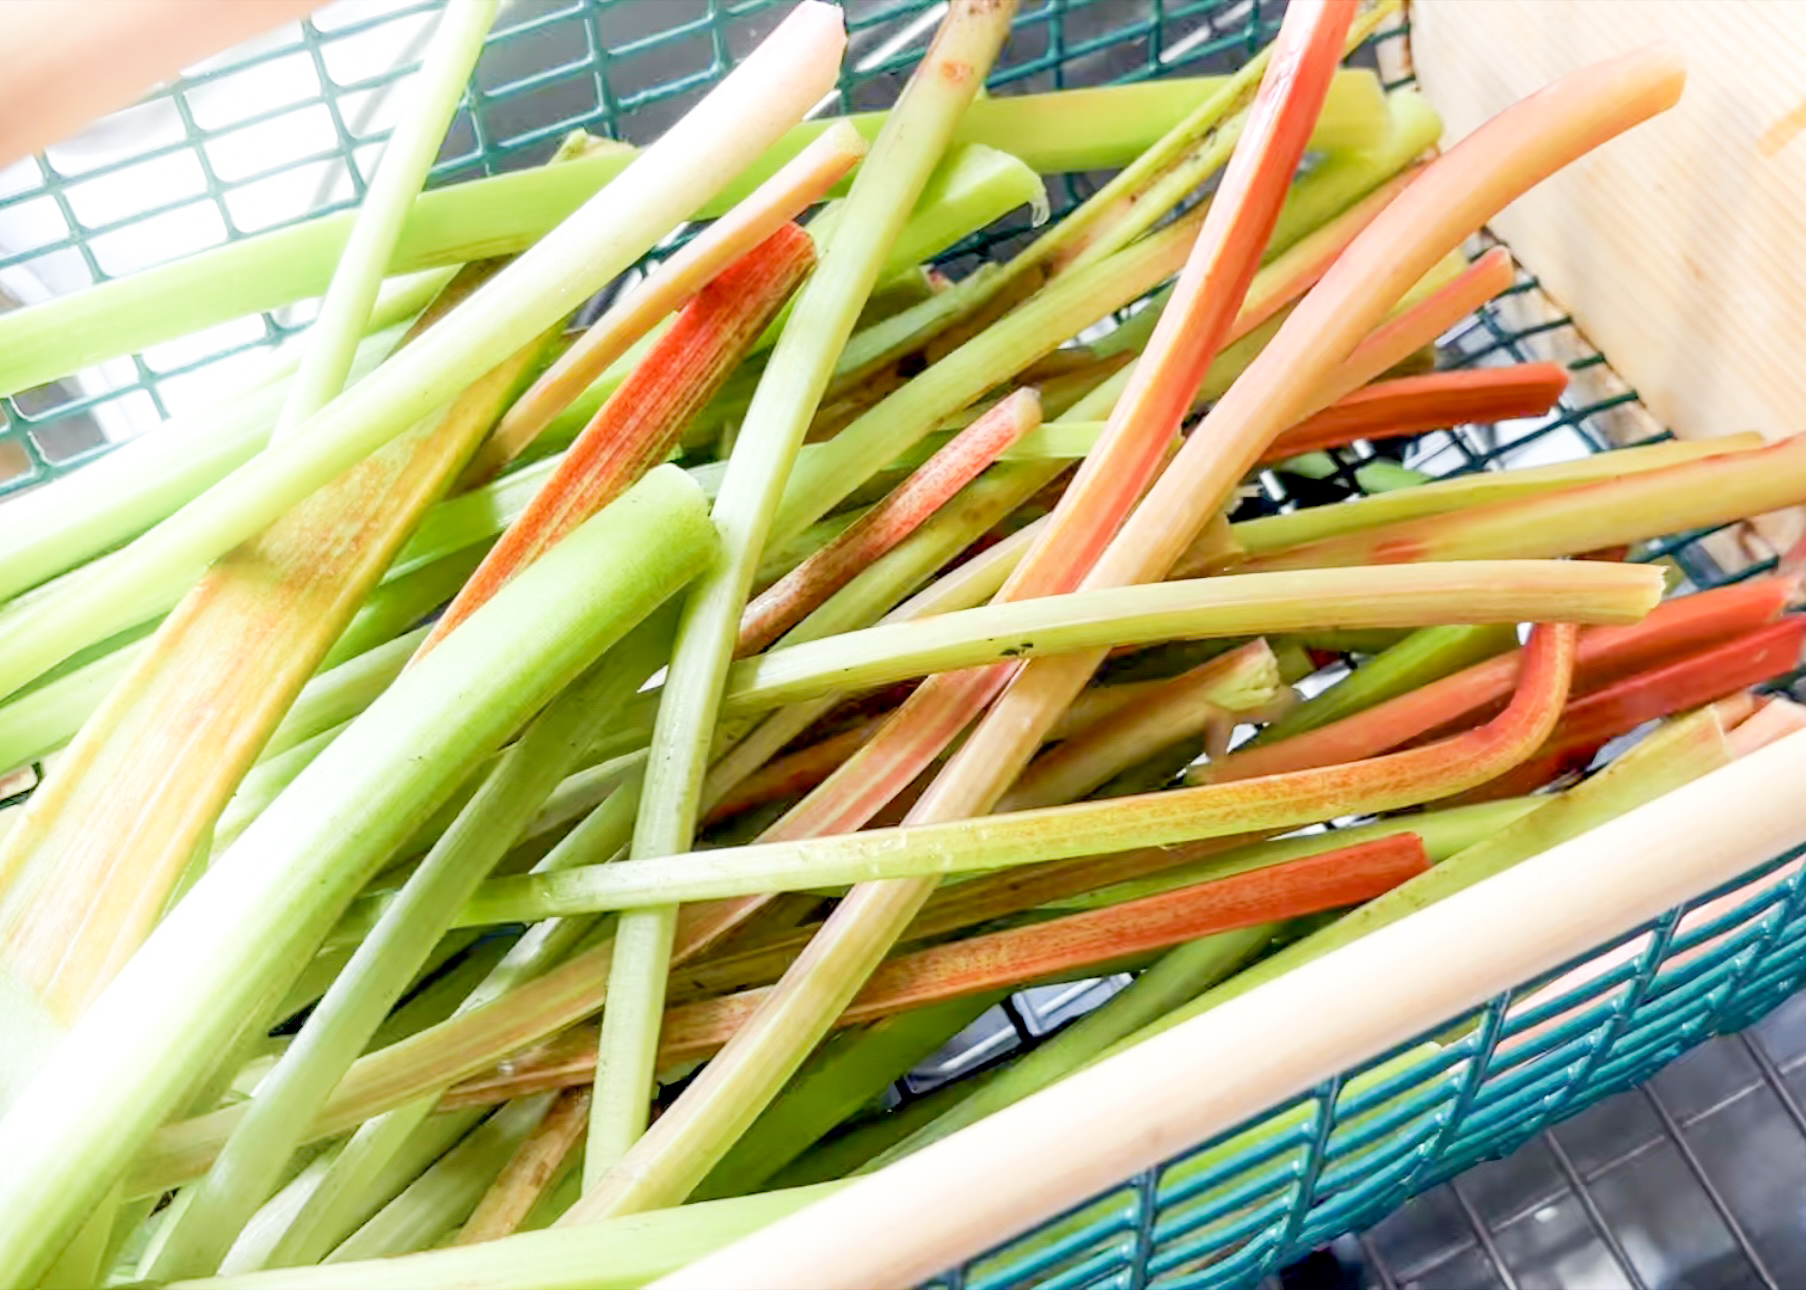
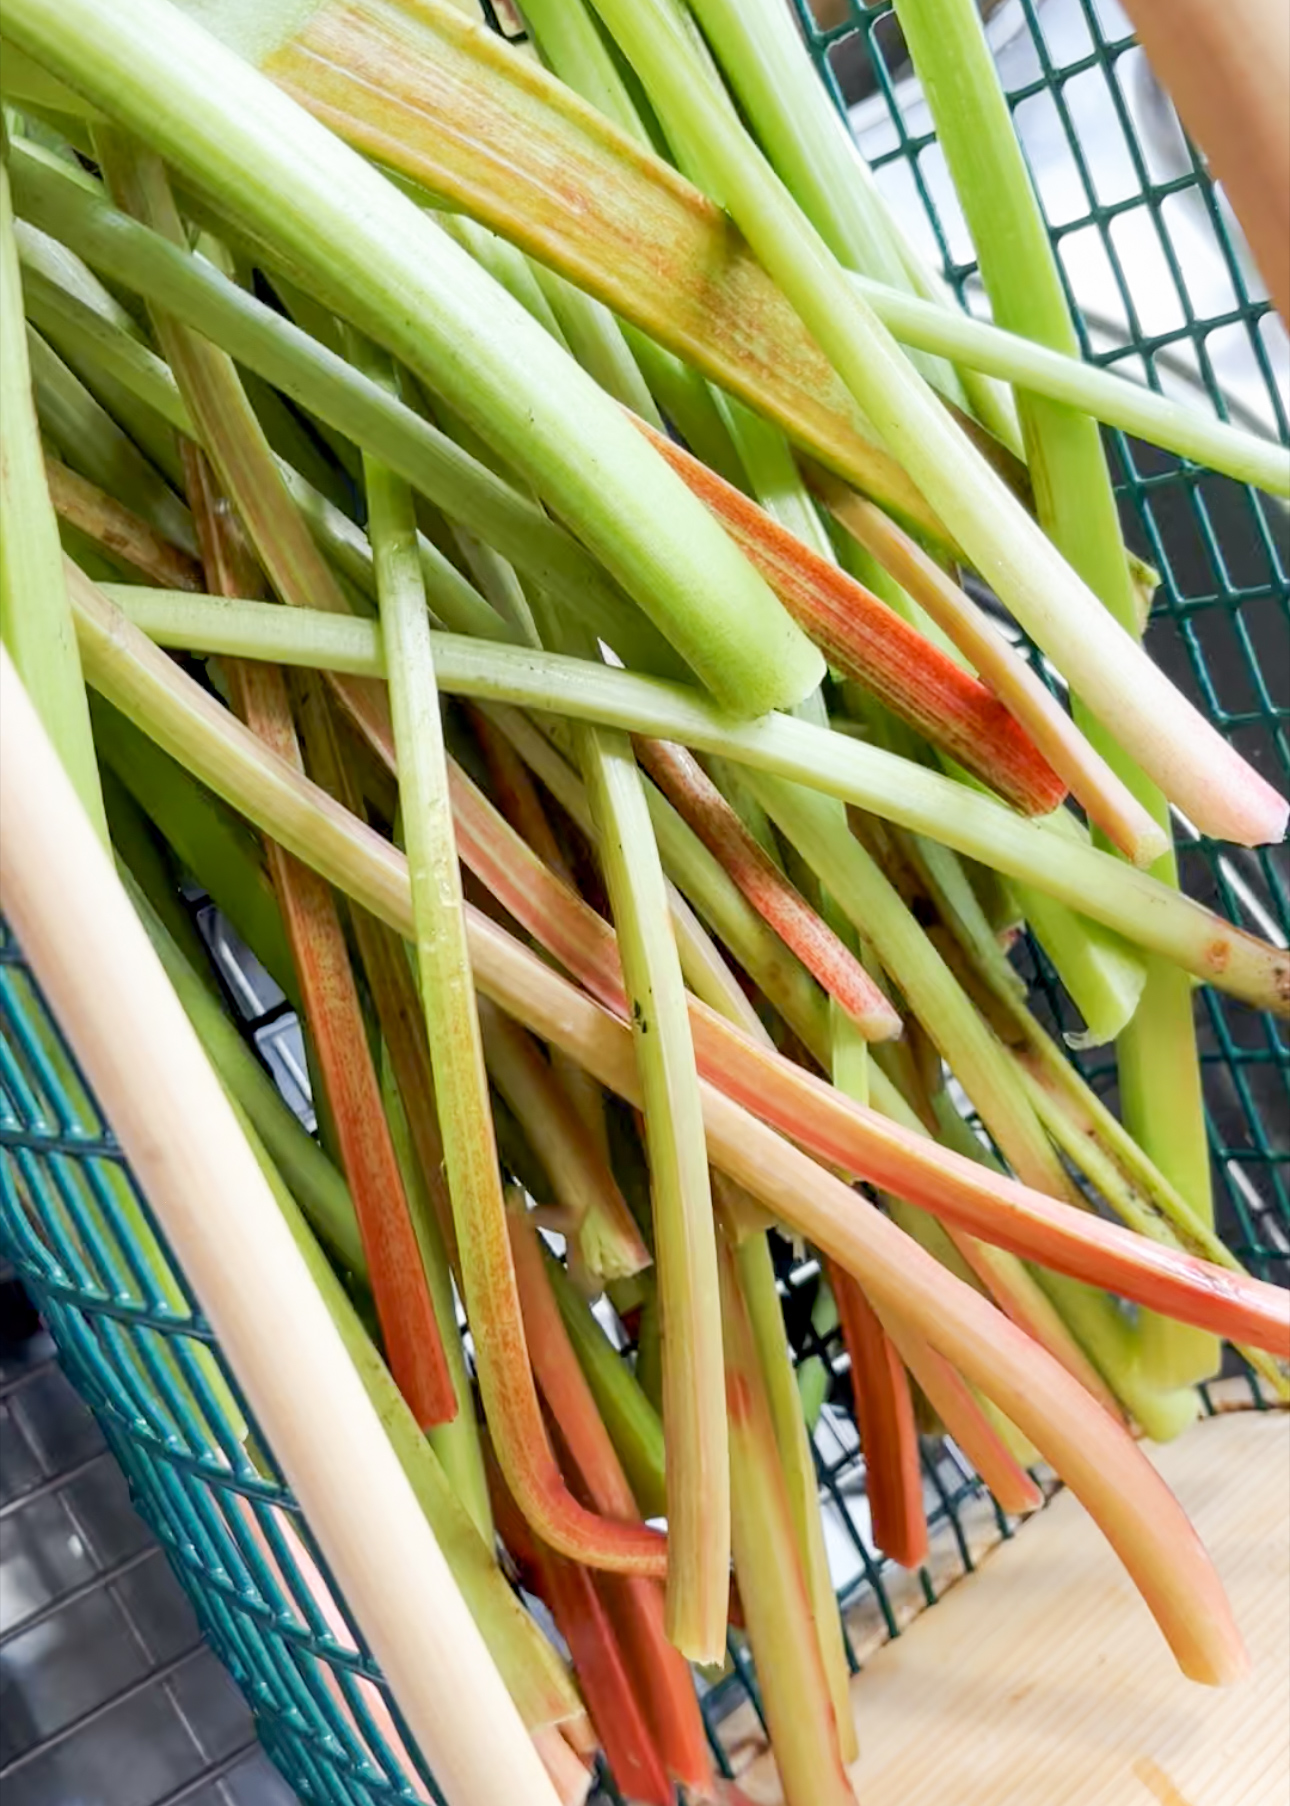
Gardening and Food Preservation
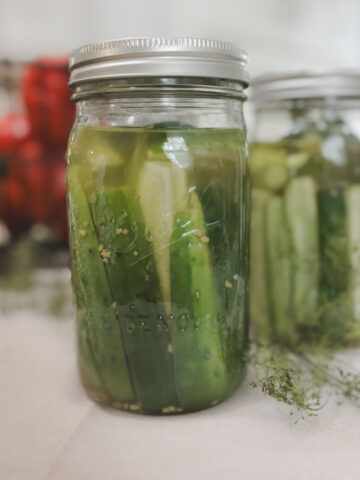
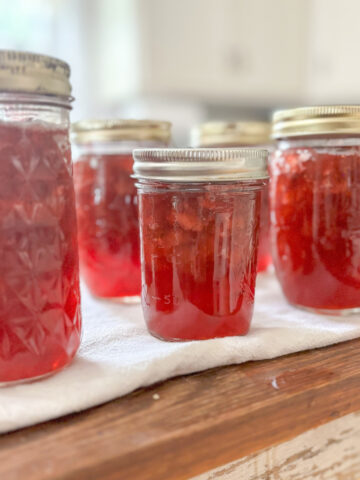
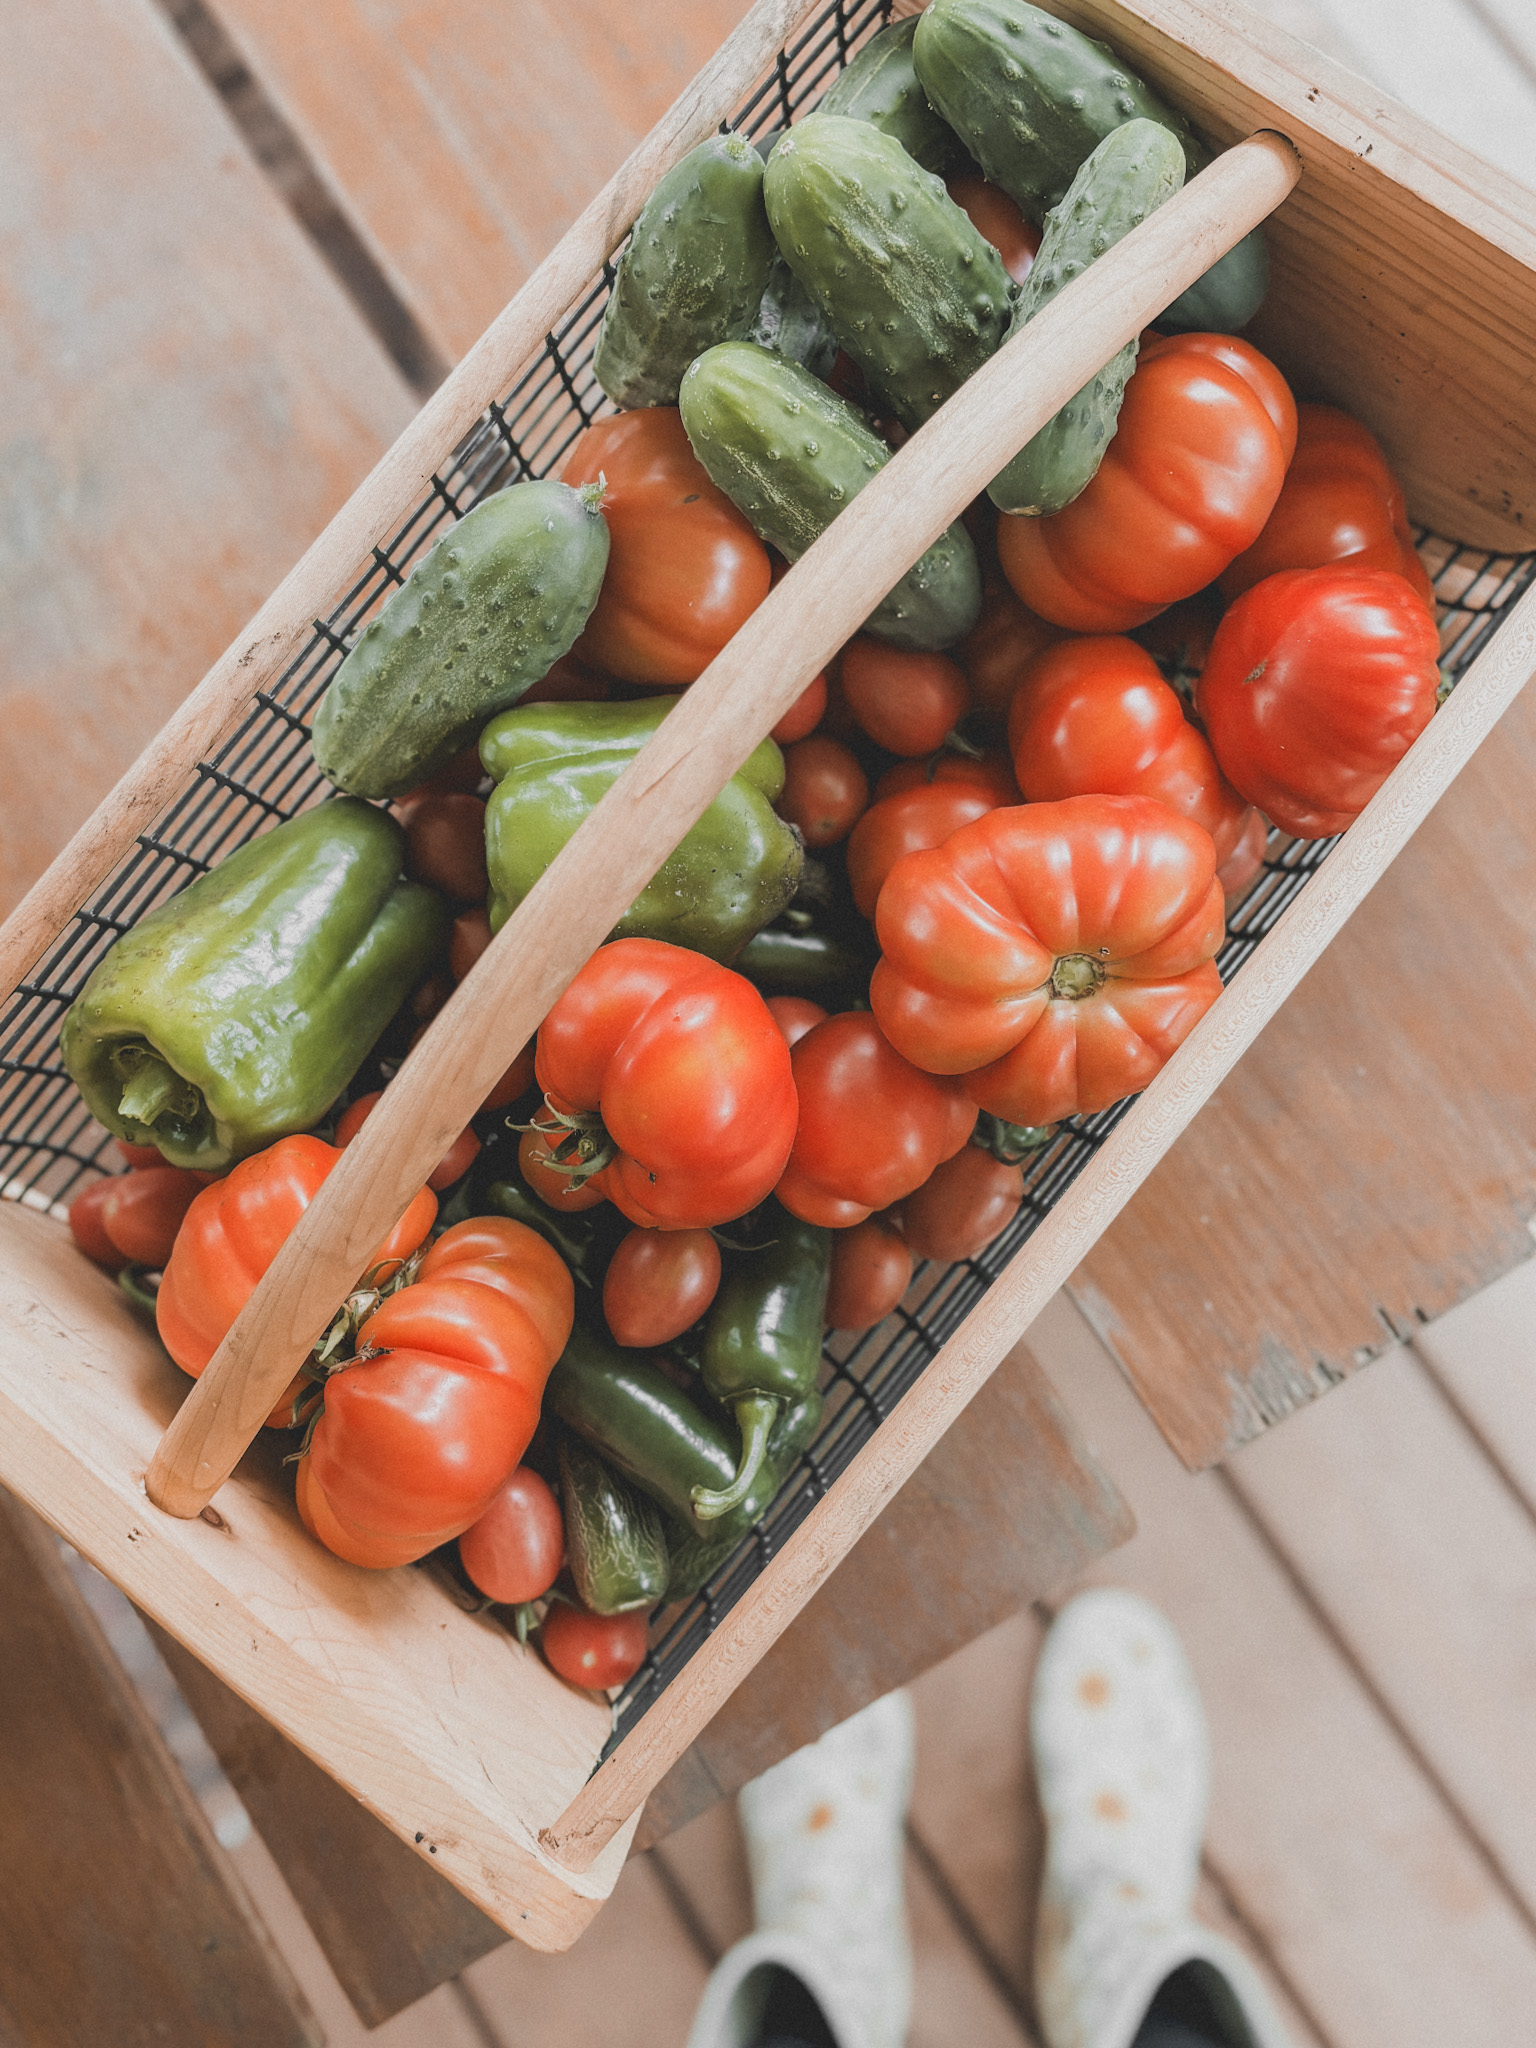
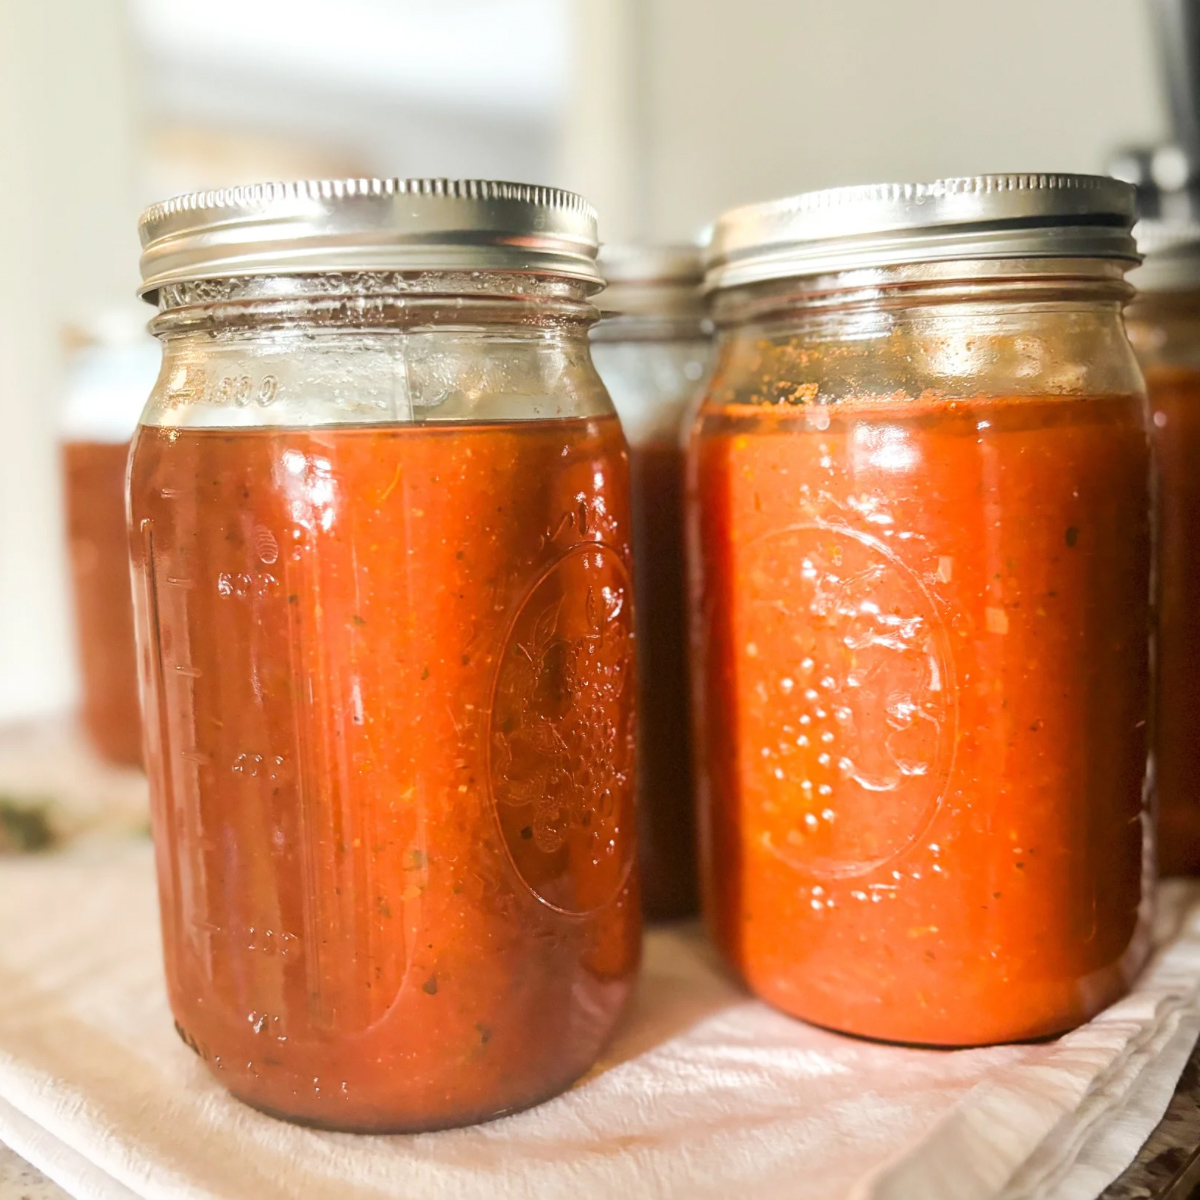
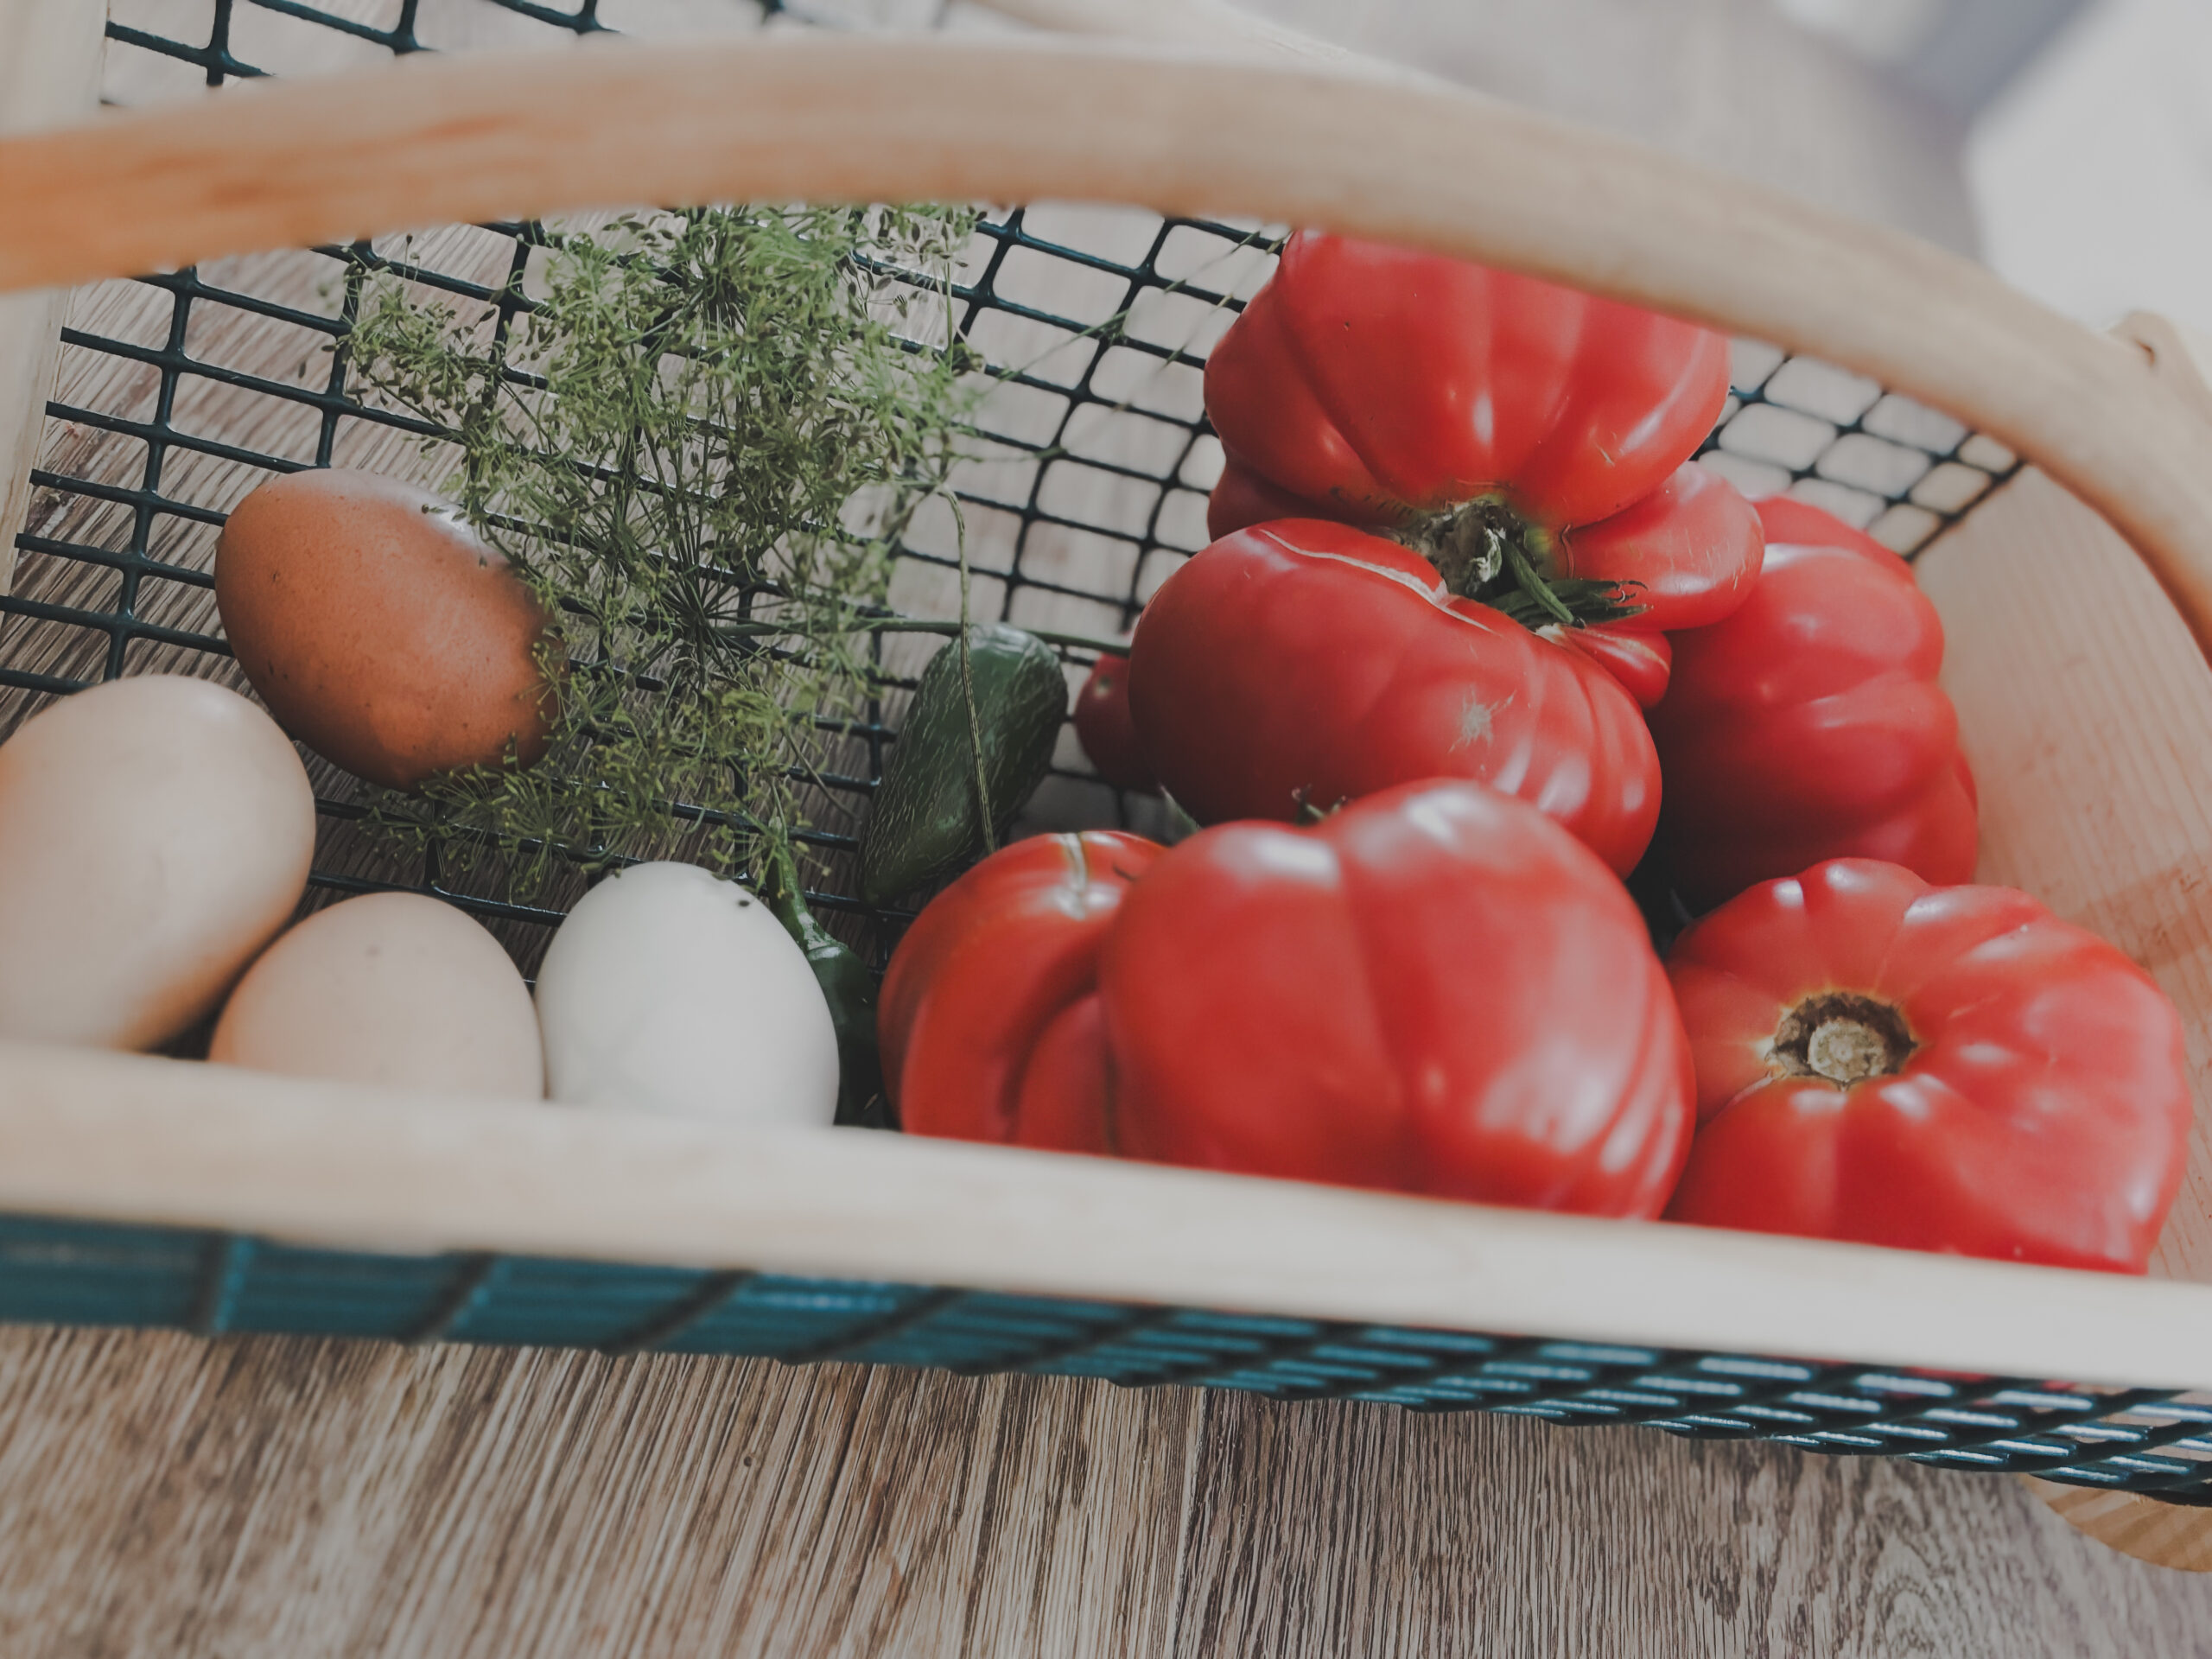
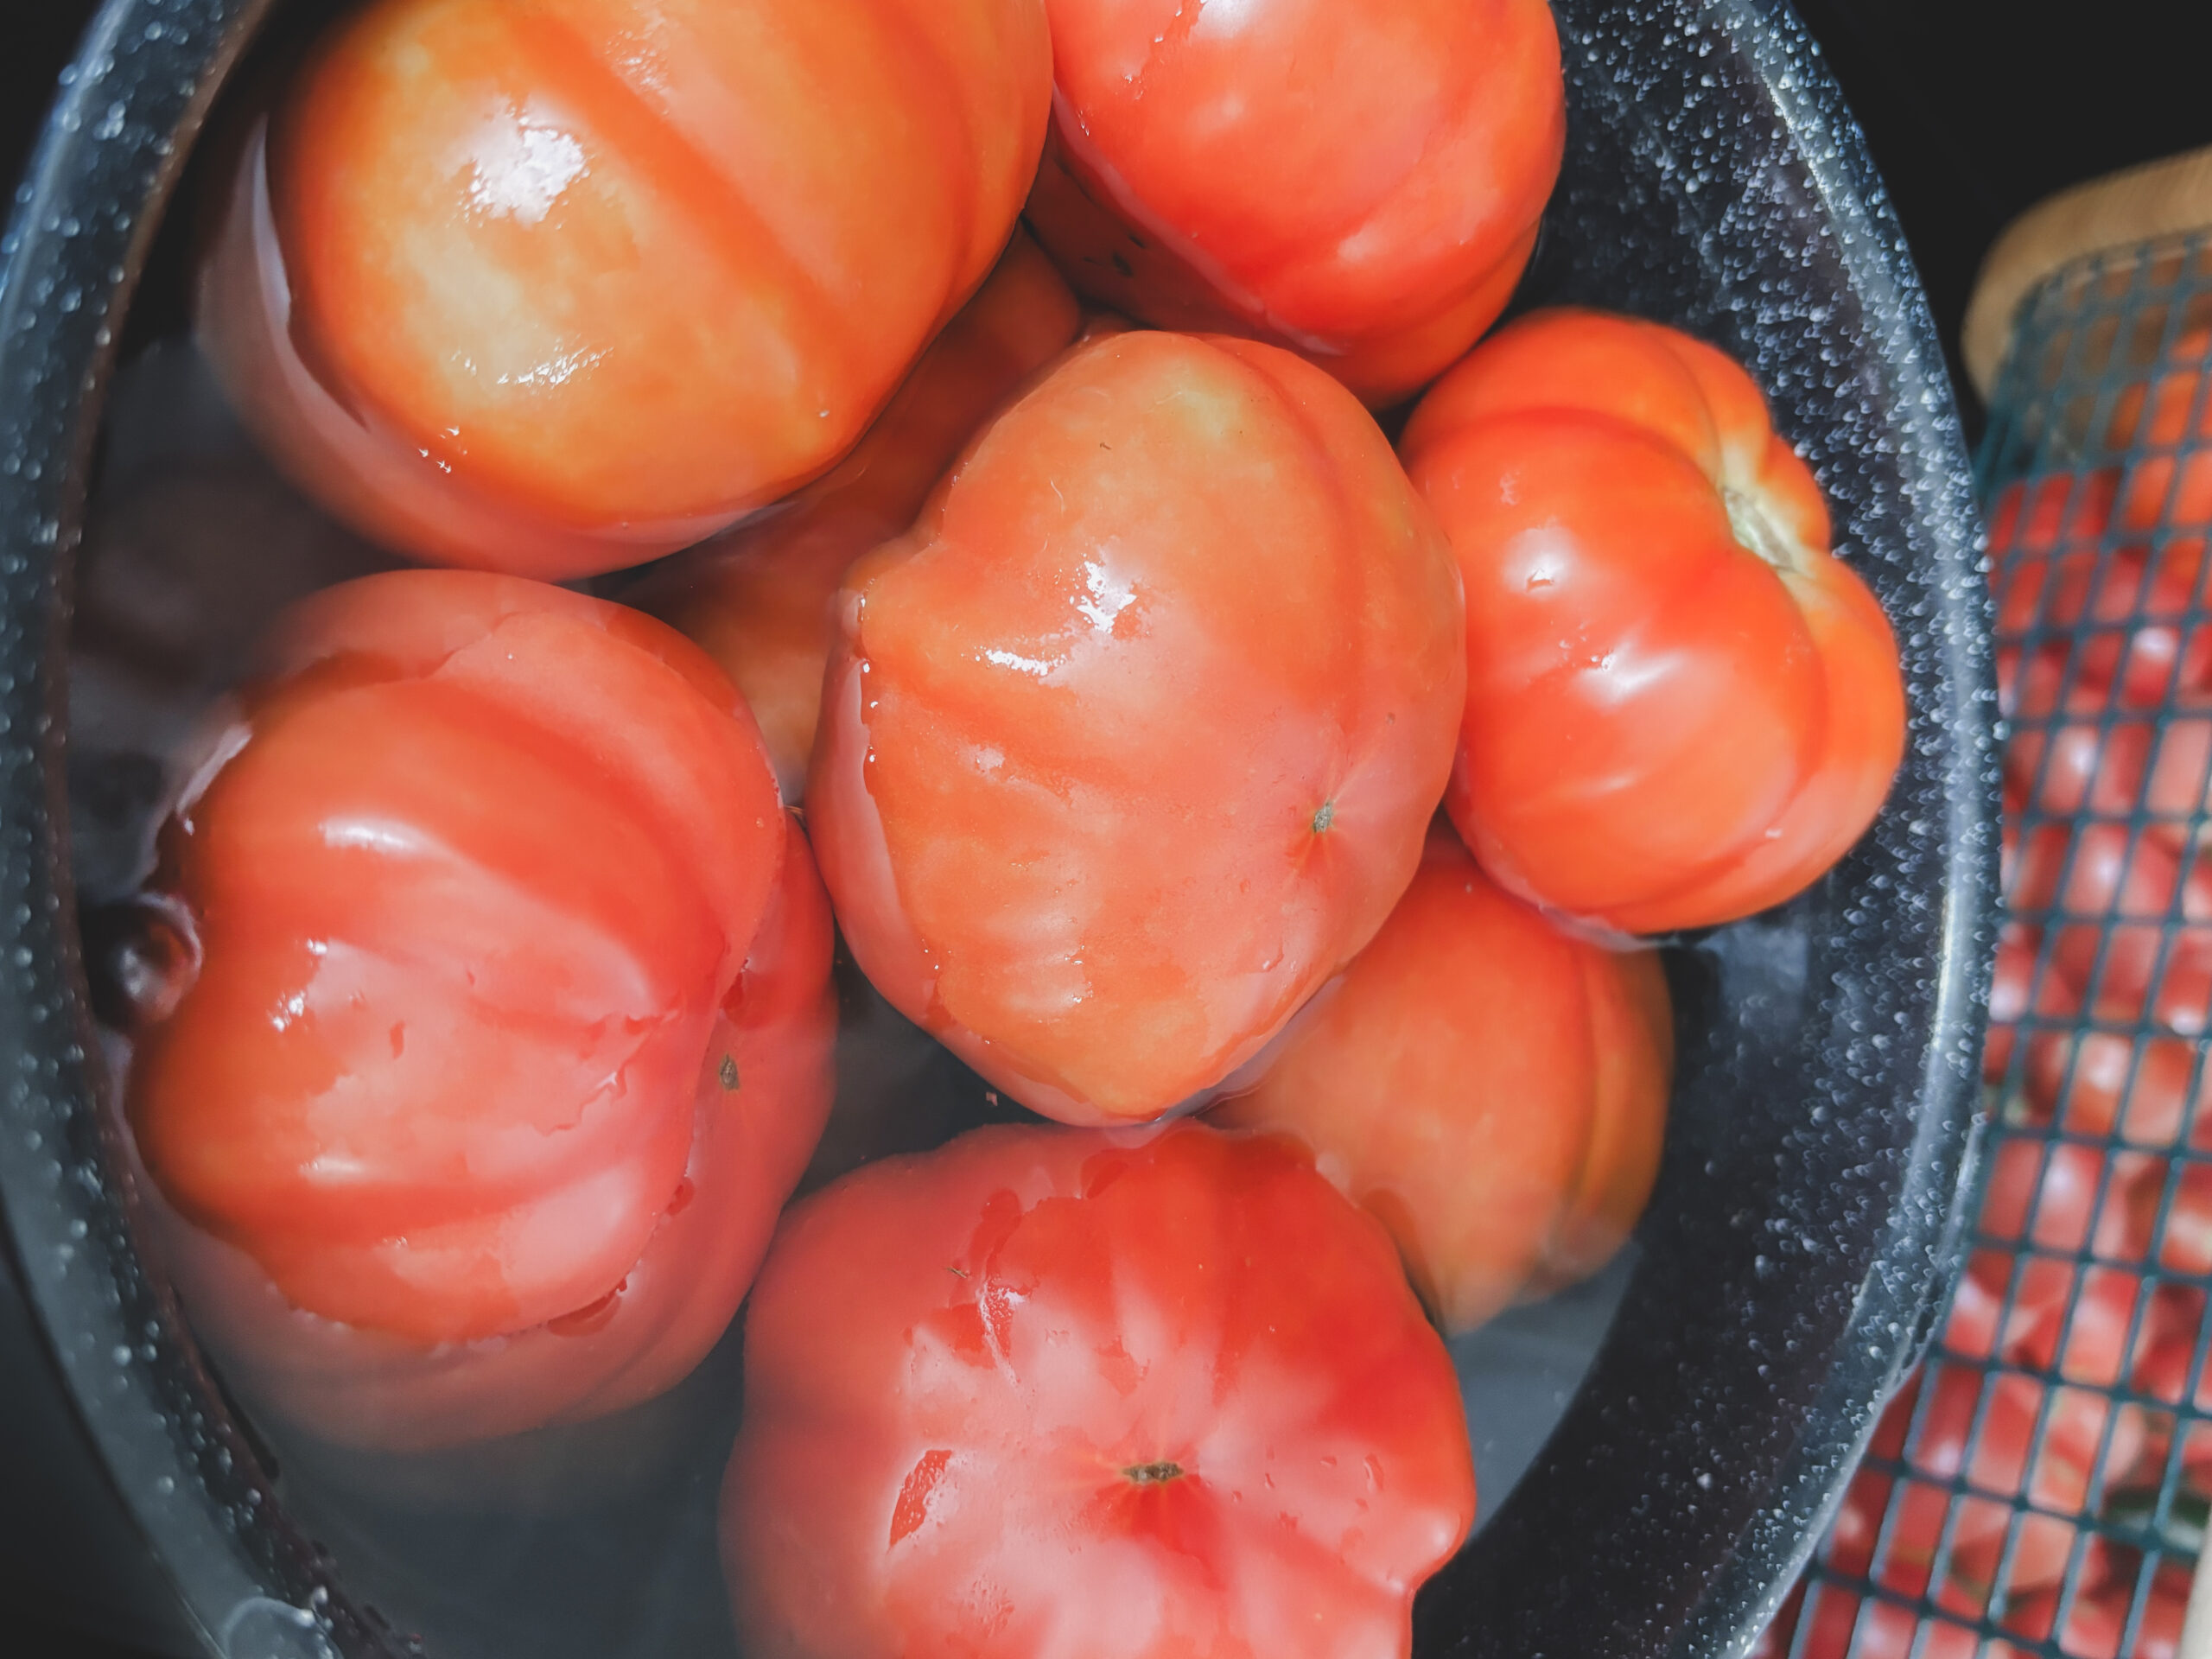
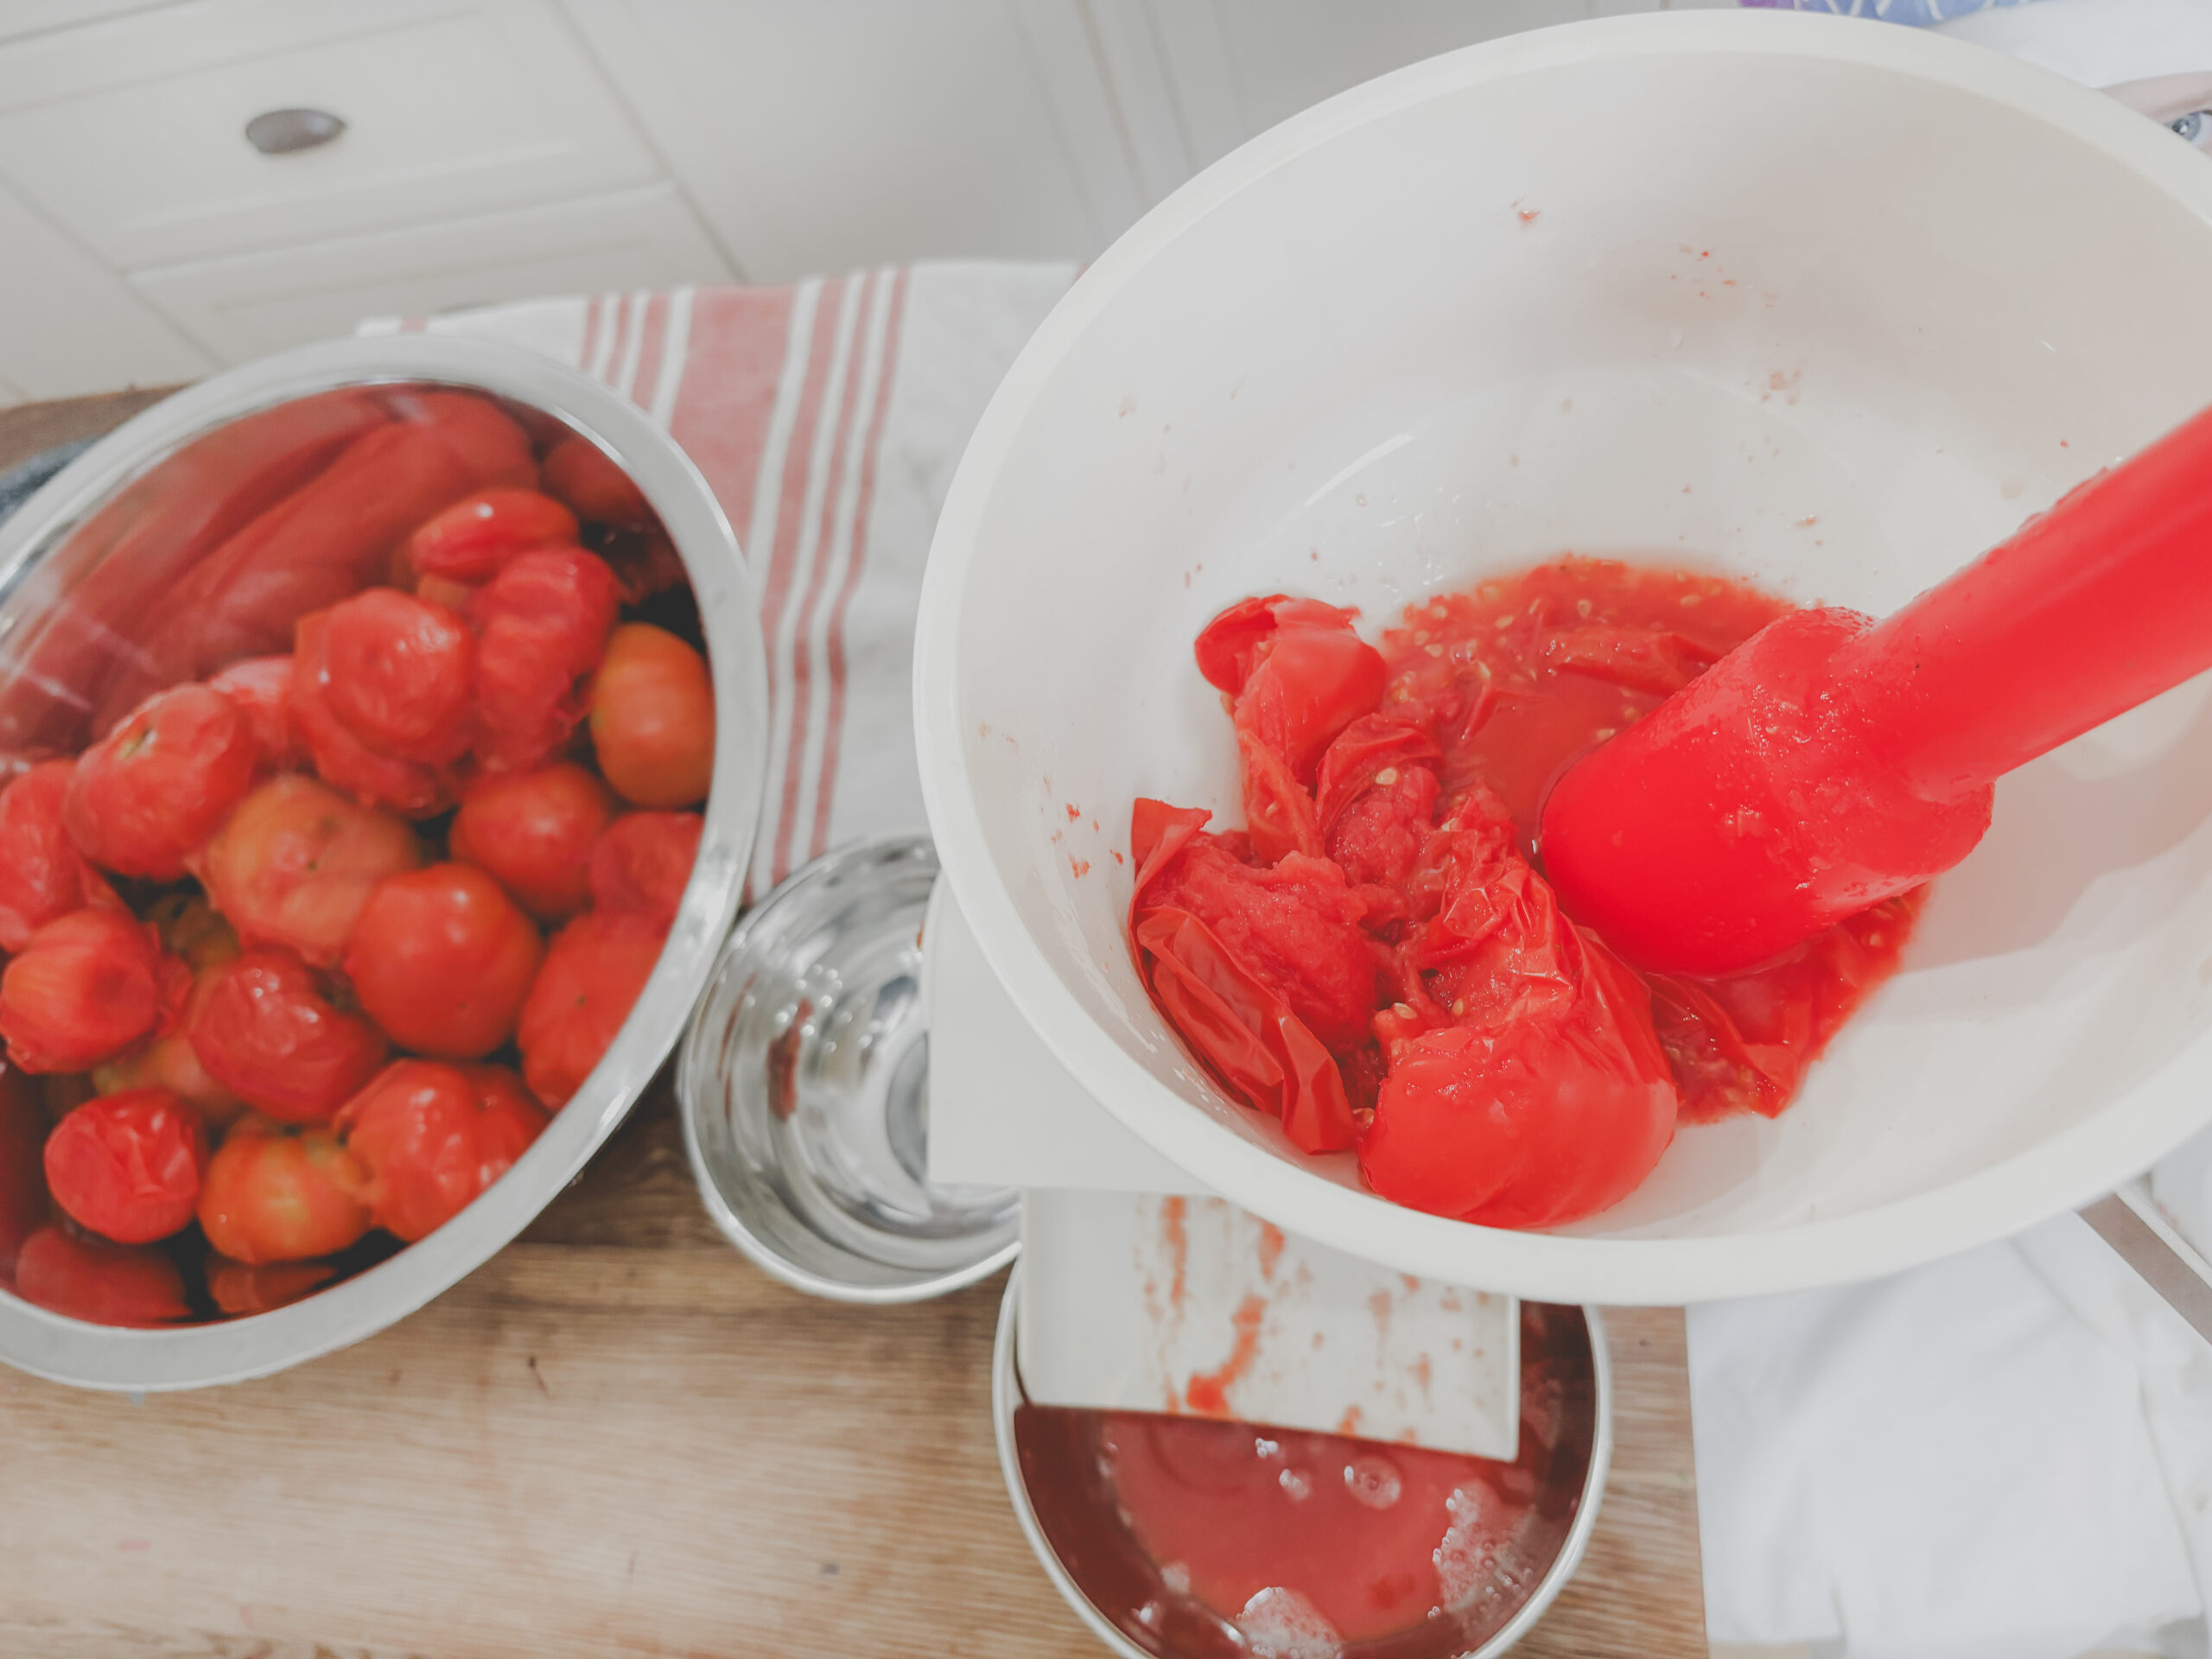
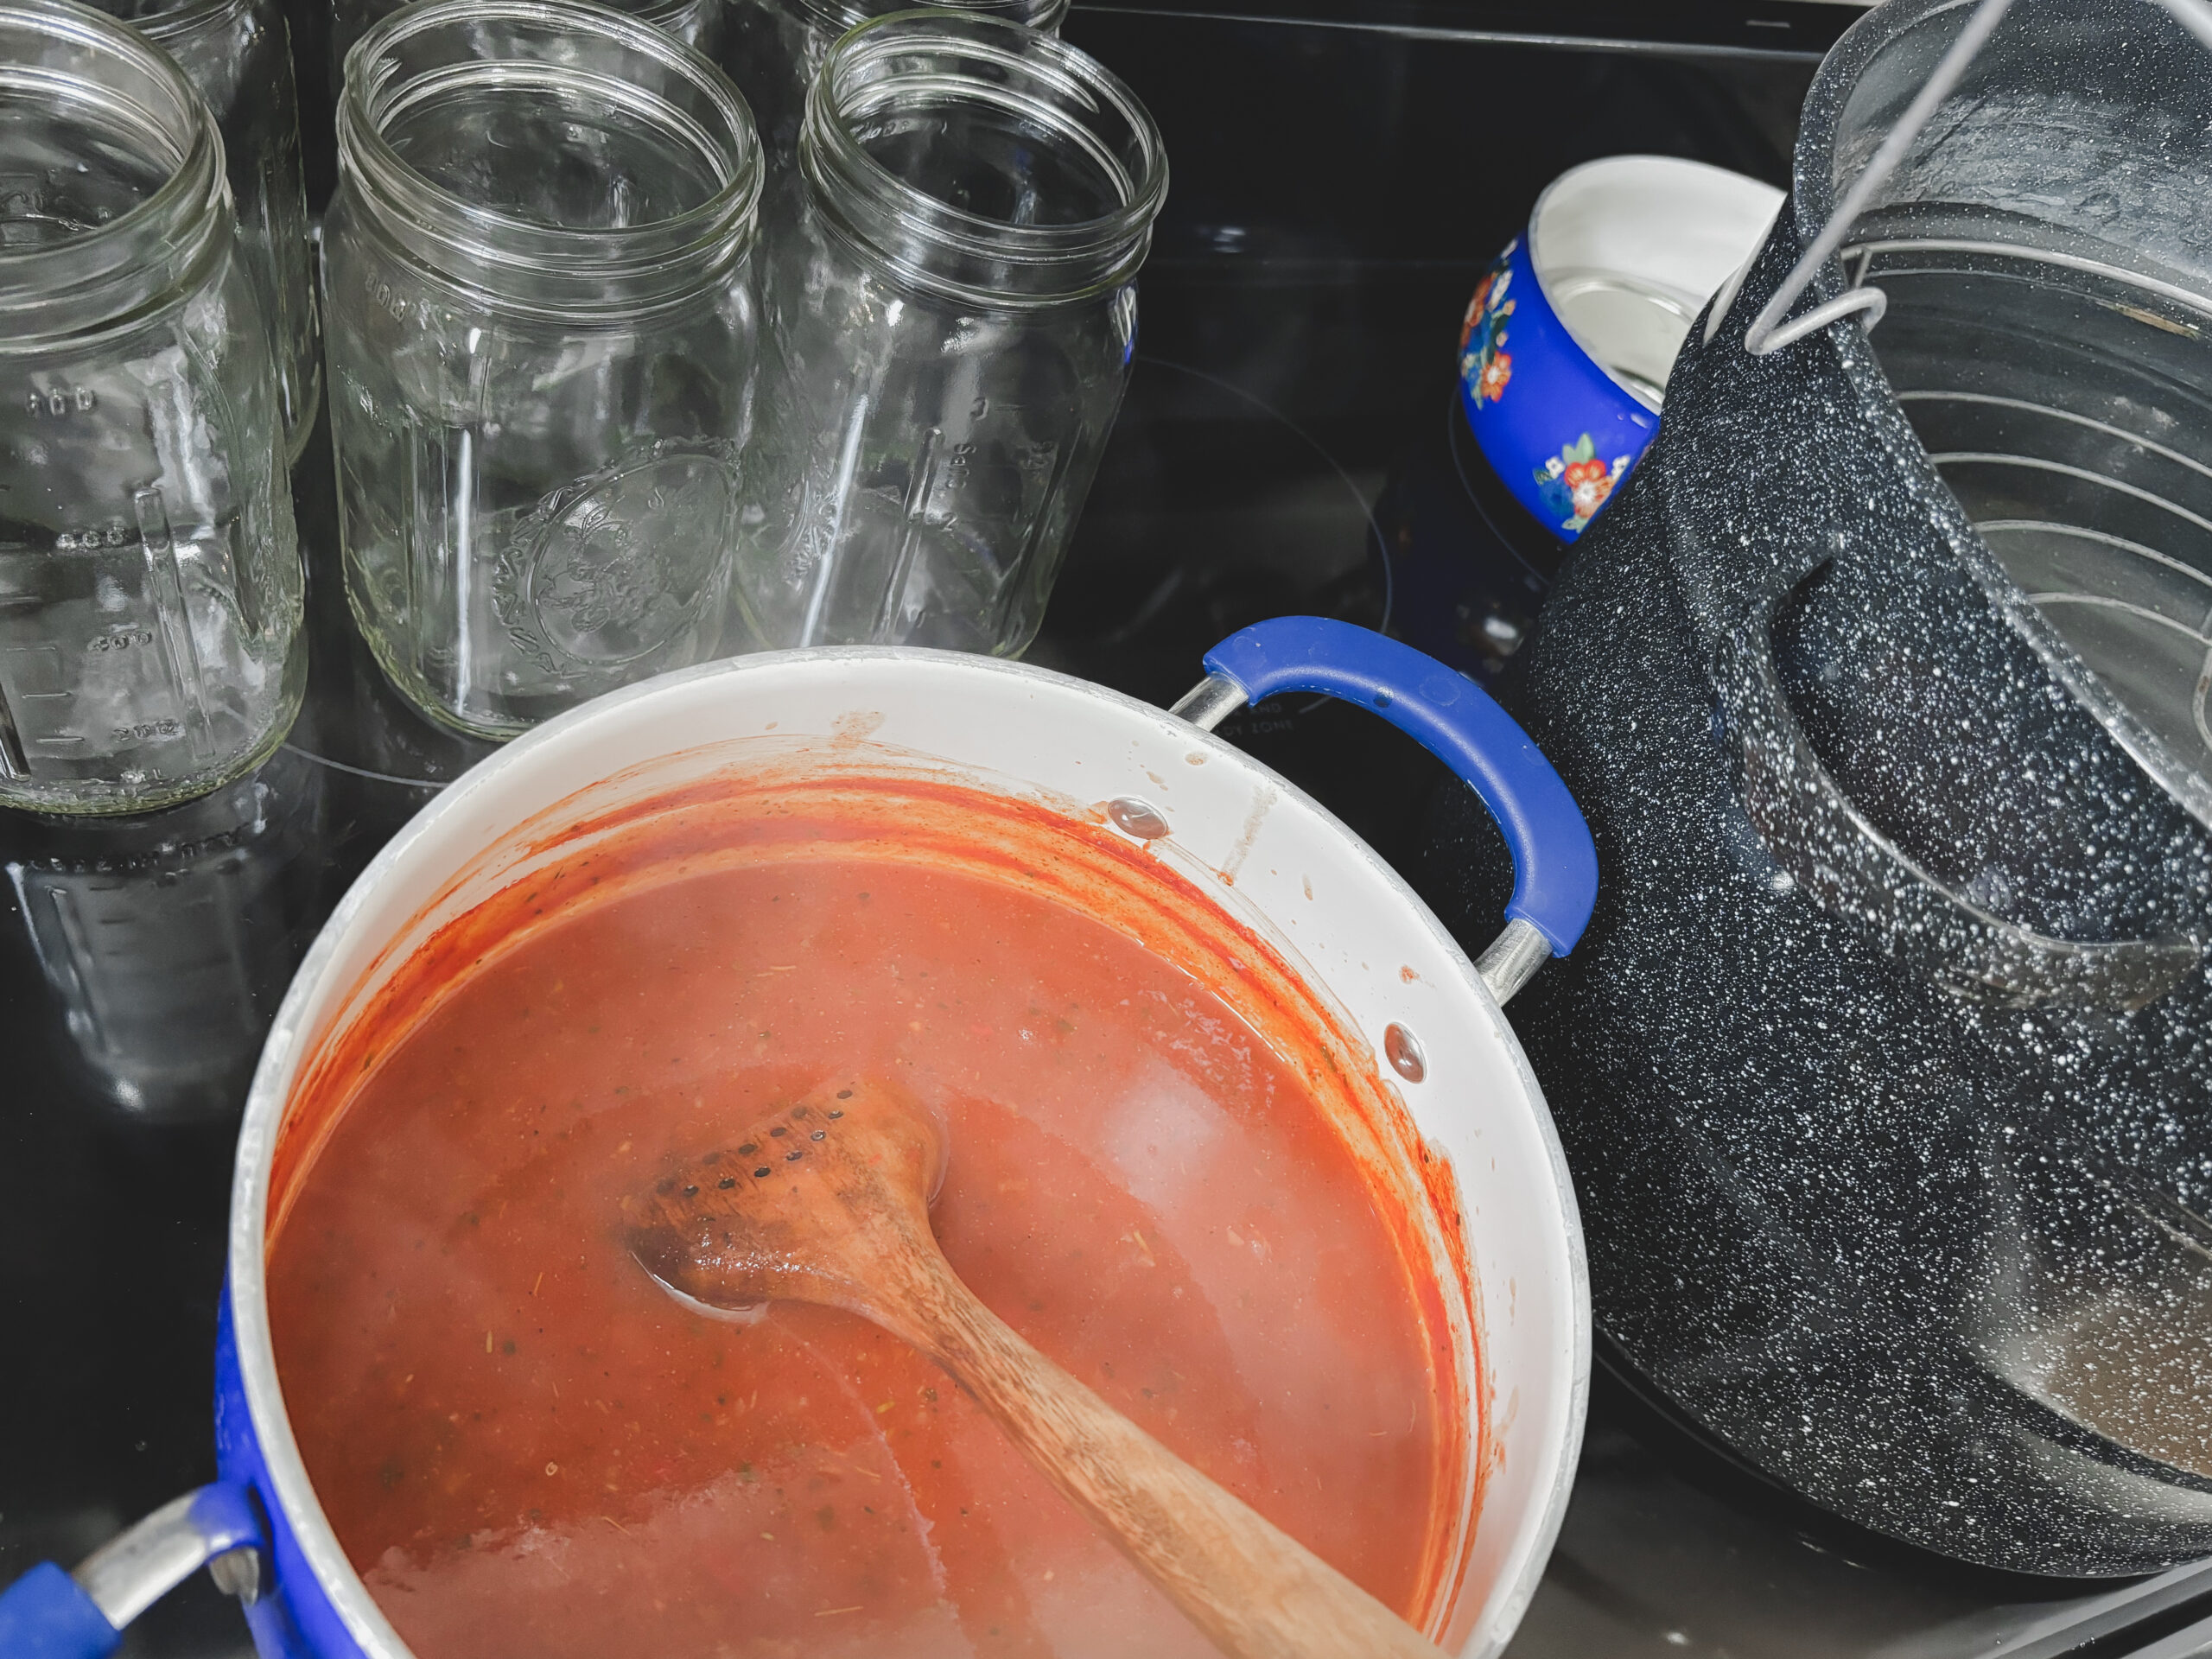
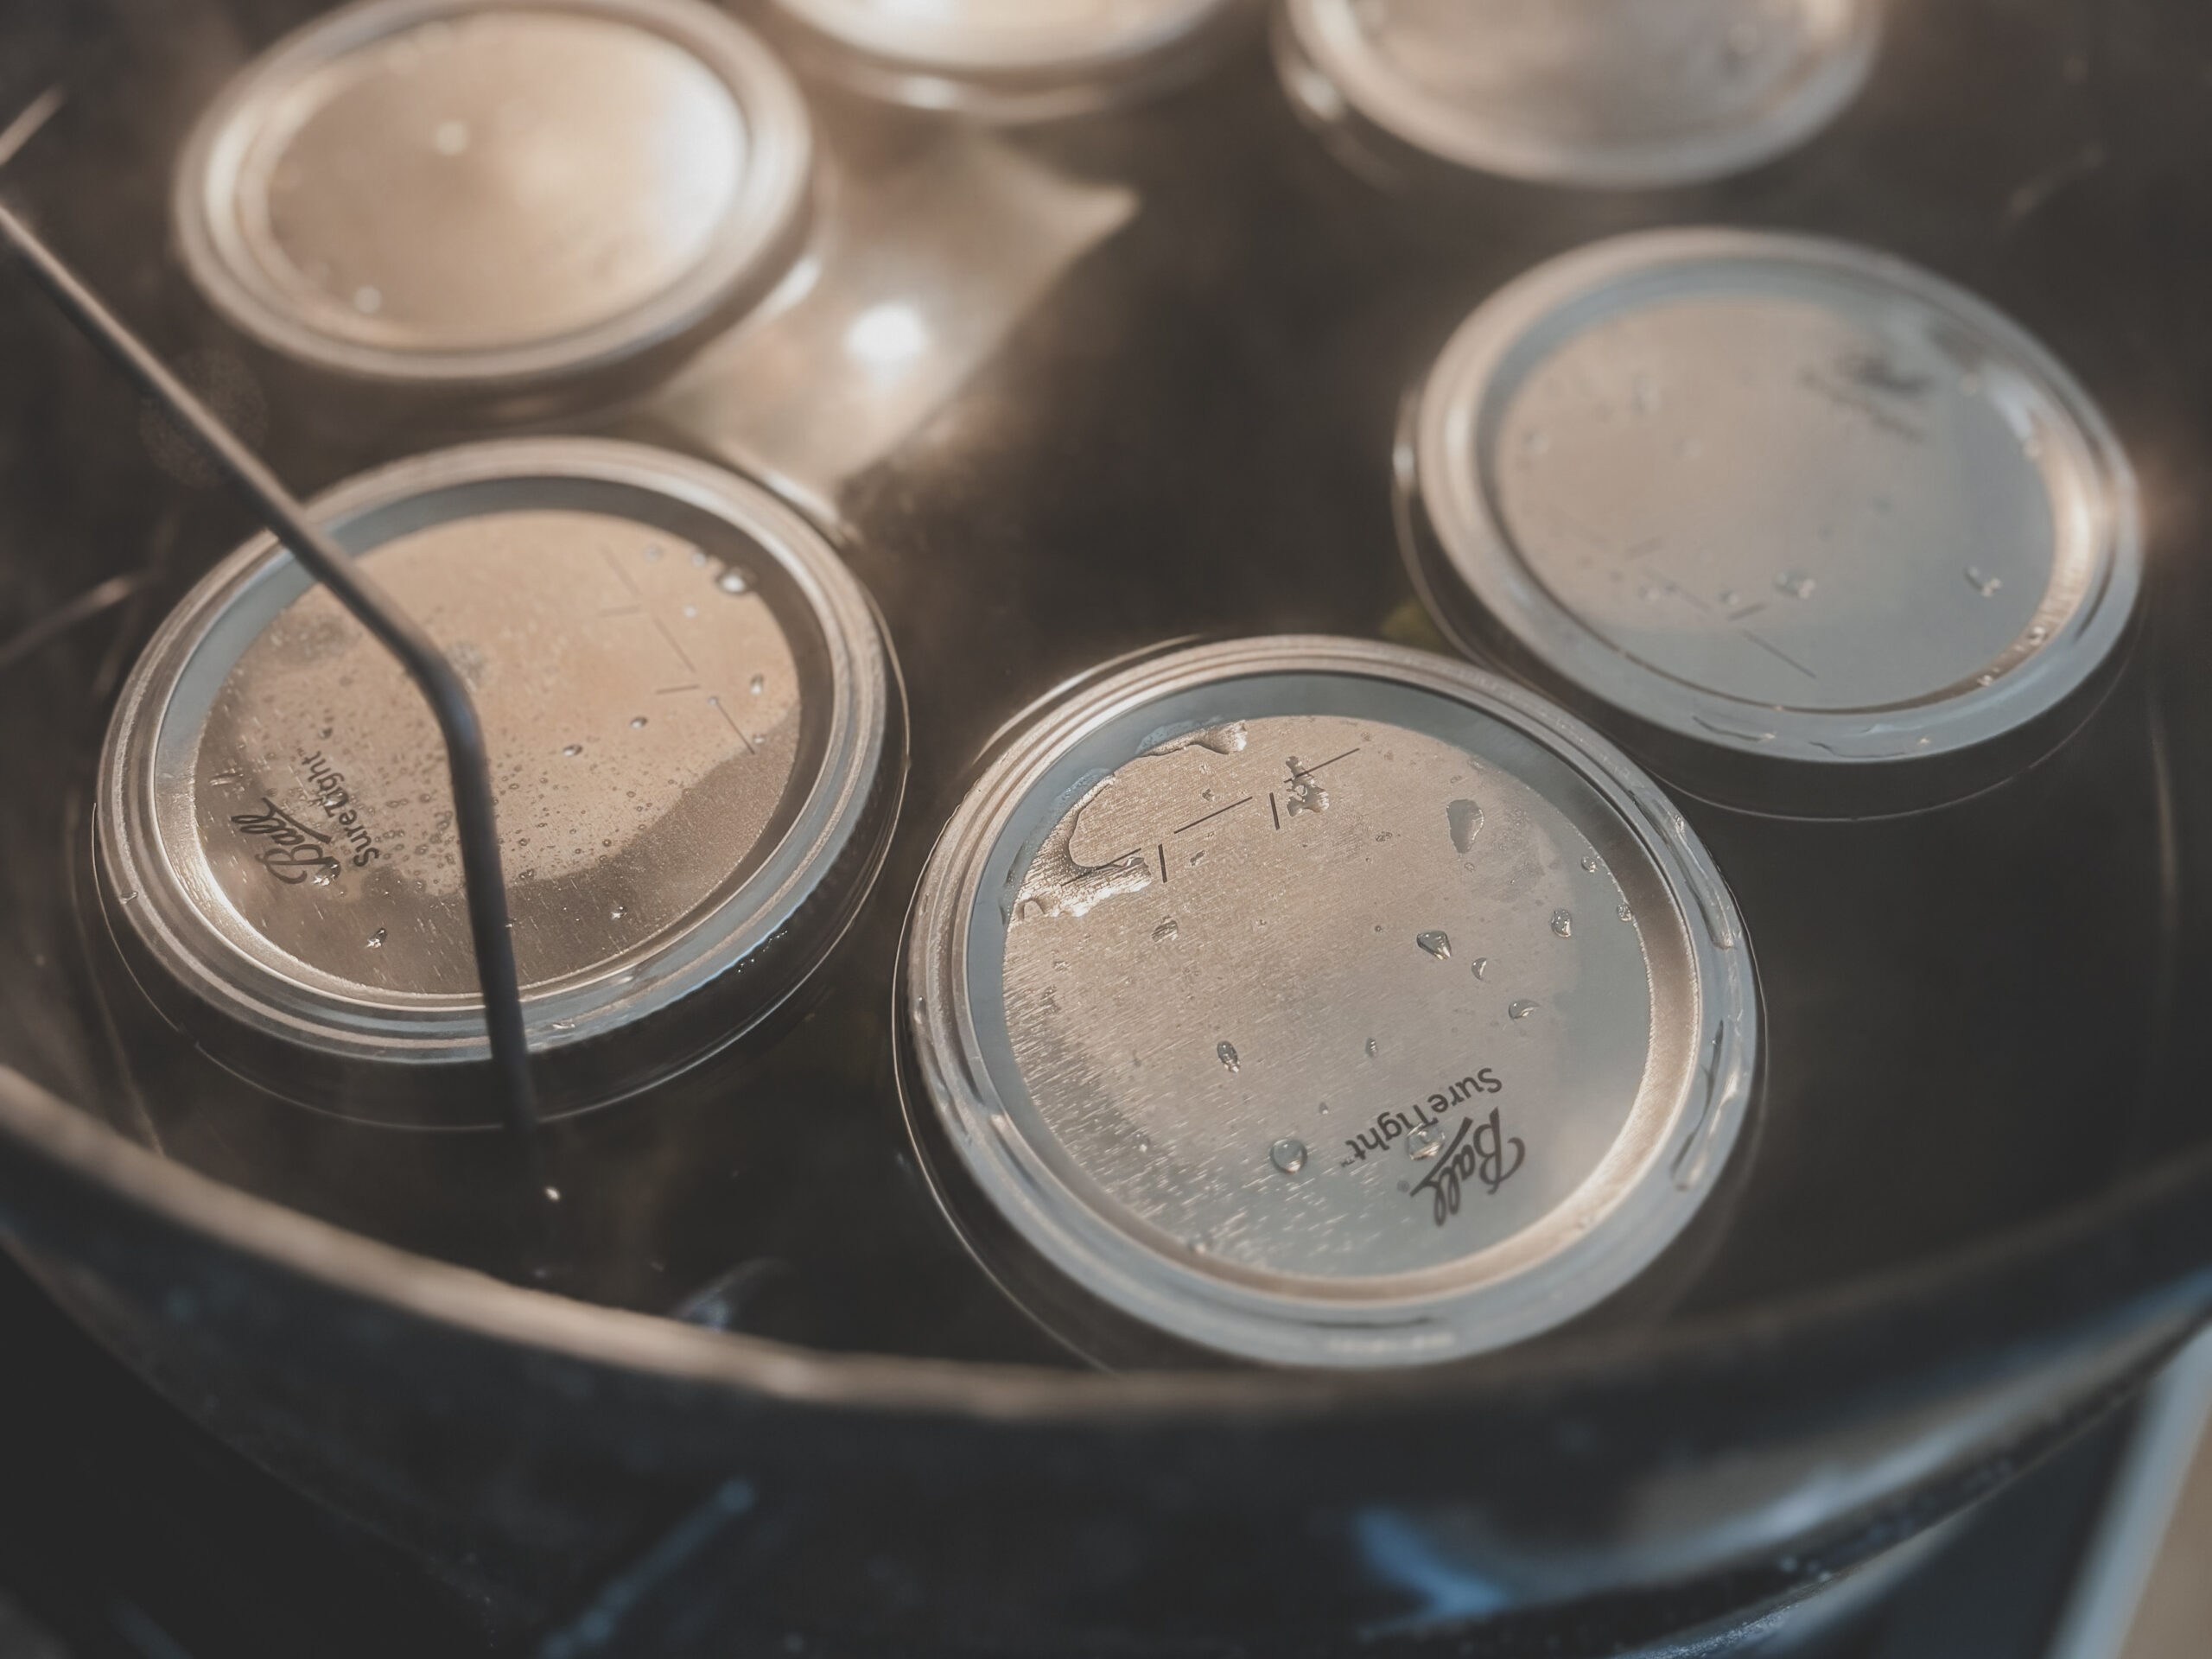
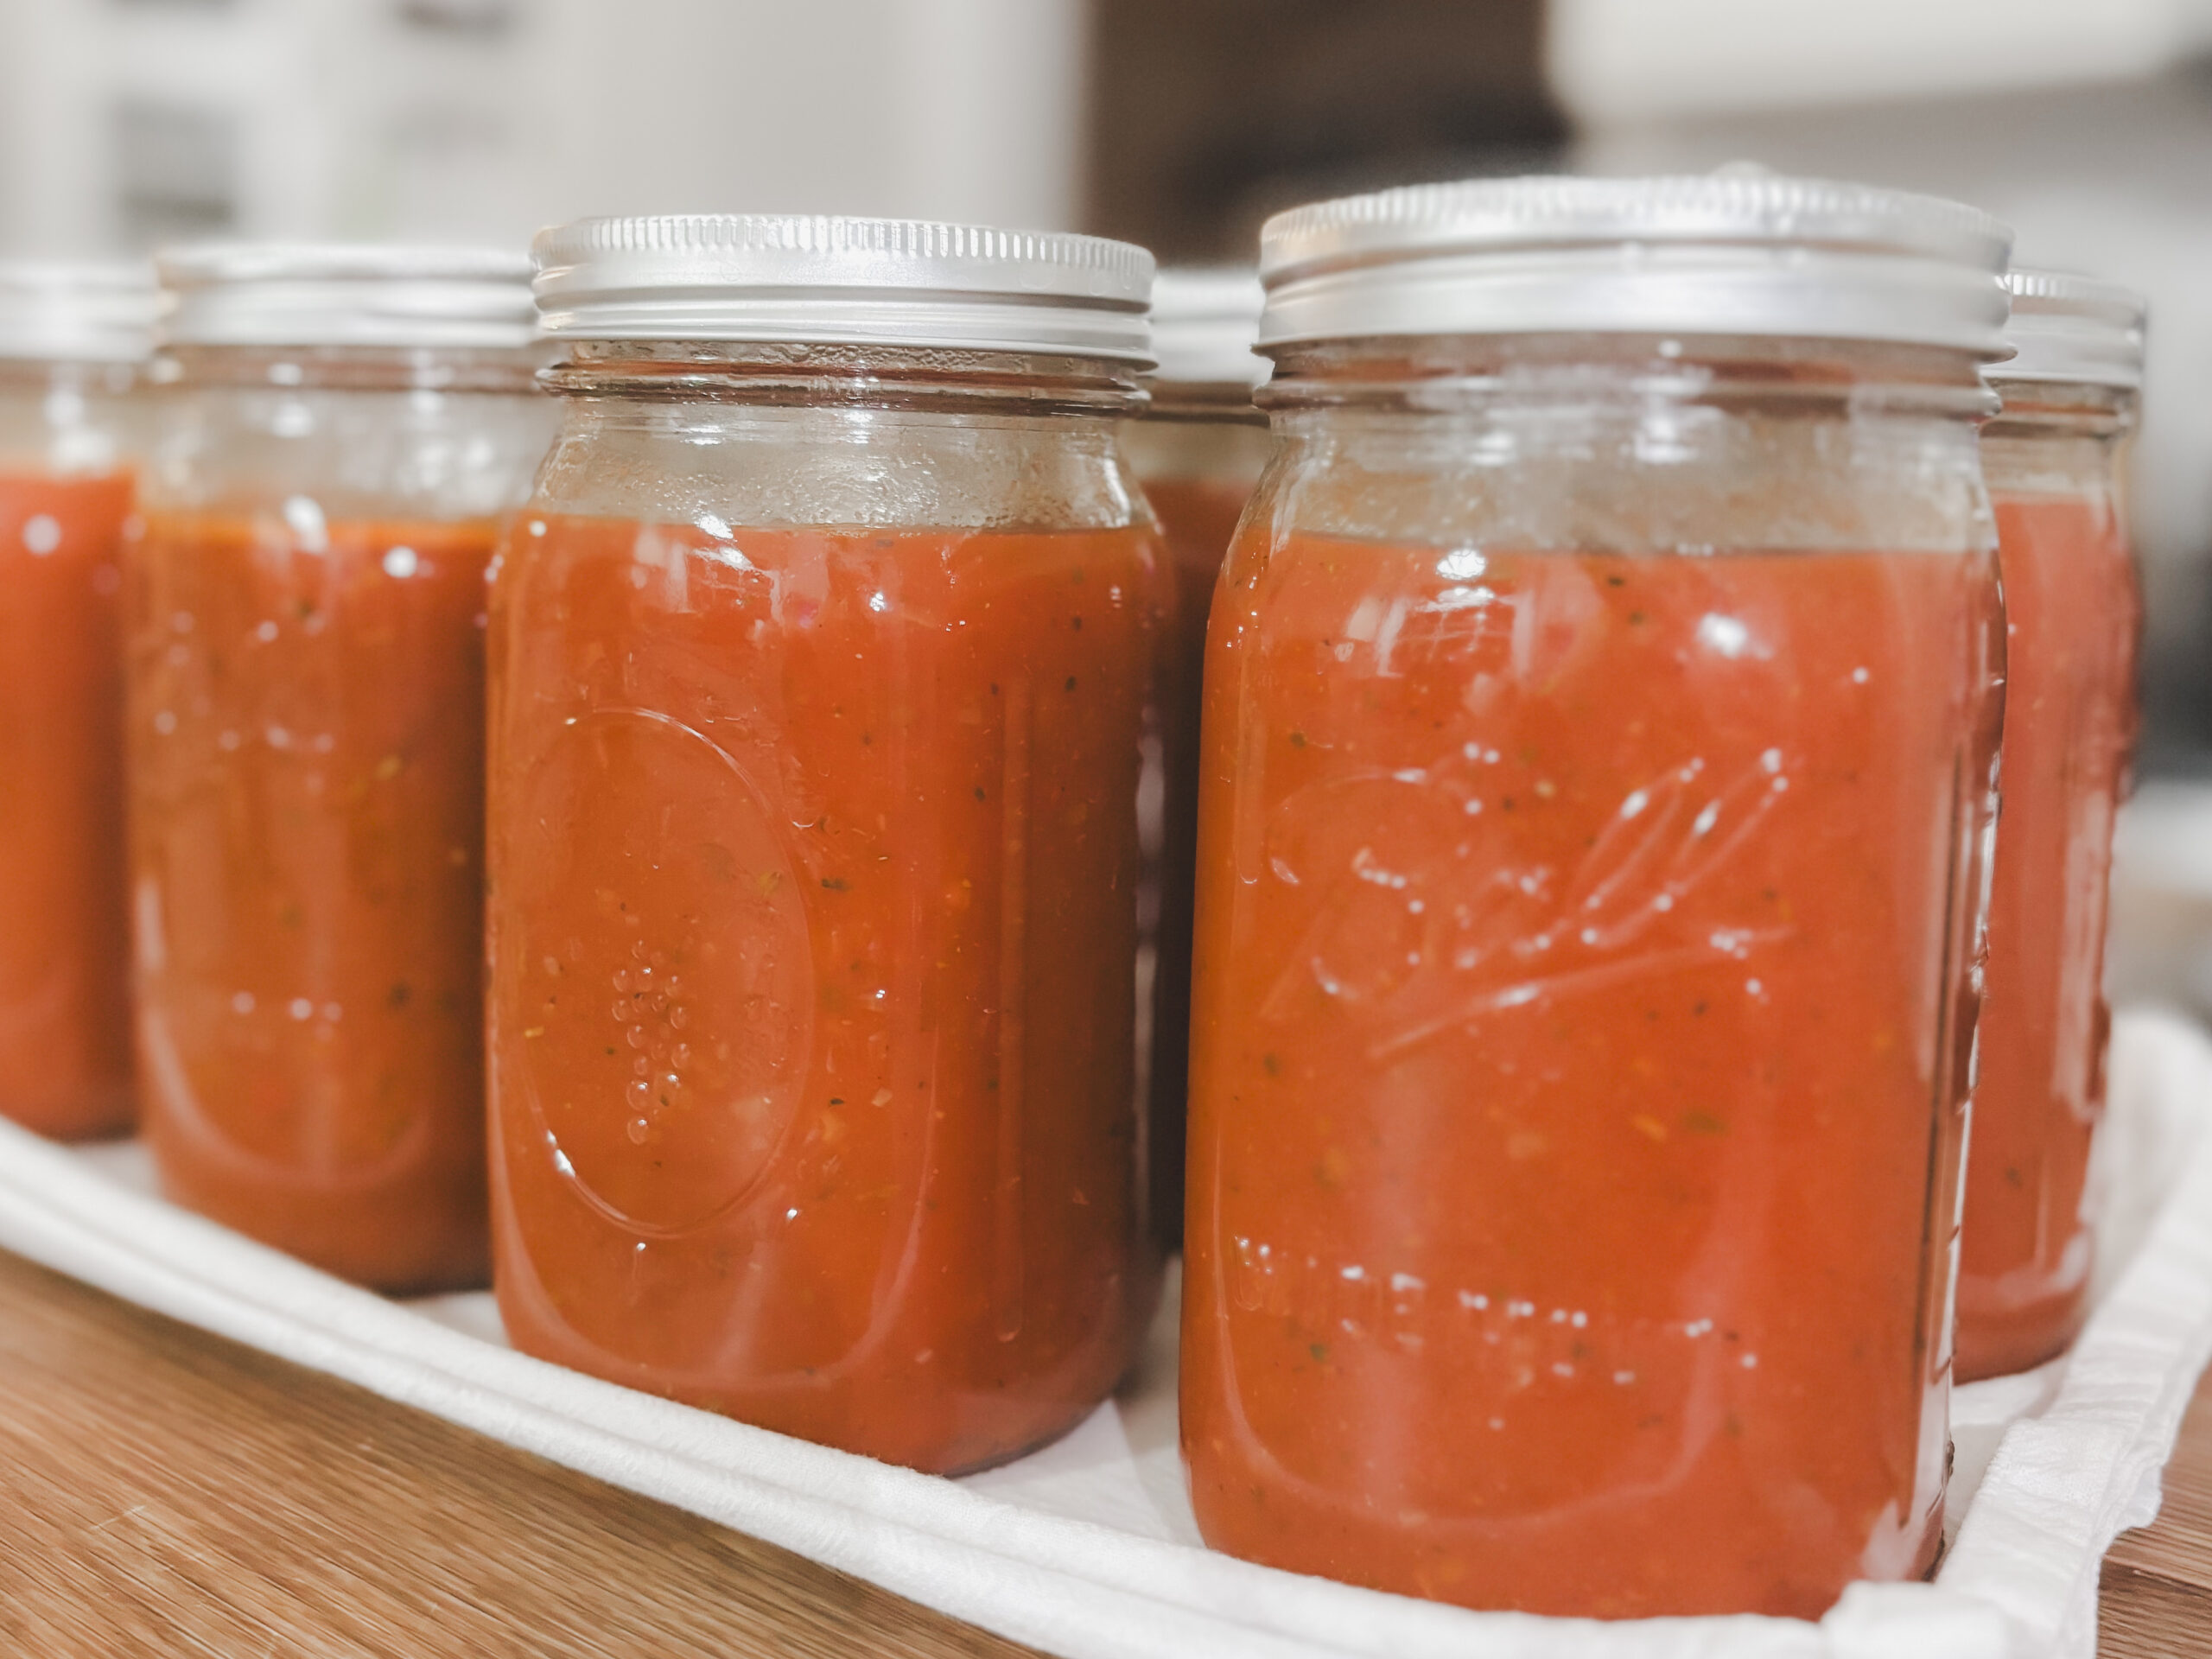
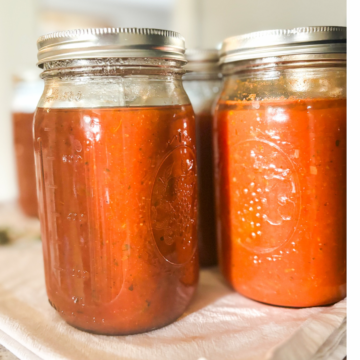
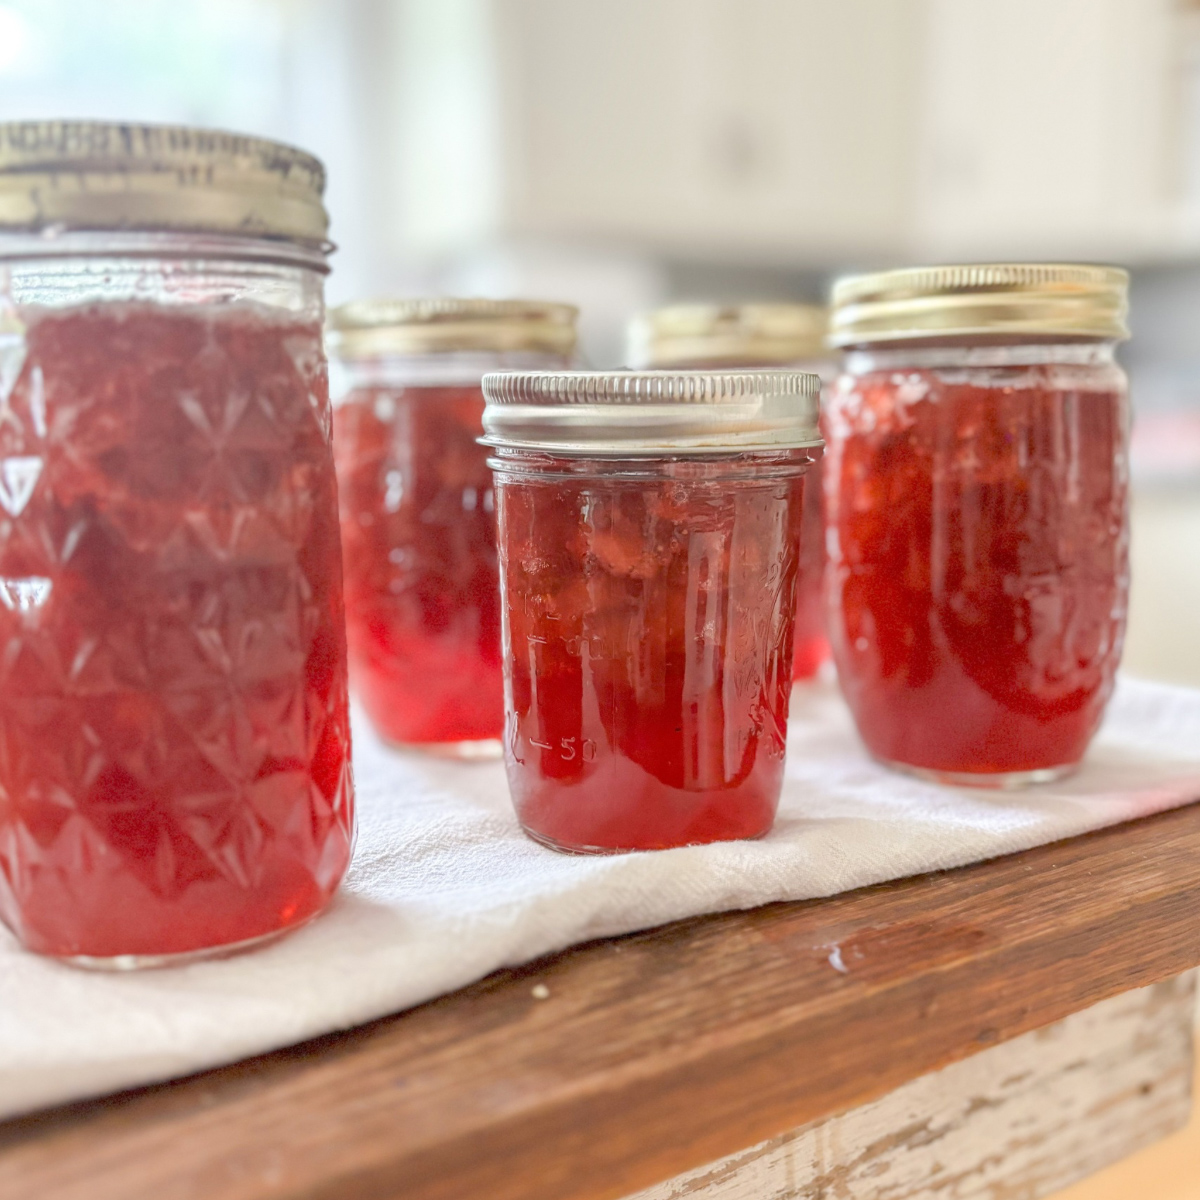
I grew up gardening and canning/ freezing the bounty, so this was an easy one for me. If it is all new to you, start small! Tomatoes are a great place to start with a garden - many things can be made and preserved from tomatoes without needing a lot of garden space.
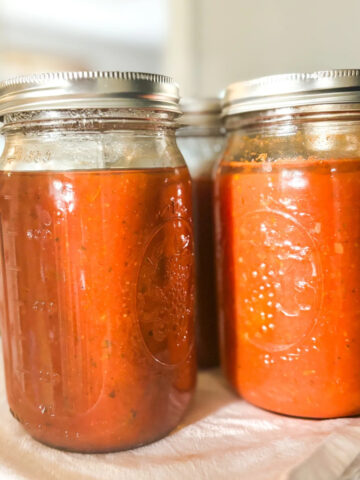
I have many beginner recipes on the blog such as spaghetti sauce, pizza sauce, and stewed tomatoes. We plan for spaghetti and pizza at least once a week, so by making our own sauces this helps the grocery budget significantly.
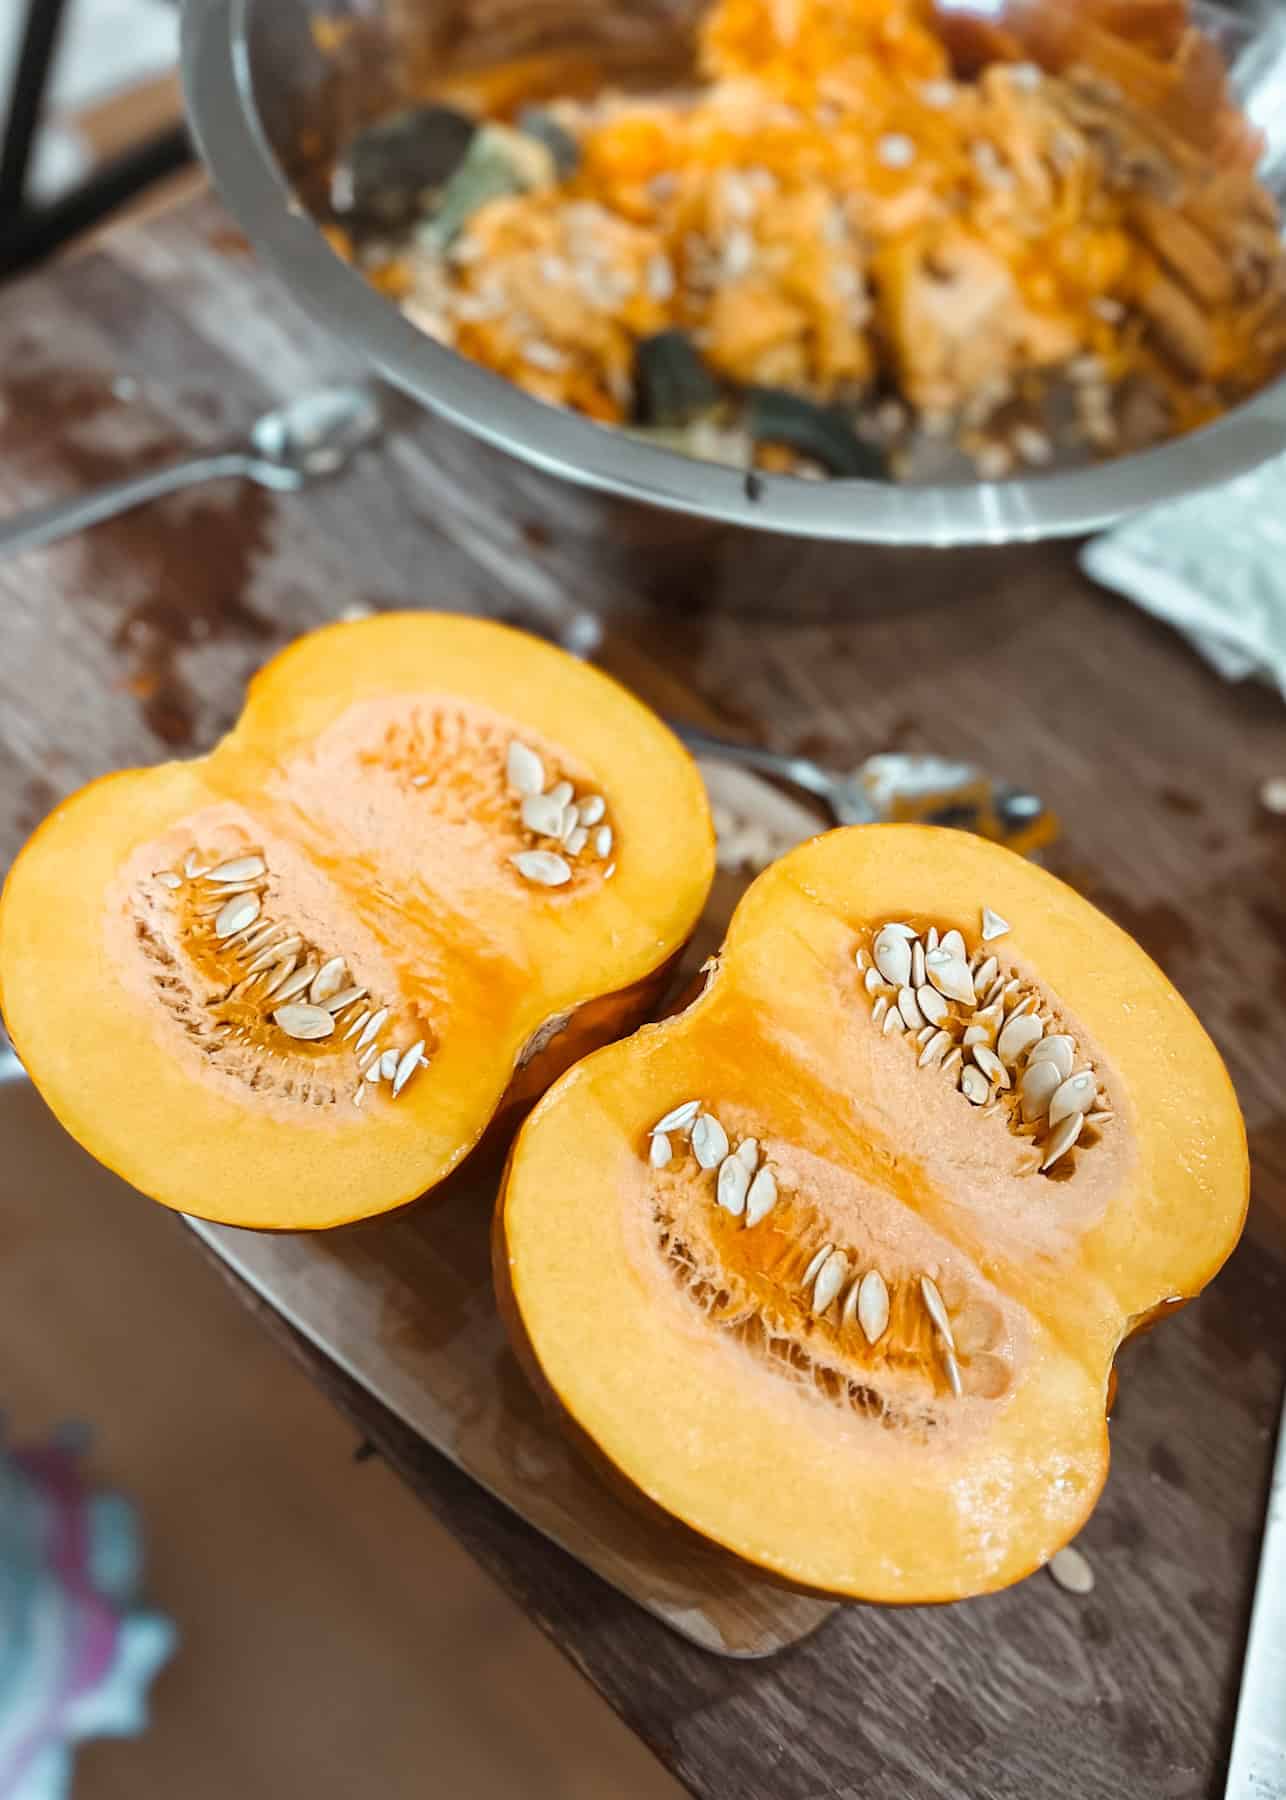
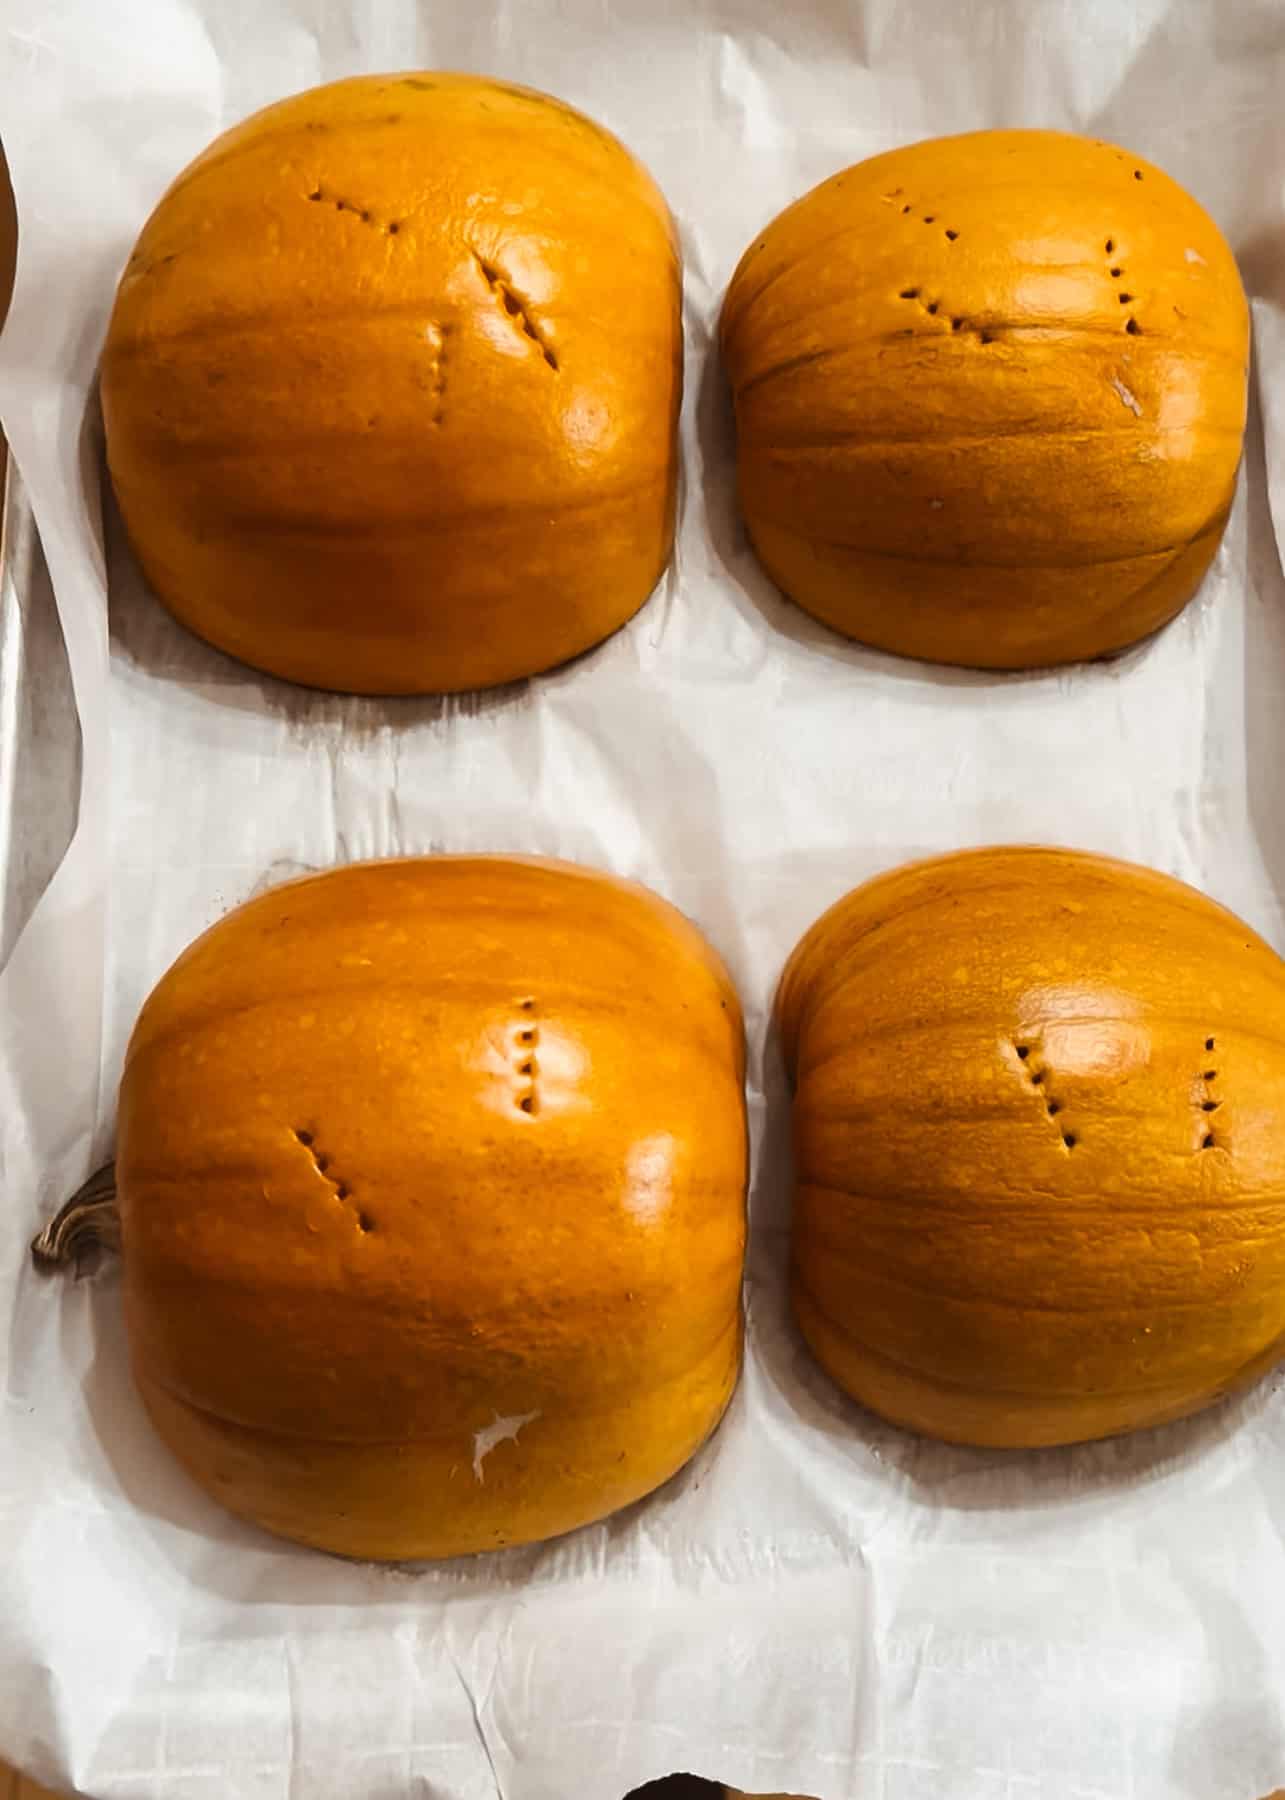
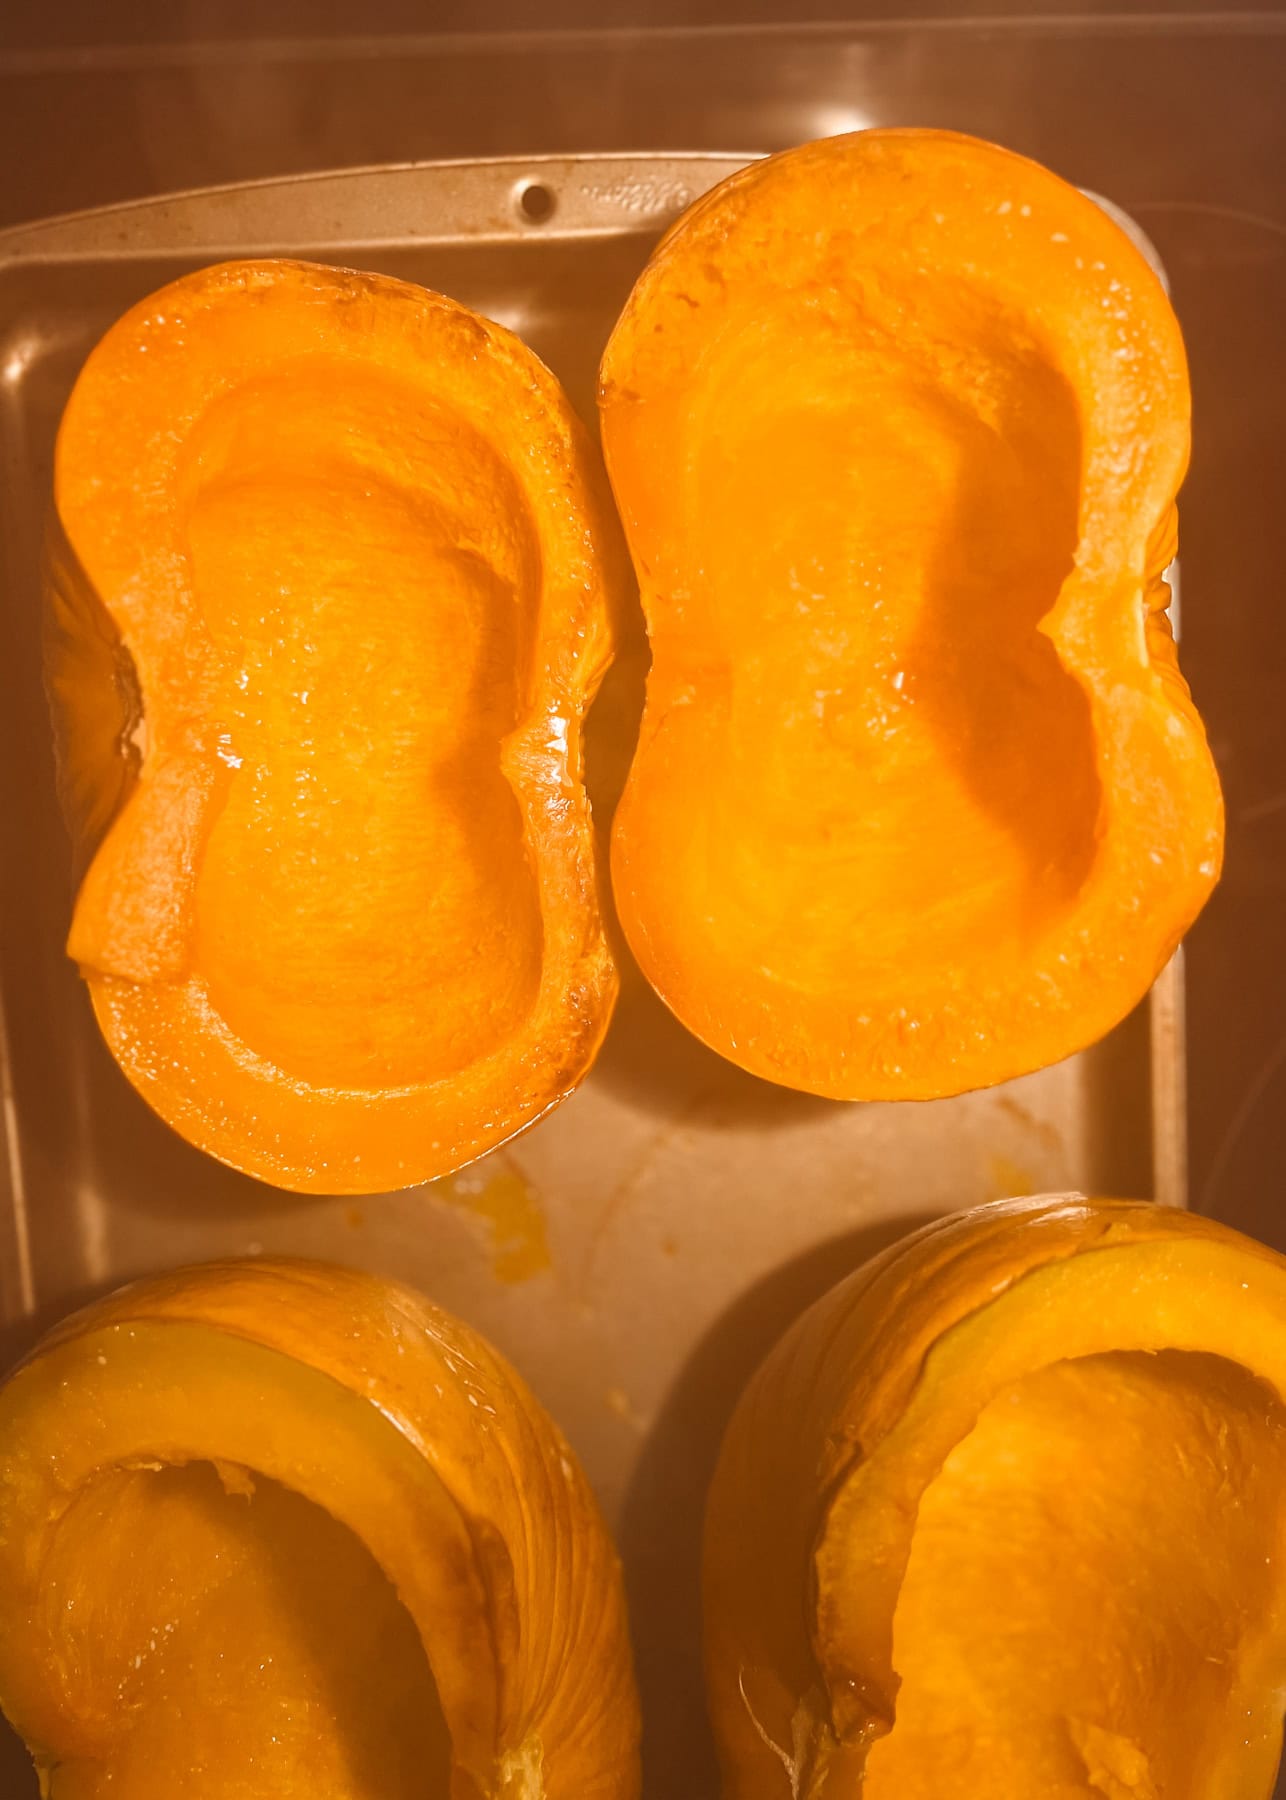
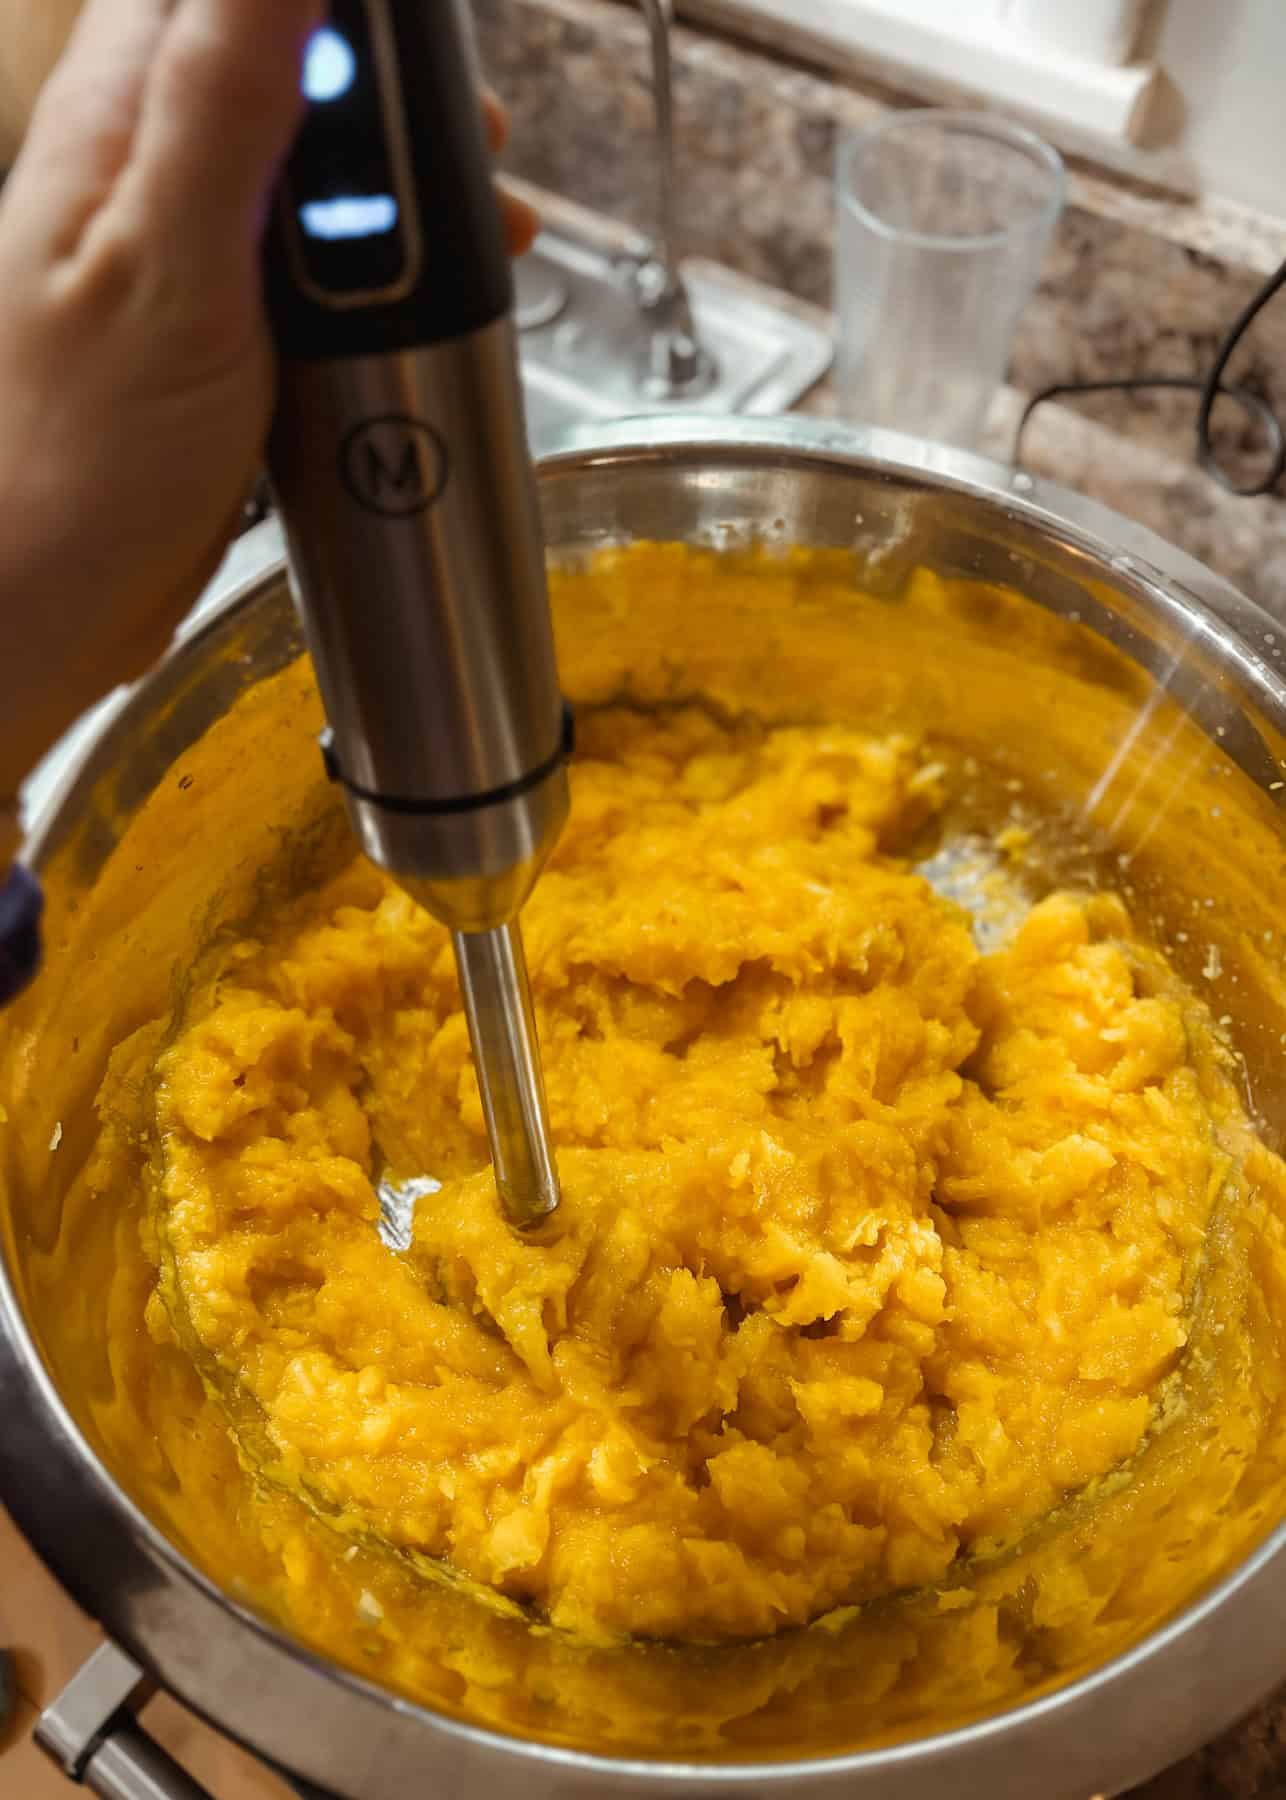
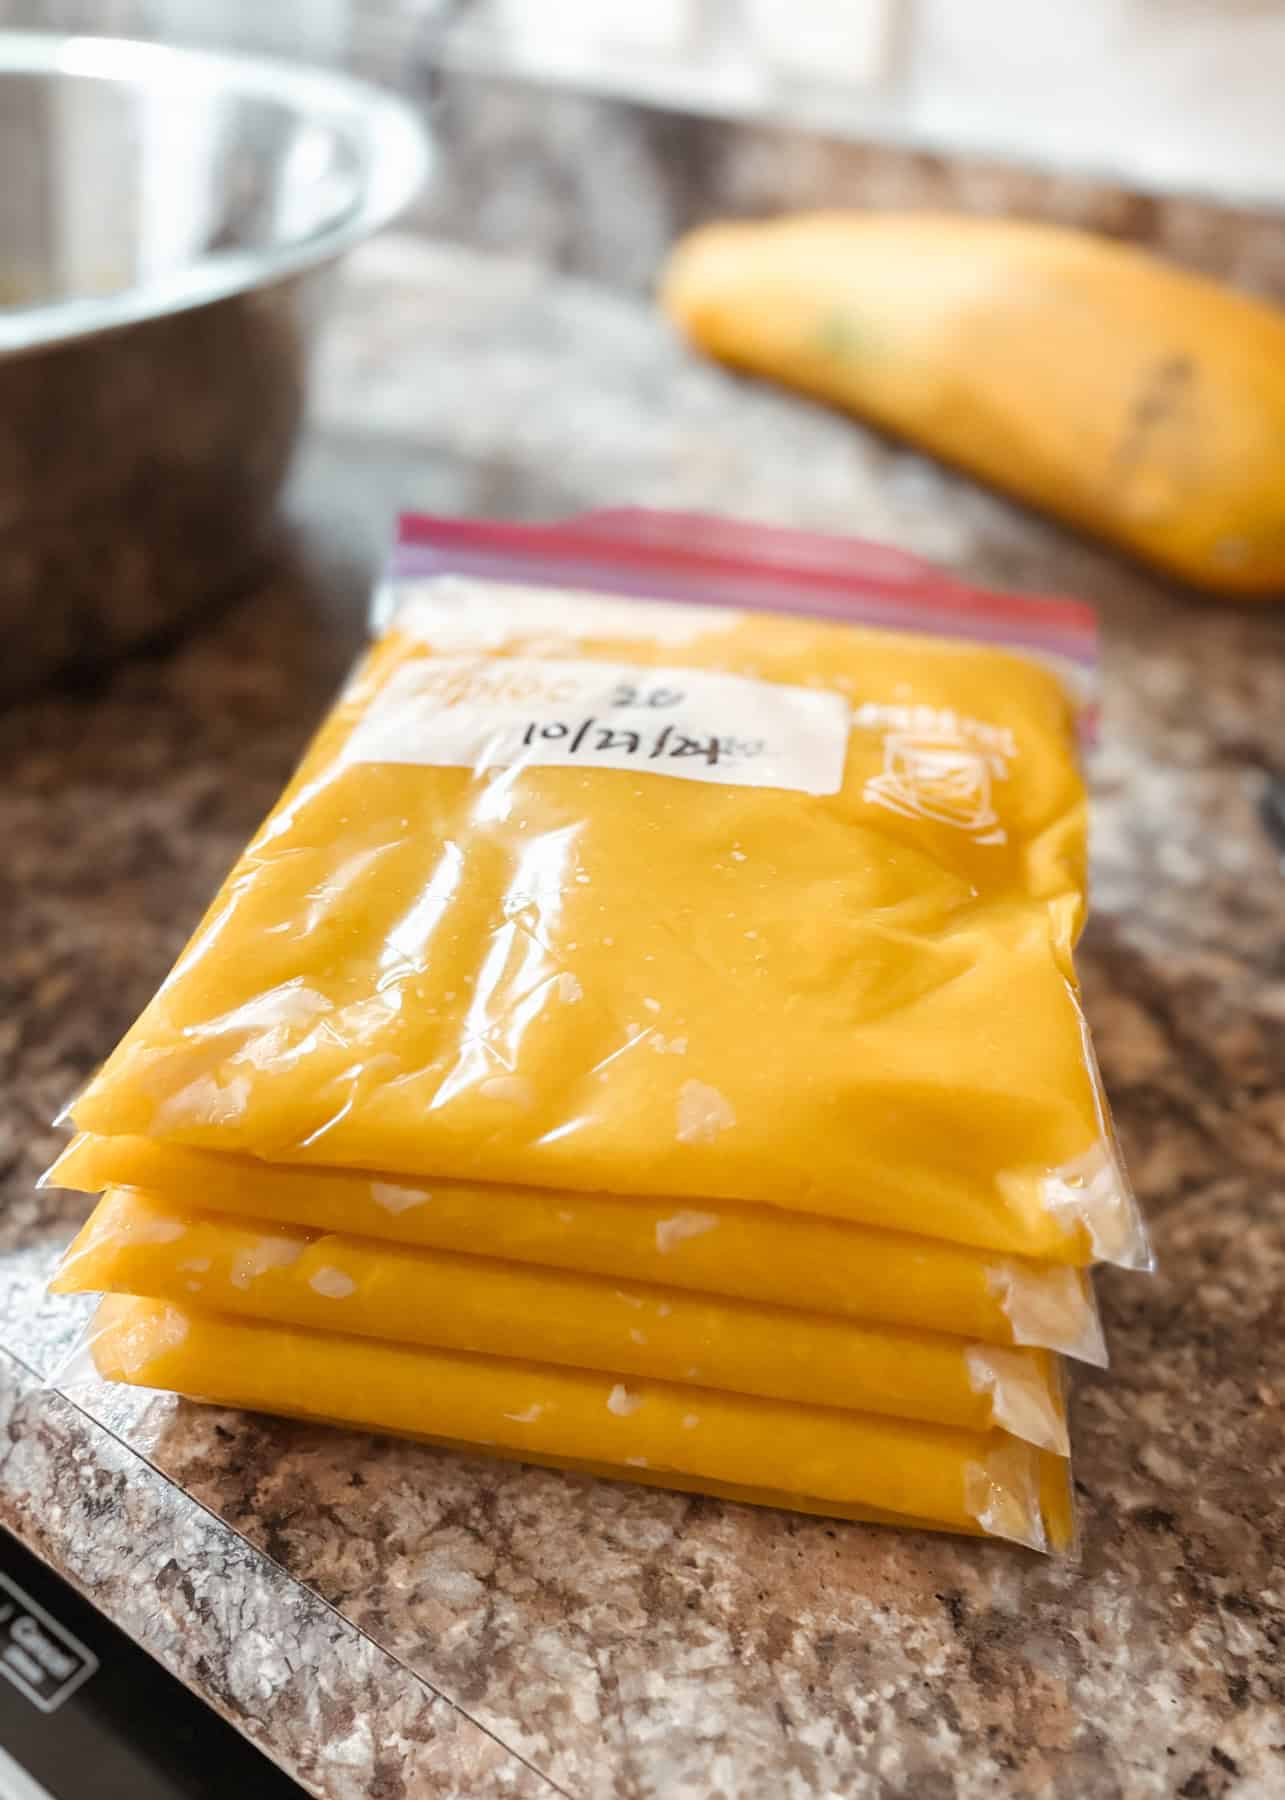
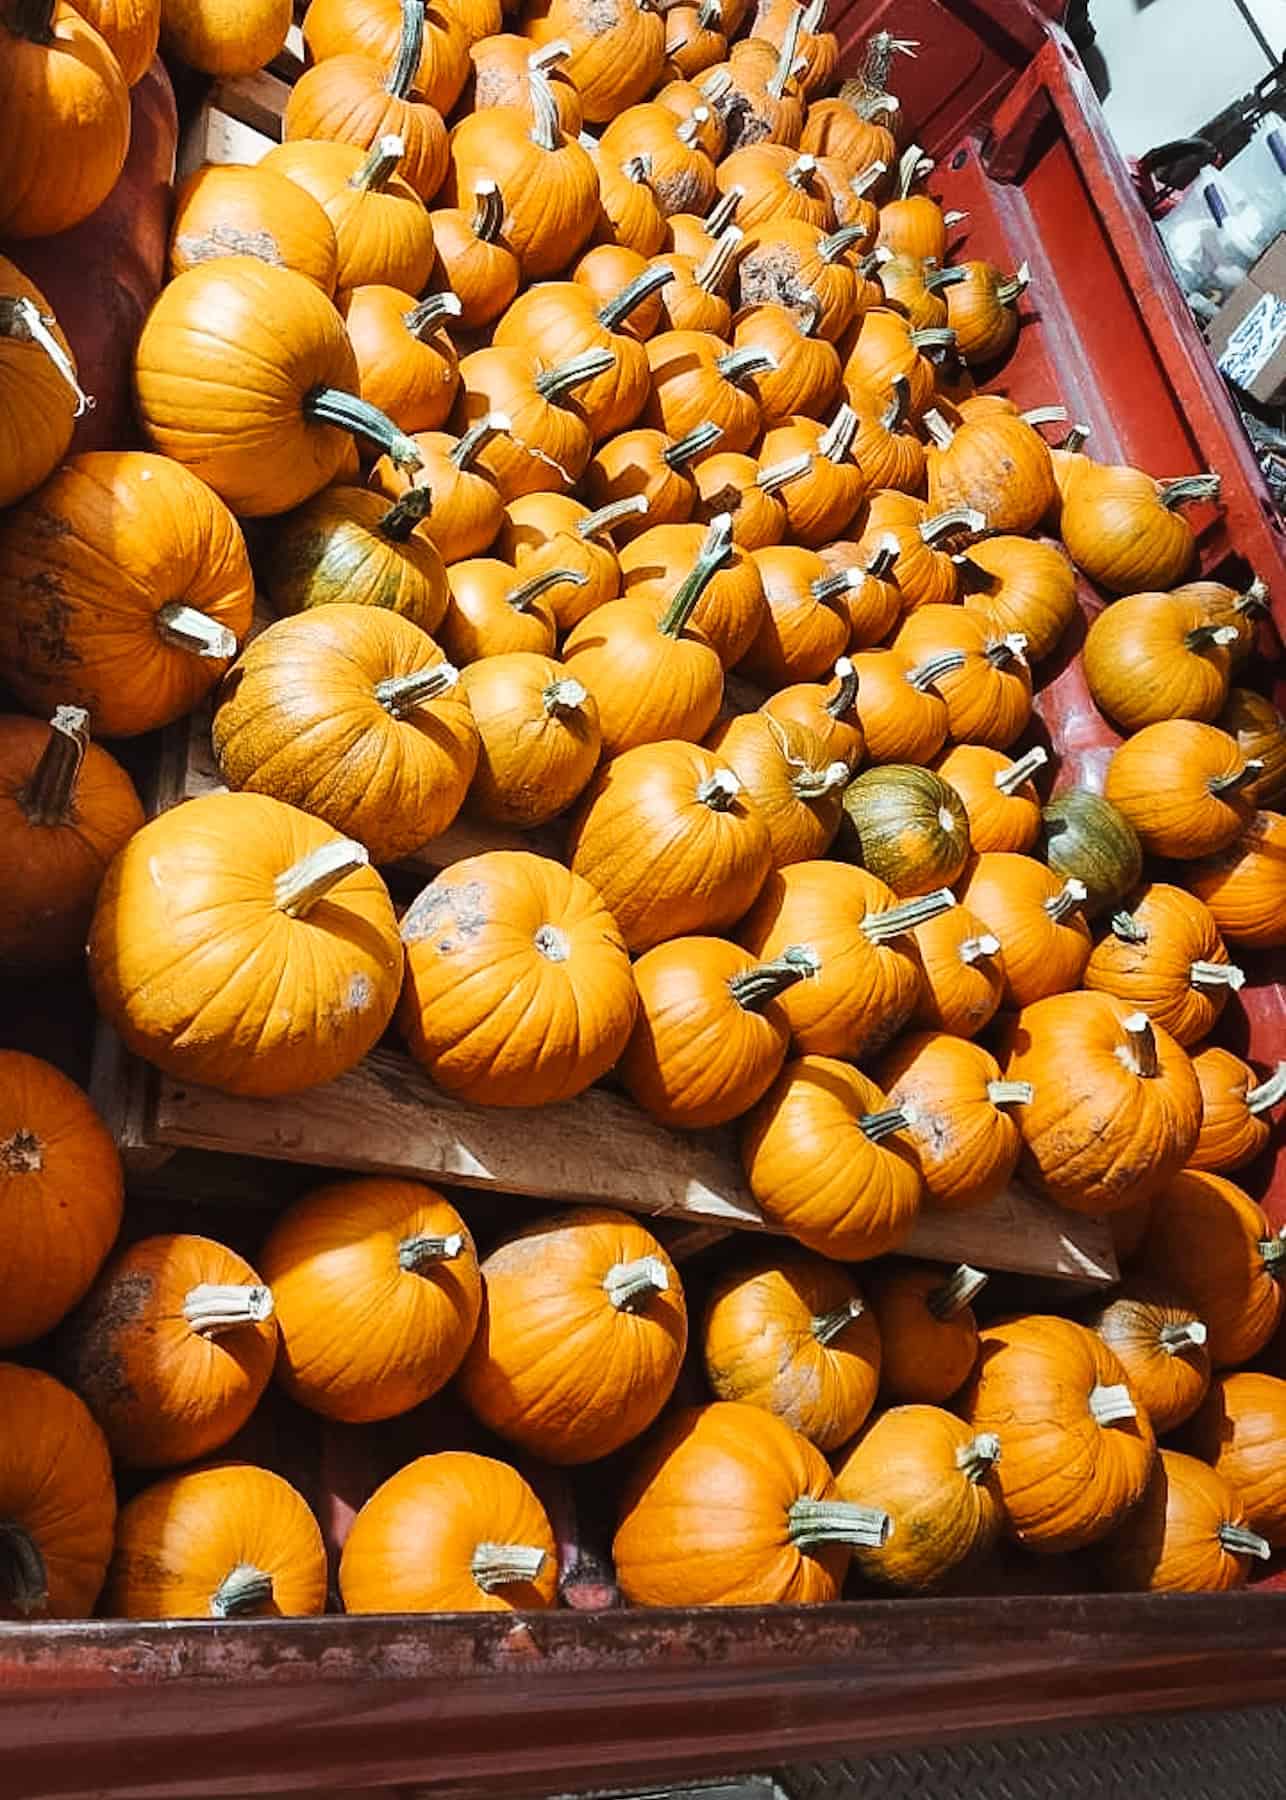
Pumpkins are another easy to grow vegetable with many uses. In addition, they're easy to preserve - see post here. However, pumpkins need space, so not a great option if space is limited.
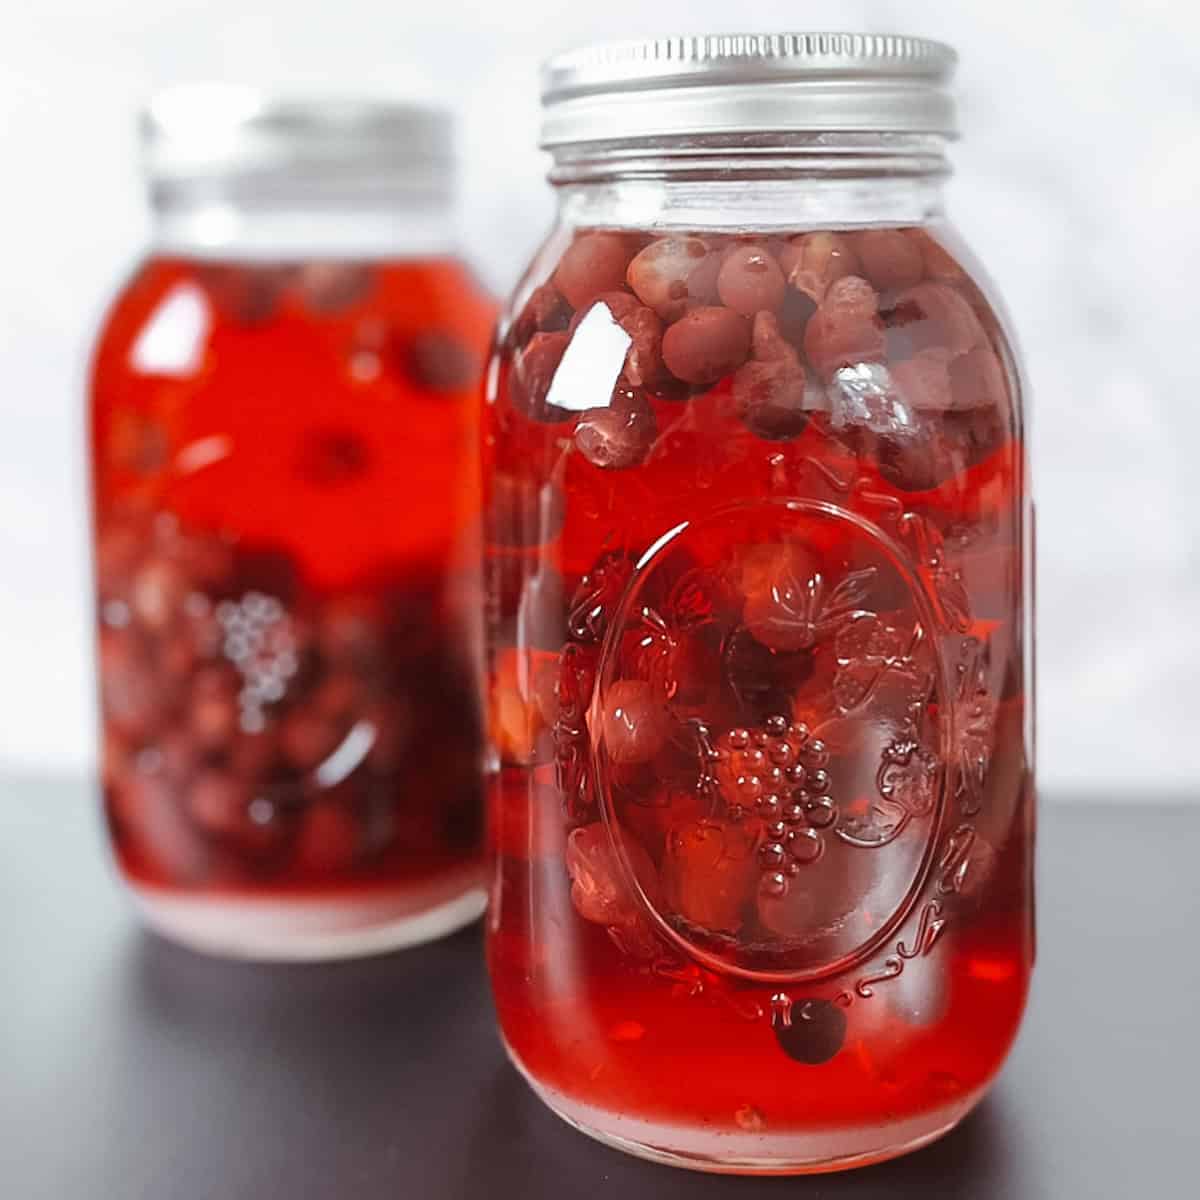
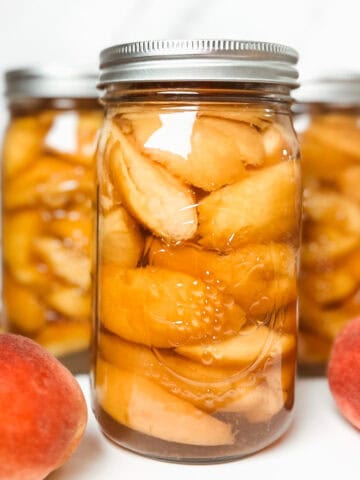
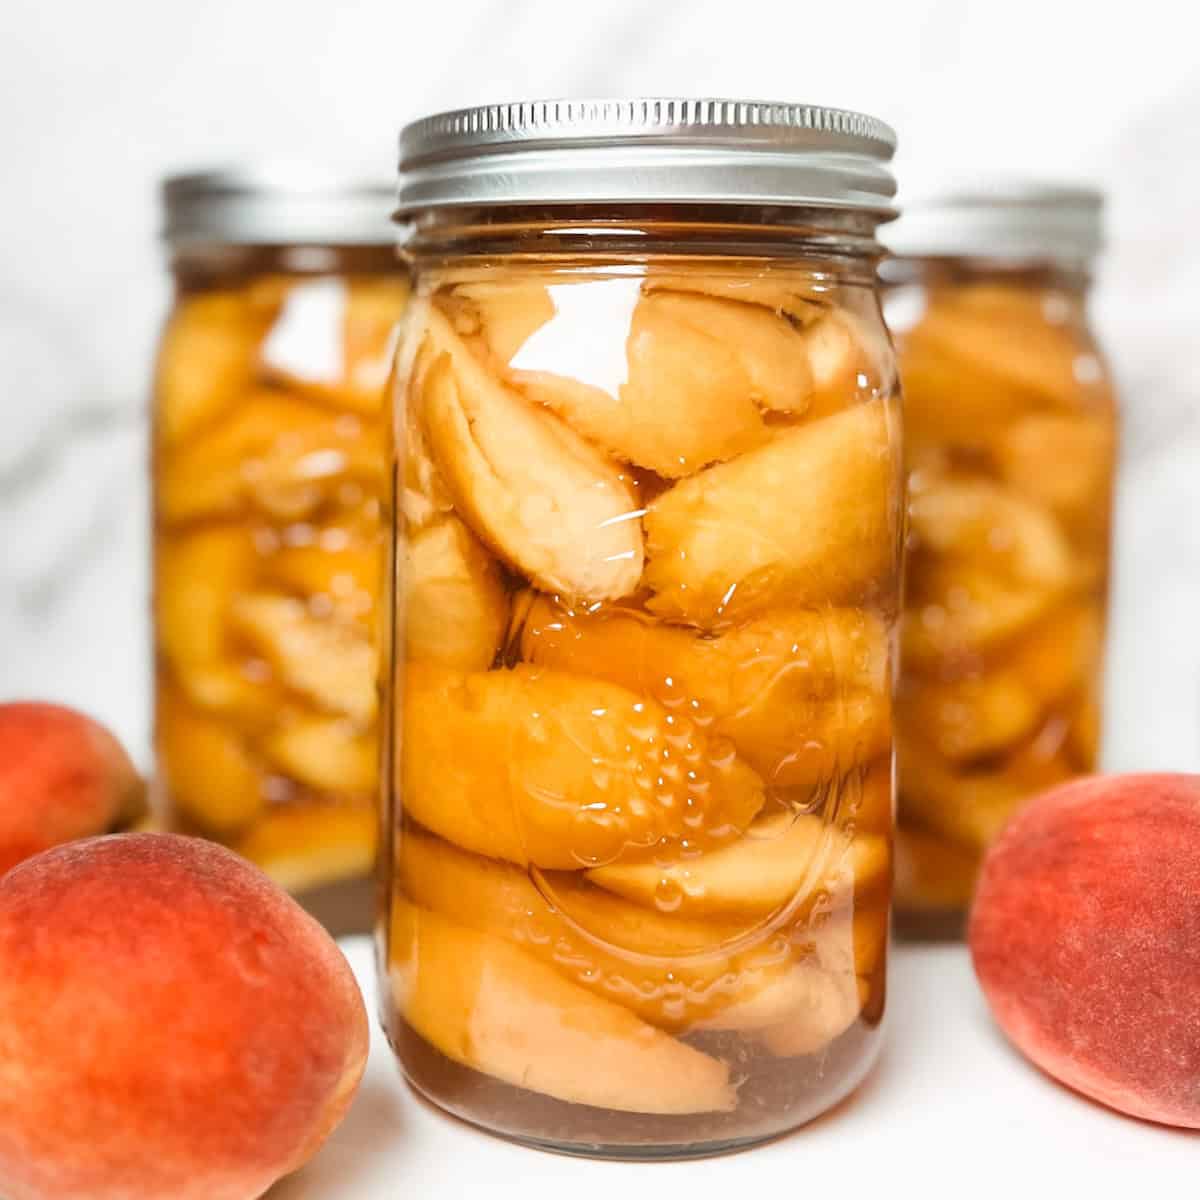
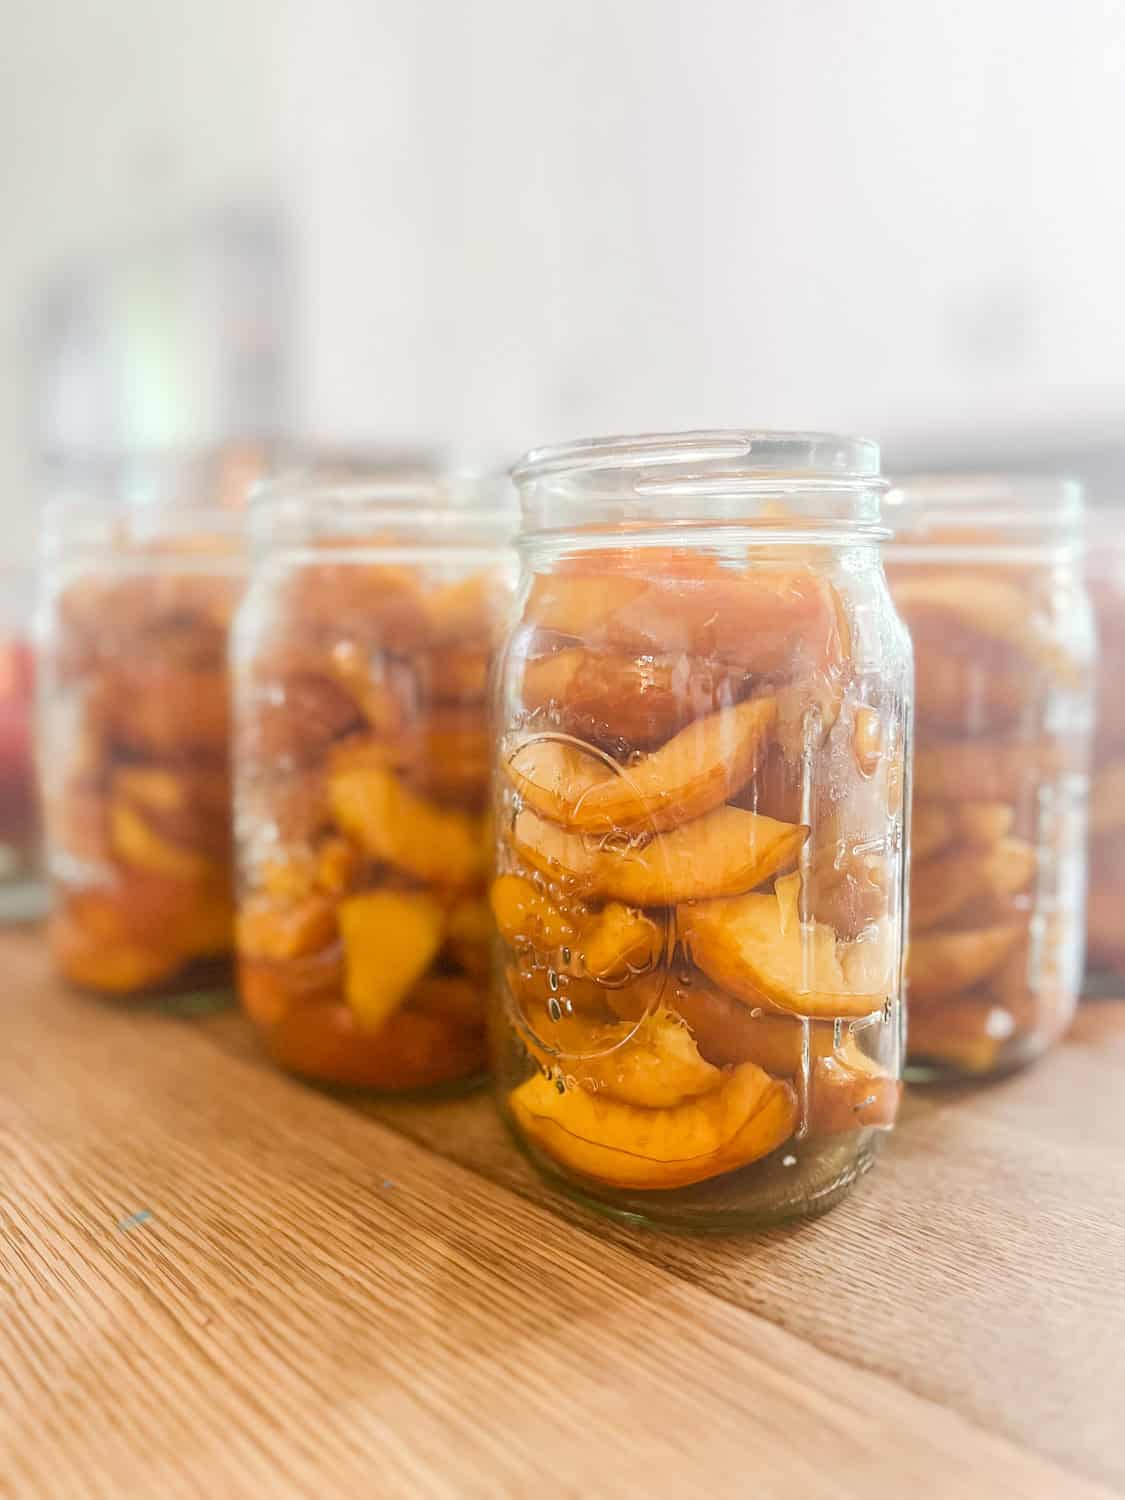
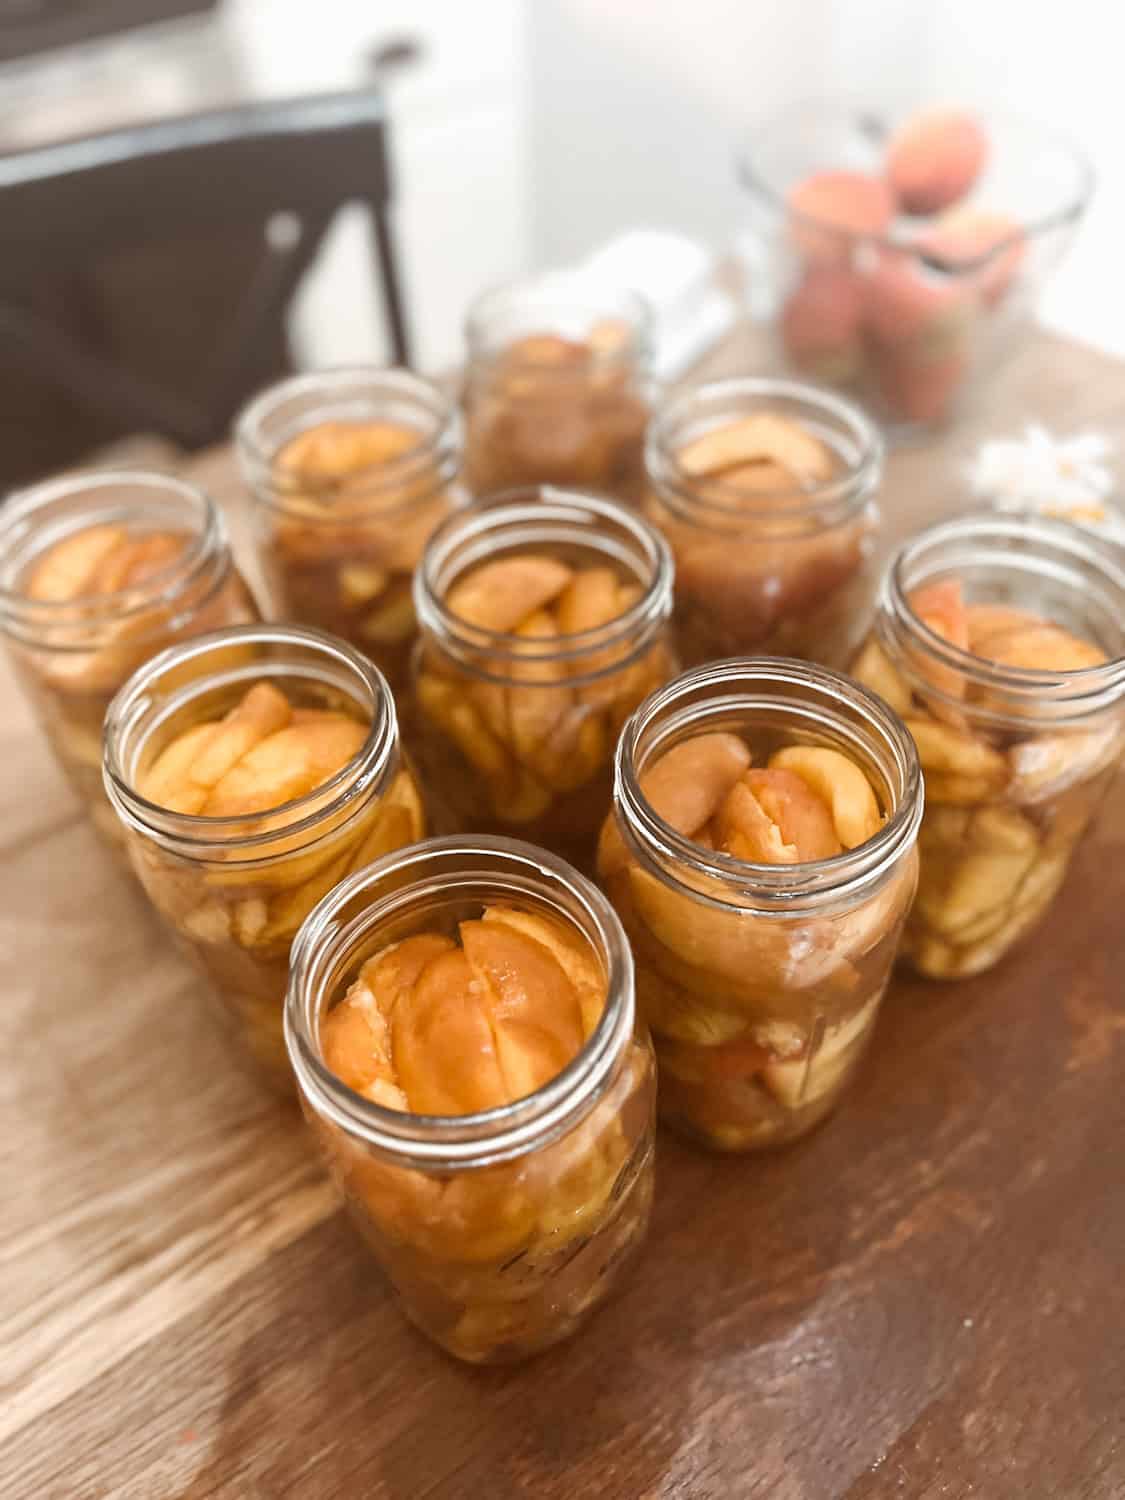
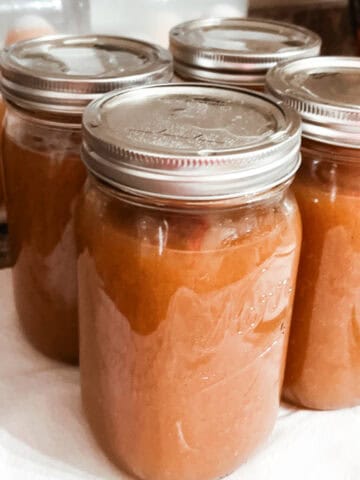
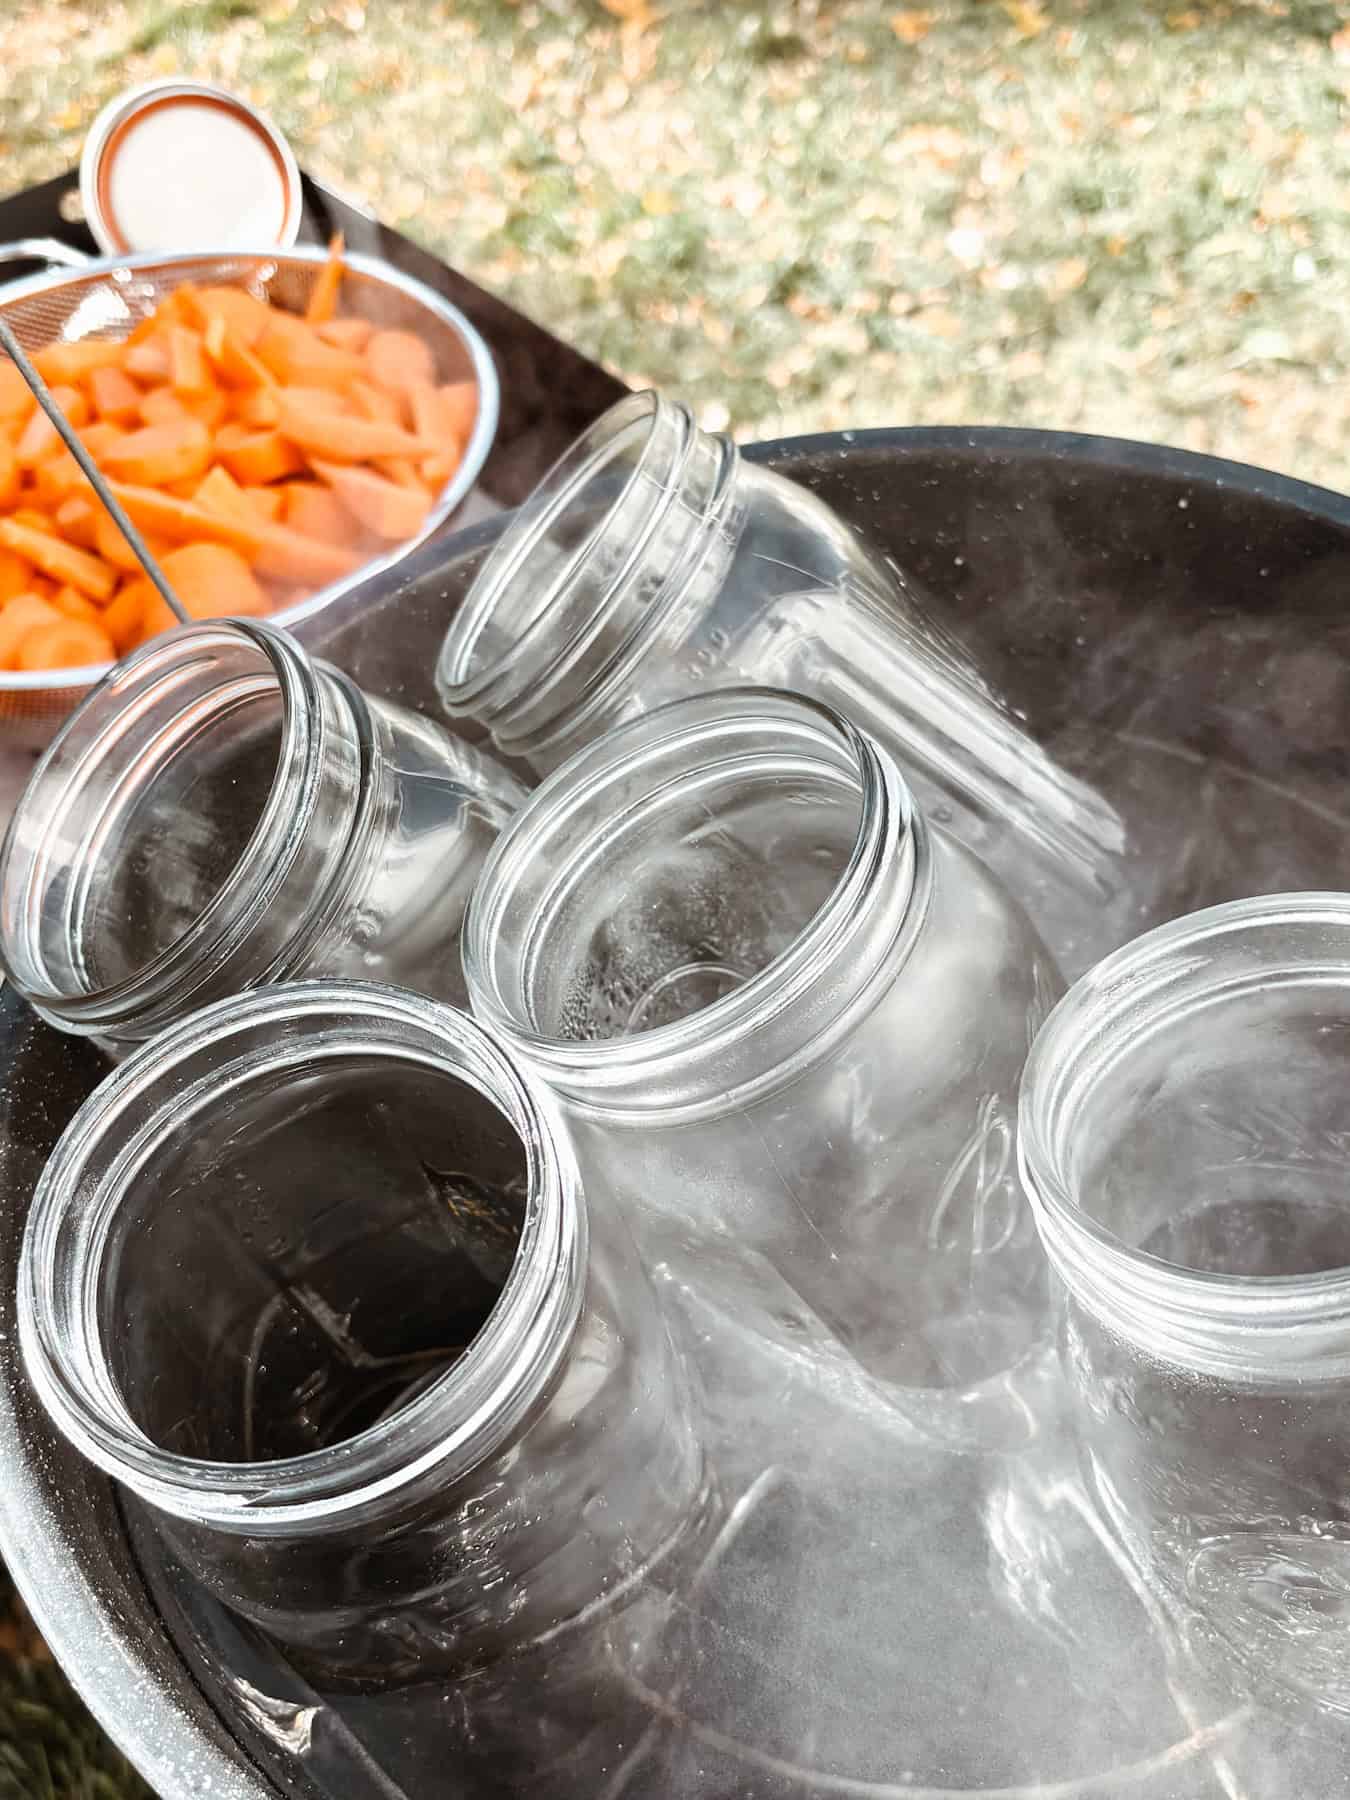
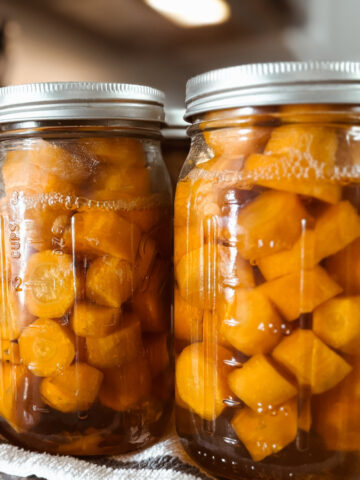
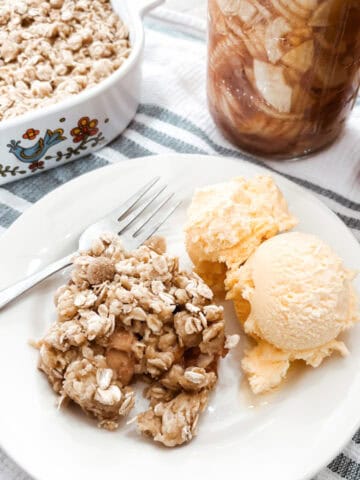
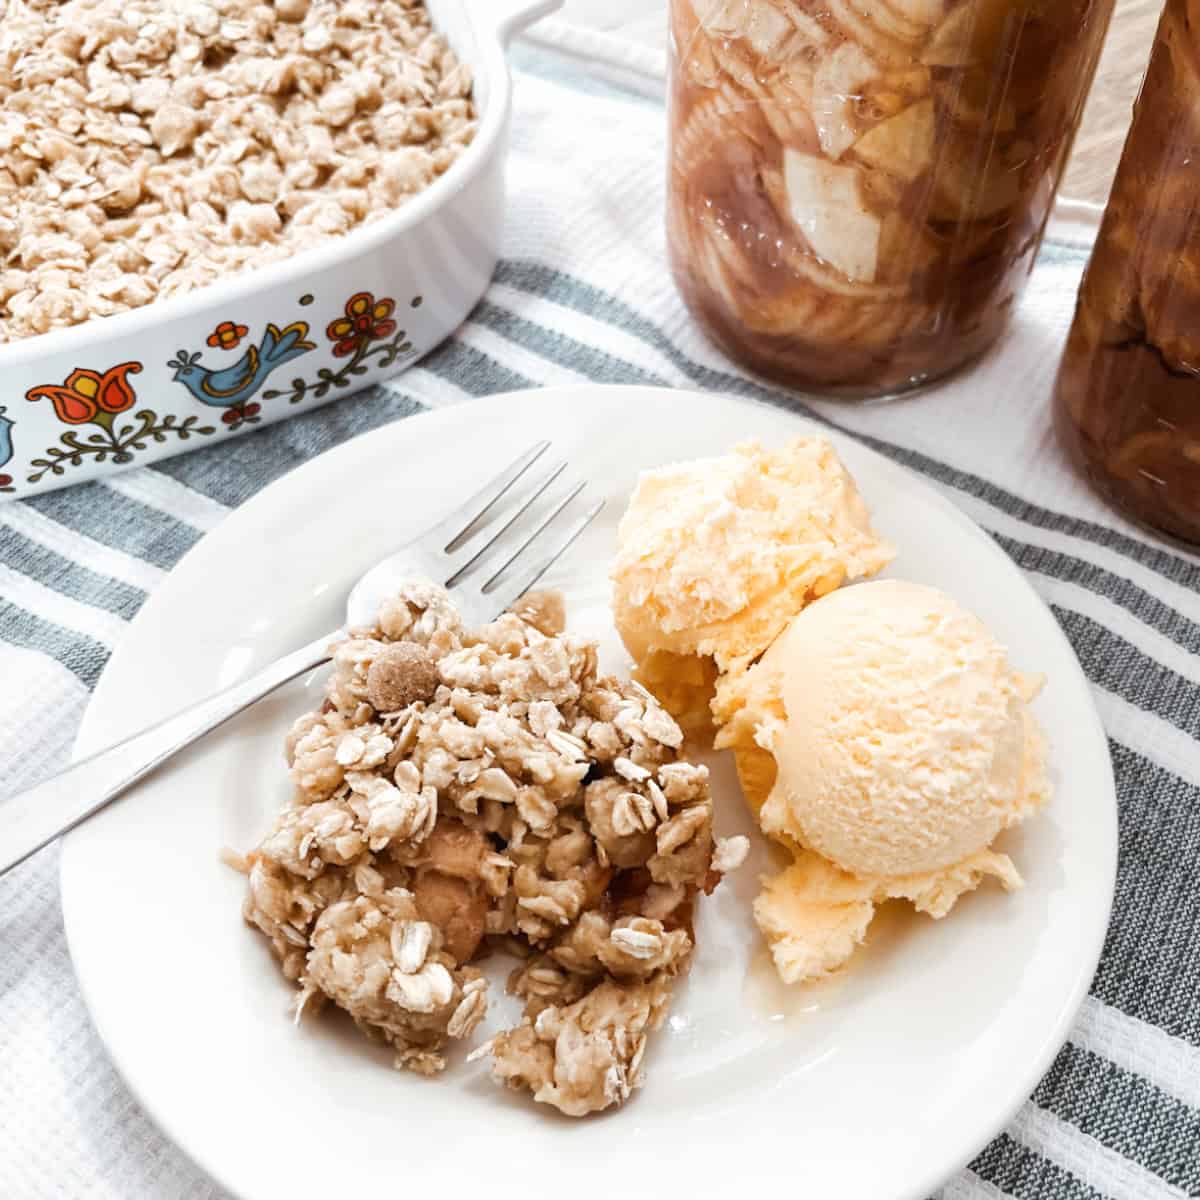
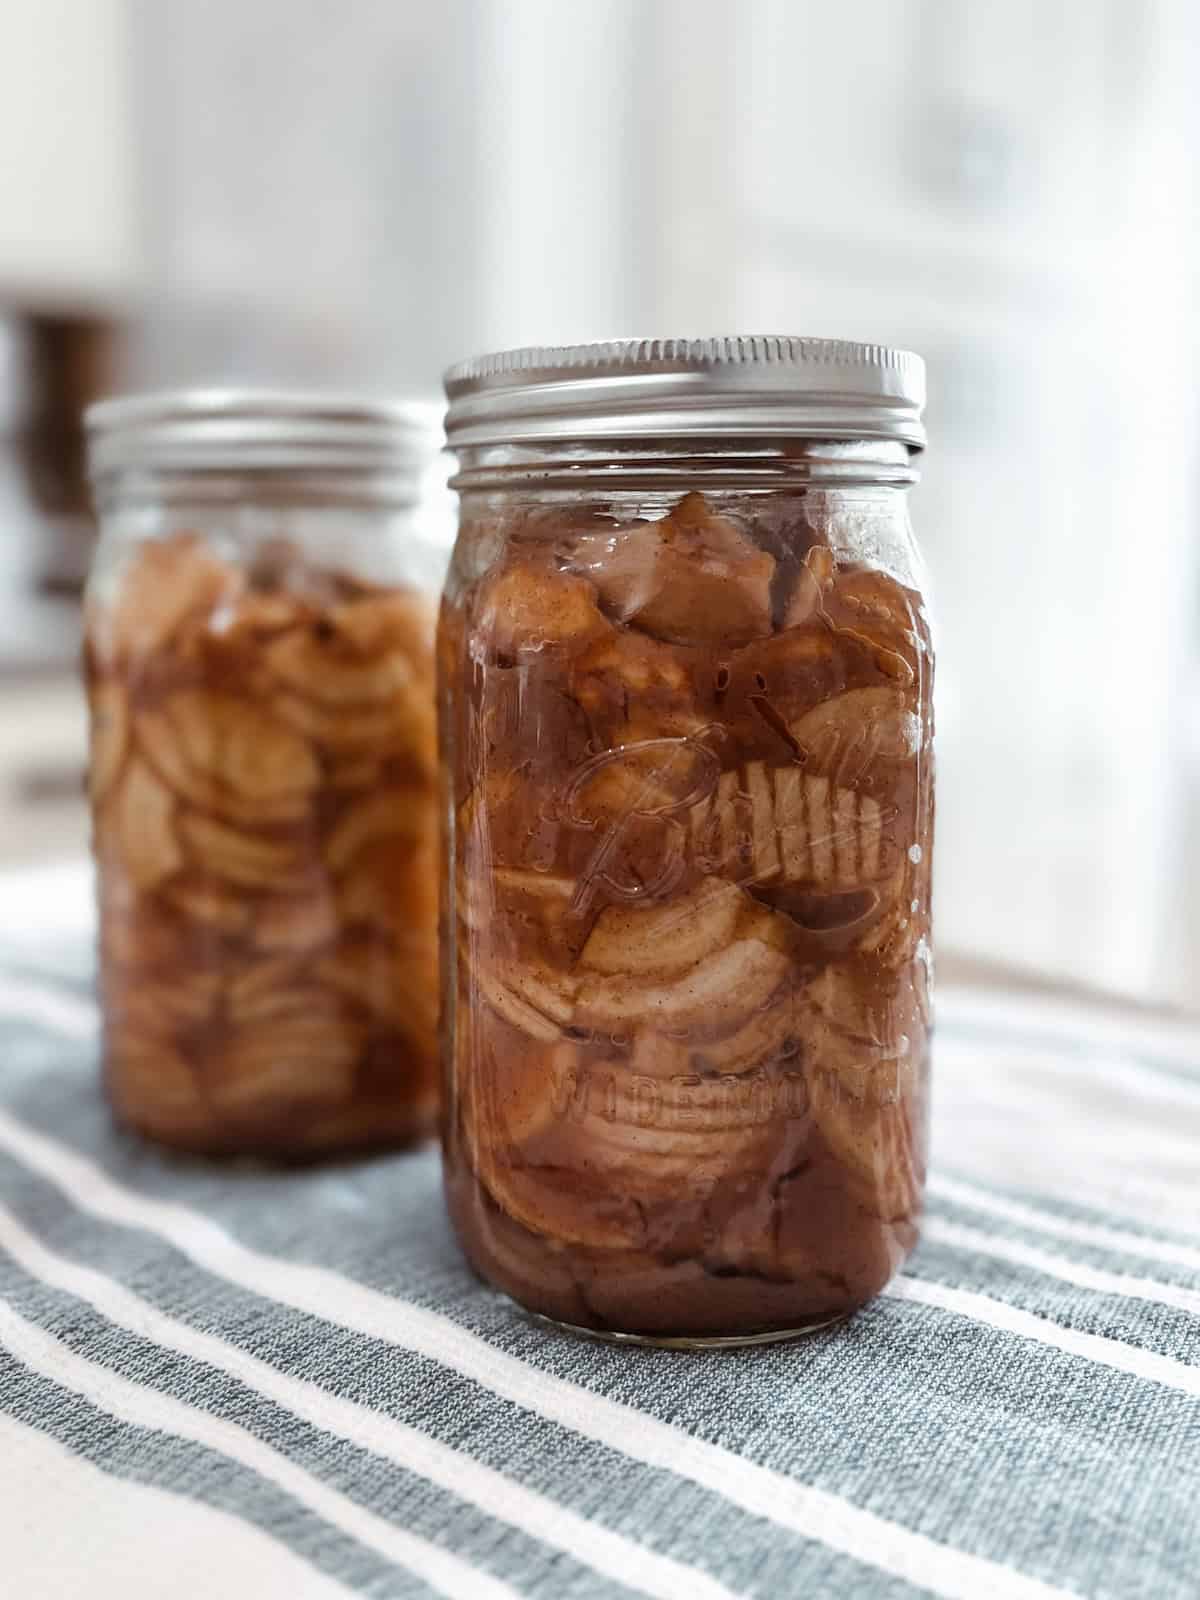
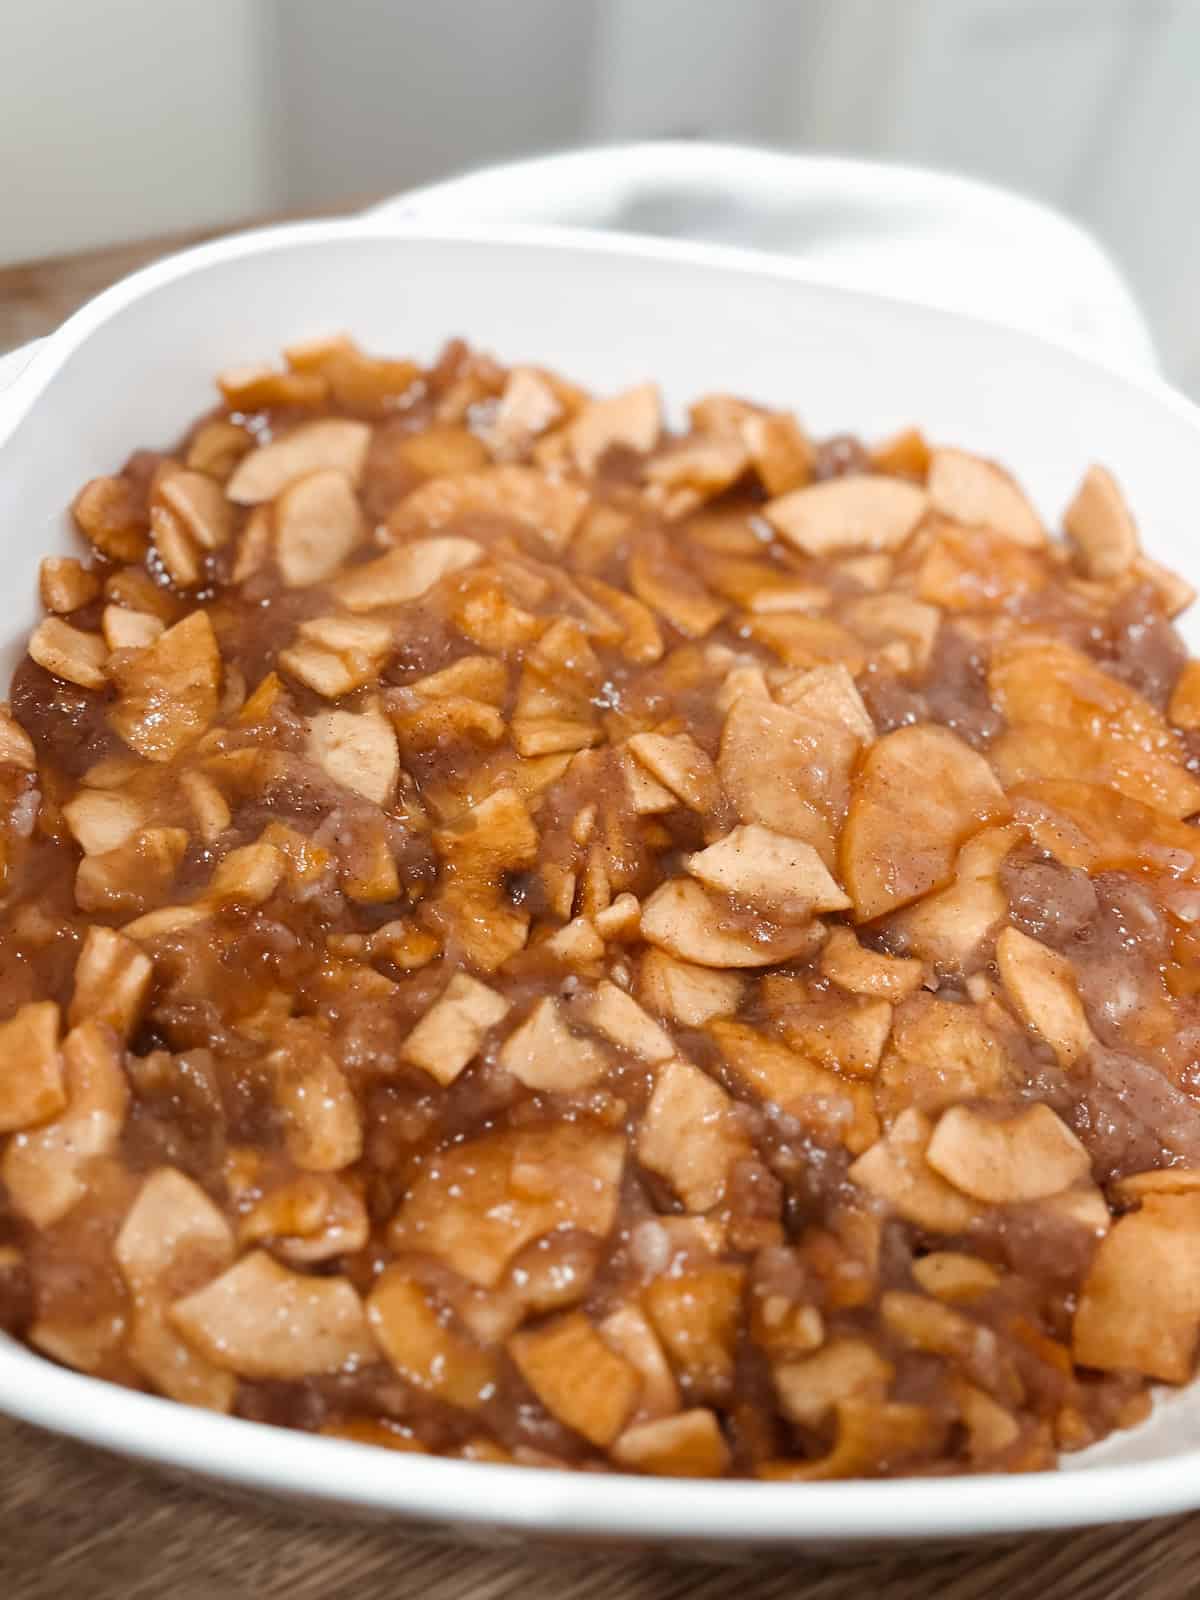
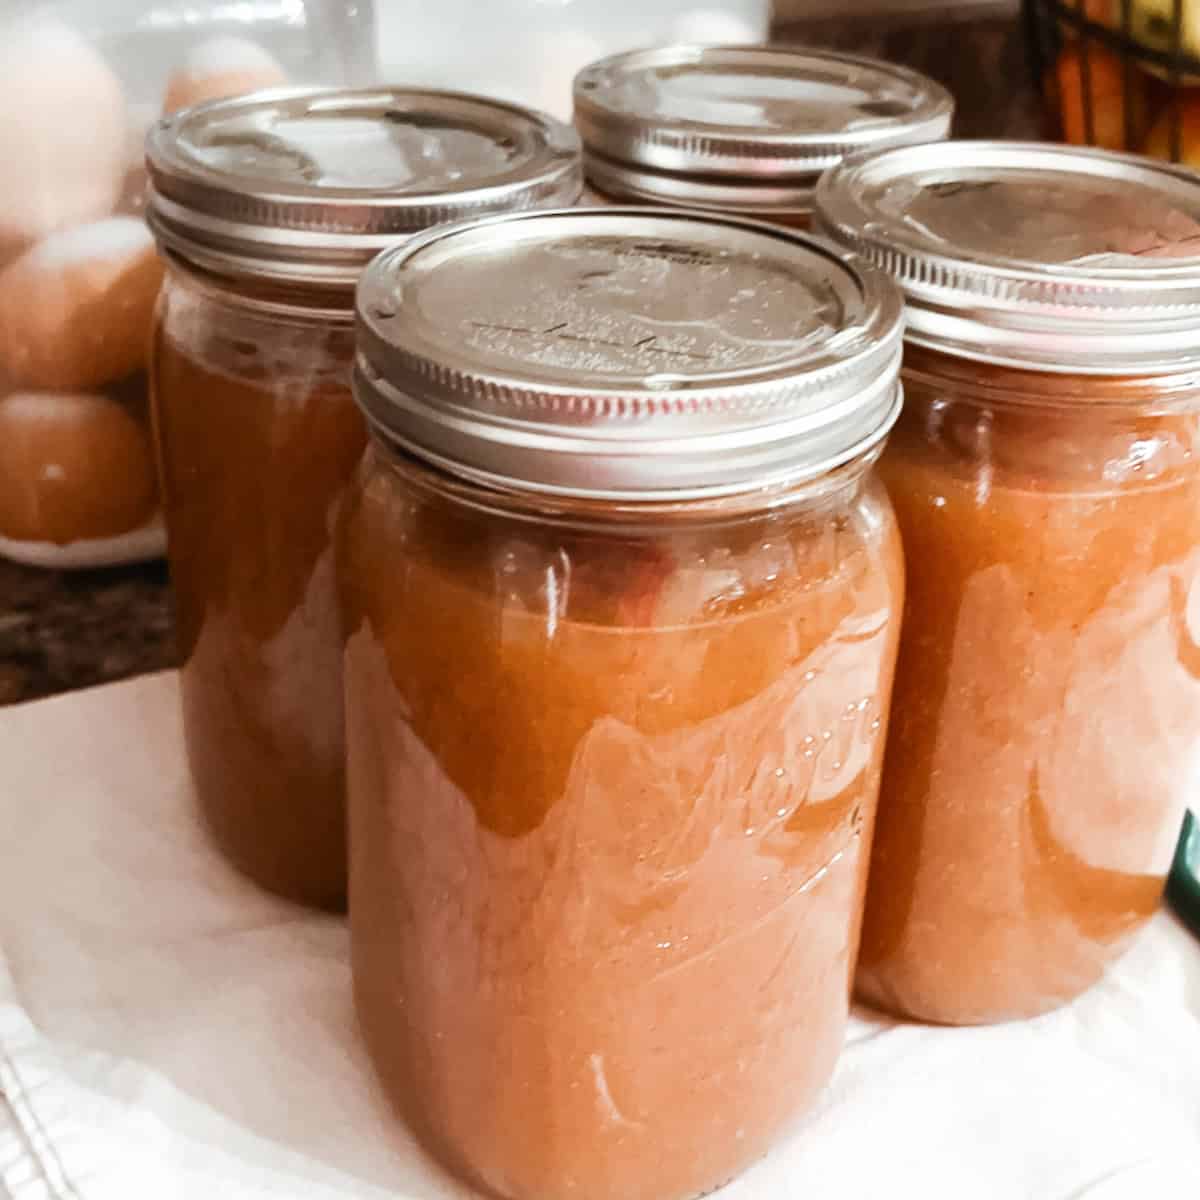
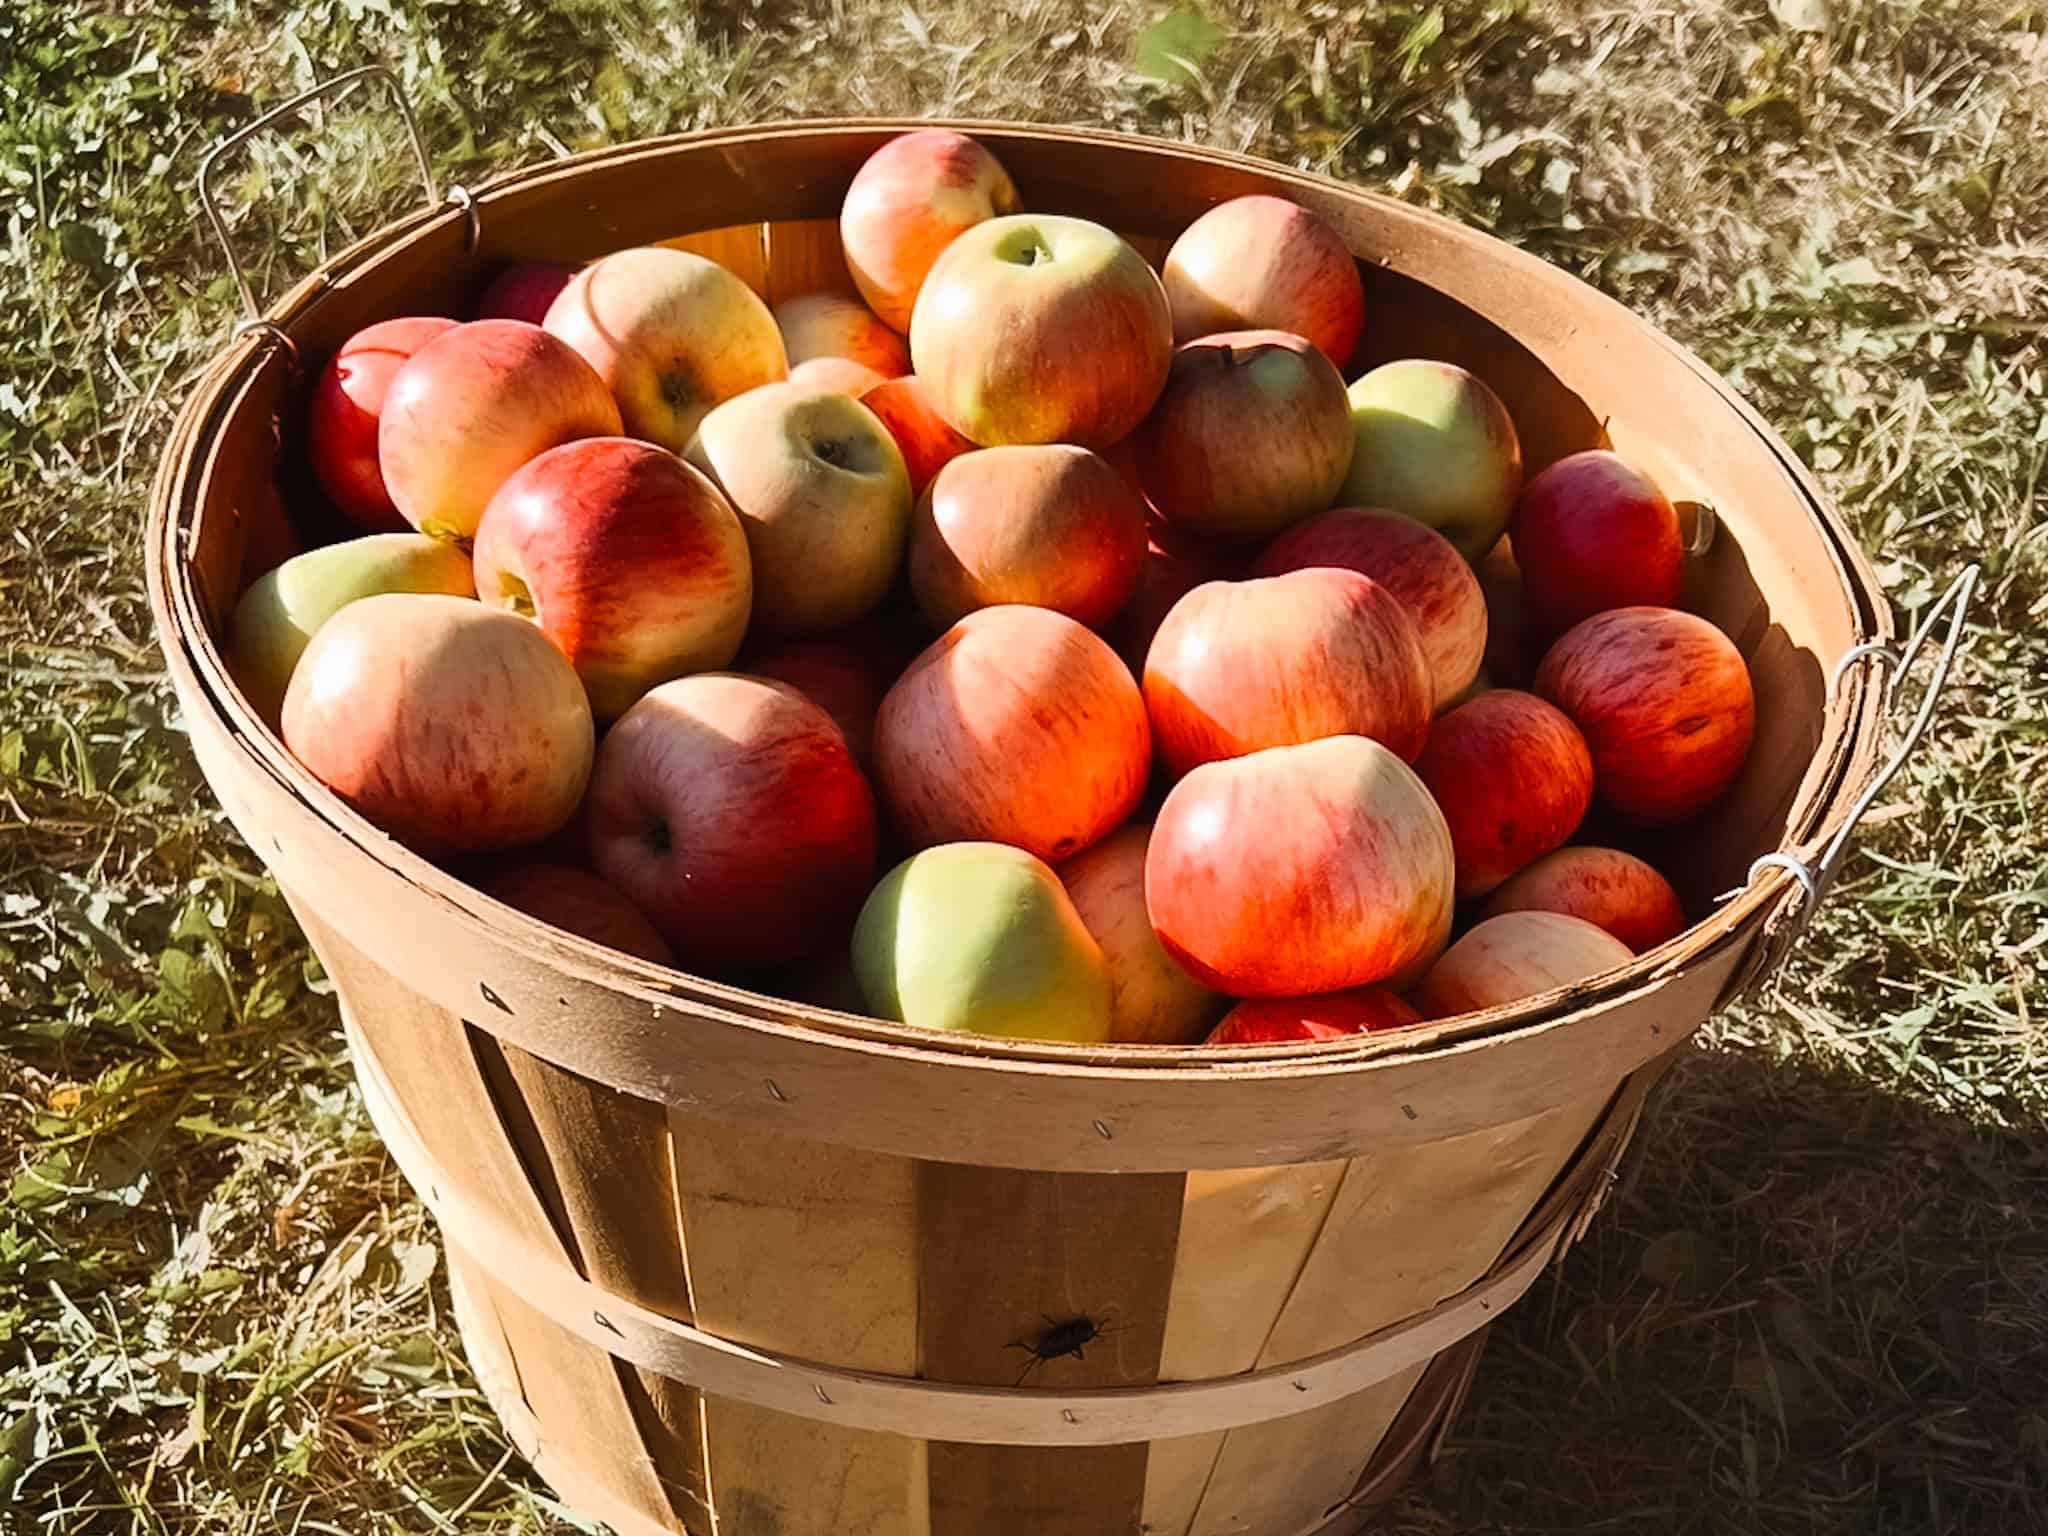
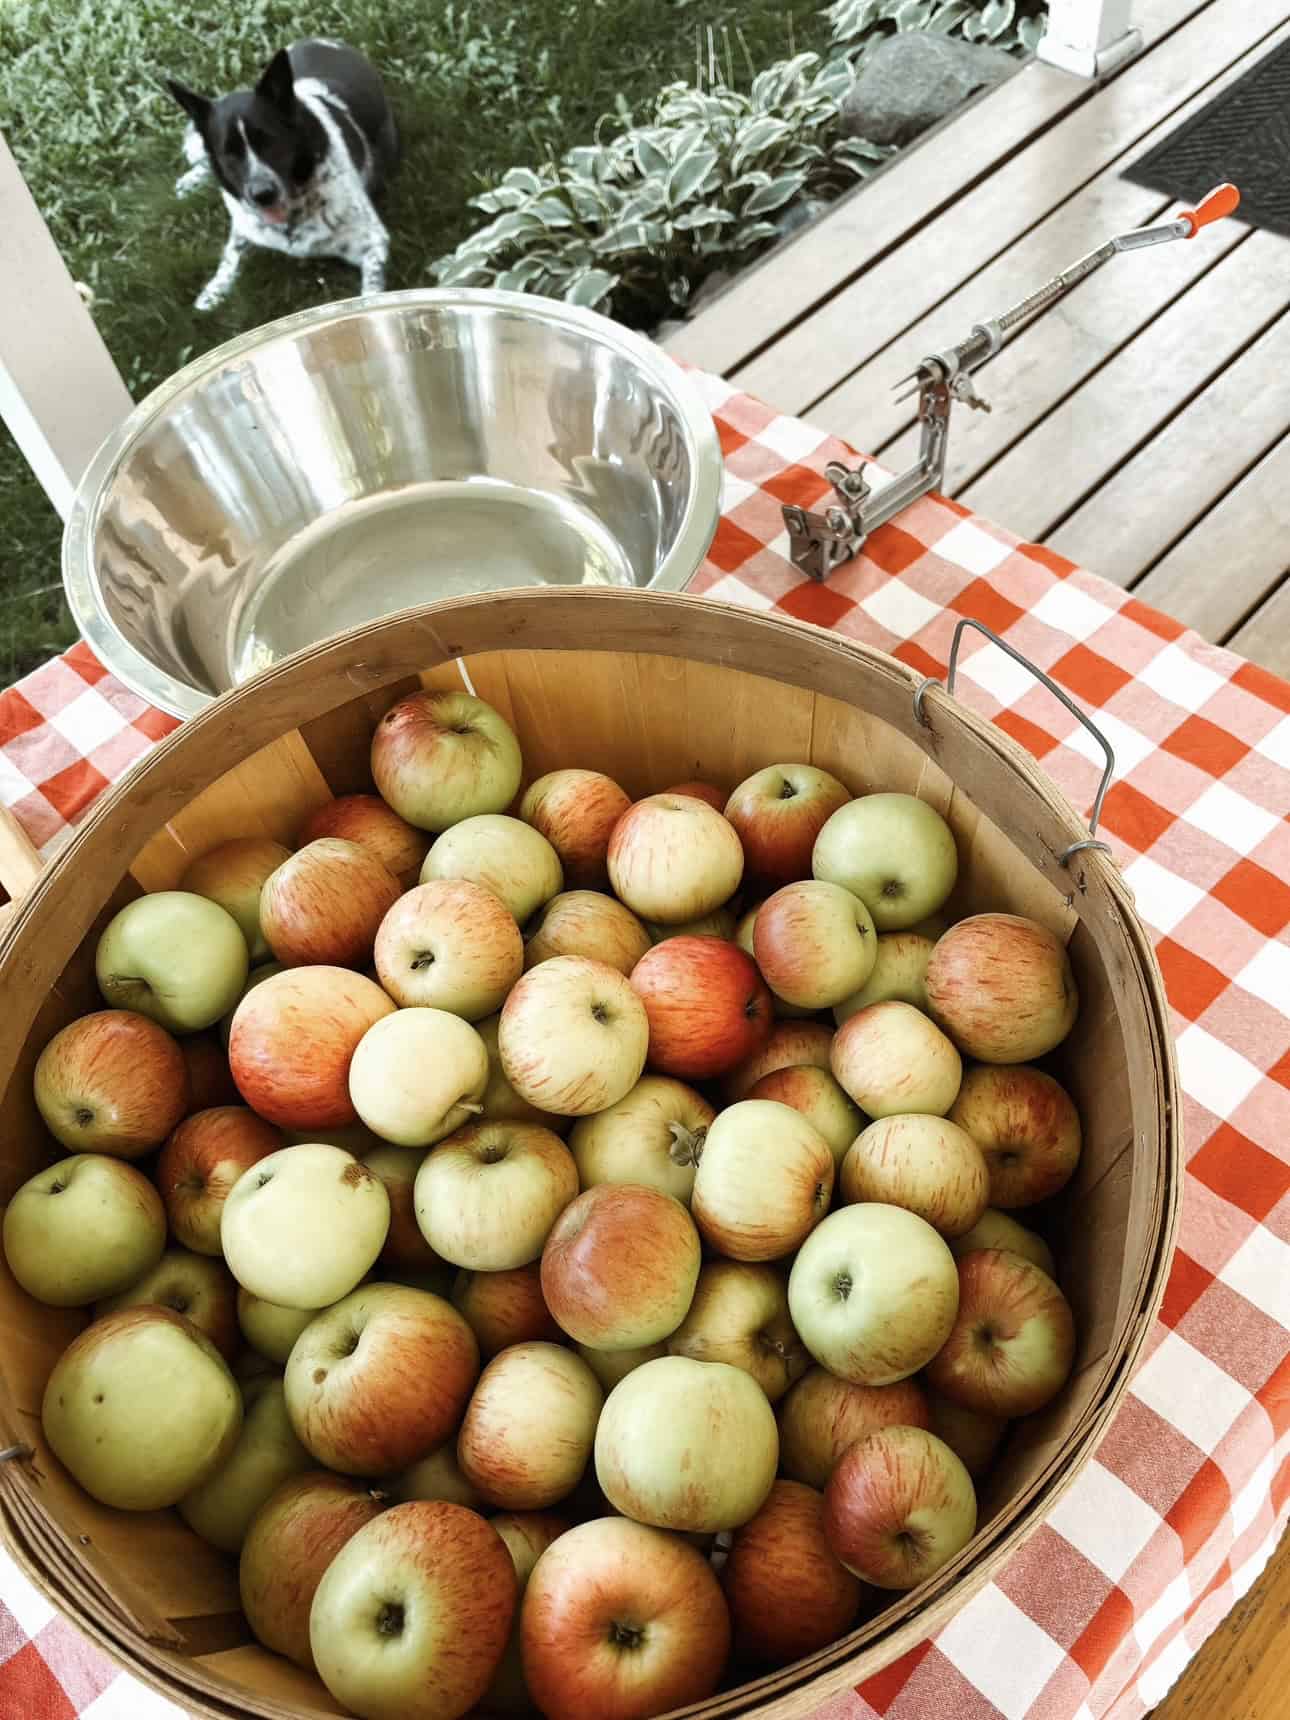
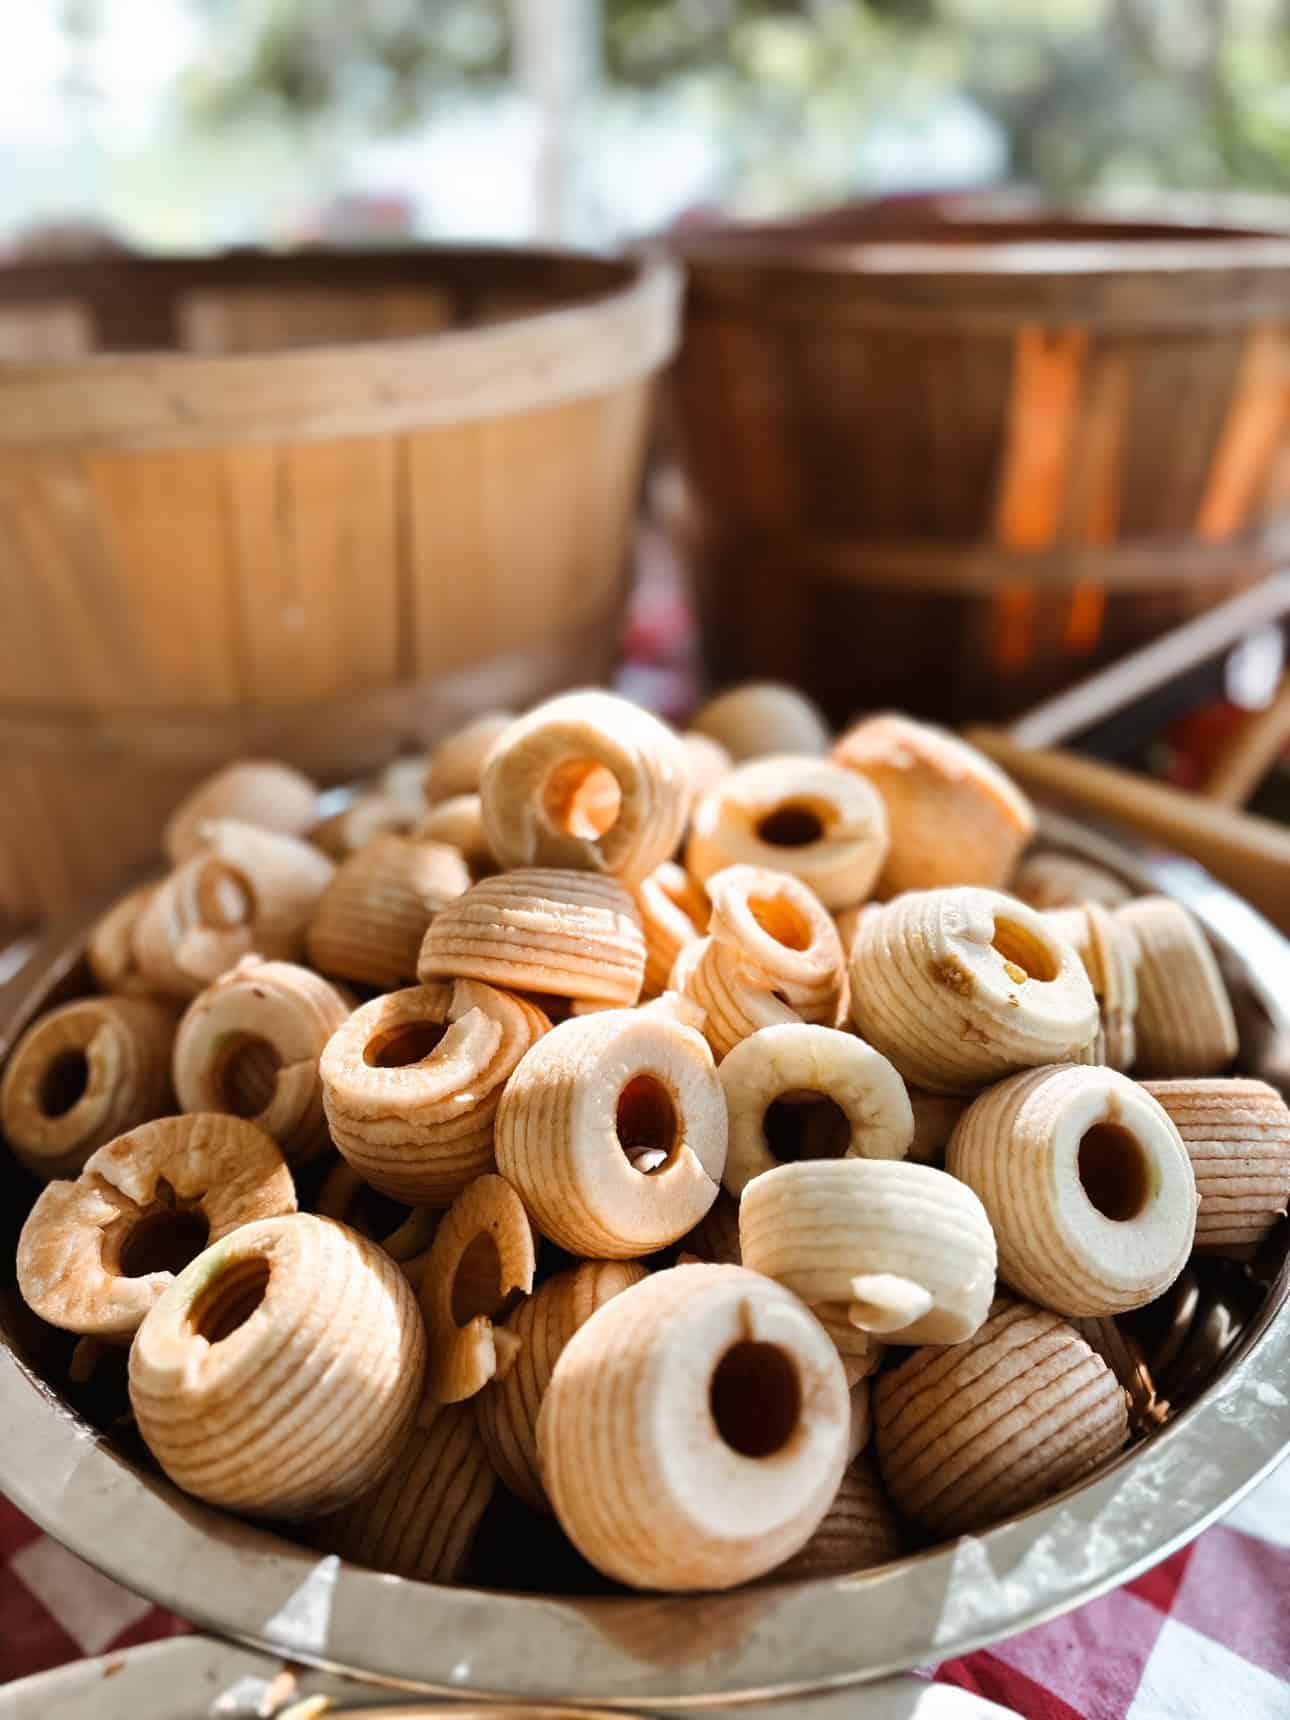
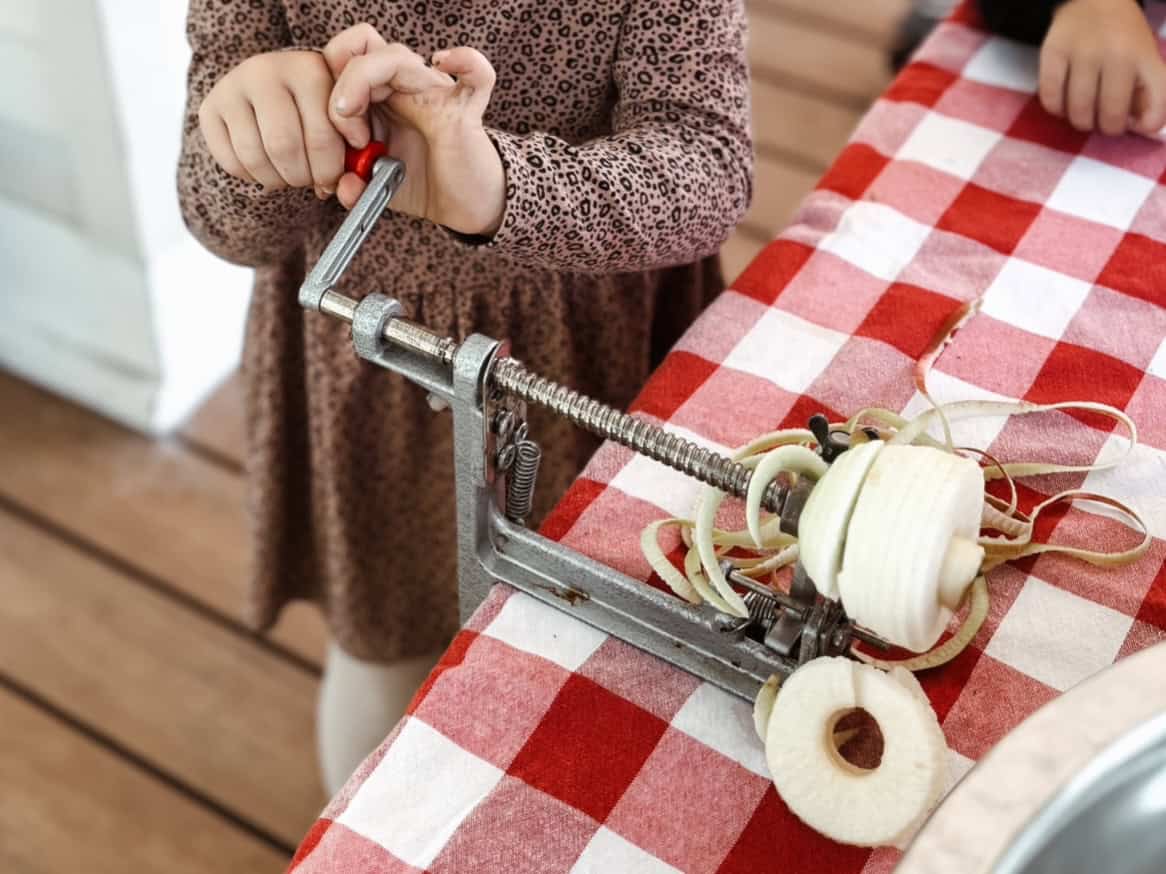
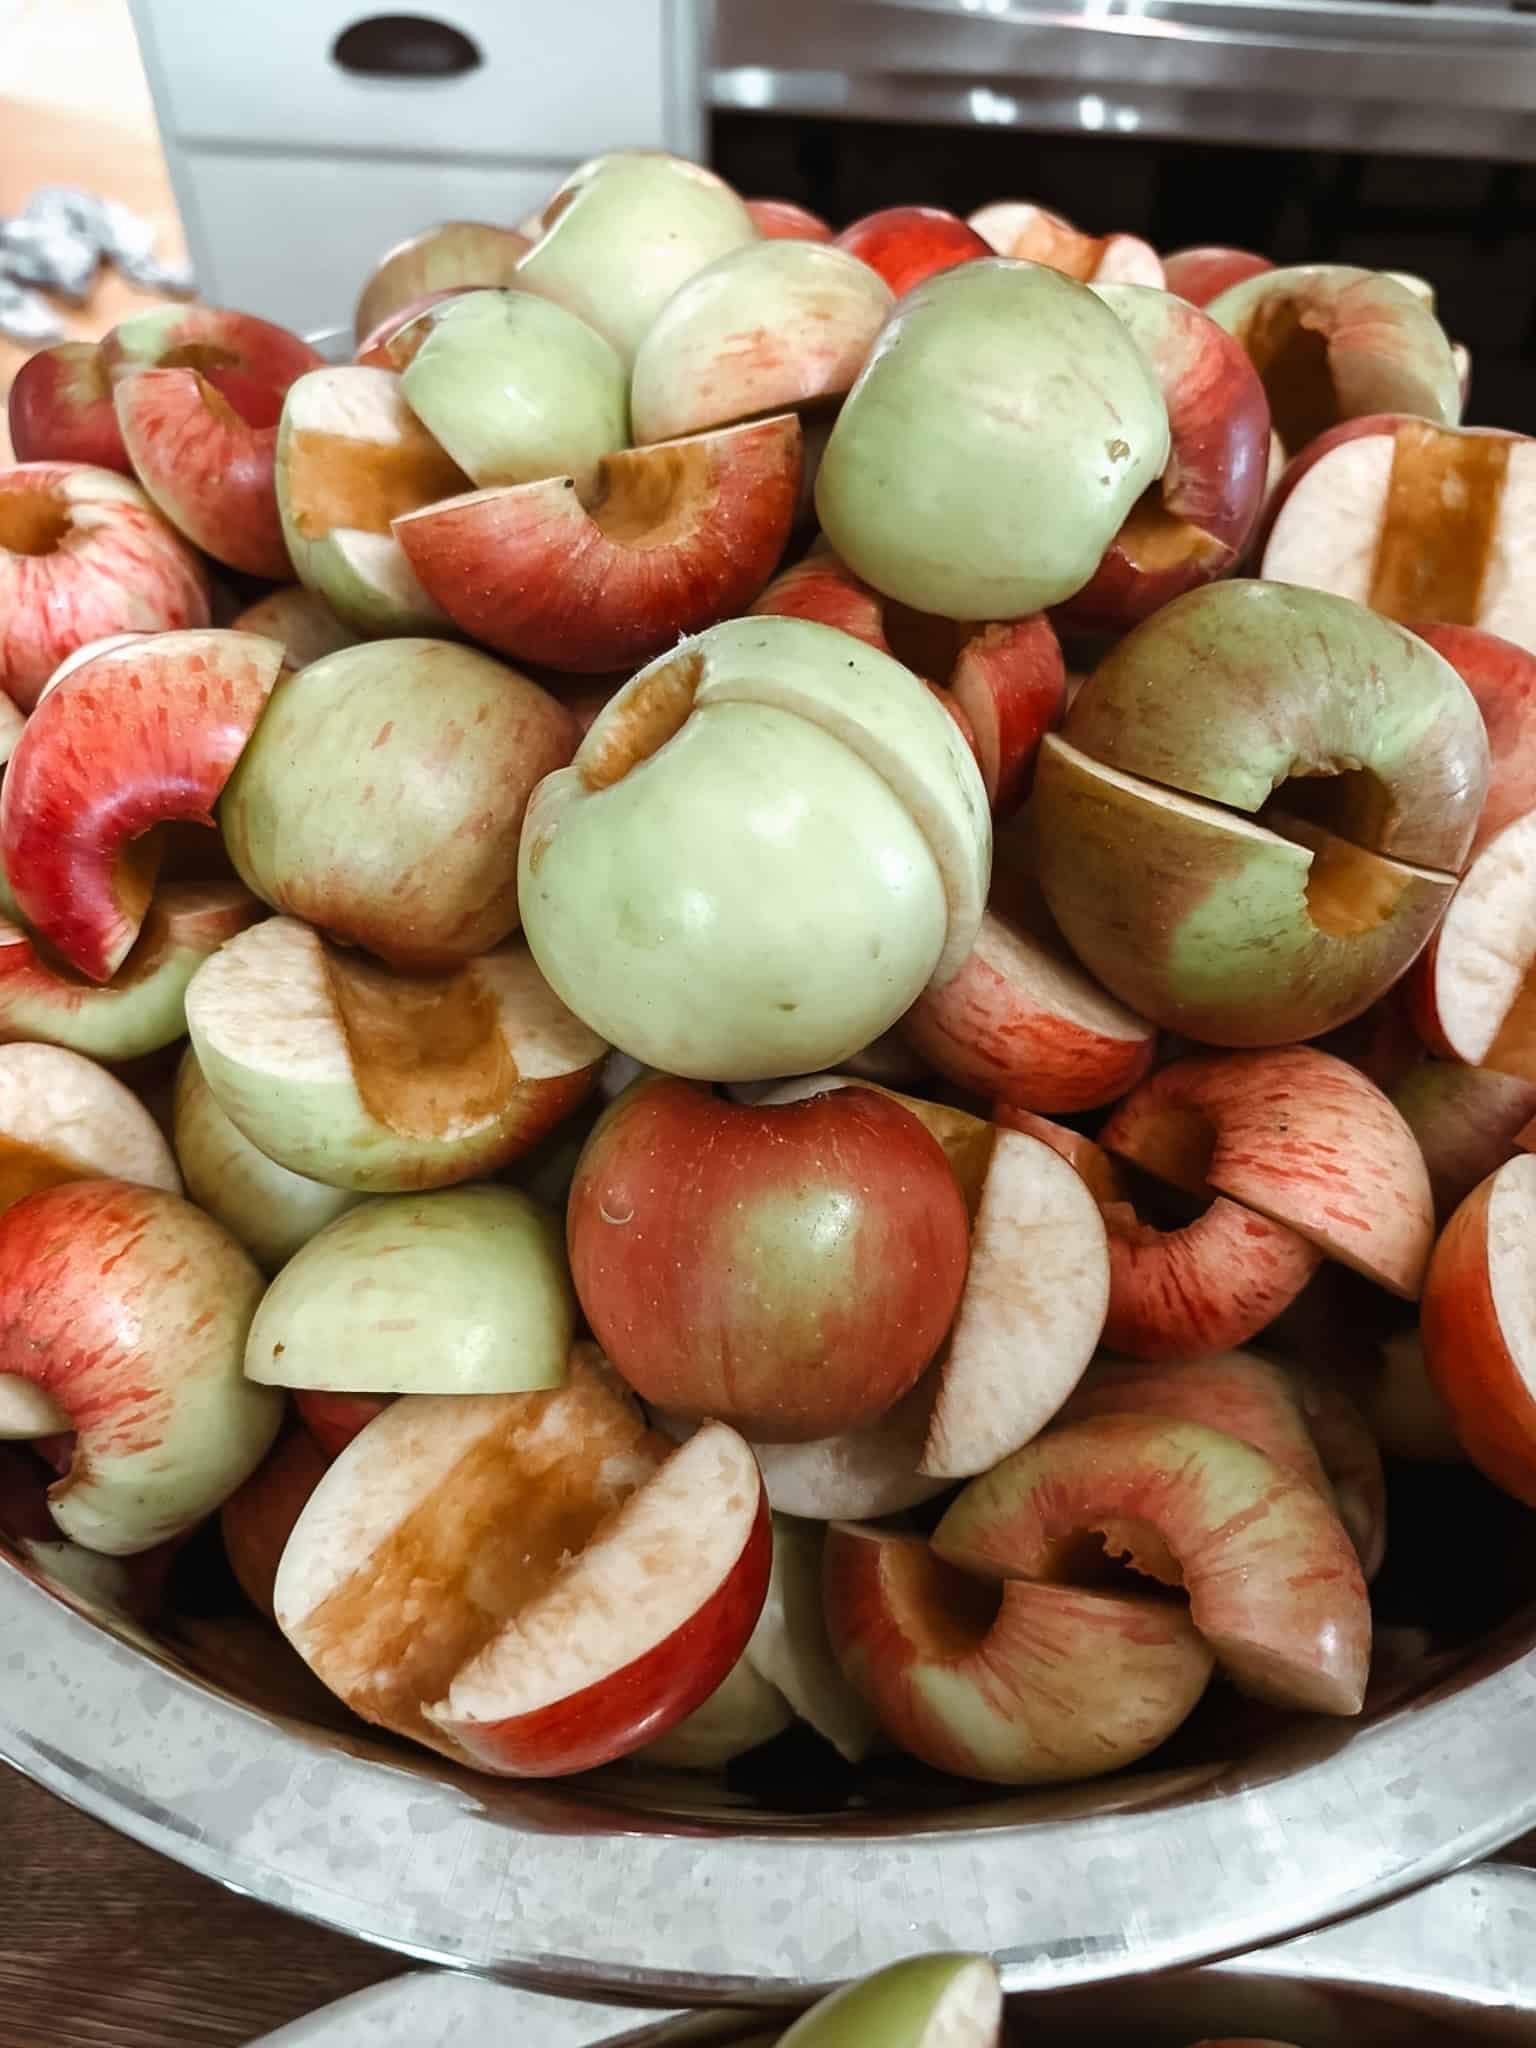
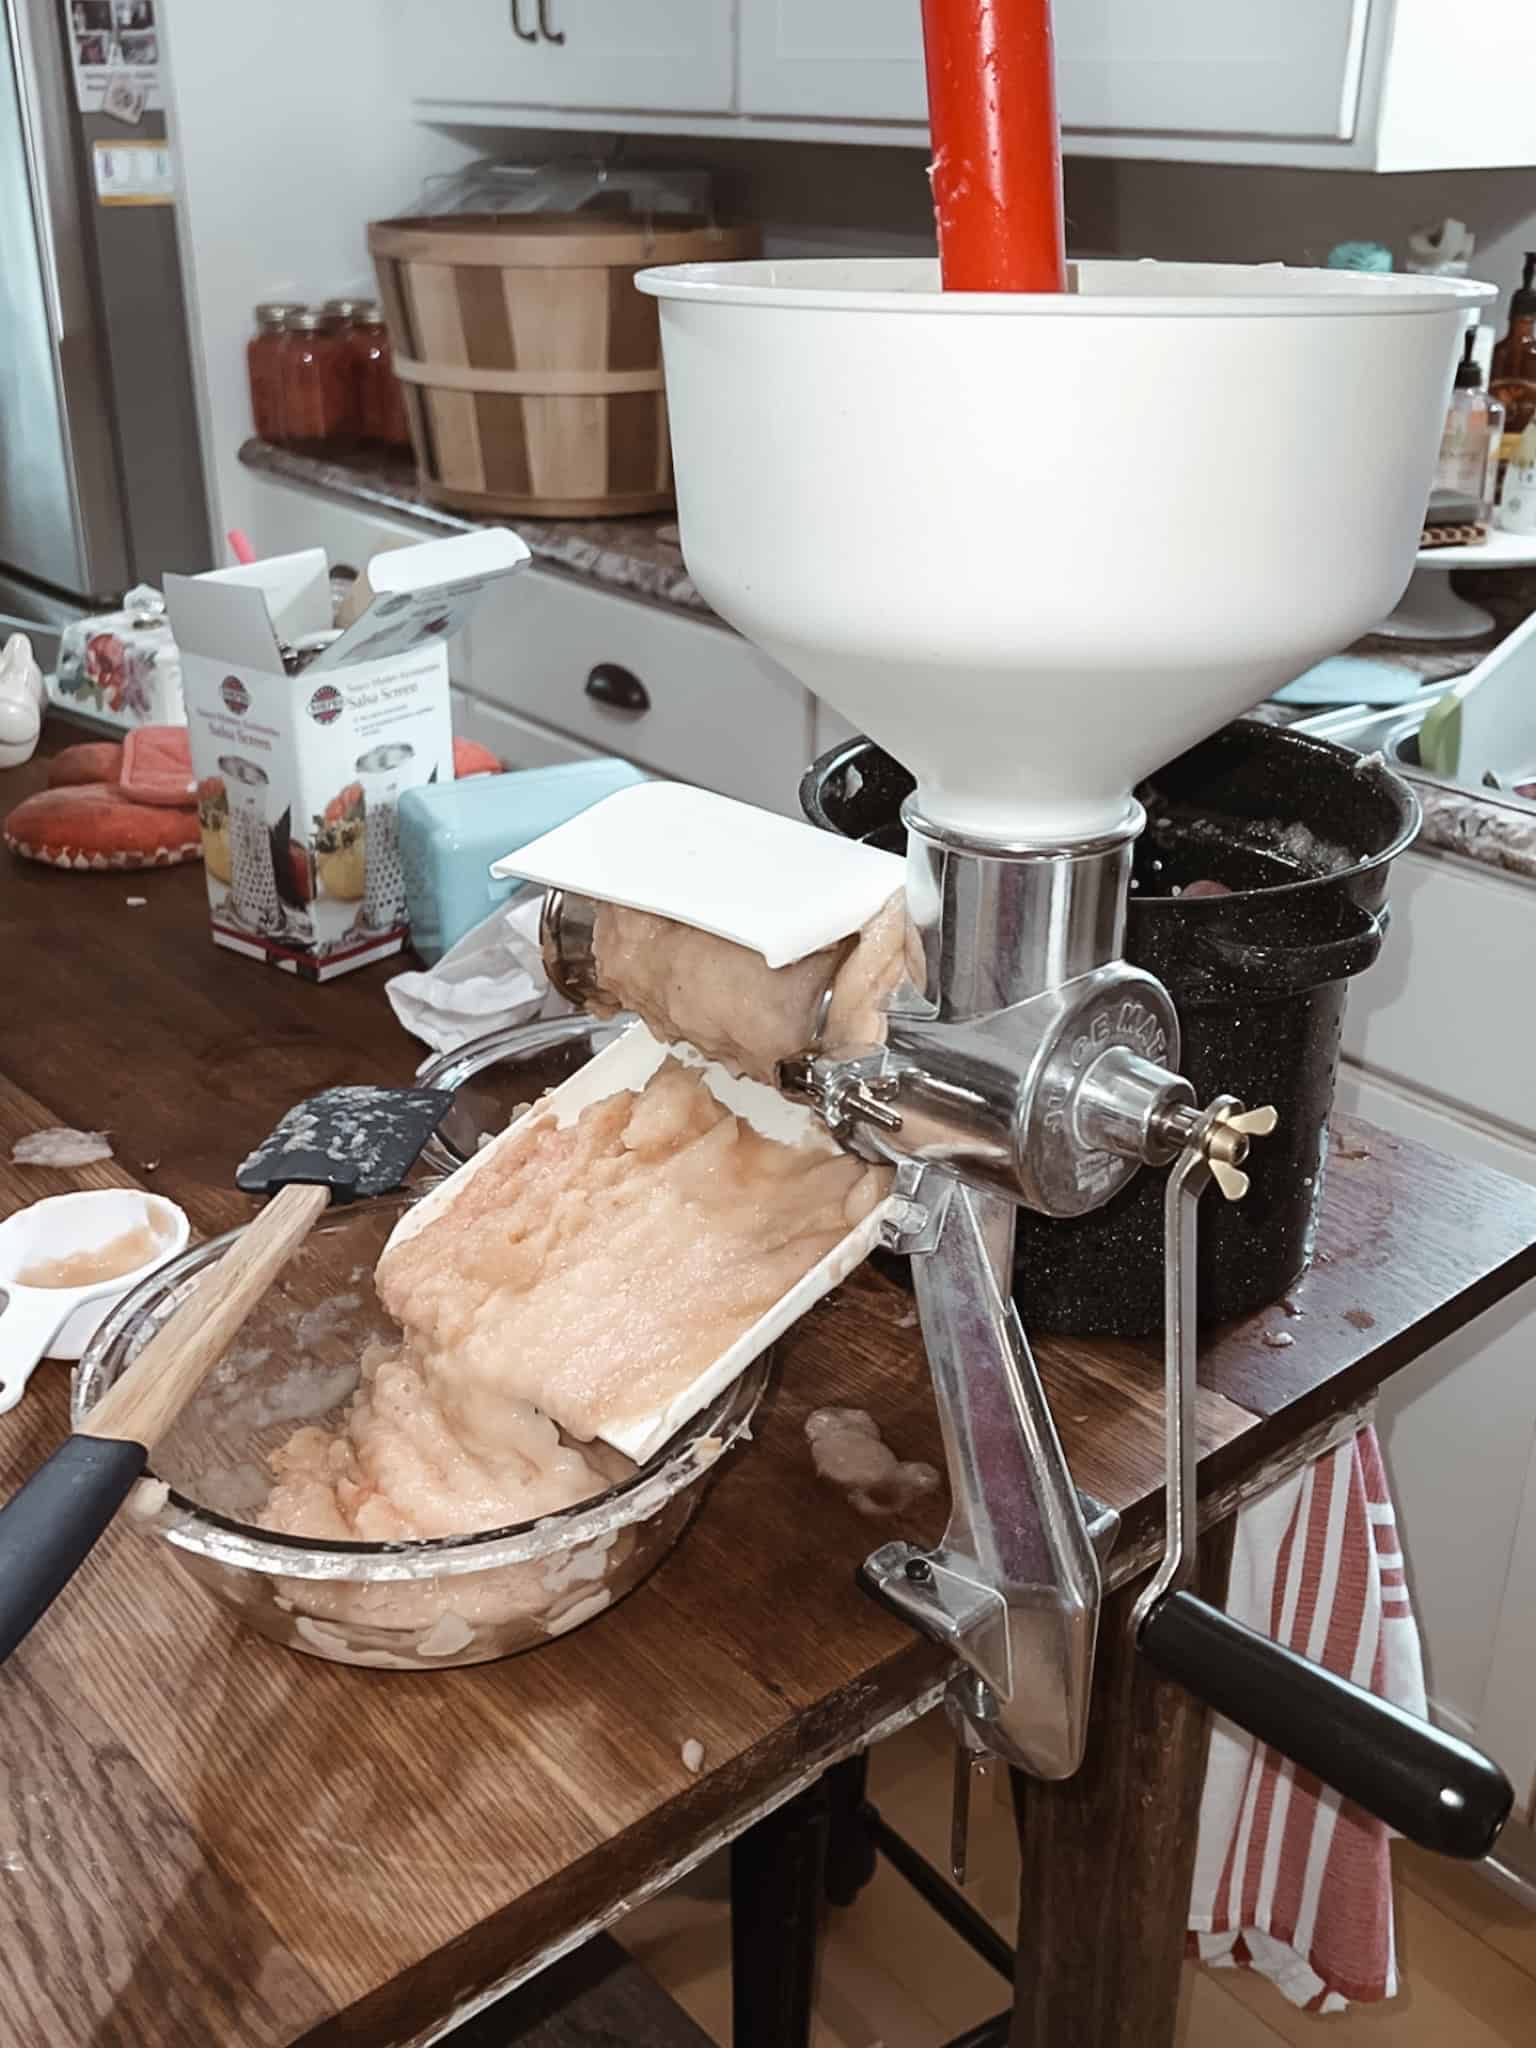
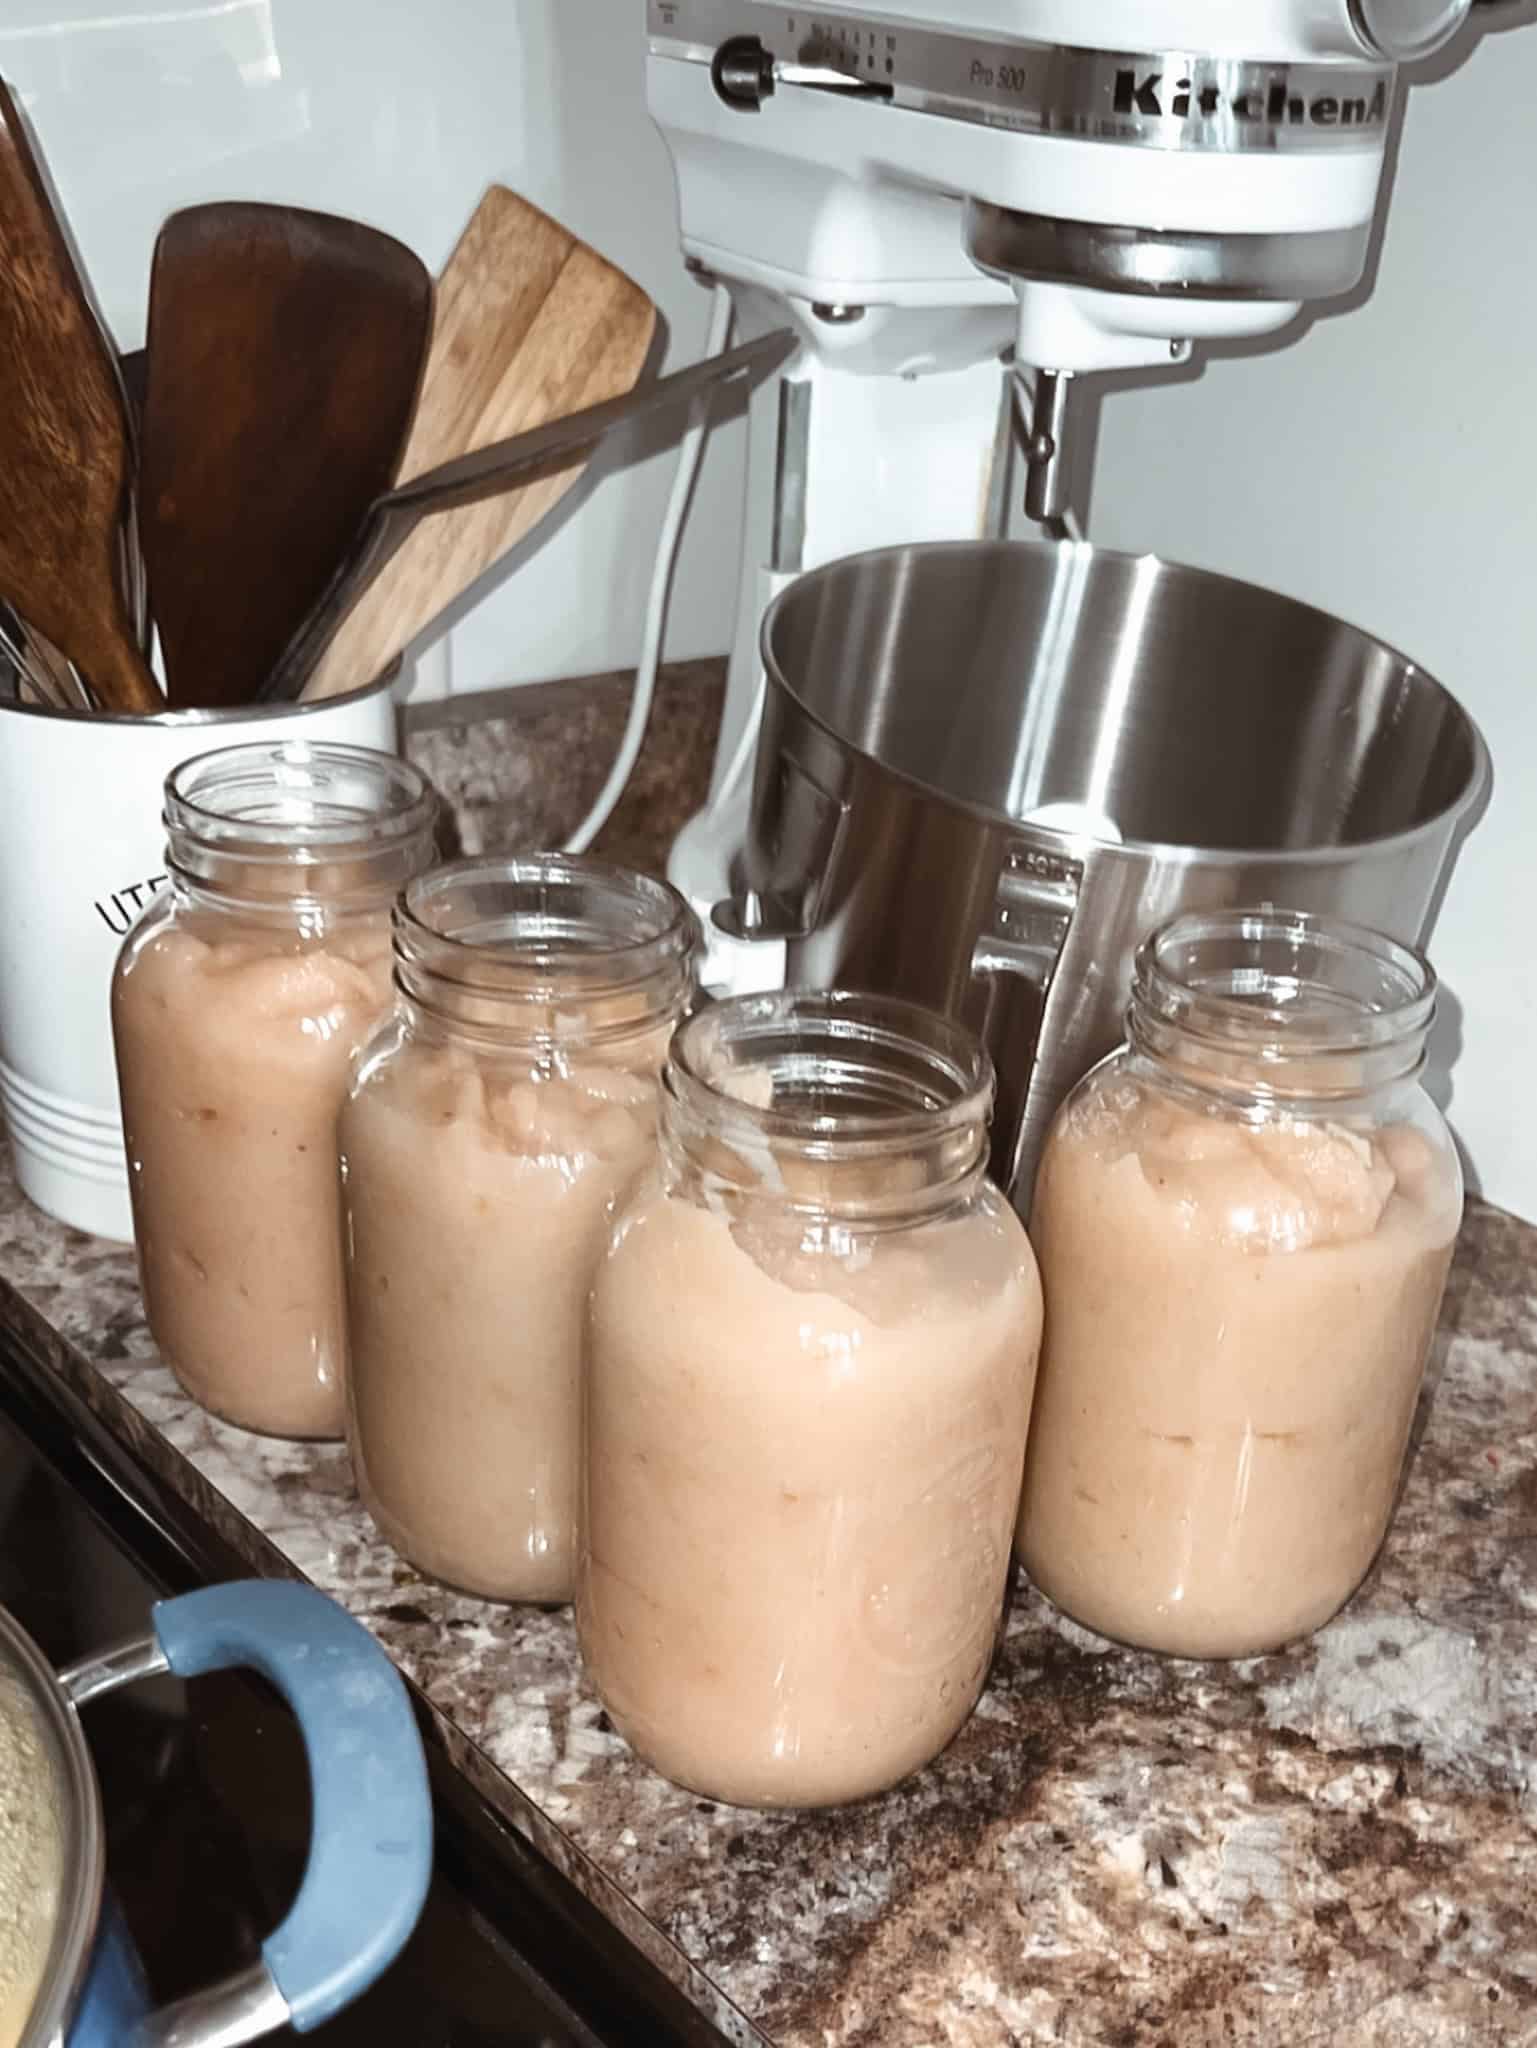
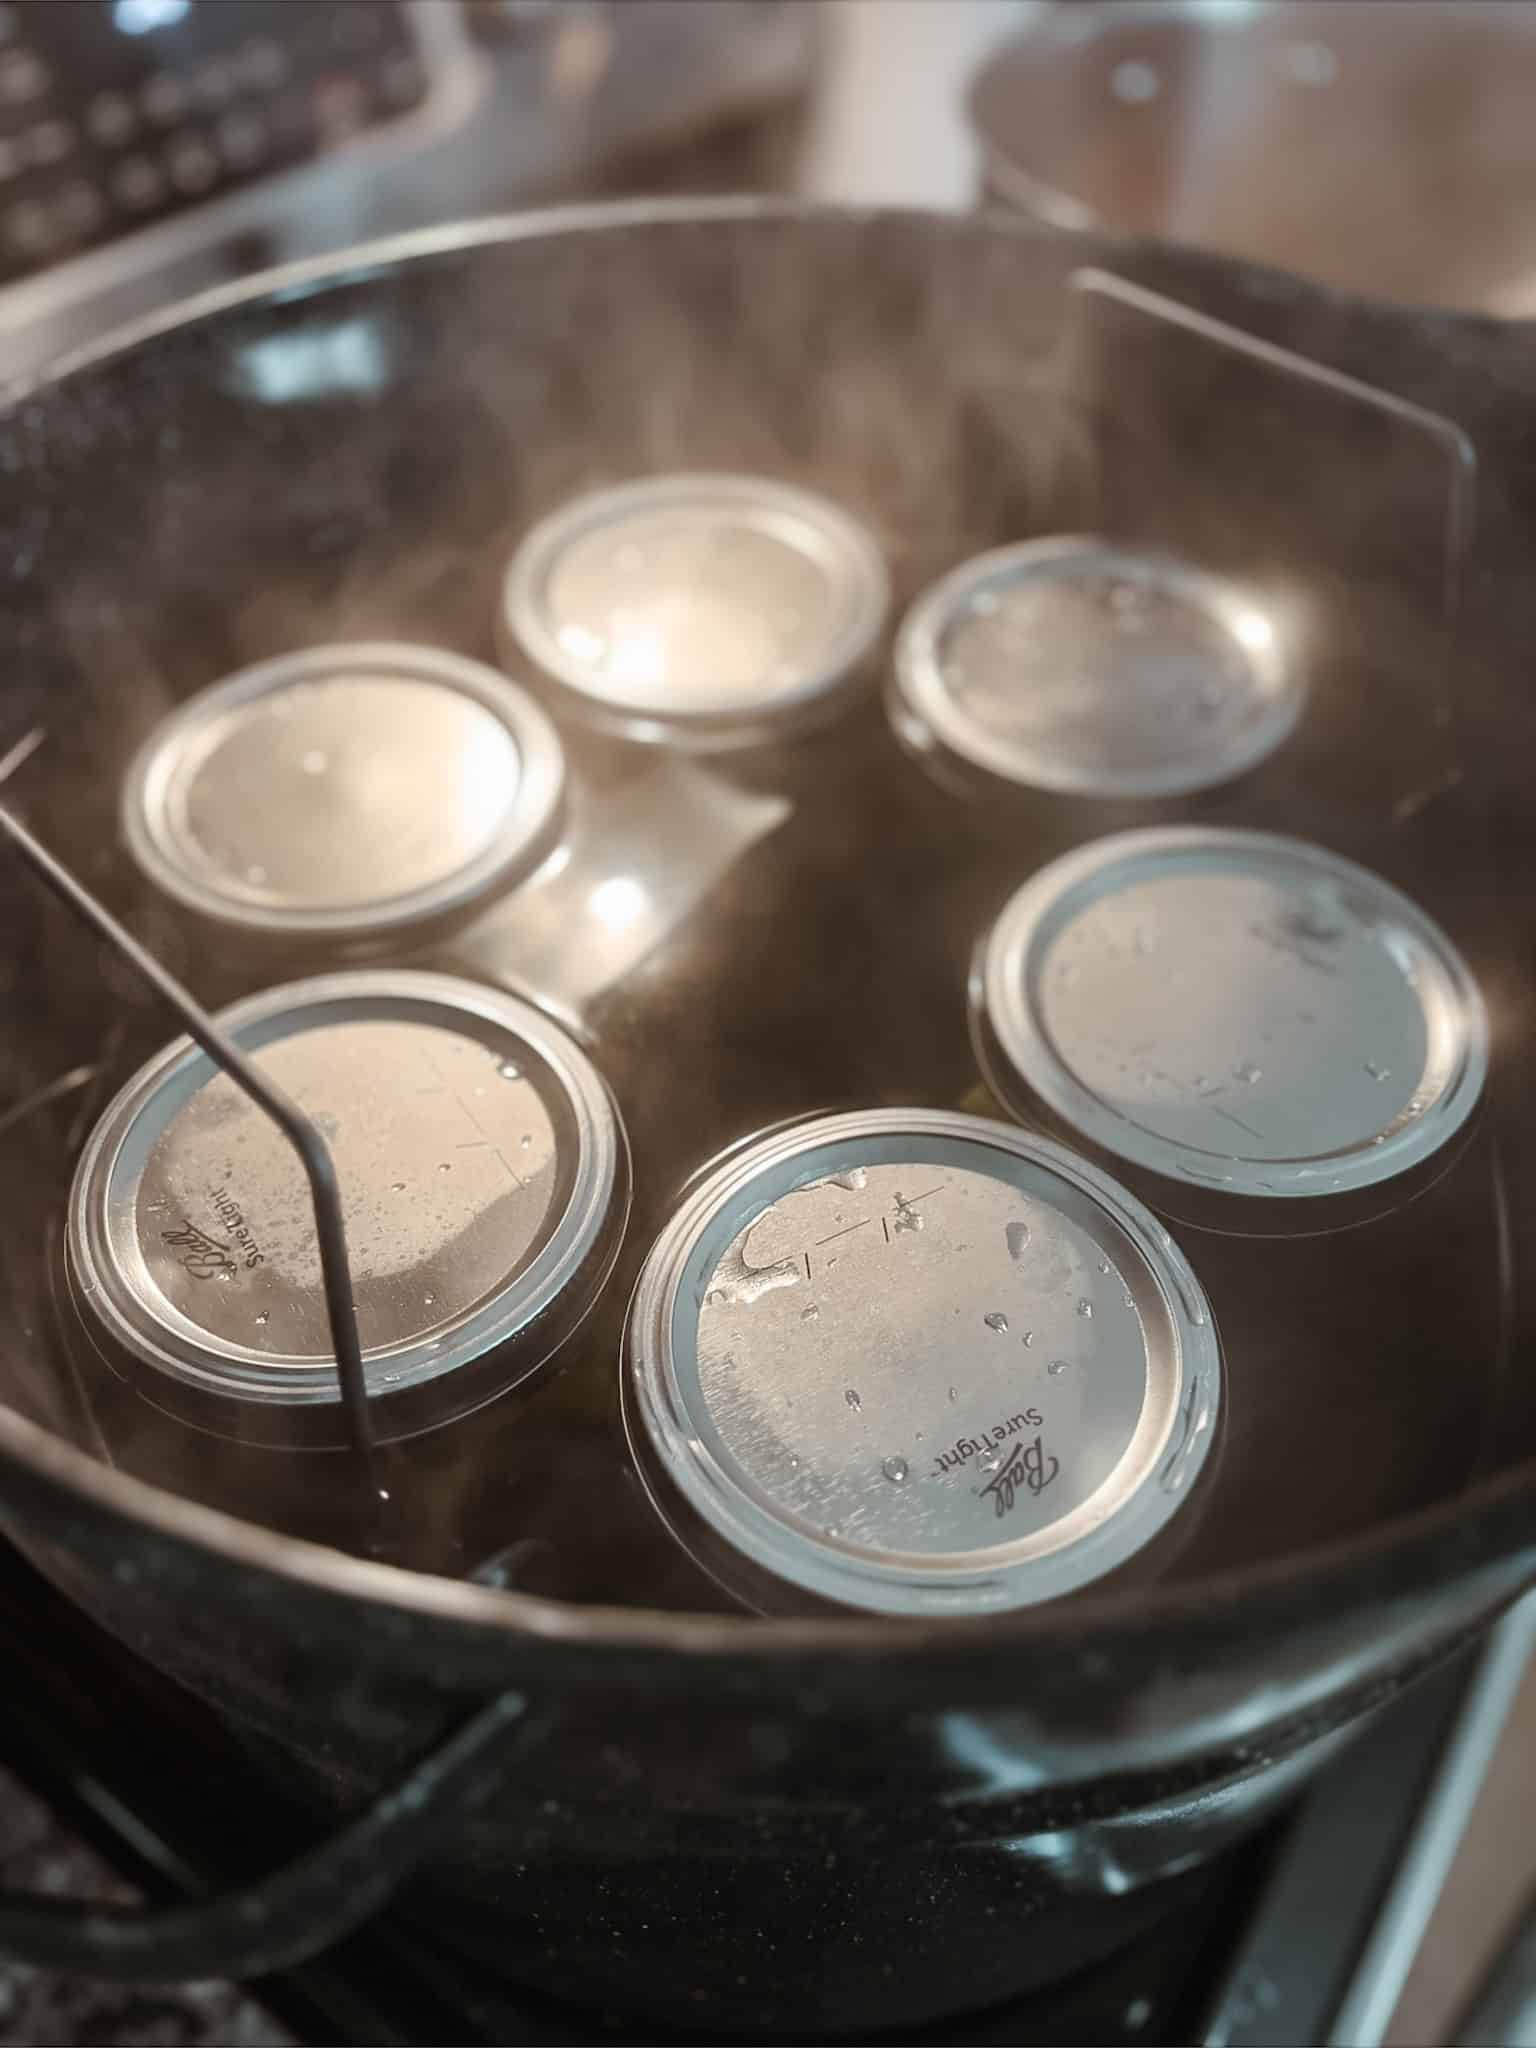
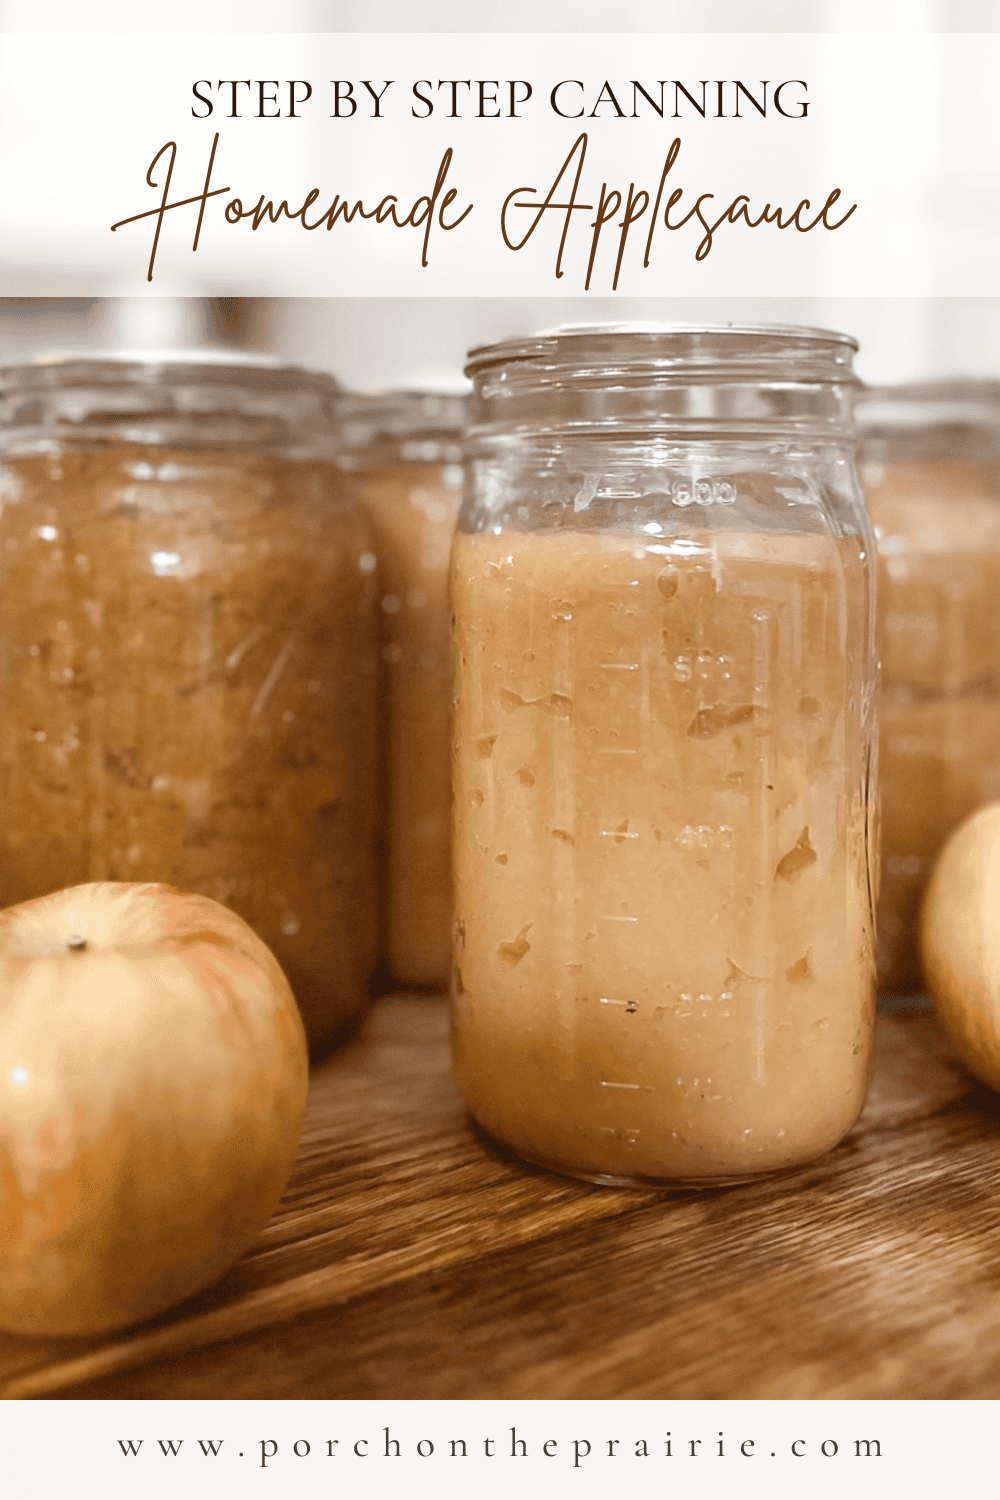
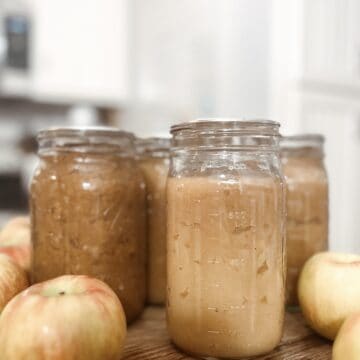
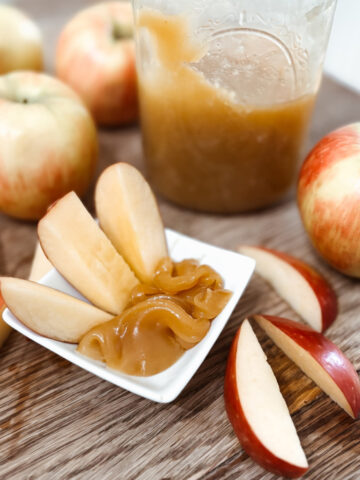
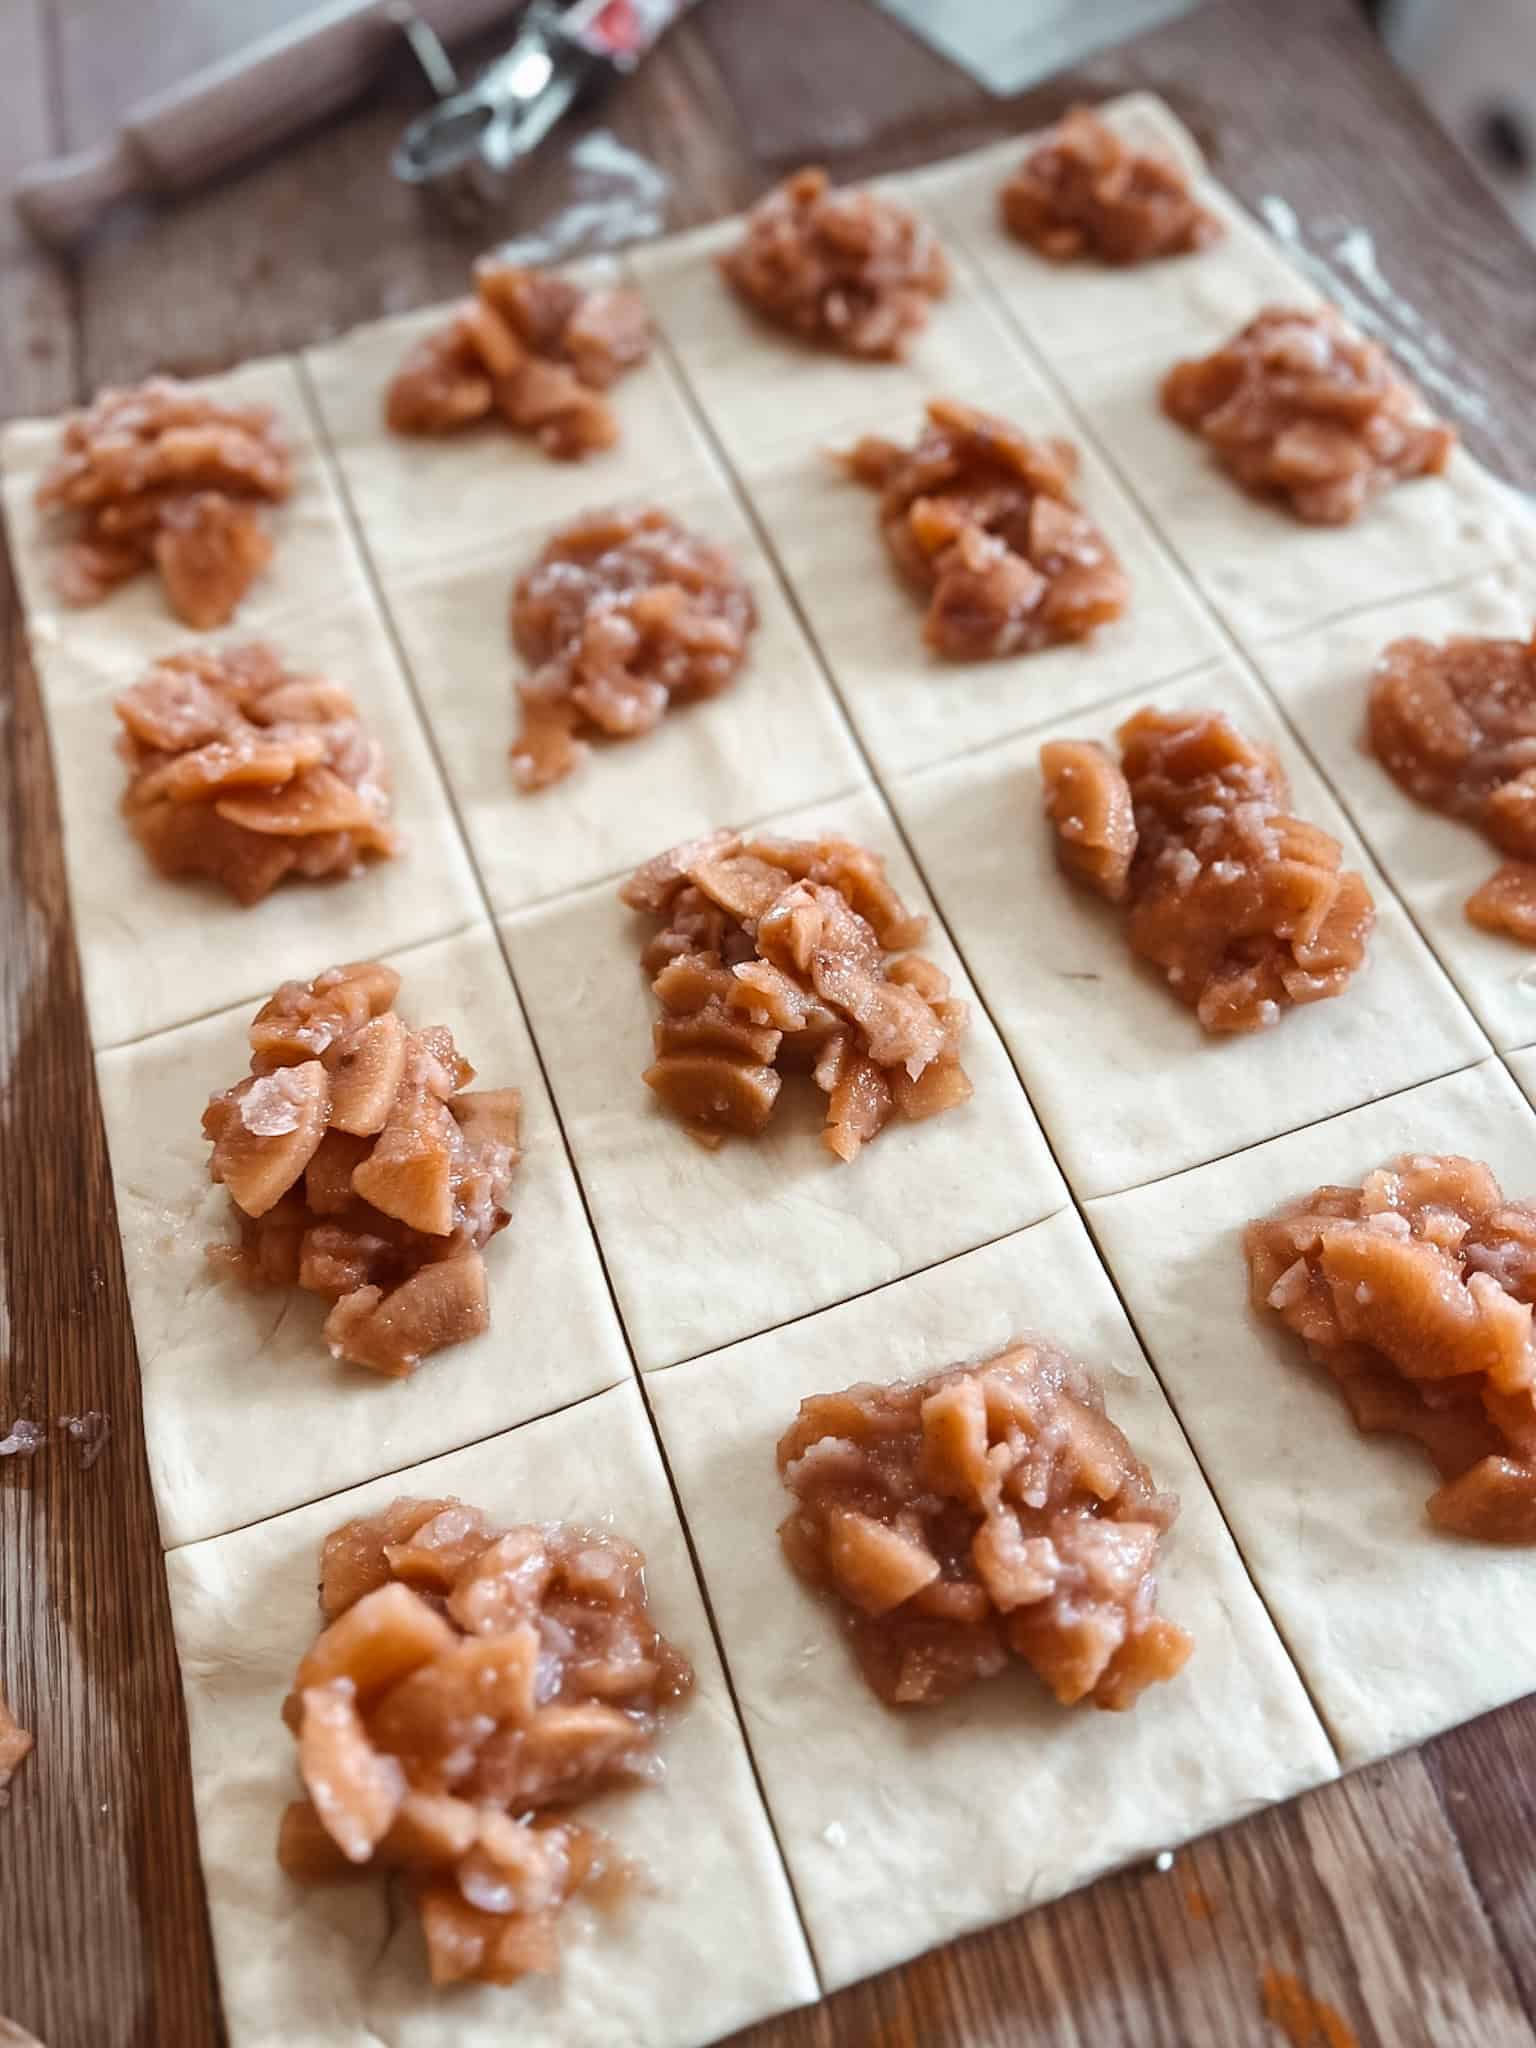
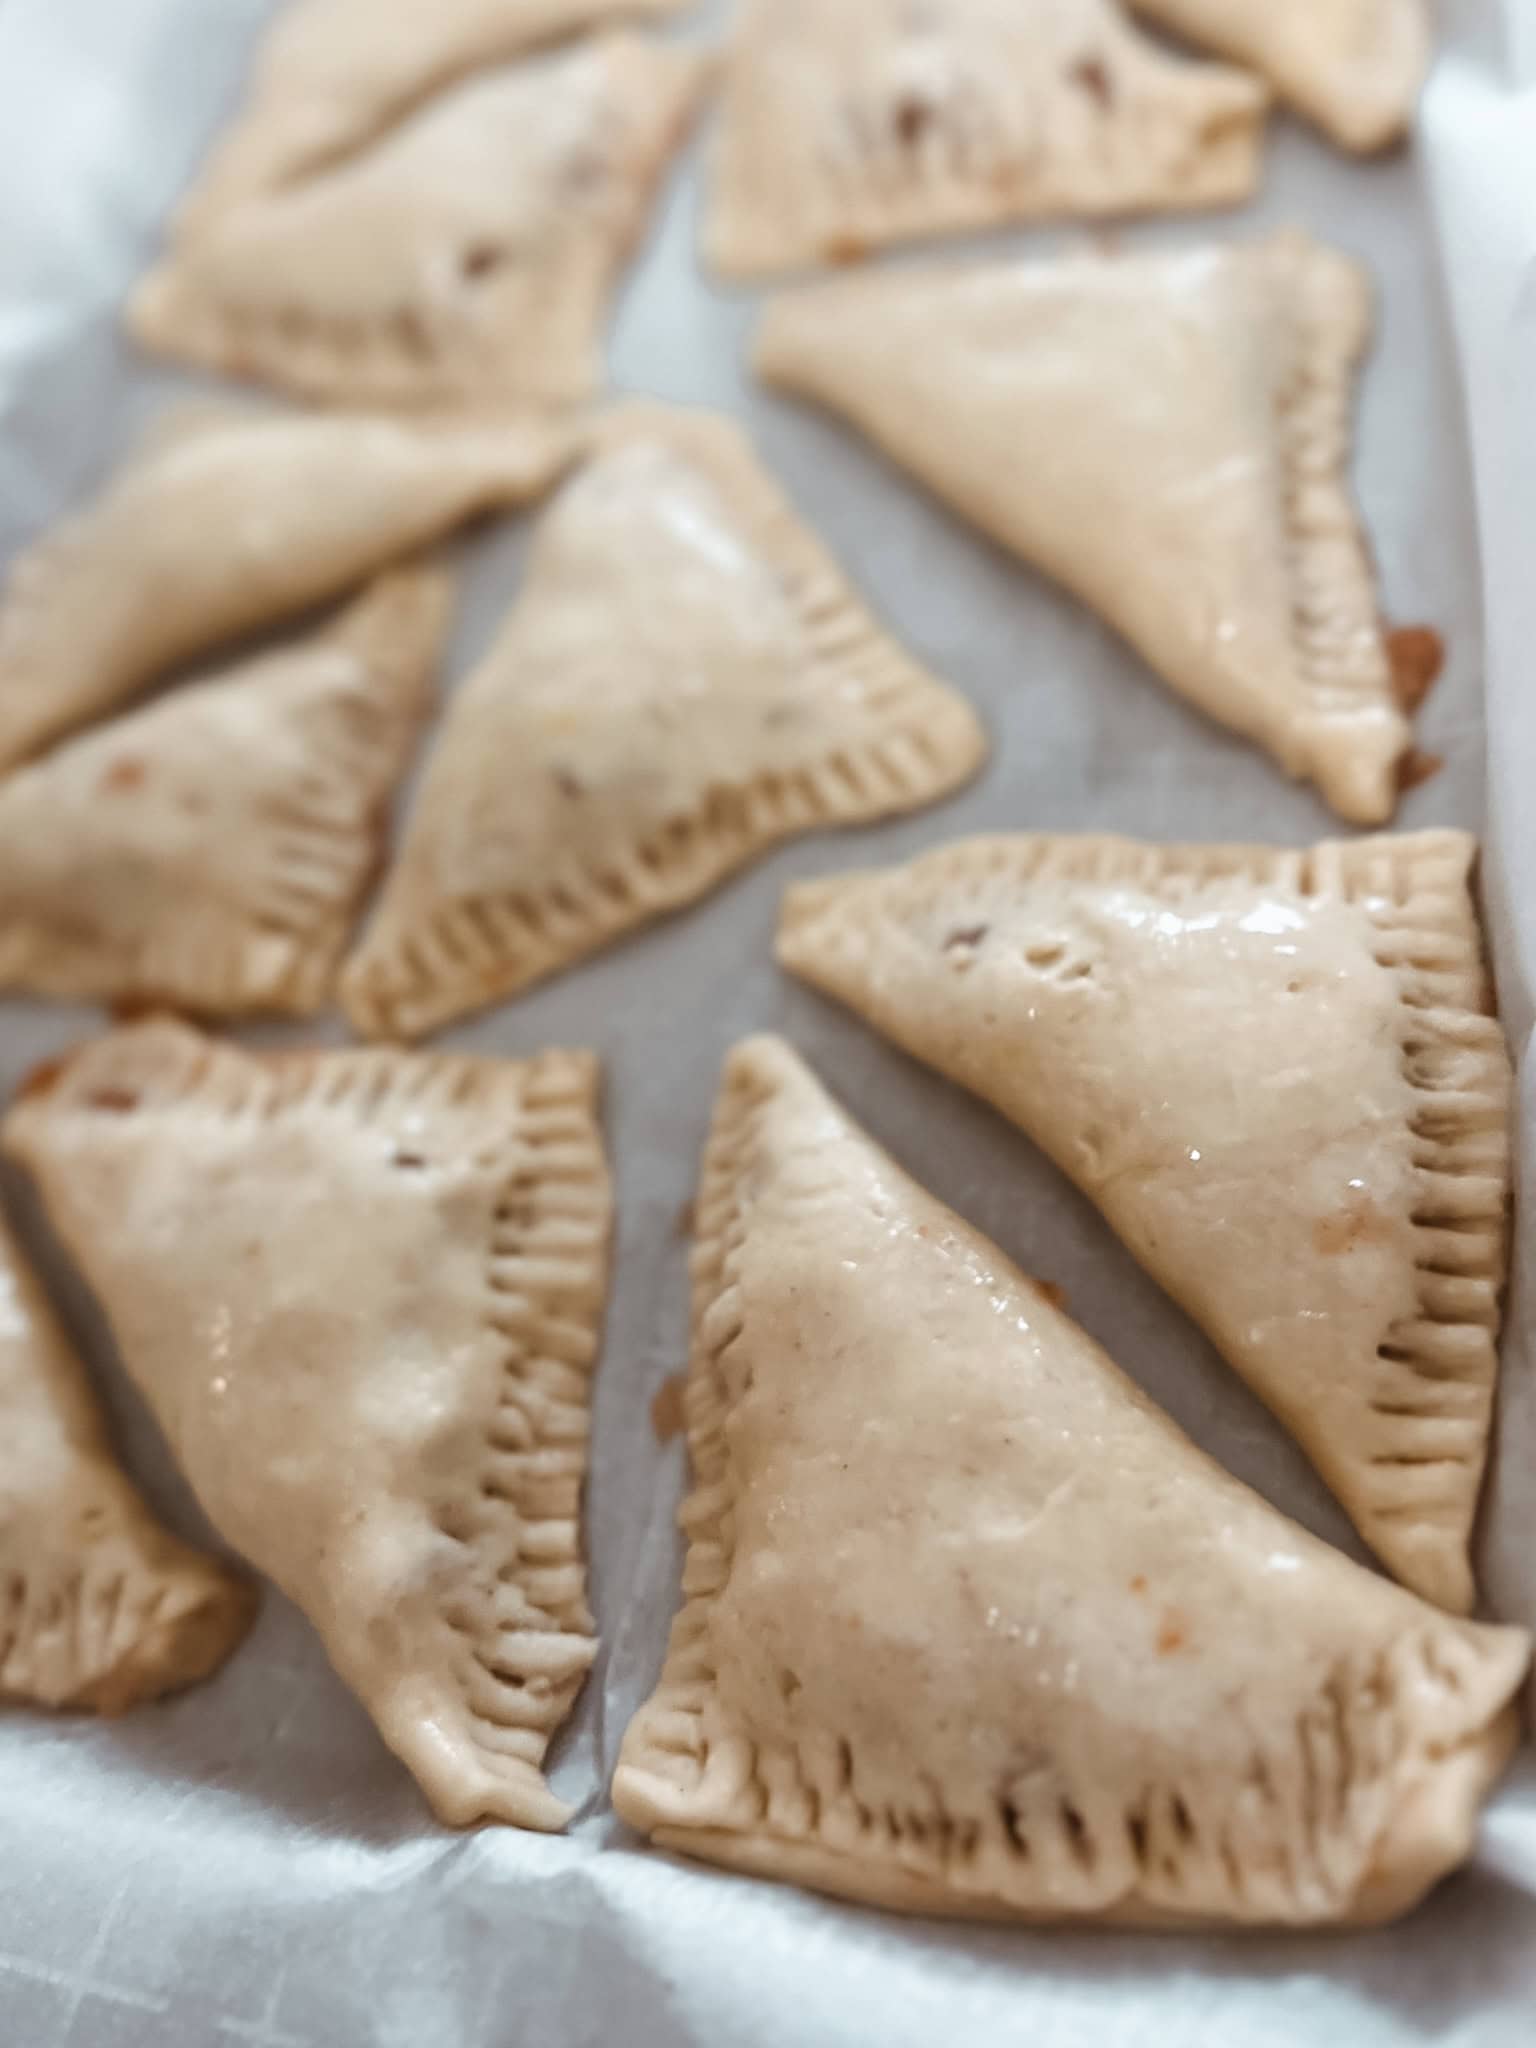
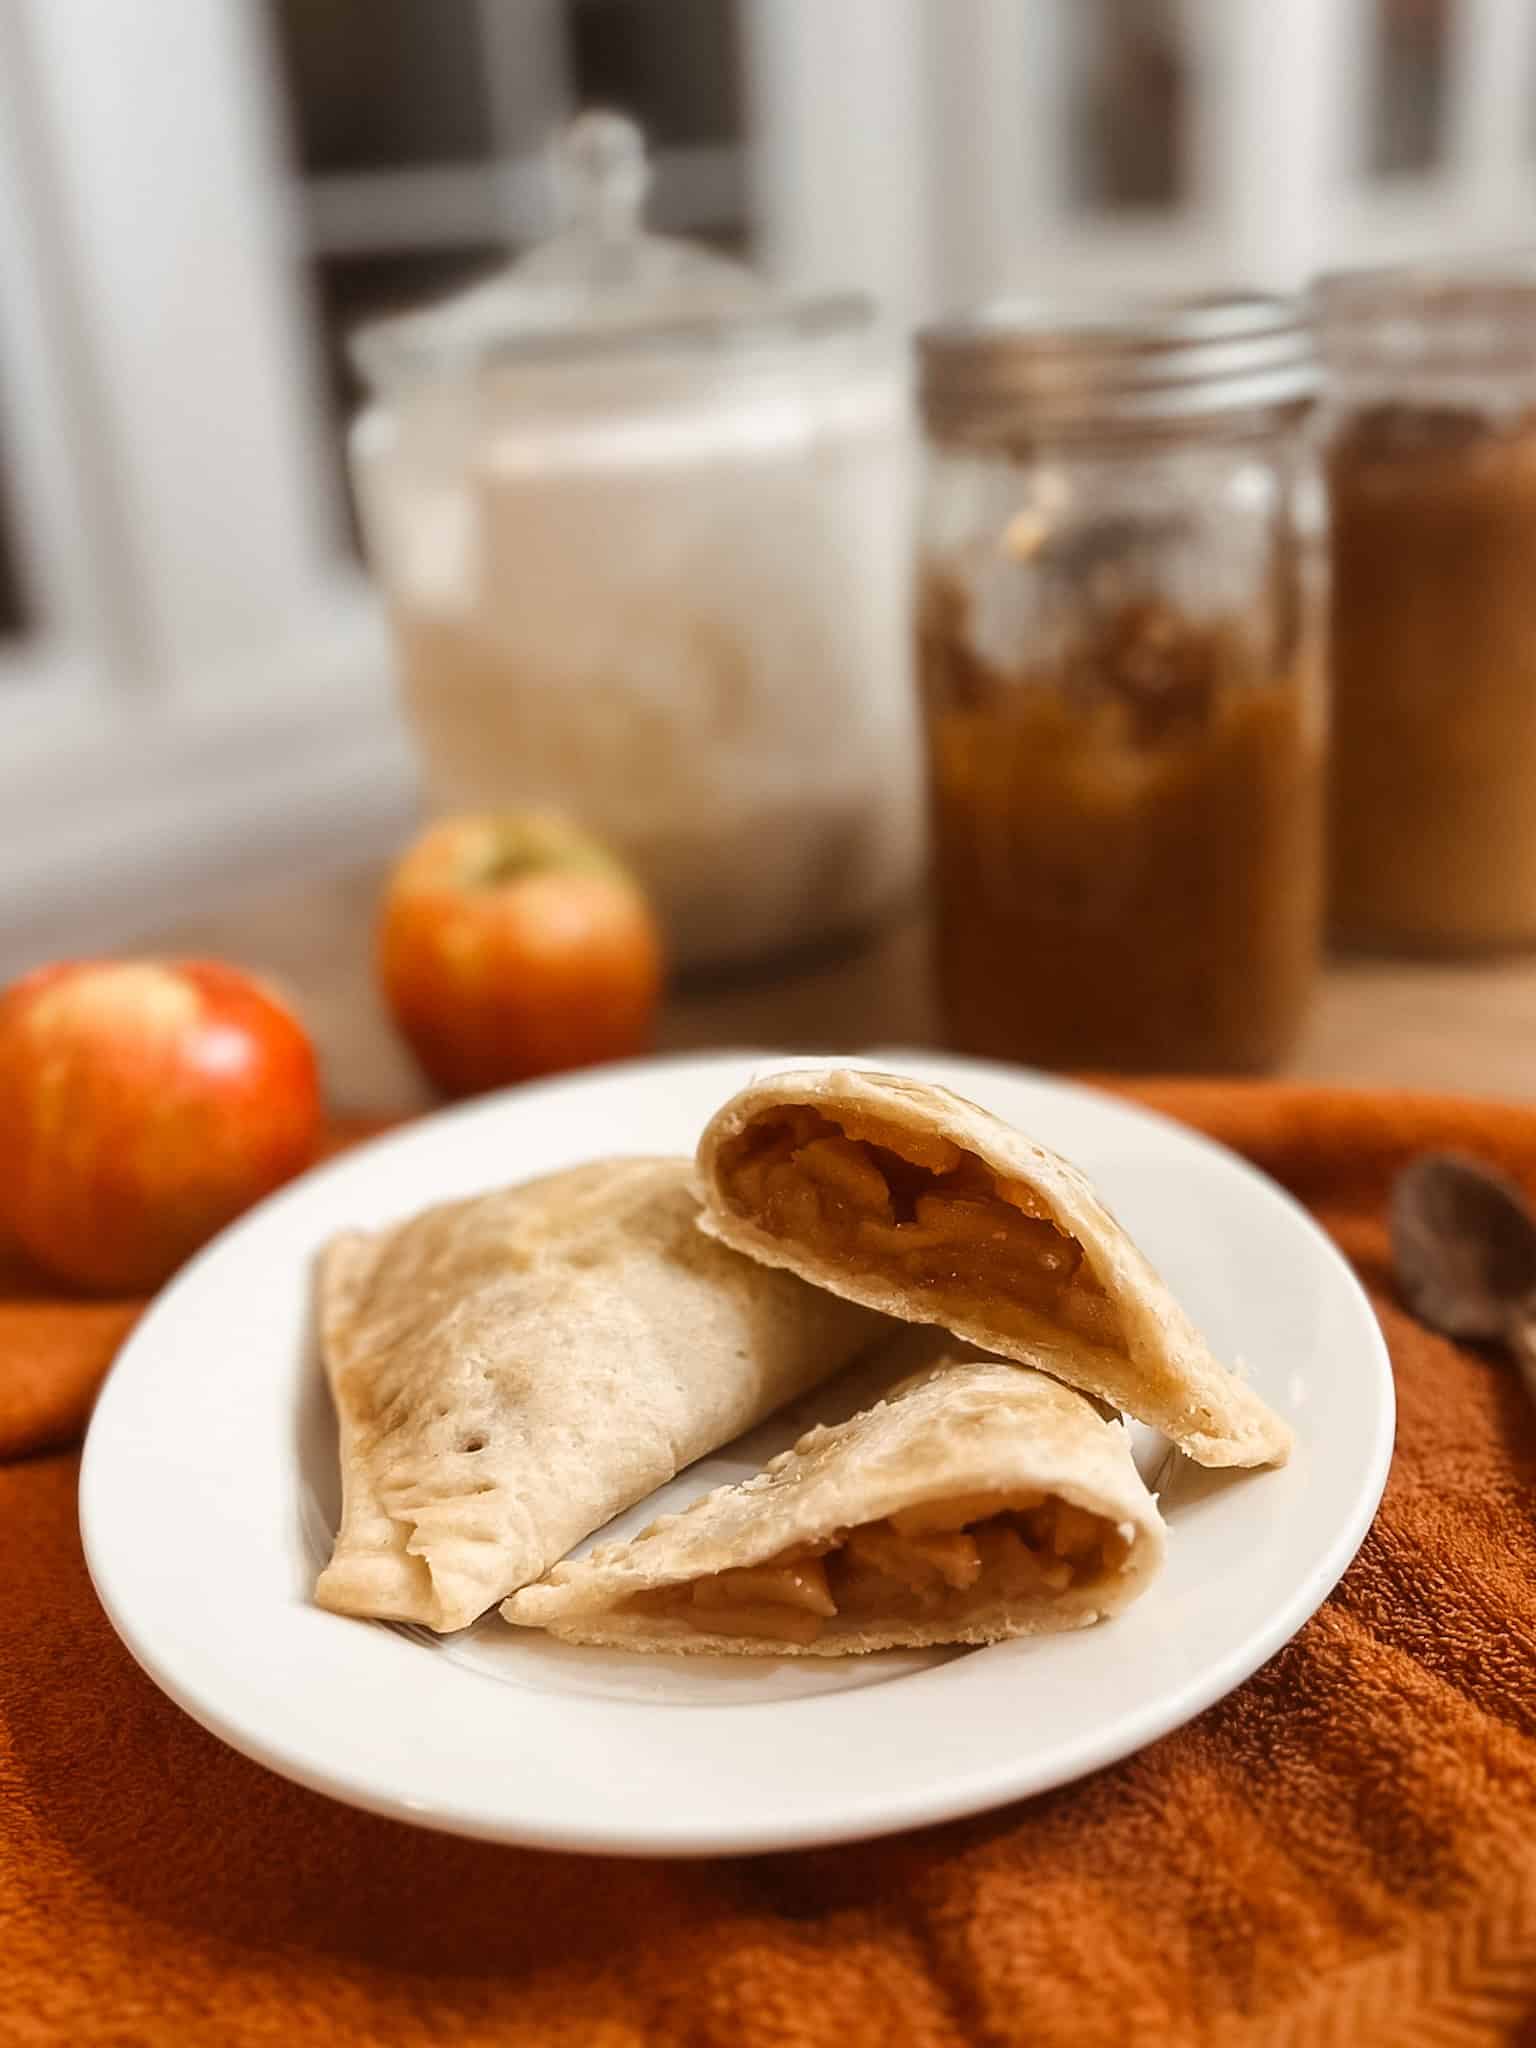
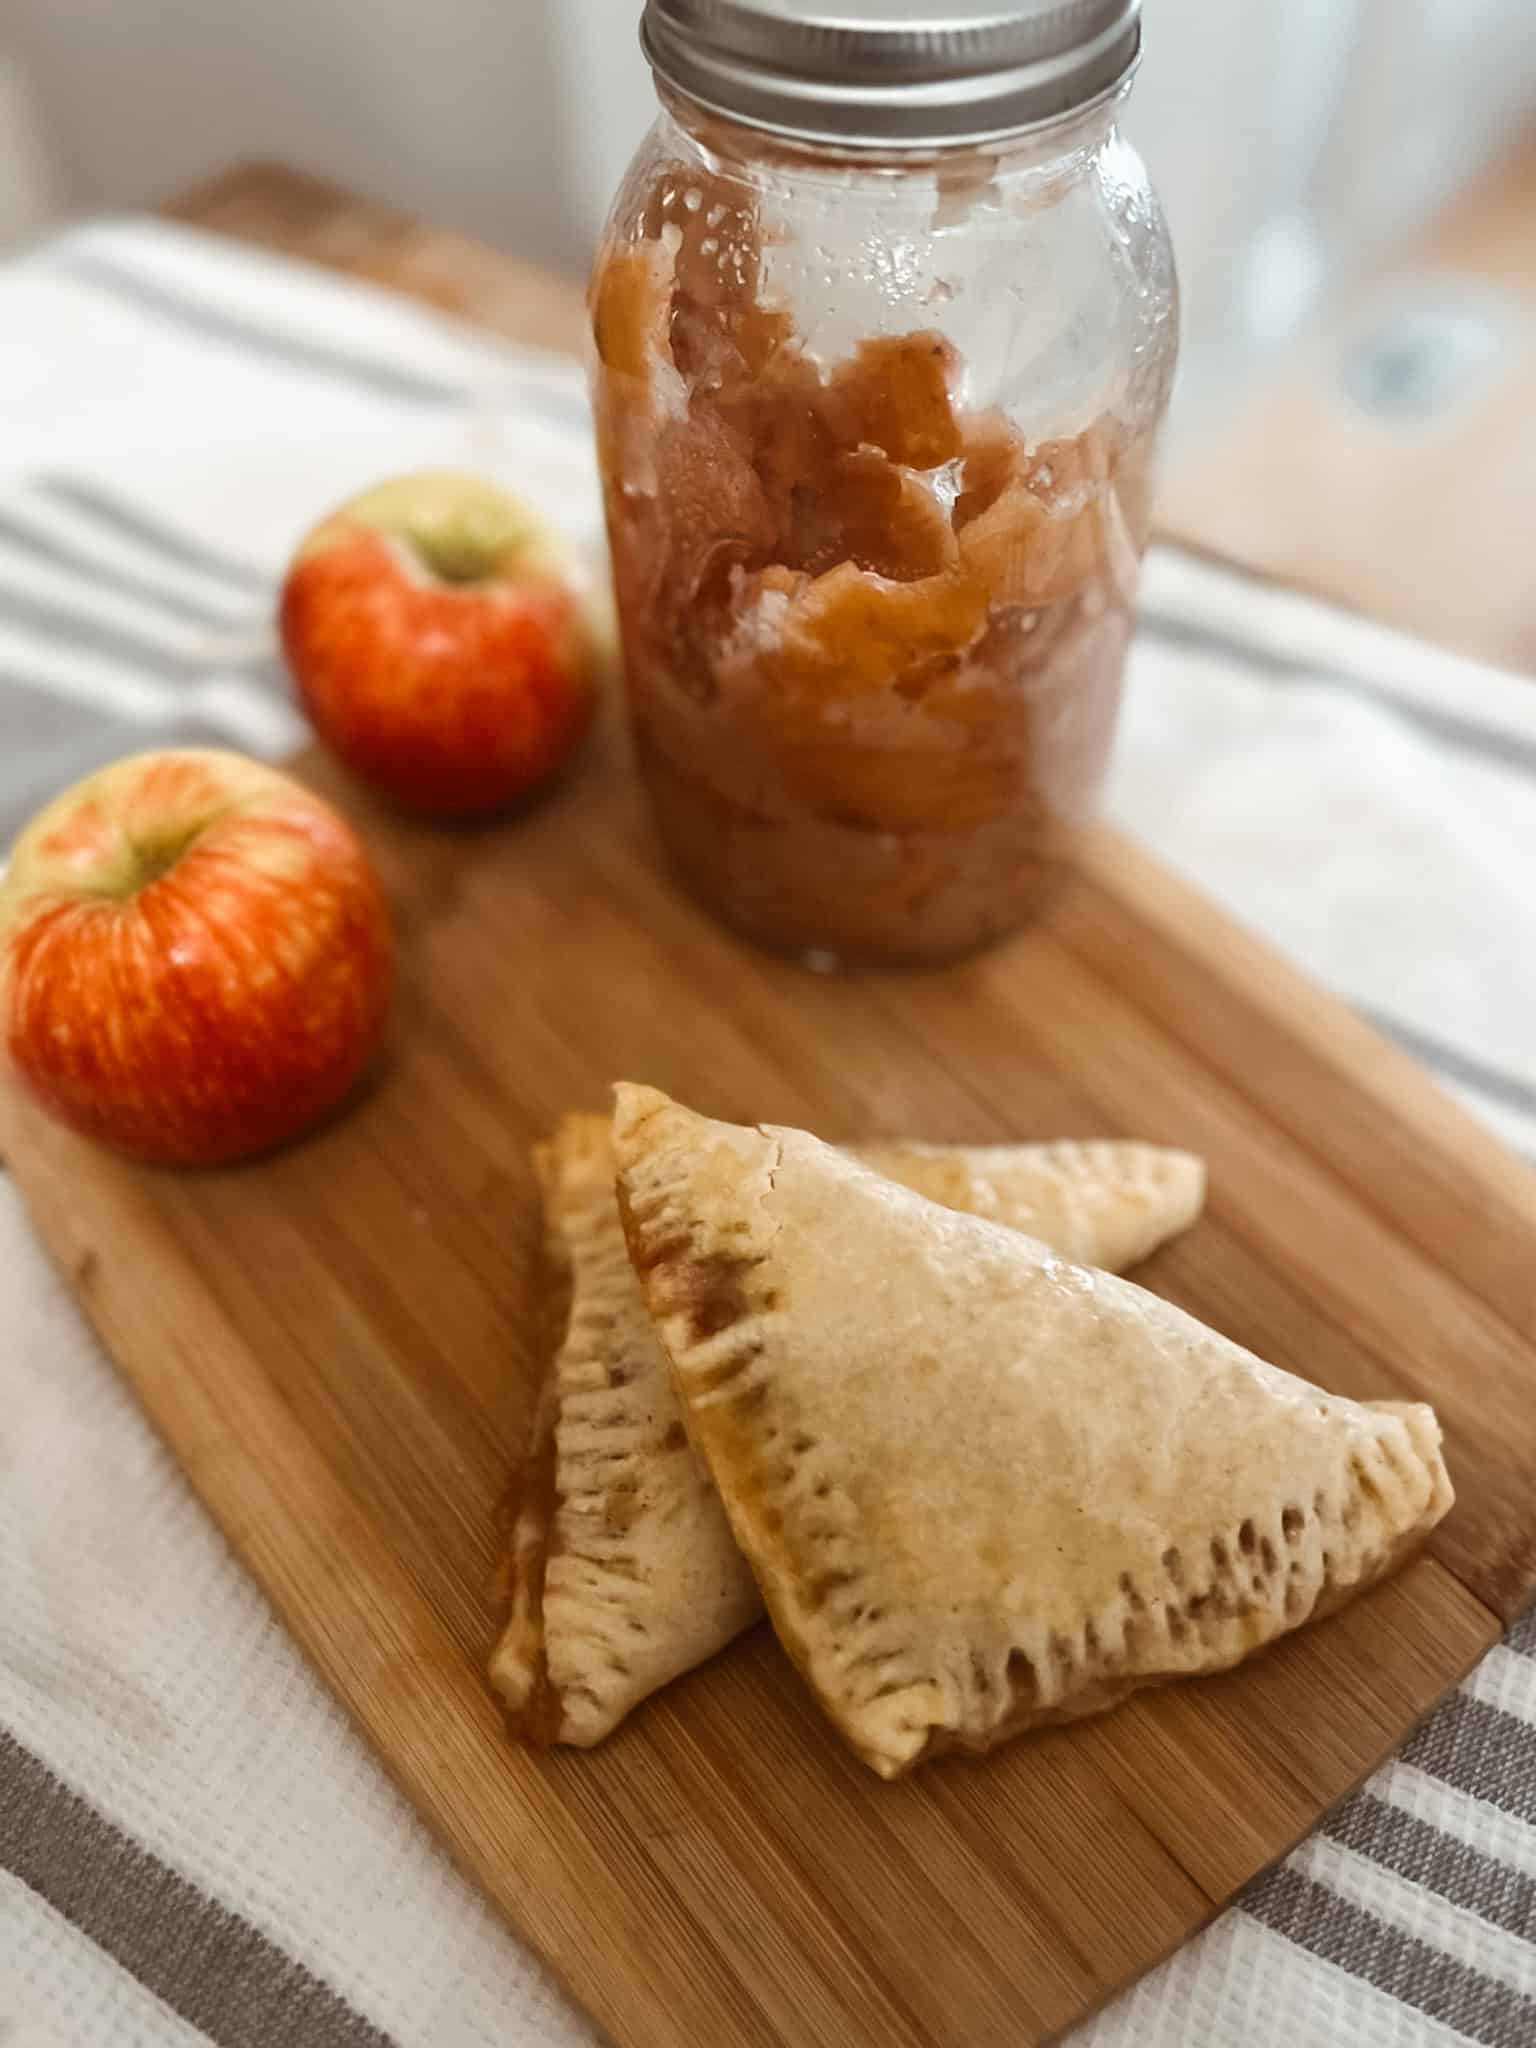
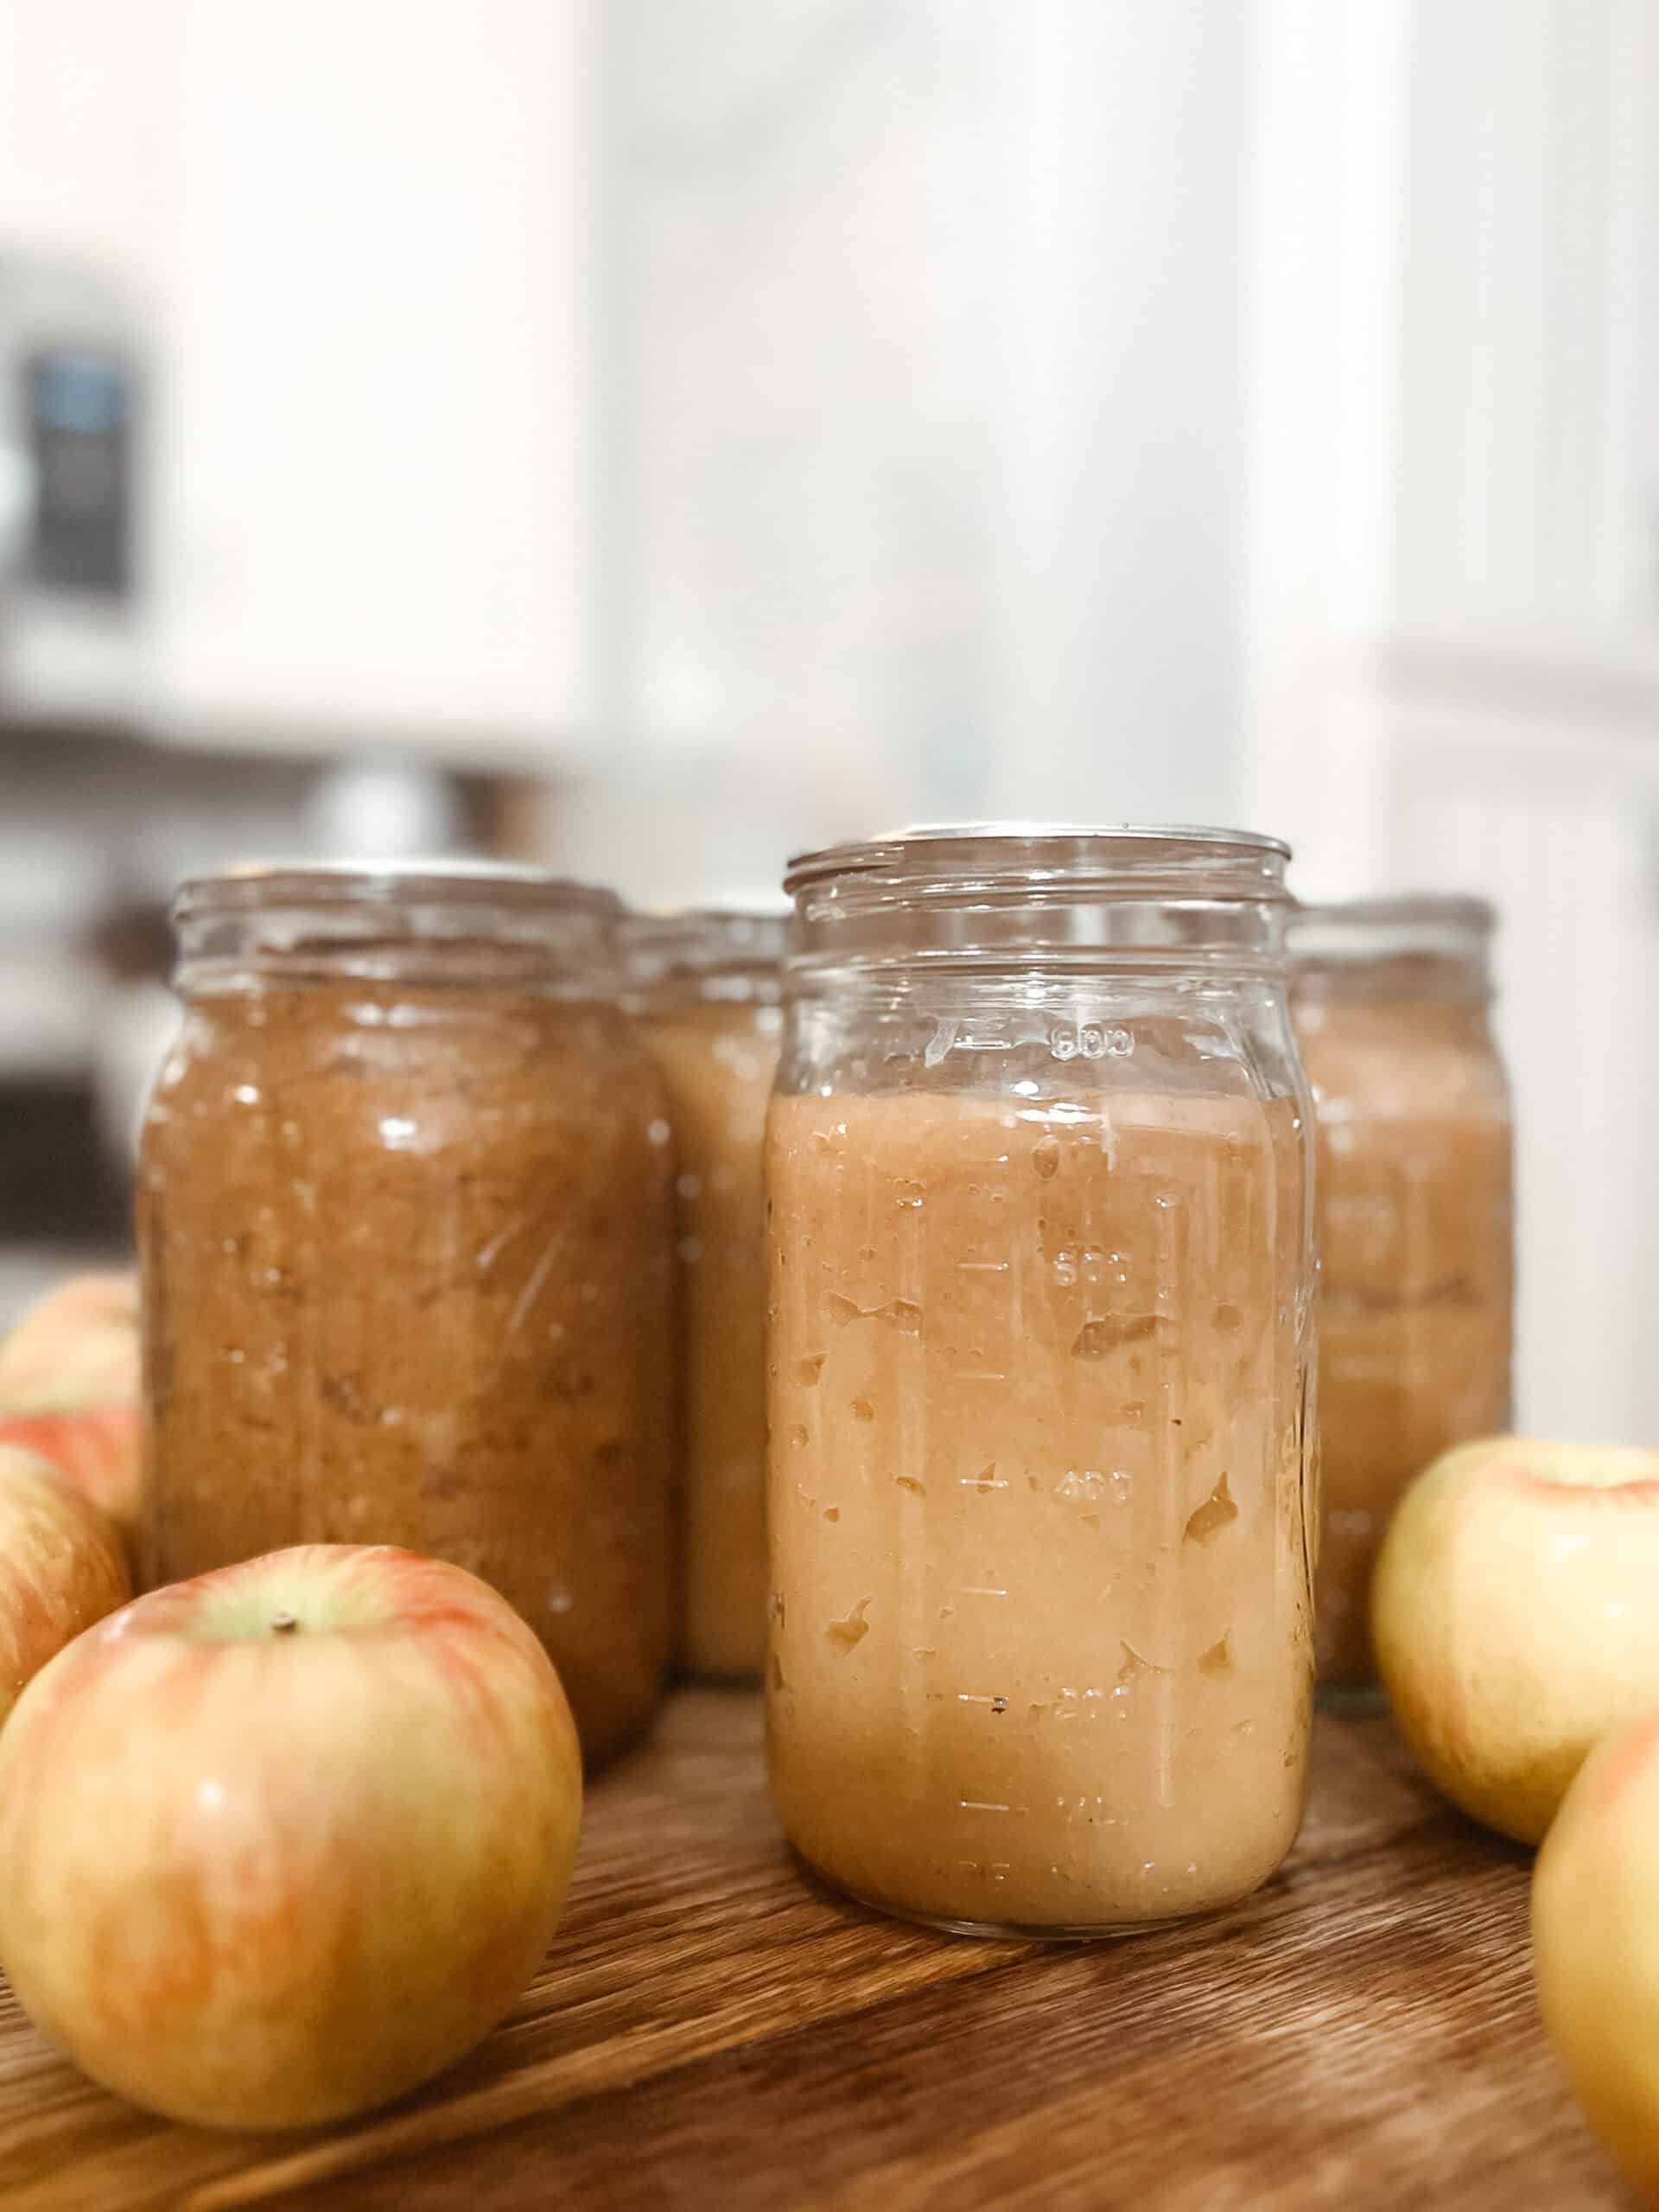
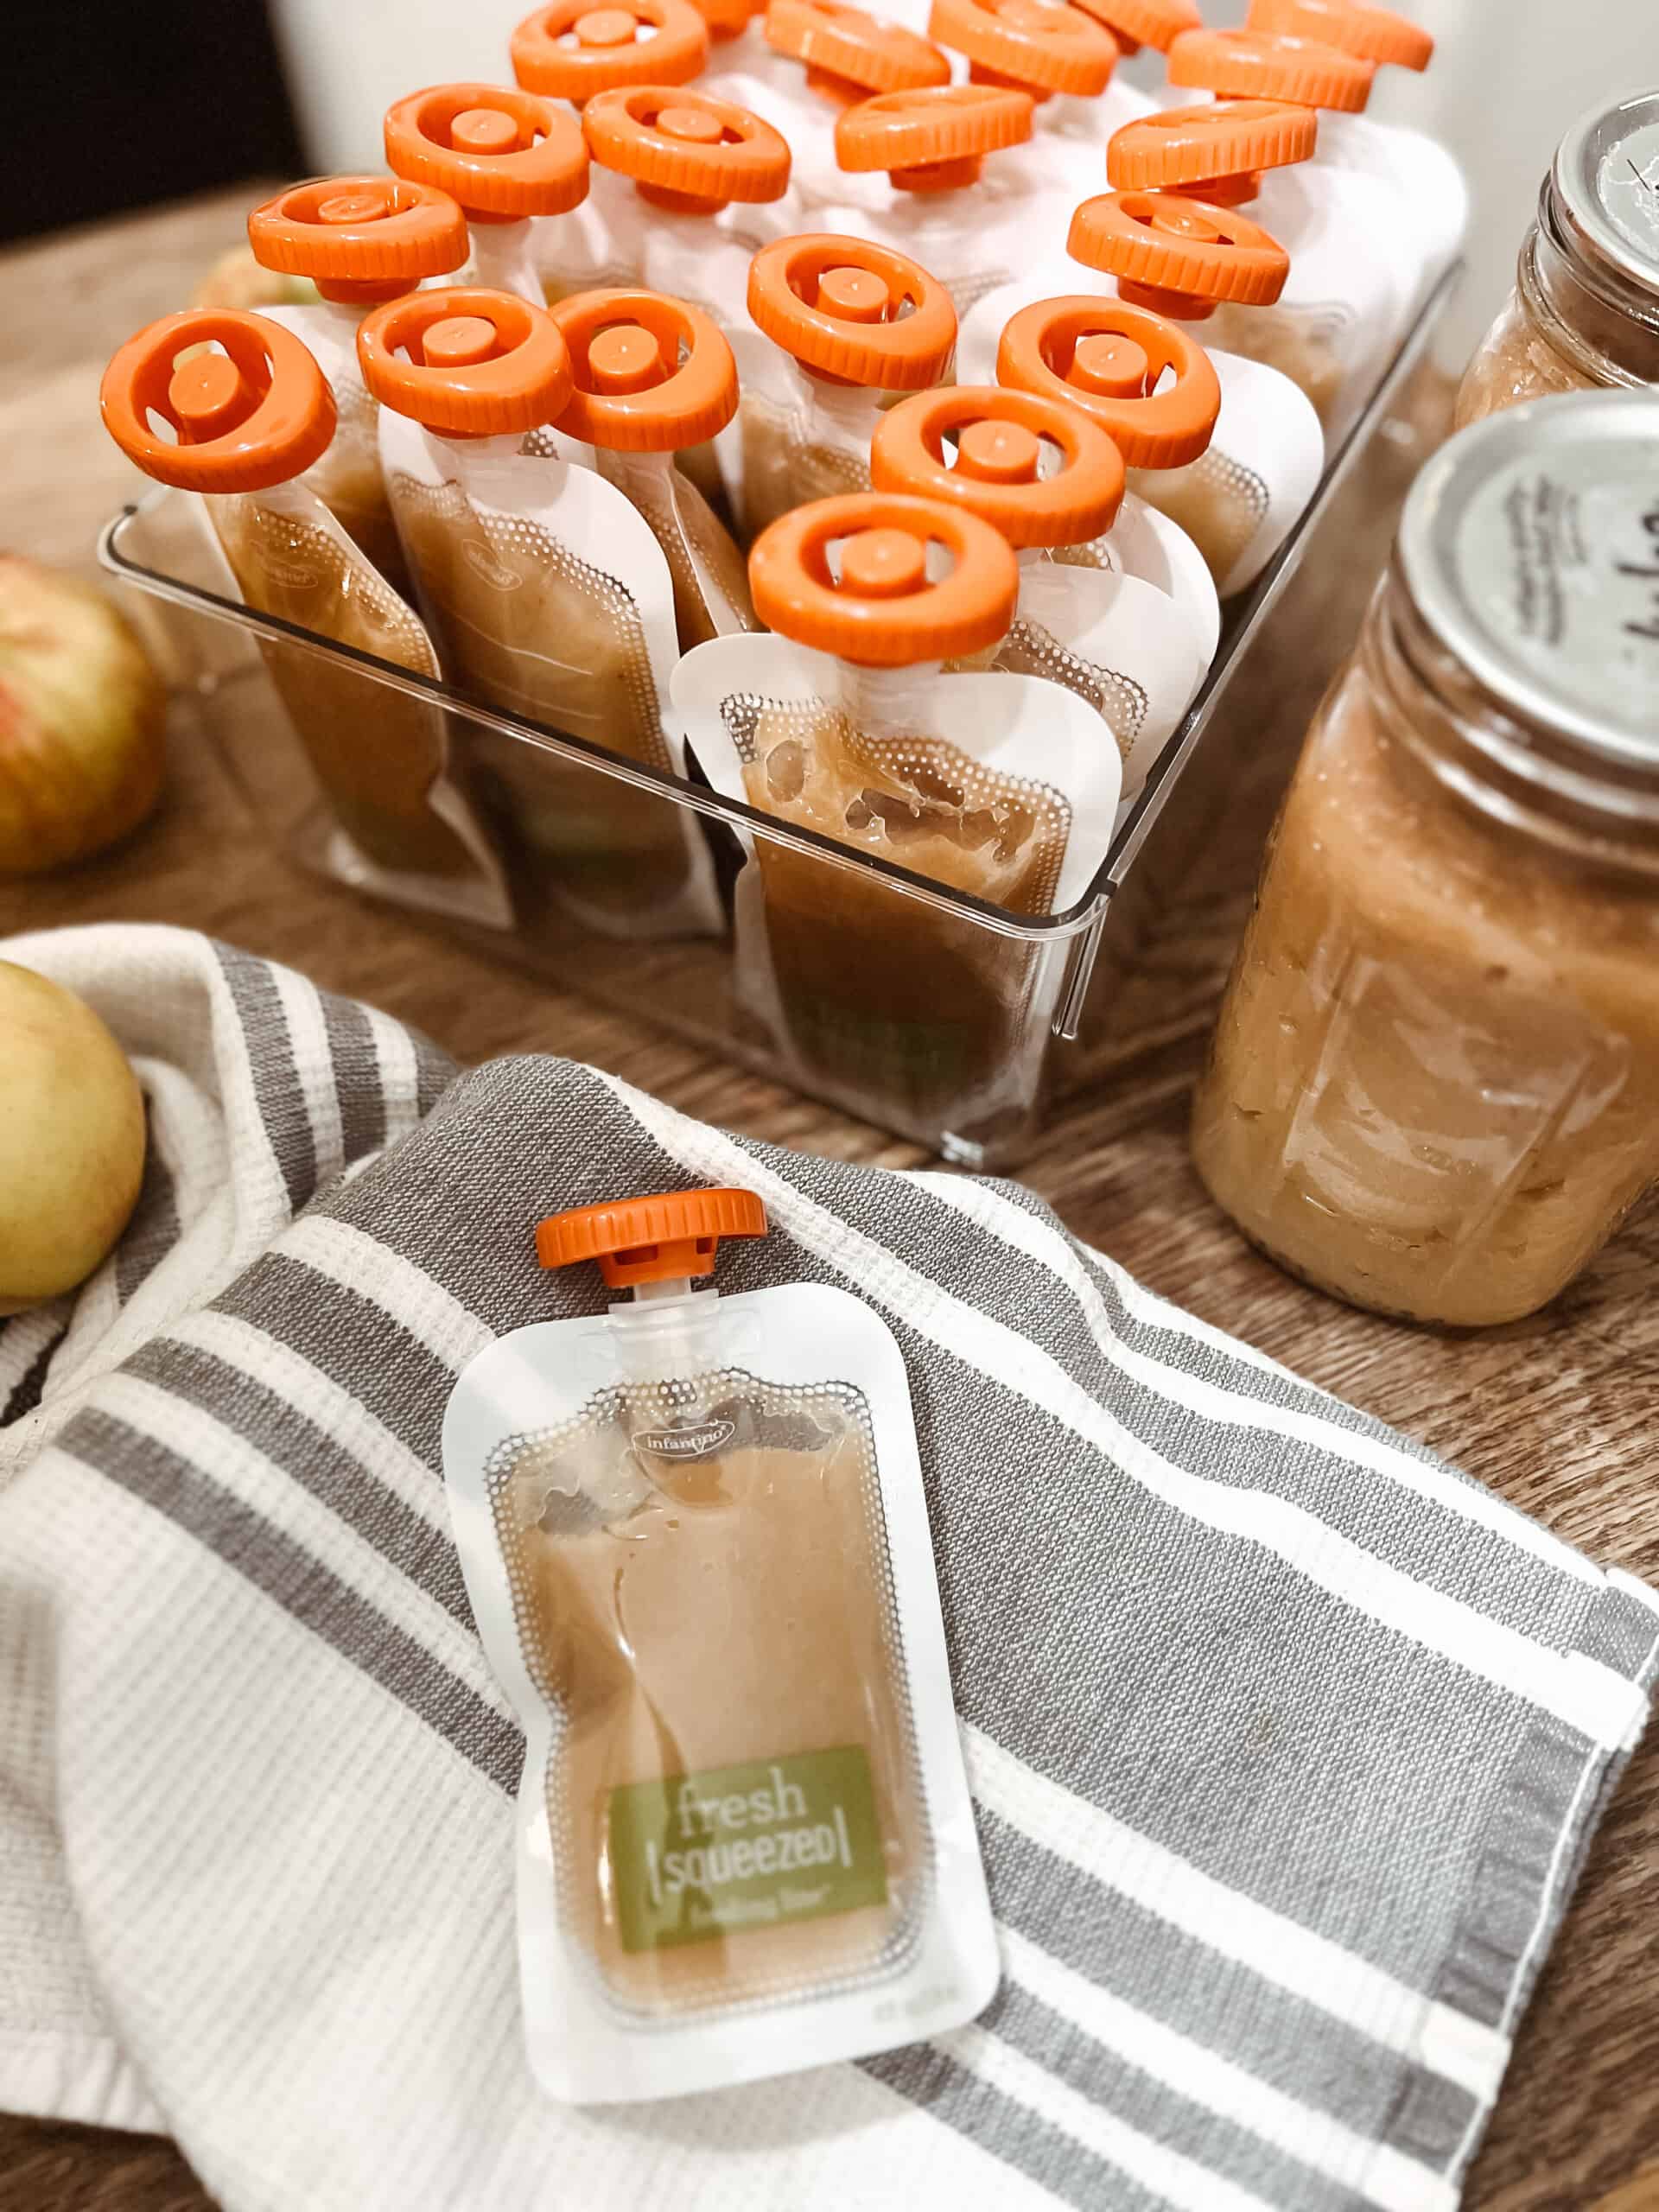
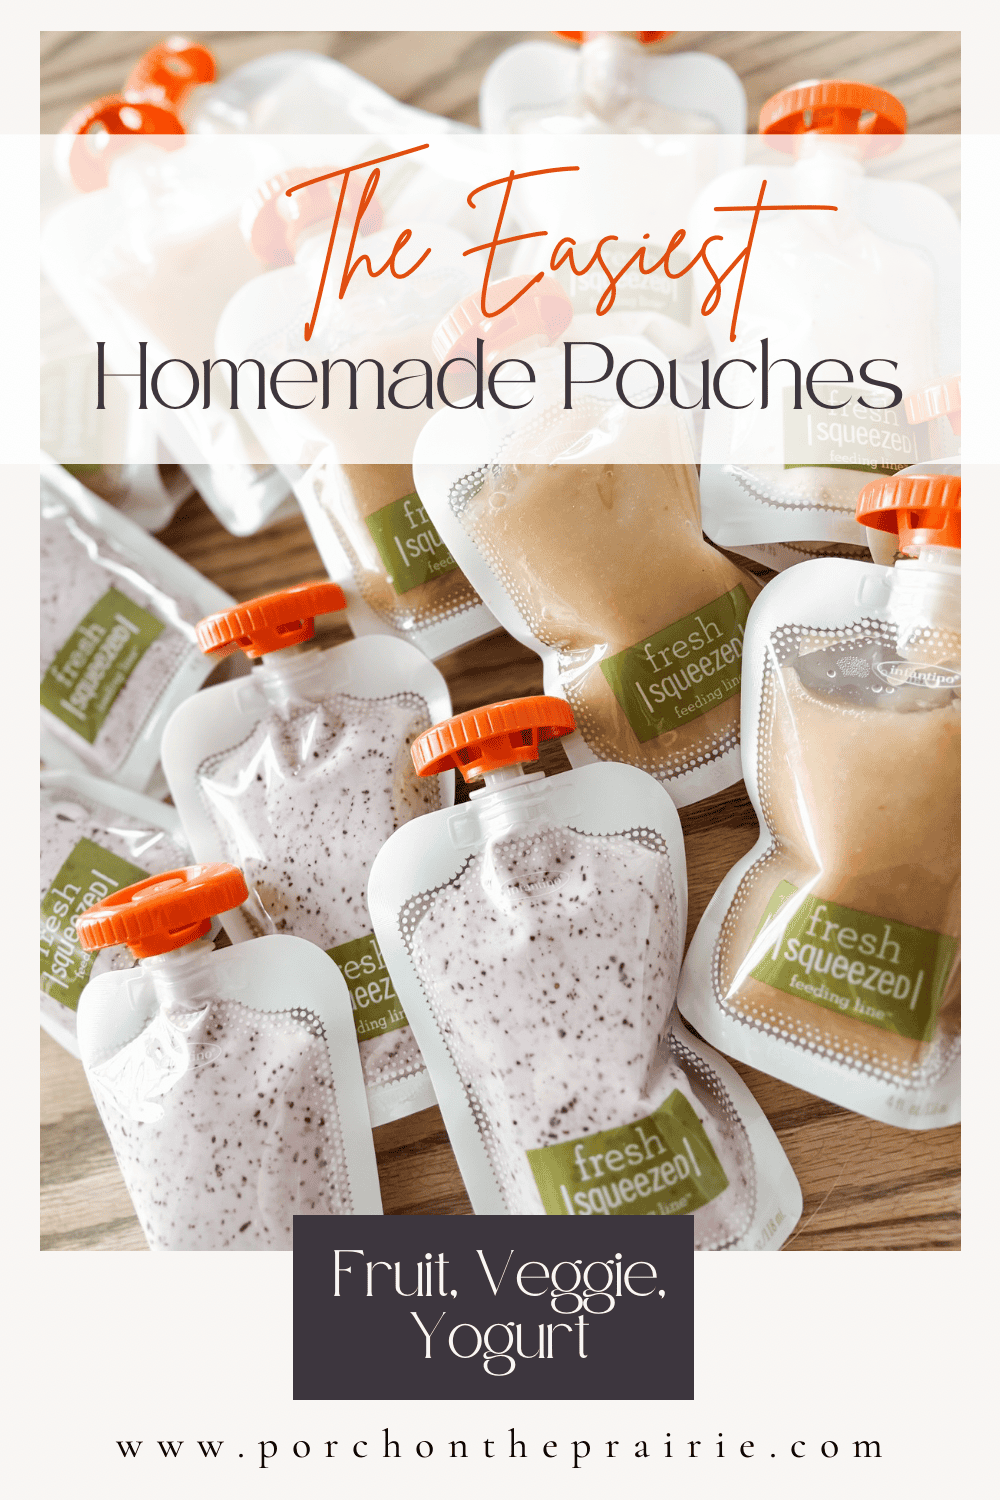
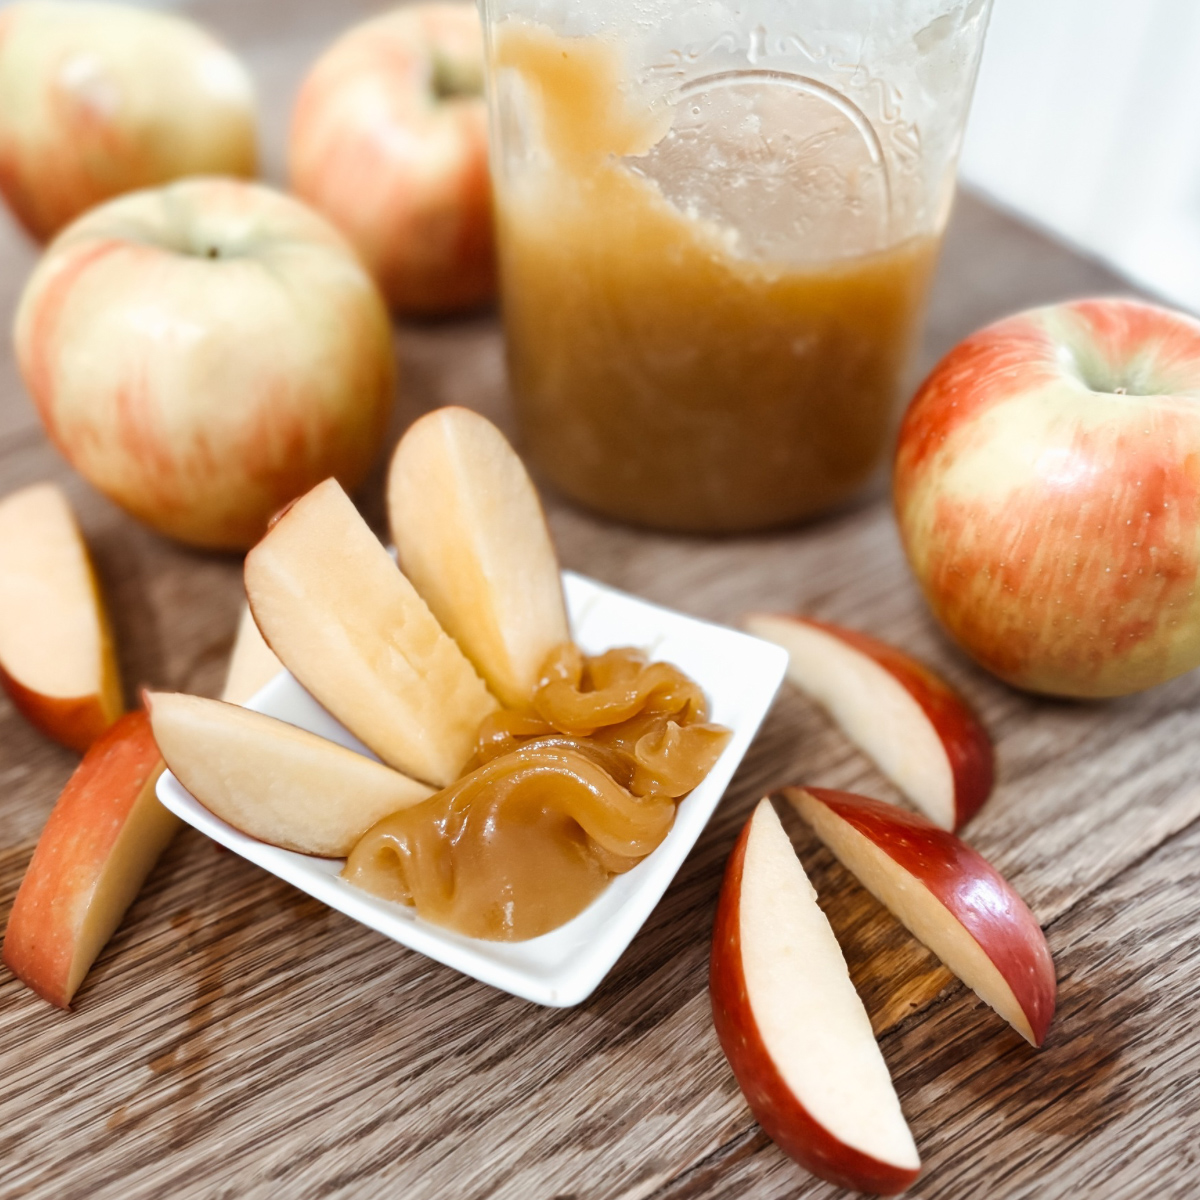
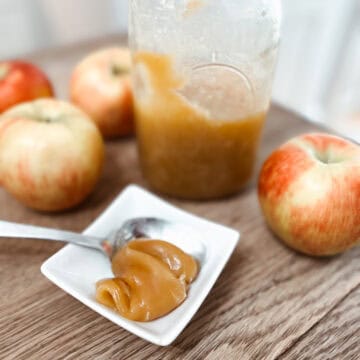
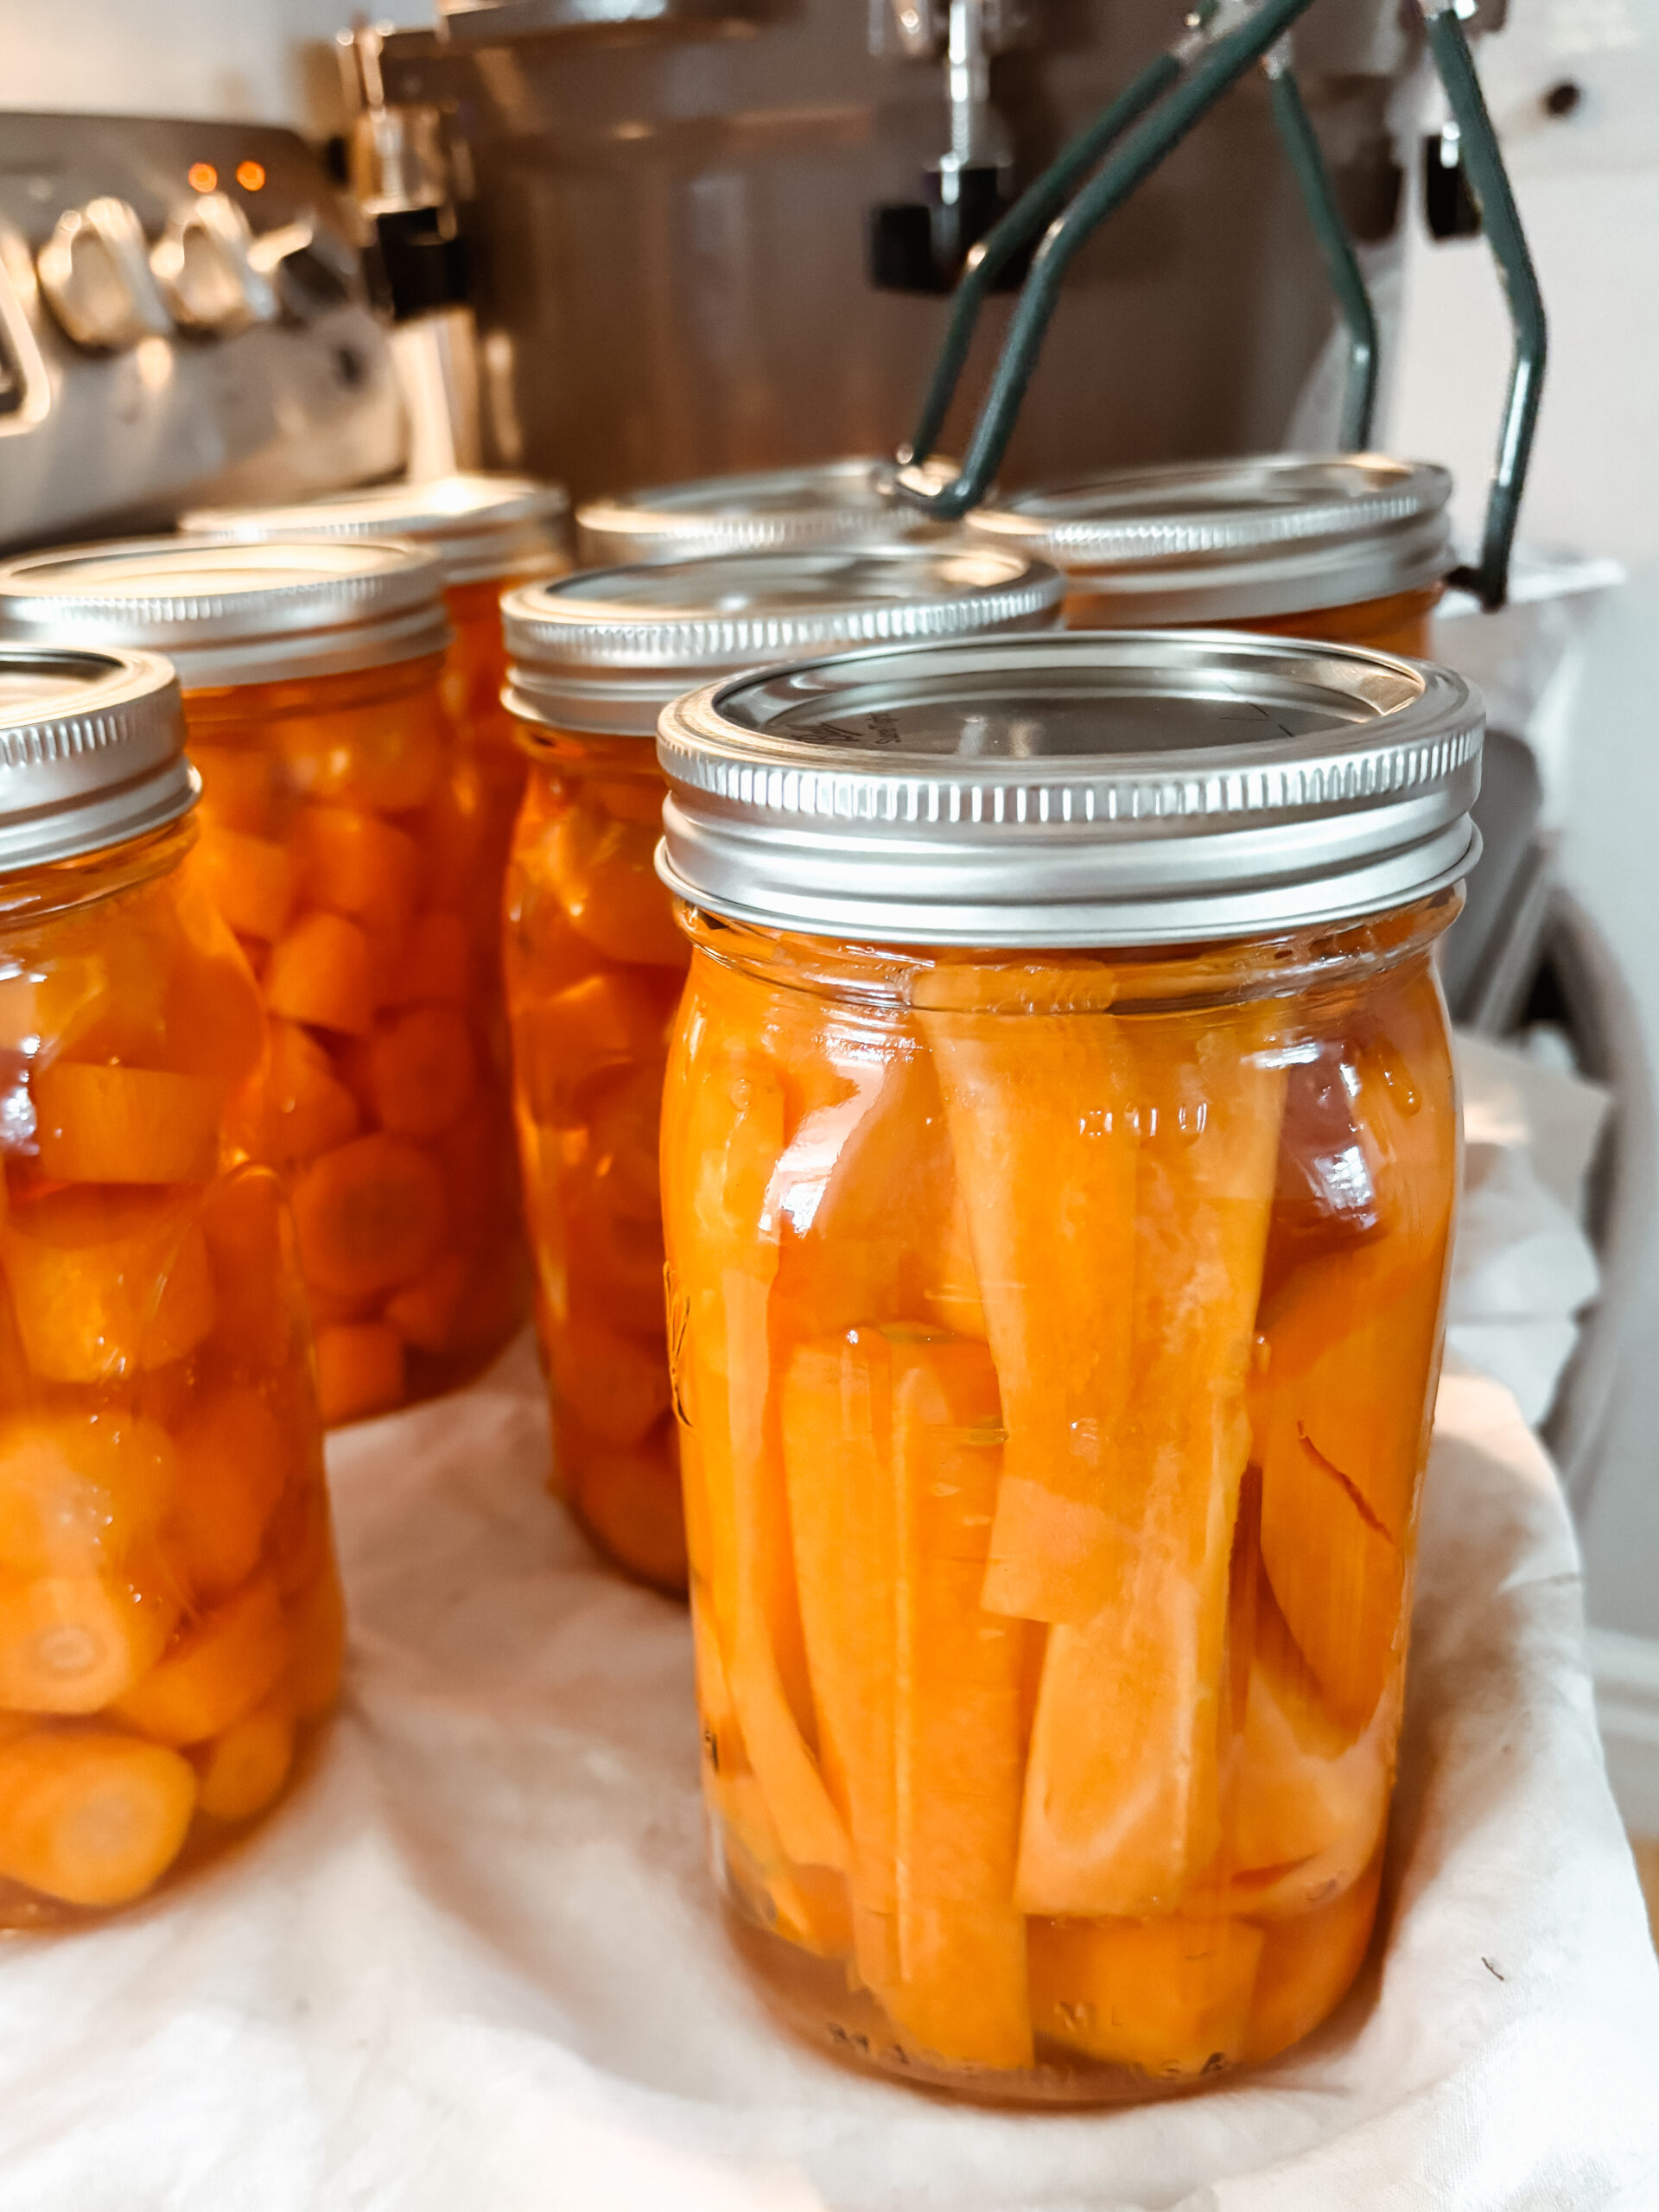
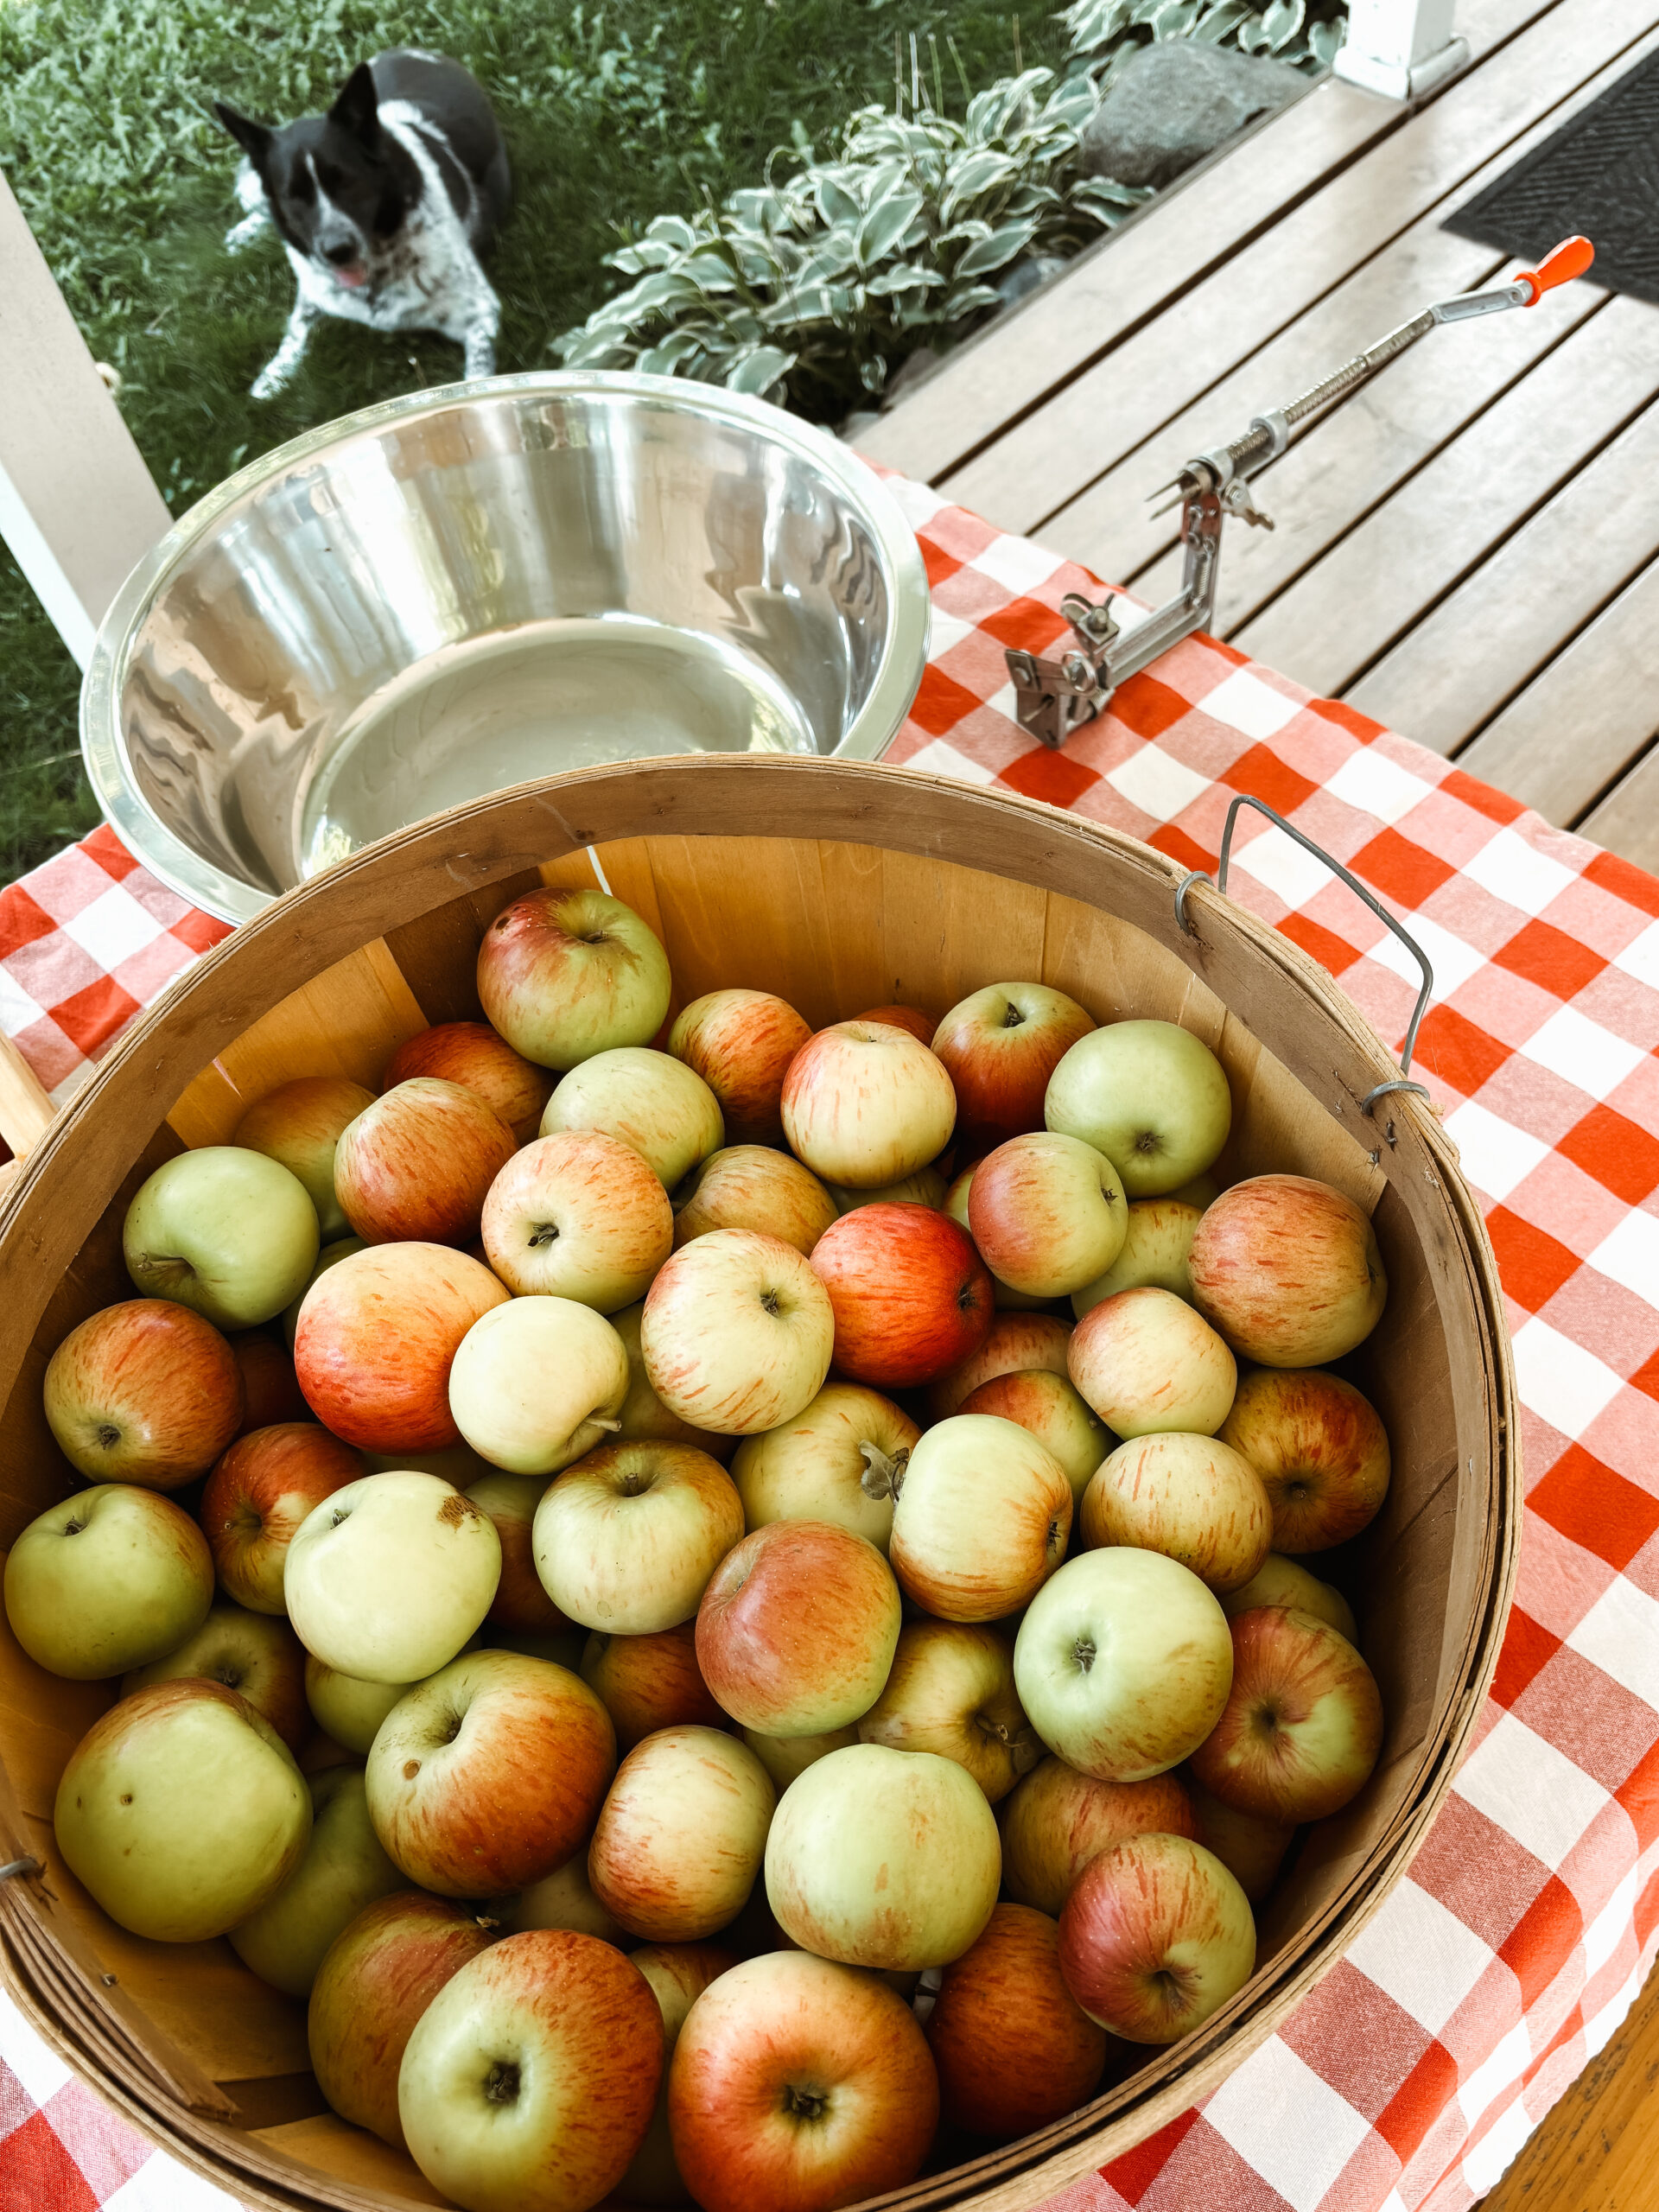
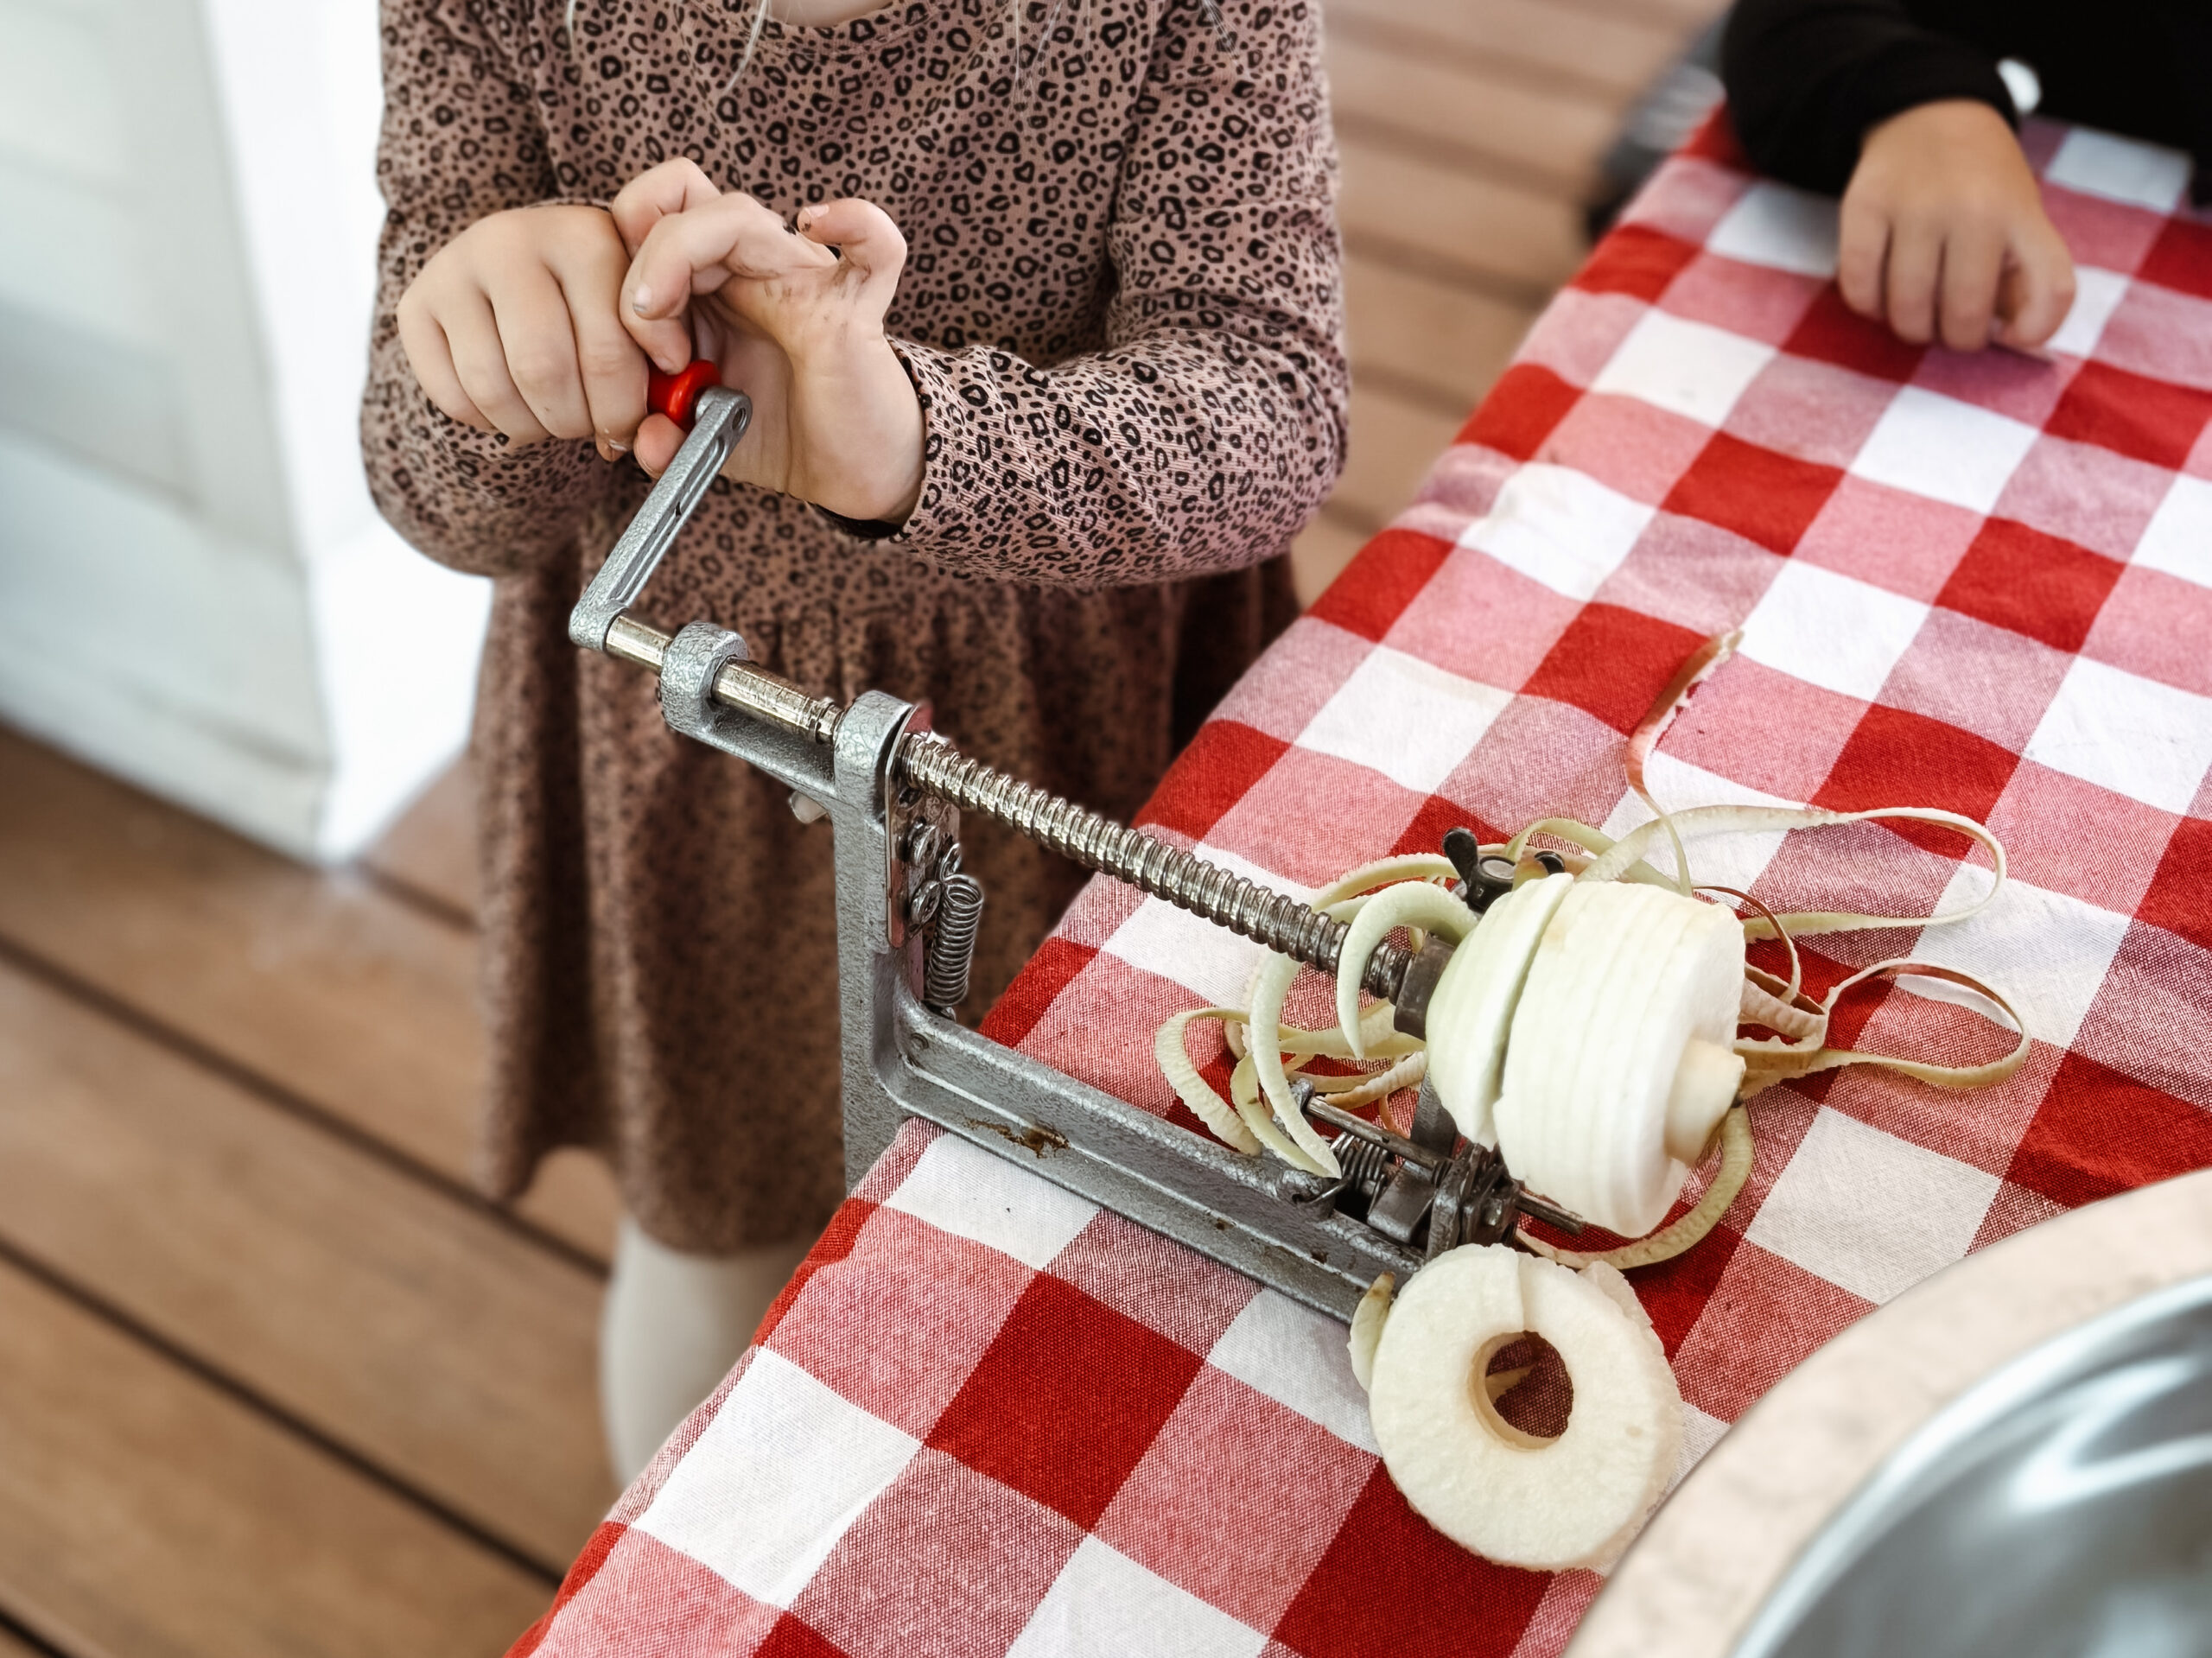
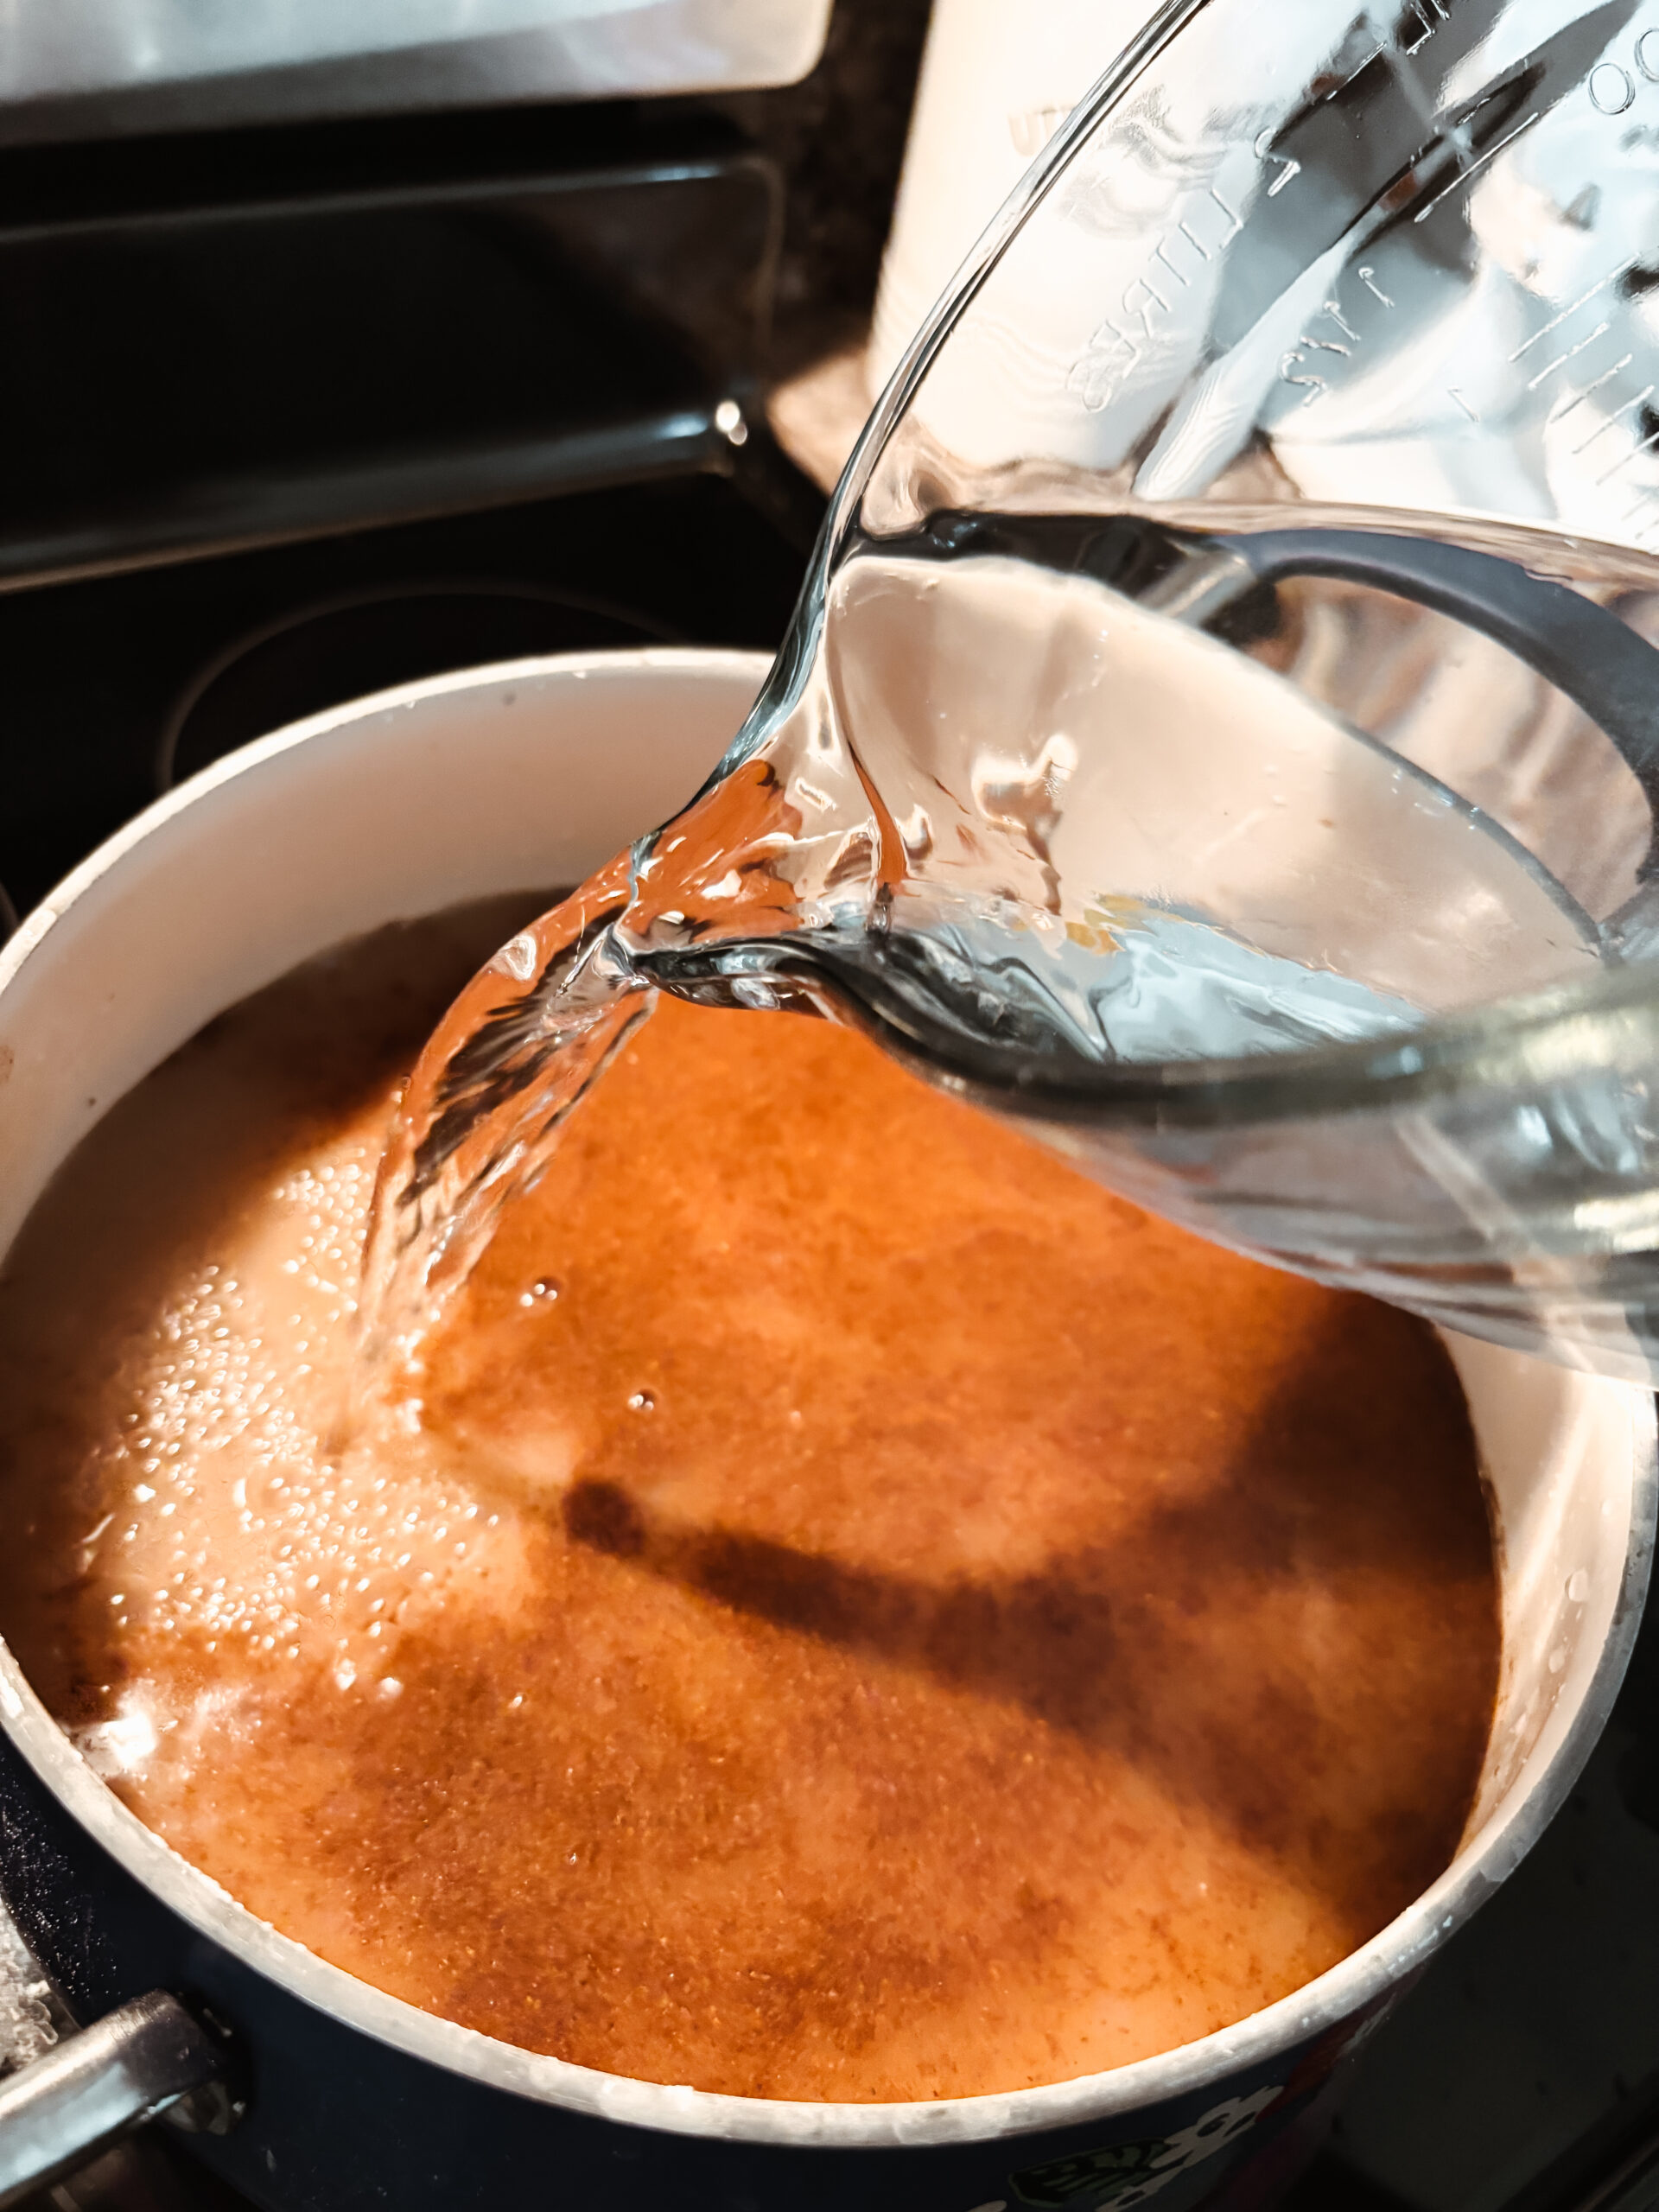
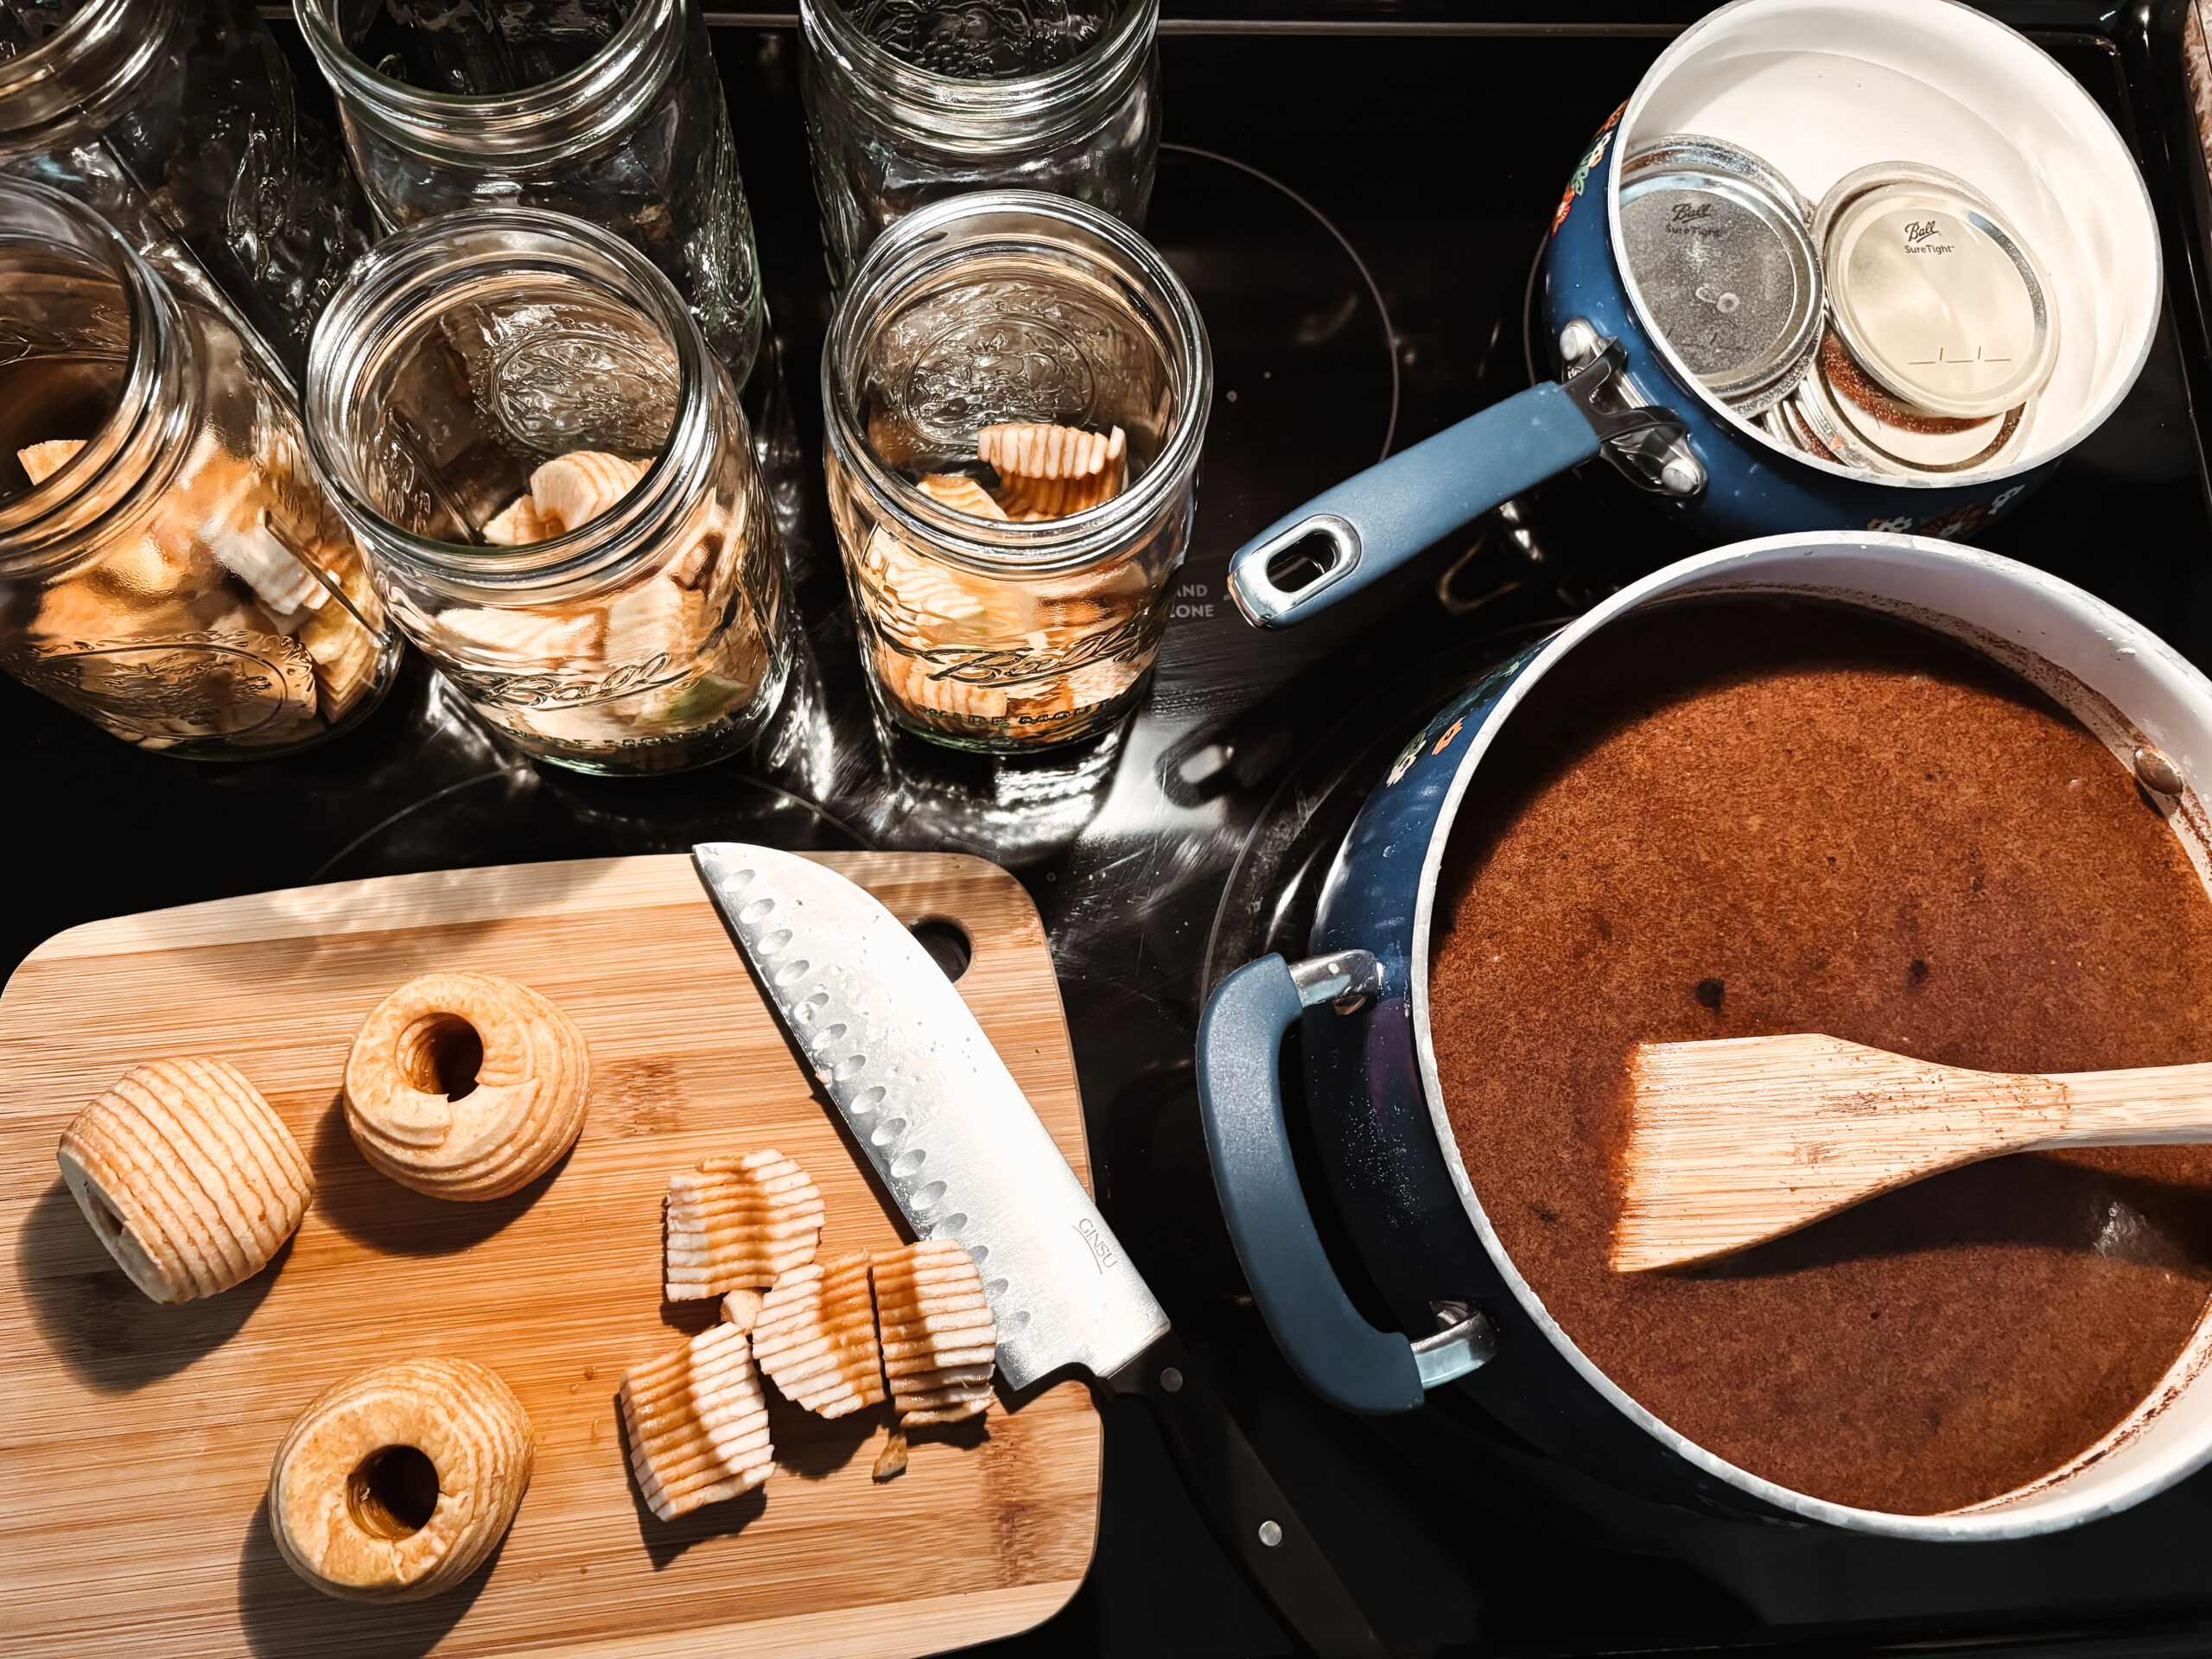
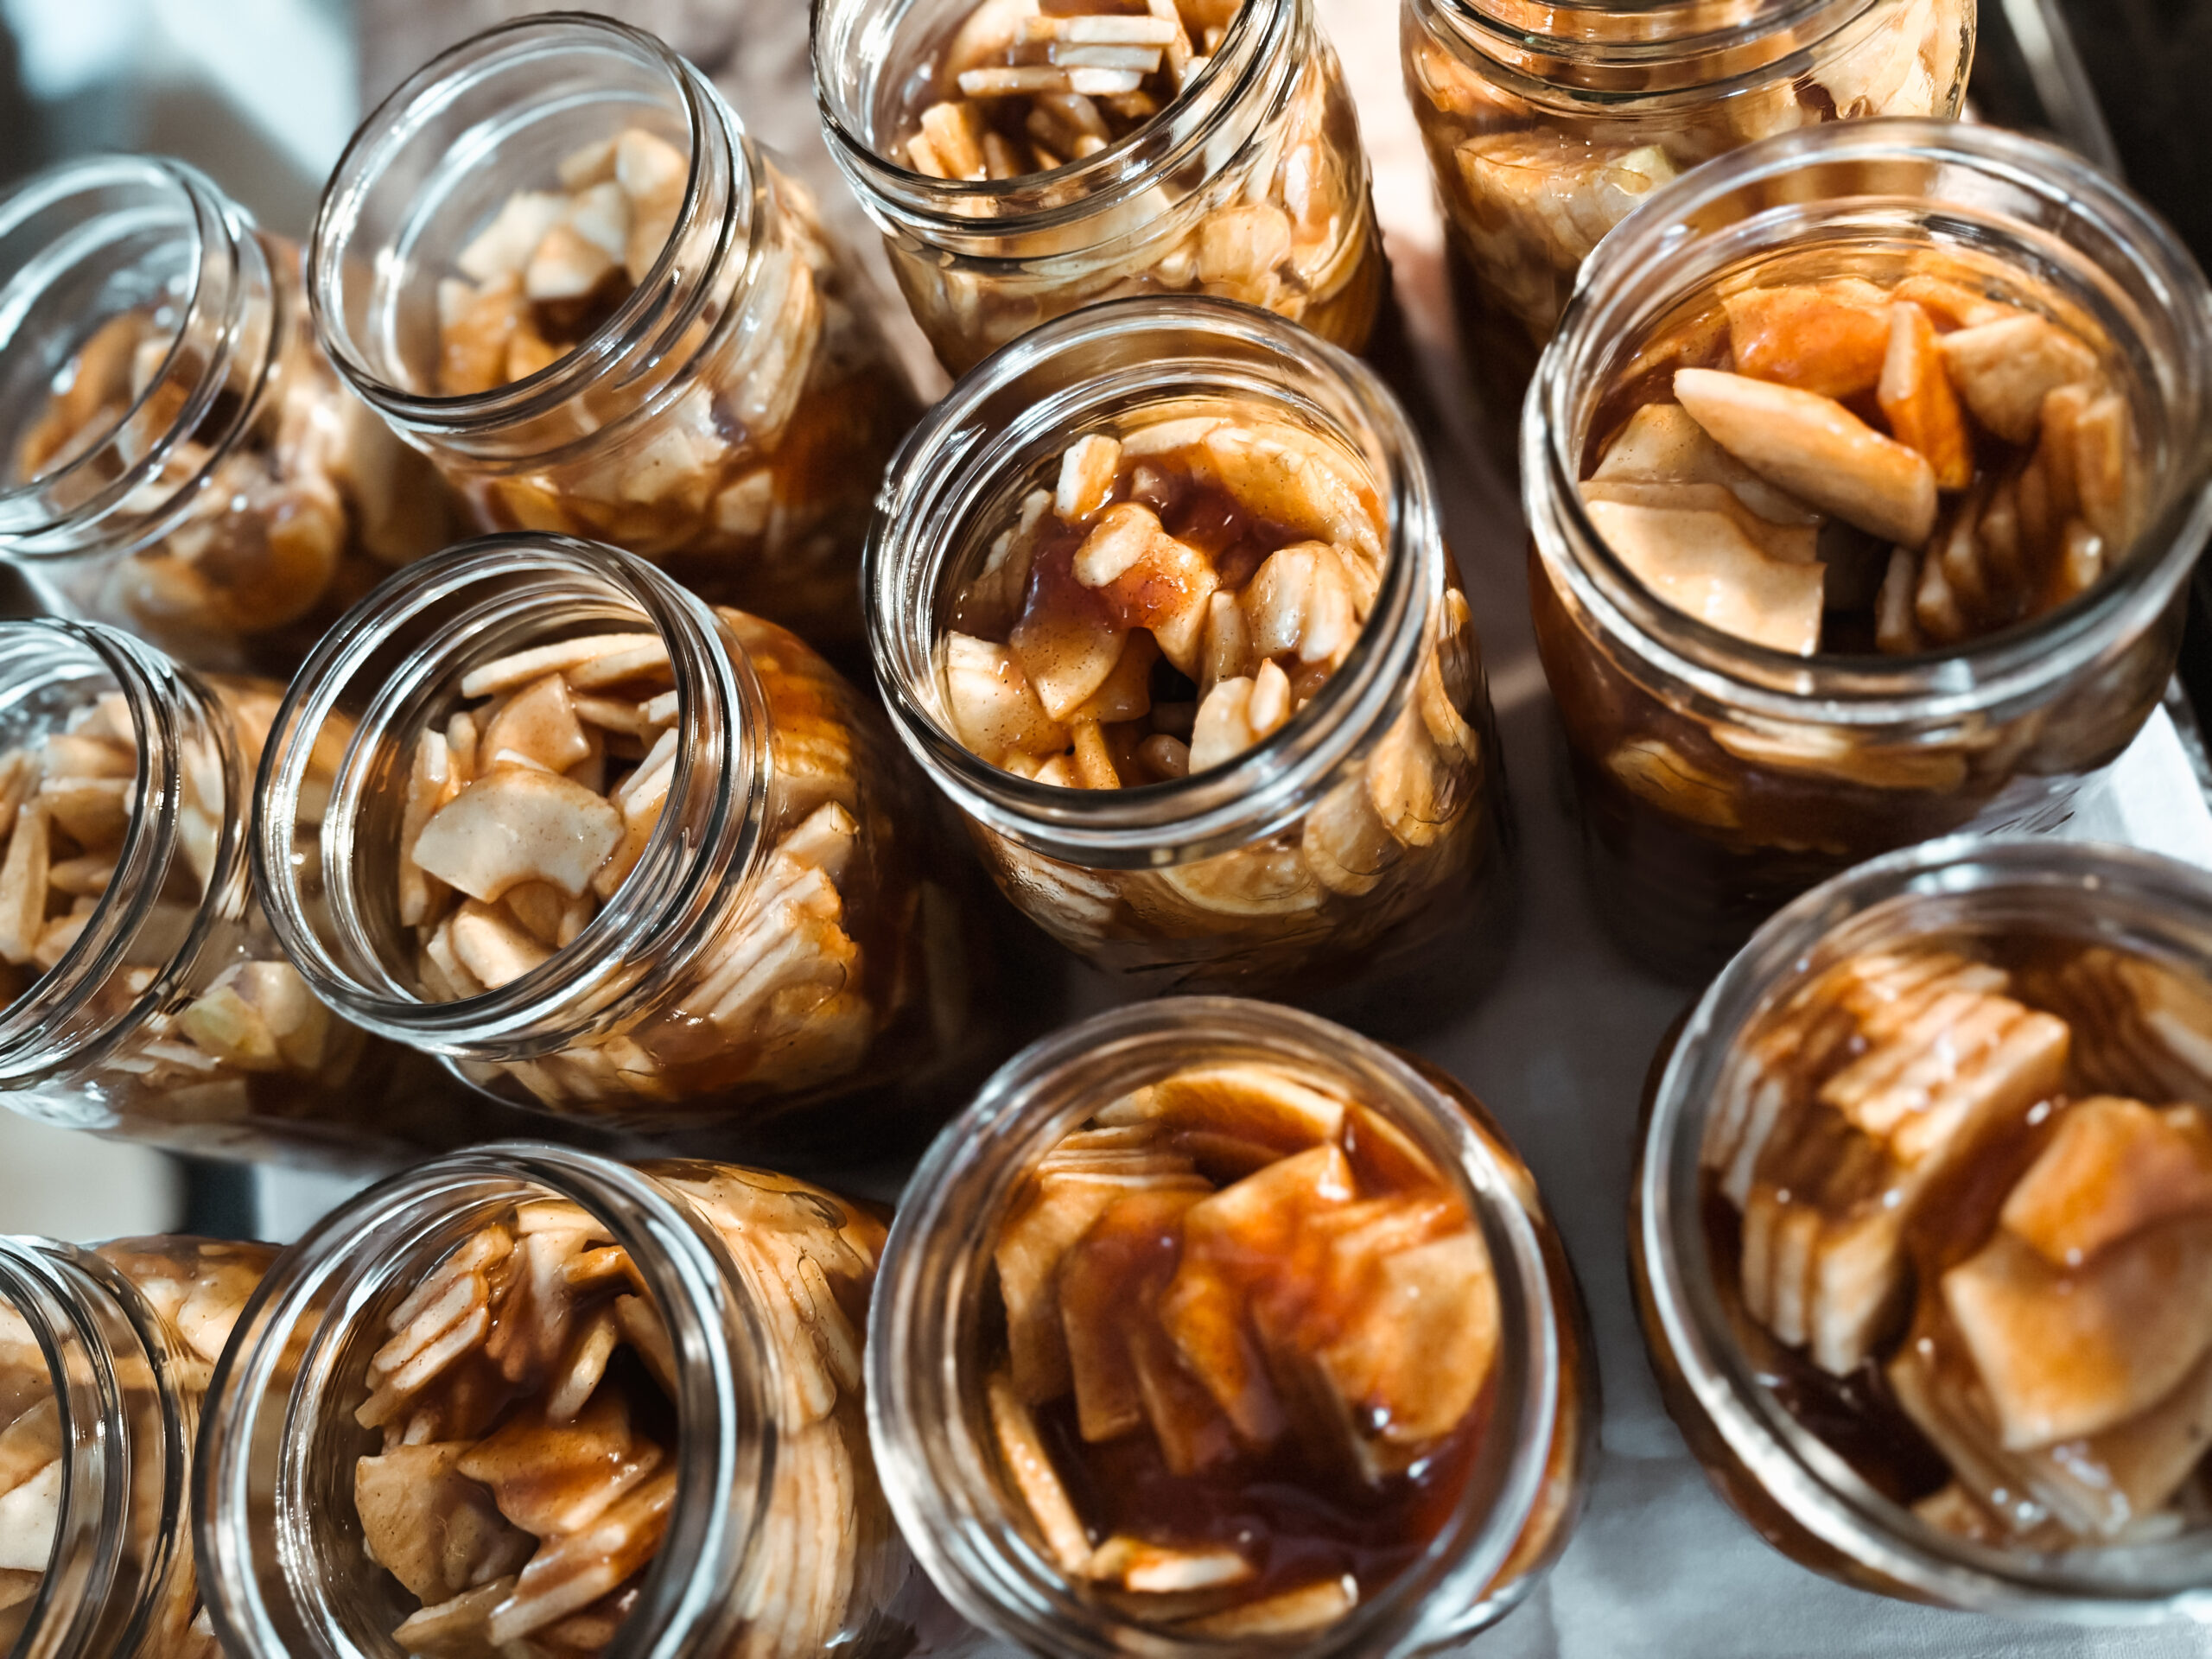
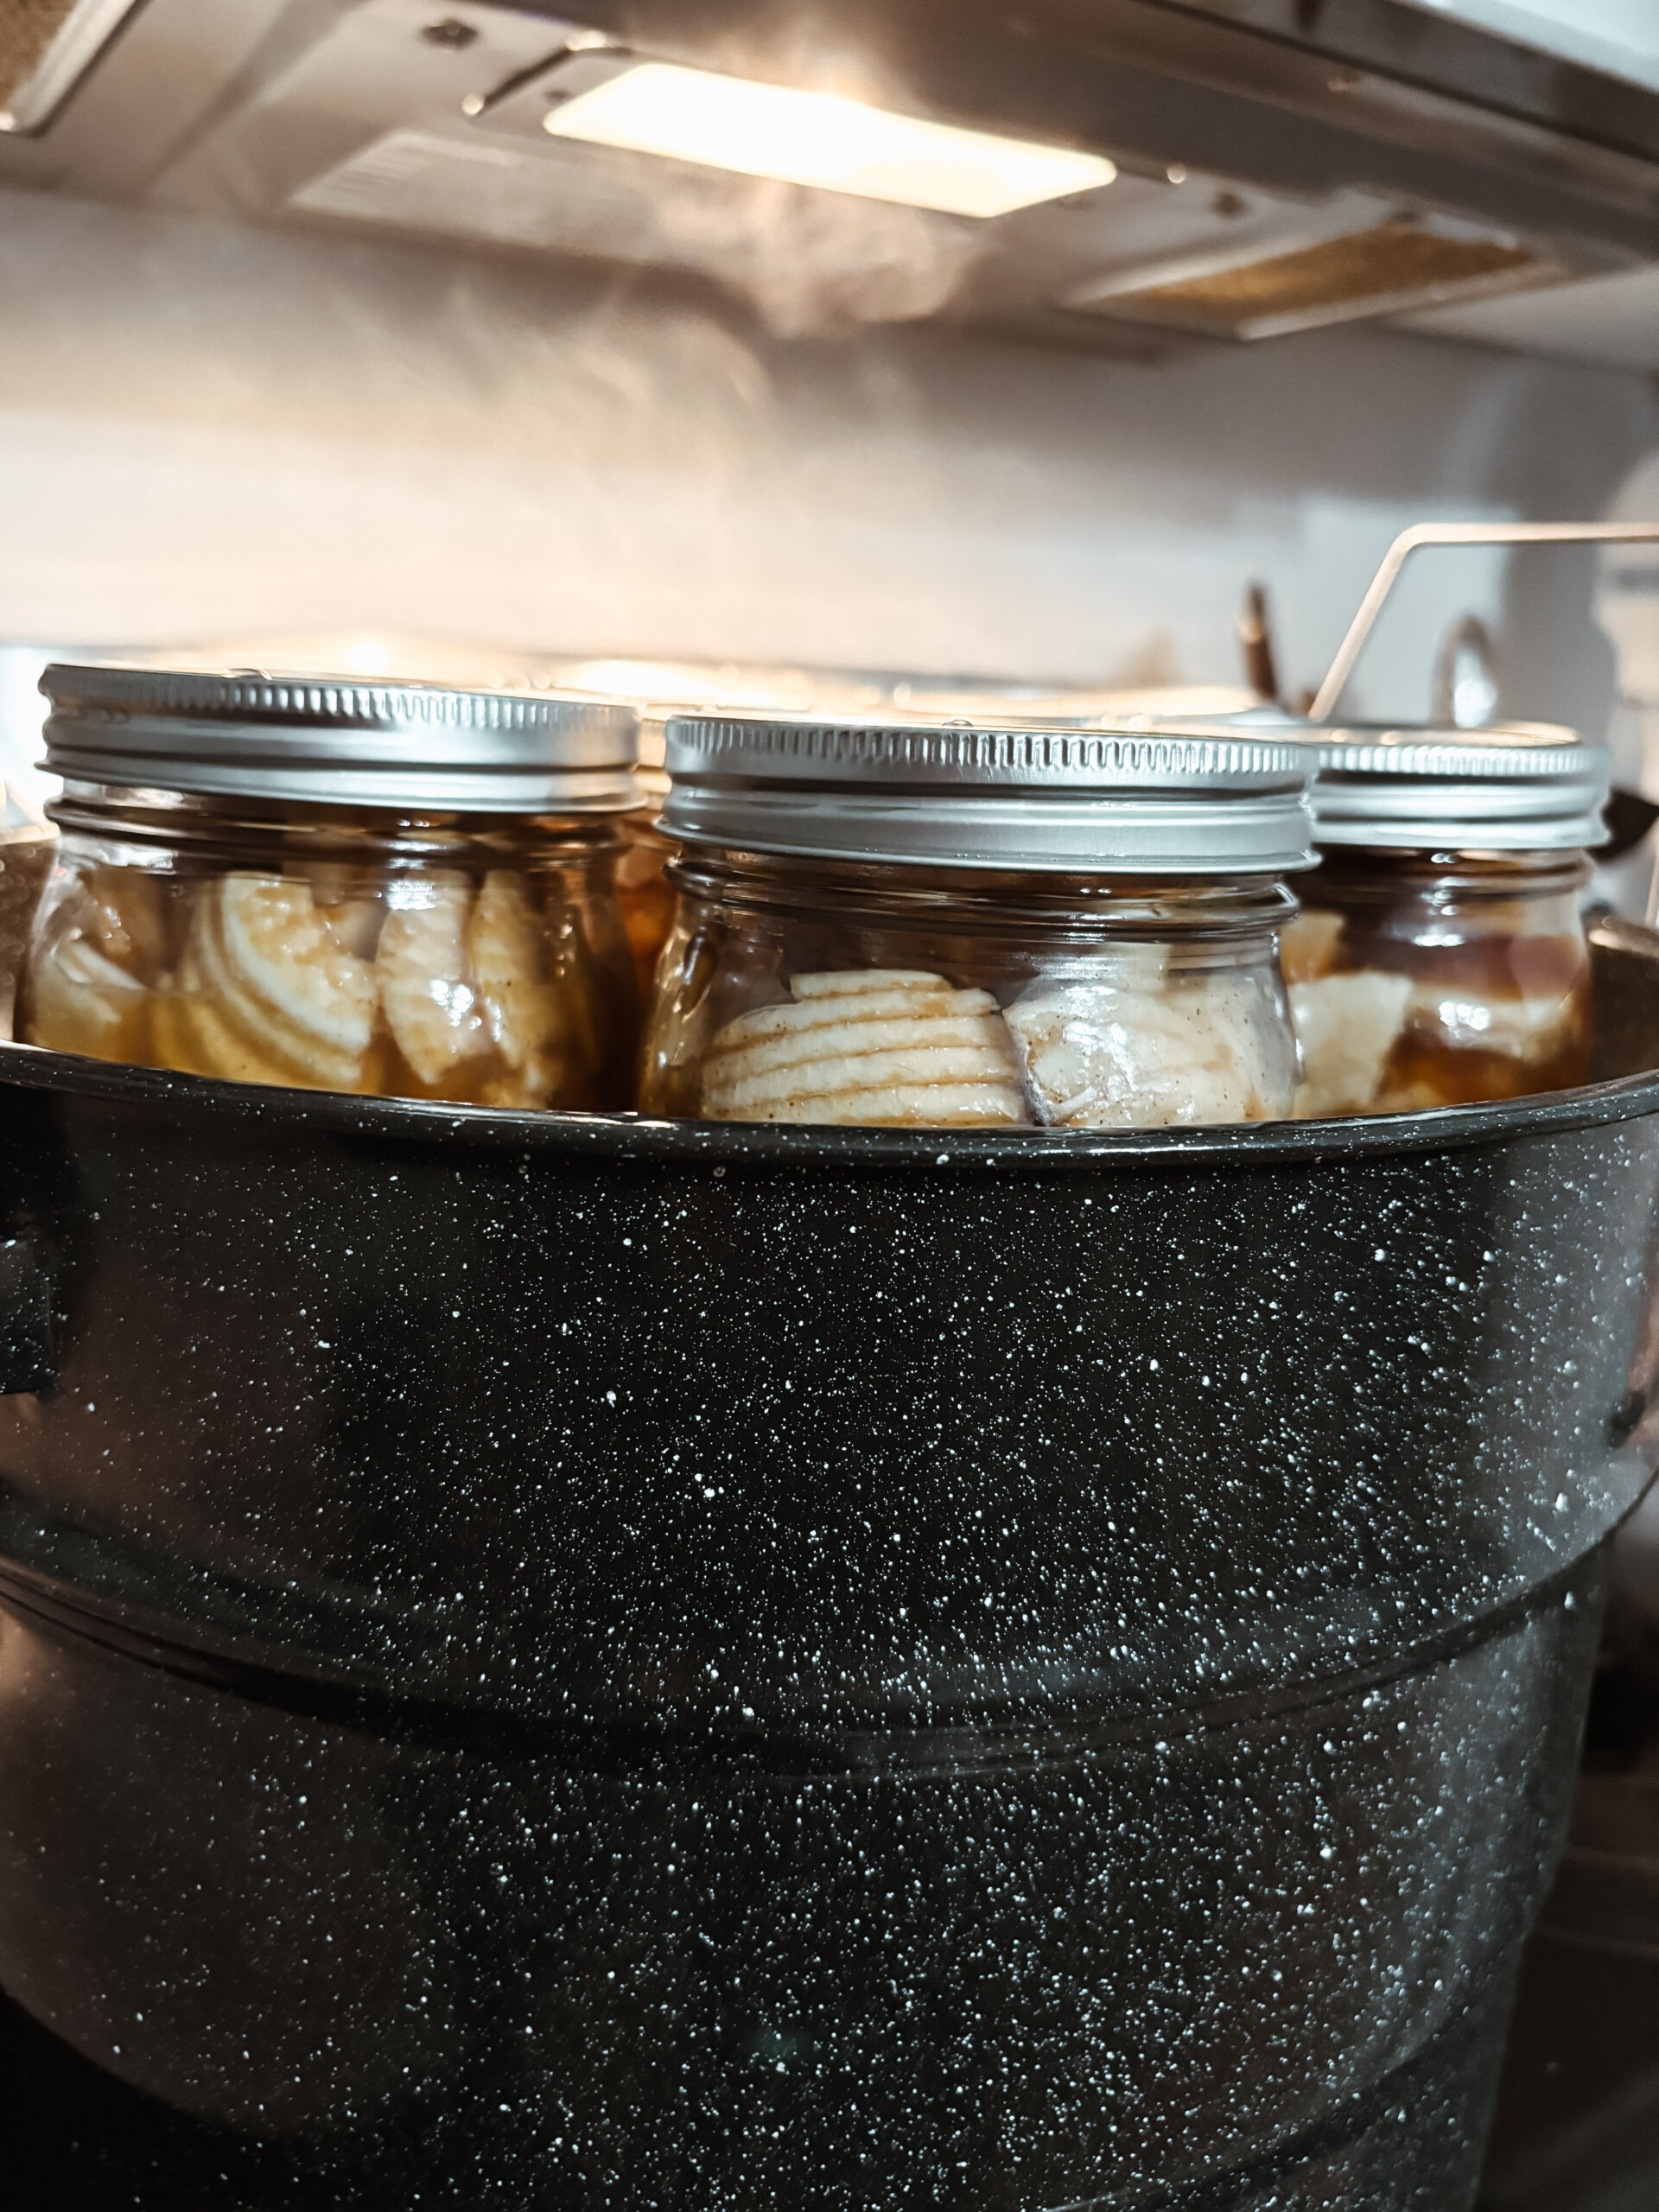
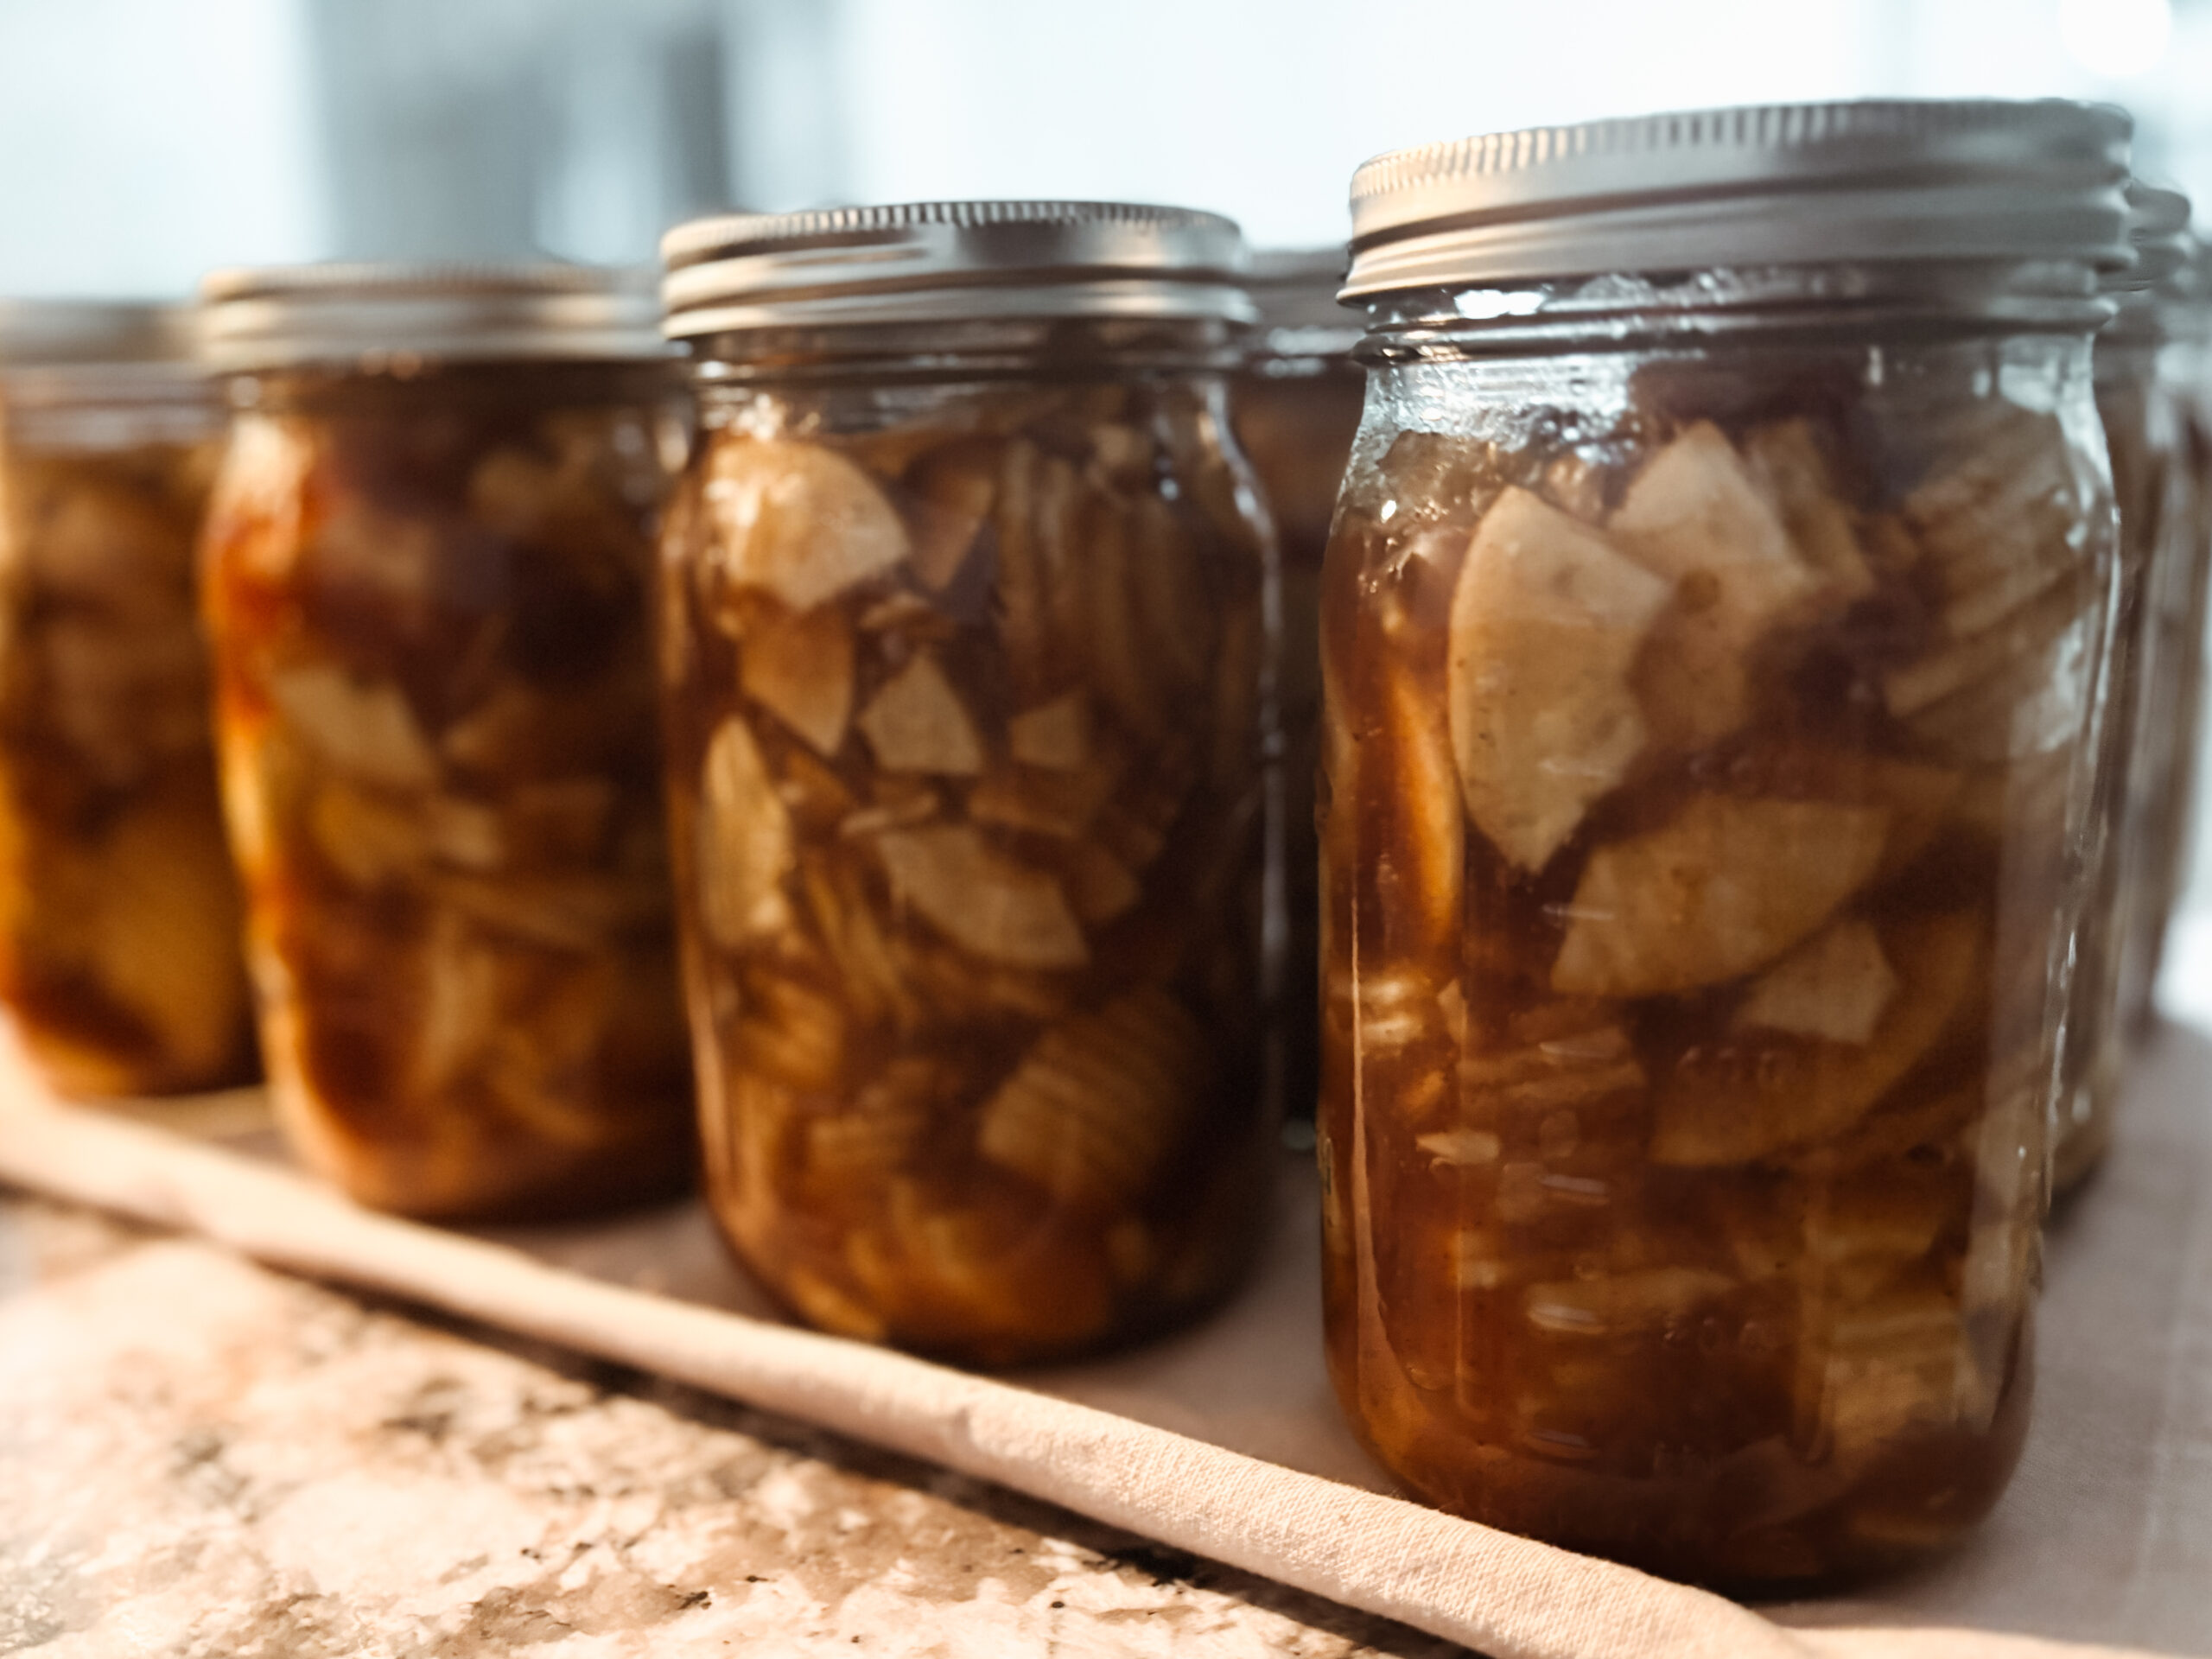
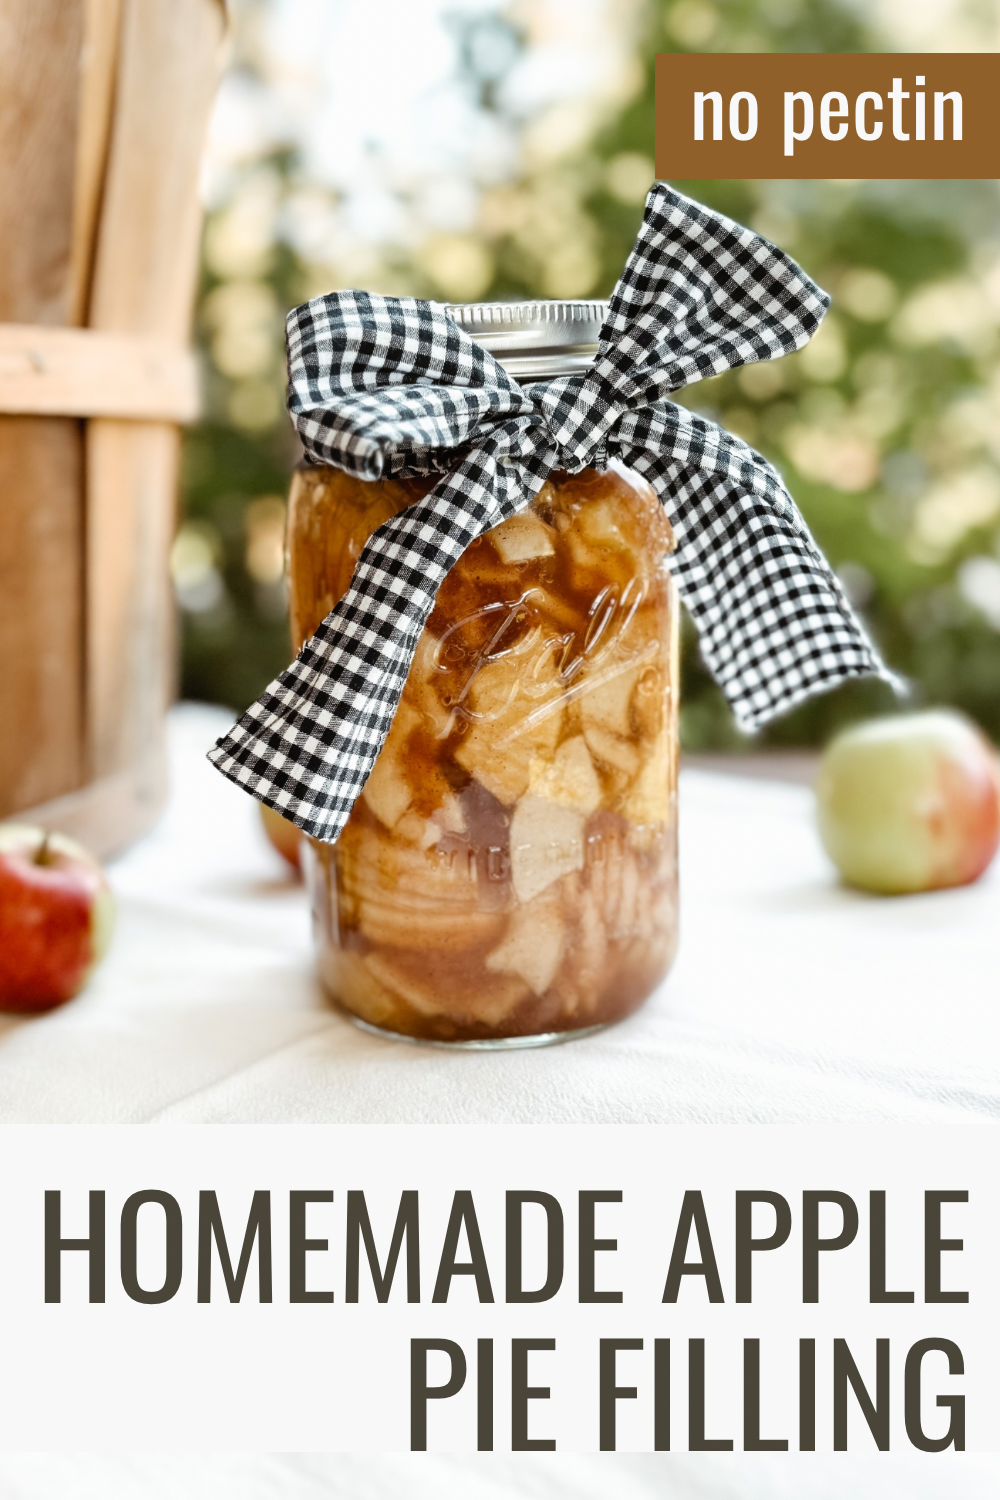
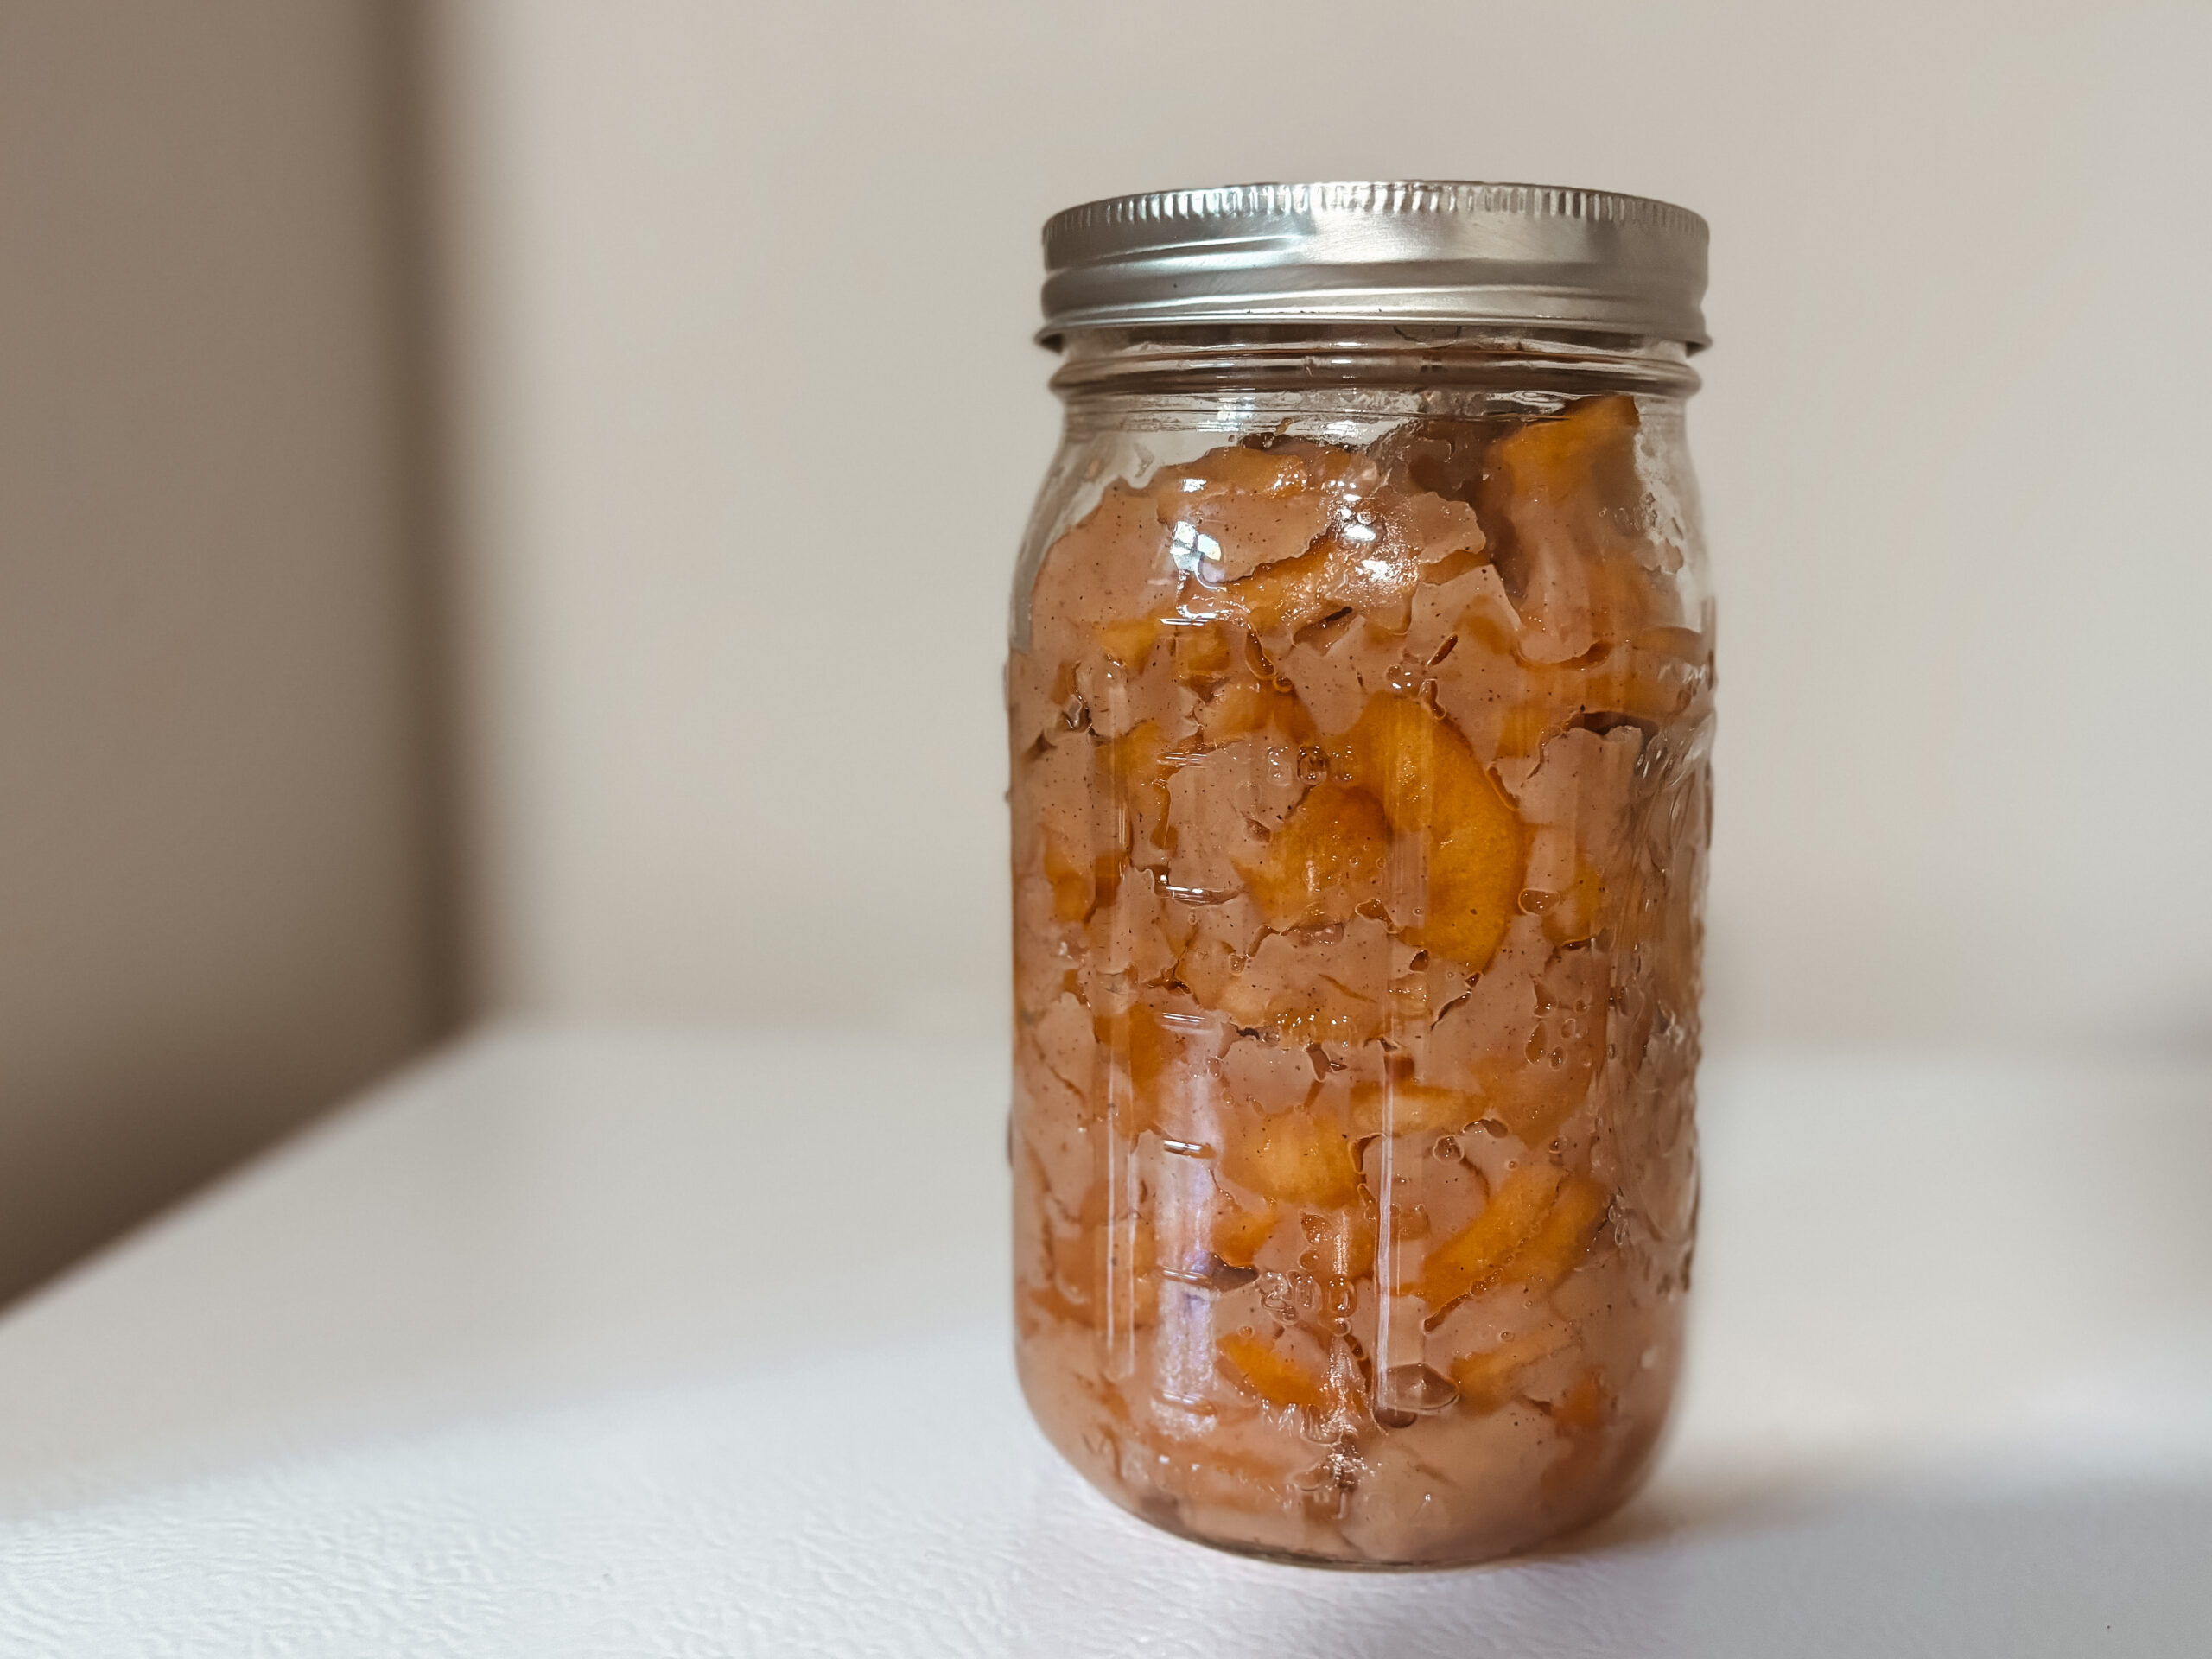
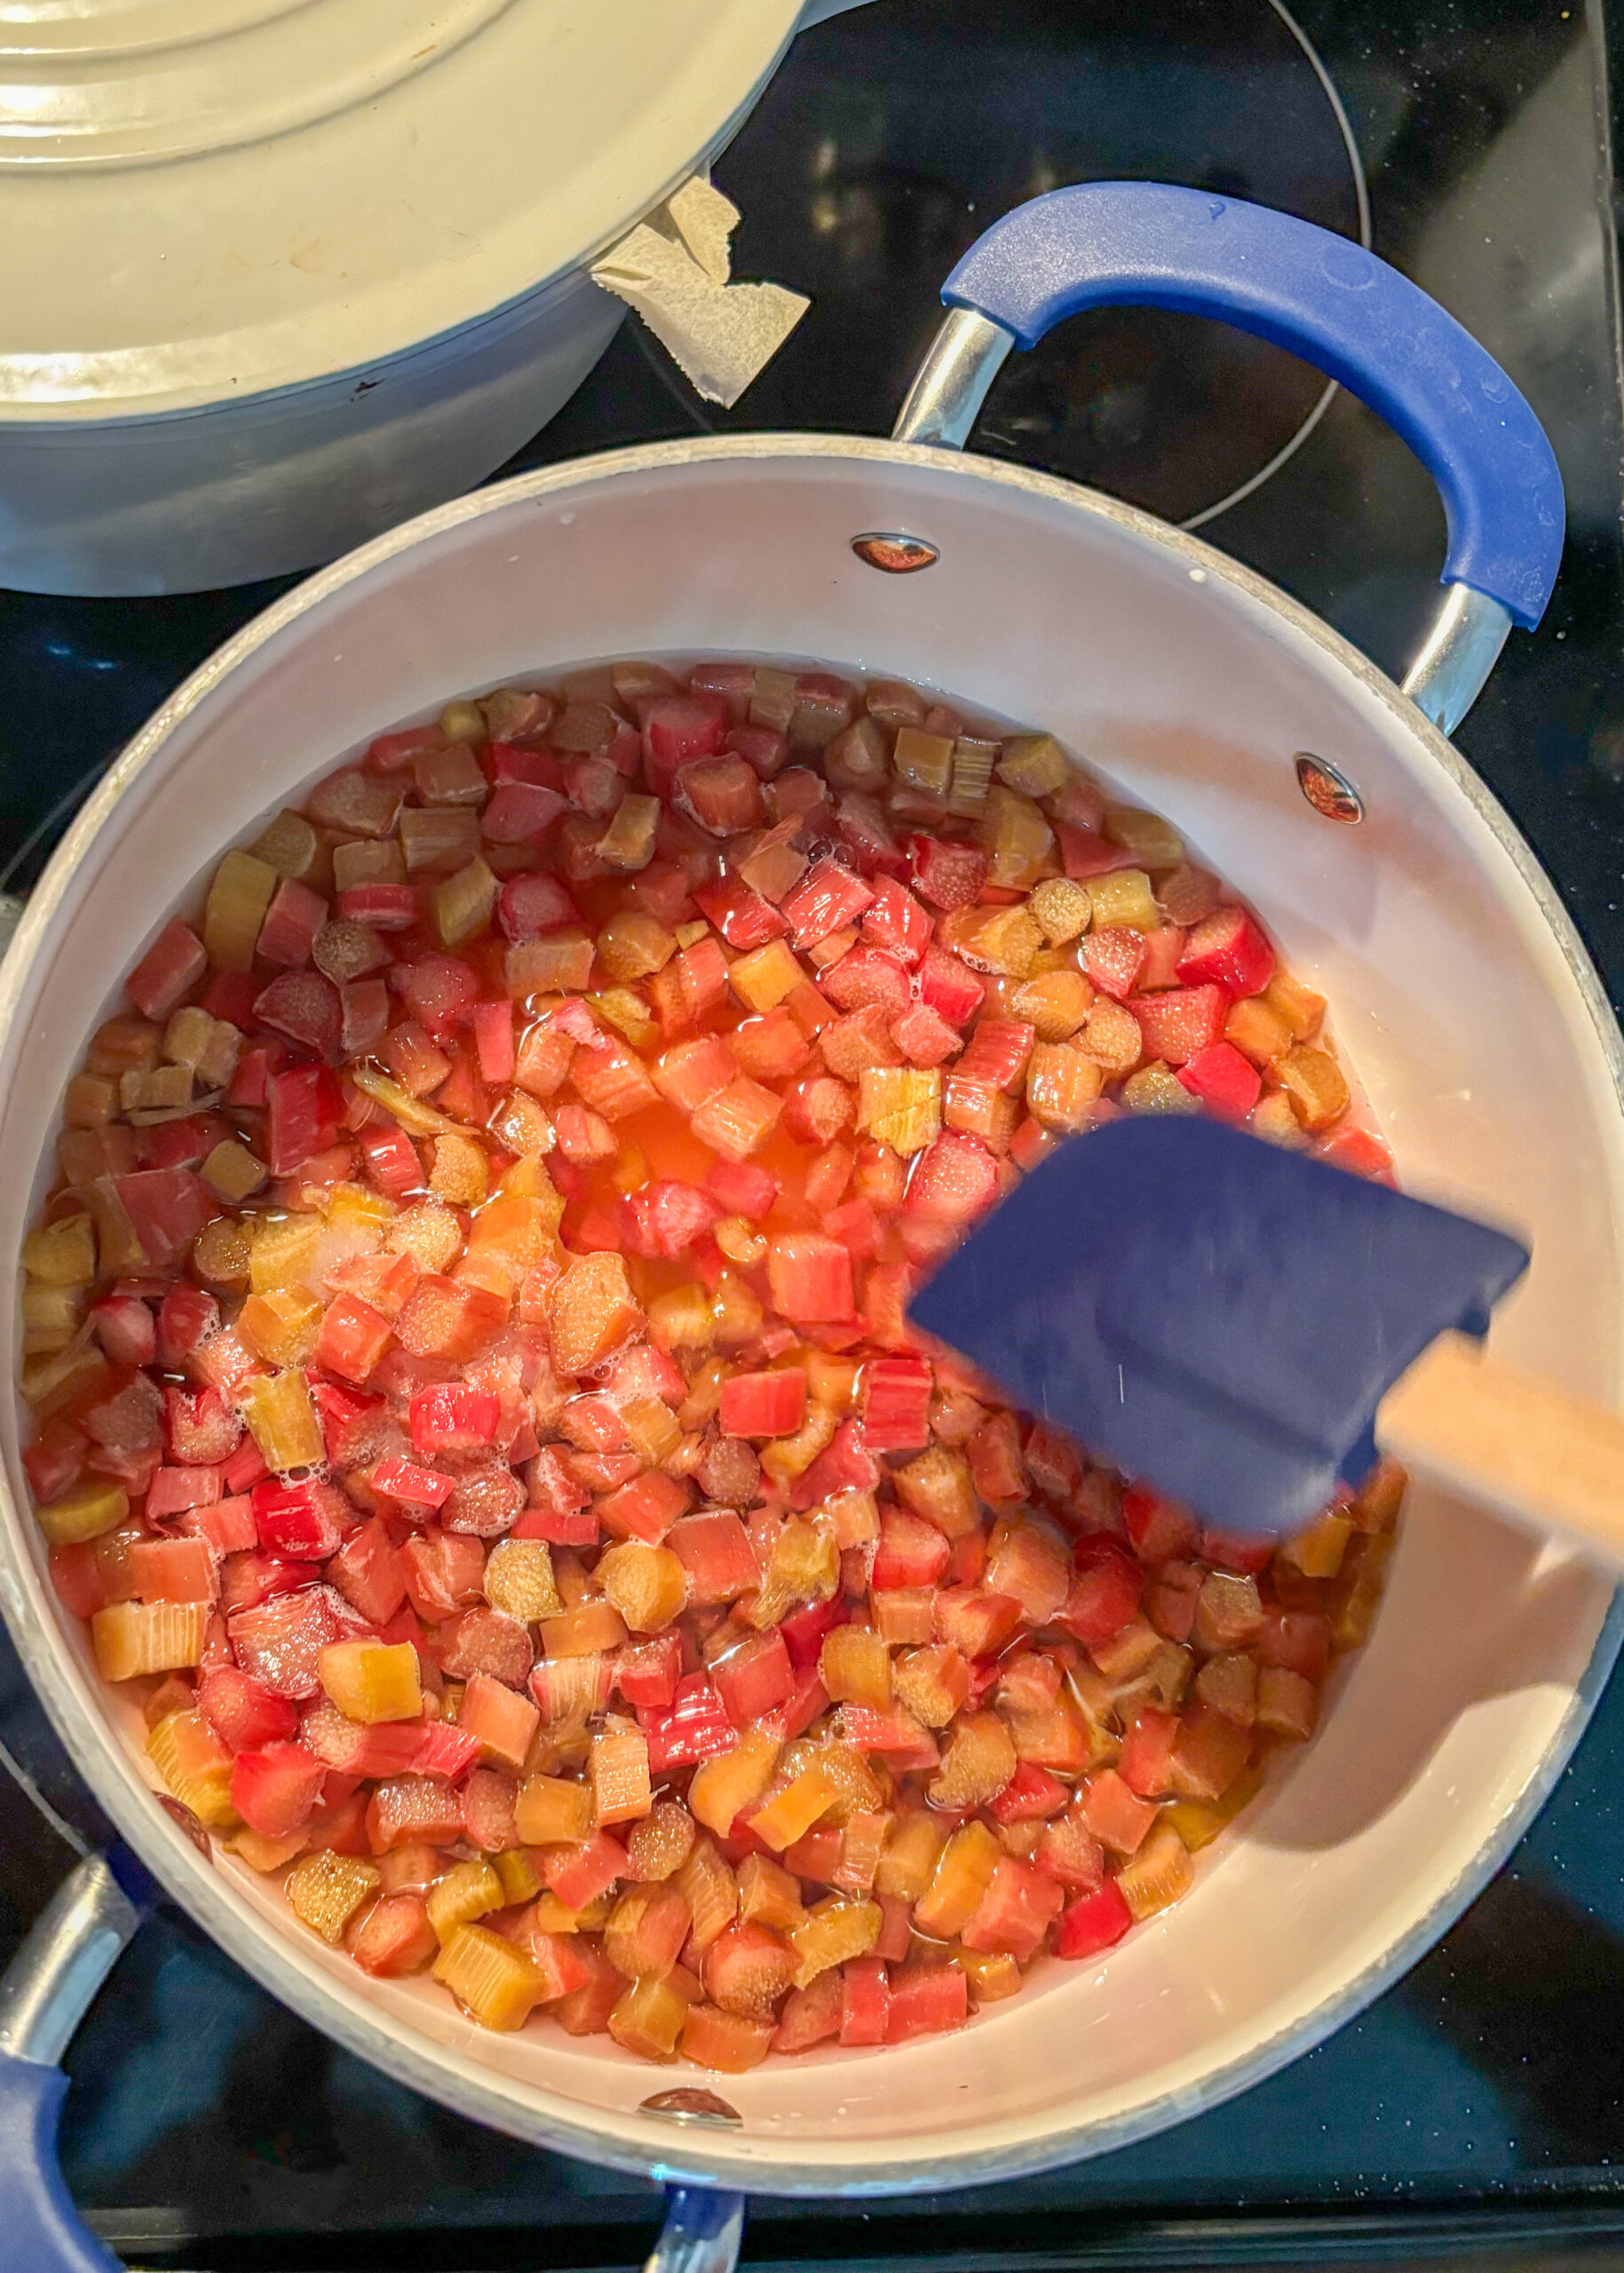
Having a fruit tree (or multiple) can add huge cost savings as well, or simply buying in bulk and canning for later. We have apple trees and make and preserve apple sauce and apple pie filling. I buy other fruit in bulk to preserve as well, such as peaches.
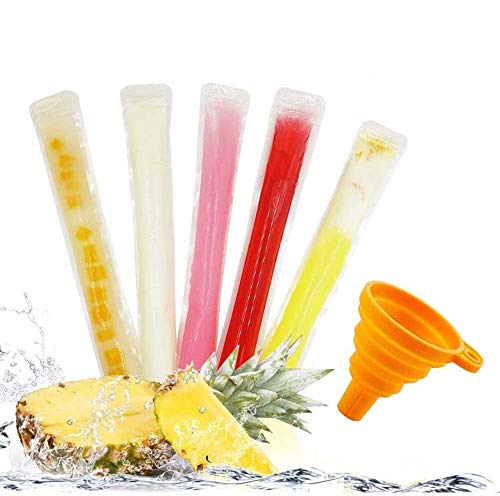
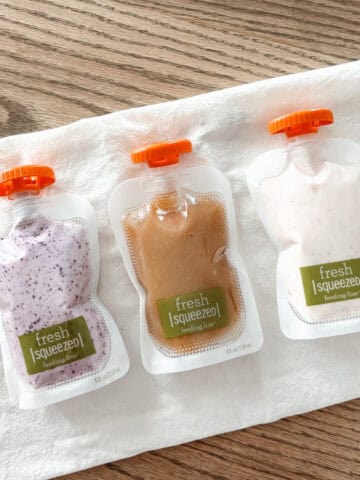
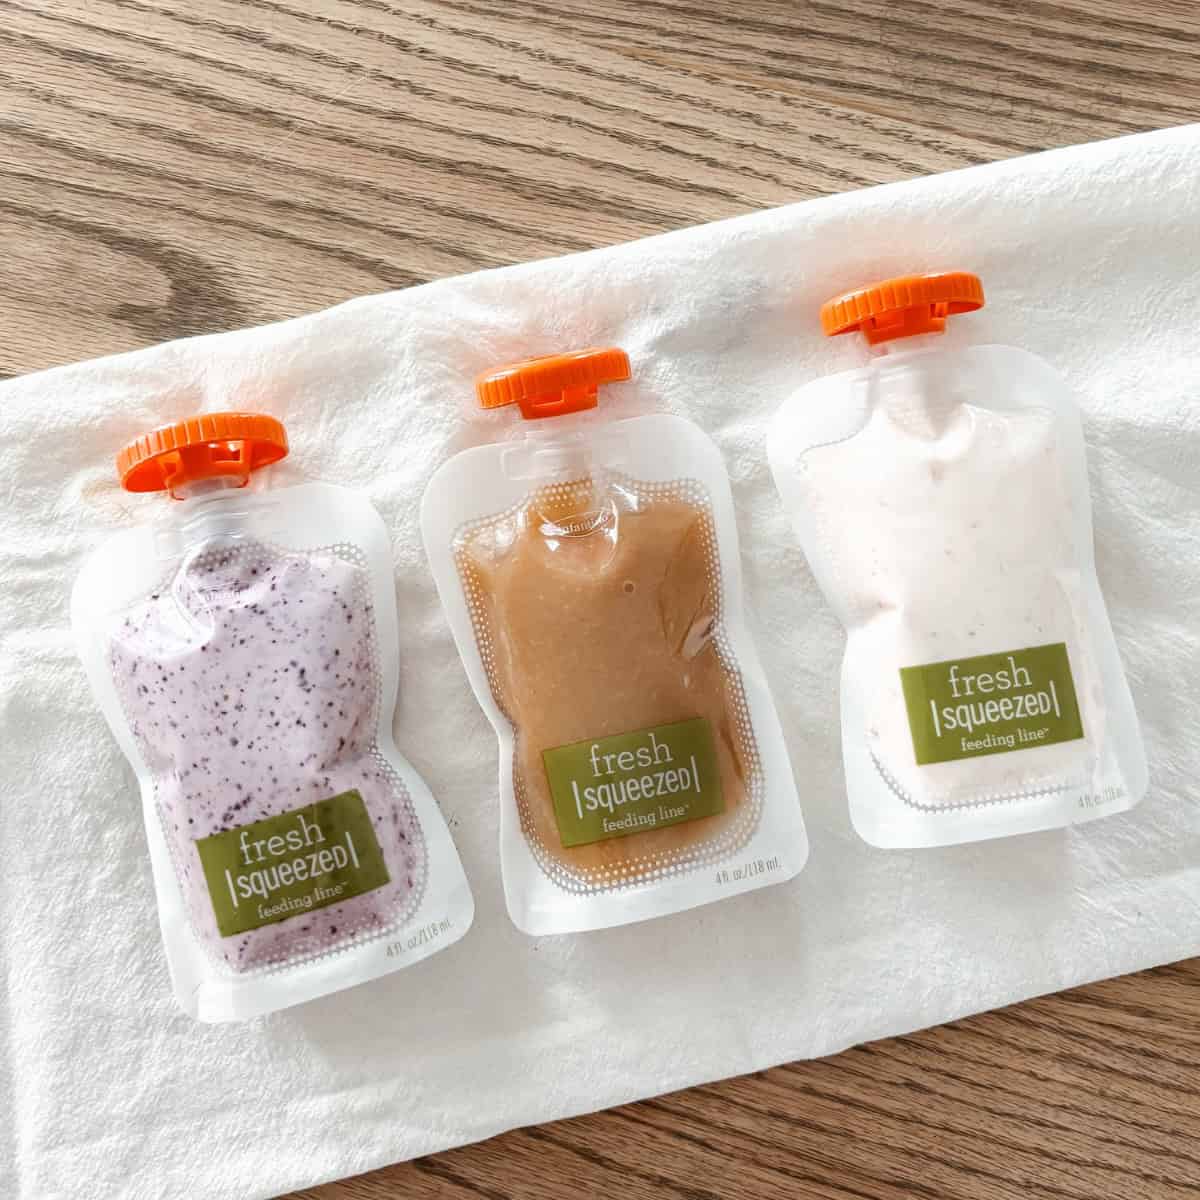
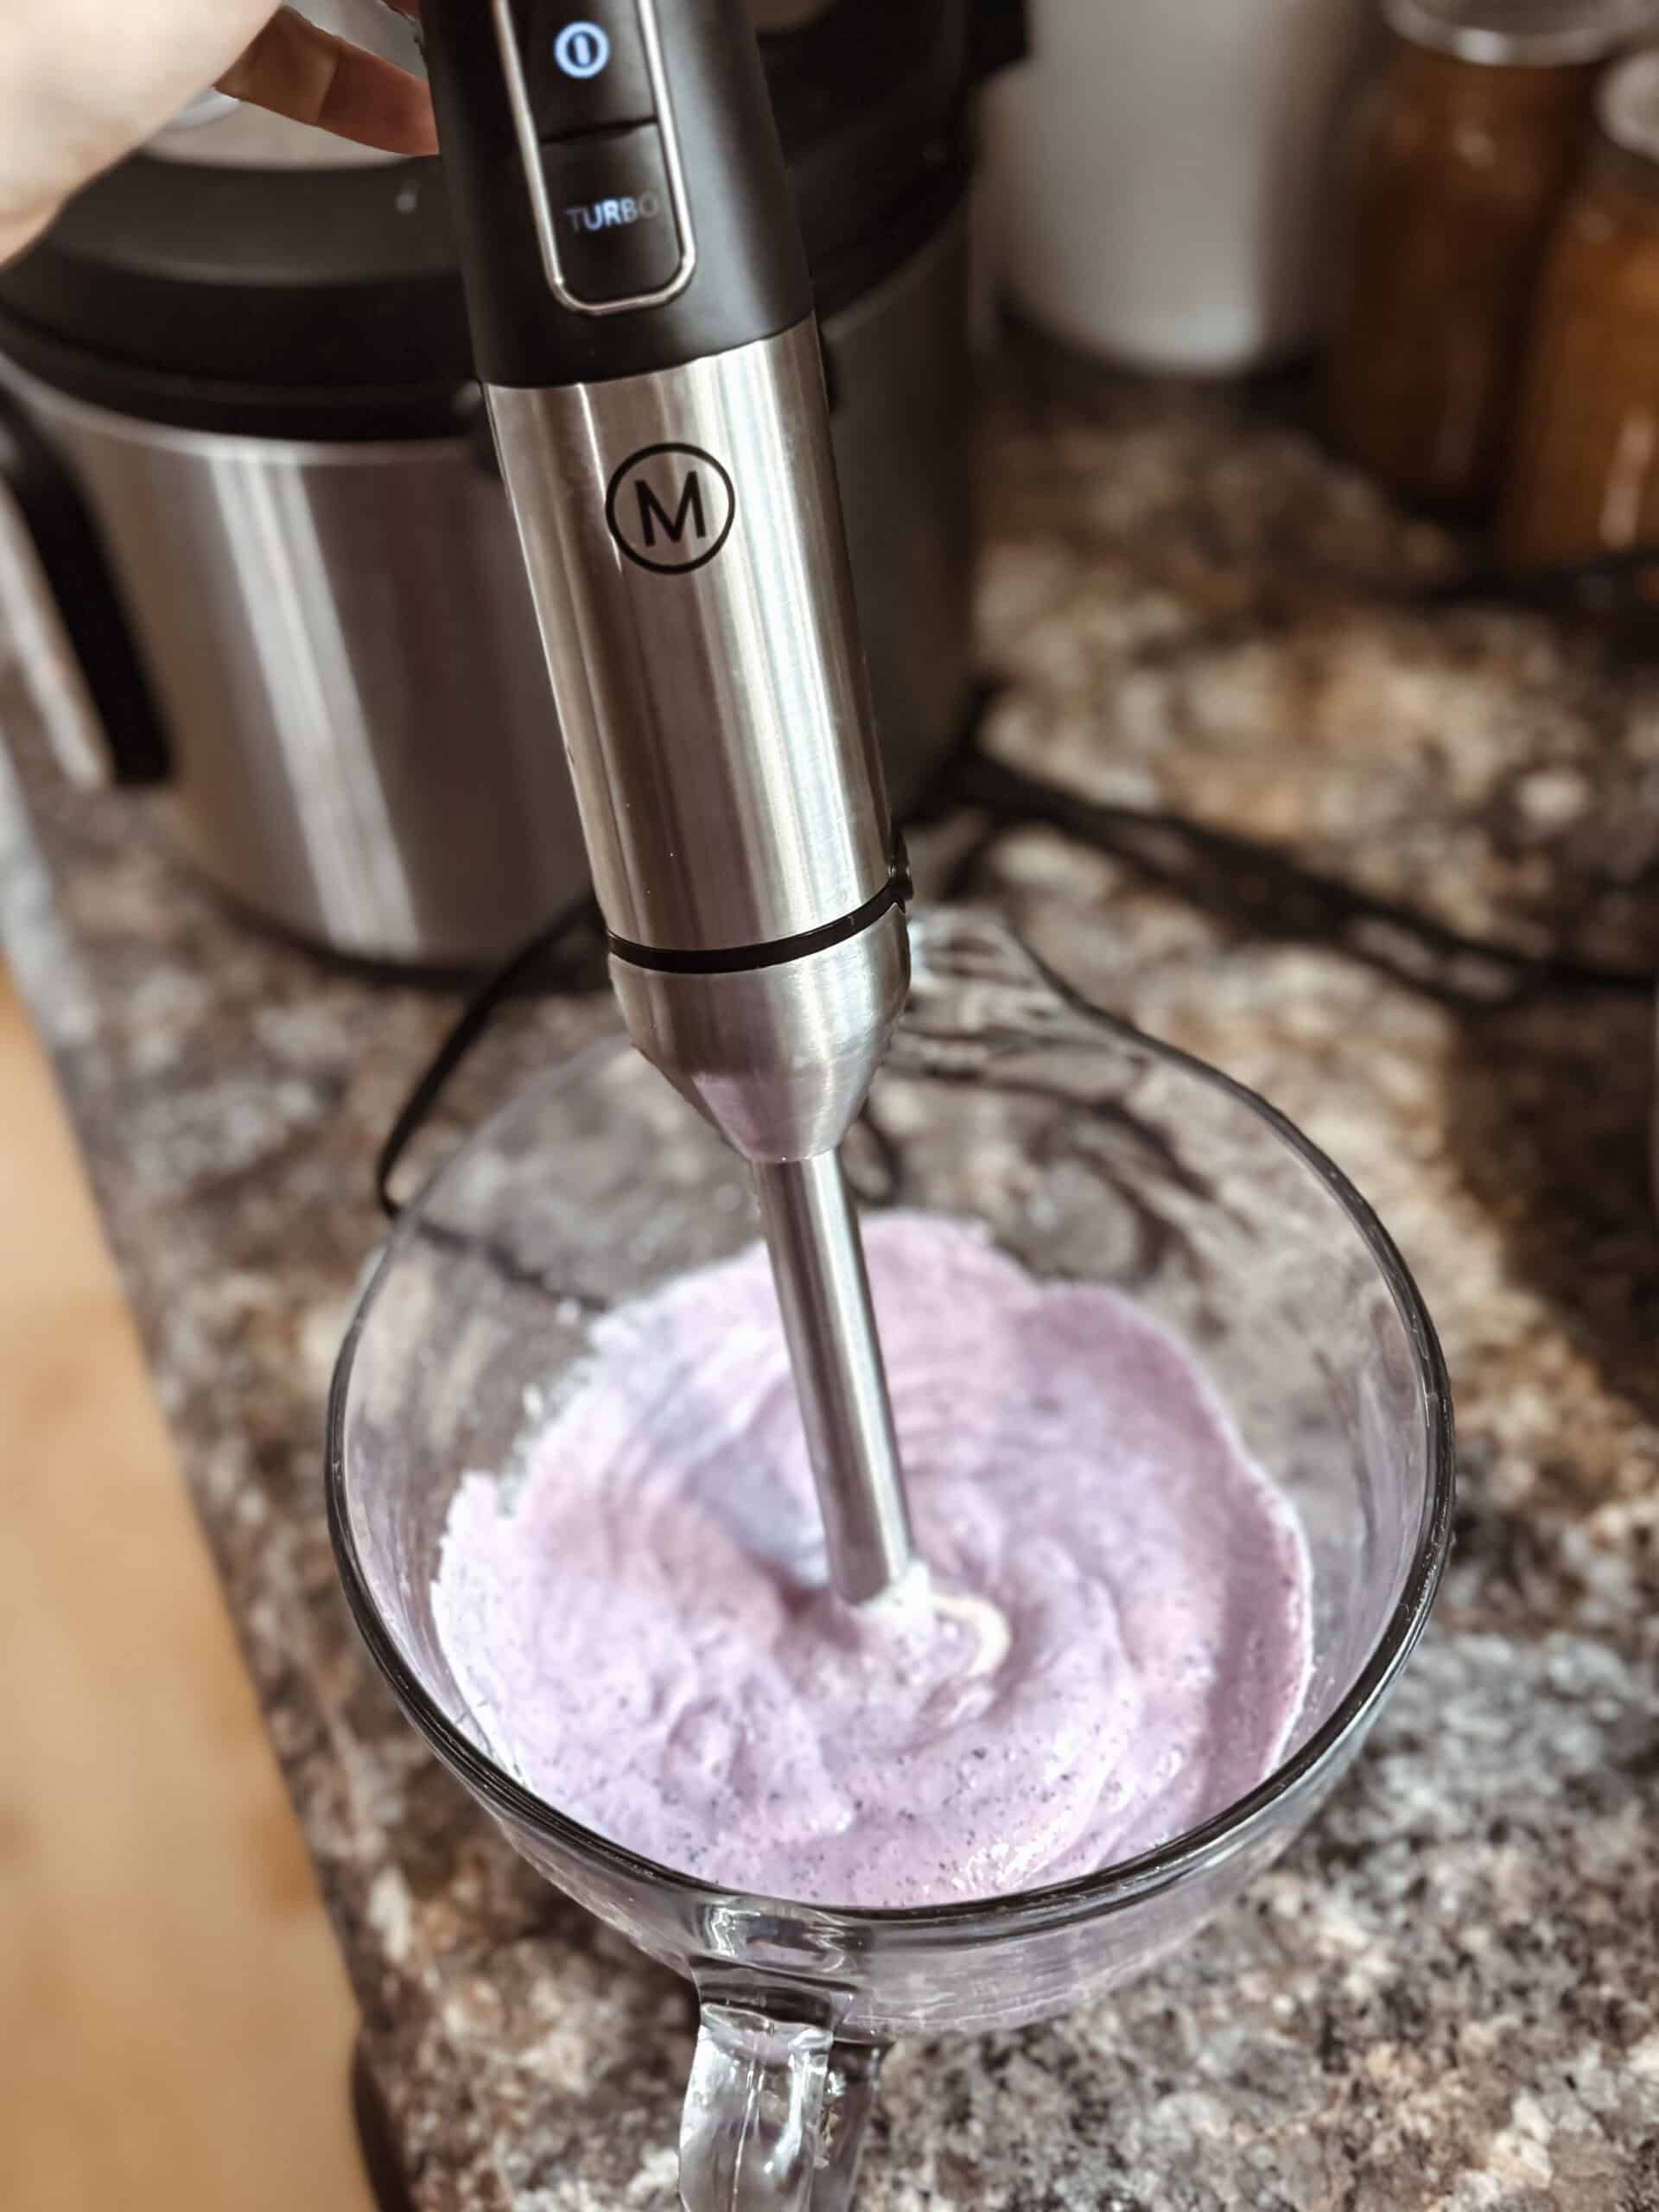
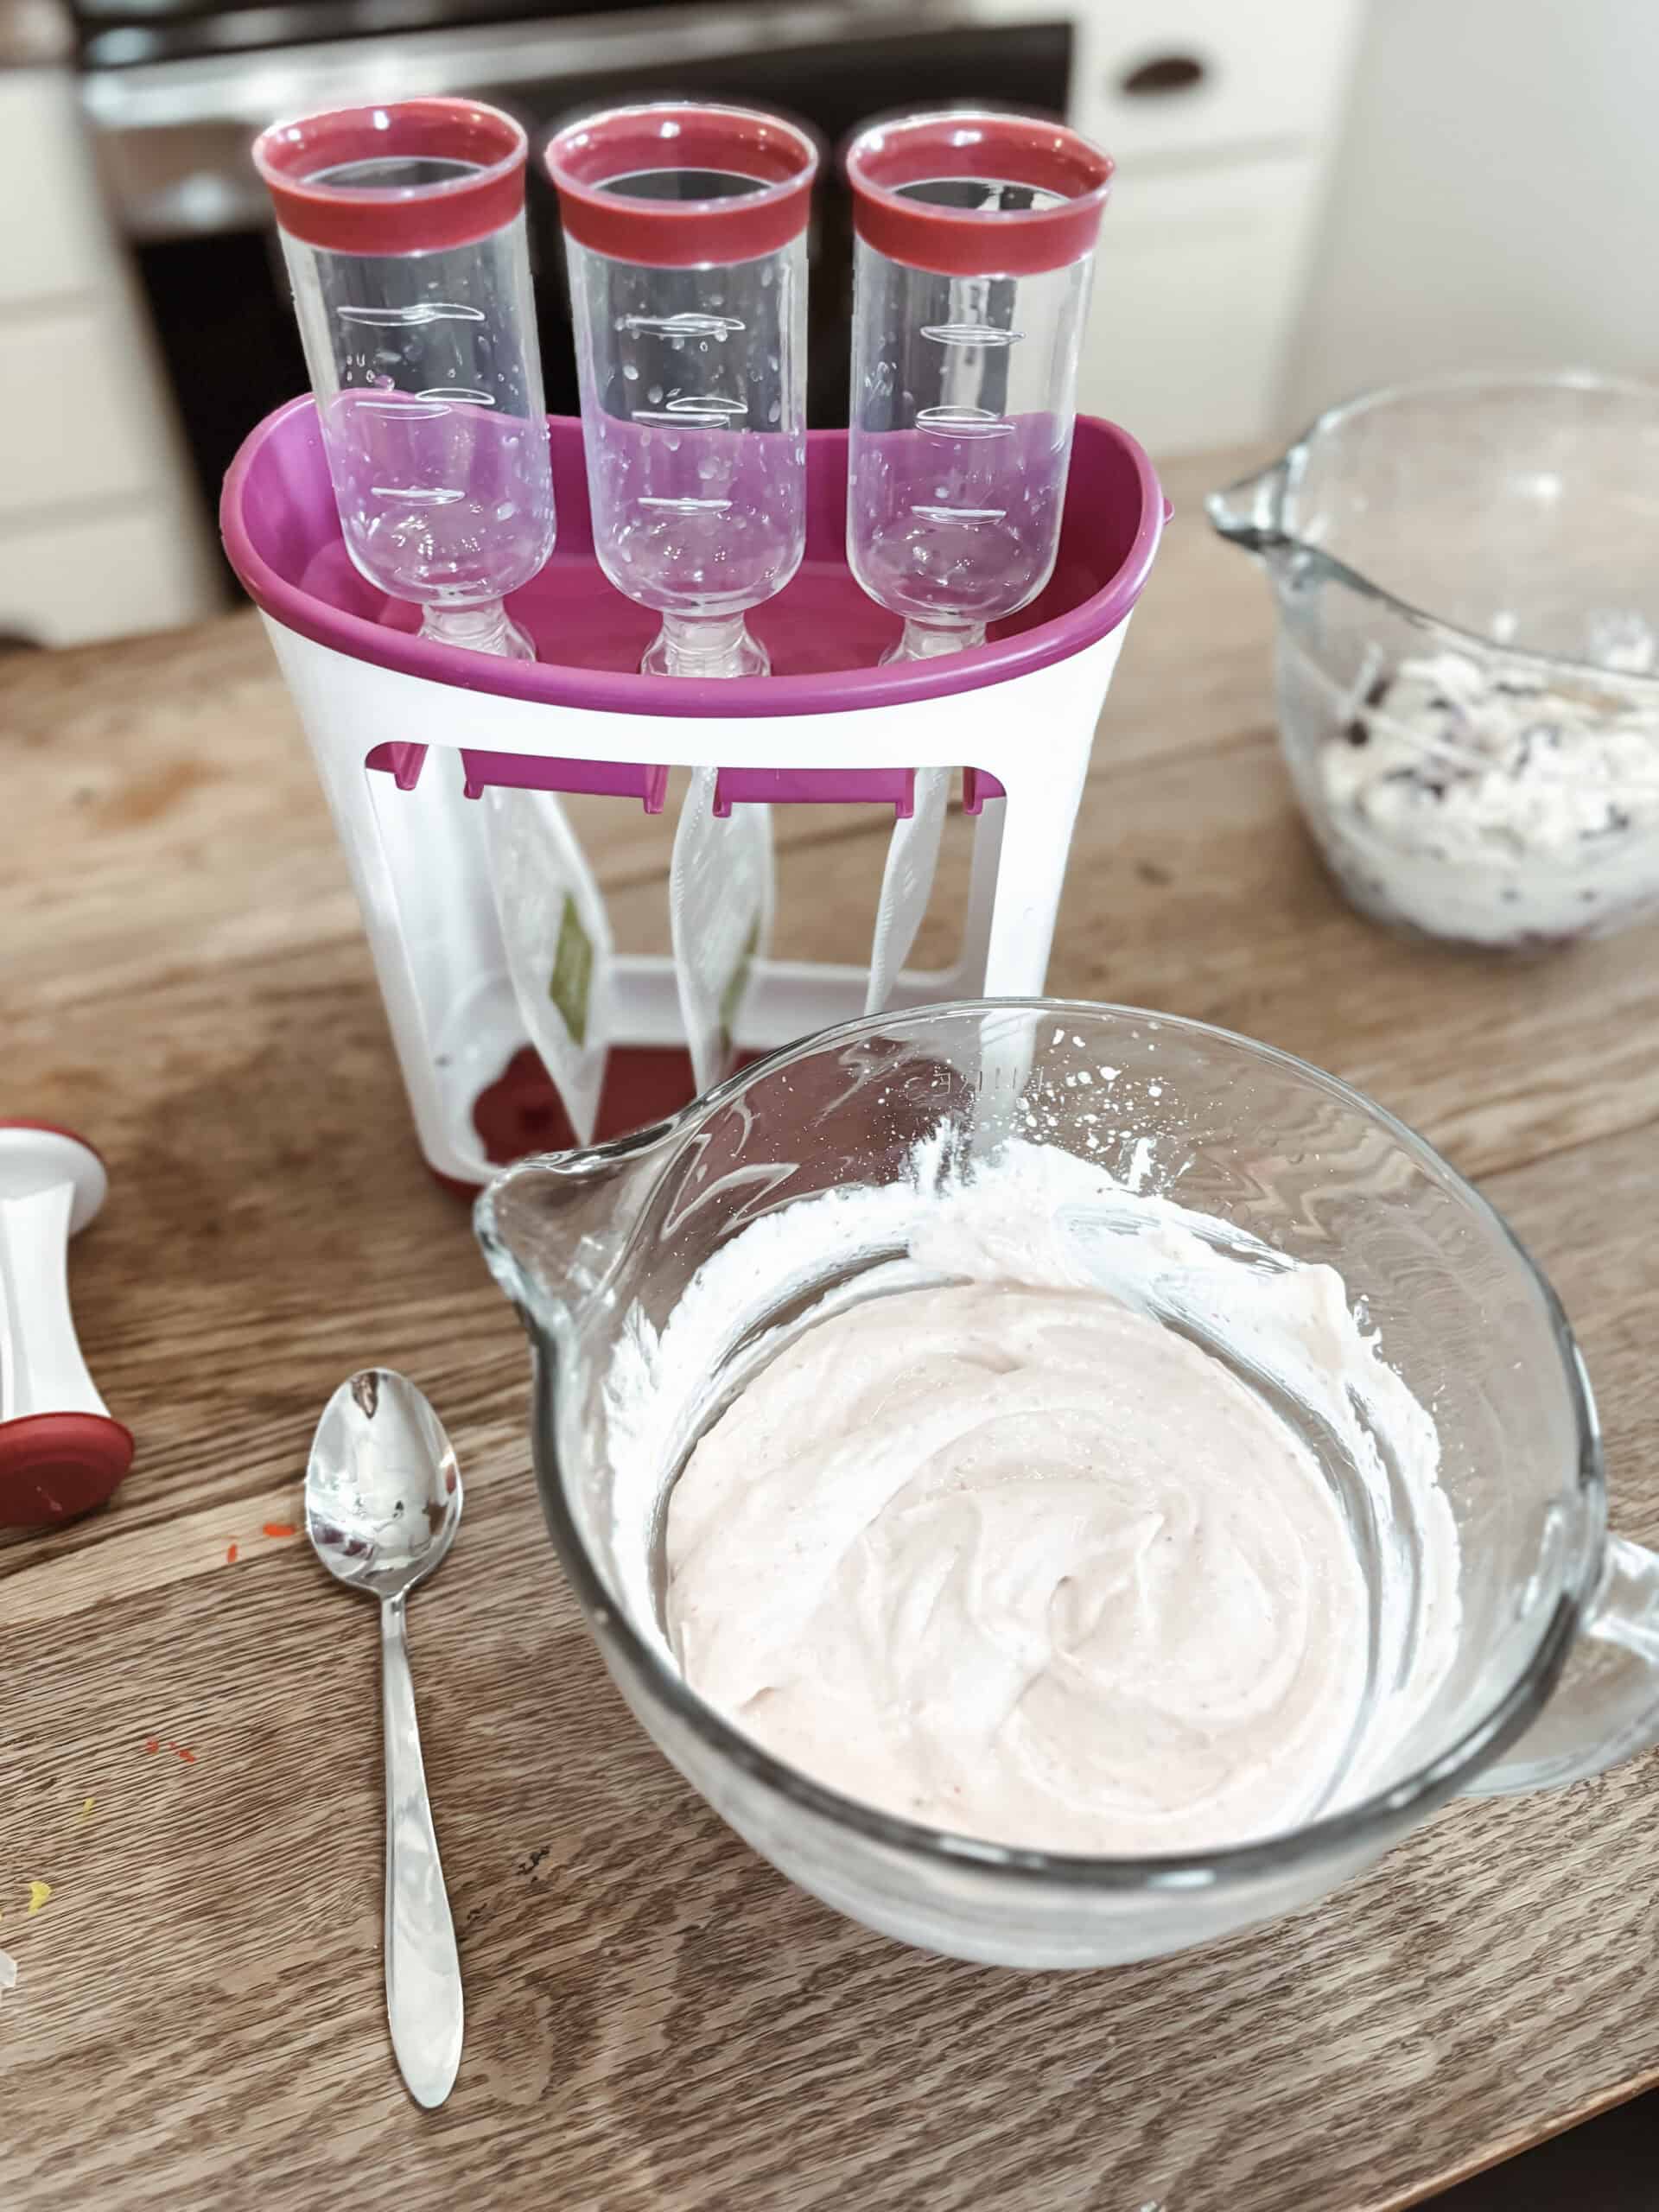
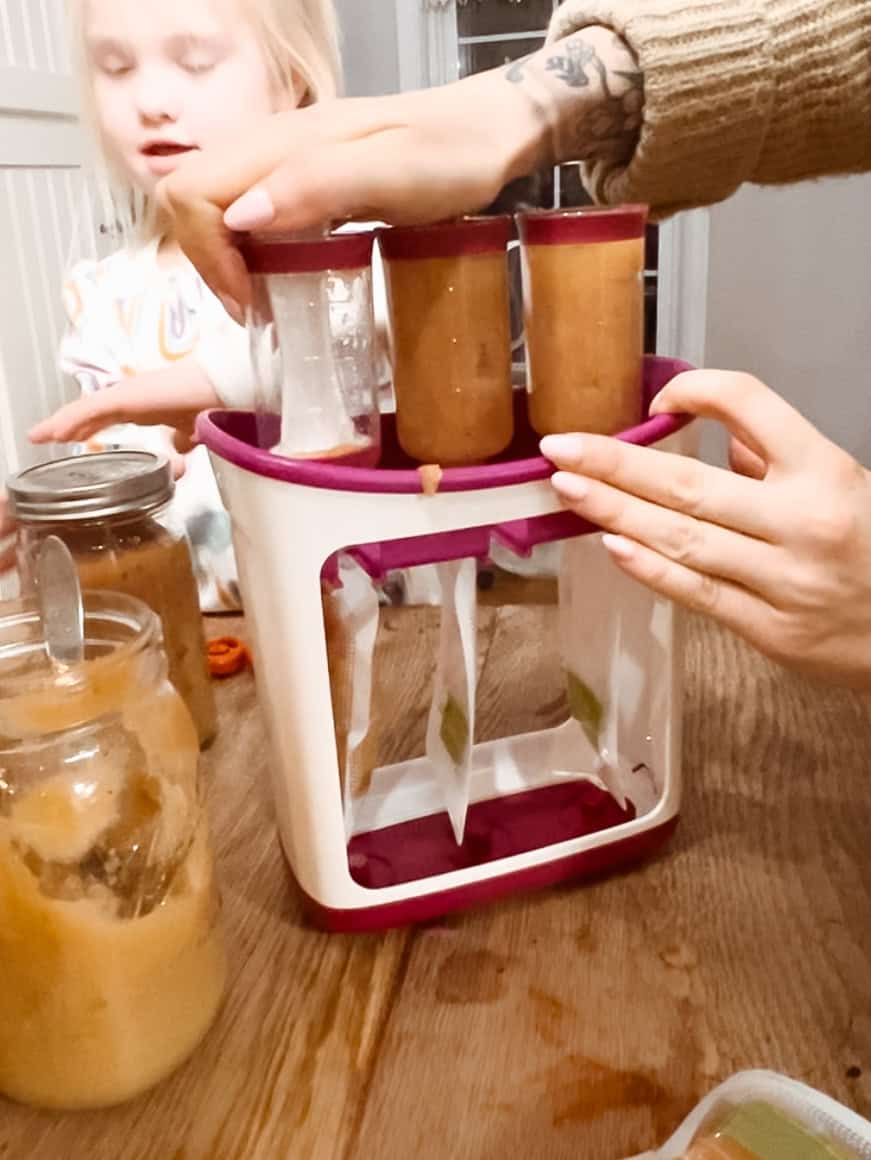
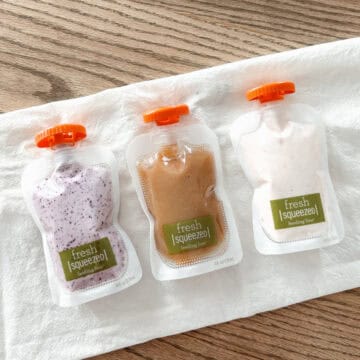
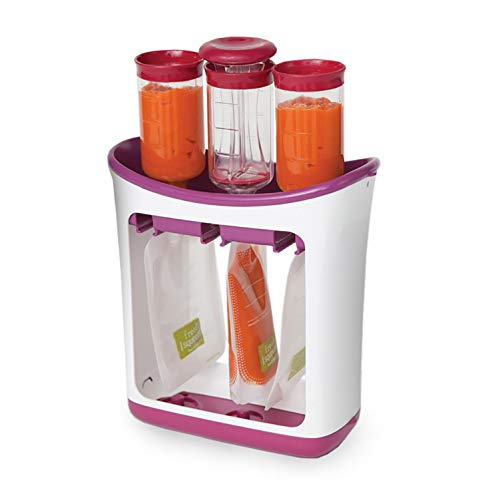
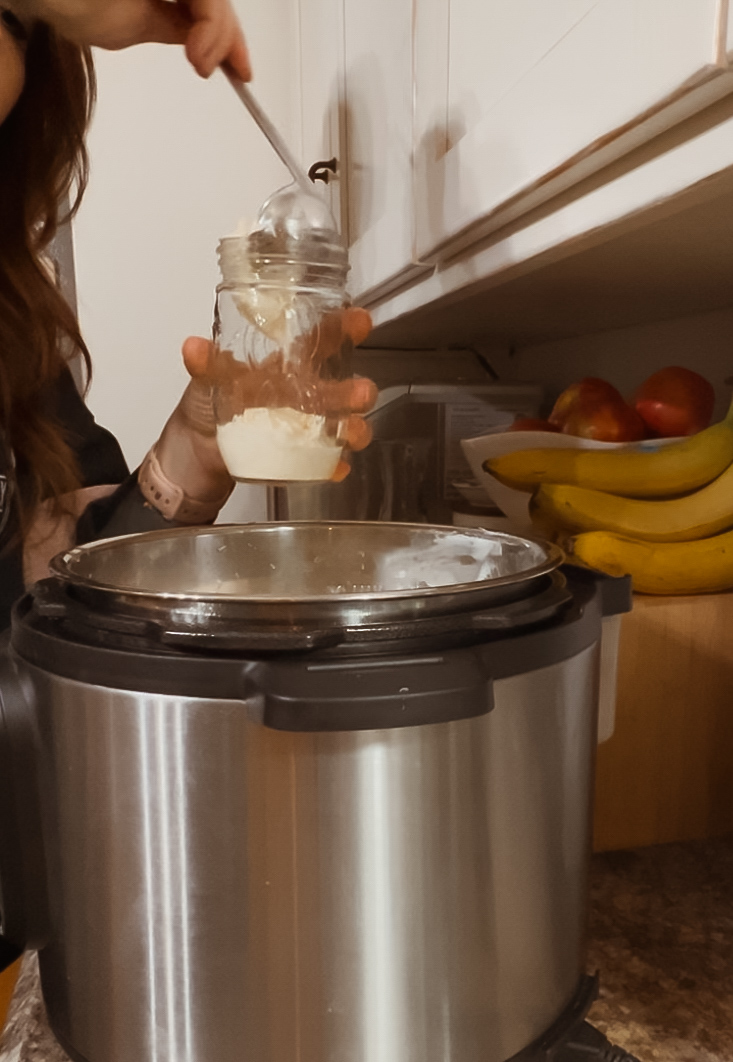
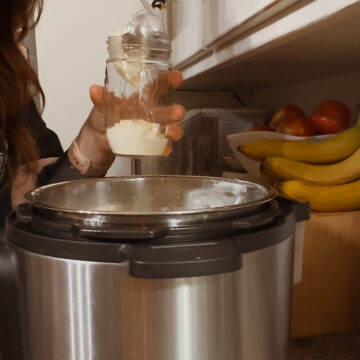
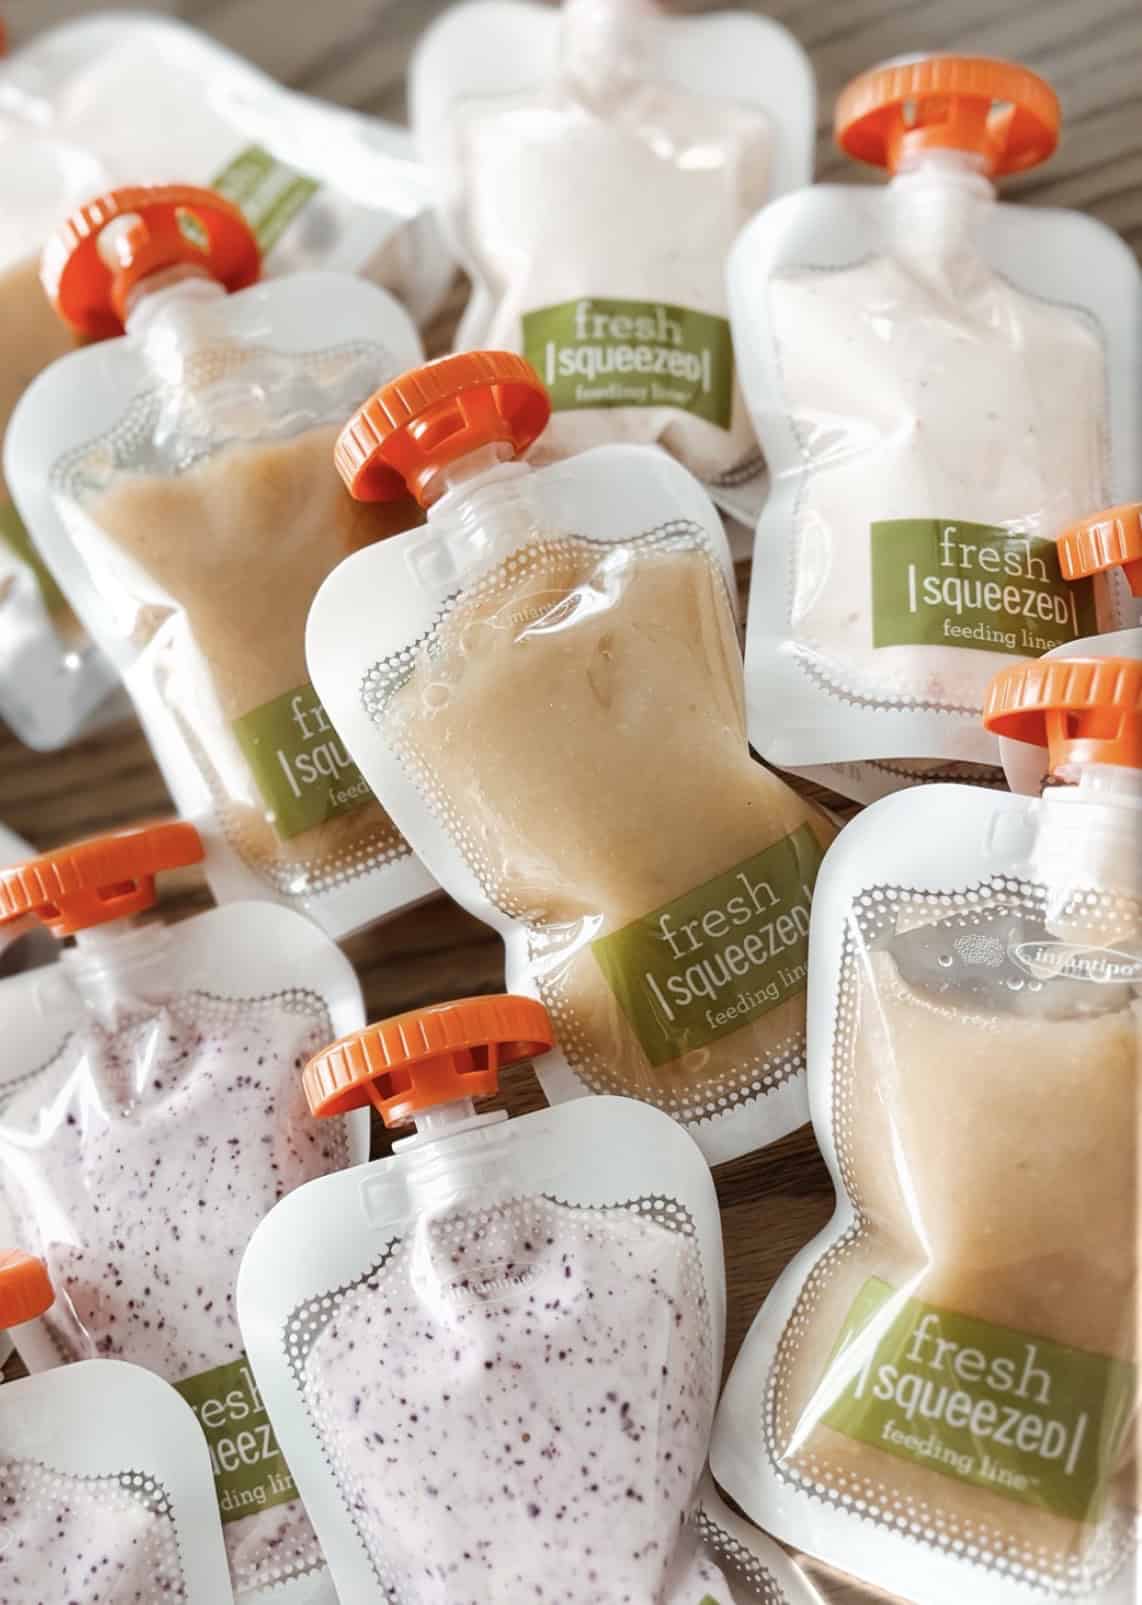
Our household has applesauce pouching loving children, so I also prepare our own homemade yogurt, fruit and veggies pouches - see the quick and easy method I use here. This saves a lot of money on store bought pouches and they're way healthier!
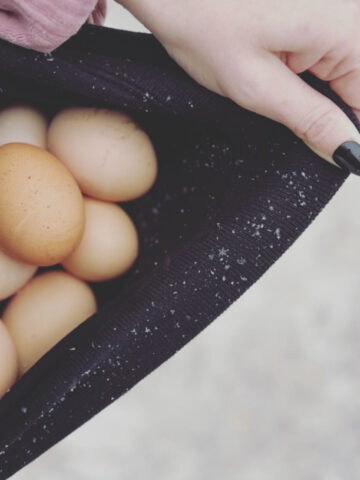
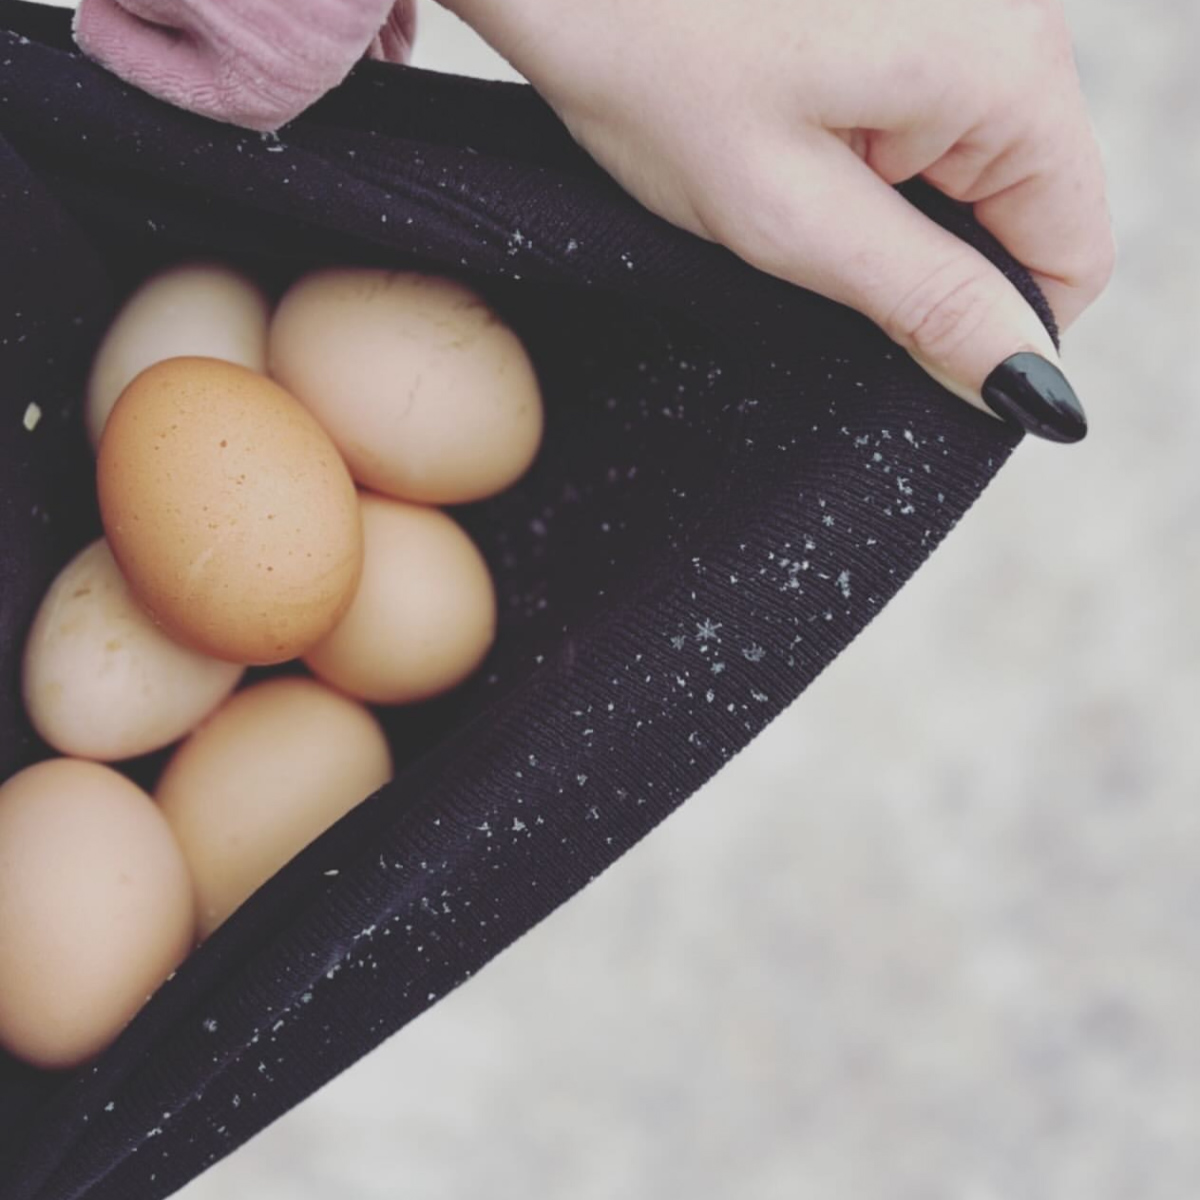
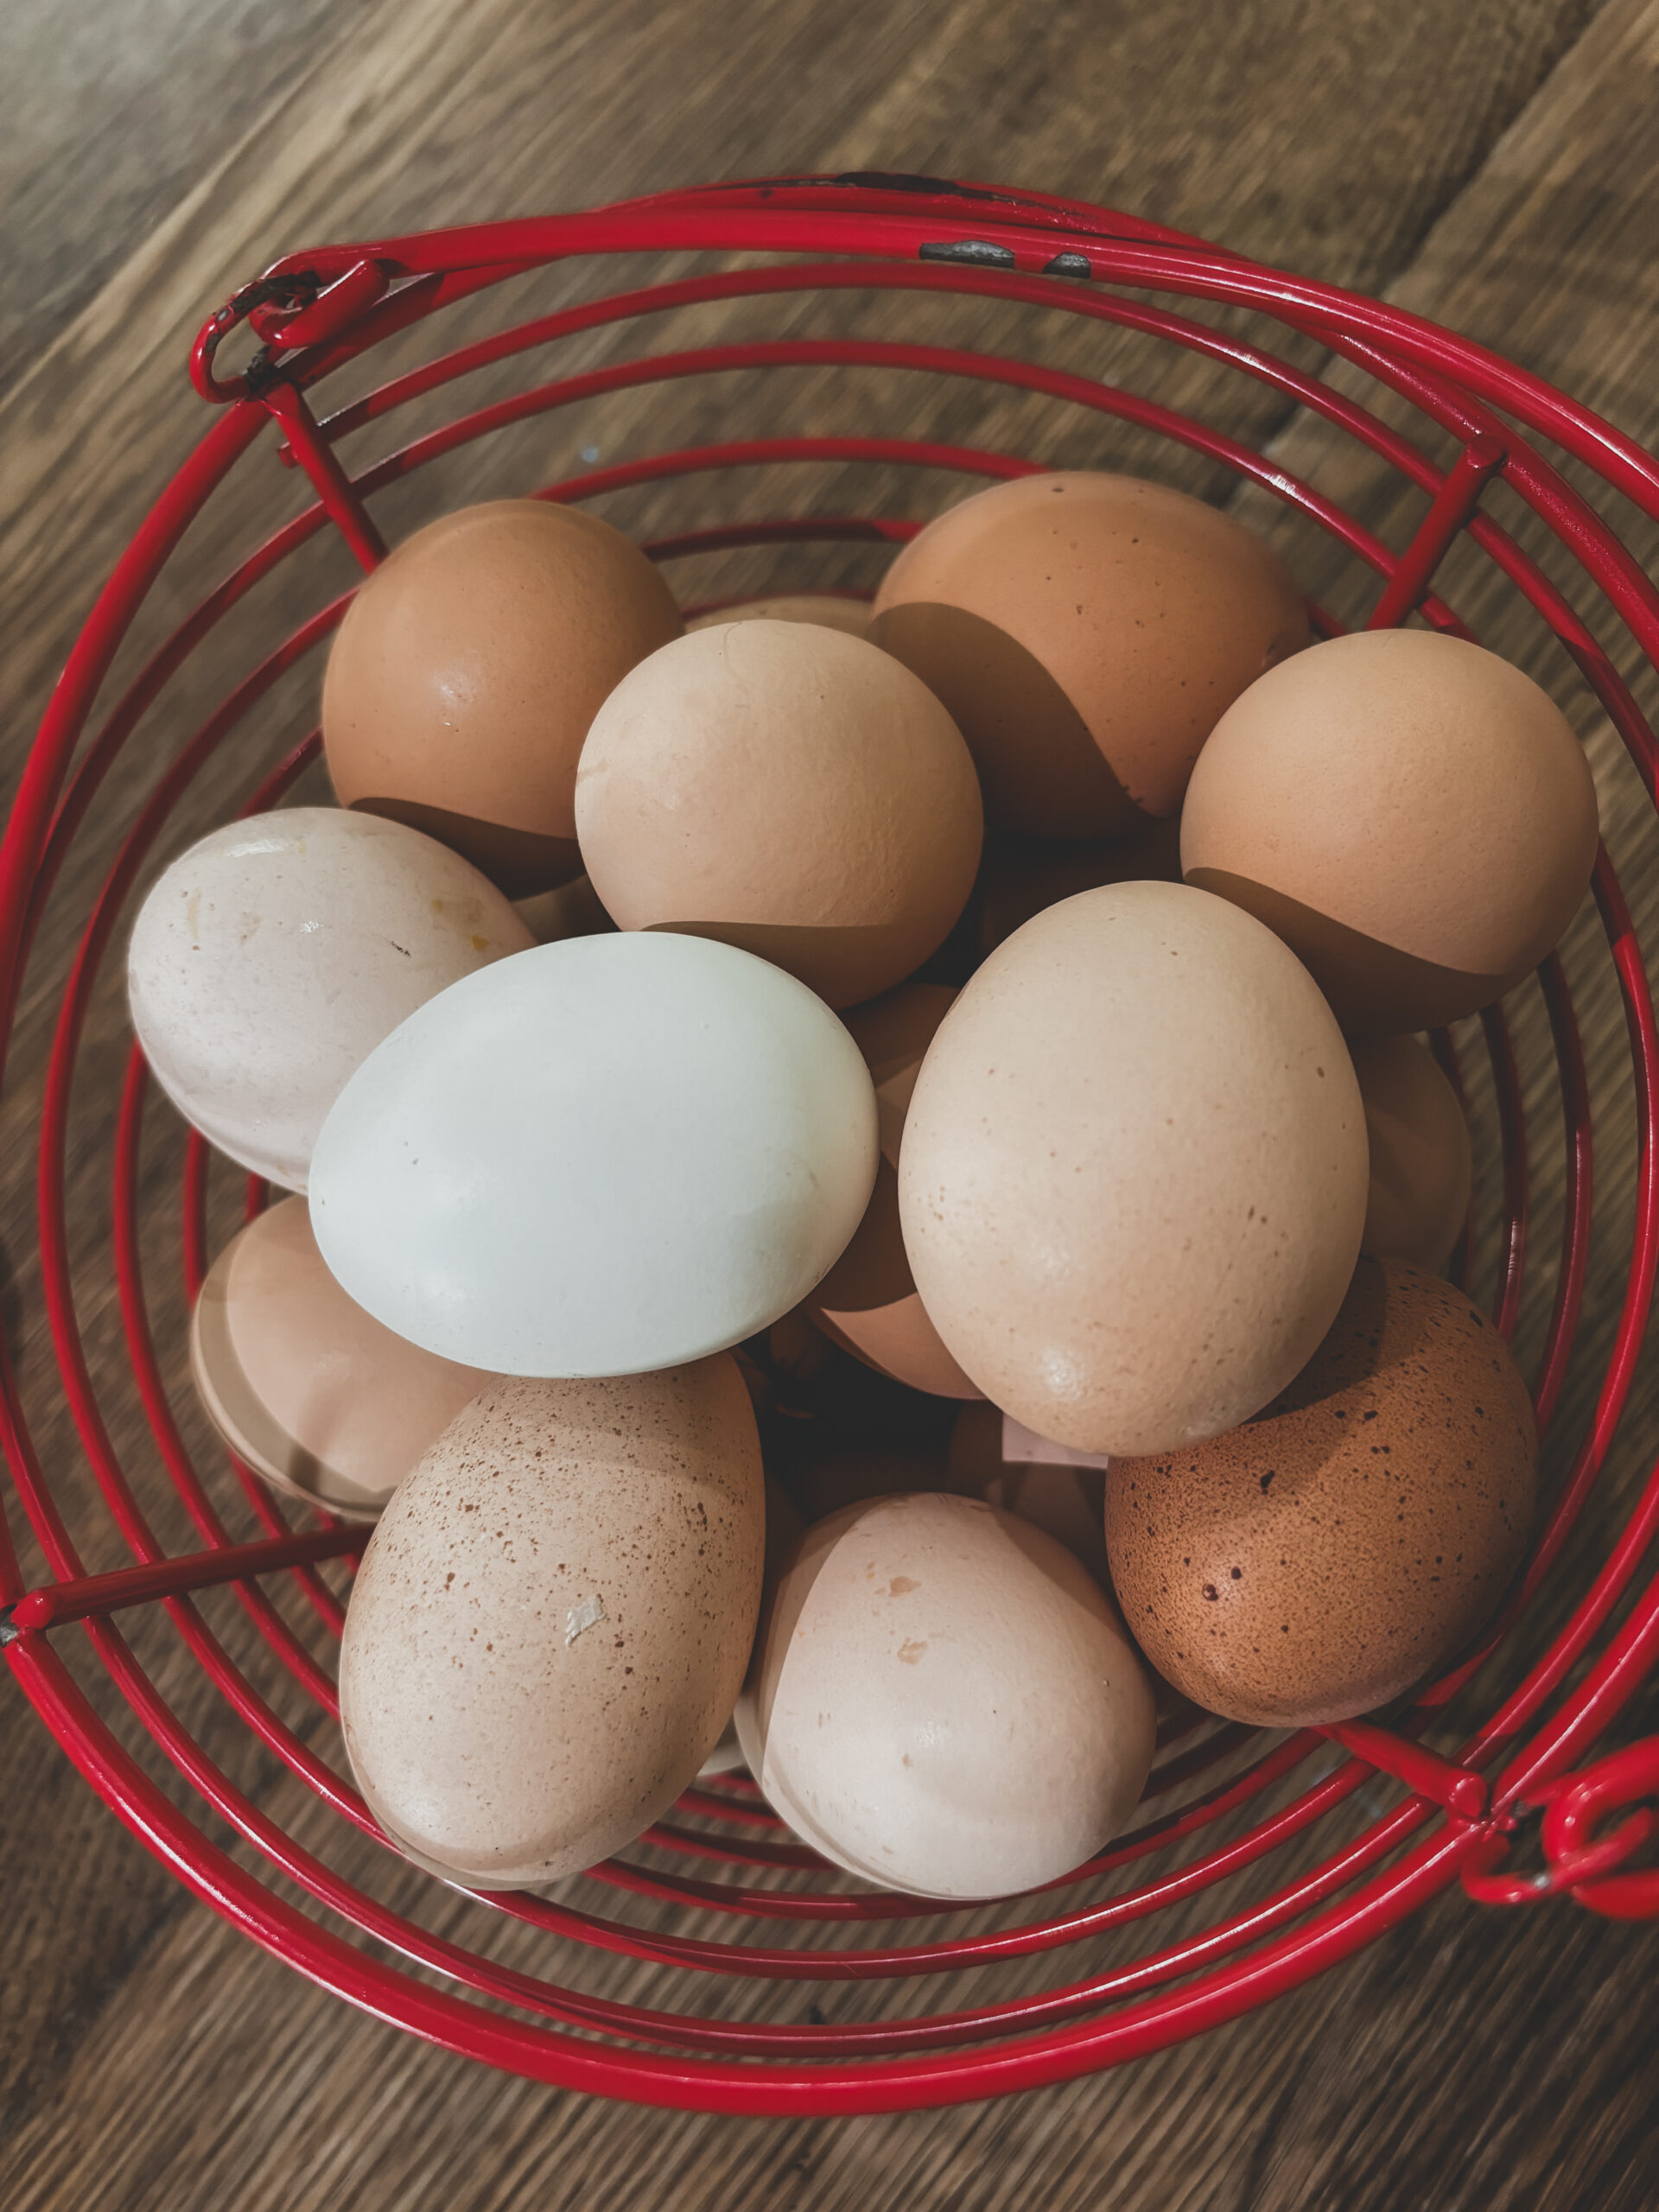
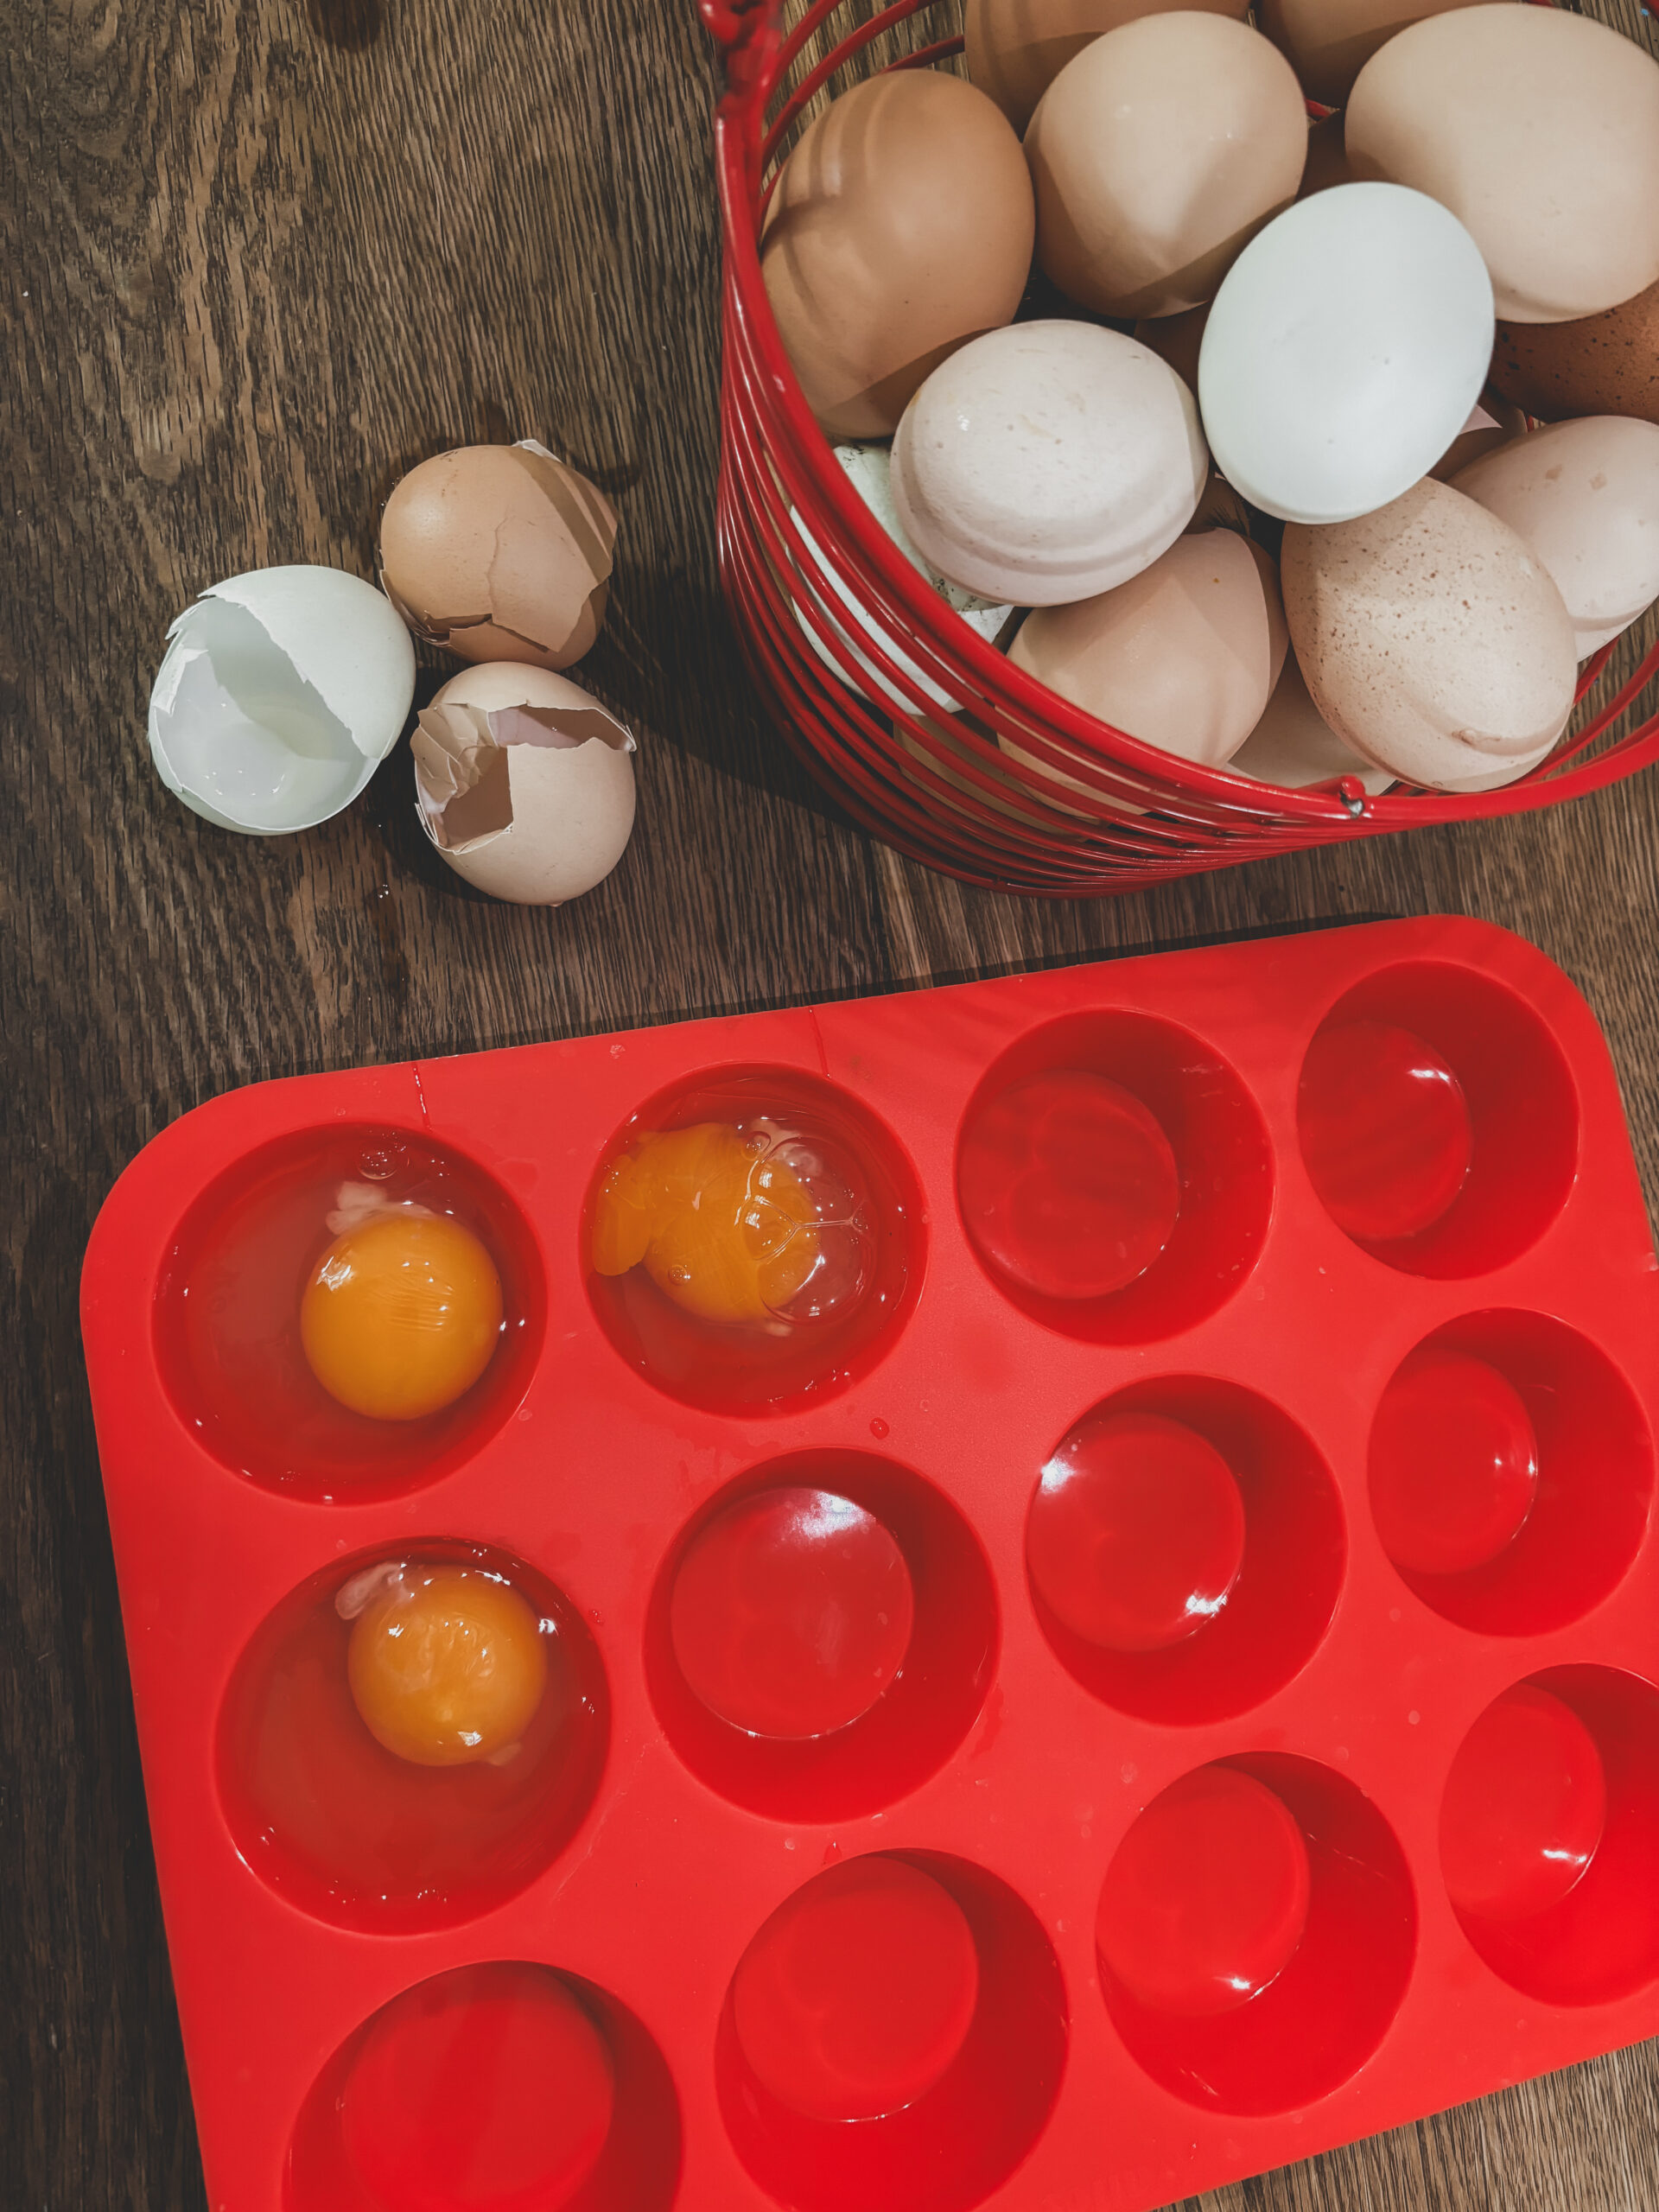
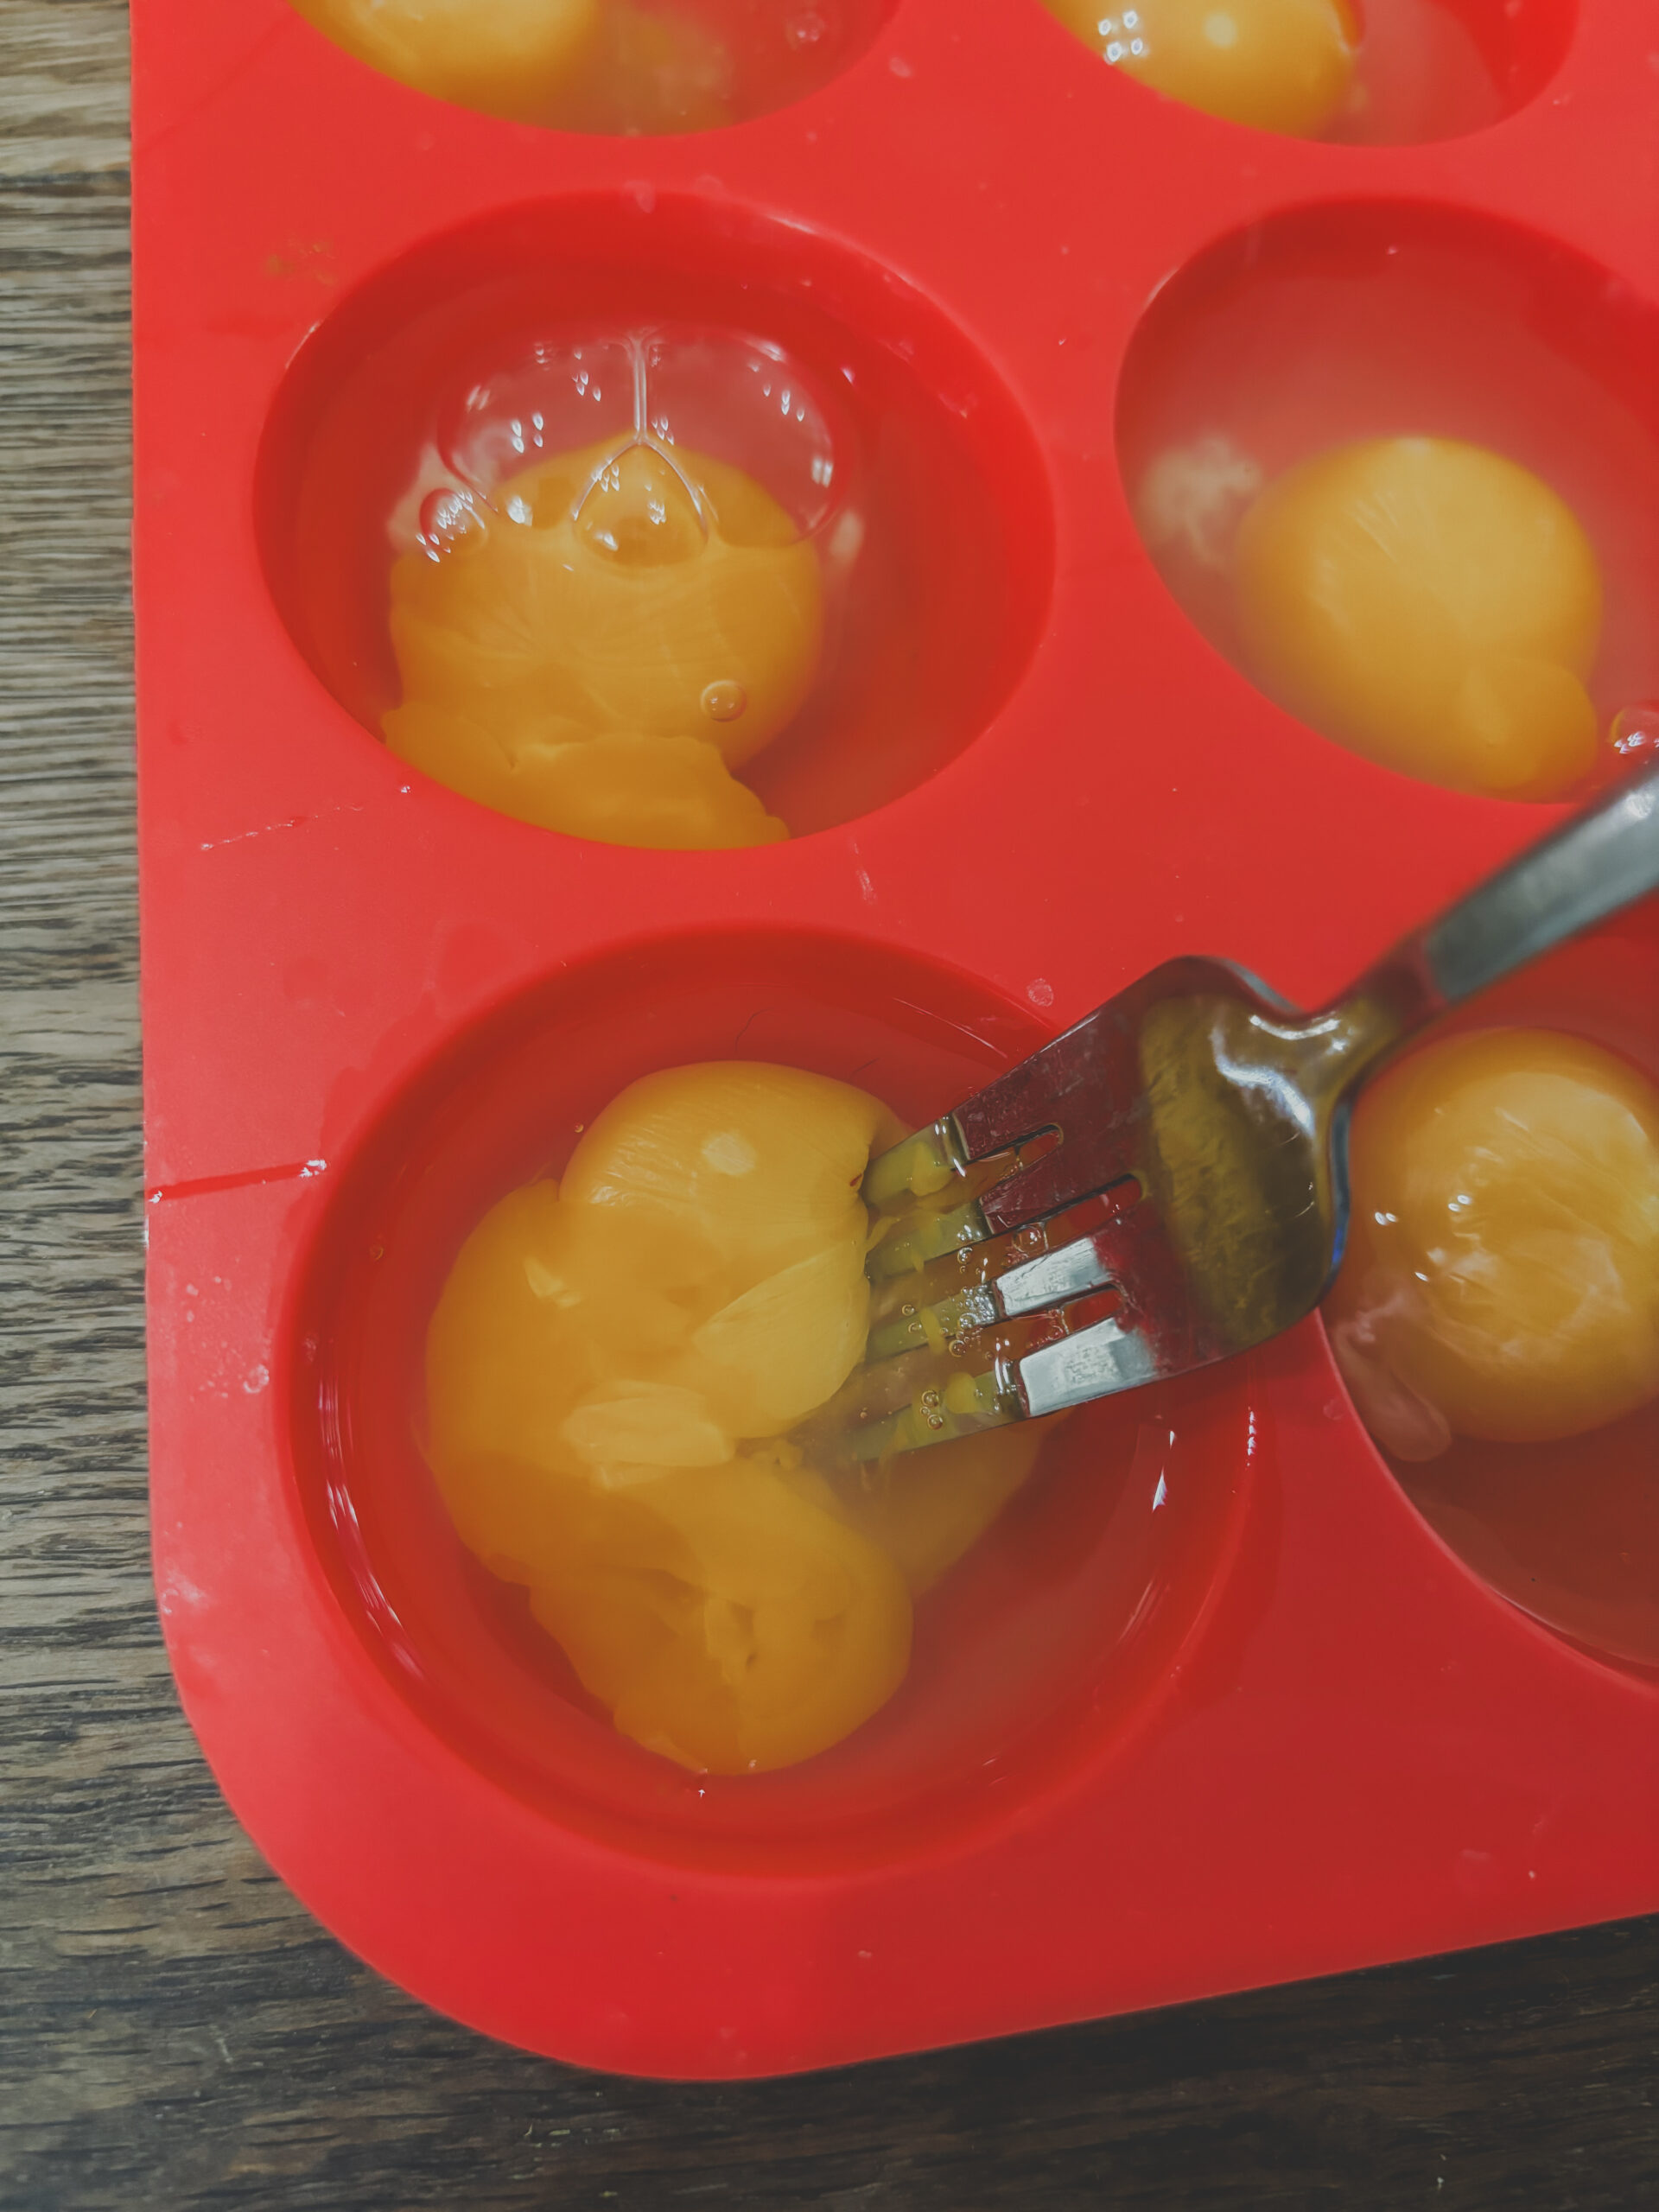
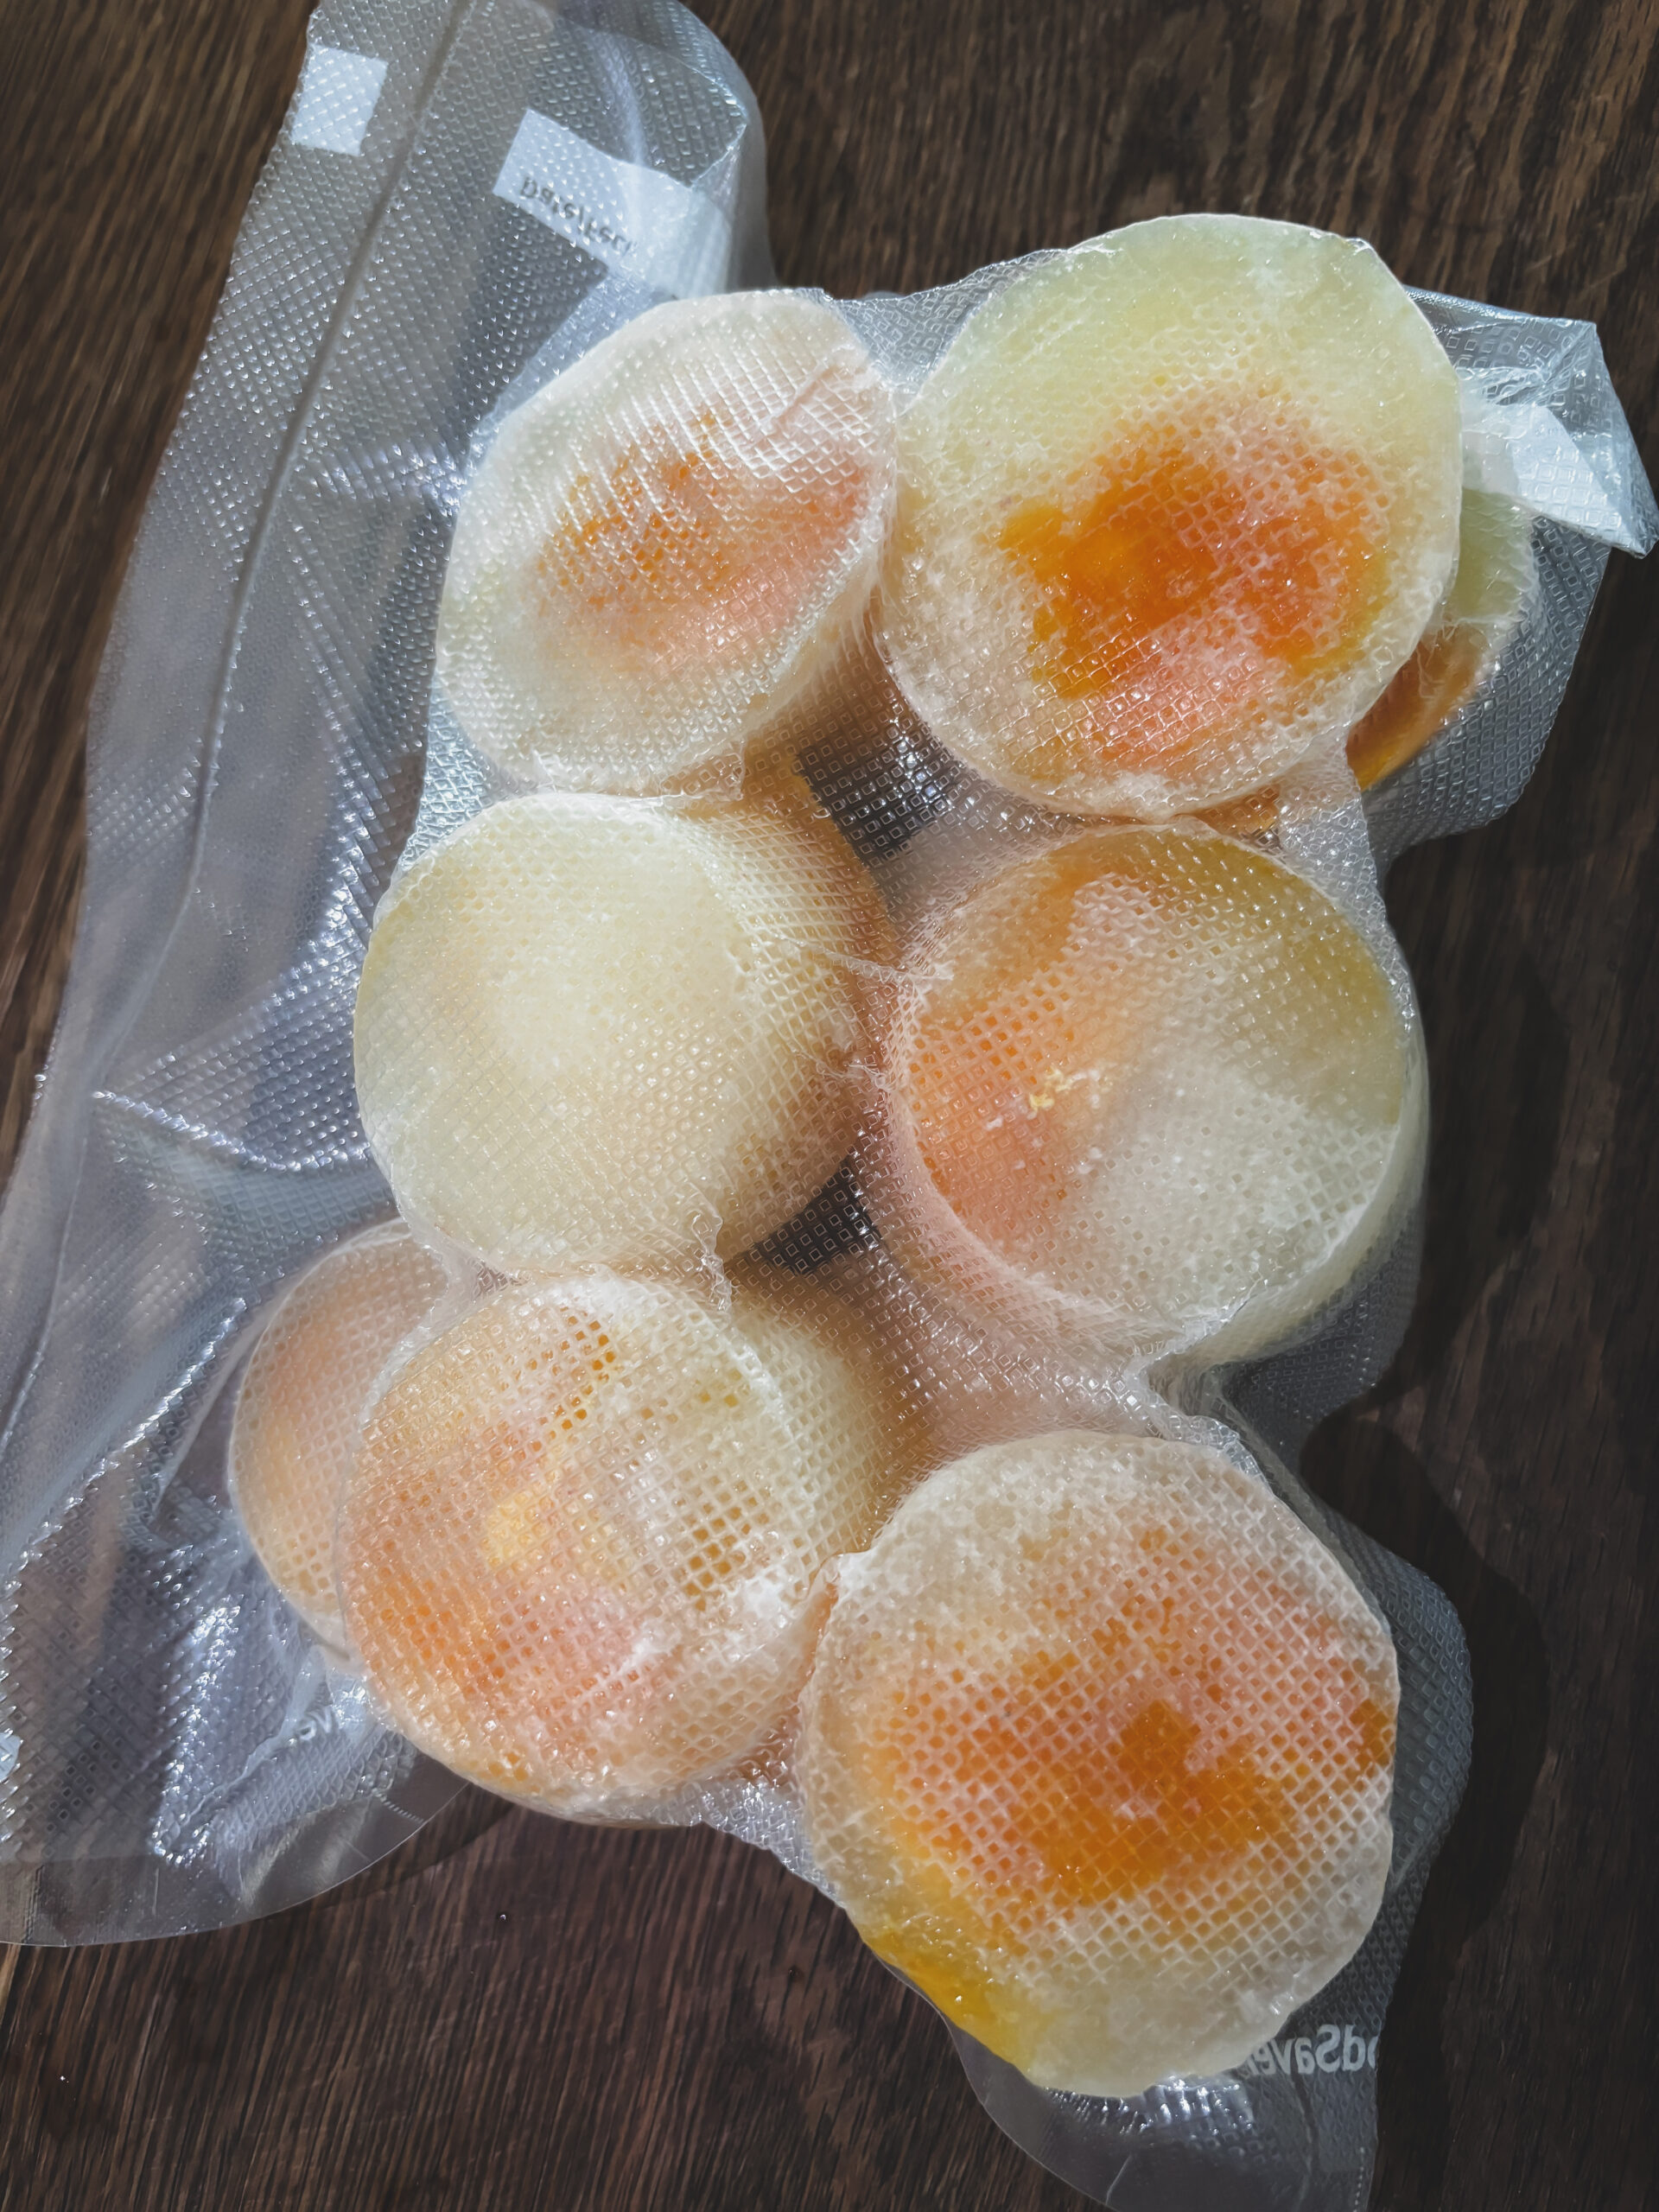
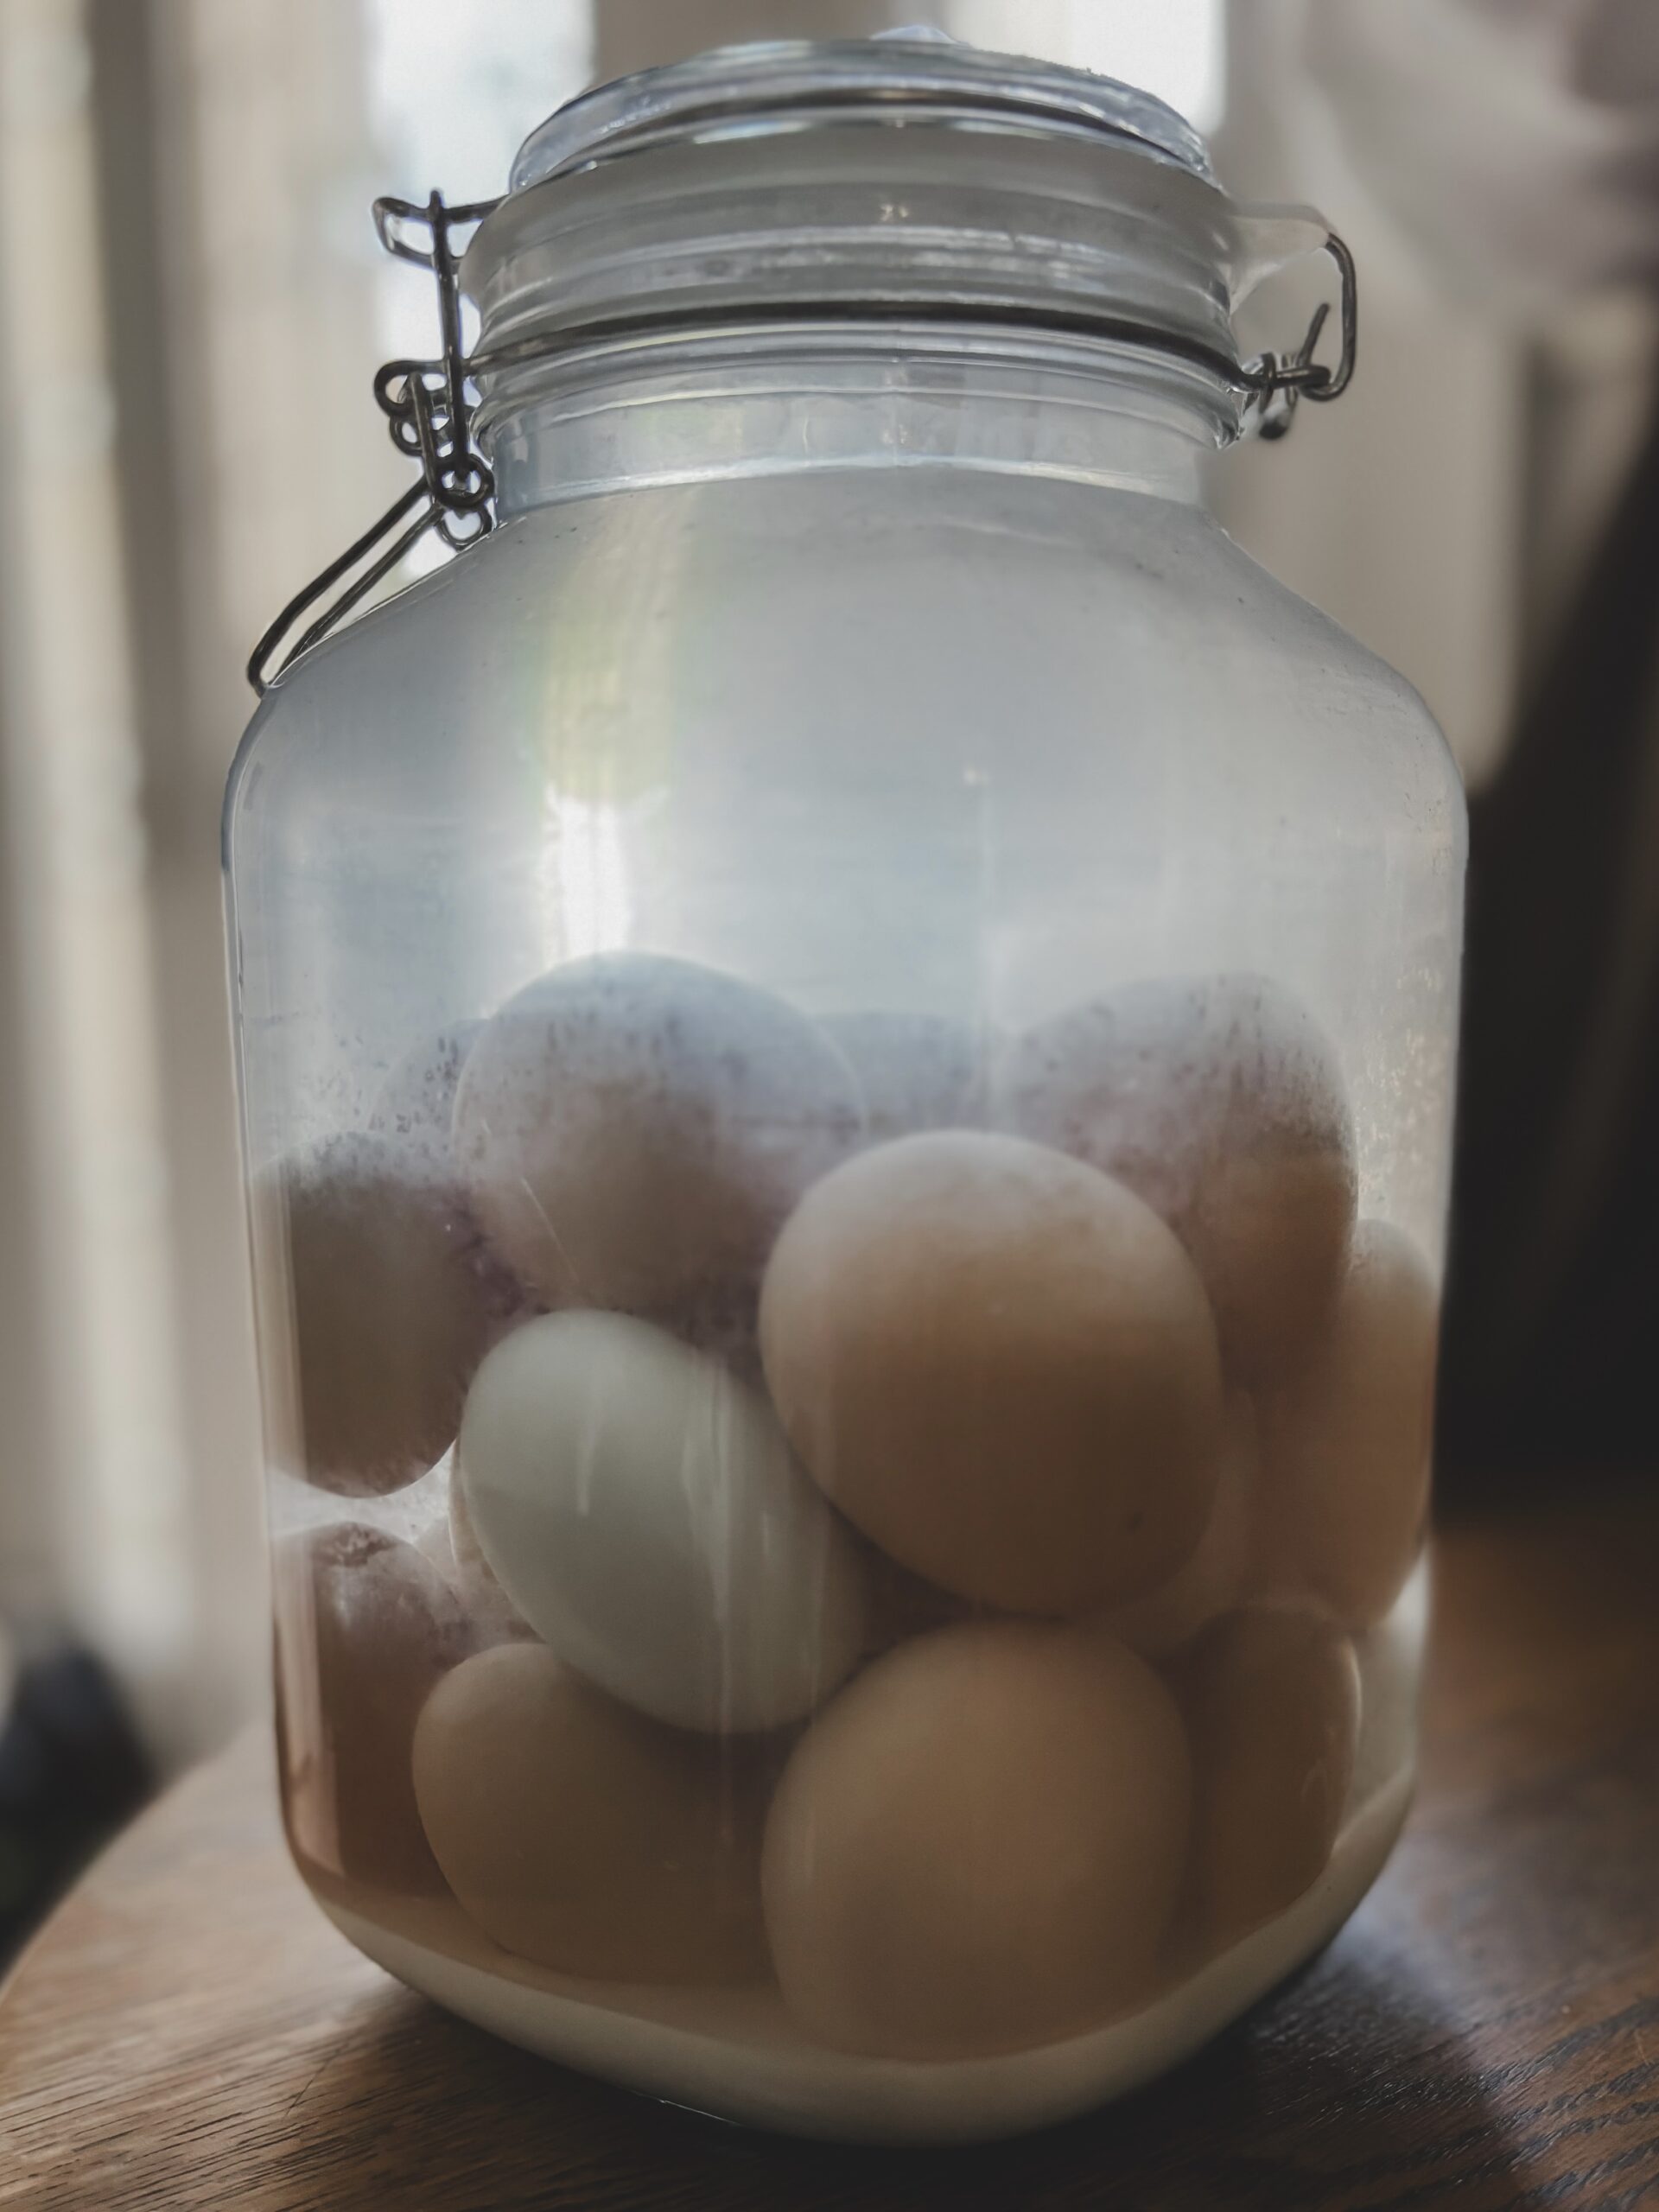
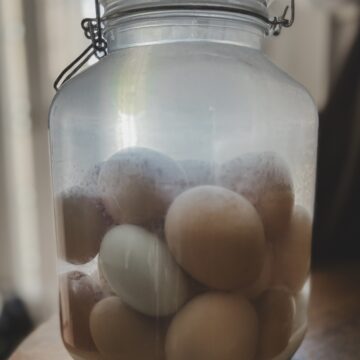
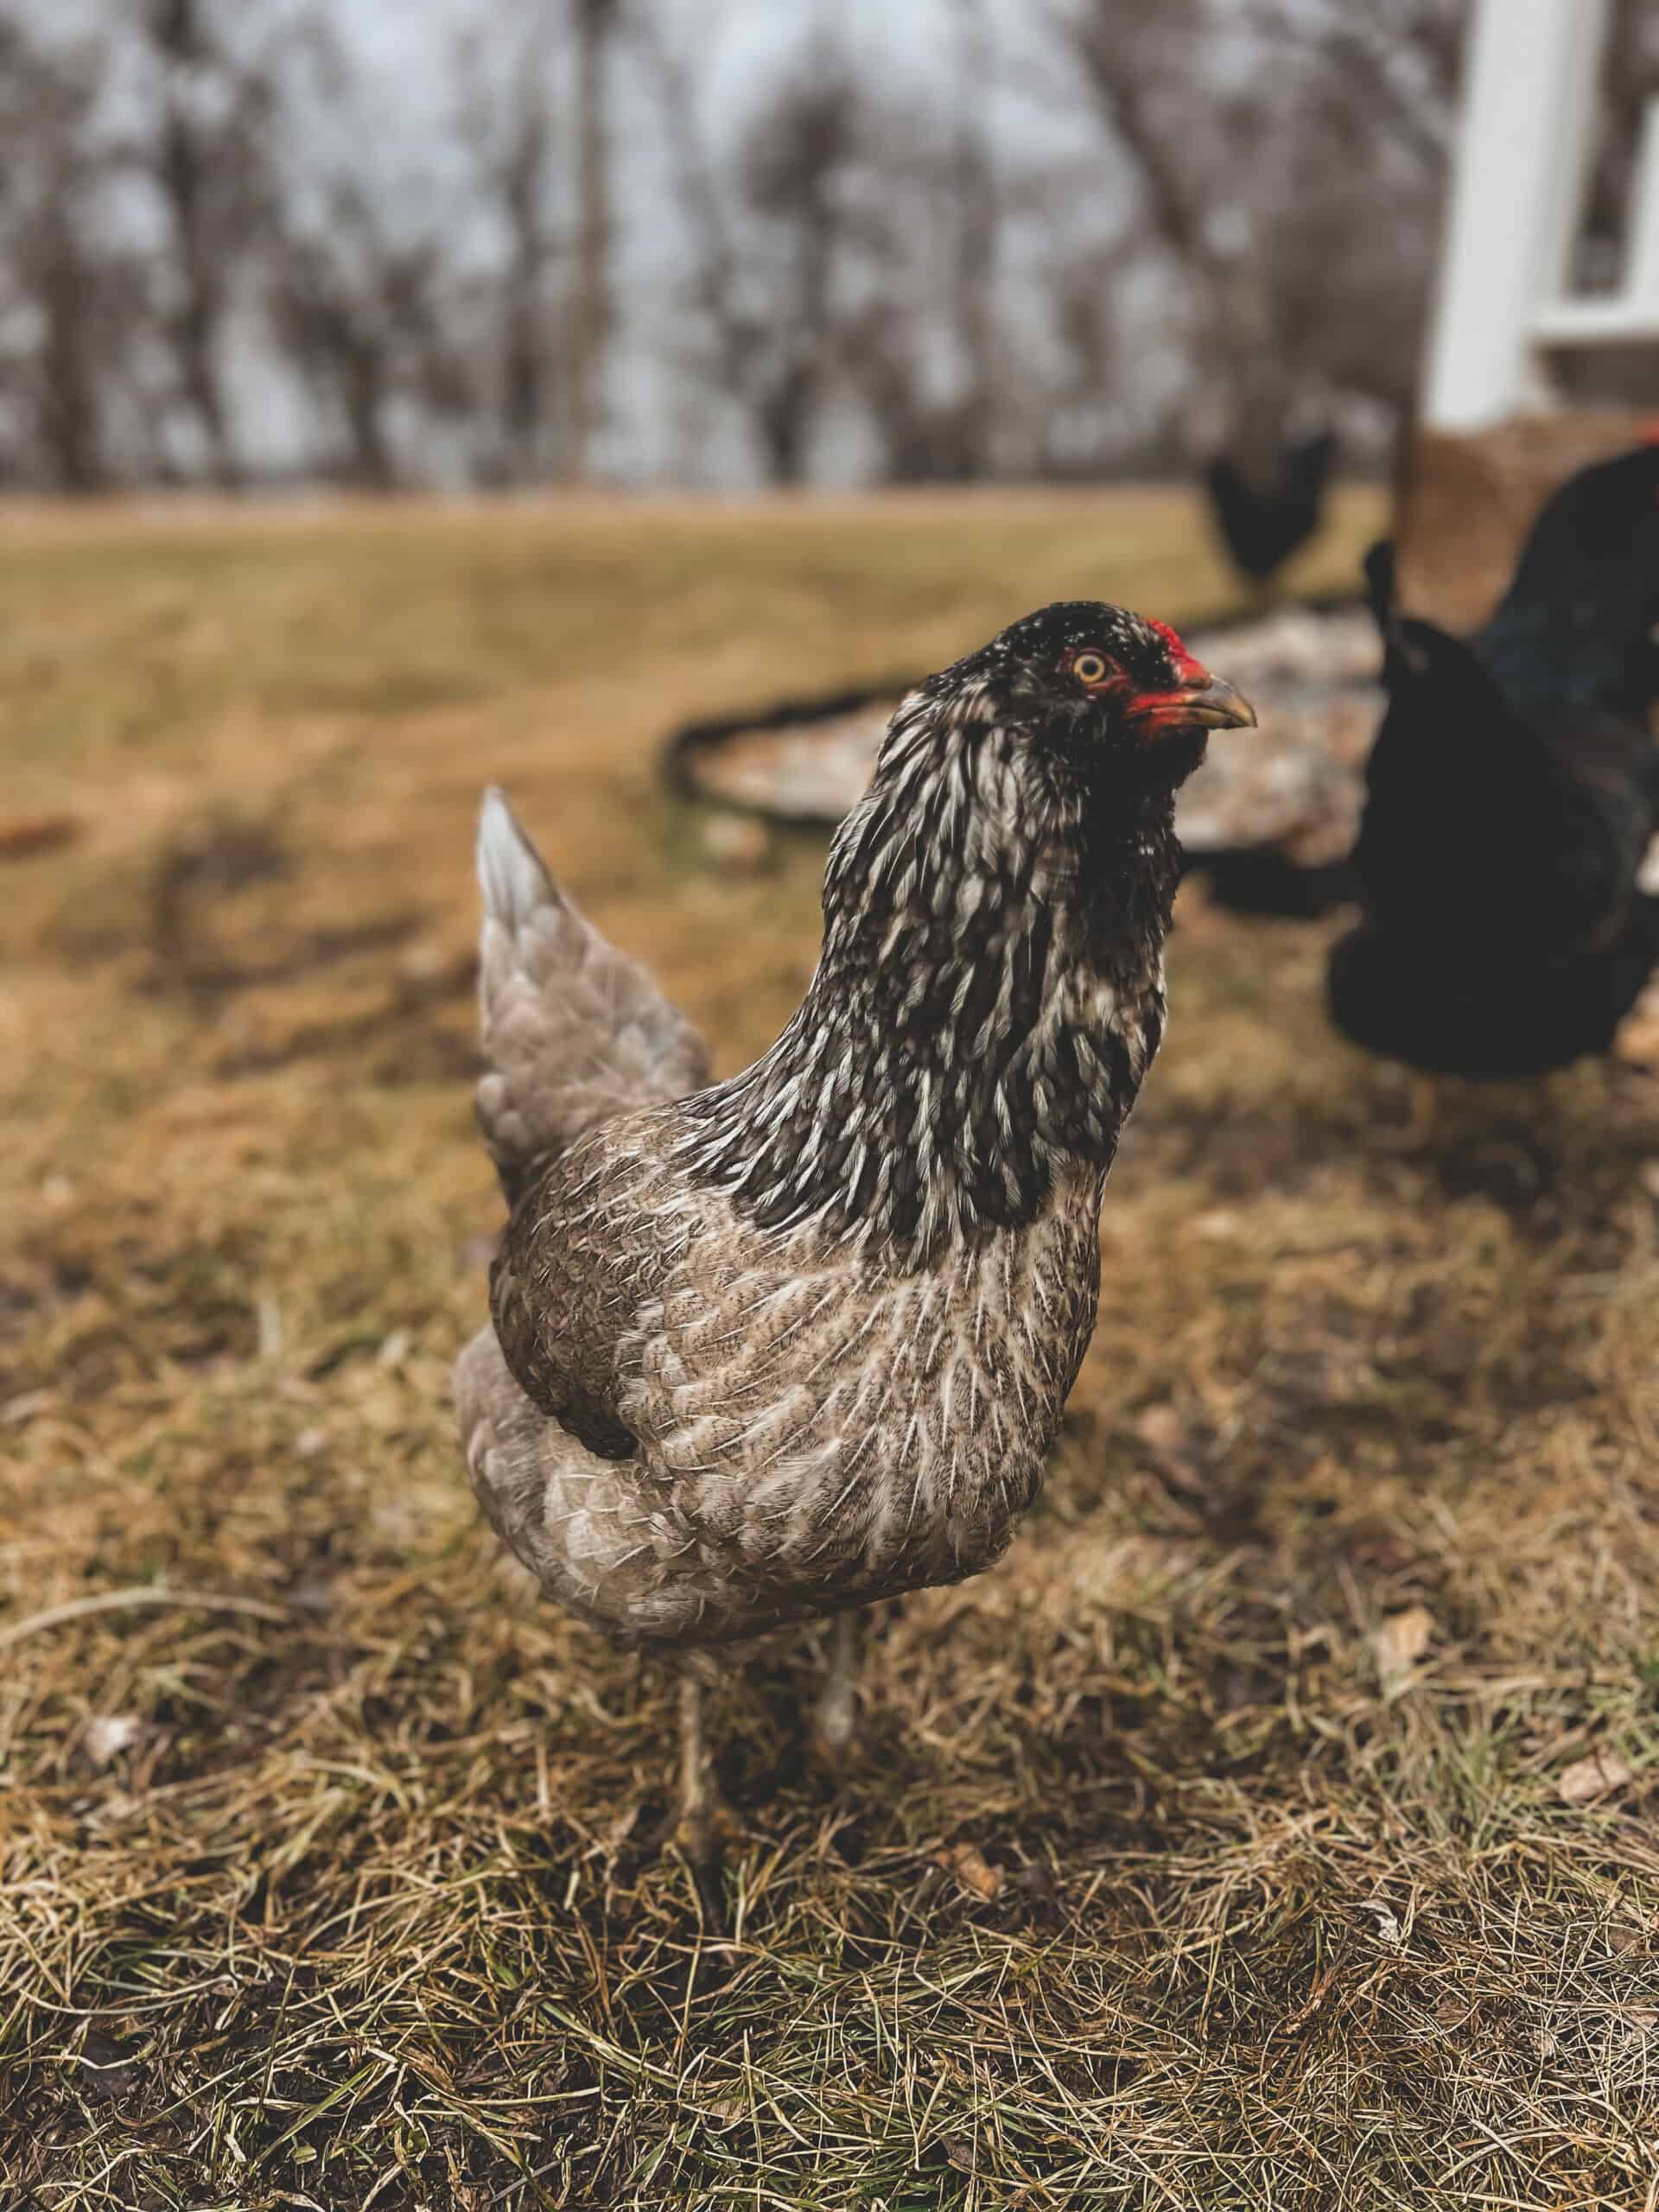
We do have chickens as well, these ladies do have cost when it comes to feed and coop bedding, but we are able to sell extra eggs to offset that cost. These ladies give us an abundance of eggs for cooking and baking, and I freeze some for the winter months when they are no longer laying - read about preserving eggs here.
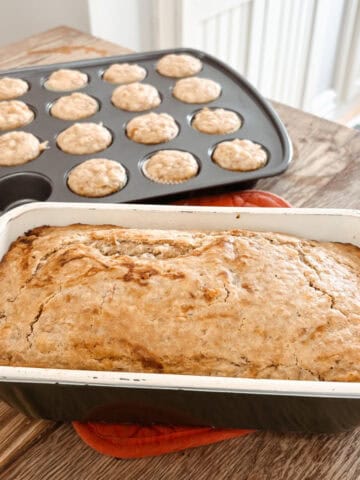
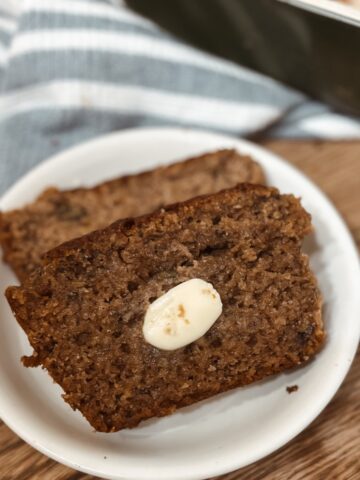
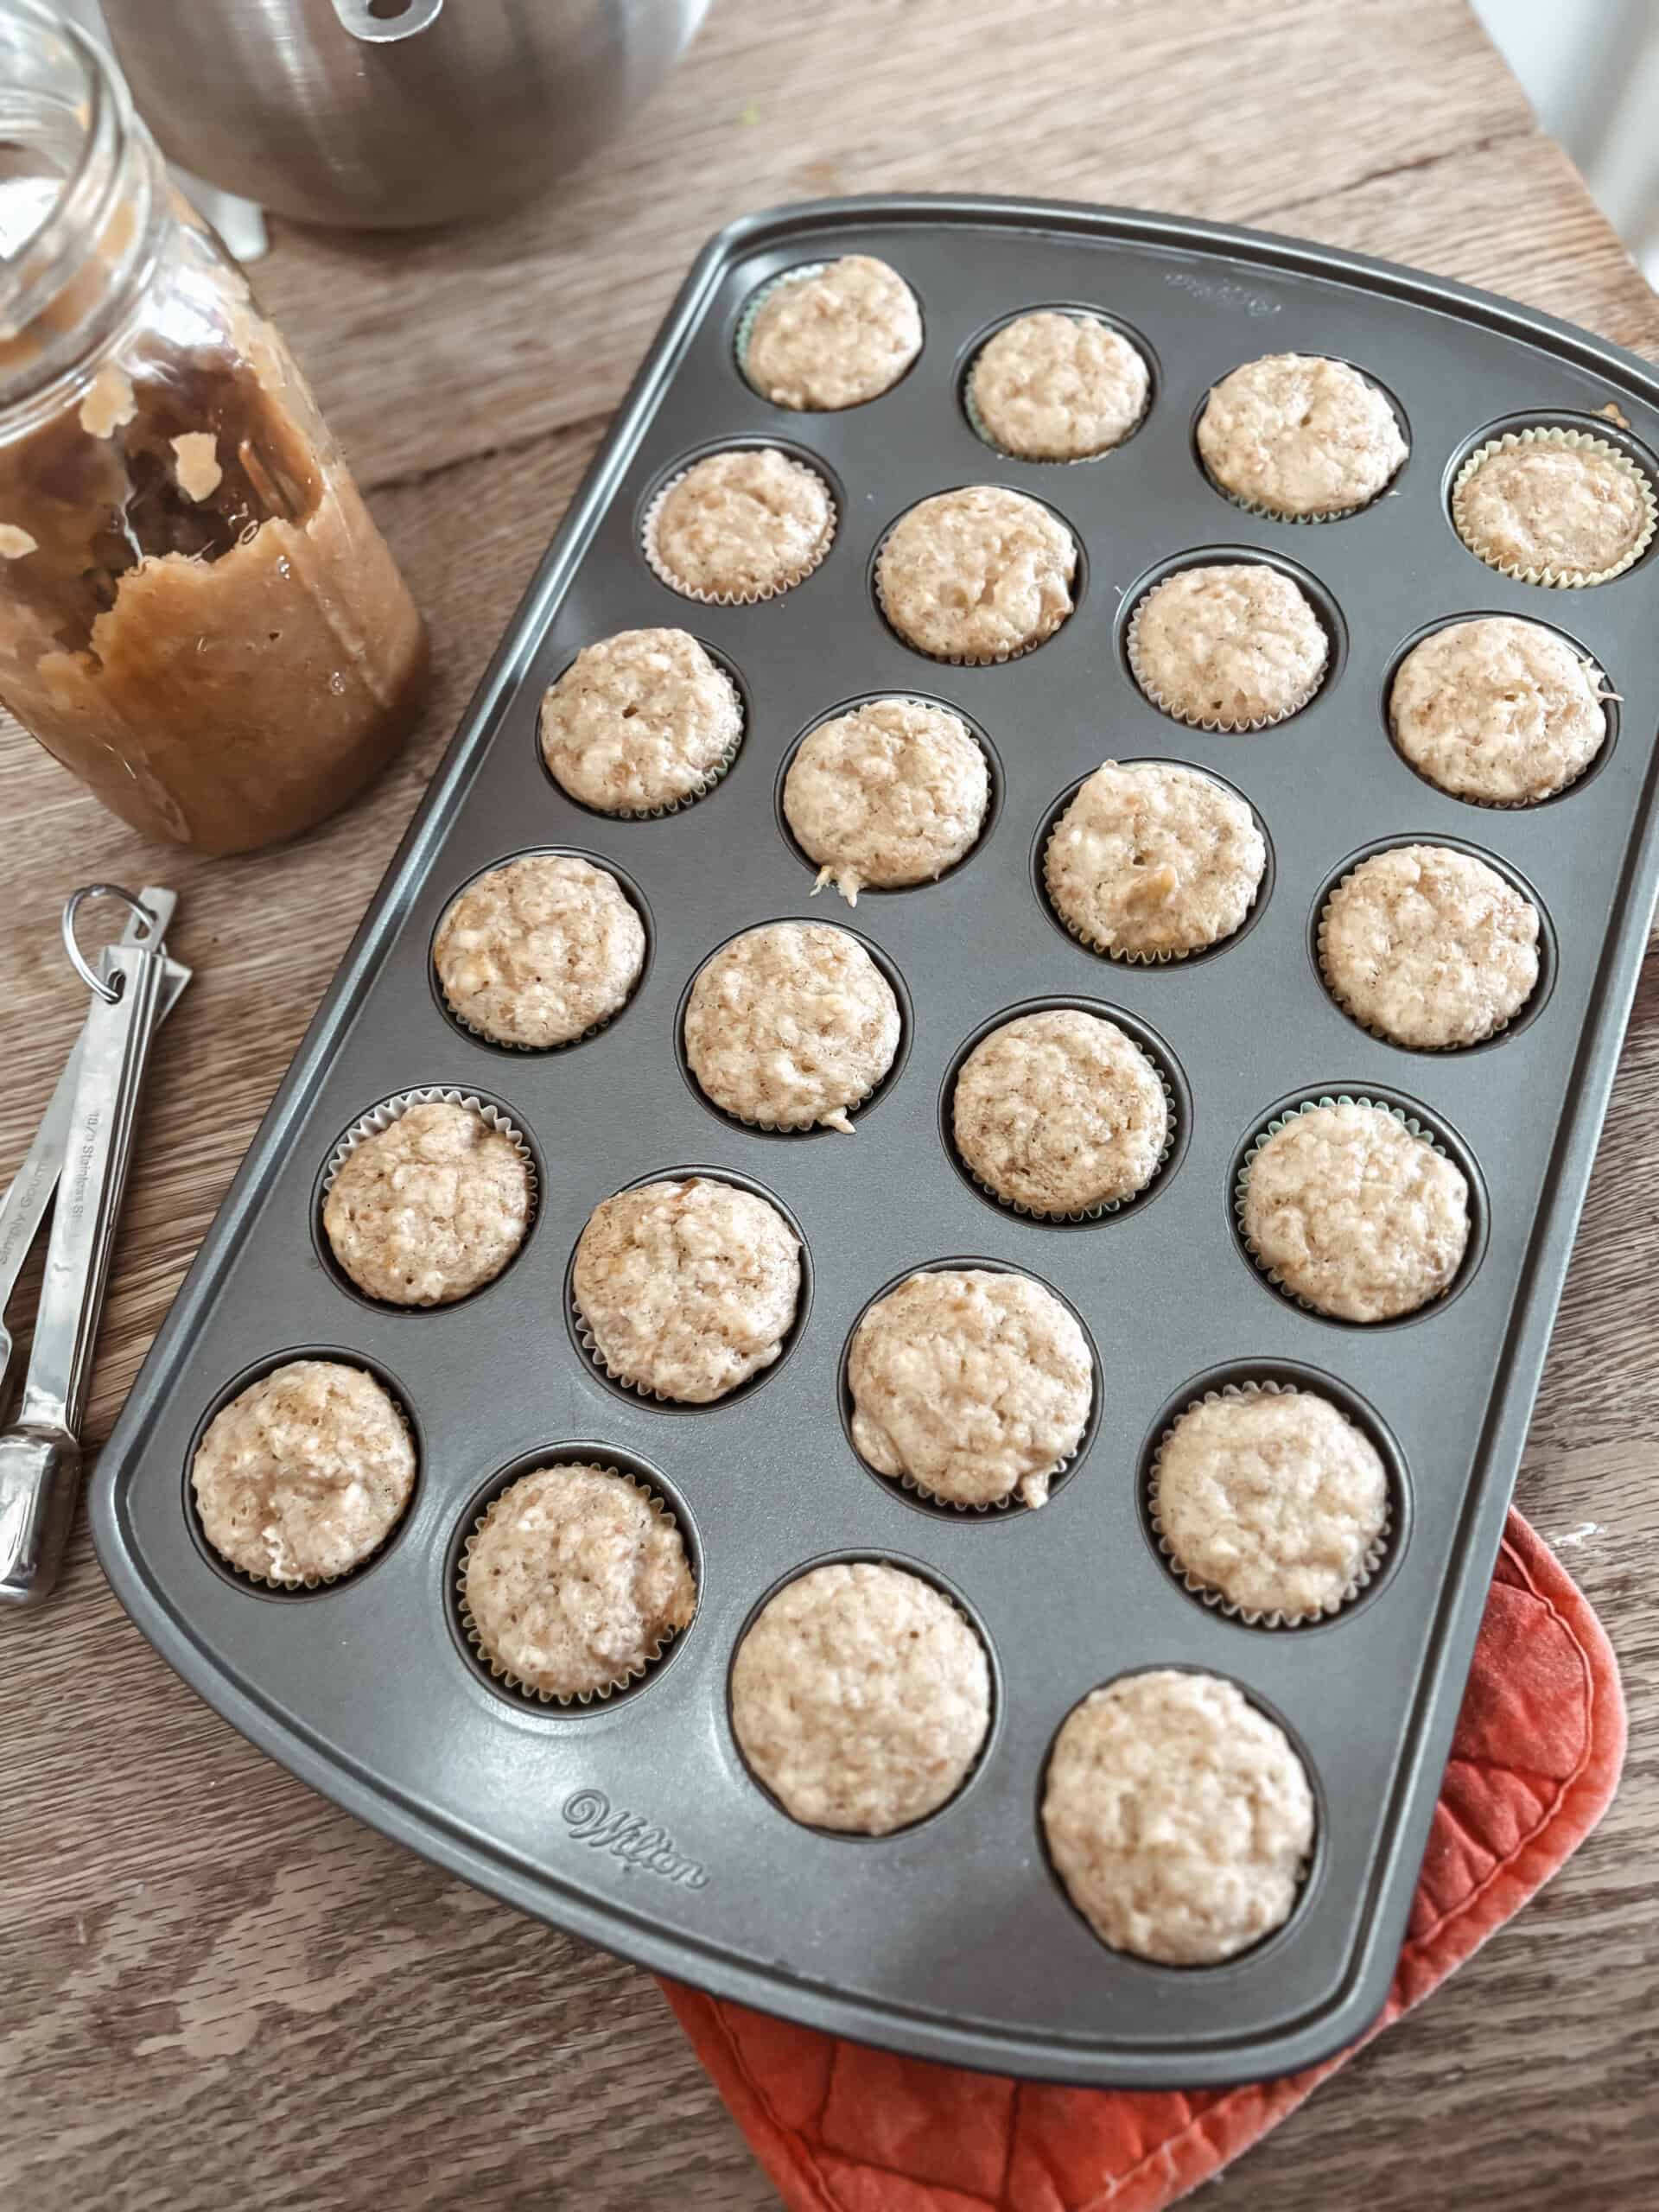
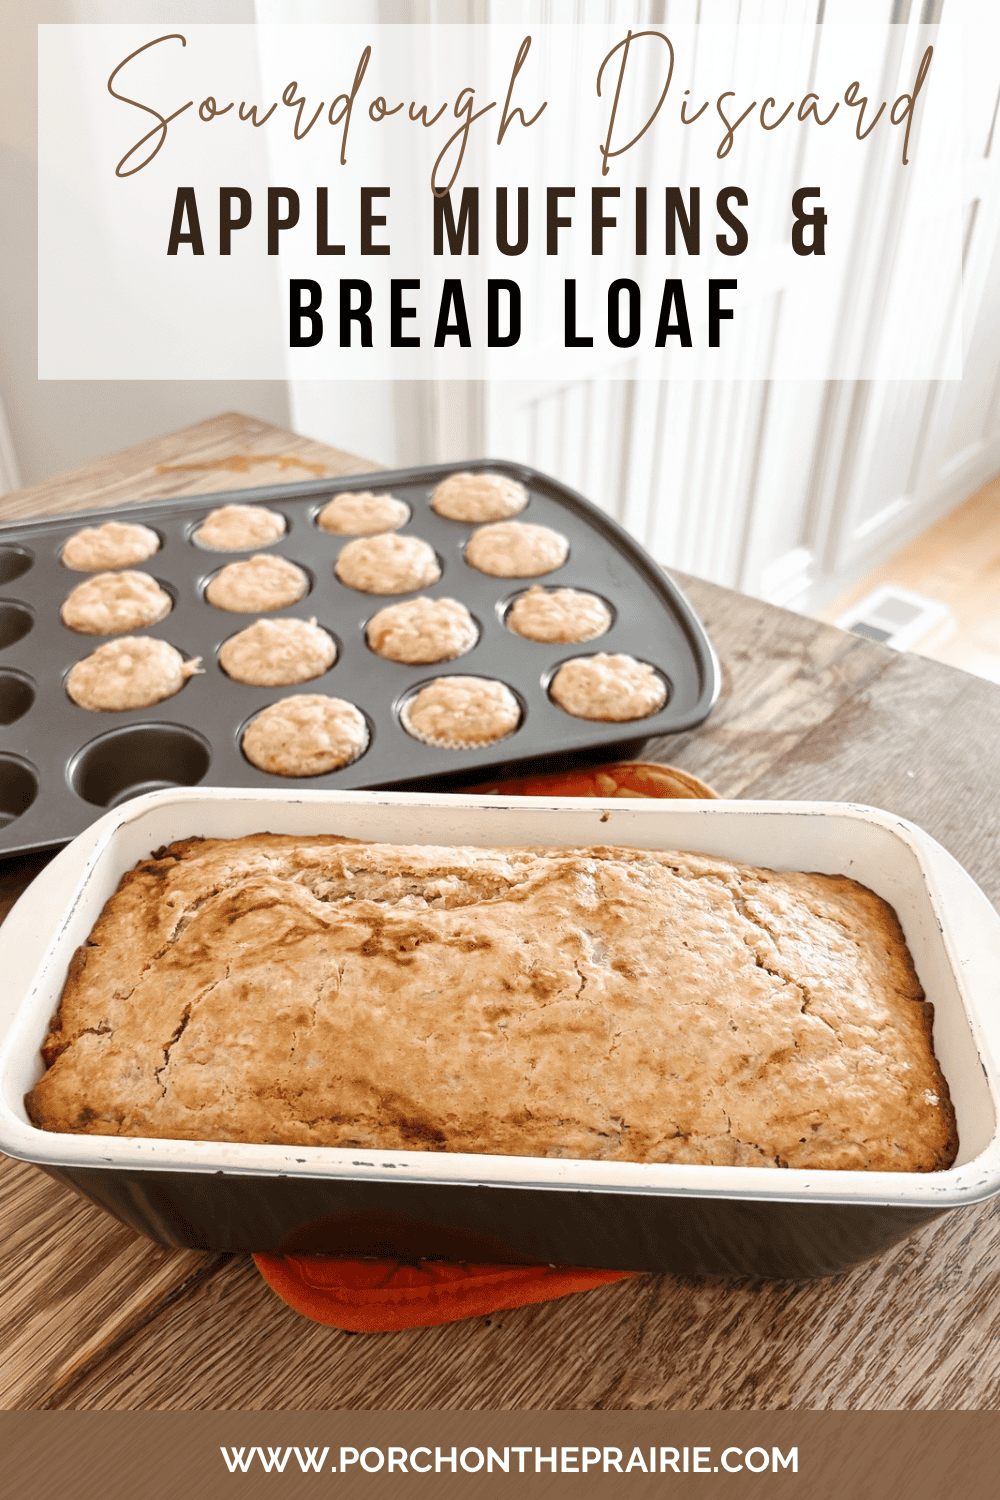
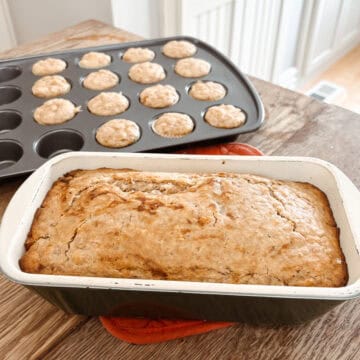
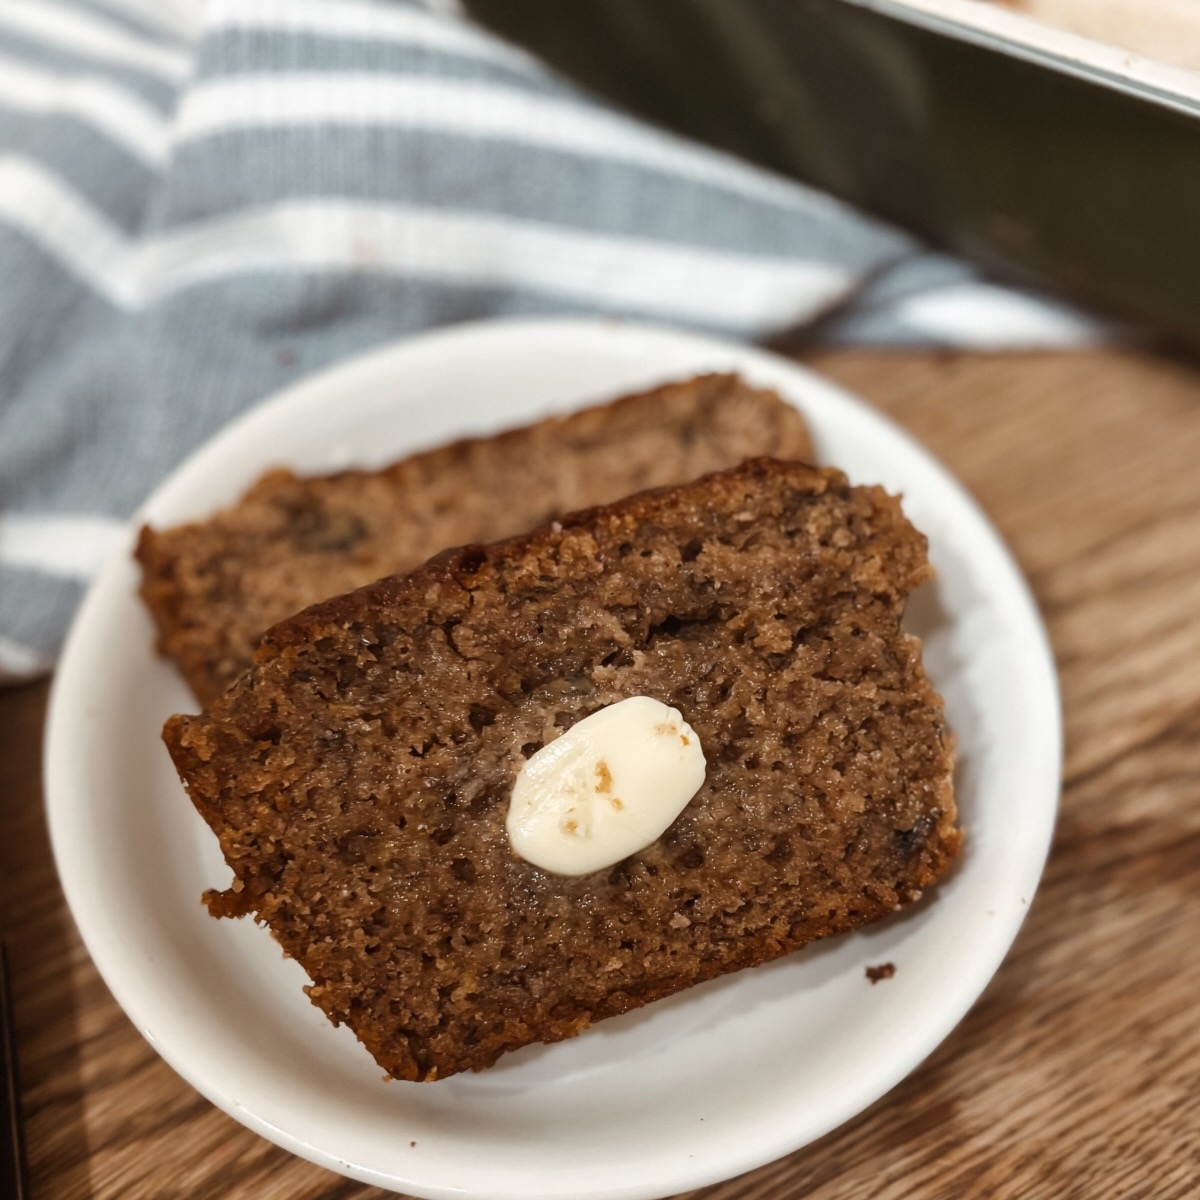
Cook and Bake from Scratch
This is not only the healthiest option, but also the most cost effective way to eat. This includes snacks *gasp* - yes I said it, snacks.
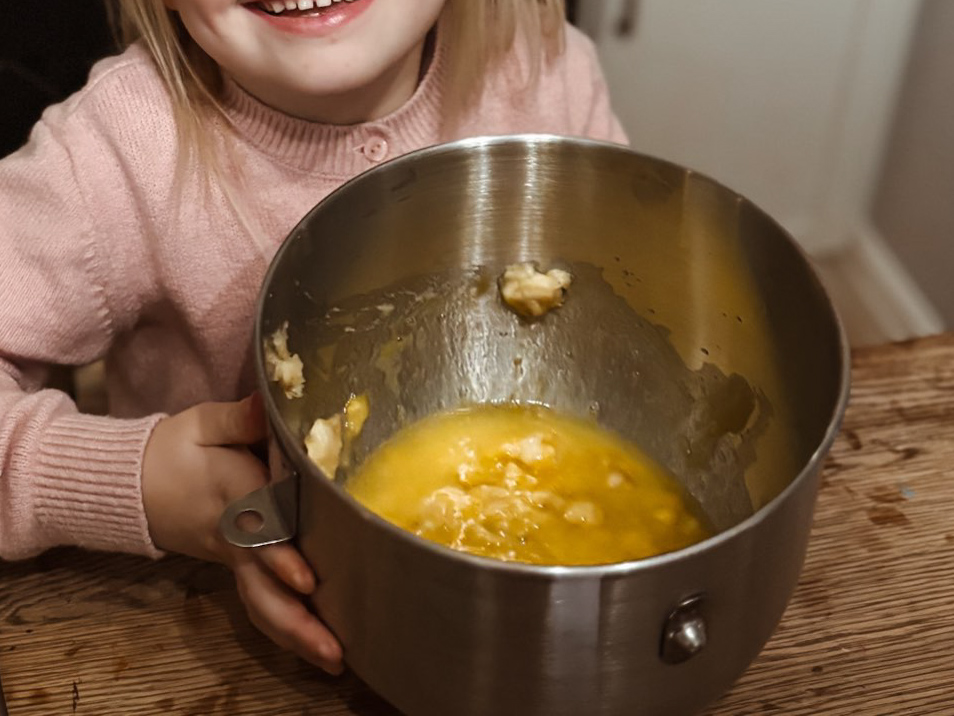
This one took me a while to get behind, as my children can behave like piranhas when hunger hits. I couldn't imagine not having snacks conveniently placed in our snack drawer, to avoid hunger meltdowns in a time of desperation. However, I ripped off the store-bought snack bandaid and was shocked at how nondramatic it was.
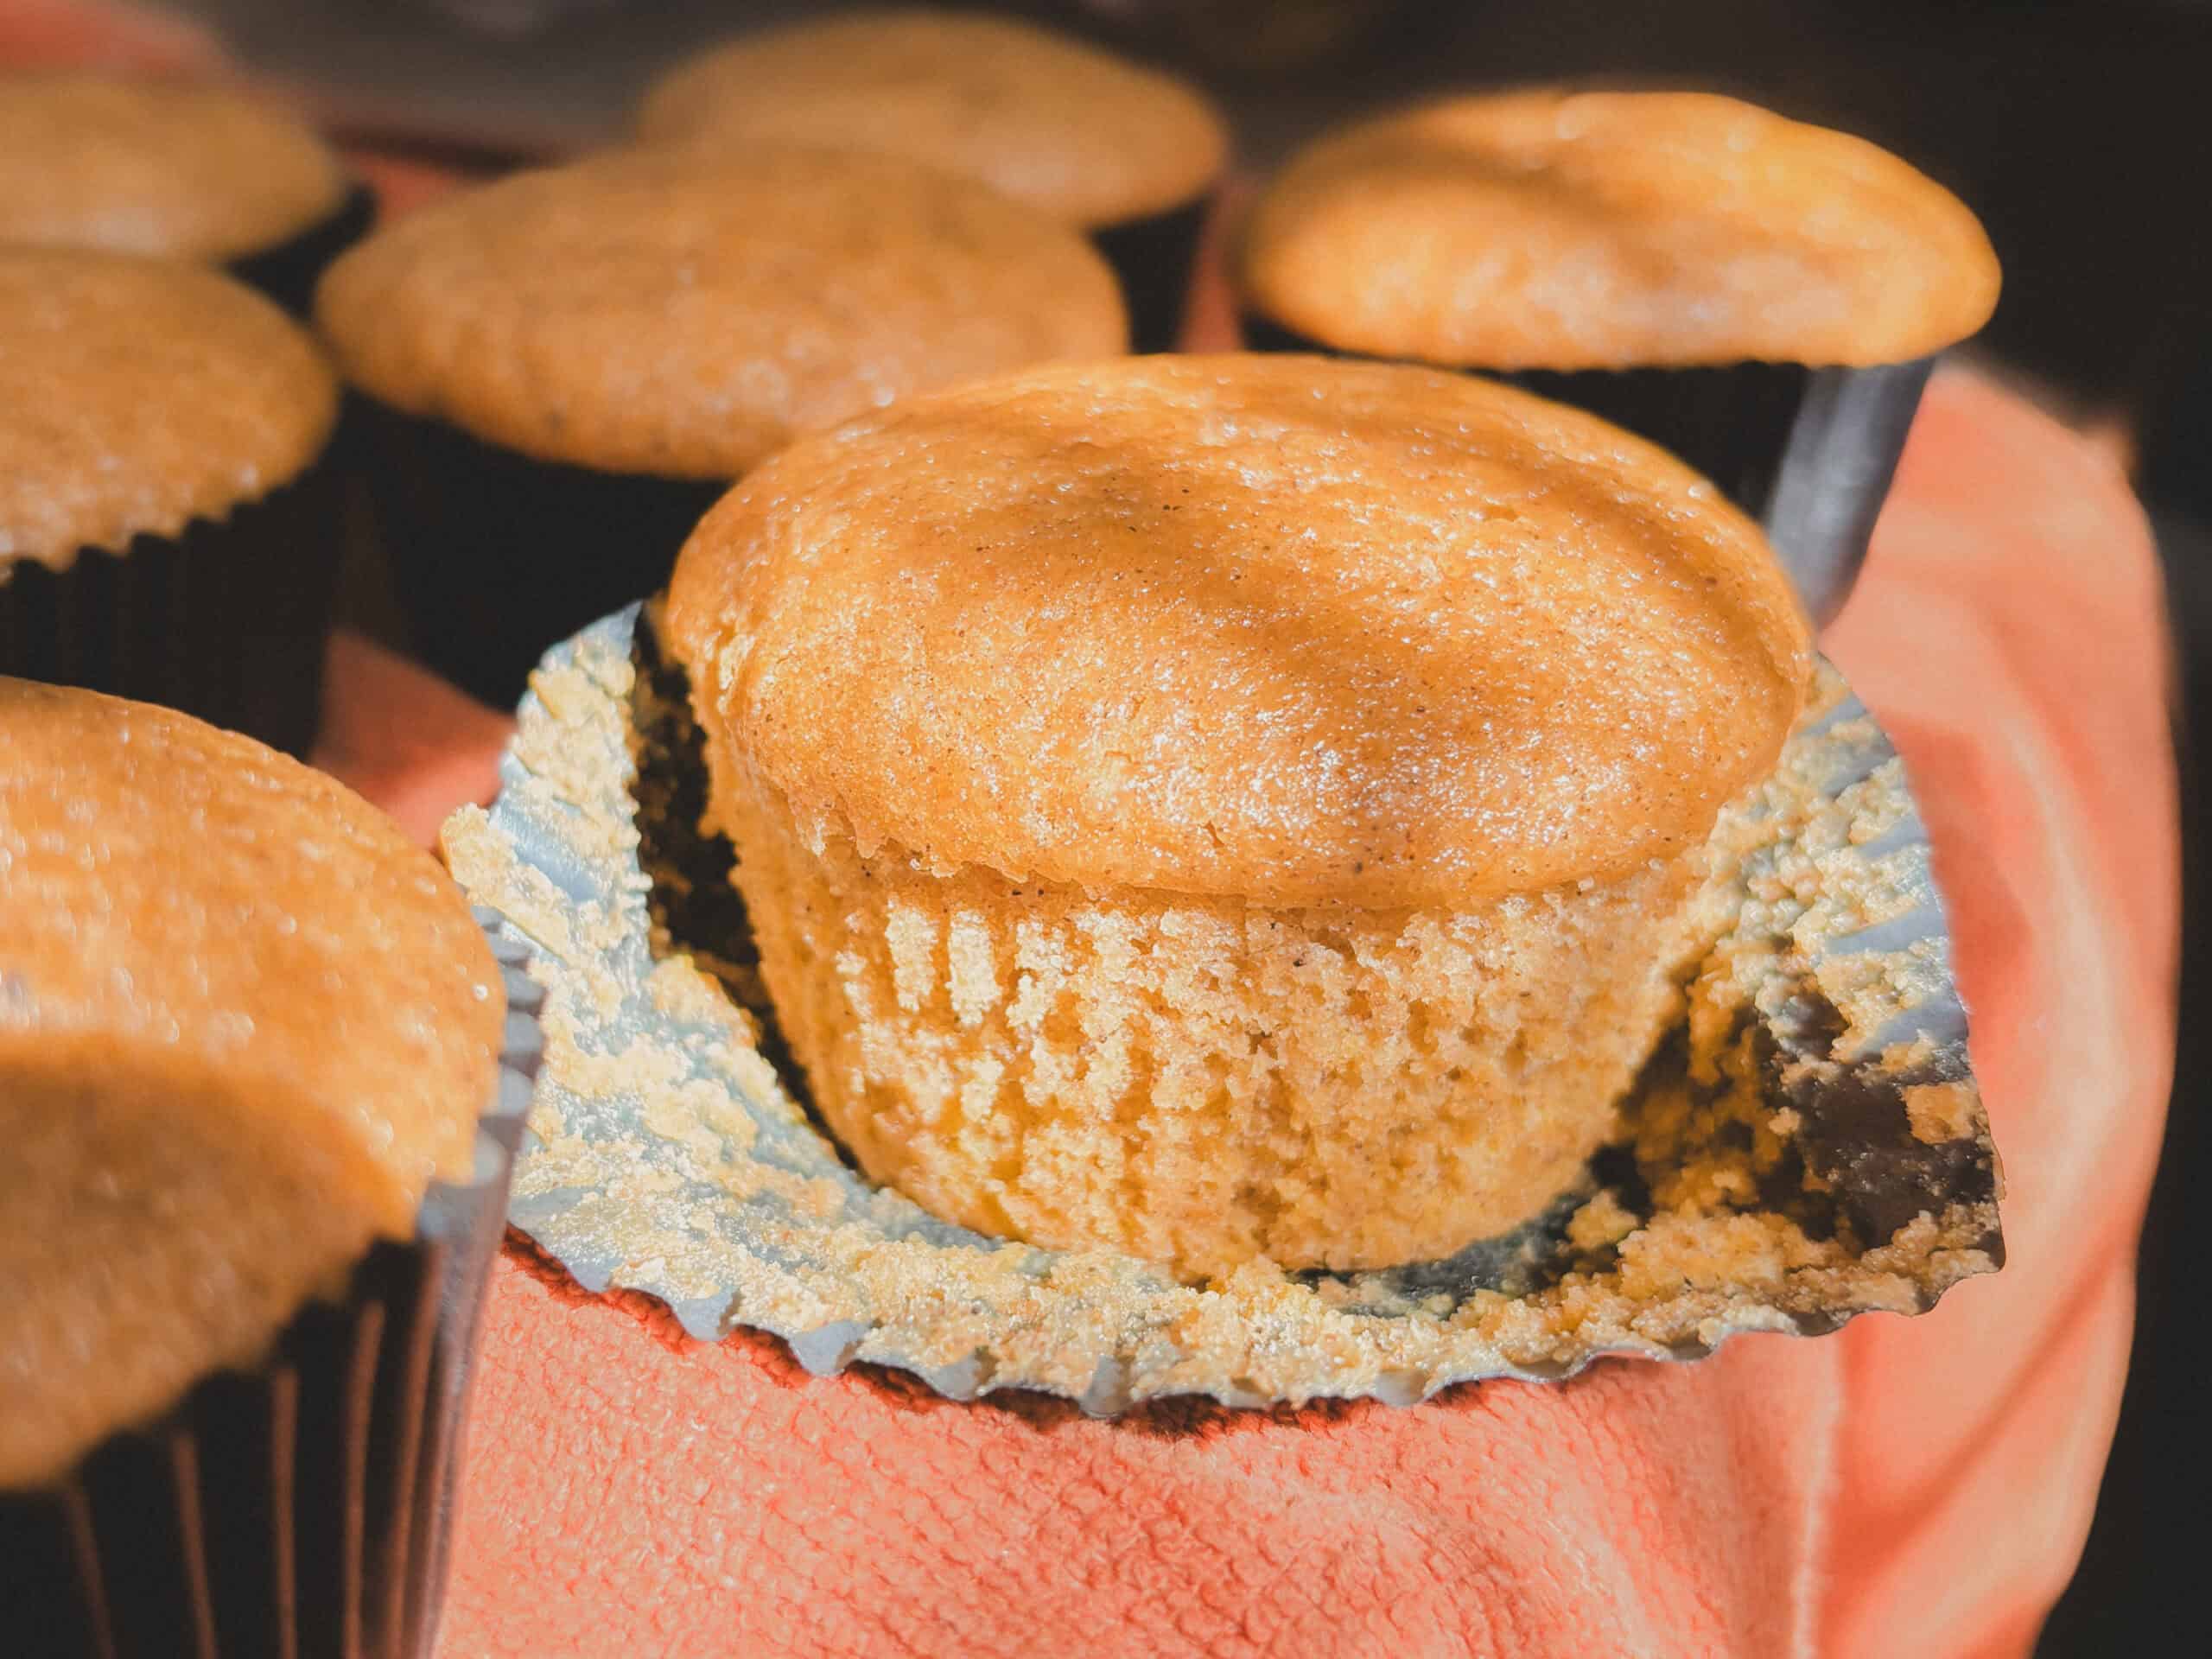
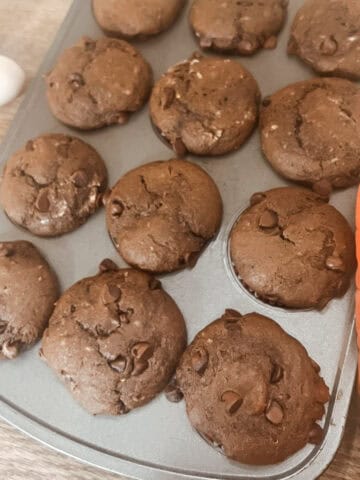
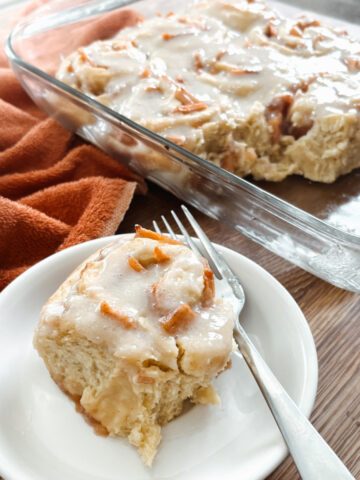
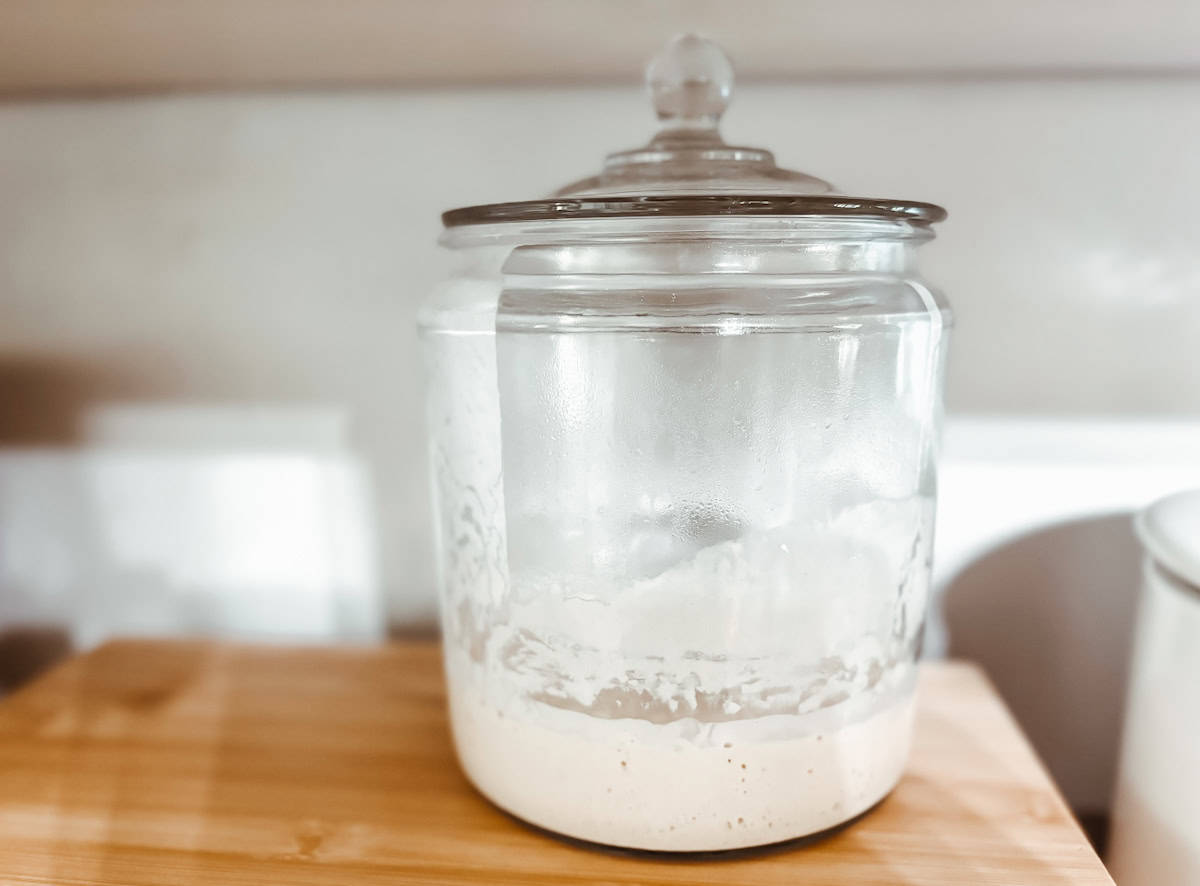
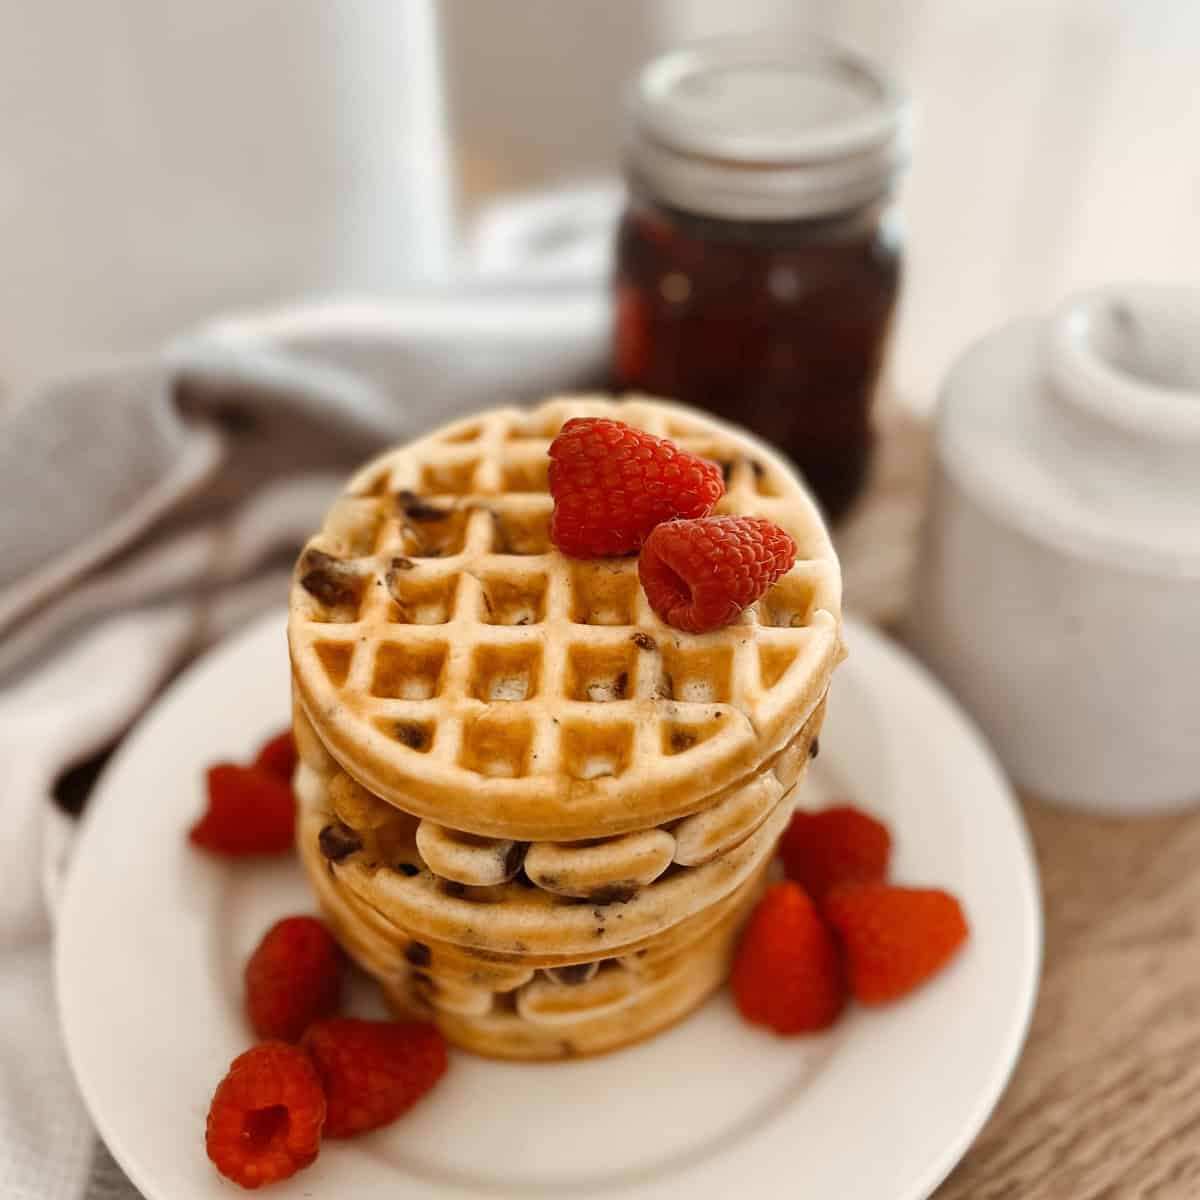
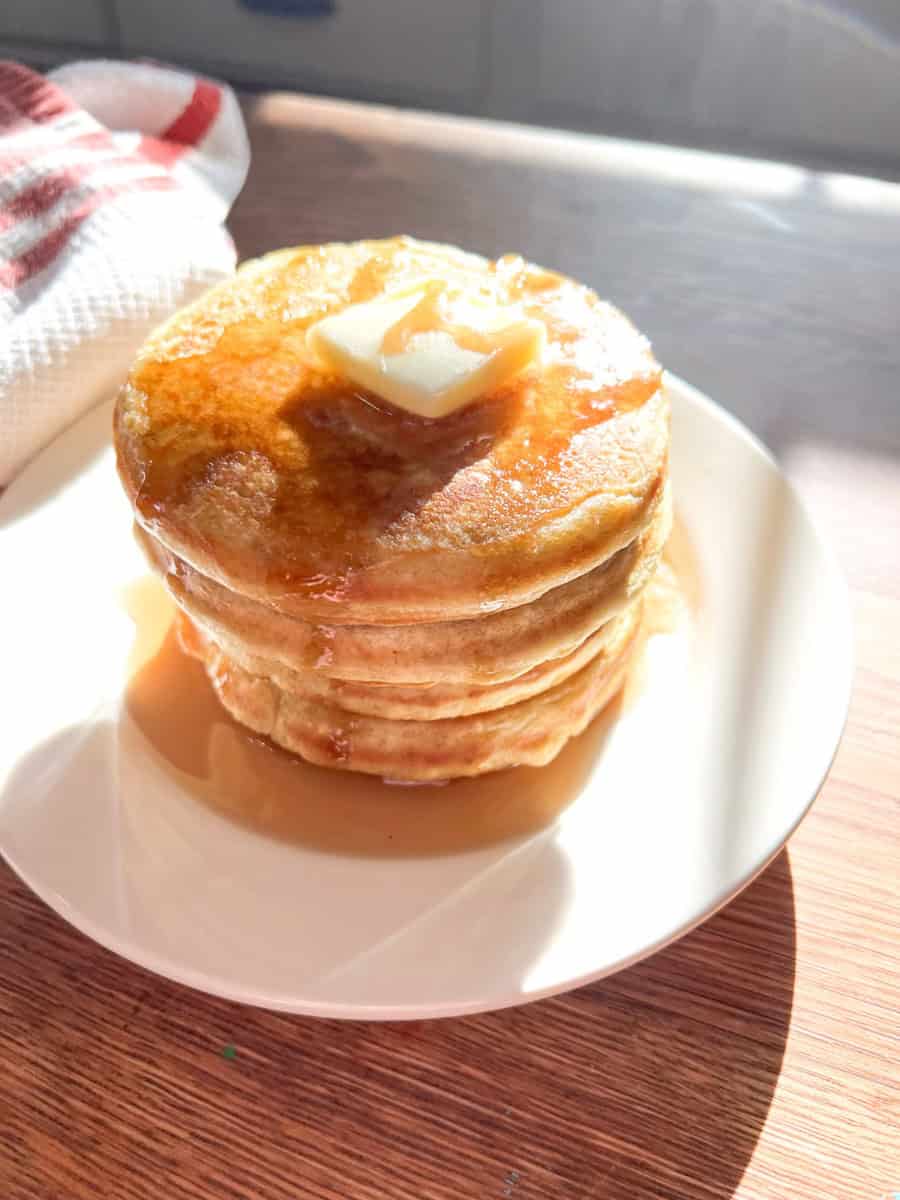
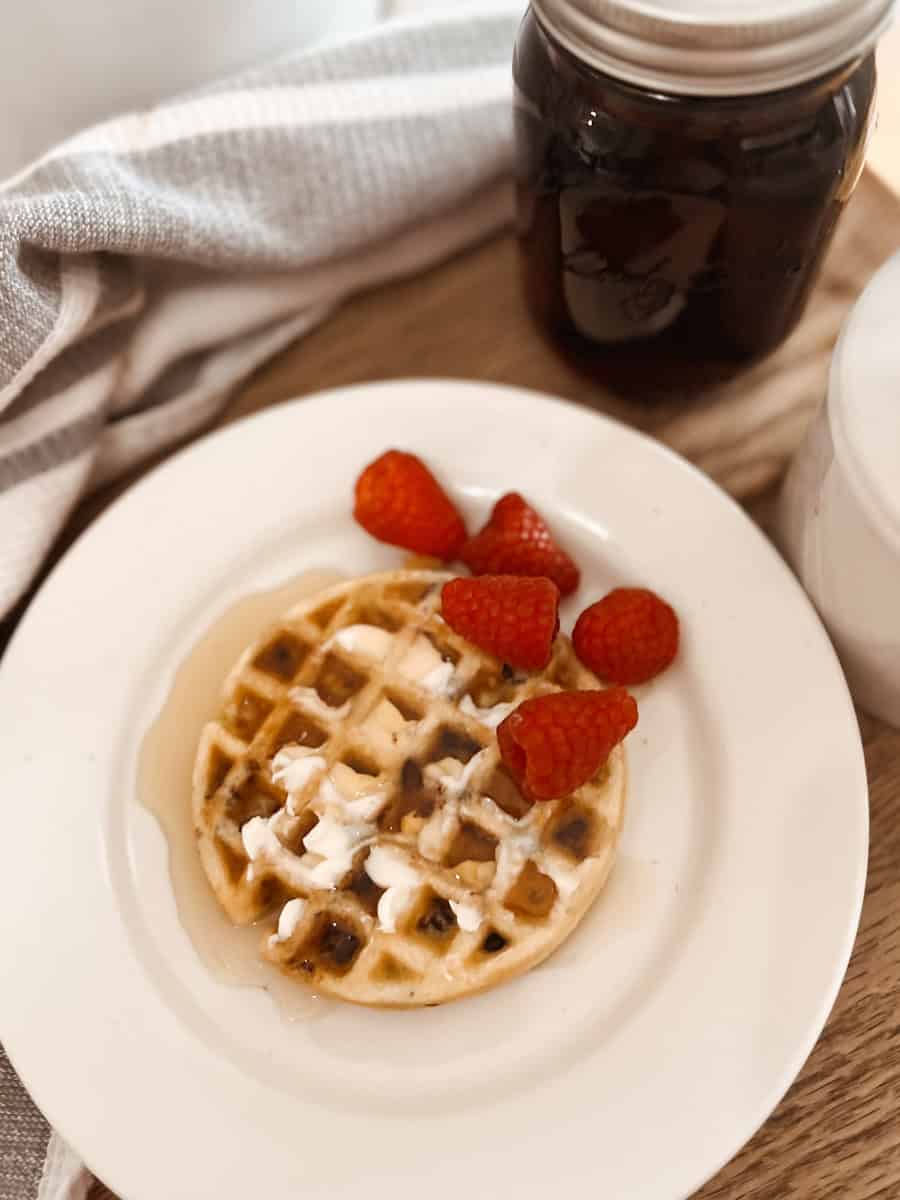
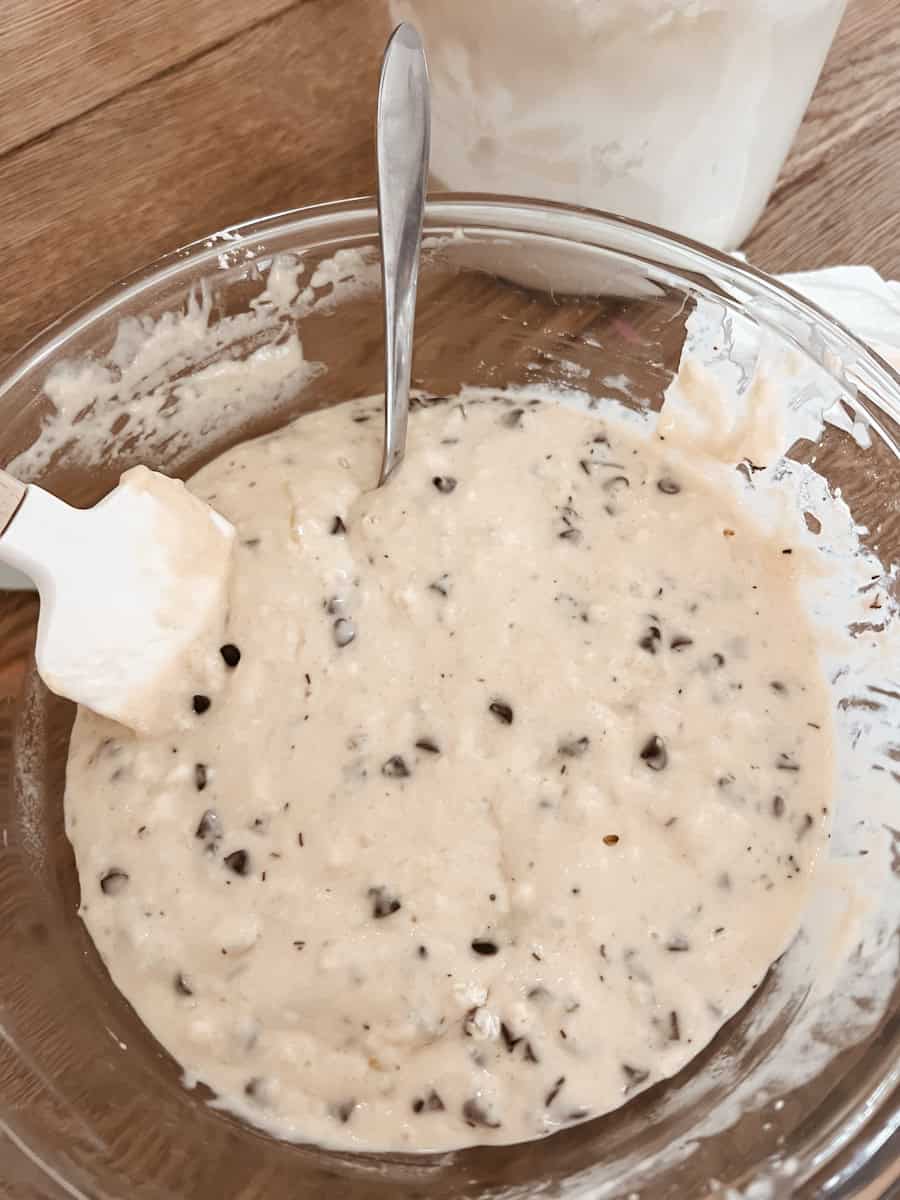
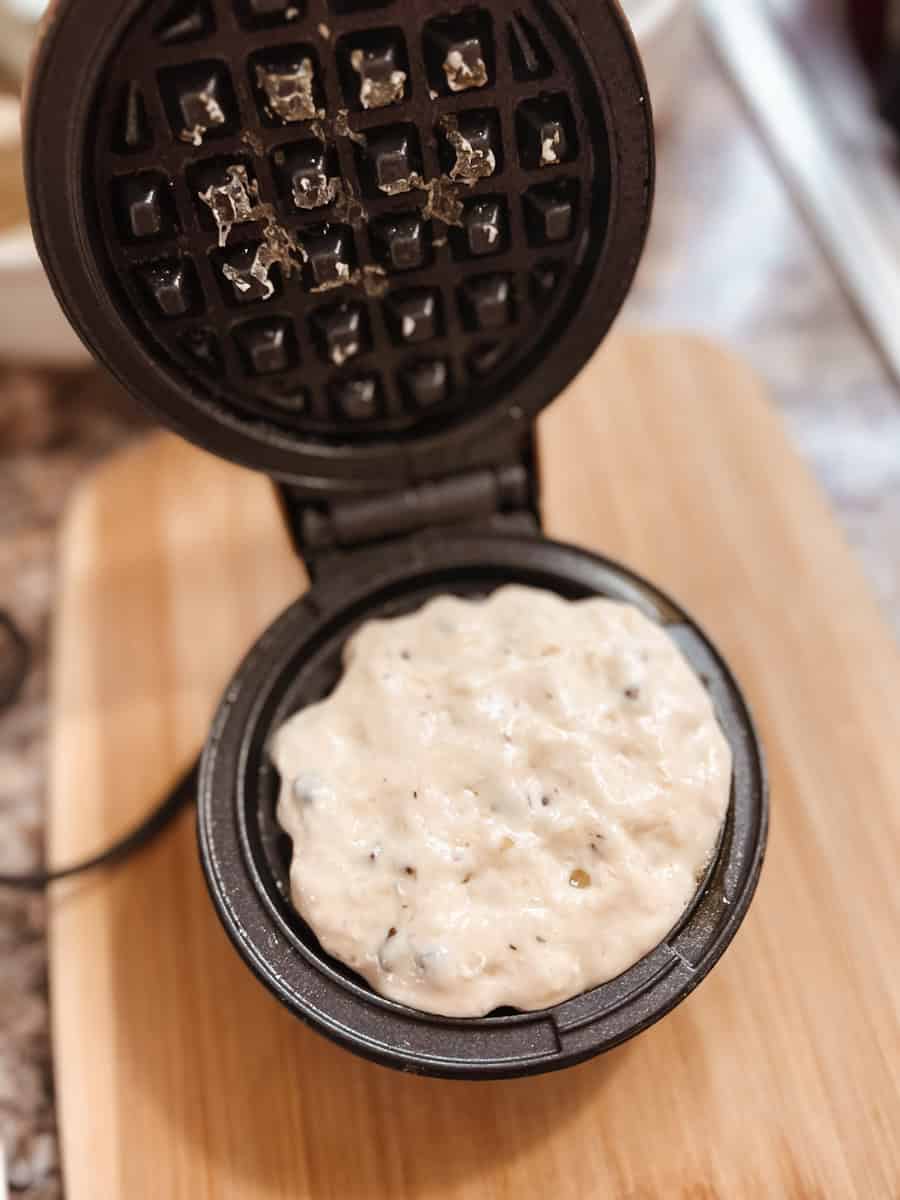
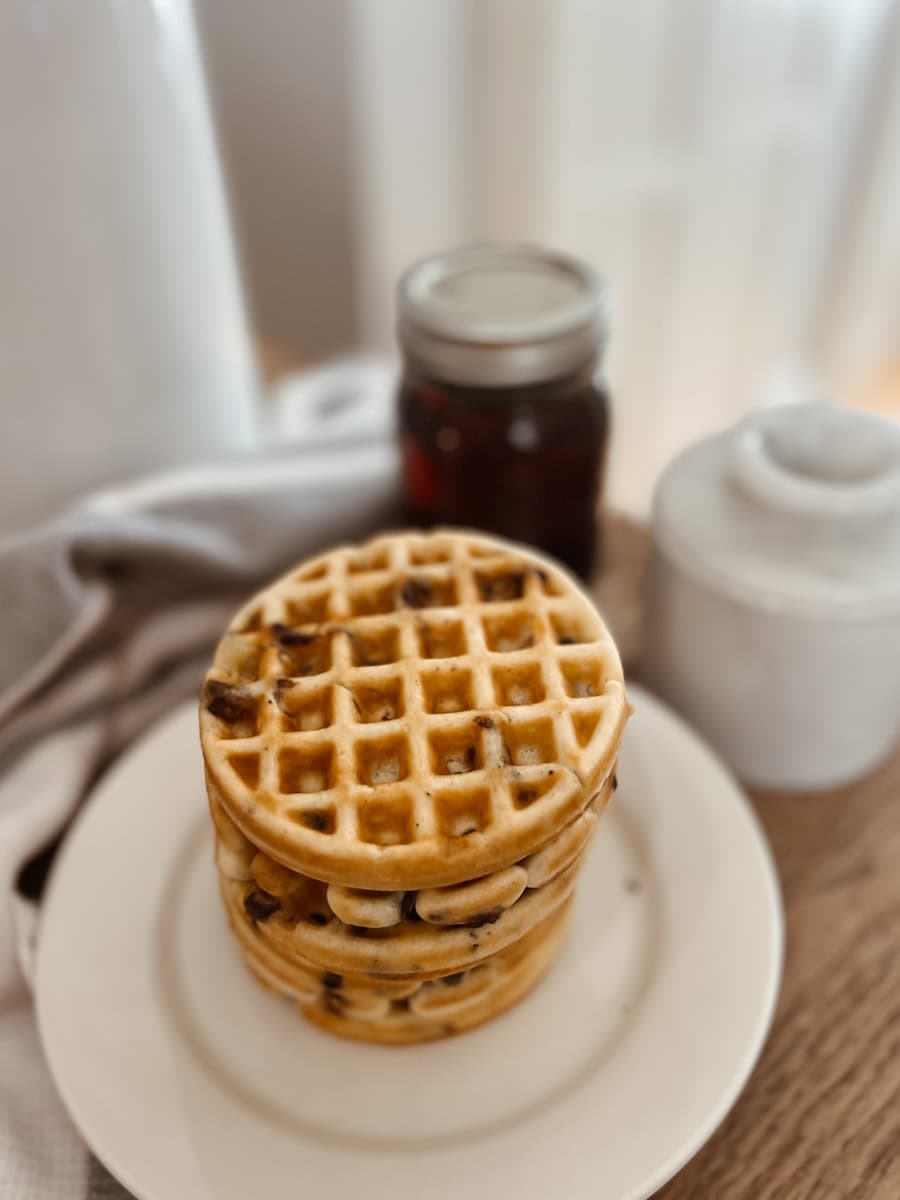
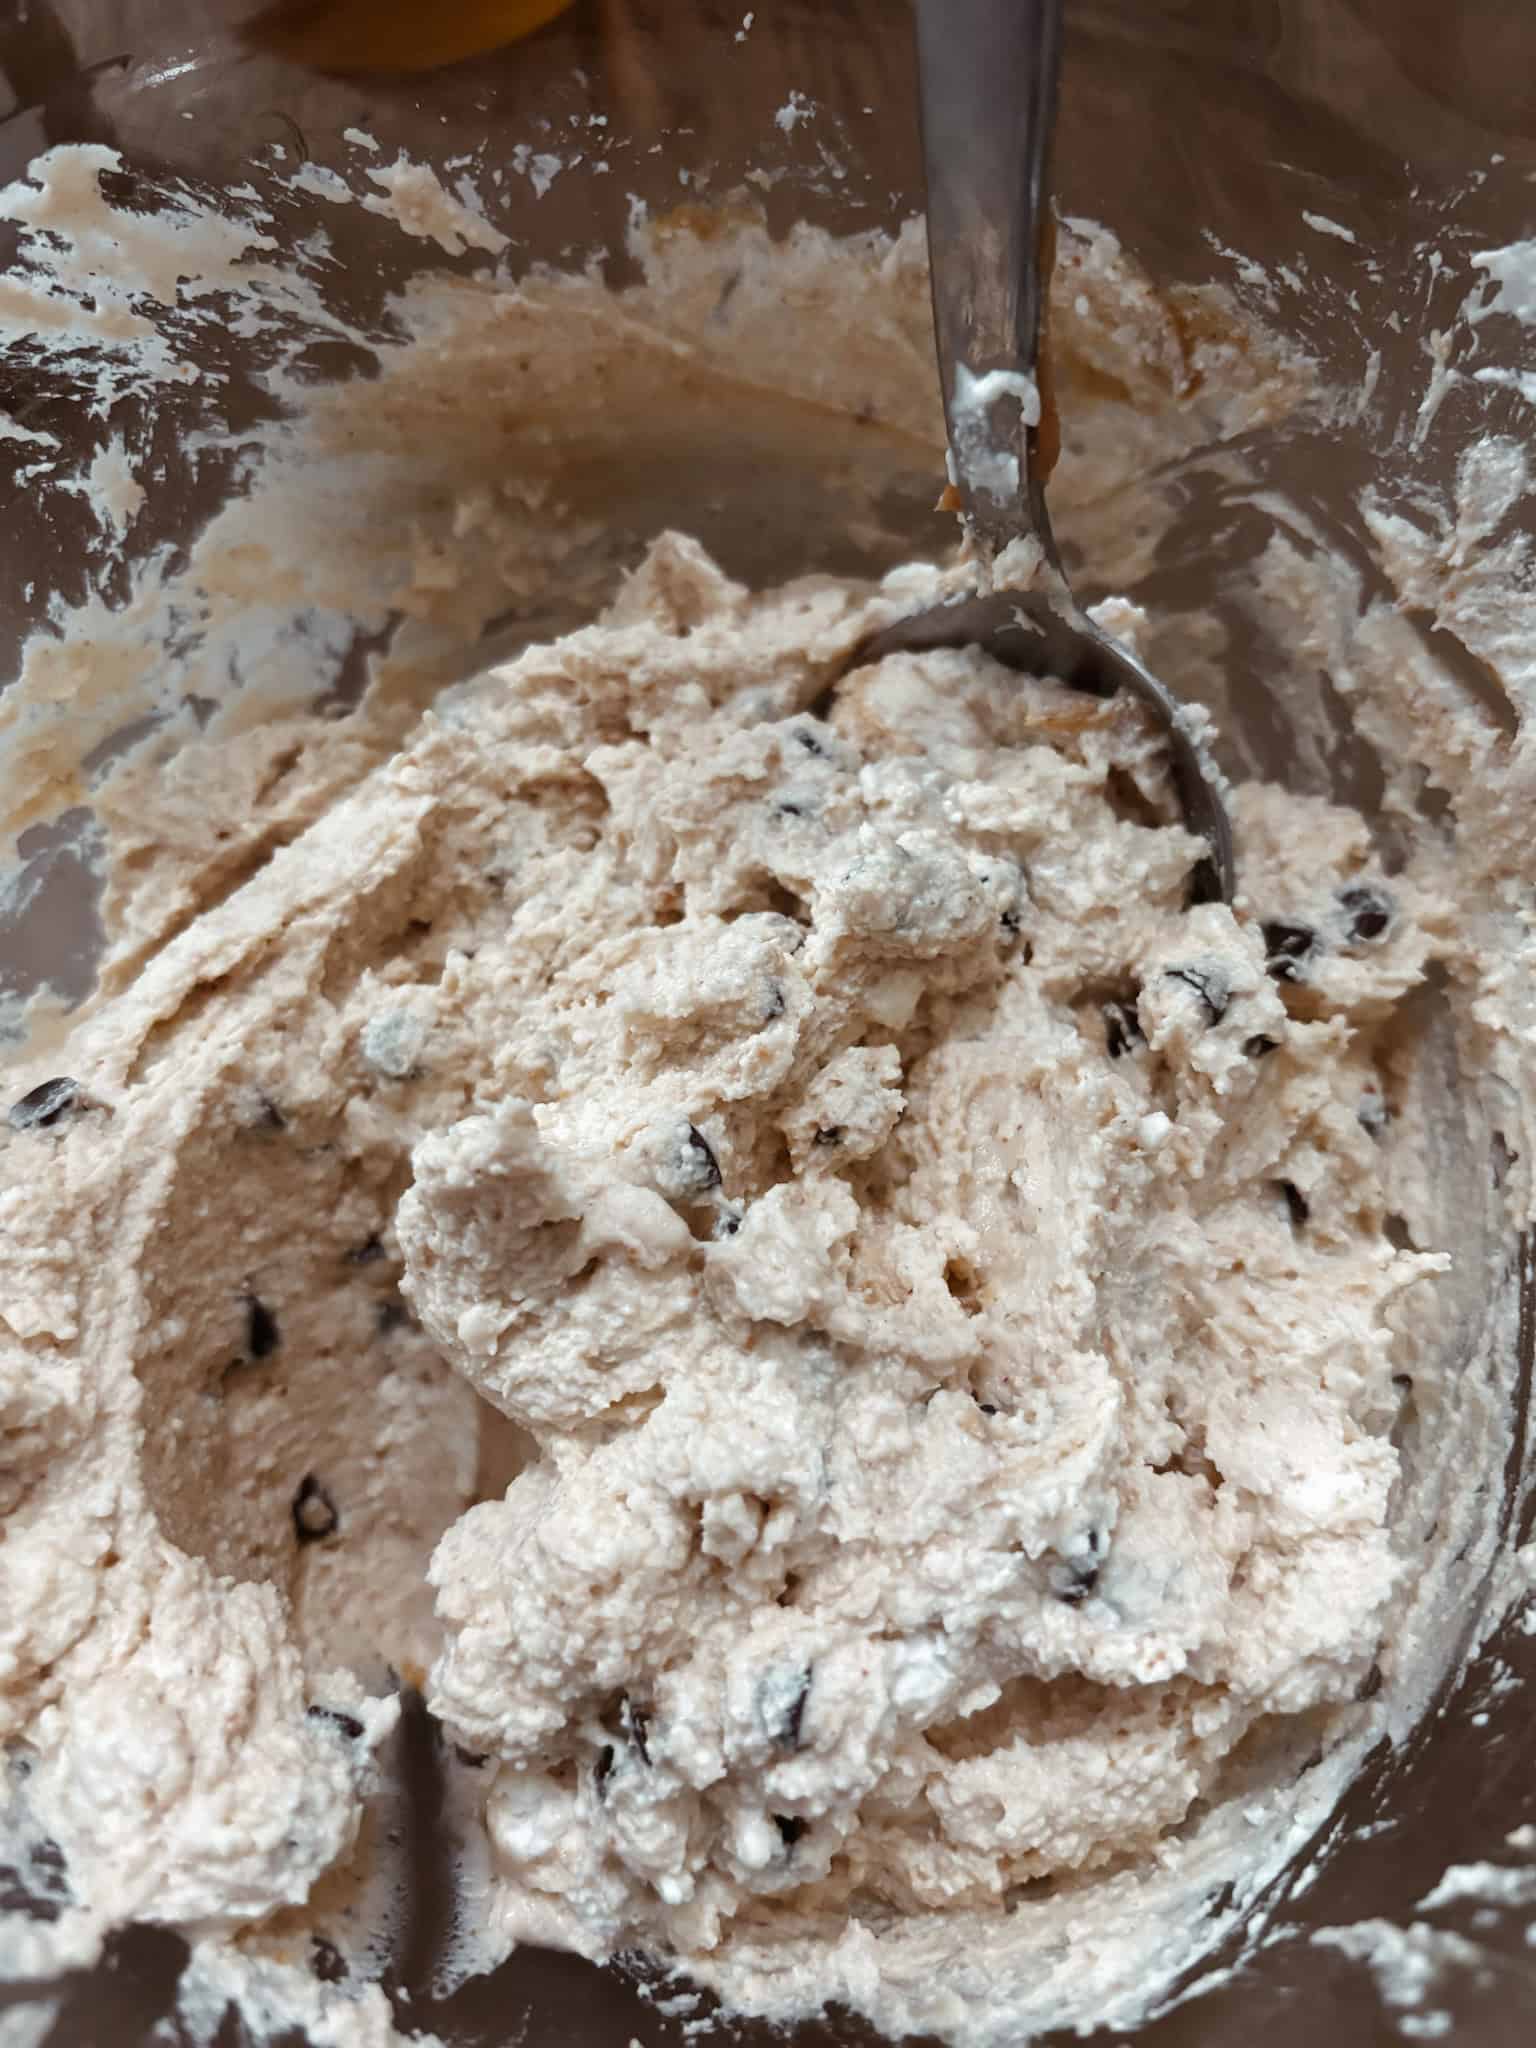
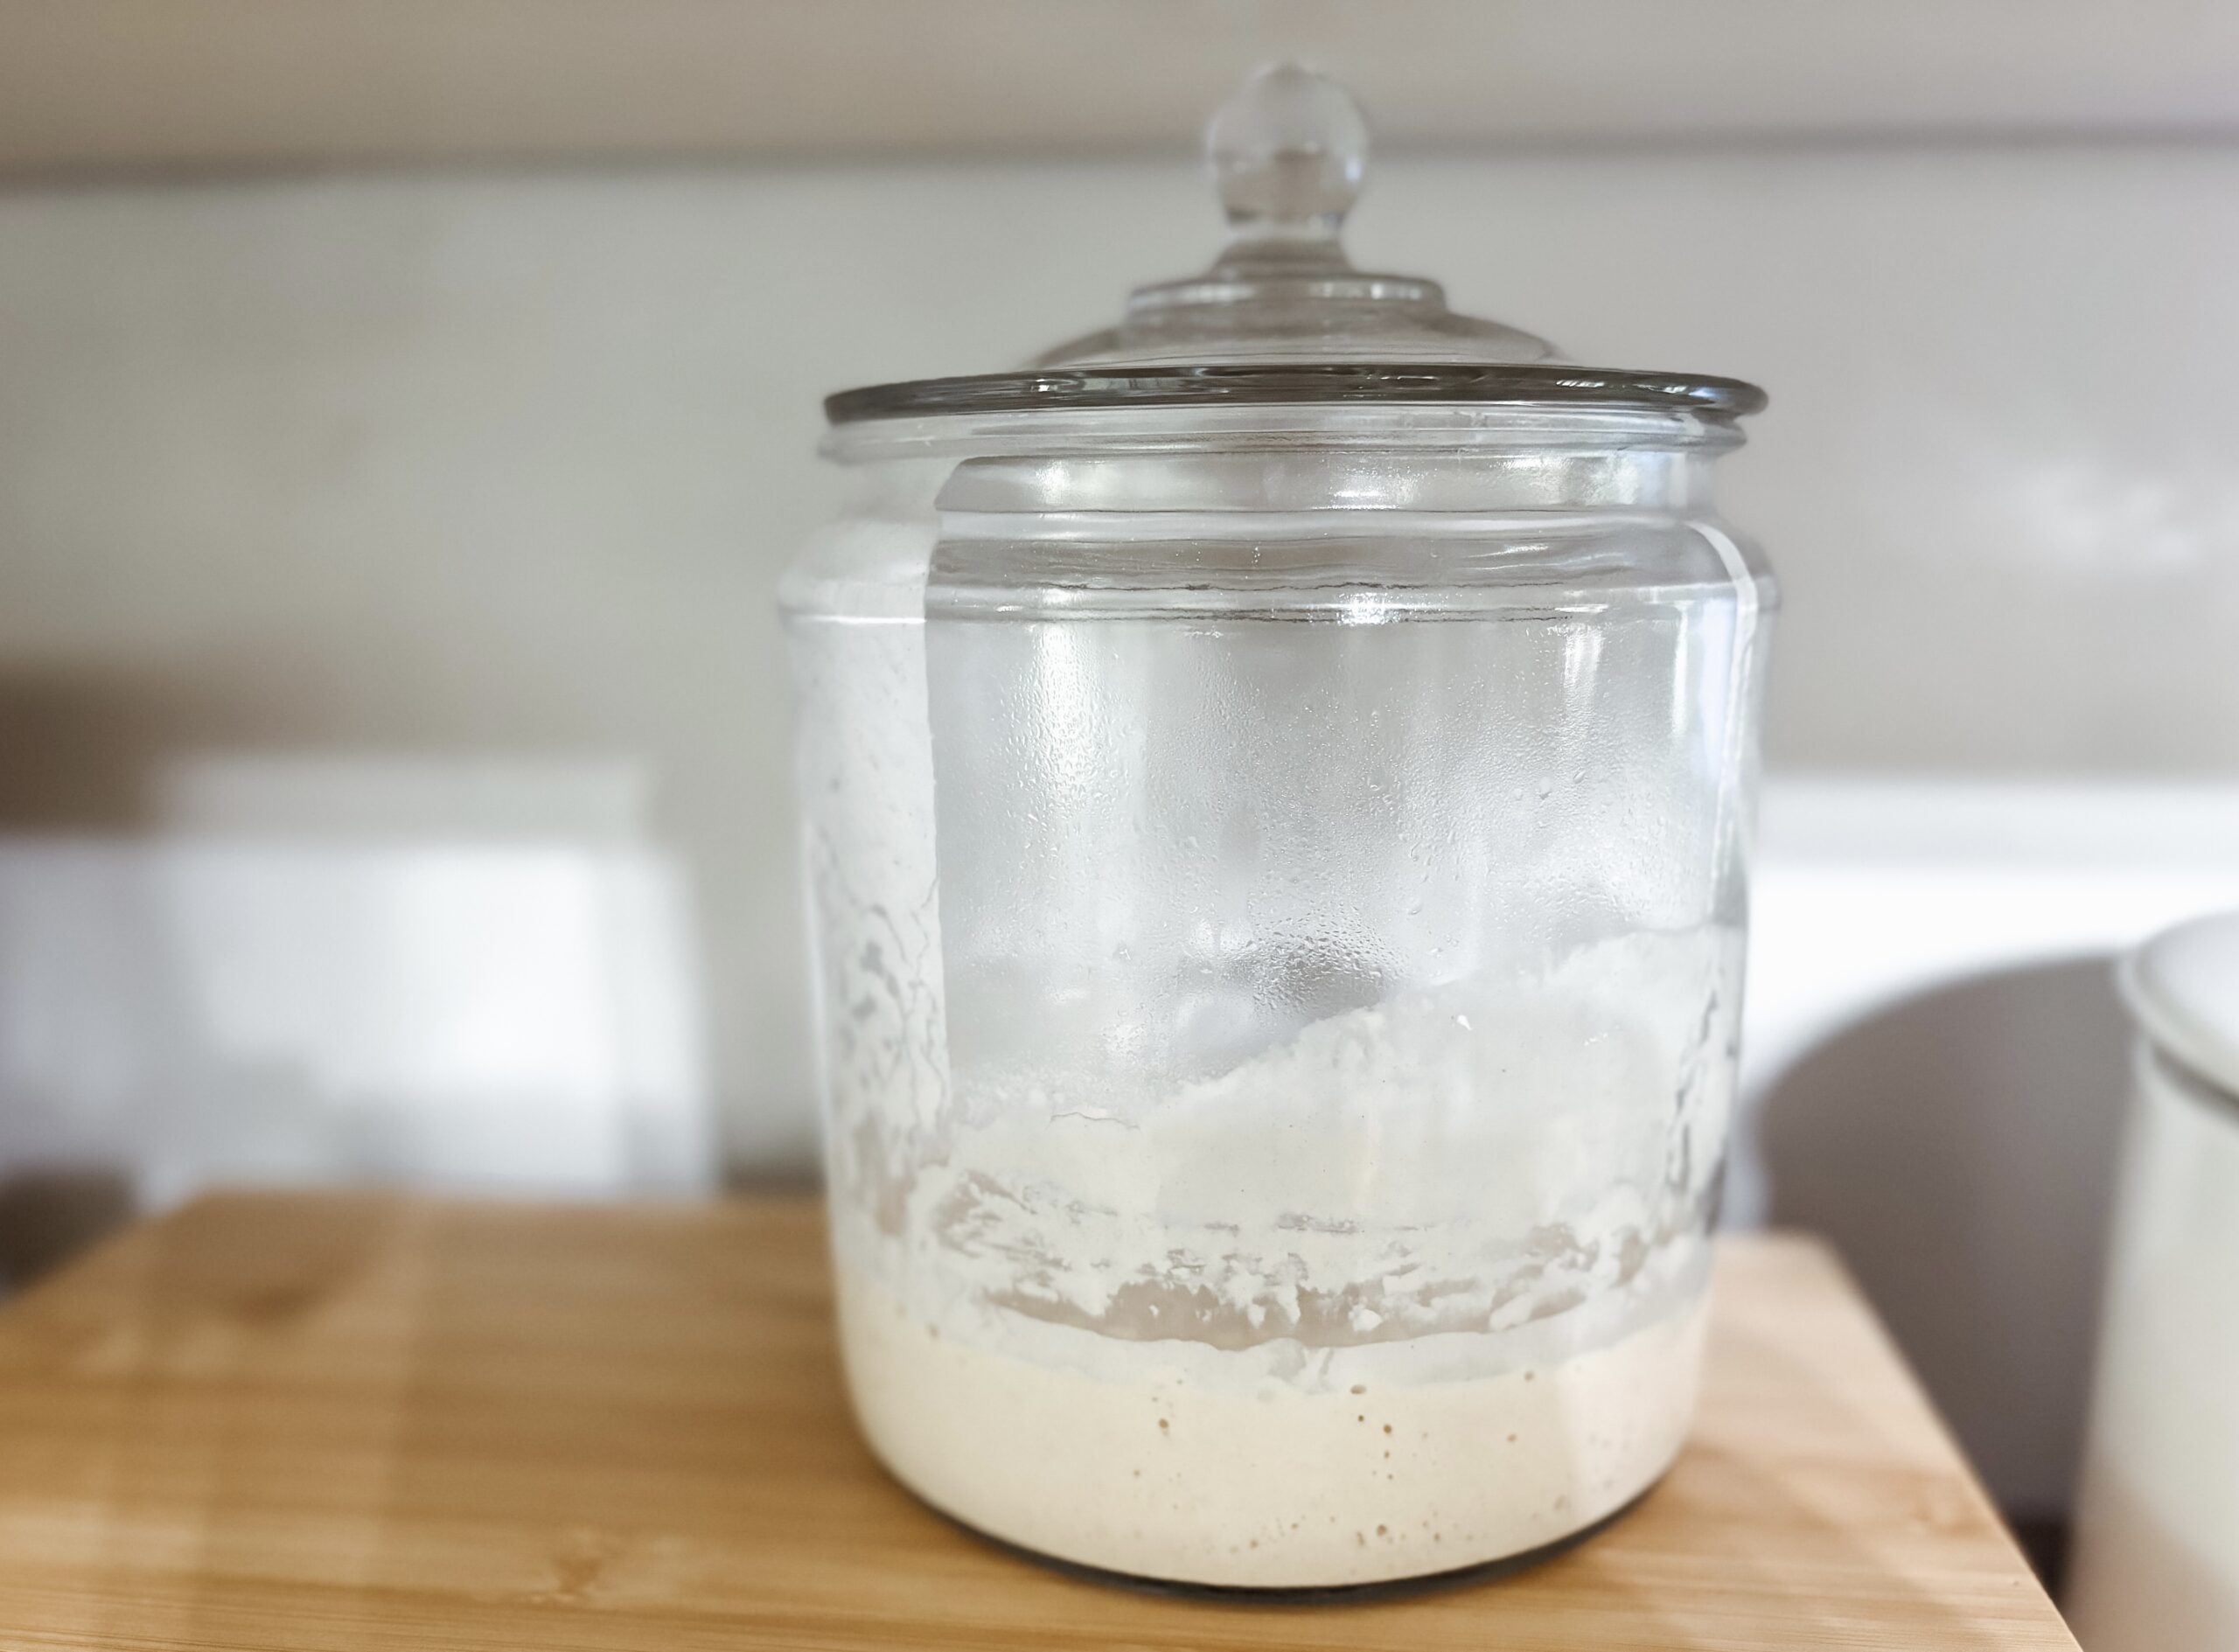
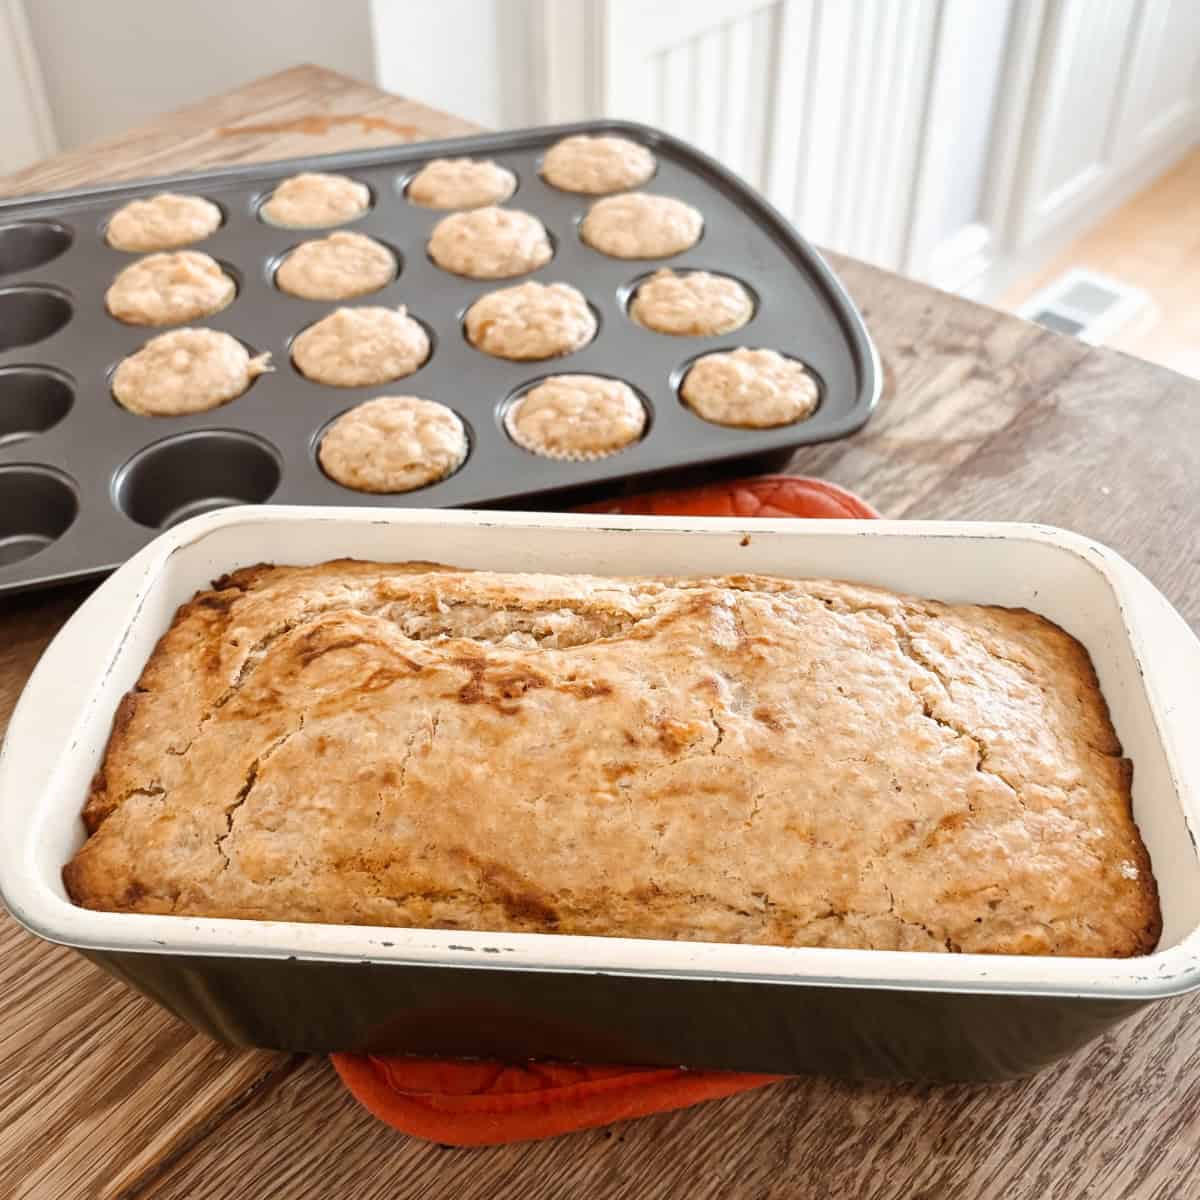
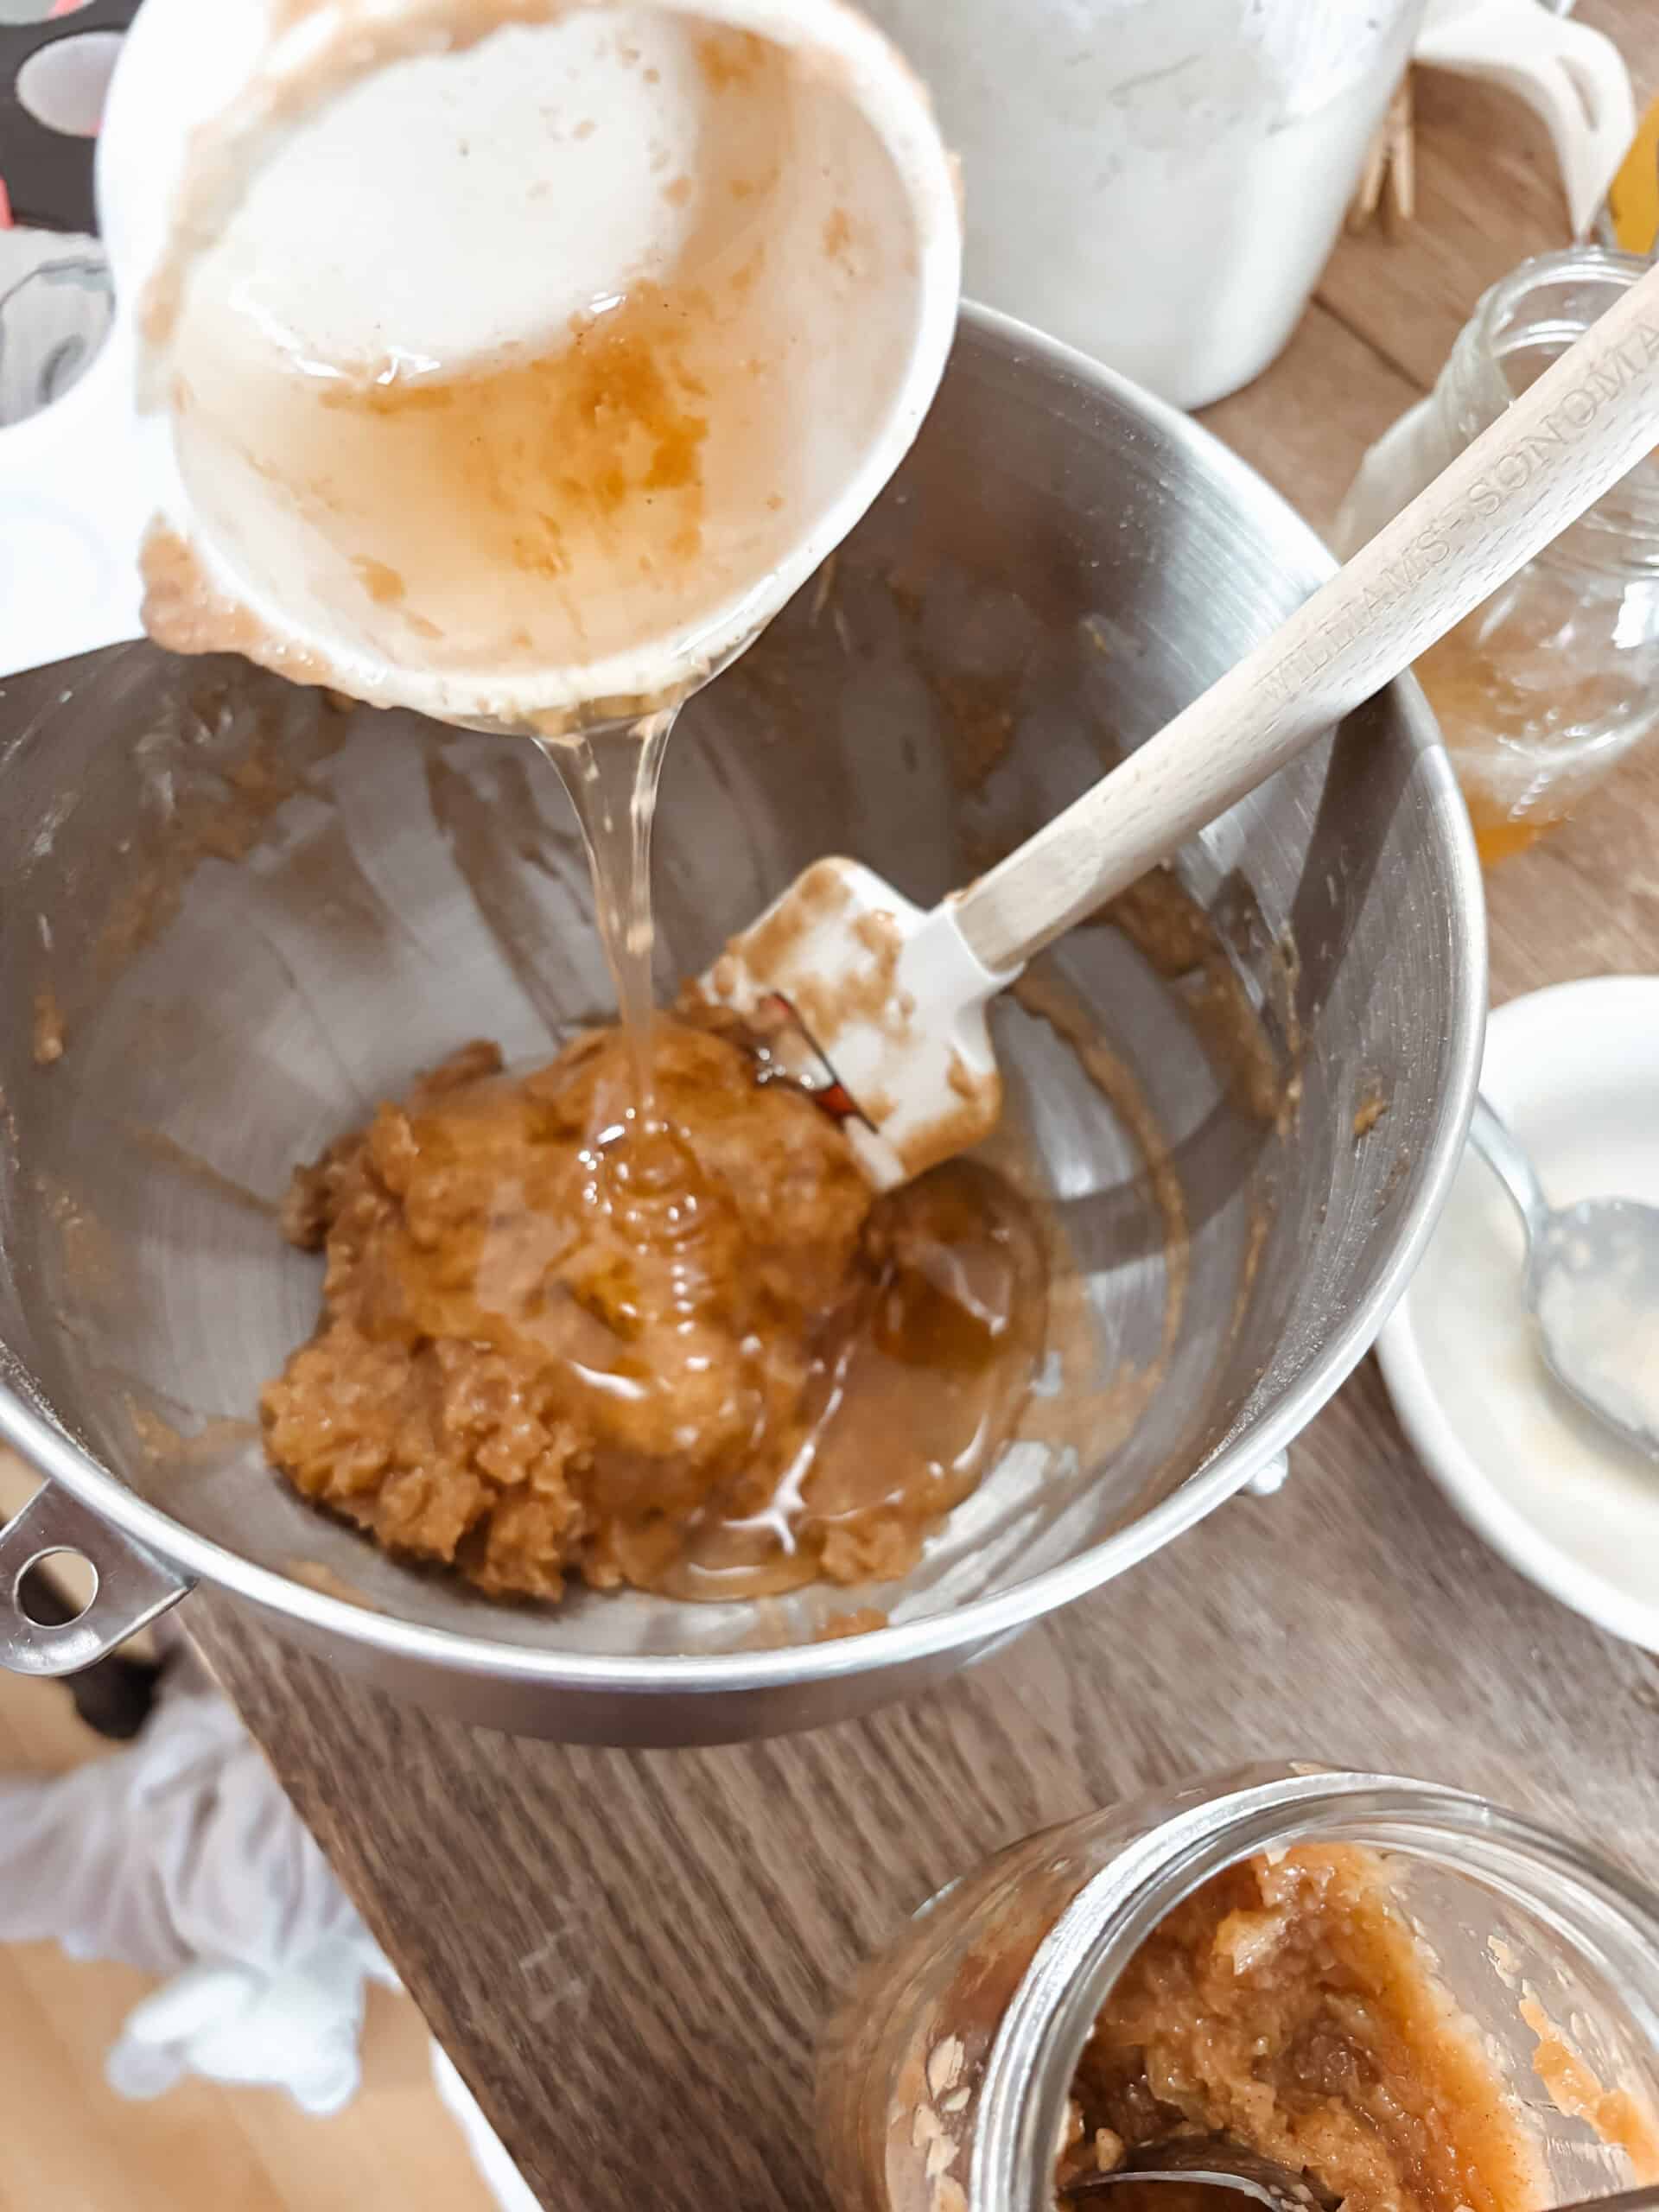
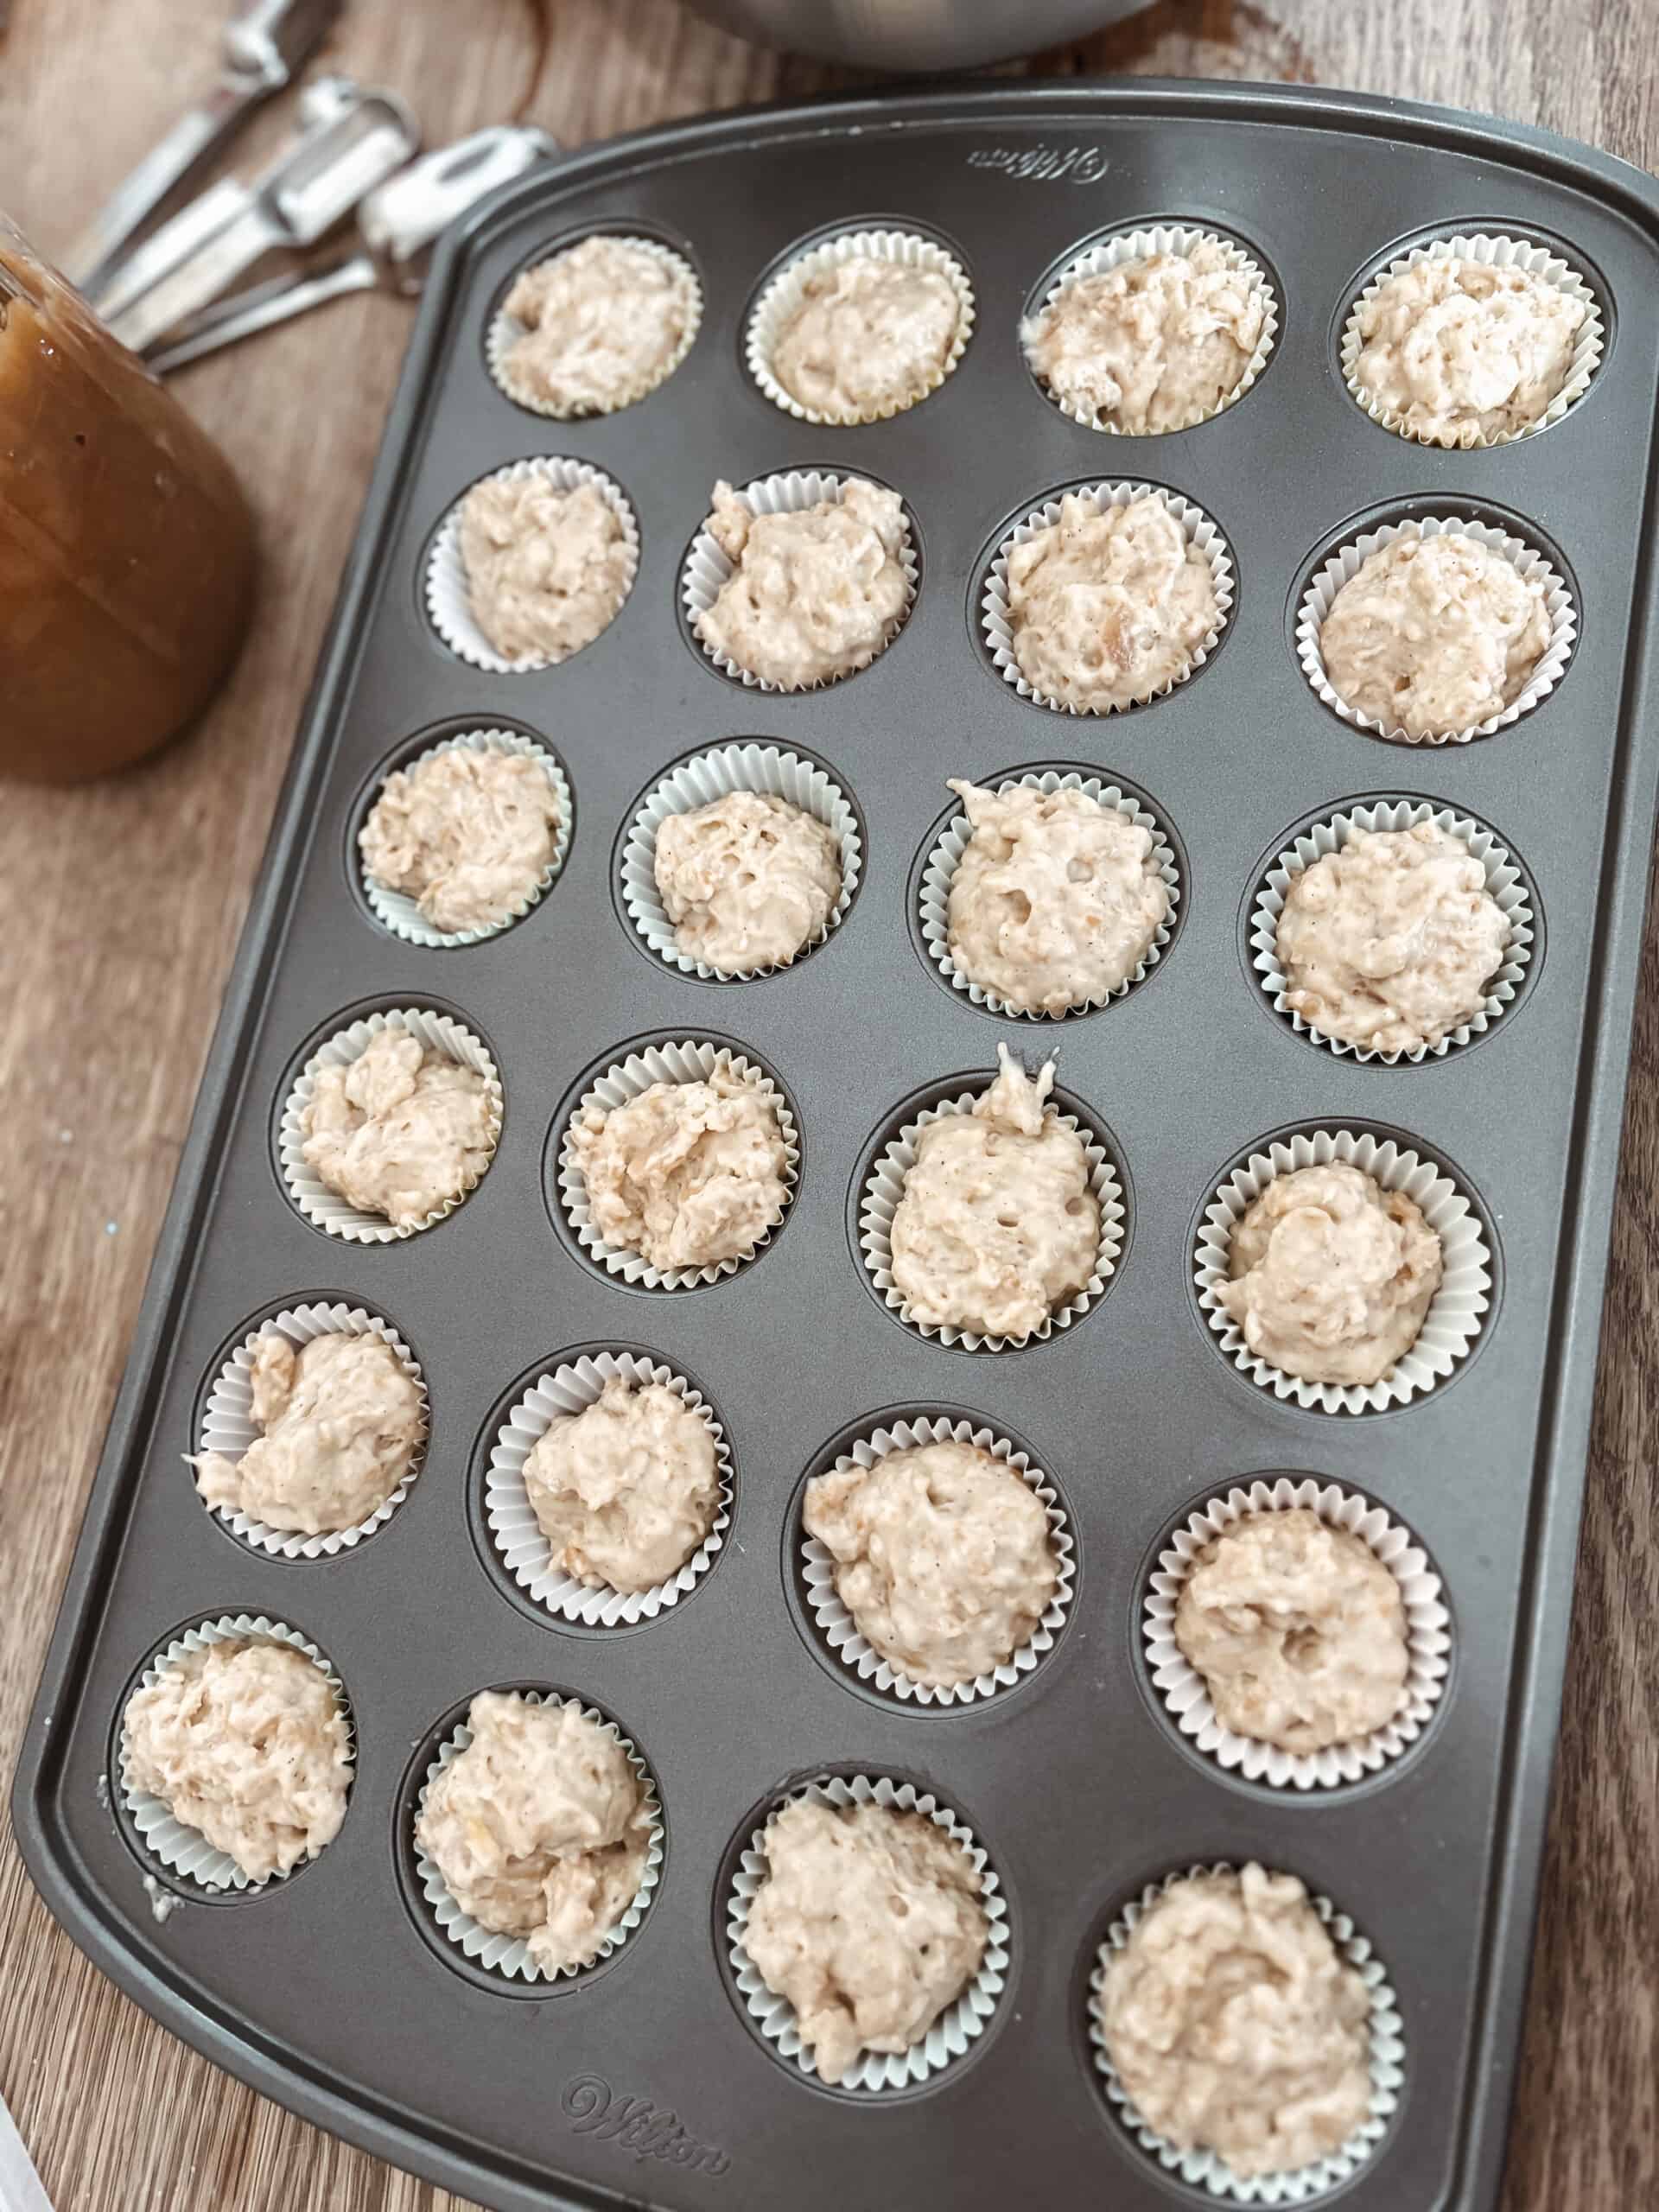
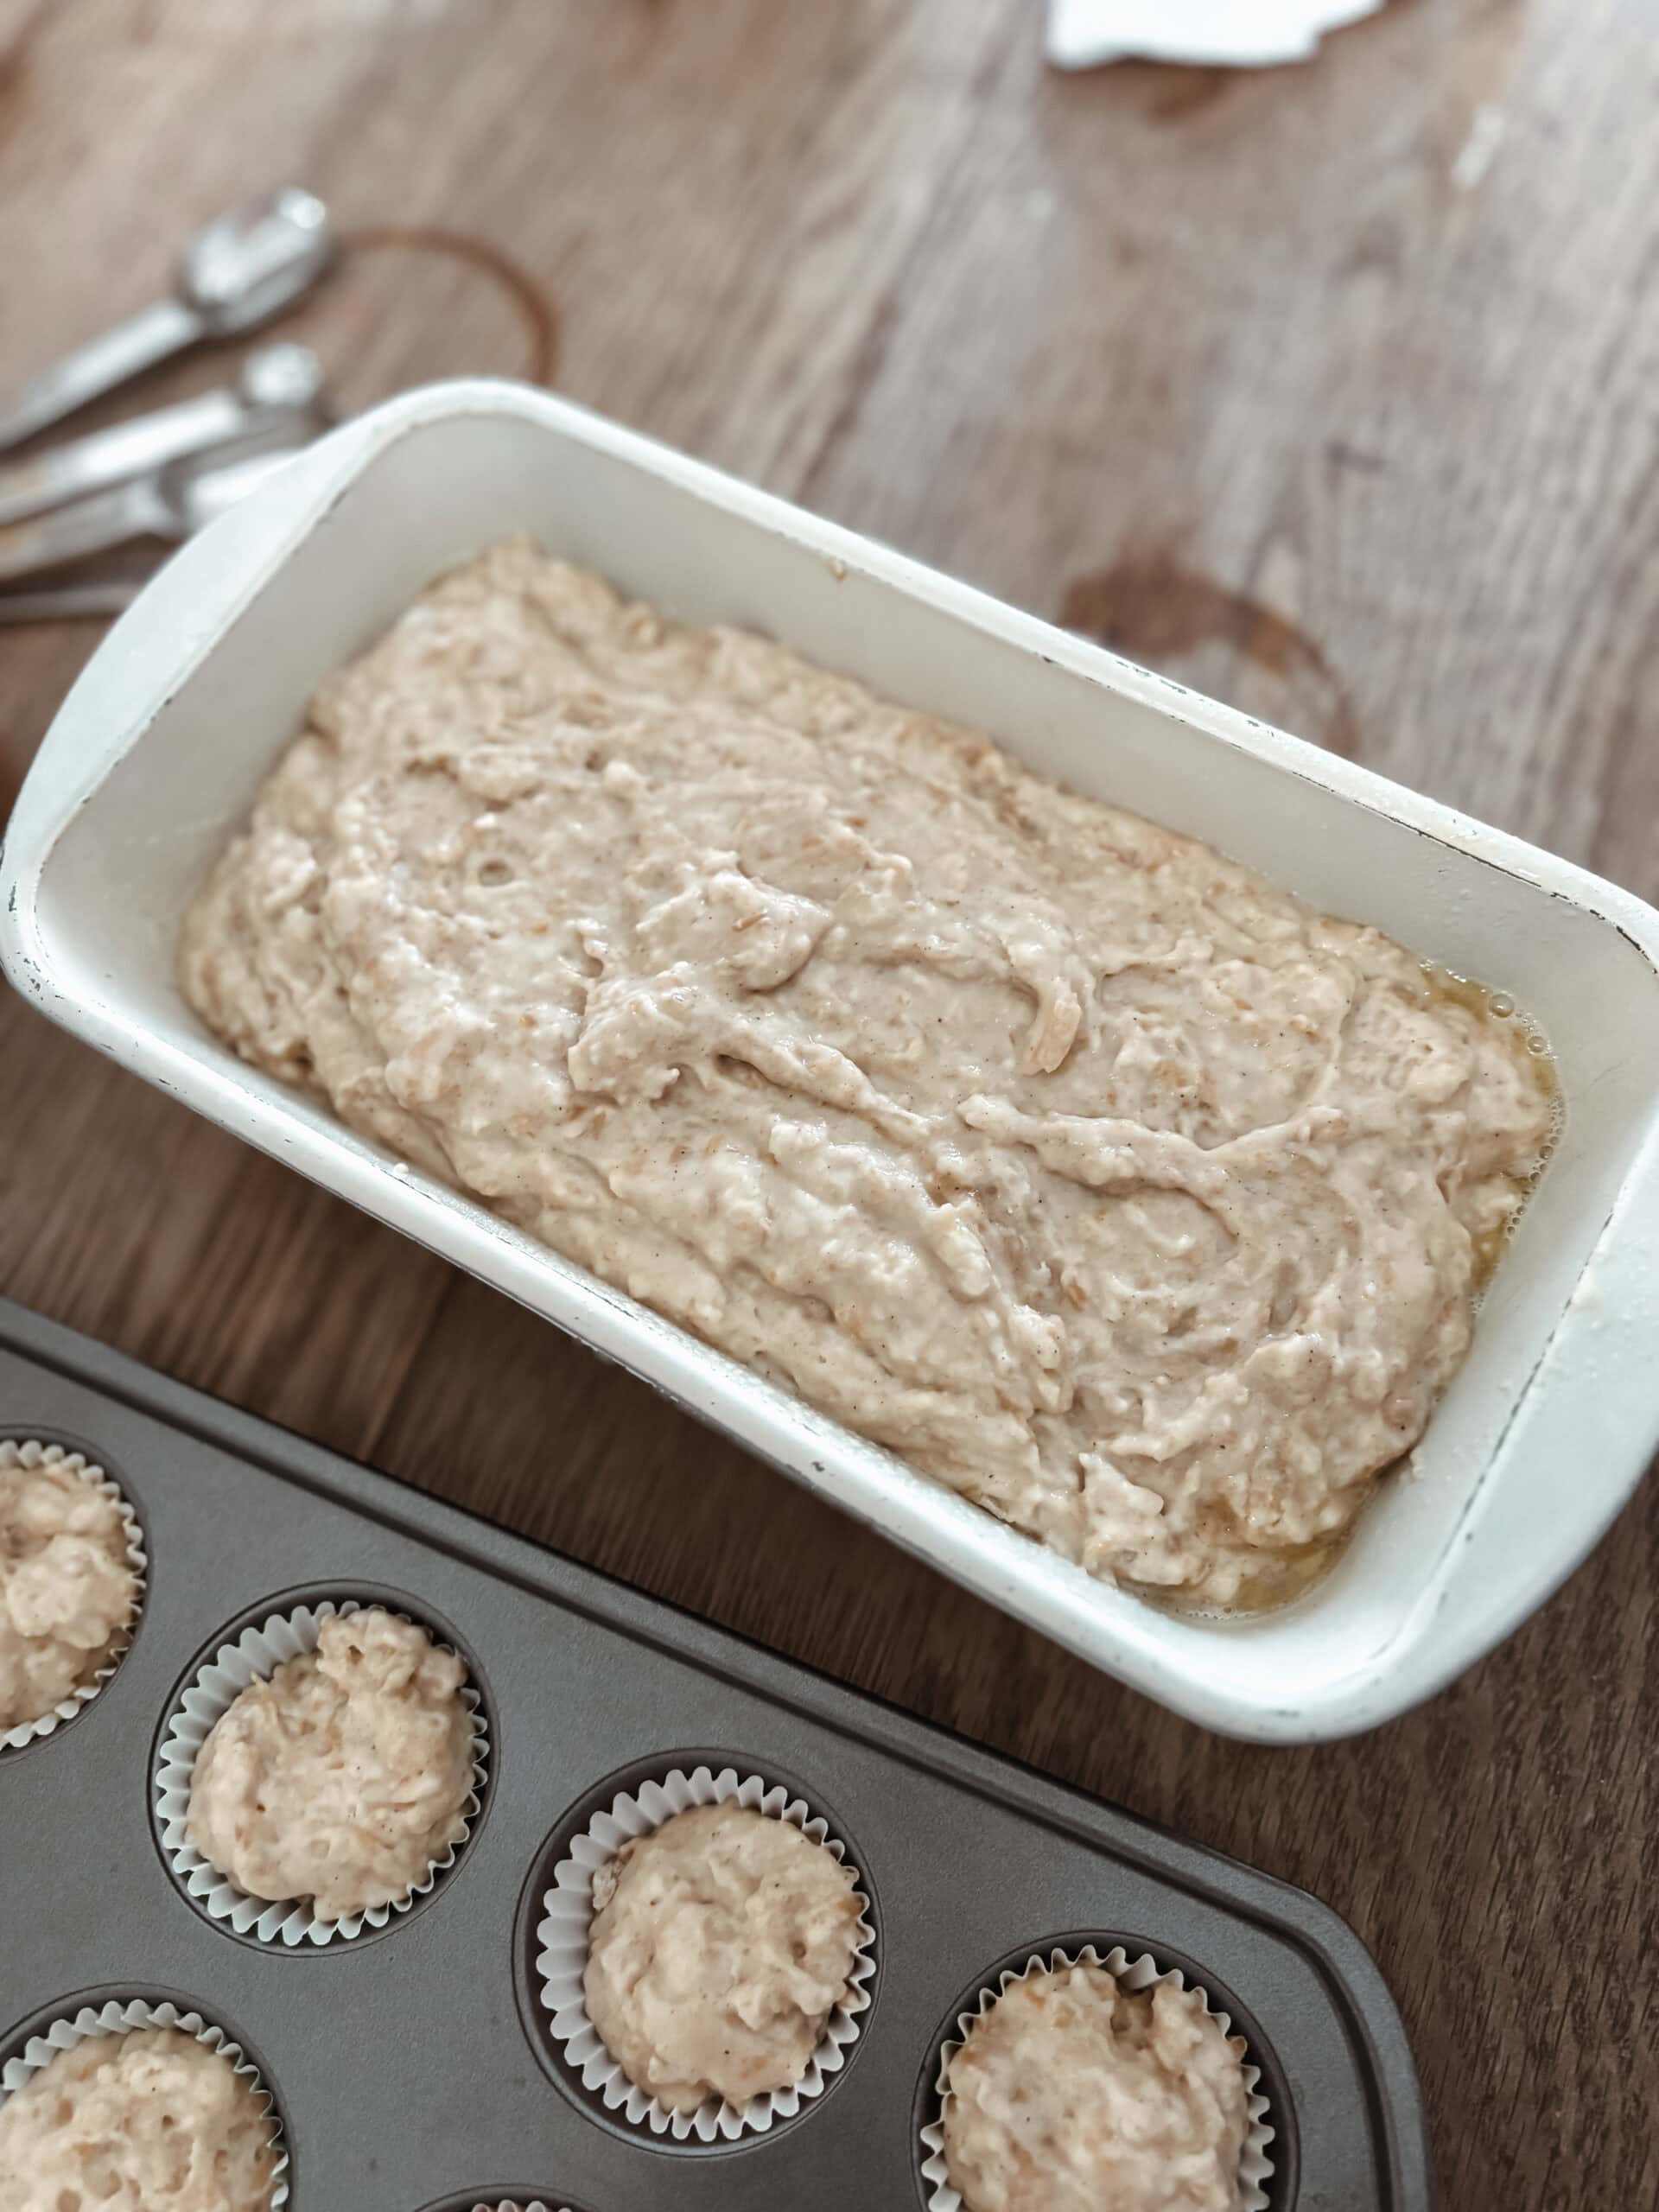
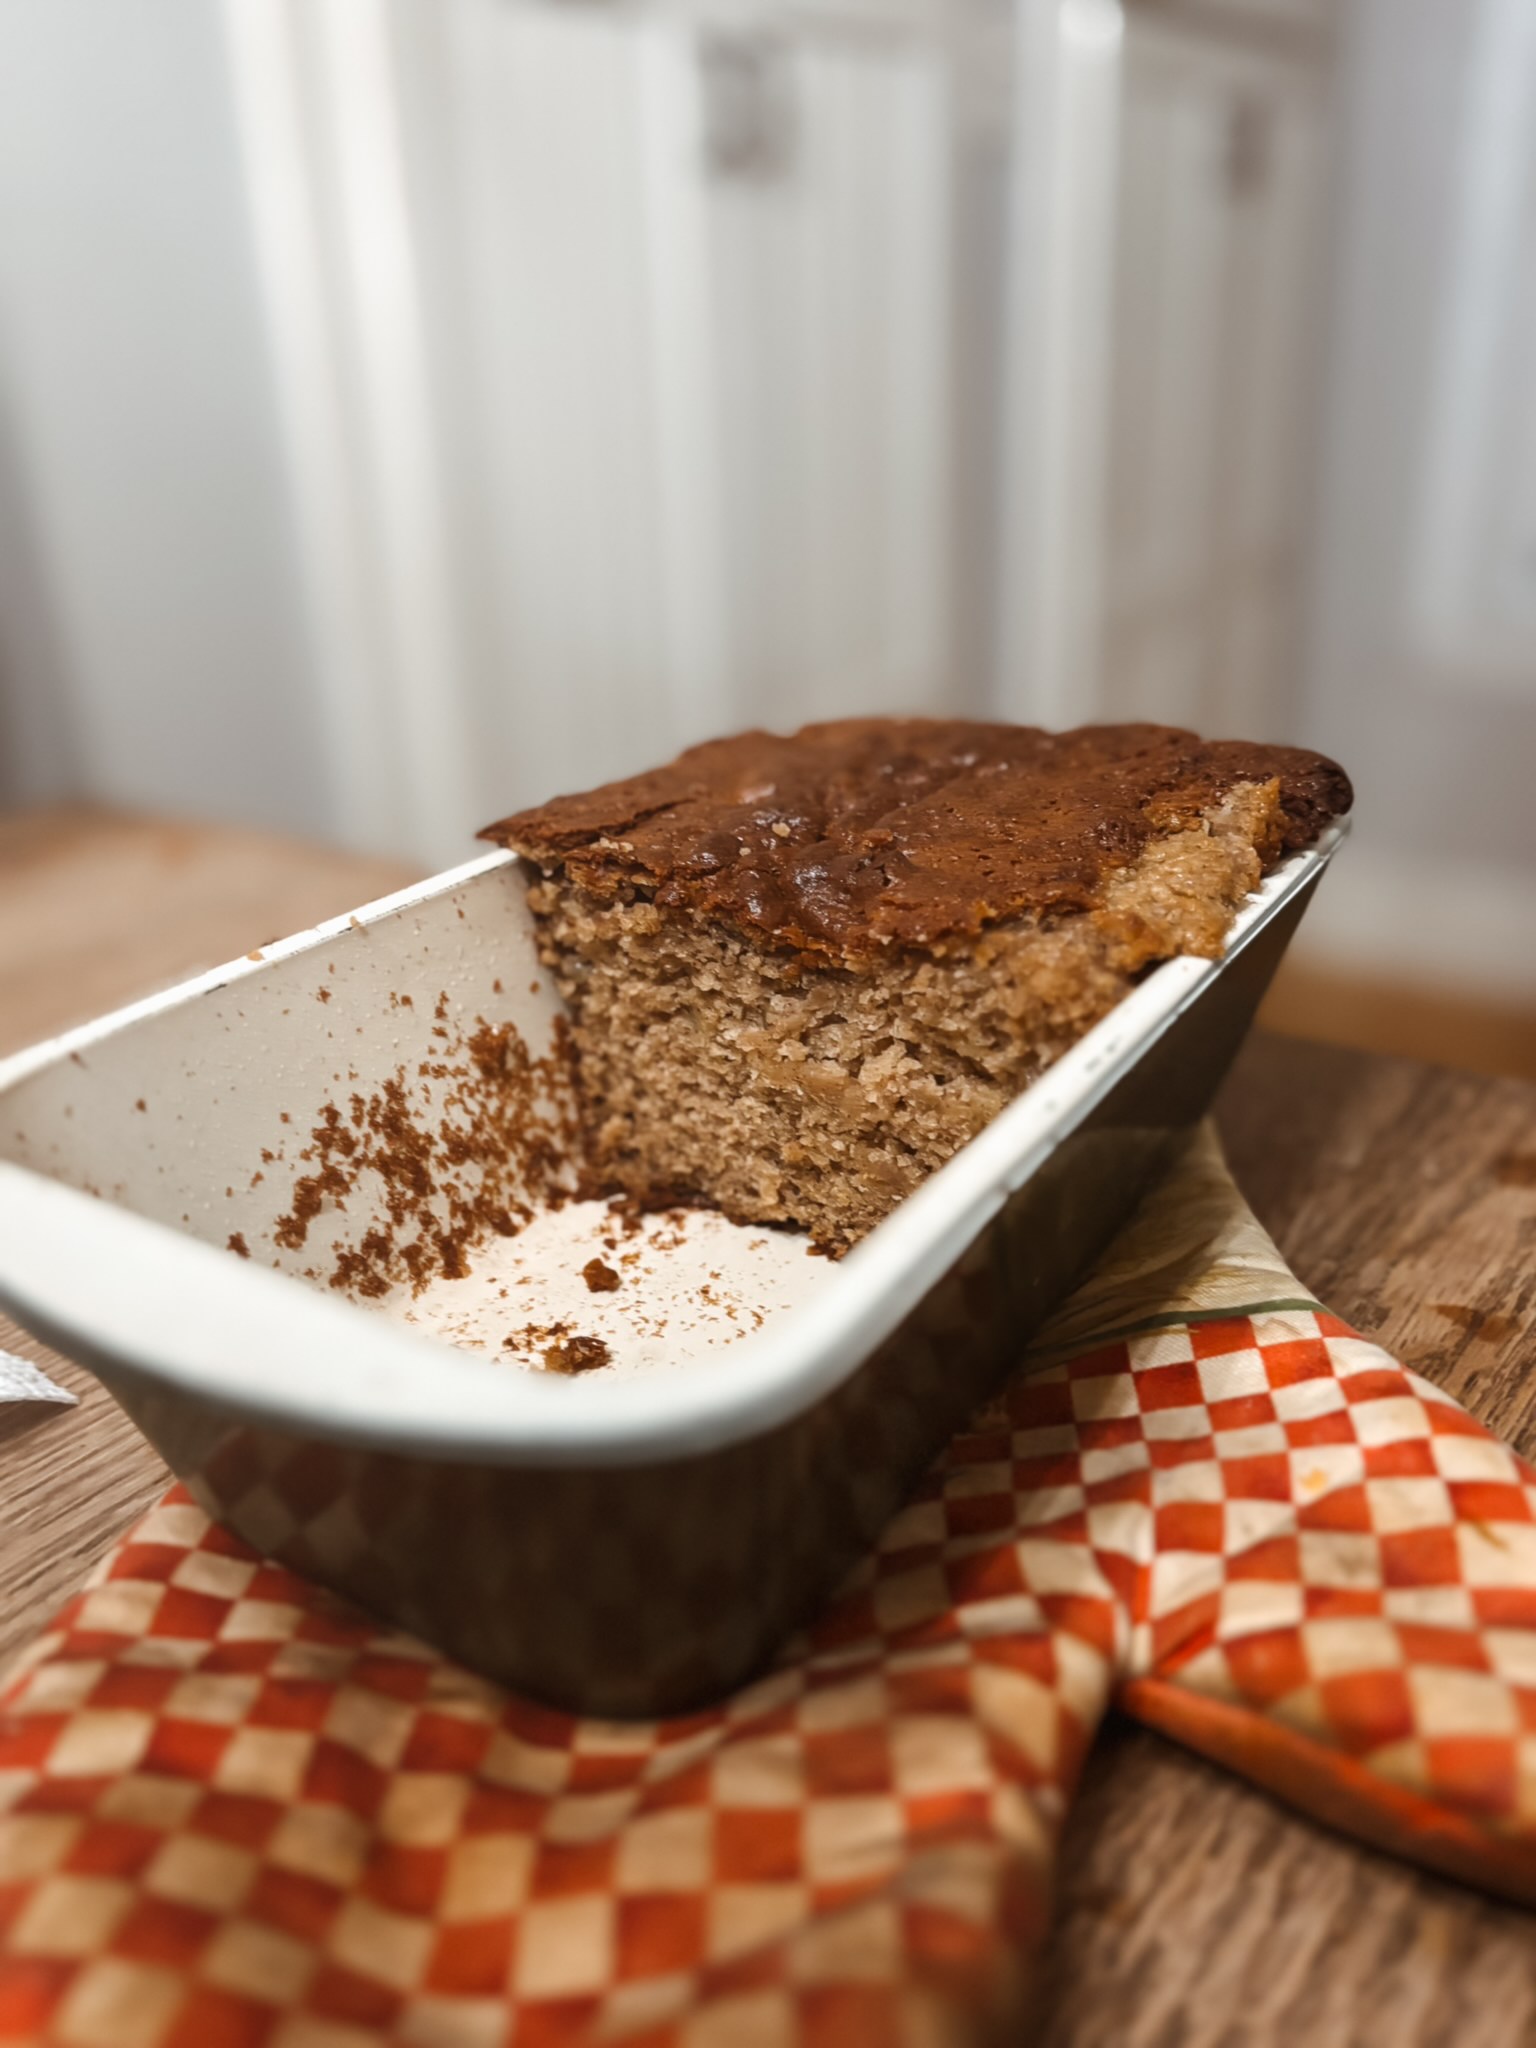
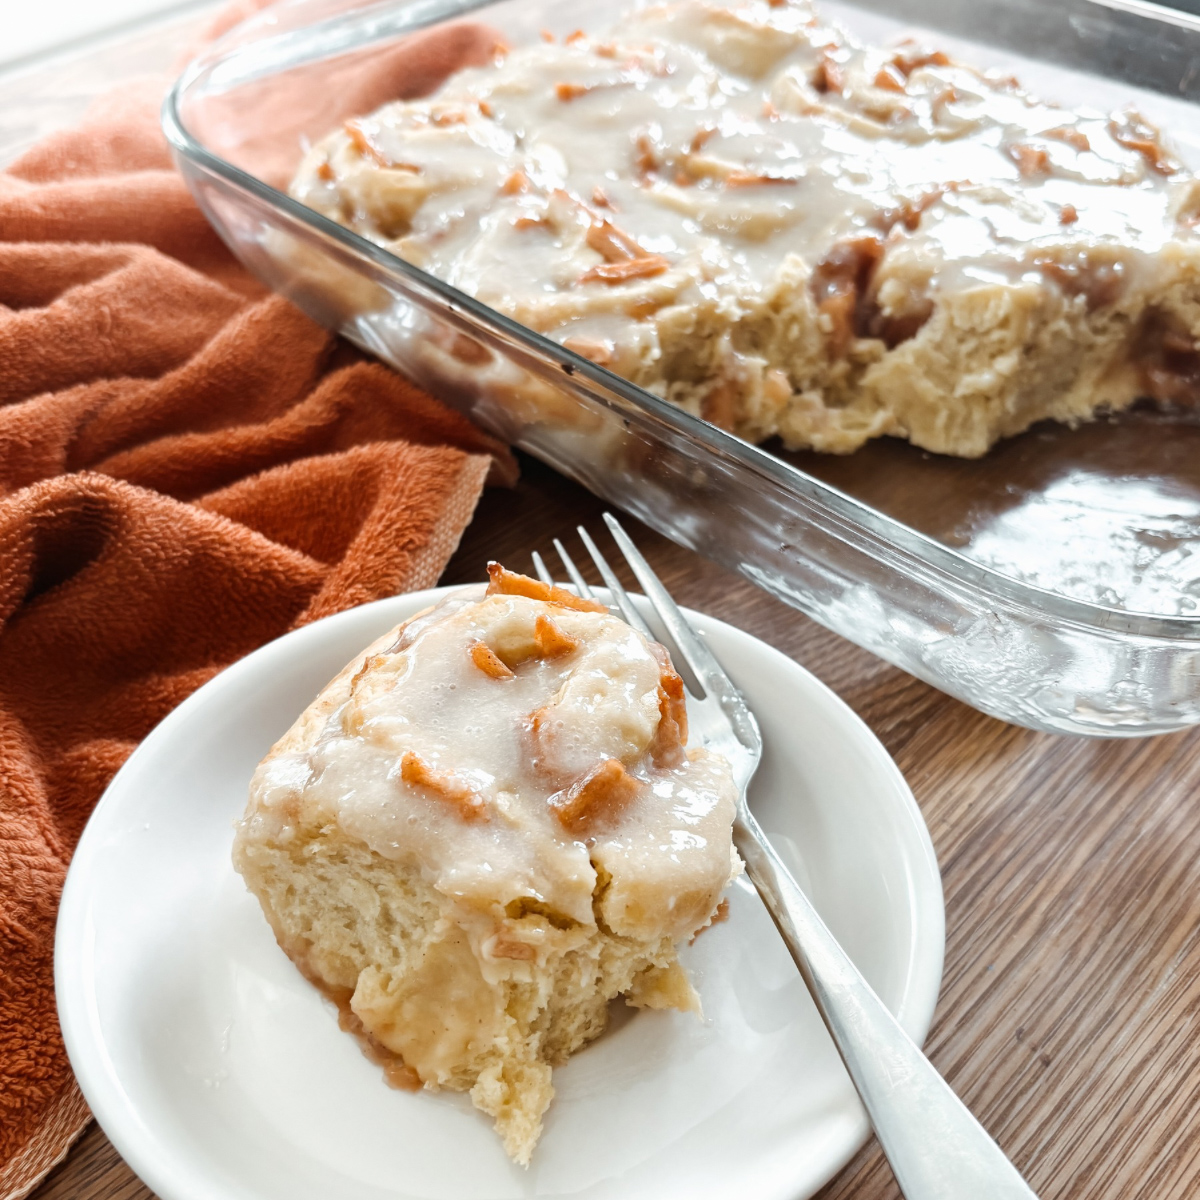
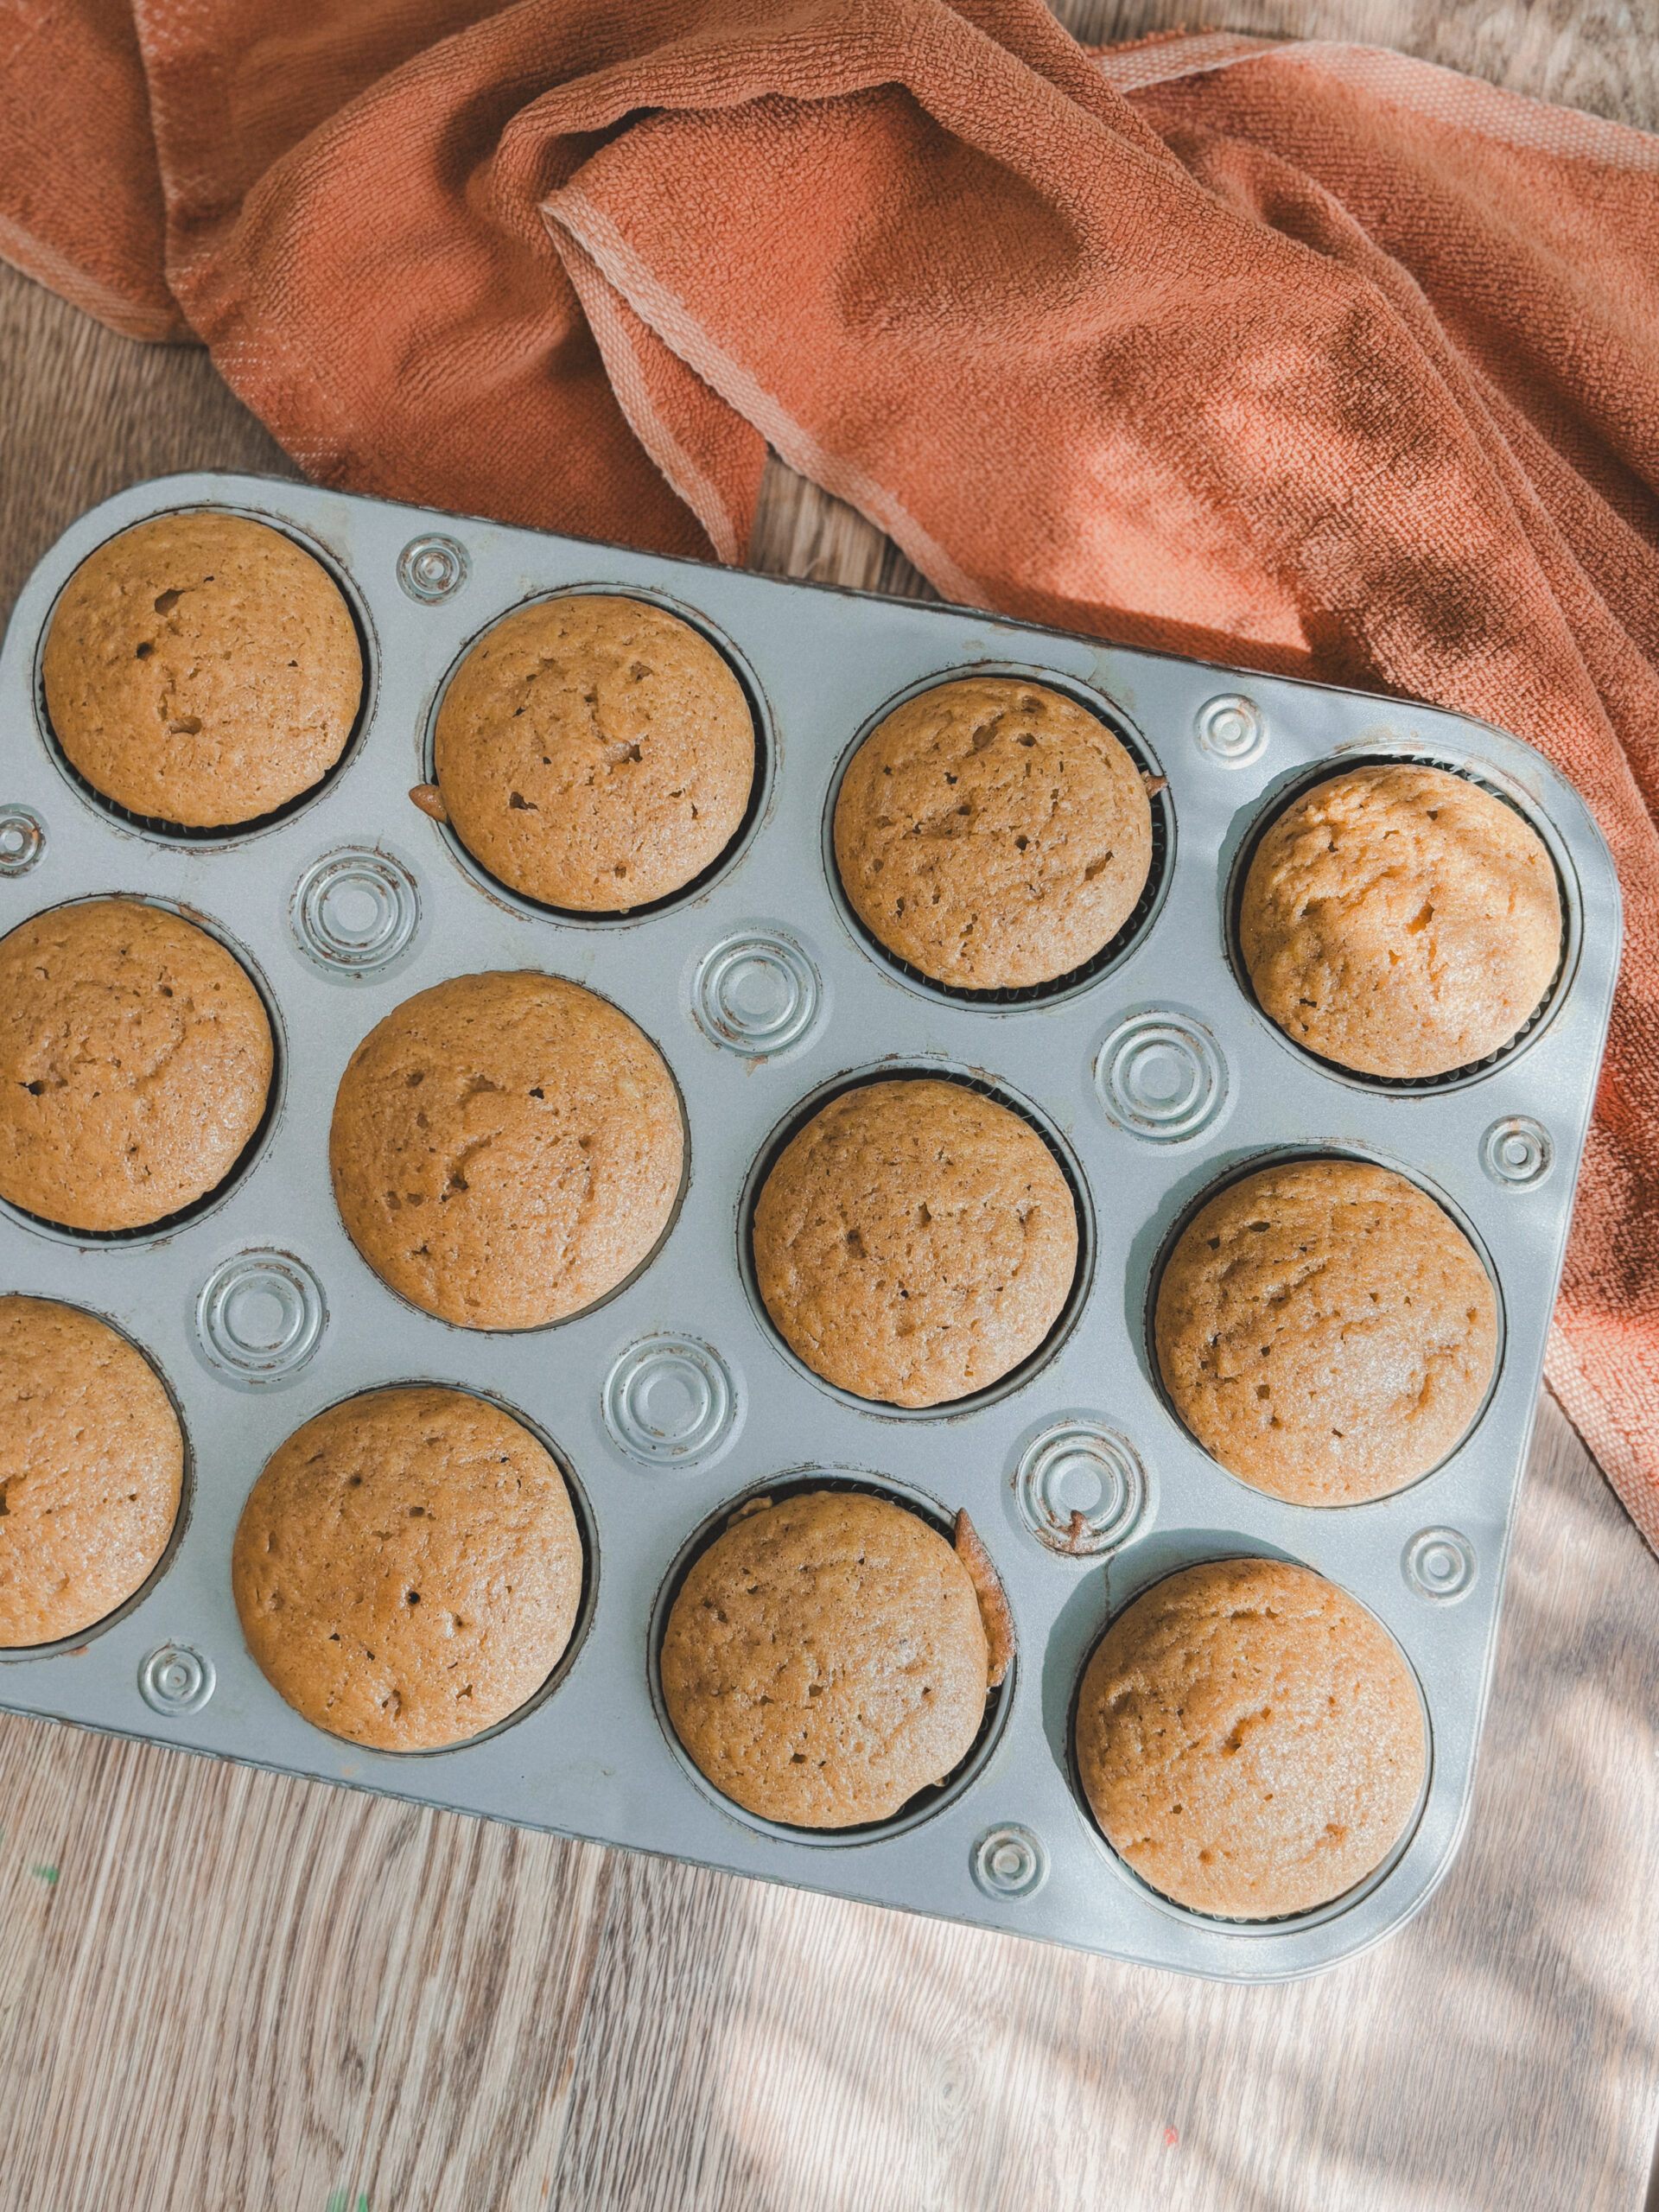
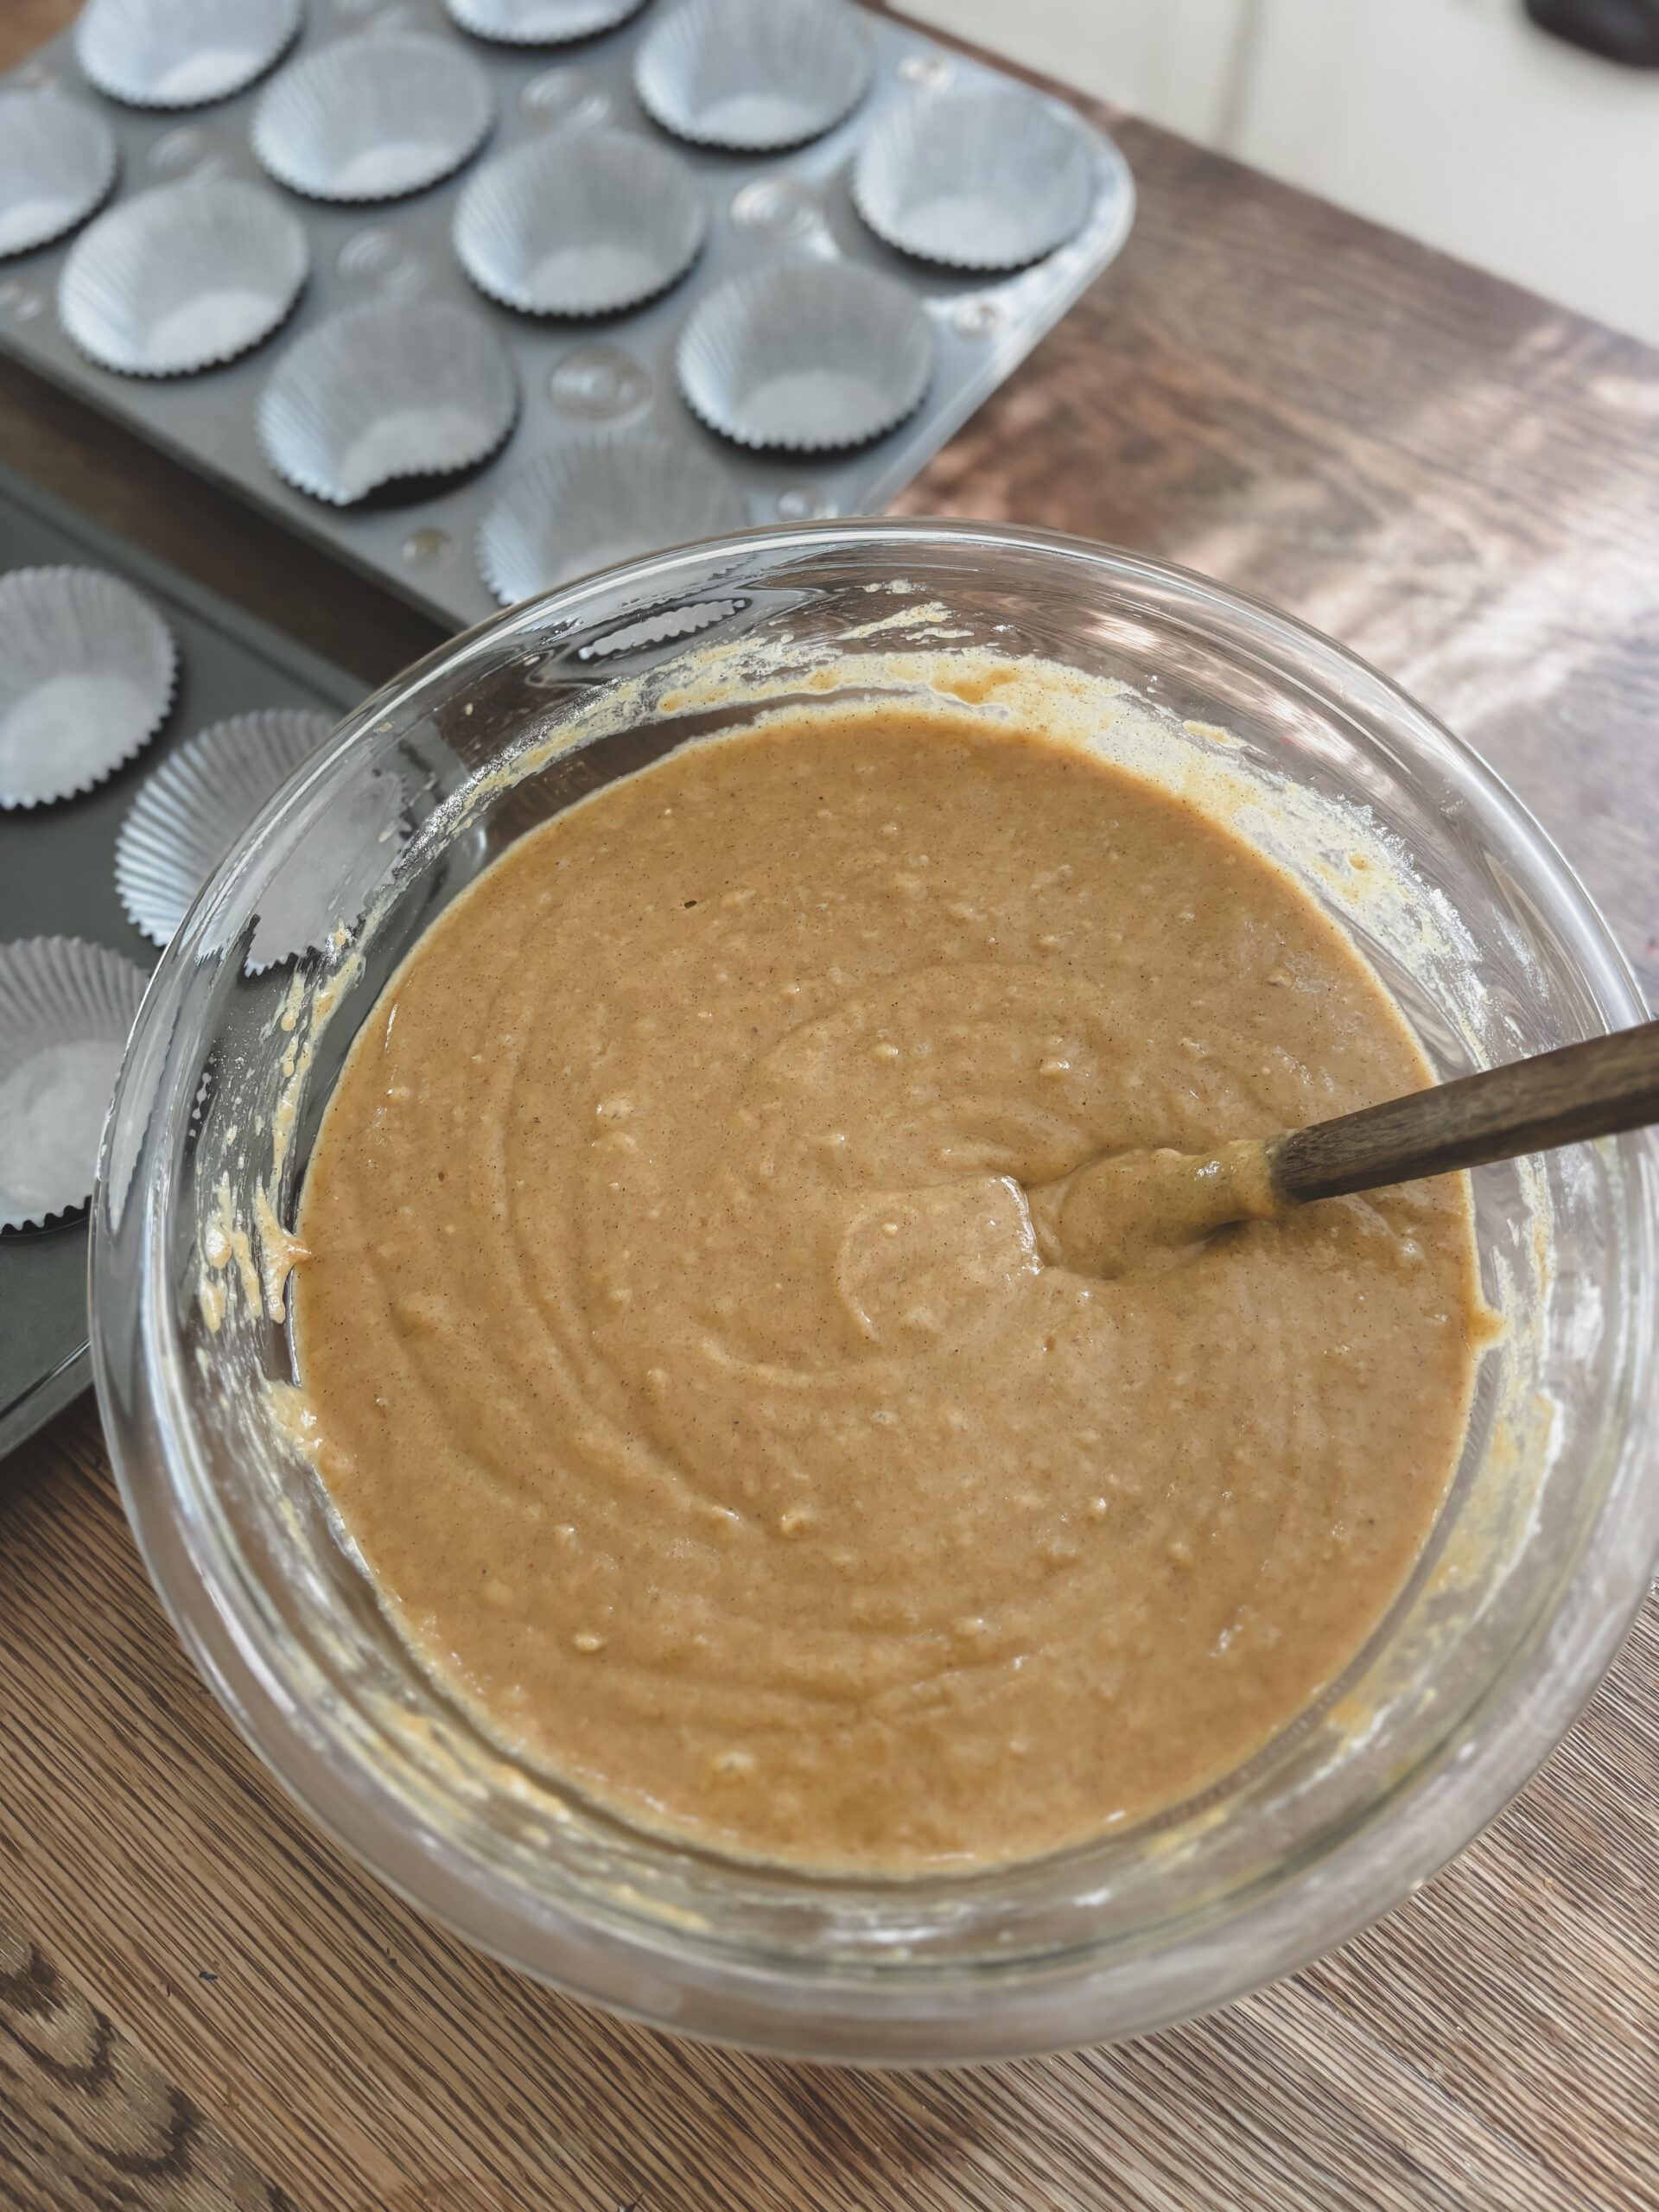
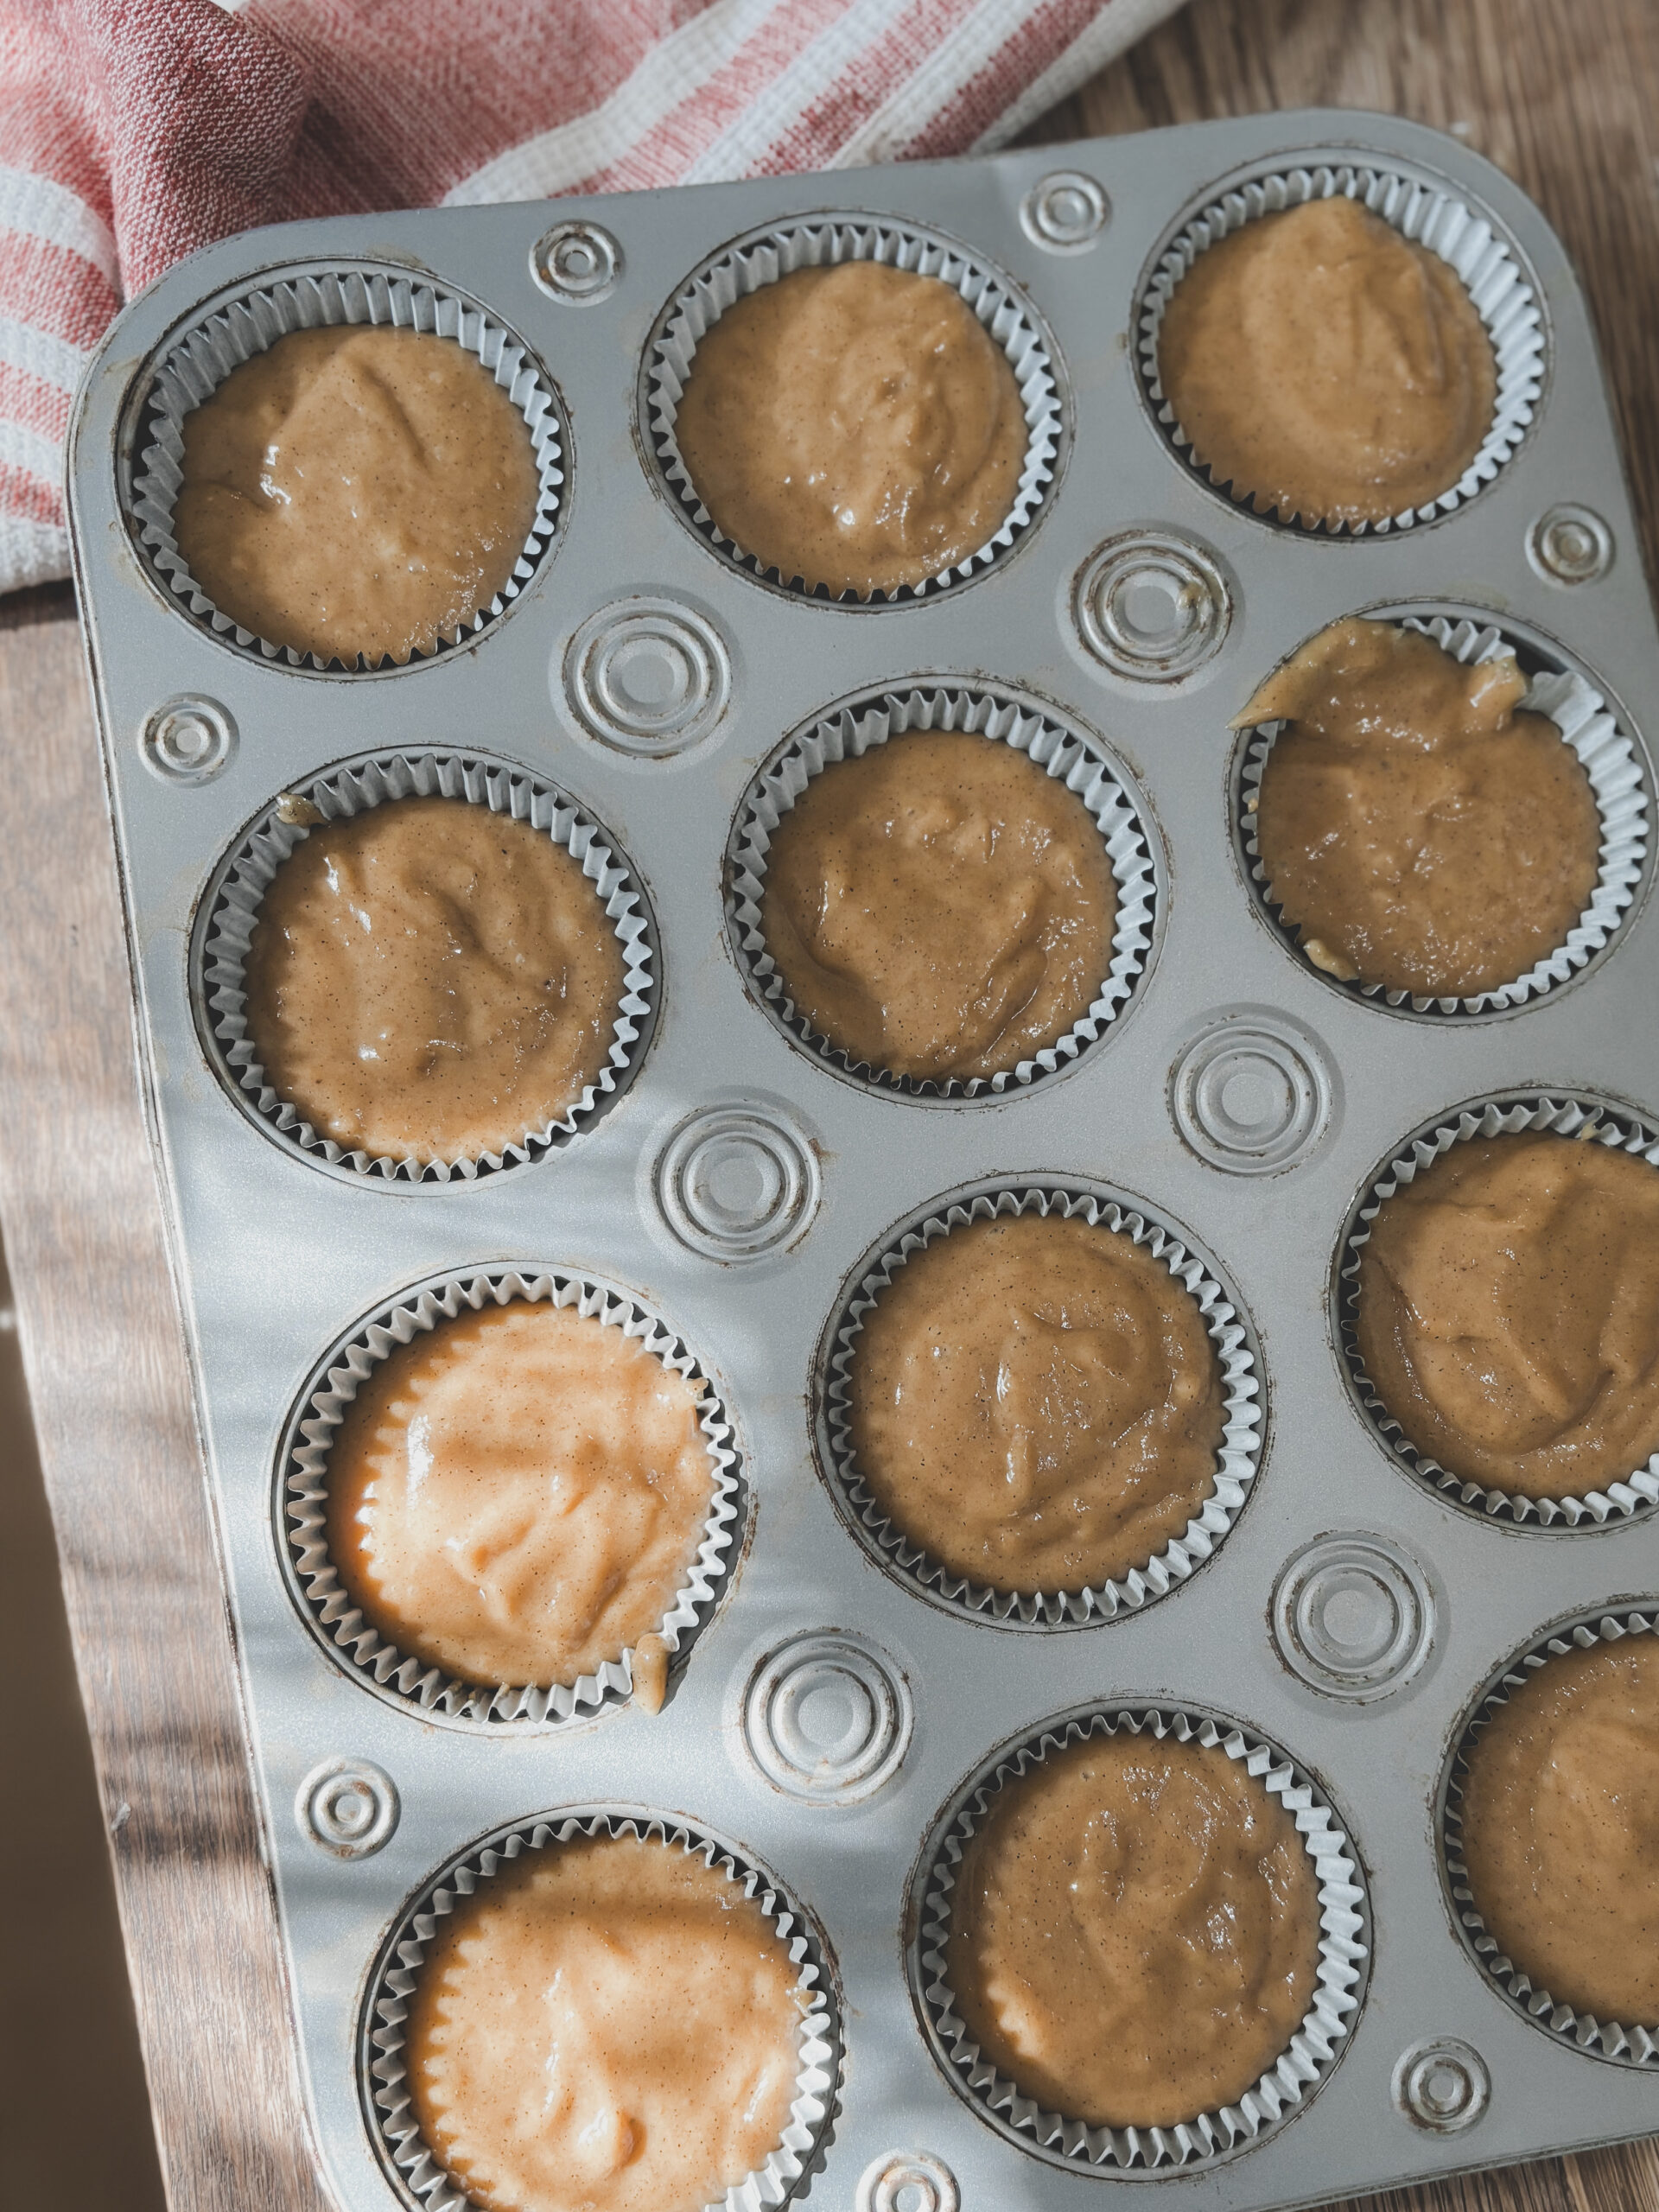
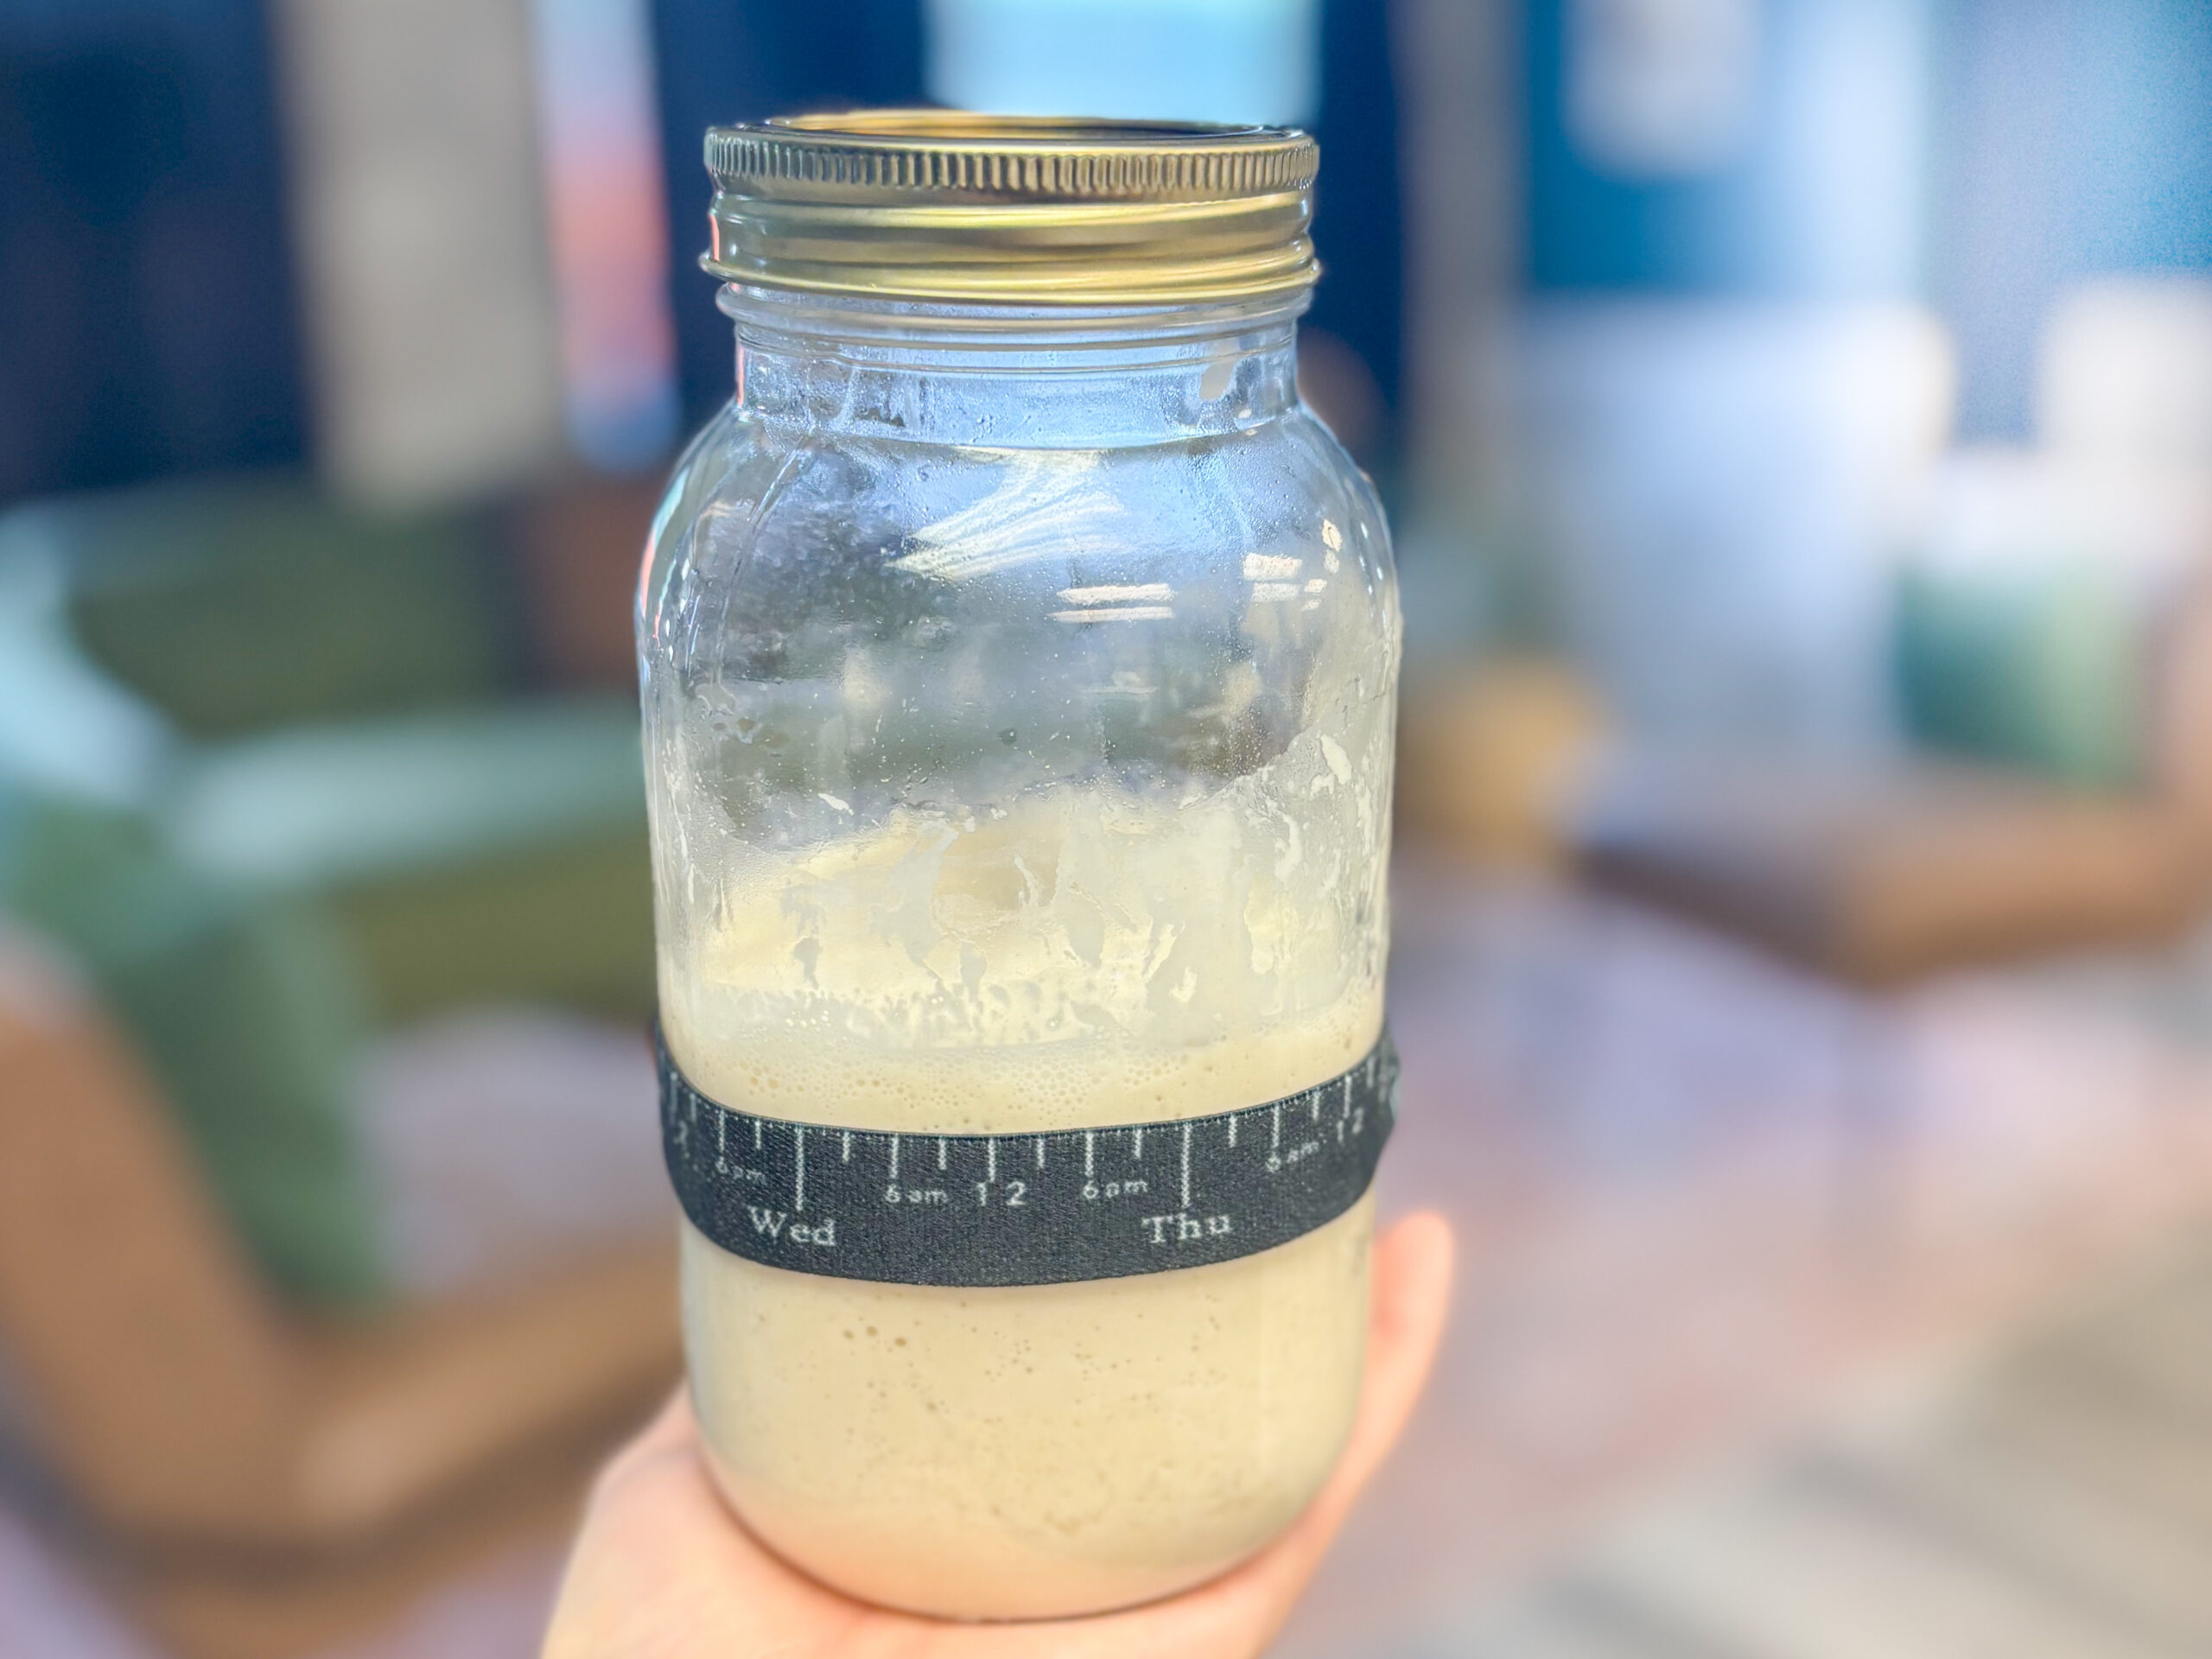
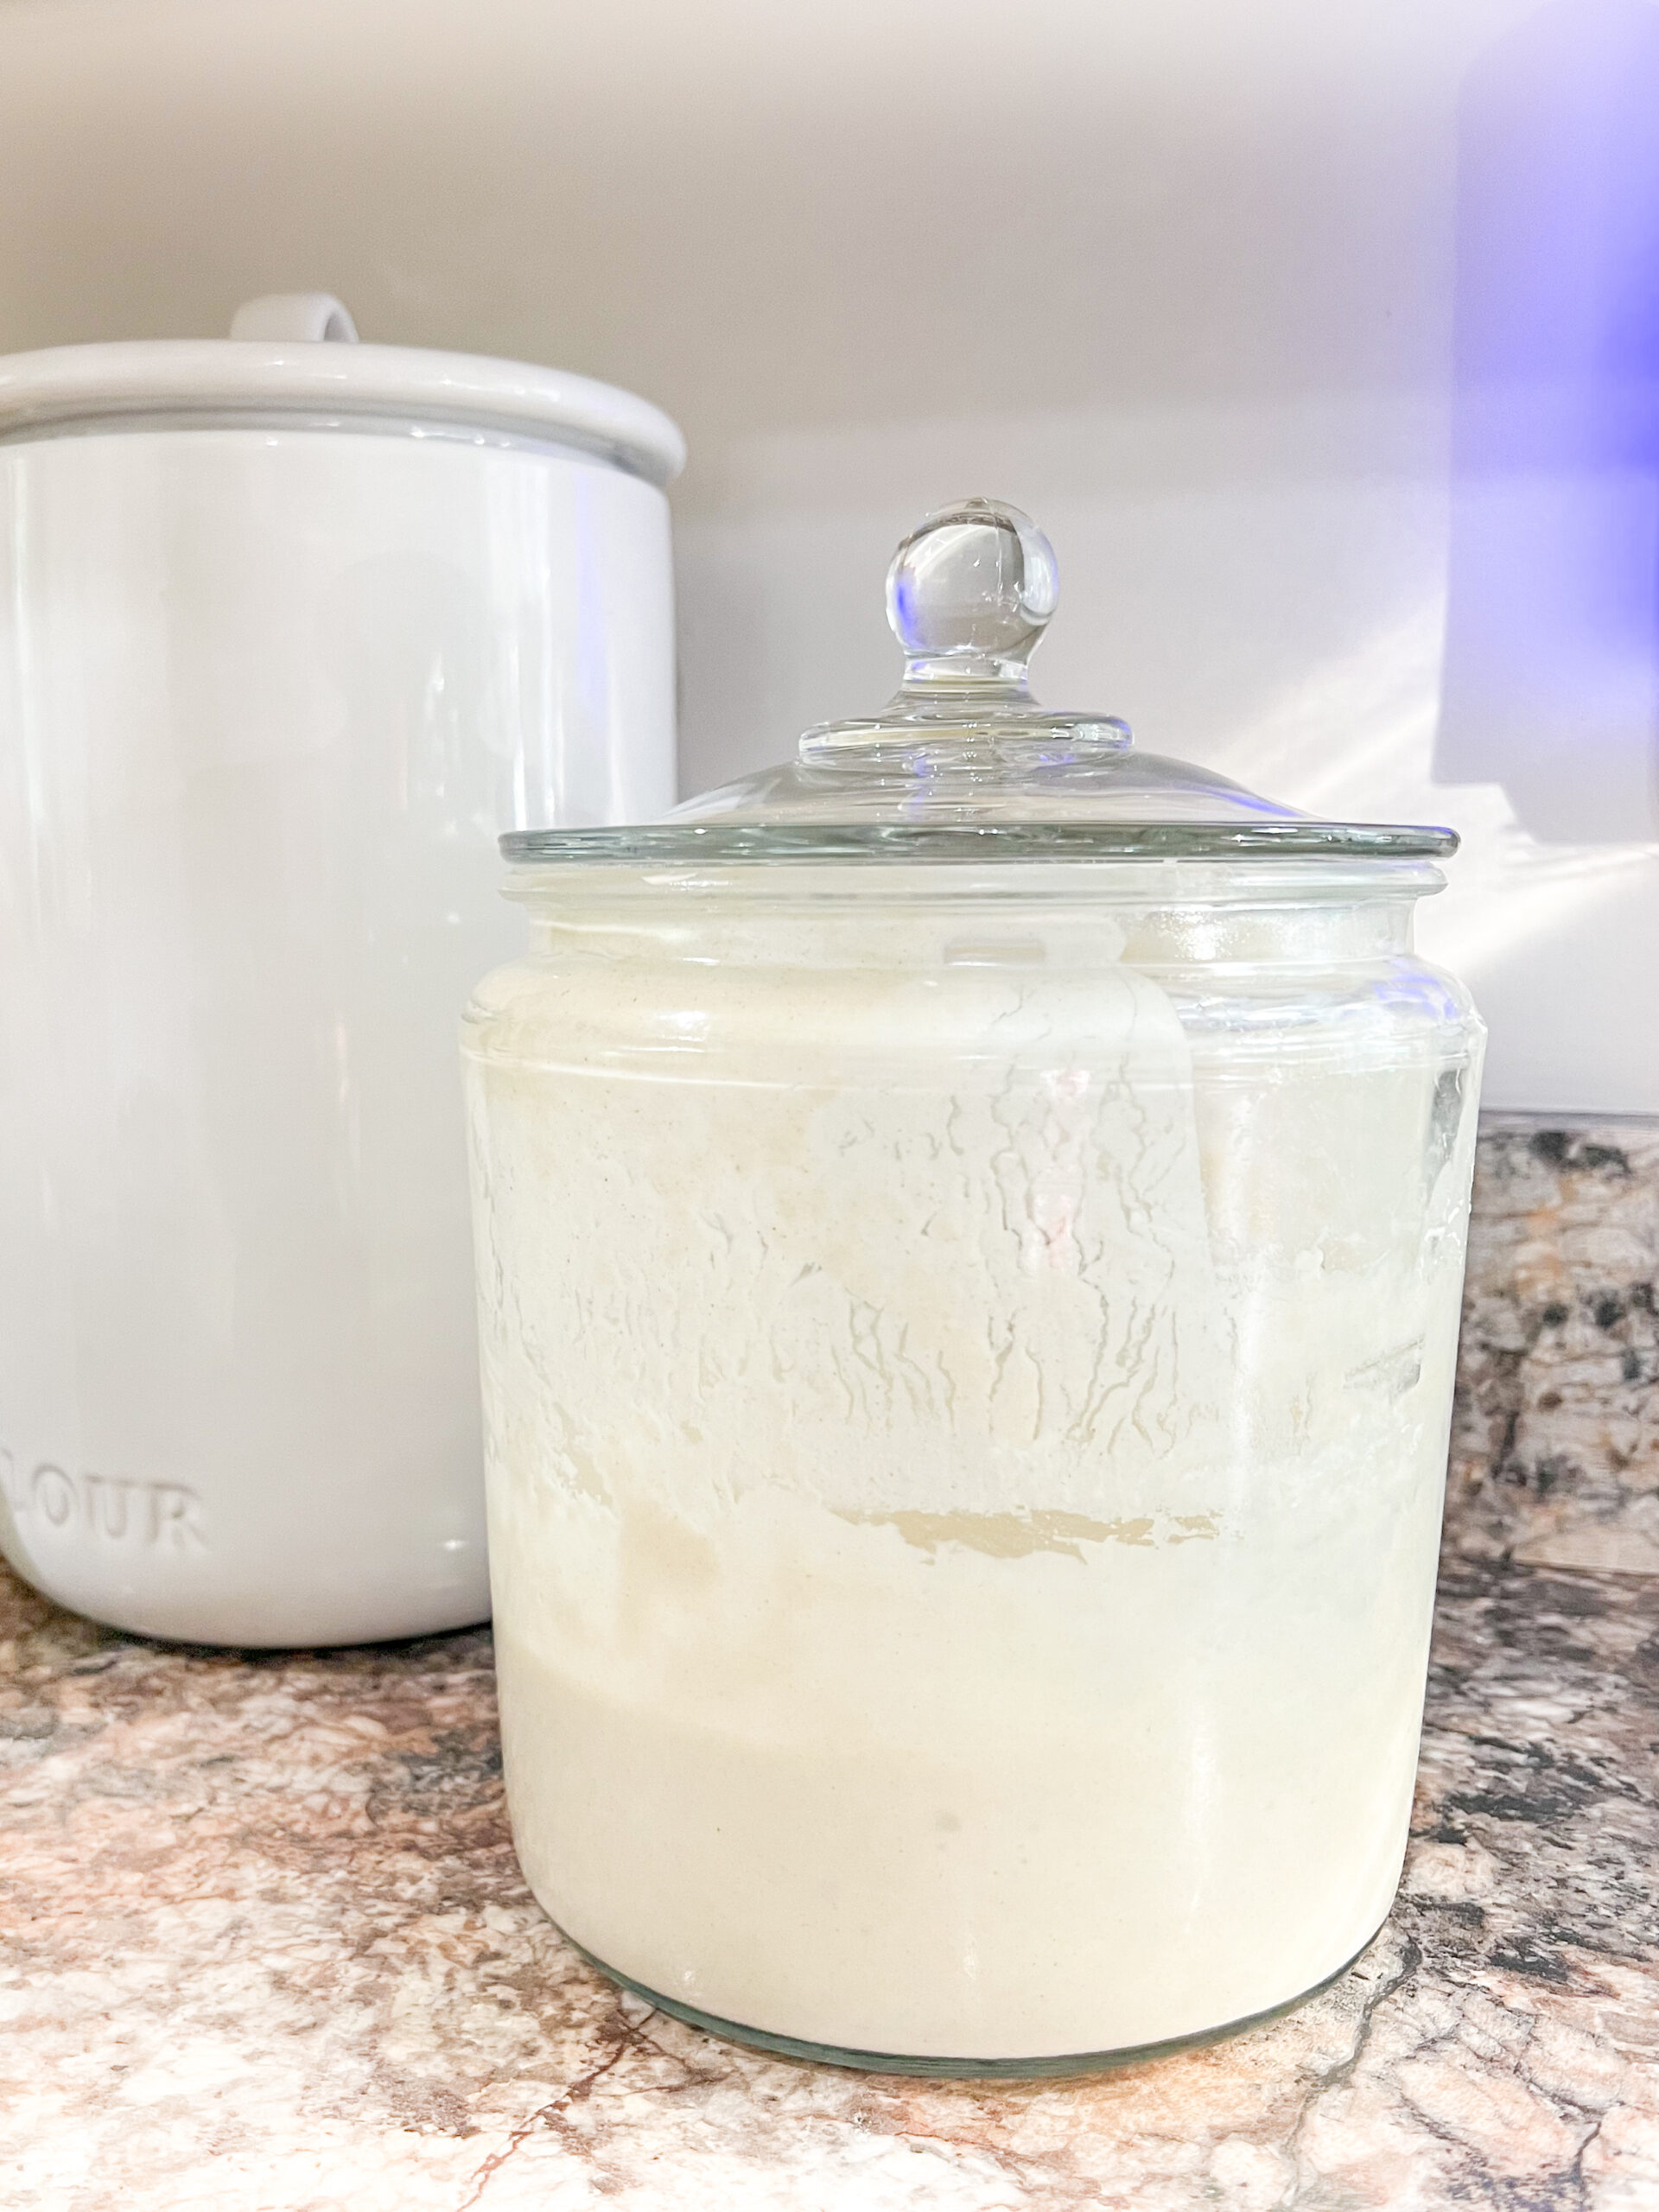
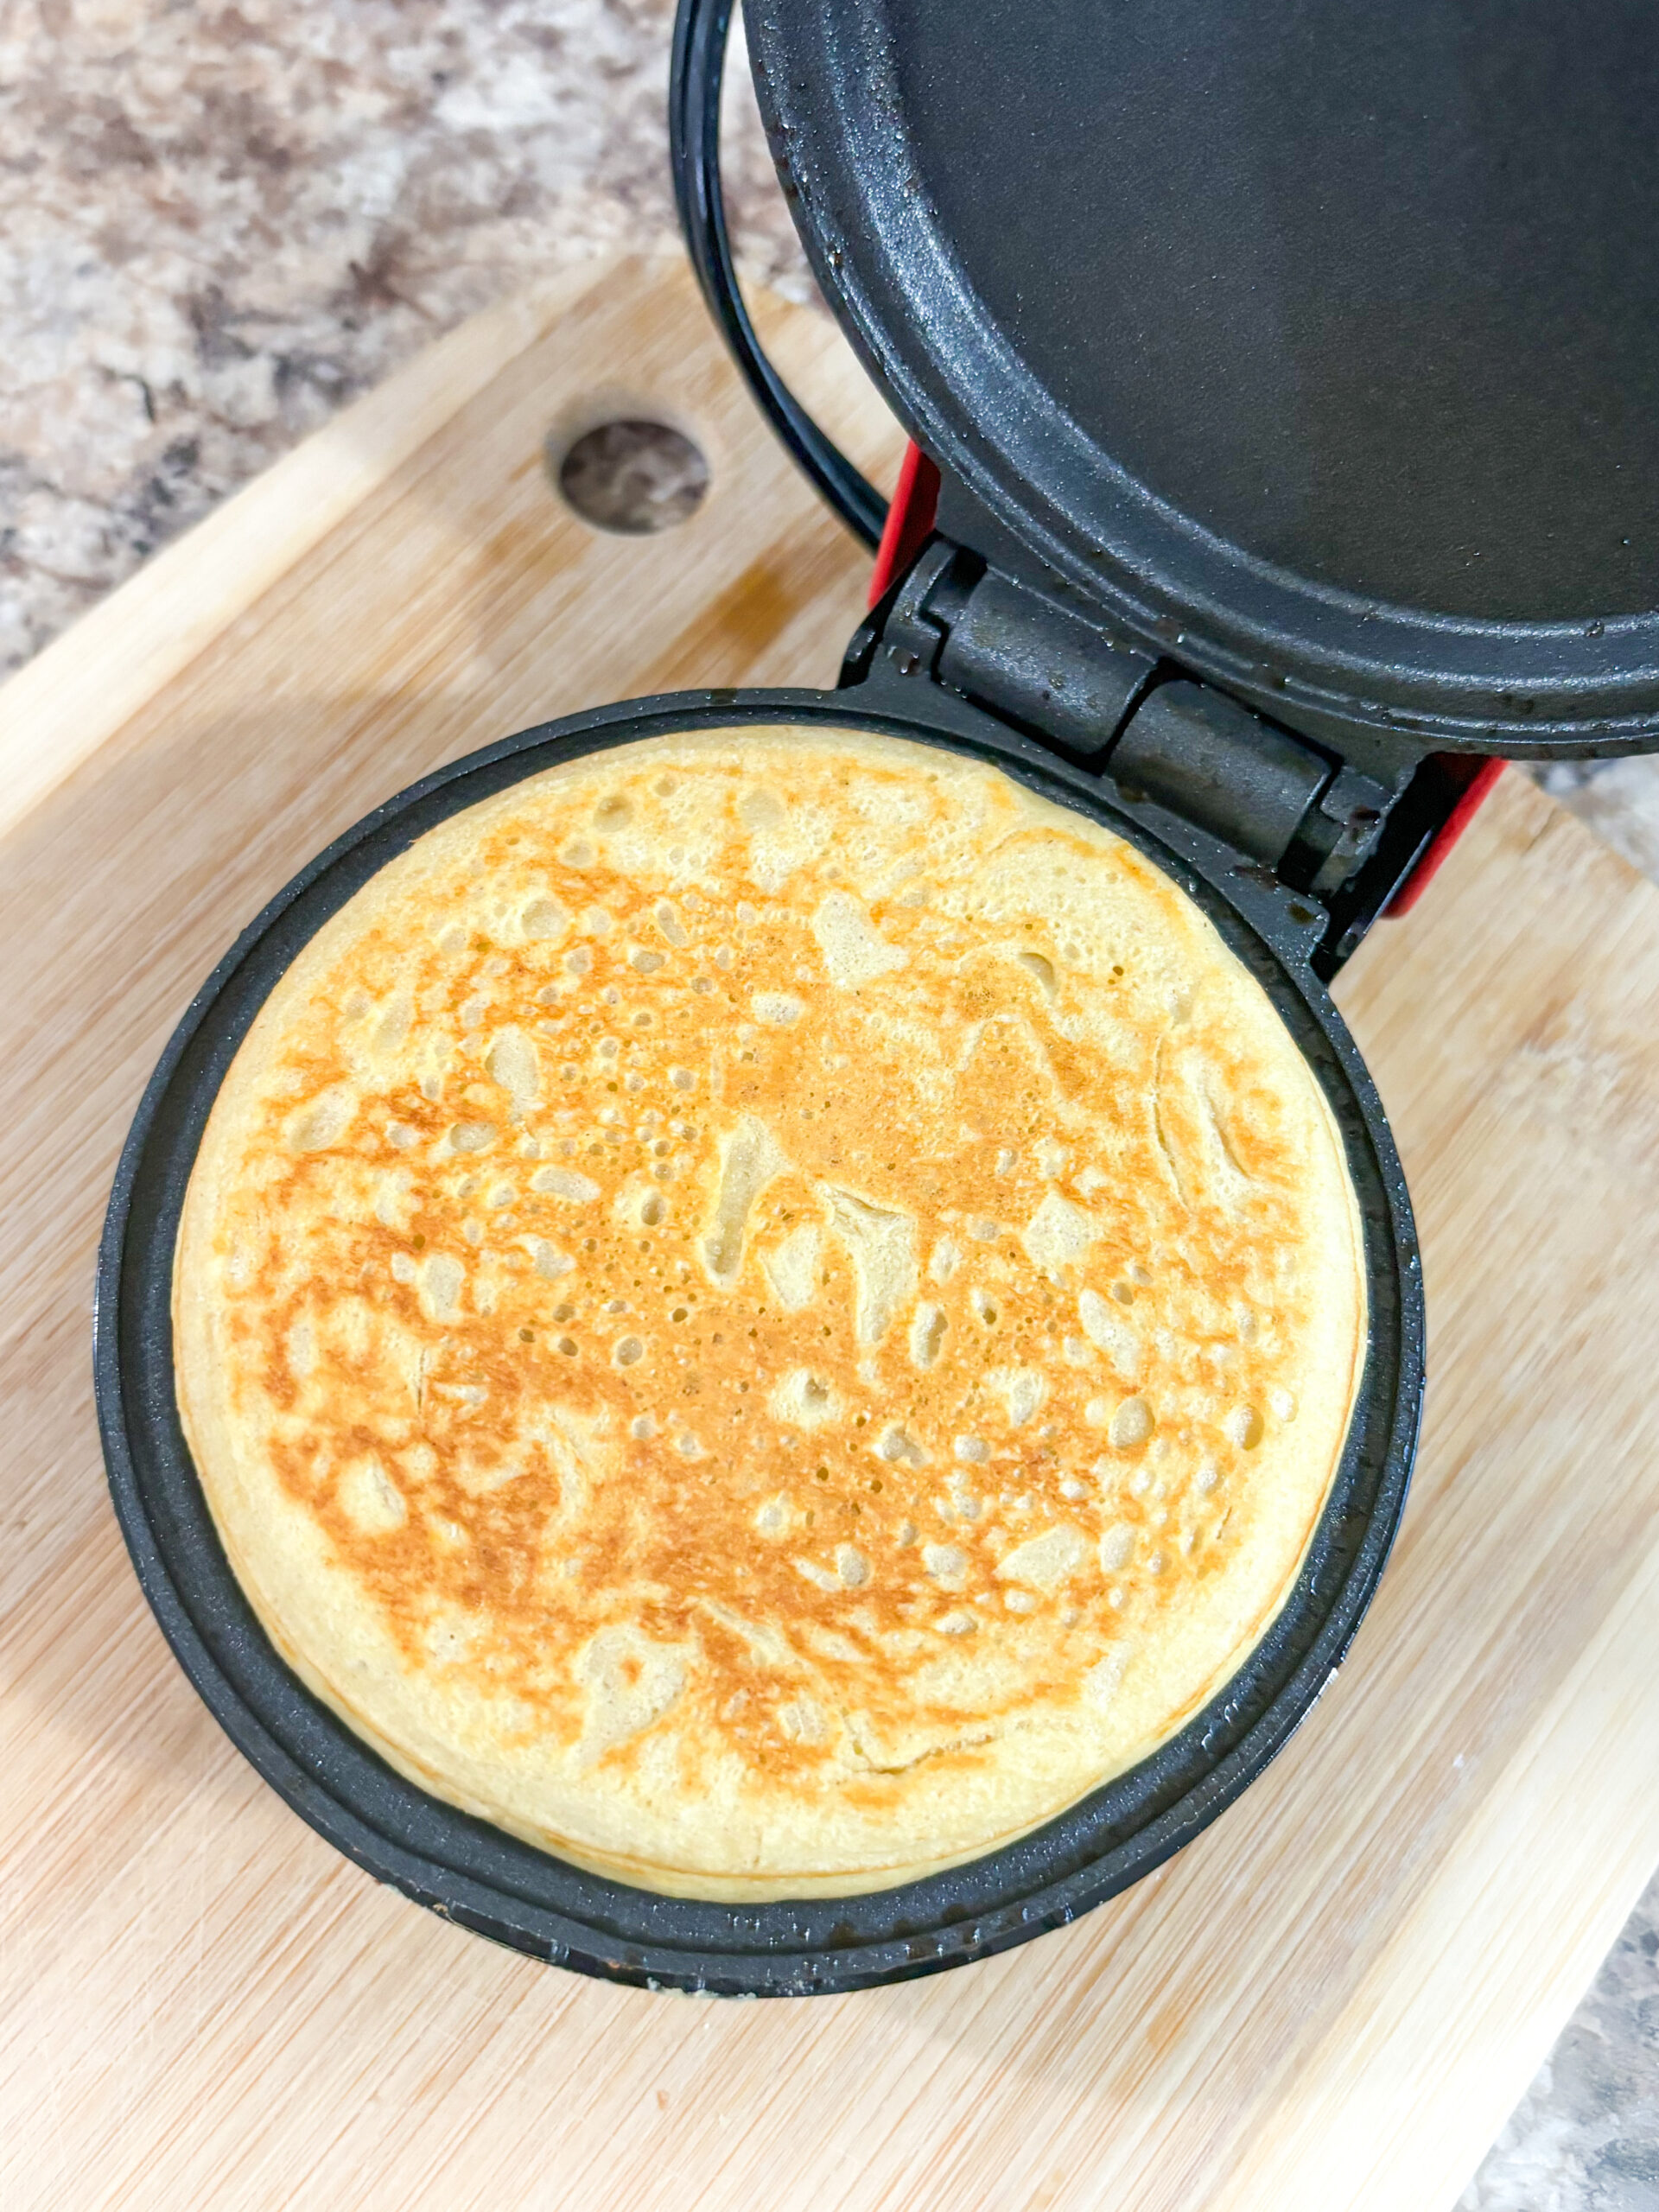
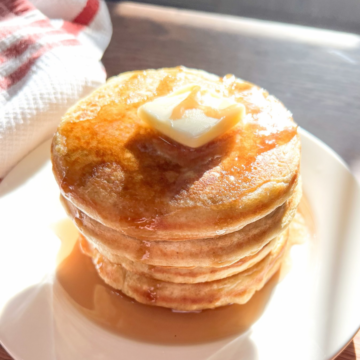
Sourdough can be a great hobby and ads nutritional benefits to ordinary meals or snacks. Discard recipes are super simple! Check out my sourdough discard tortillas, pancakes, waffles, pumpkin muffins, or double chocolate yogurt muffins.
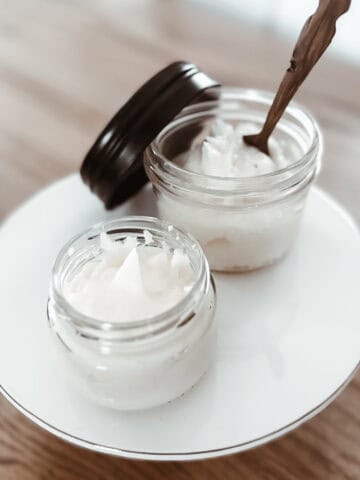
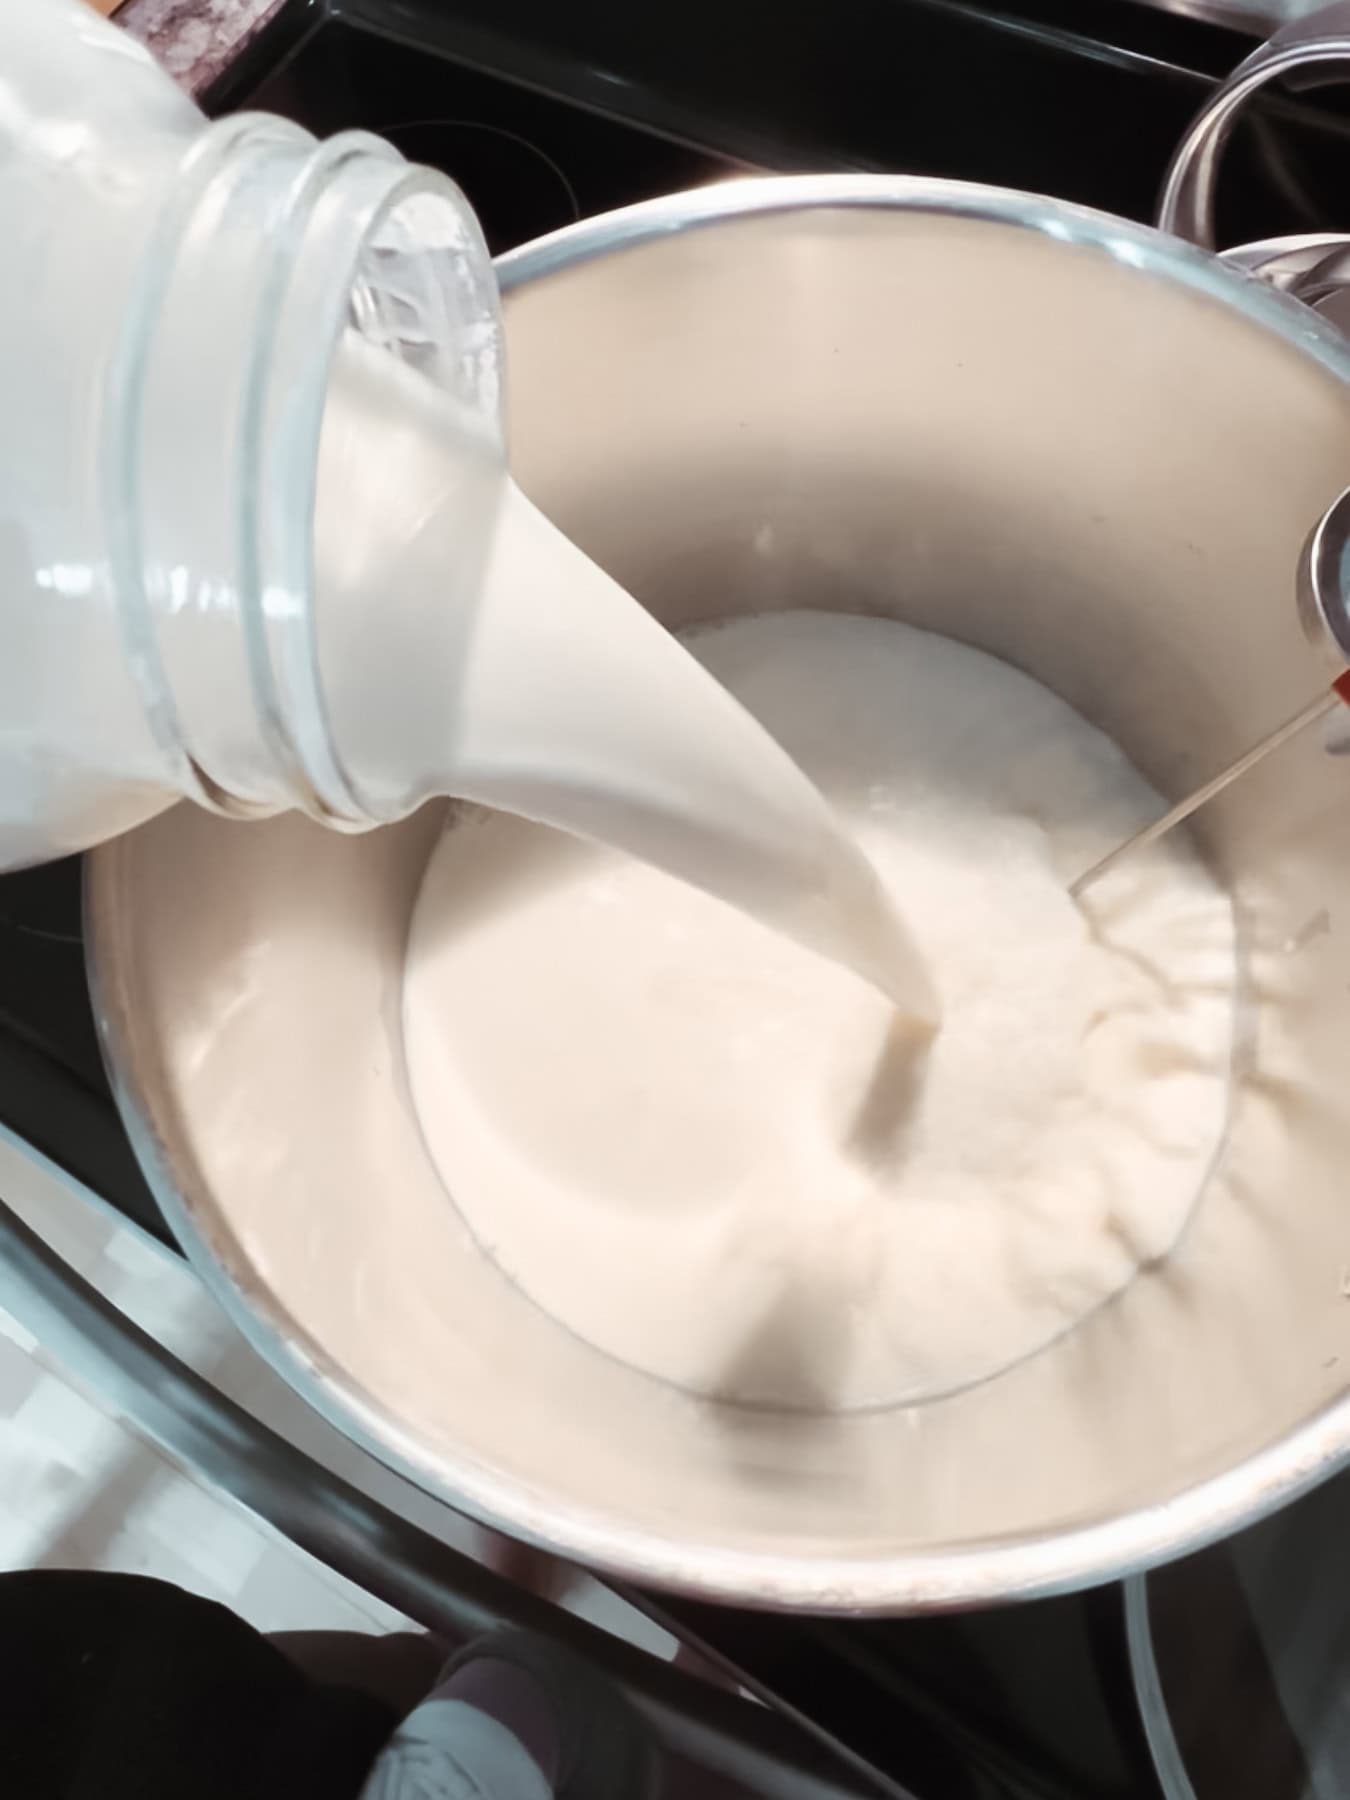
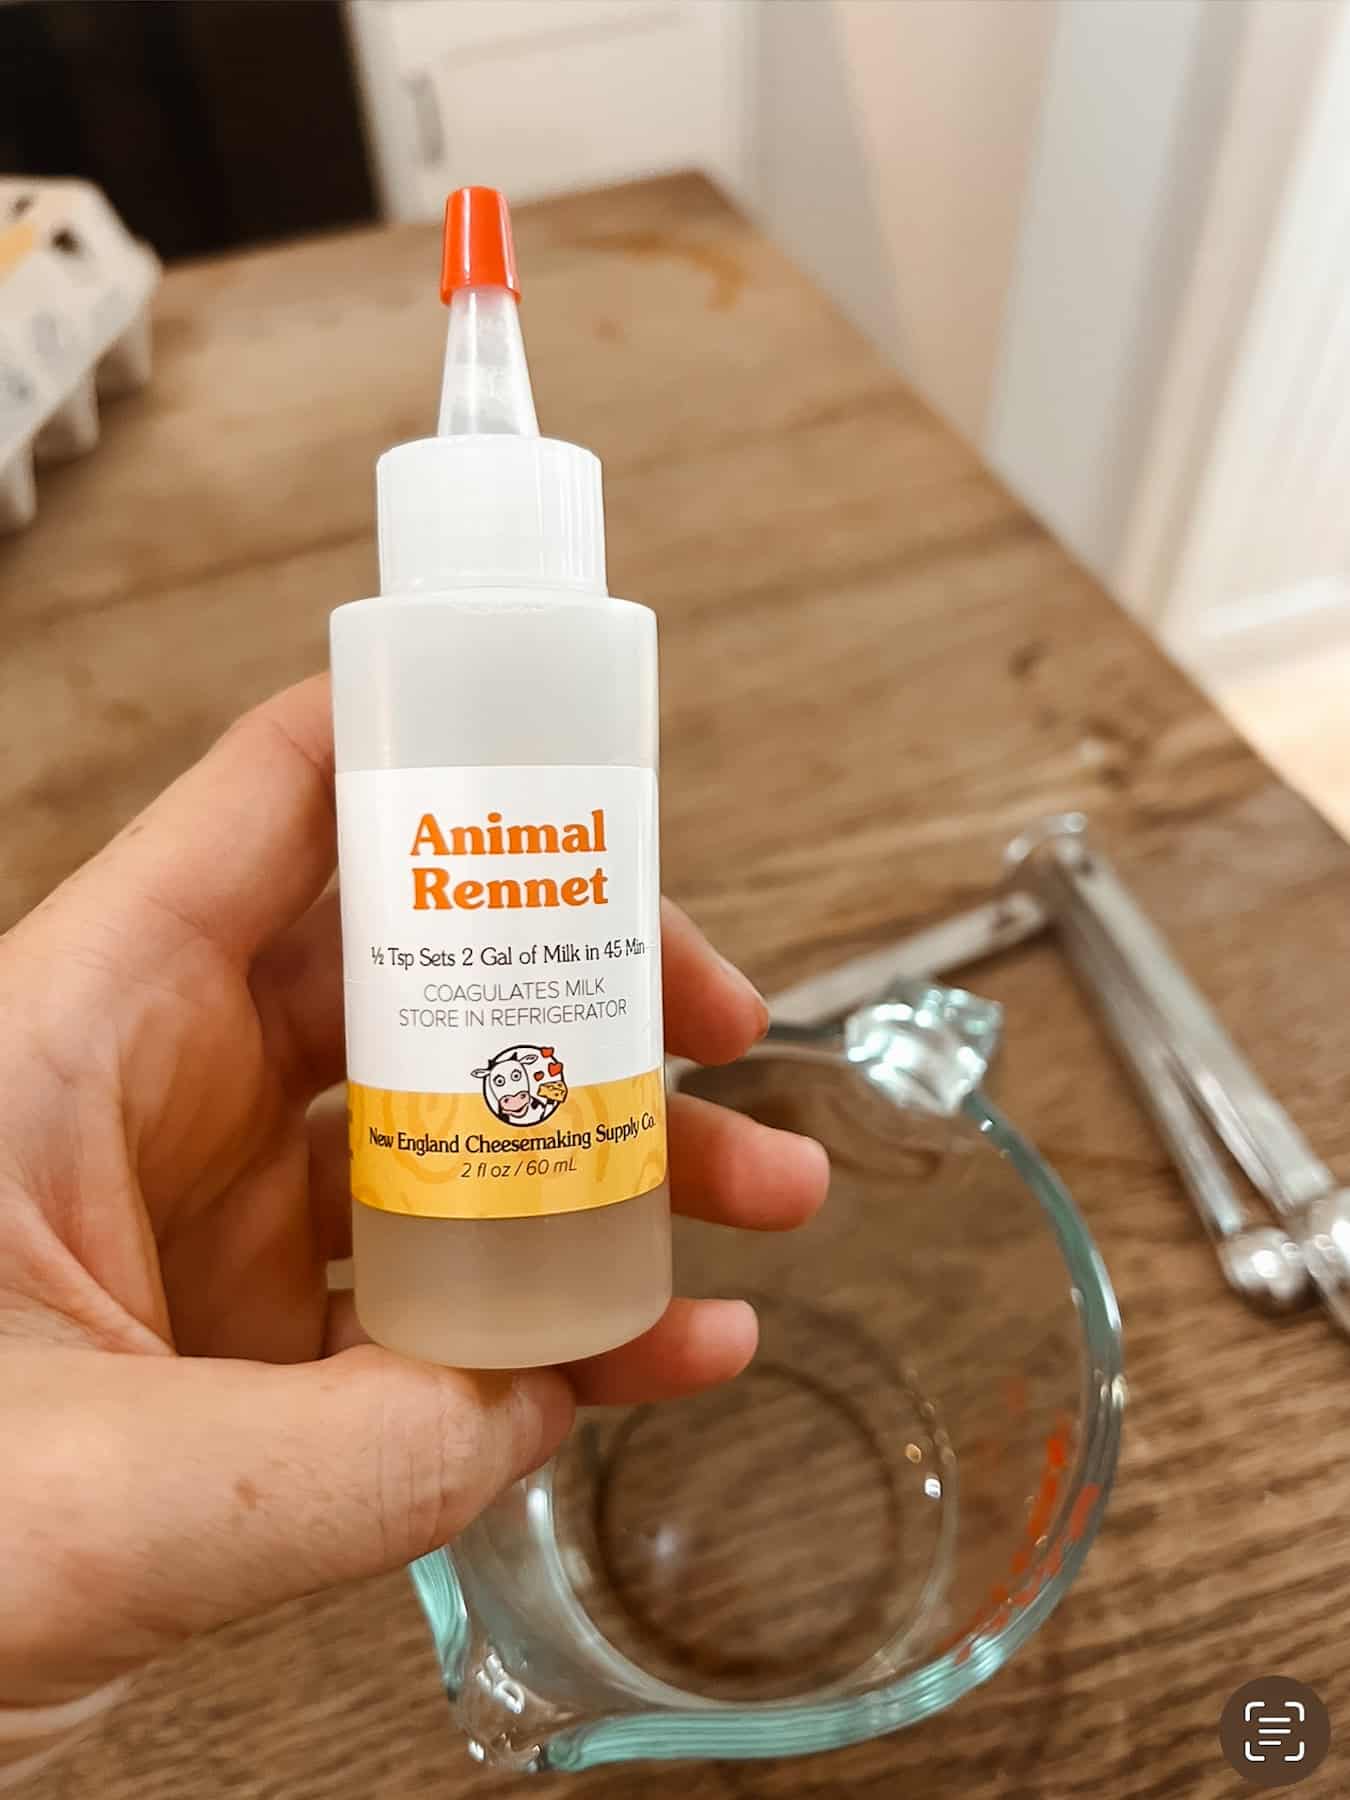
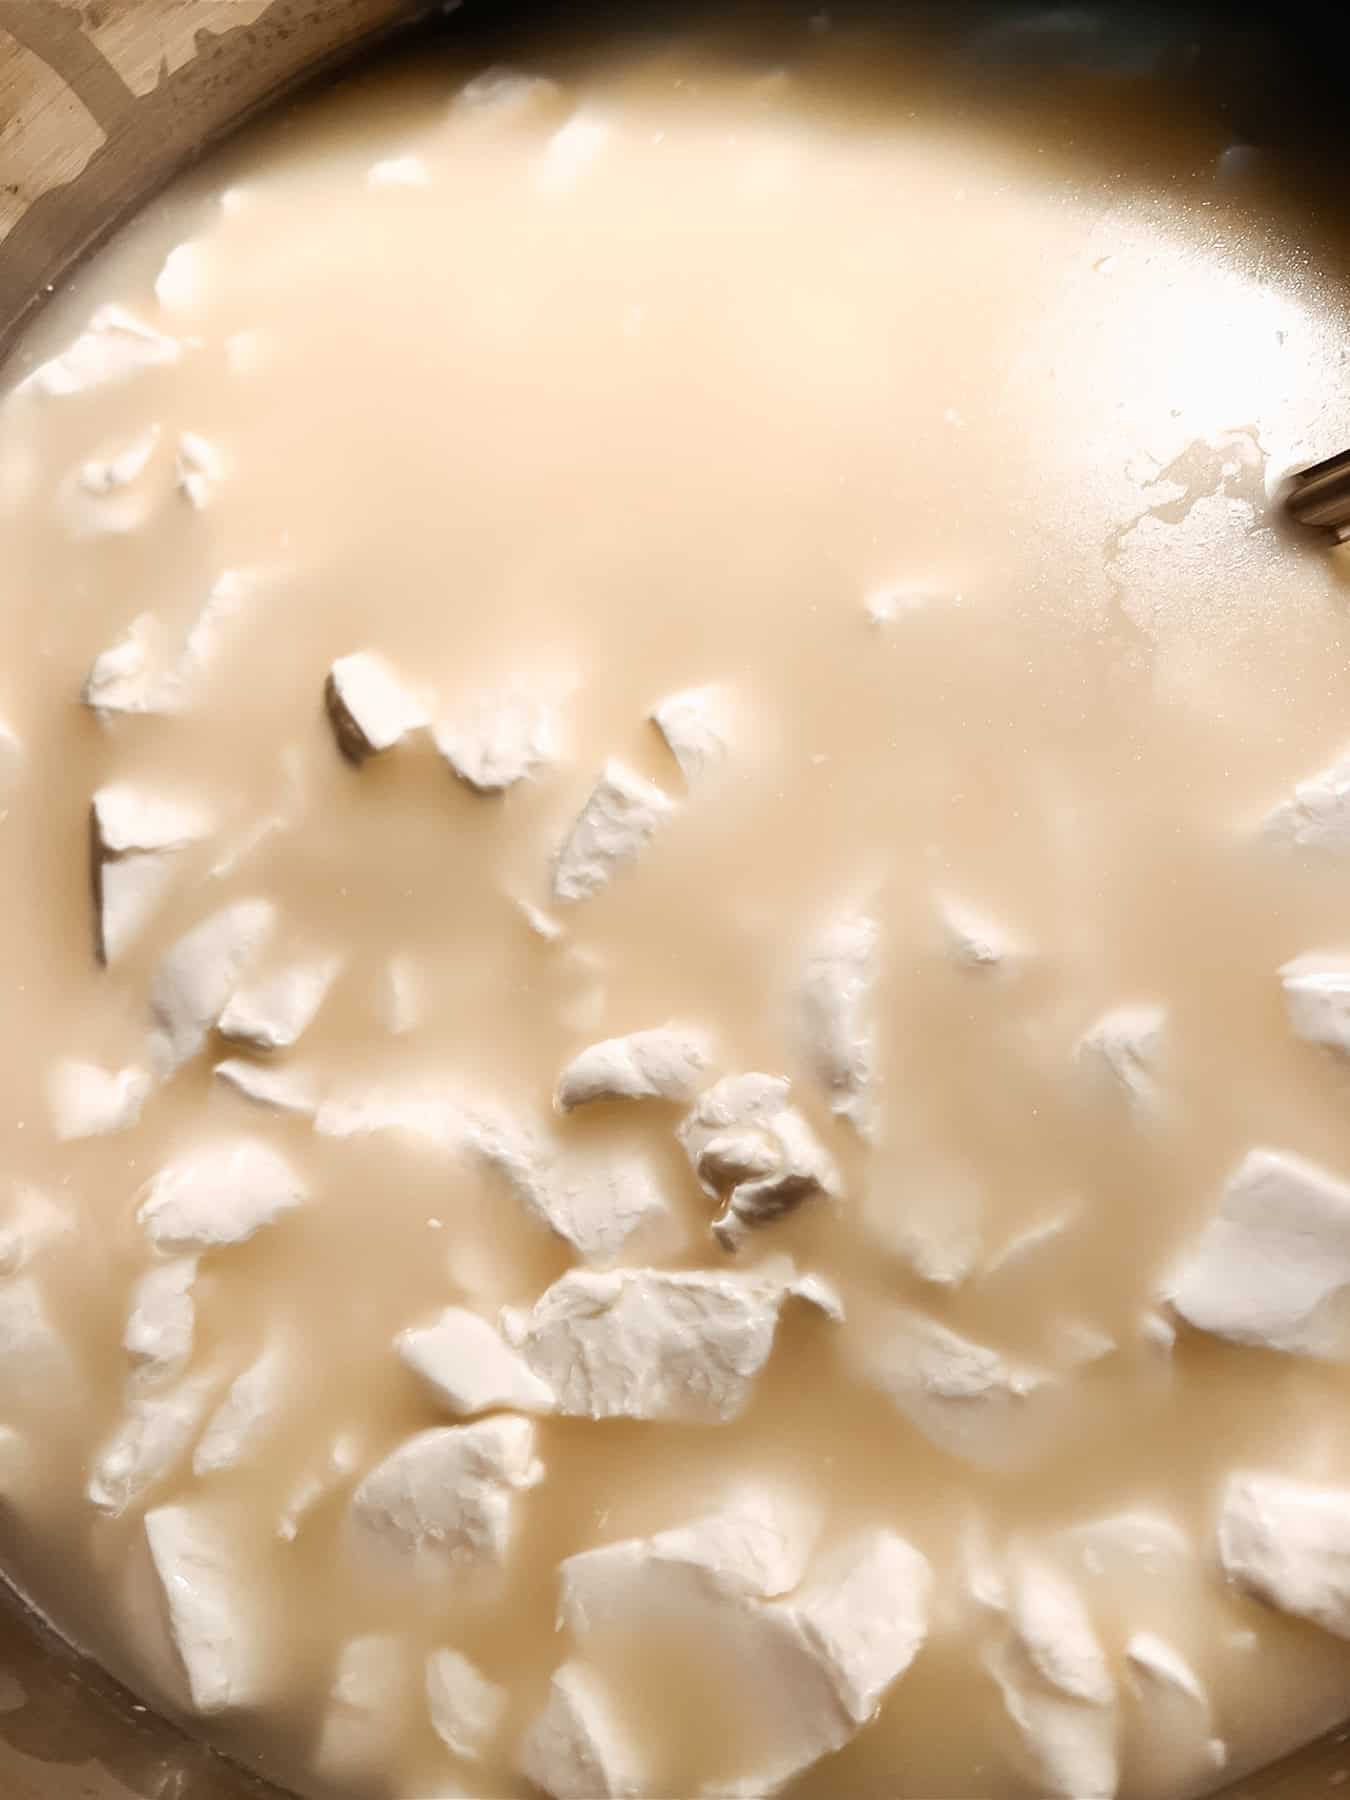
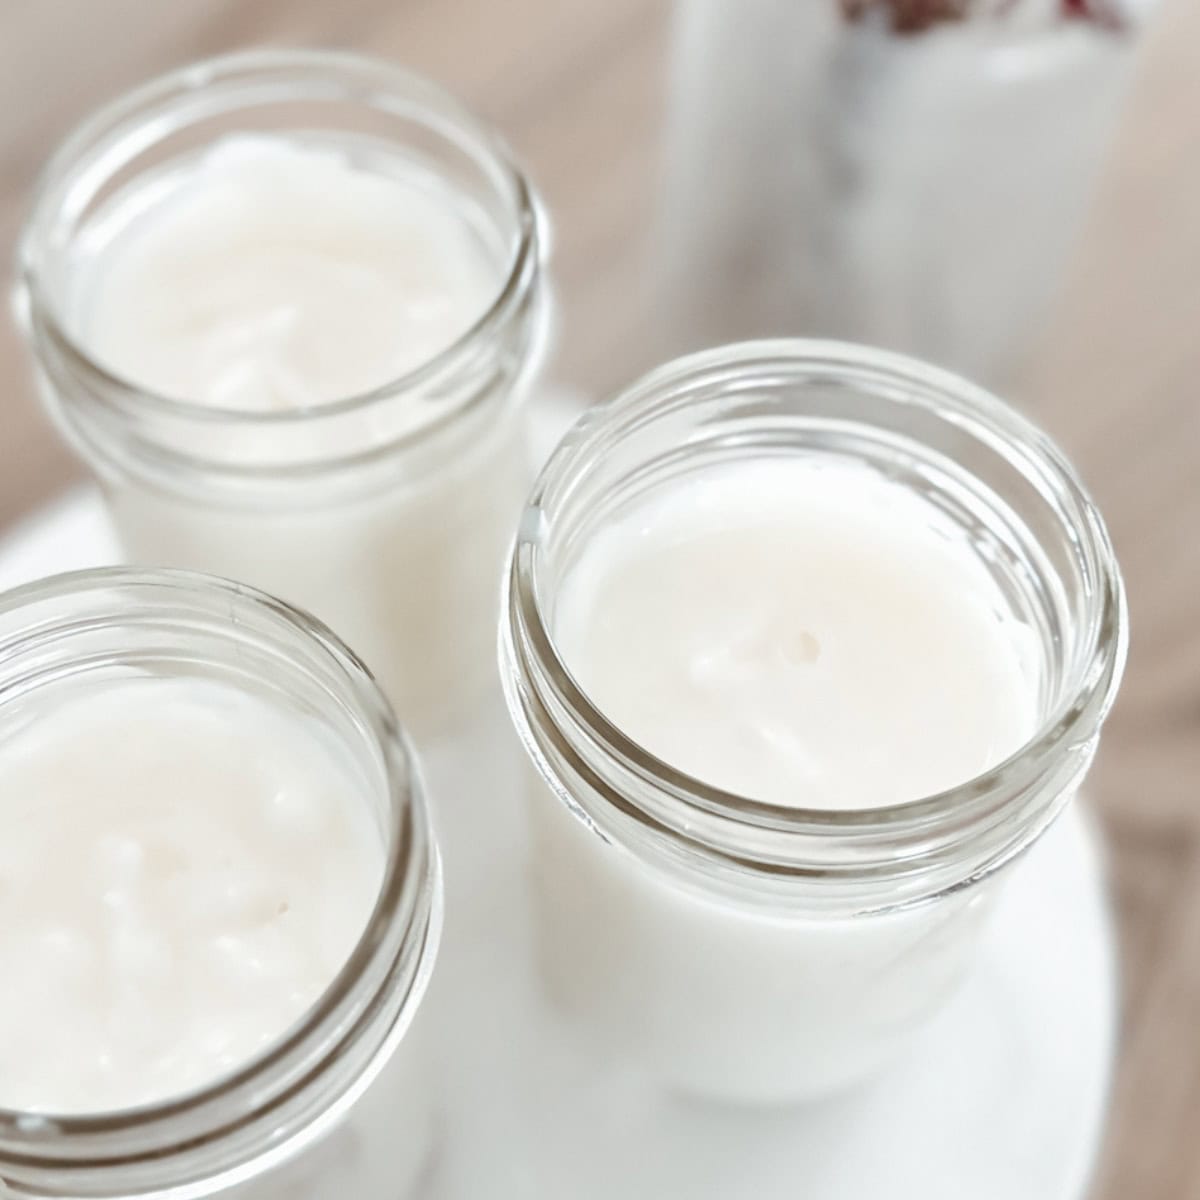
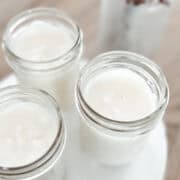
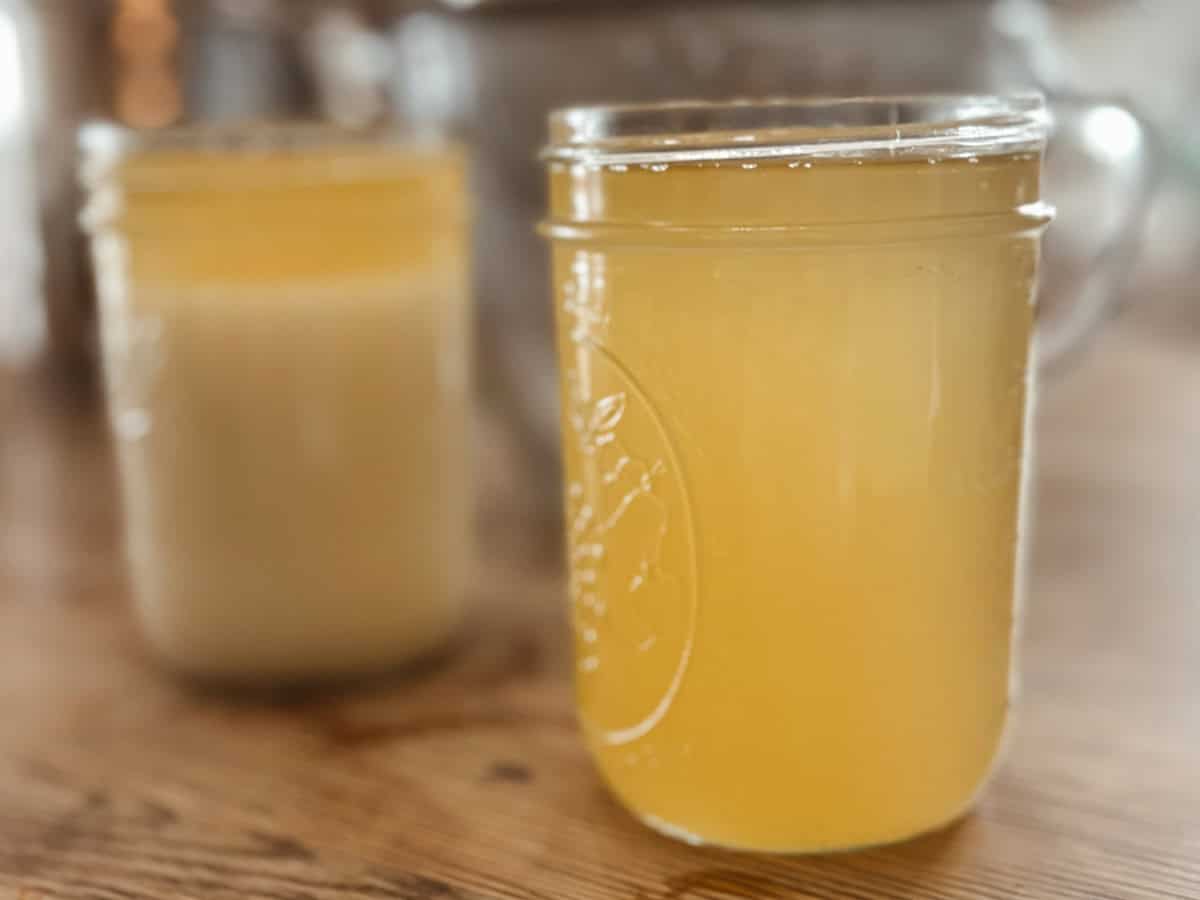
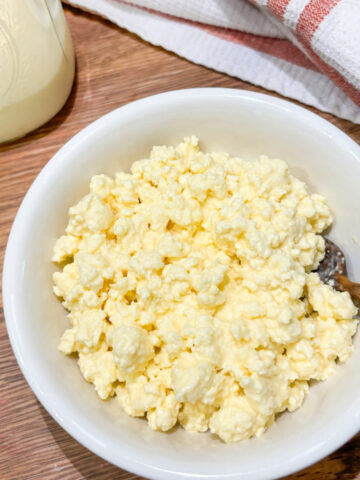
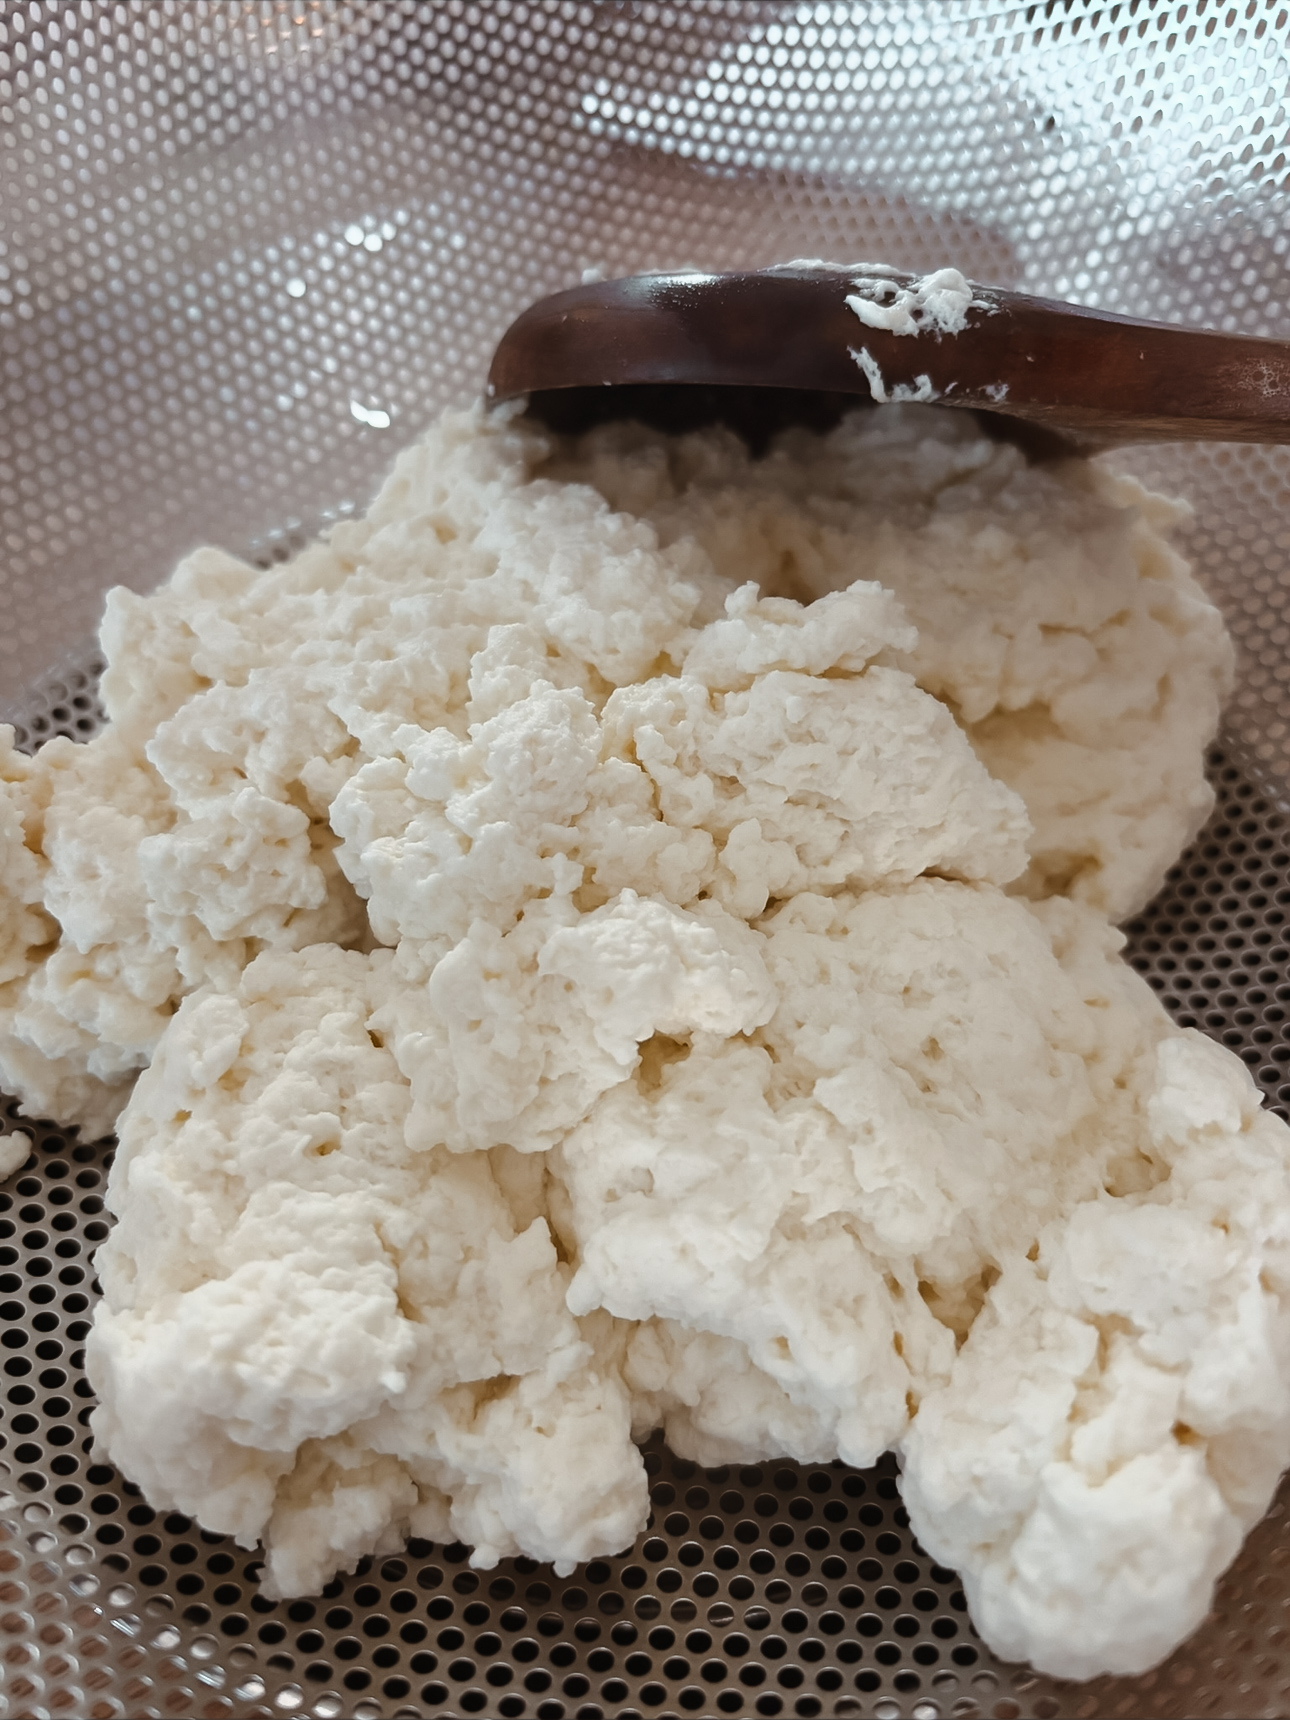
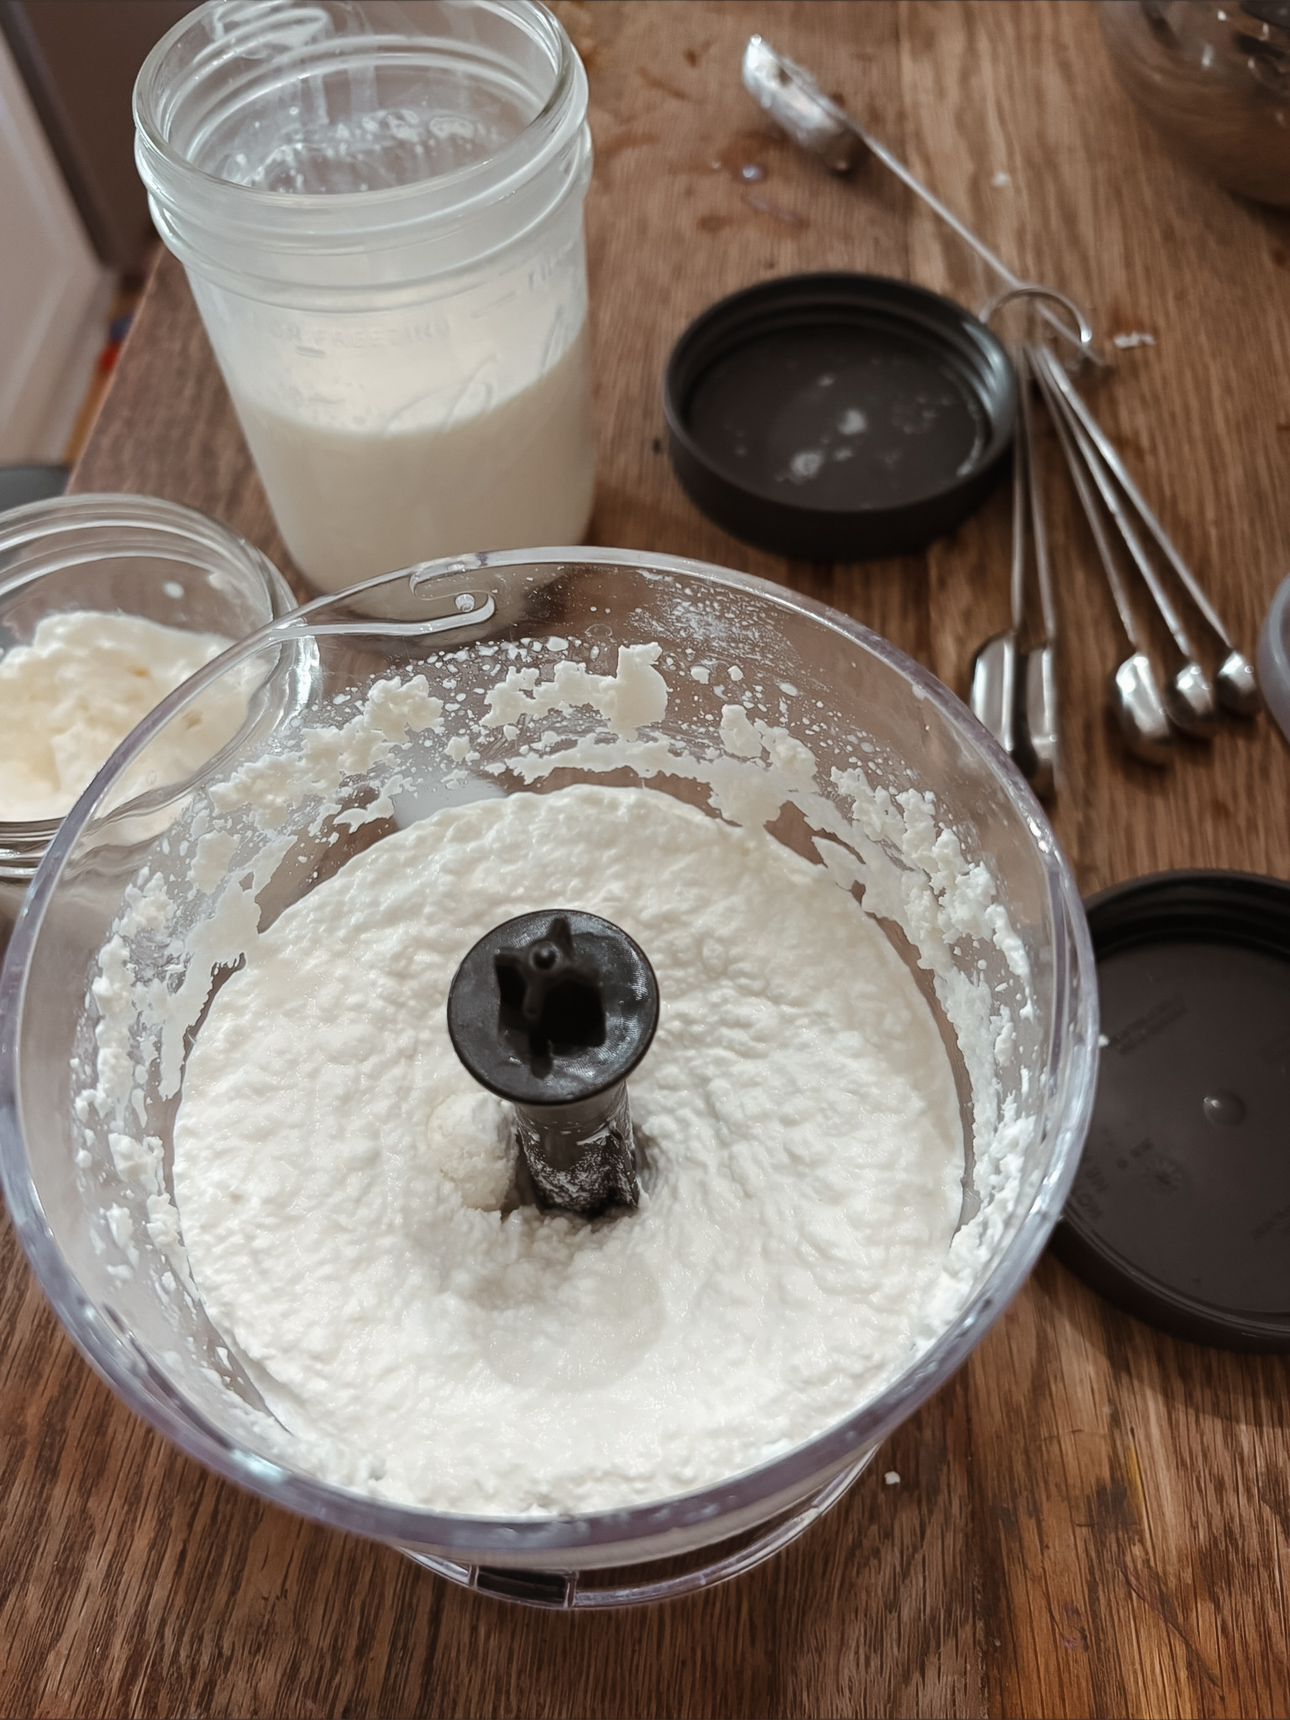
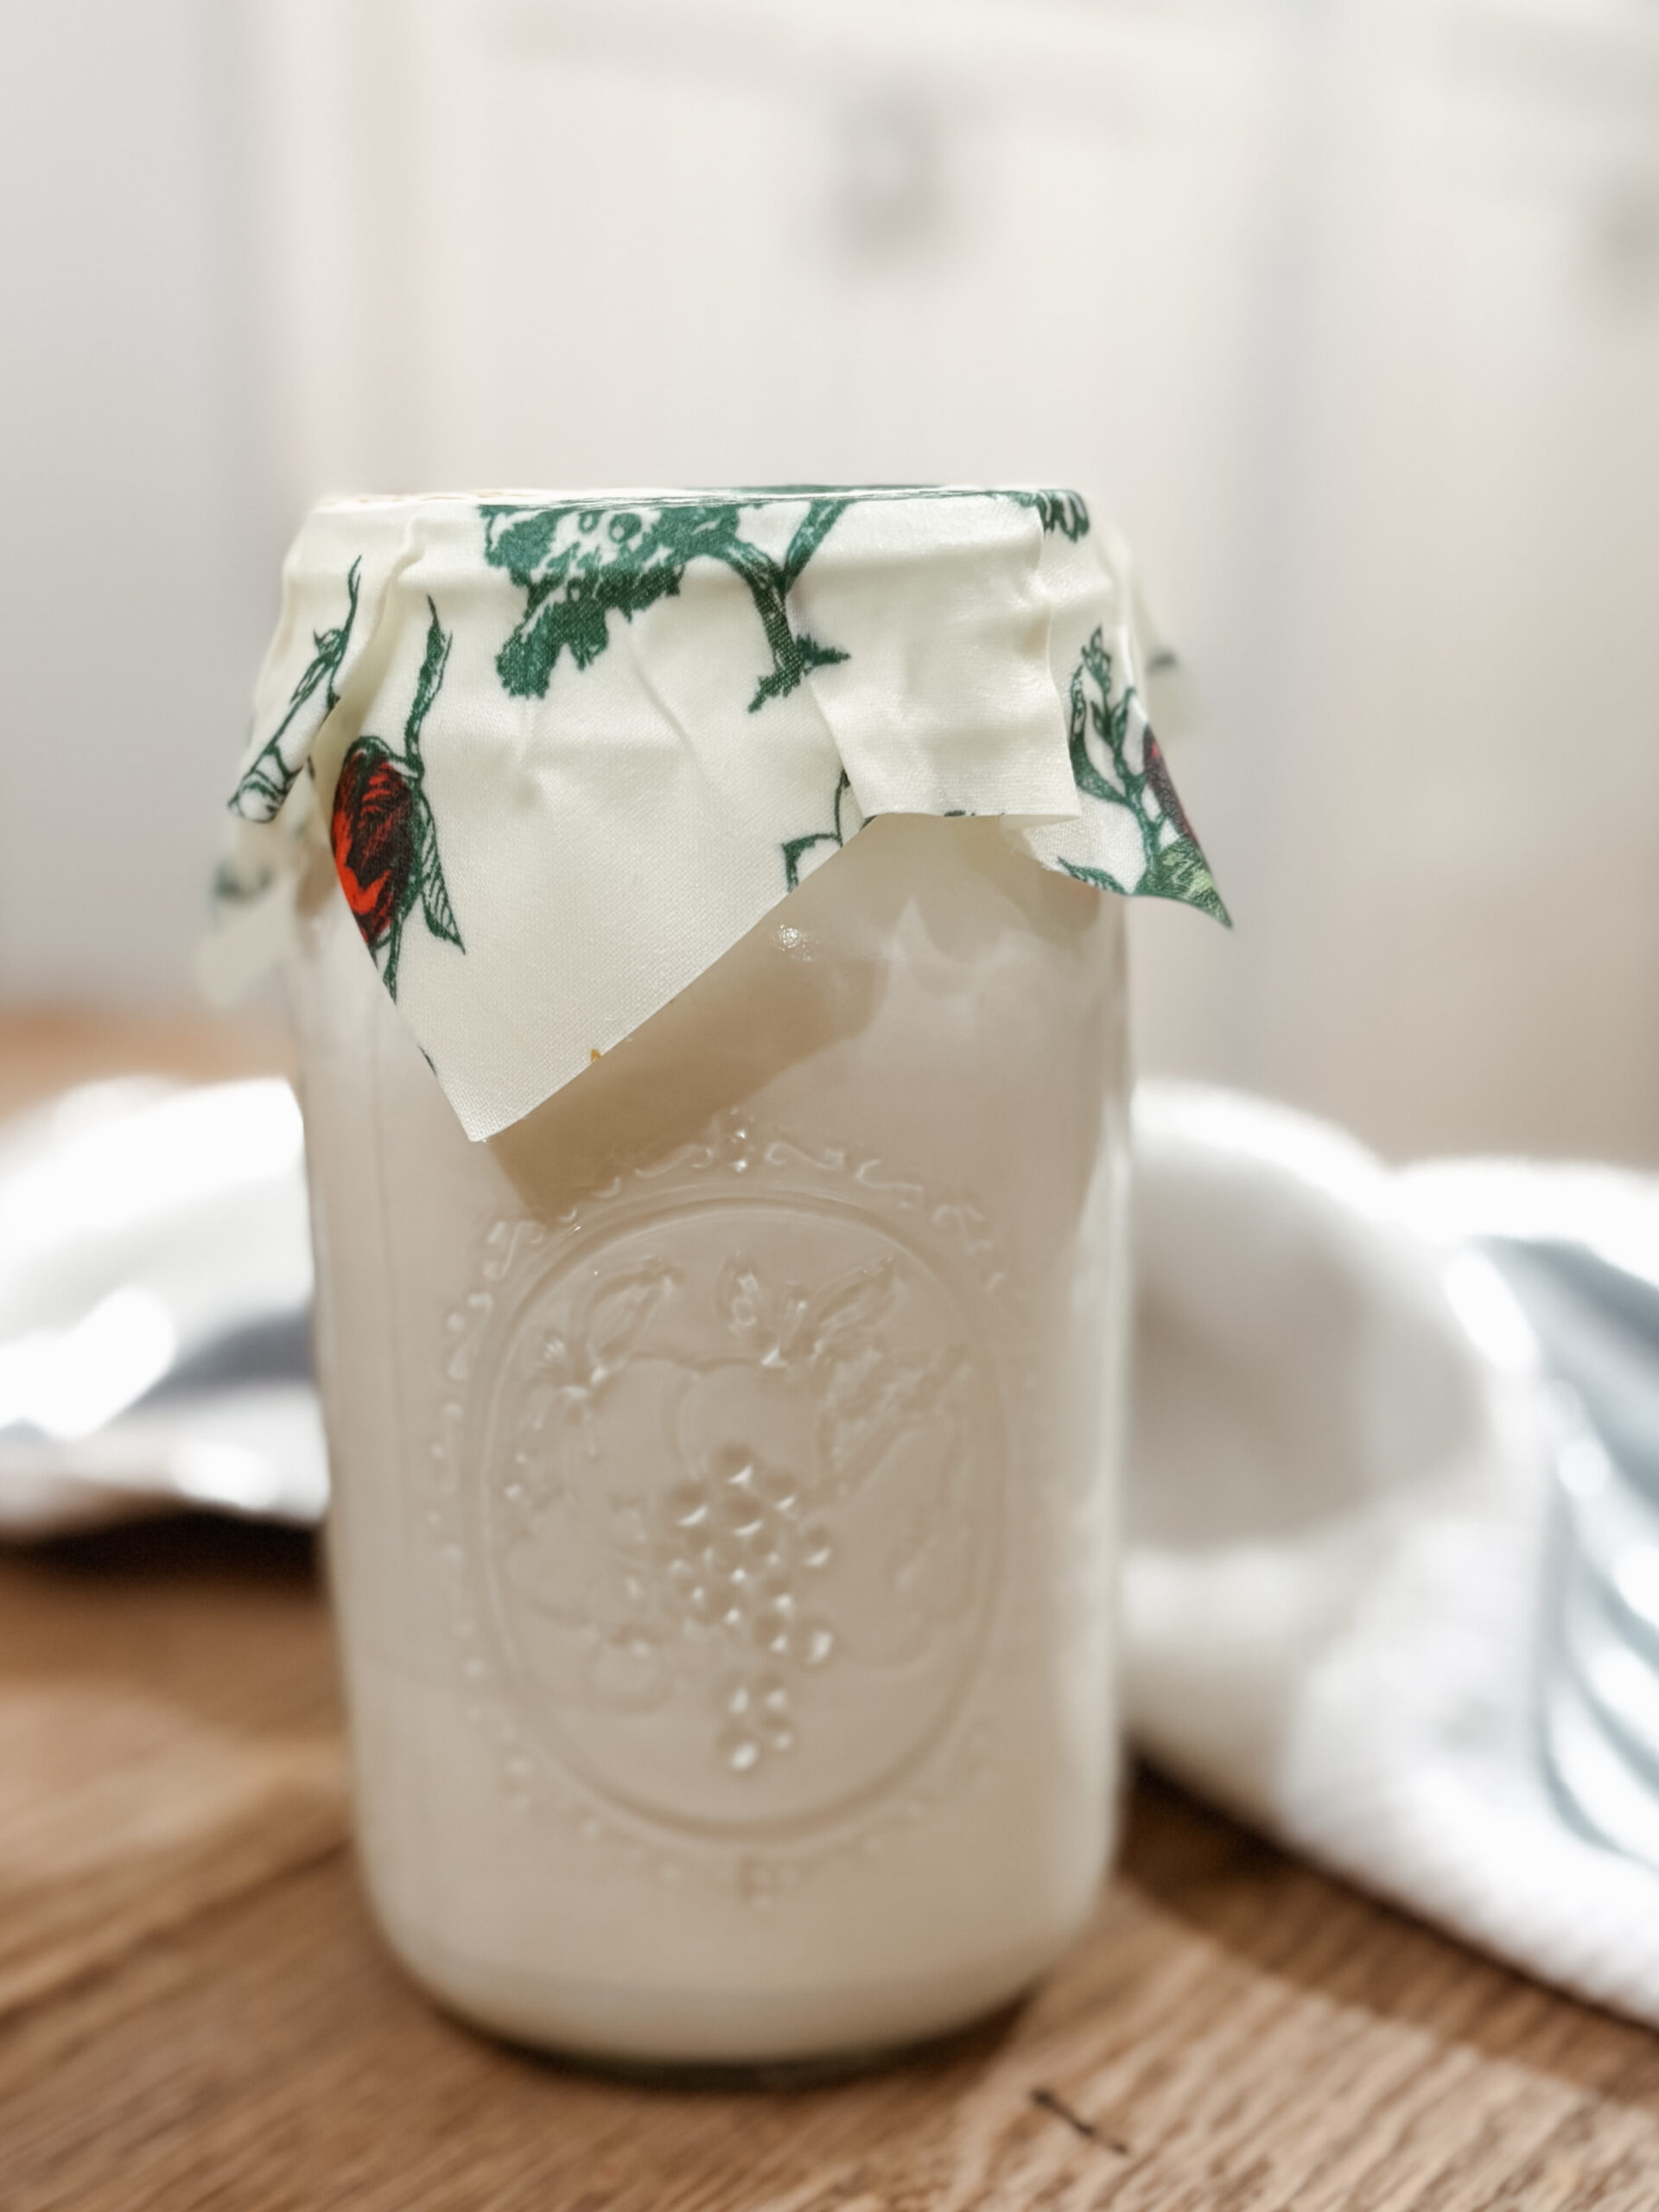
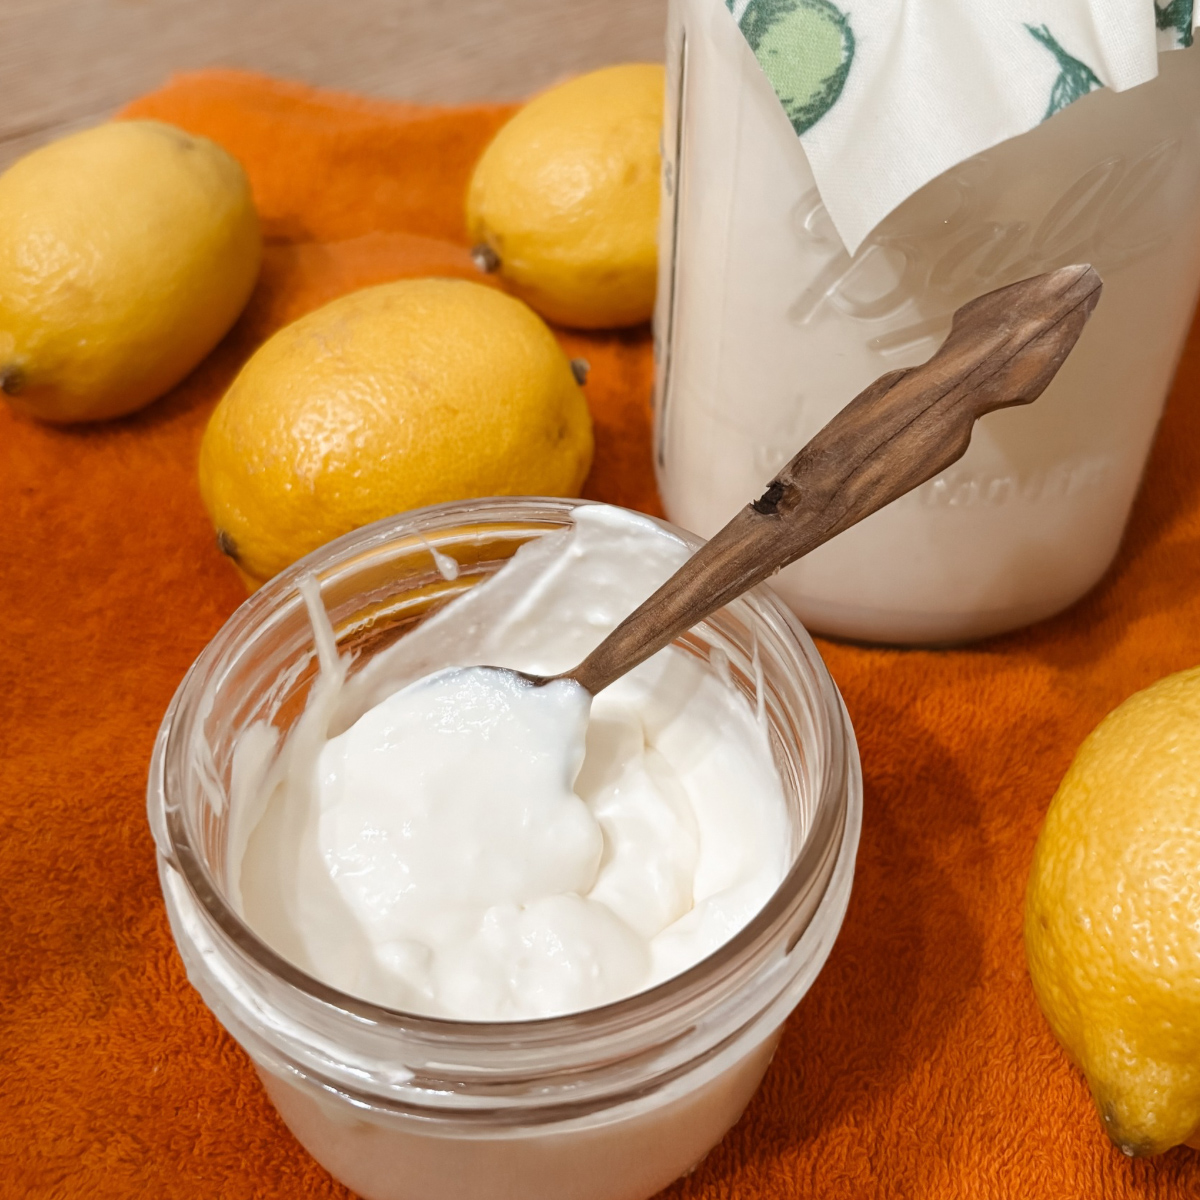
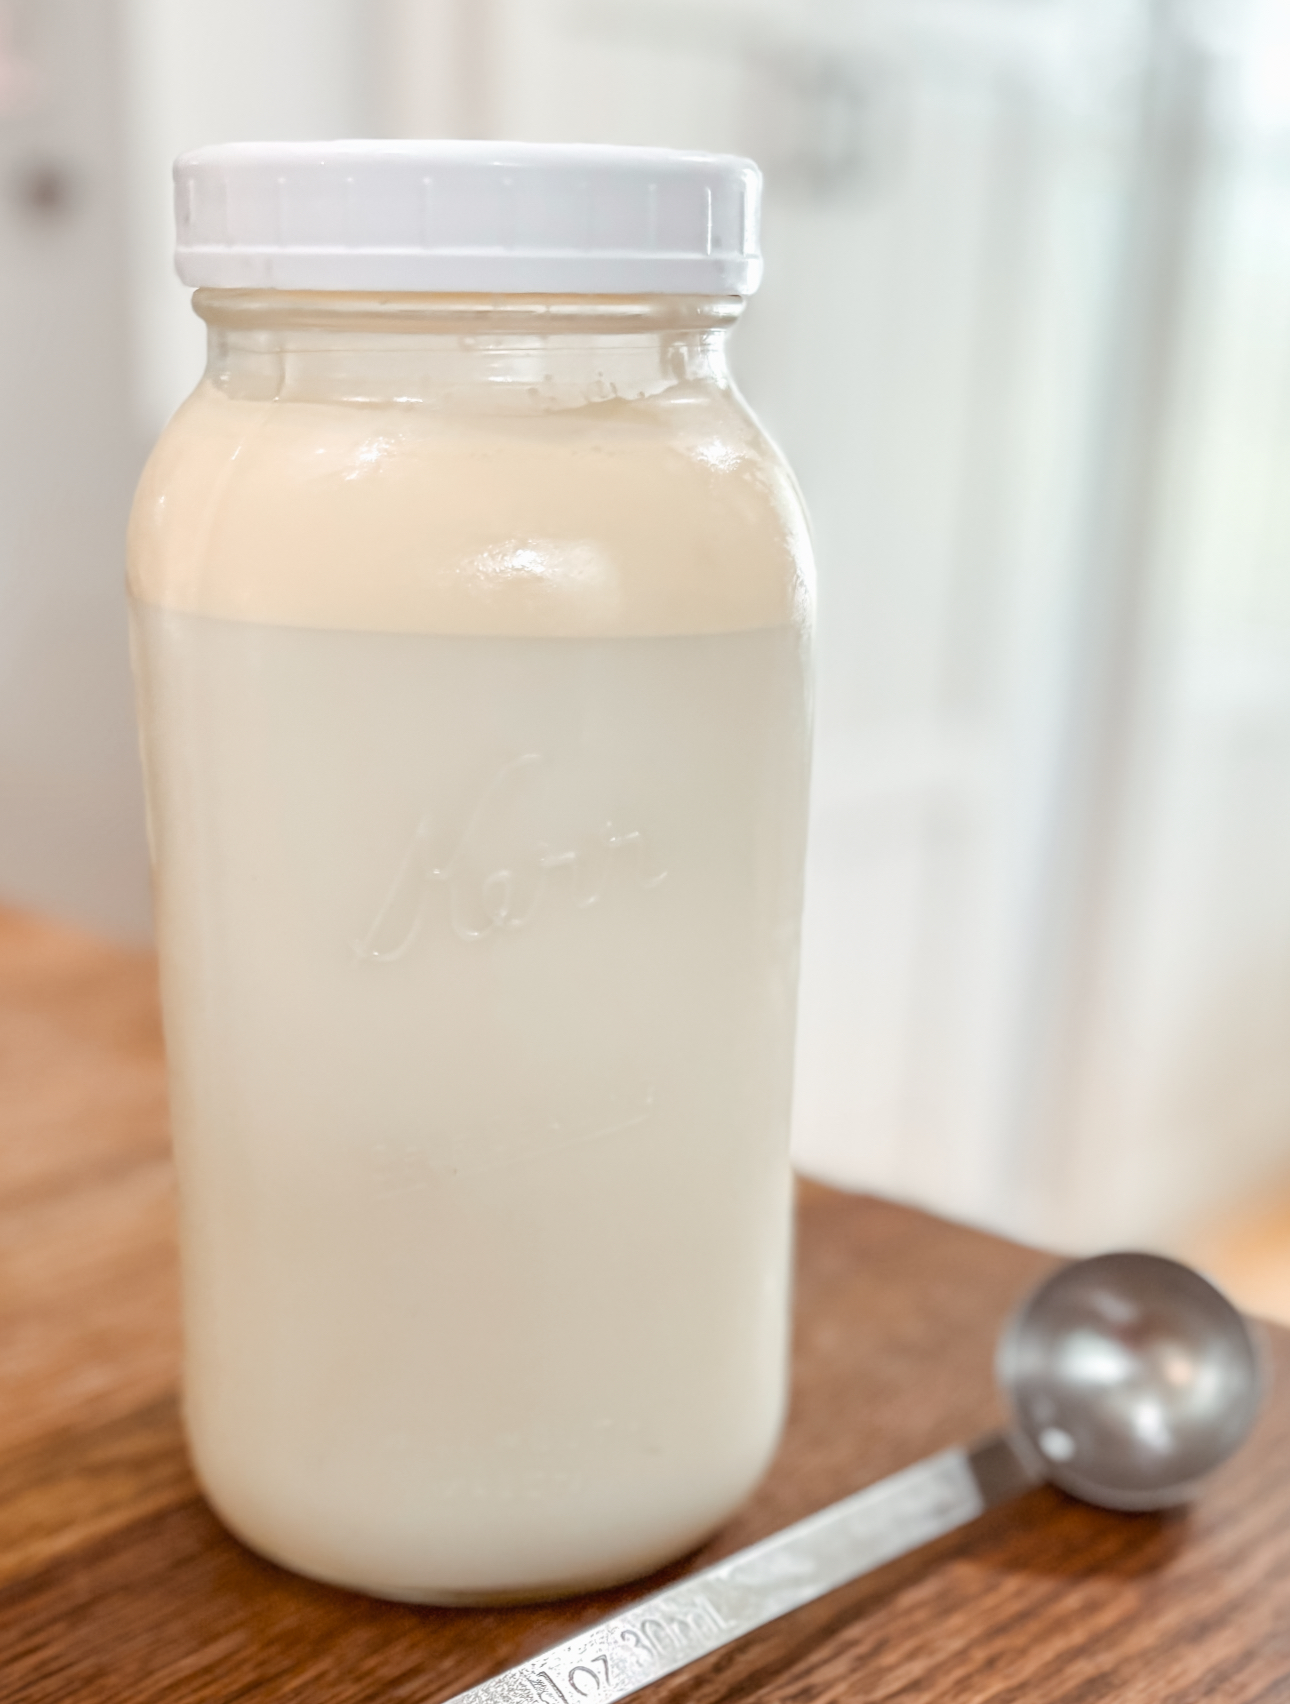
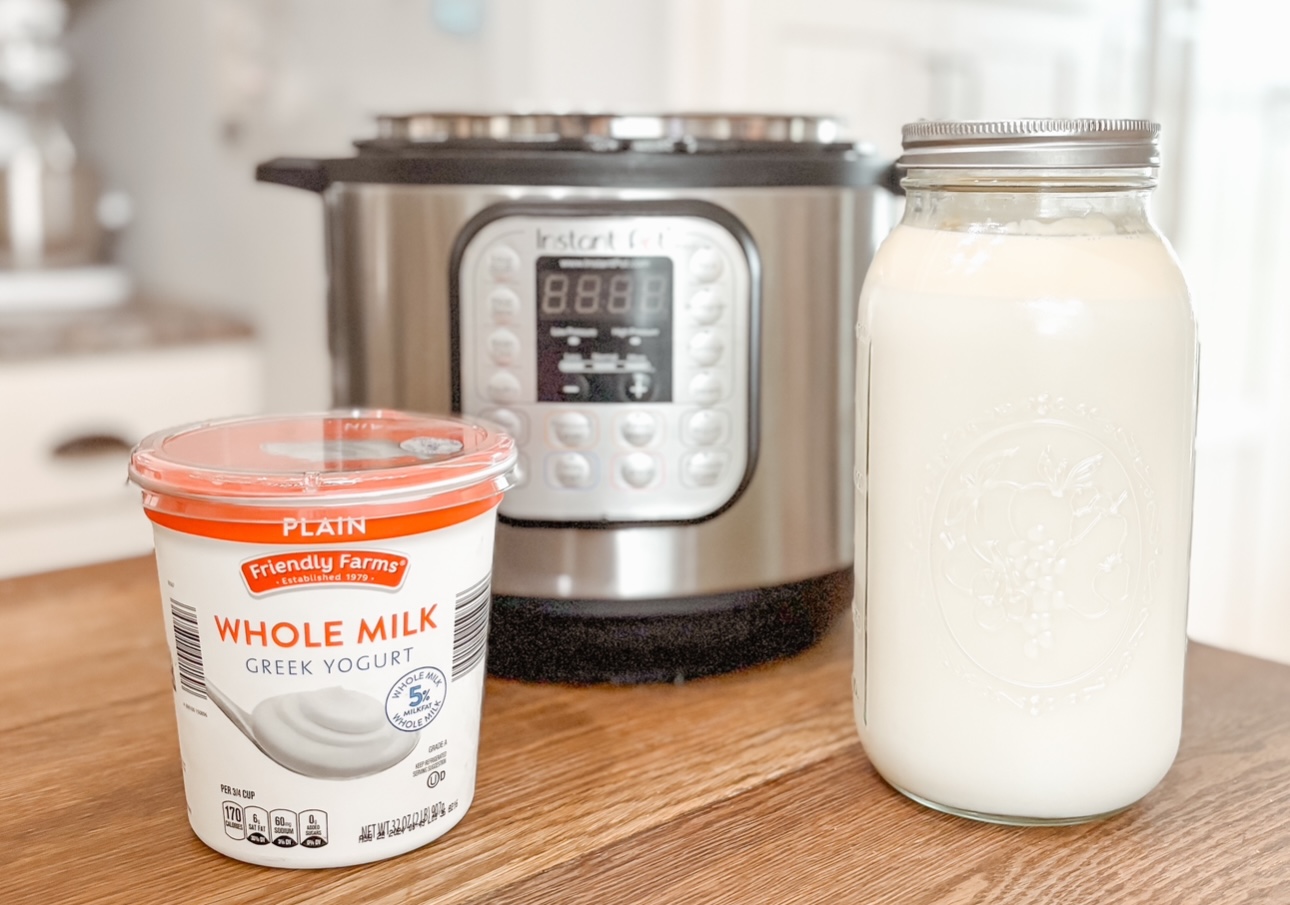
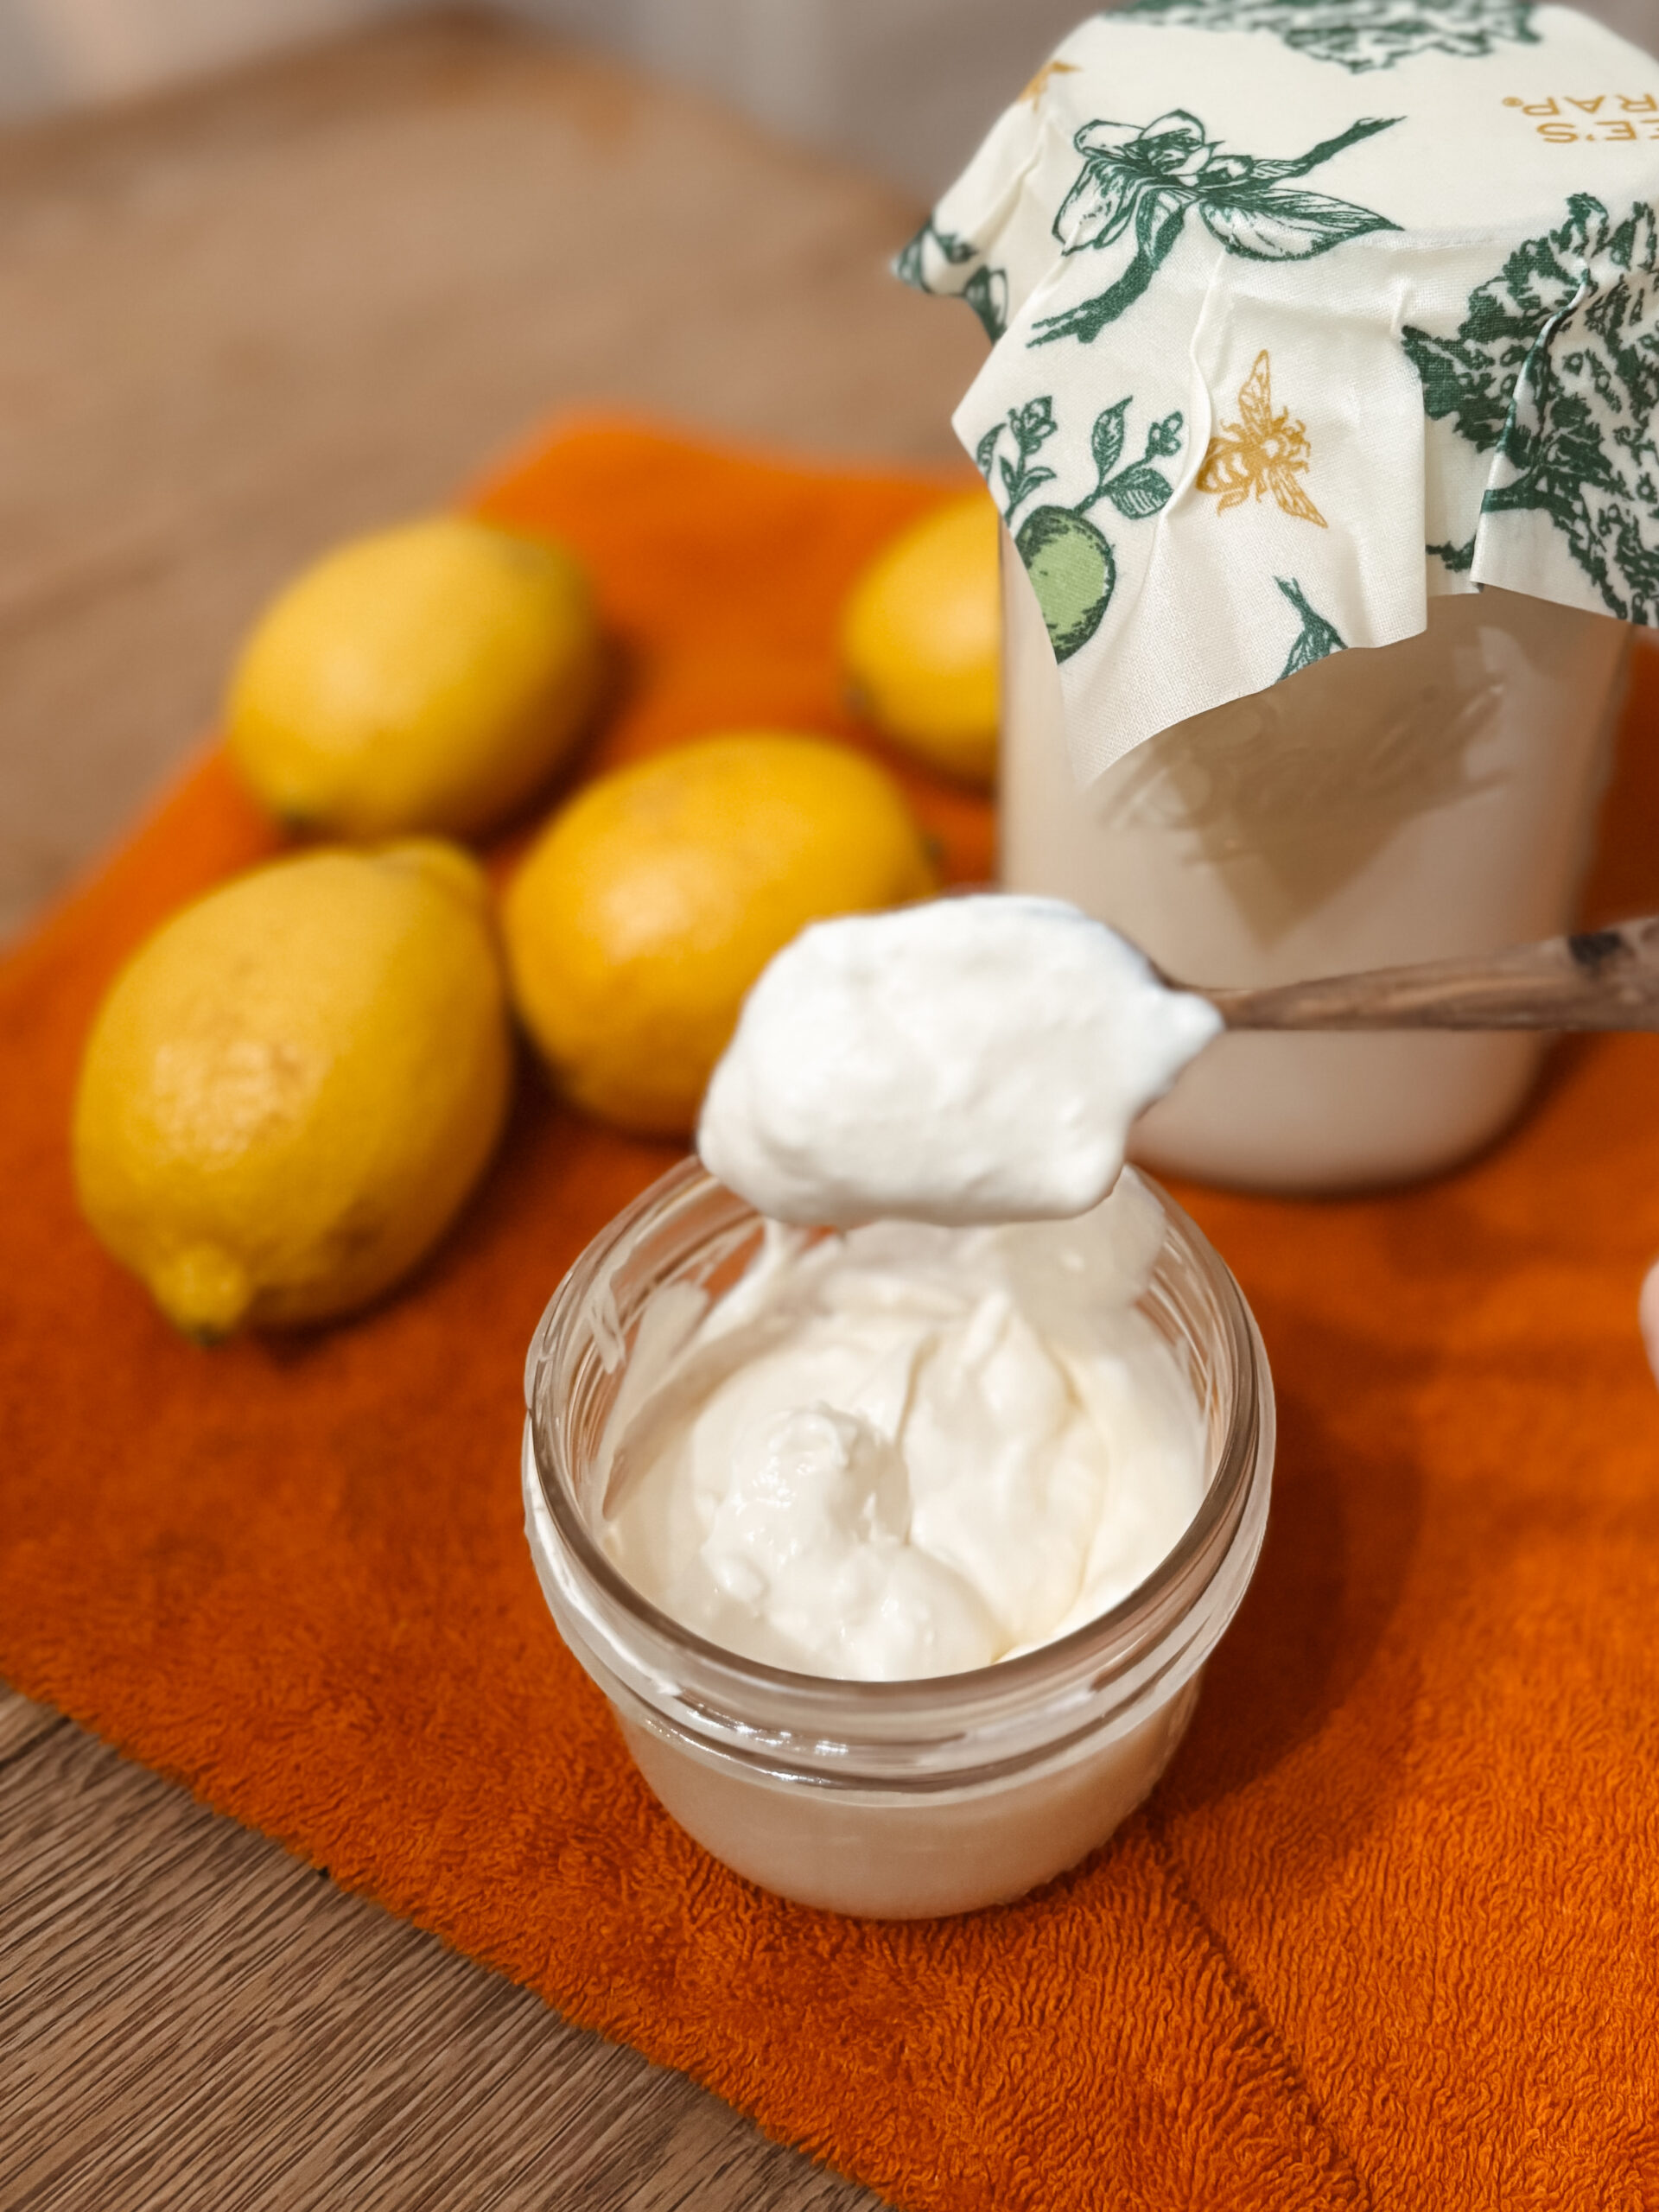
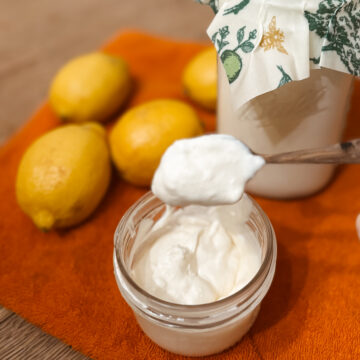
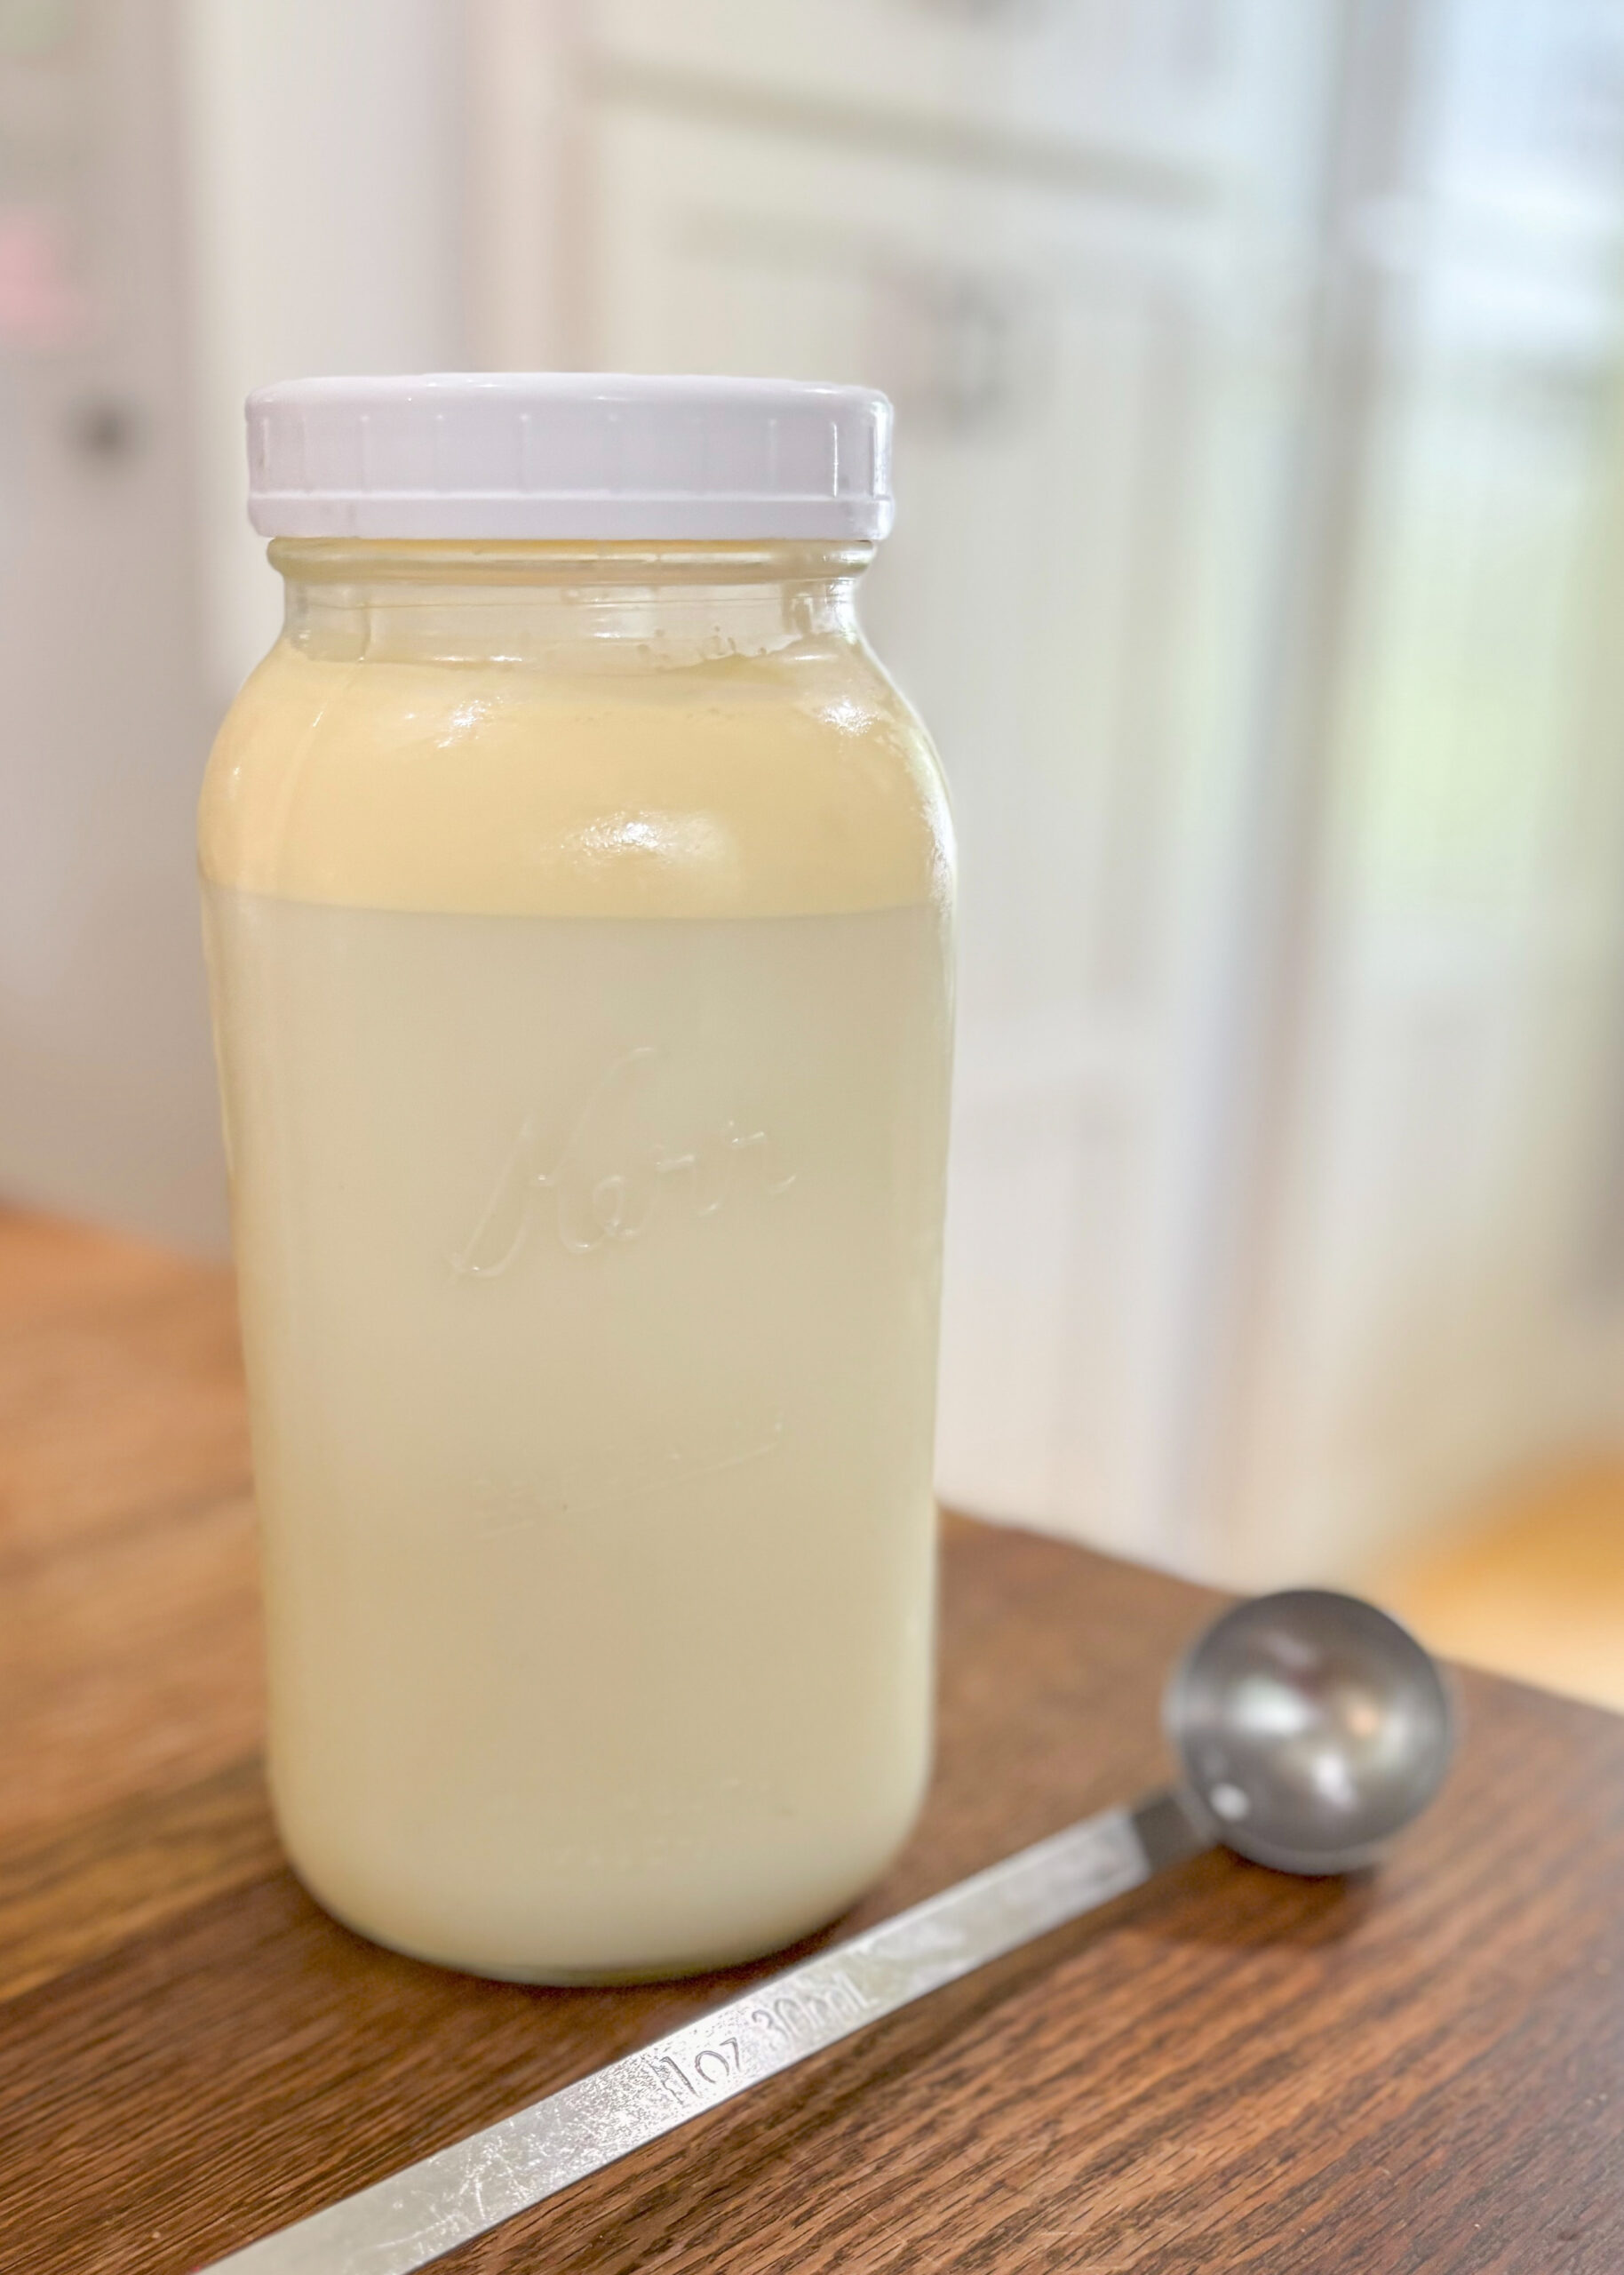
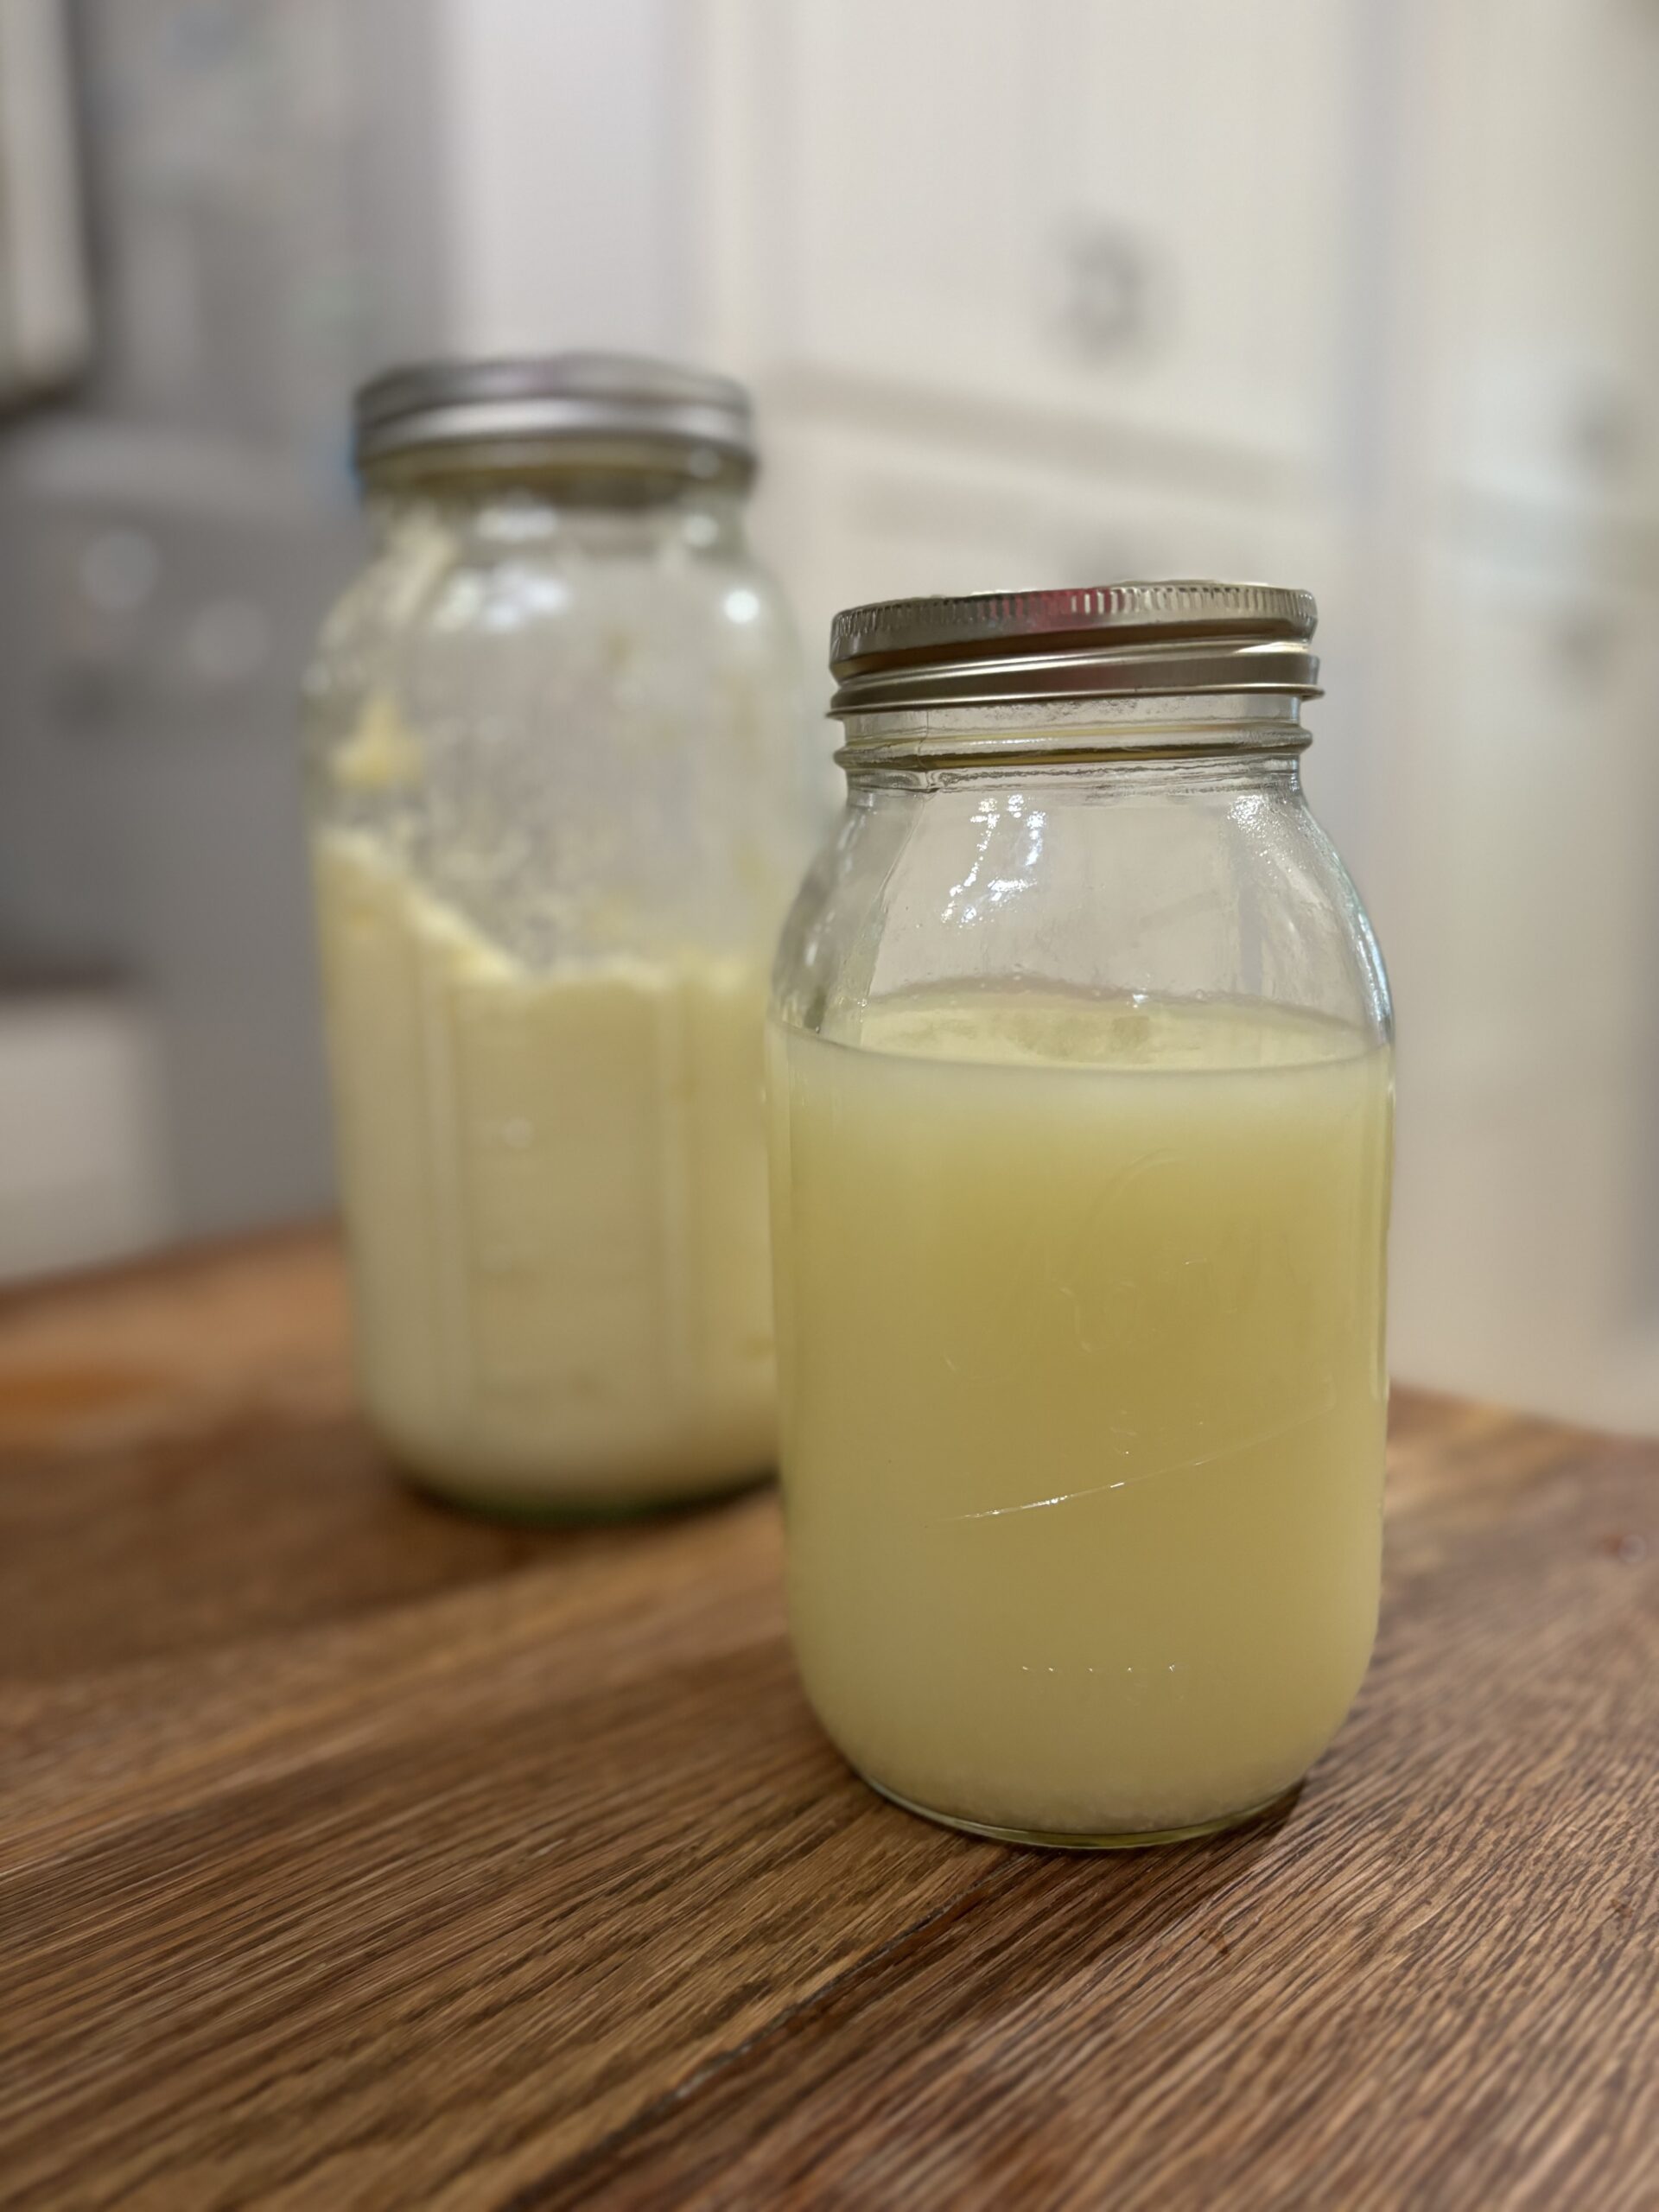
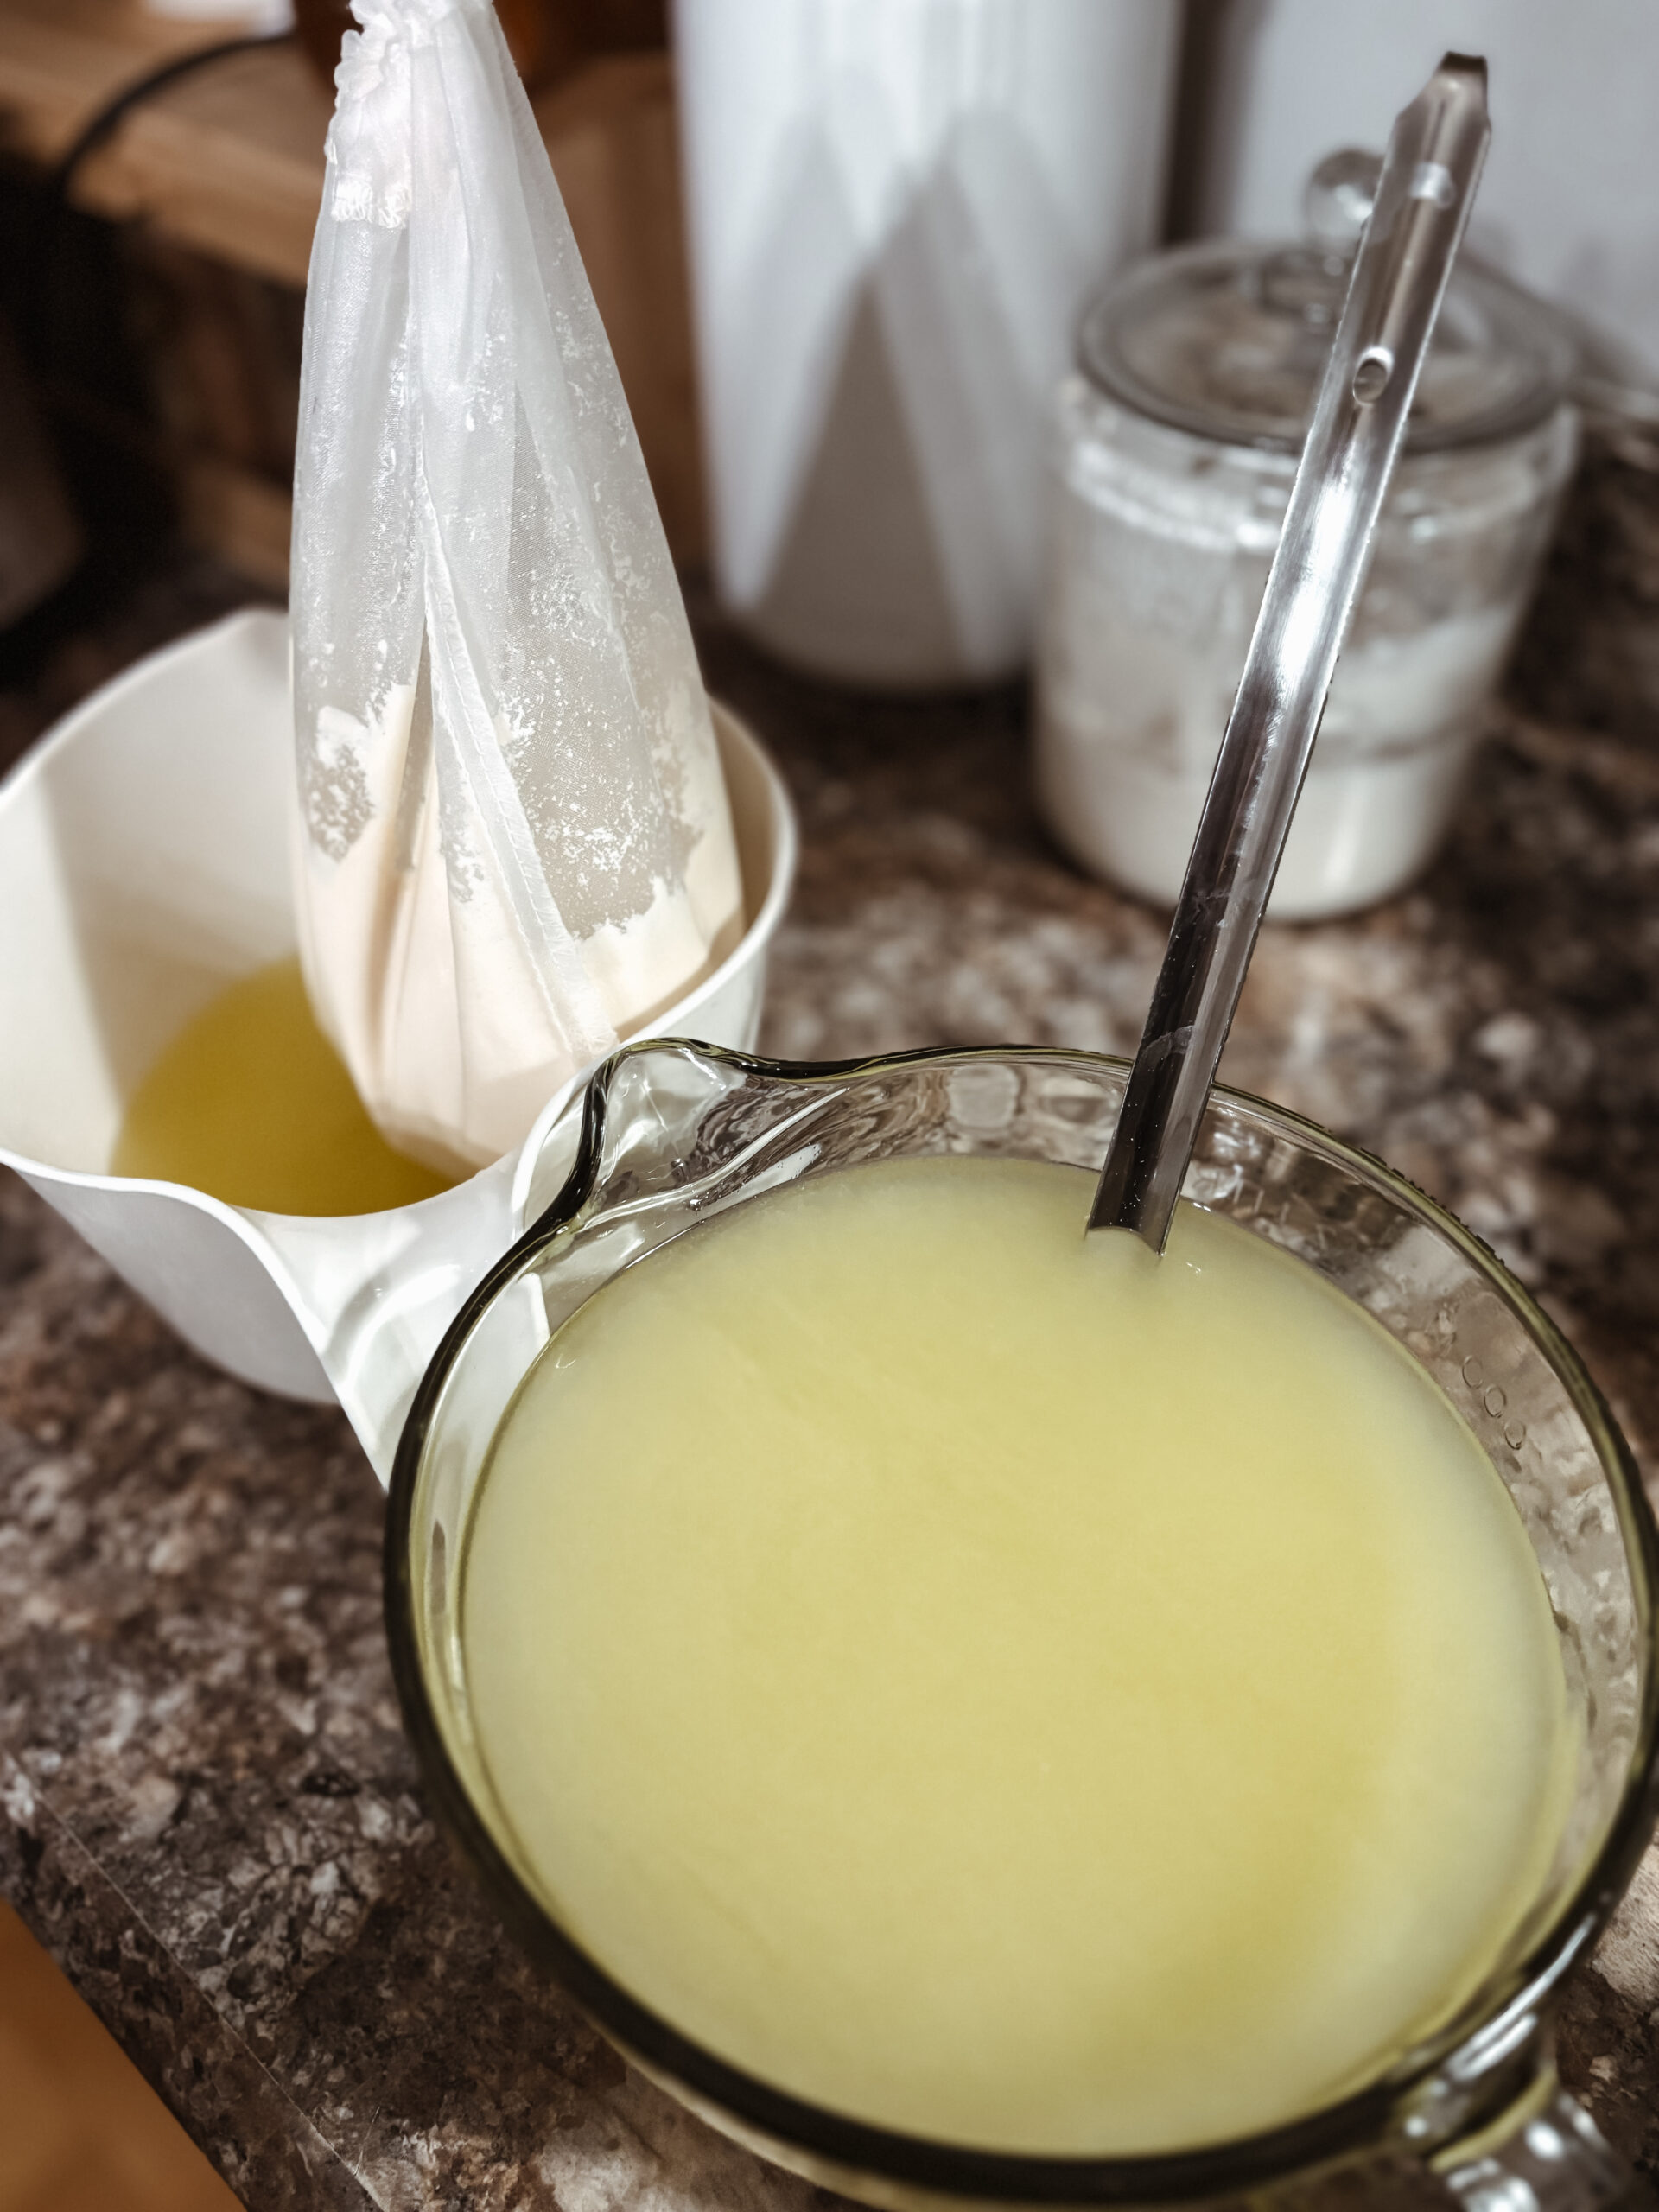
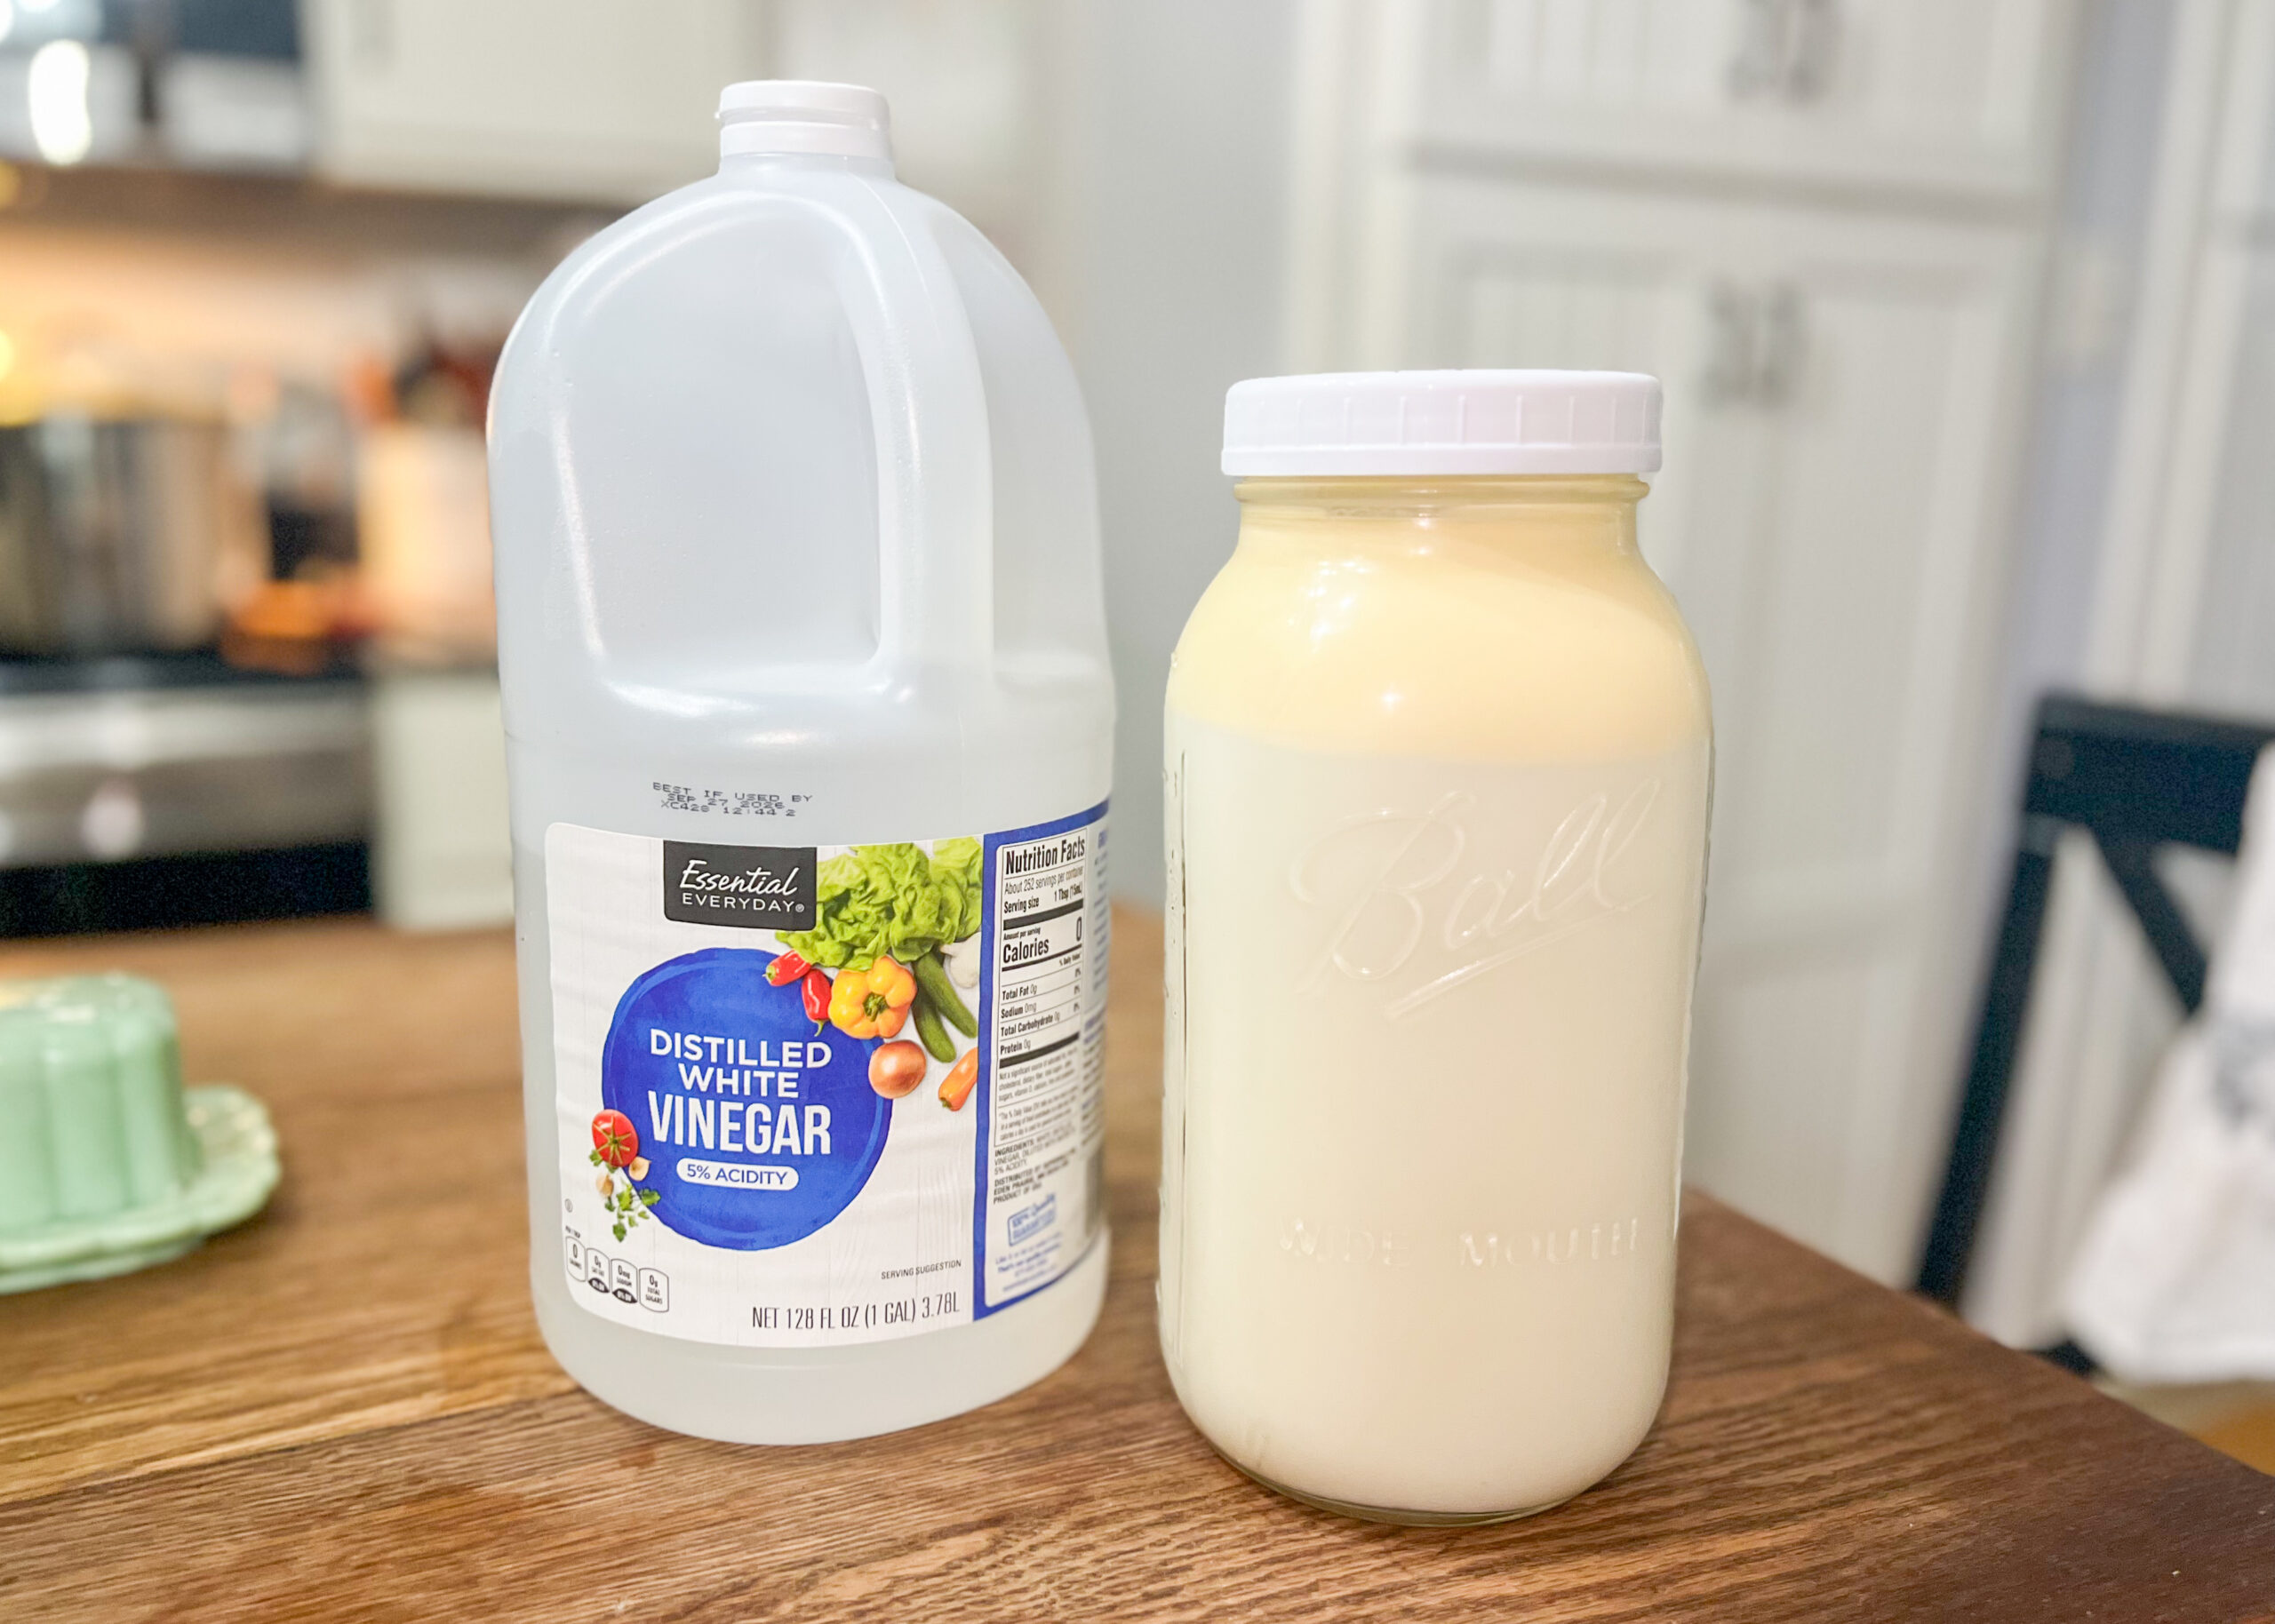
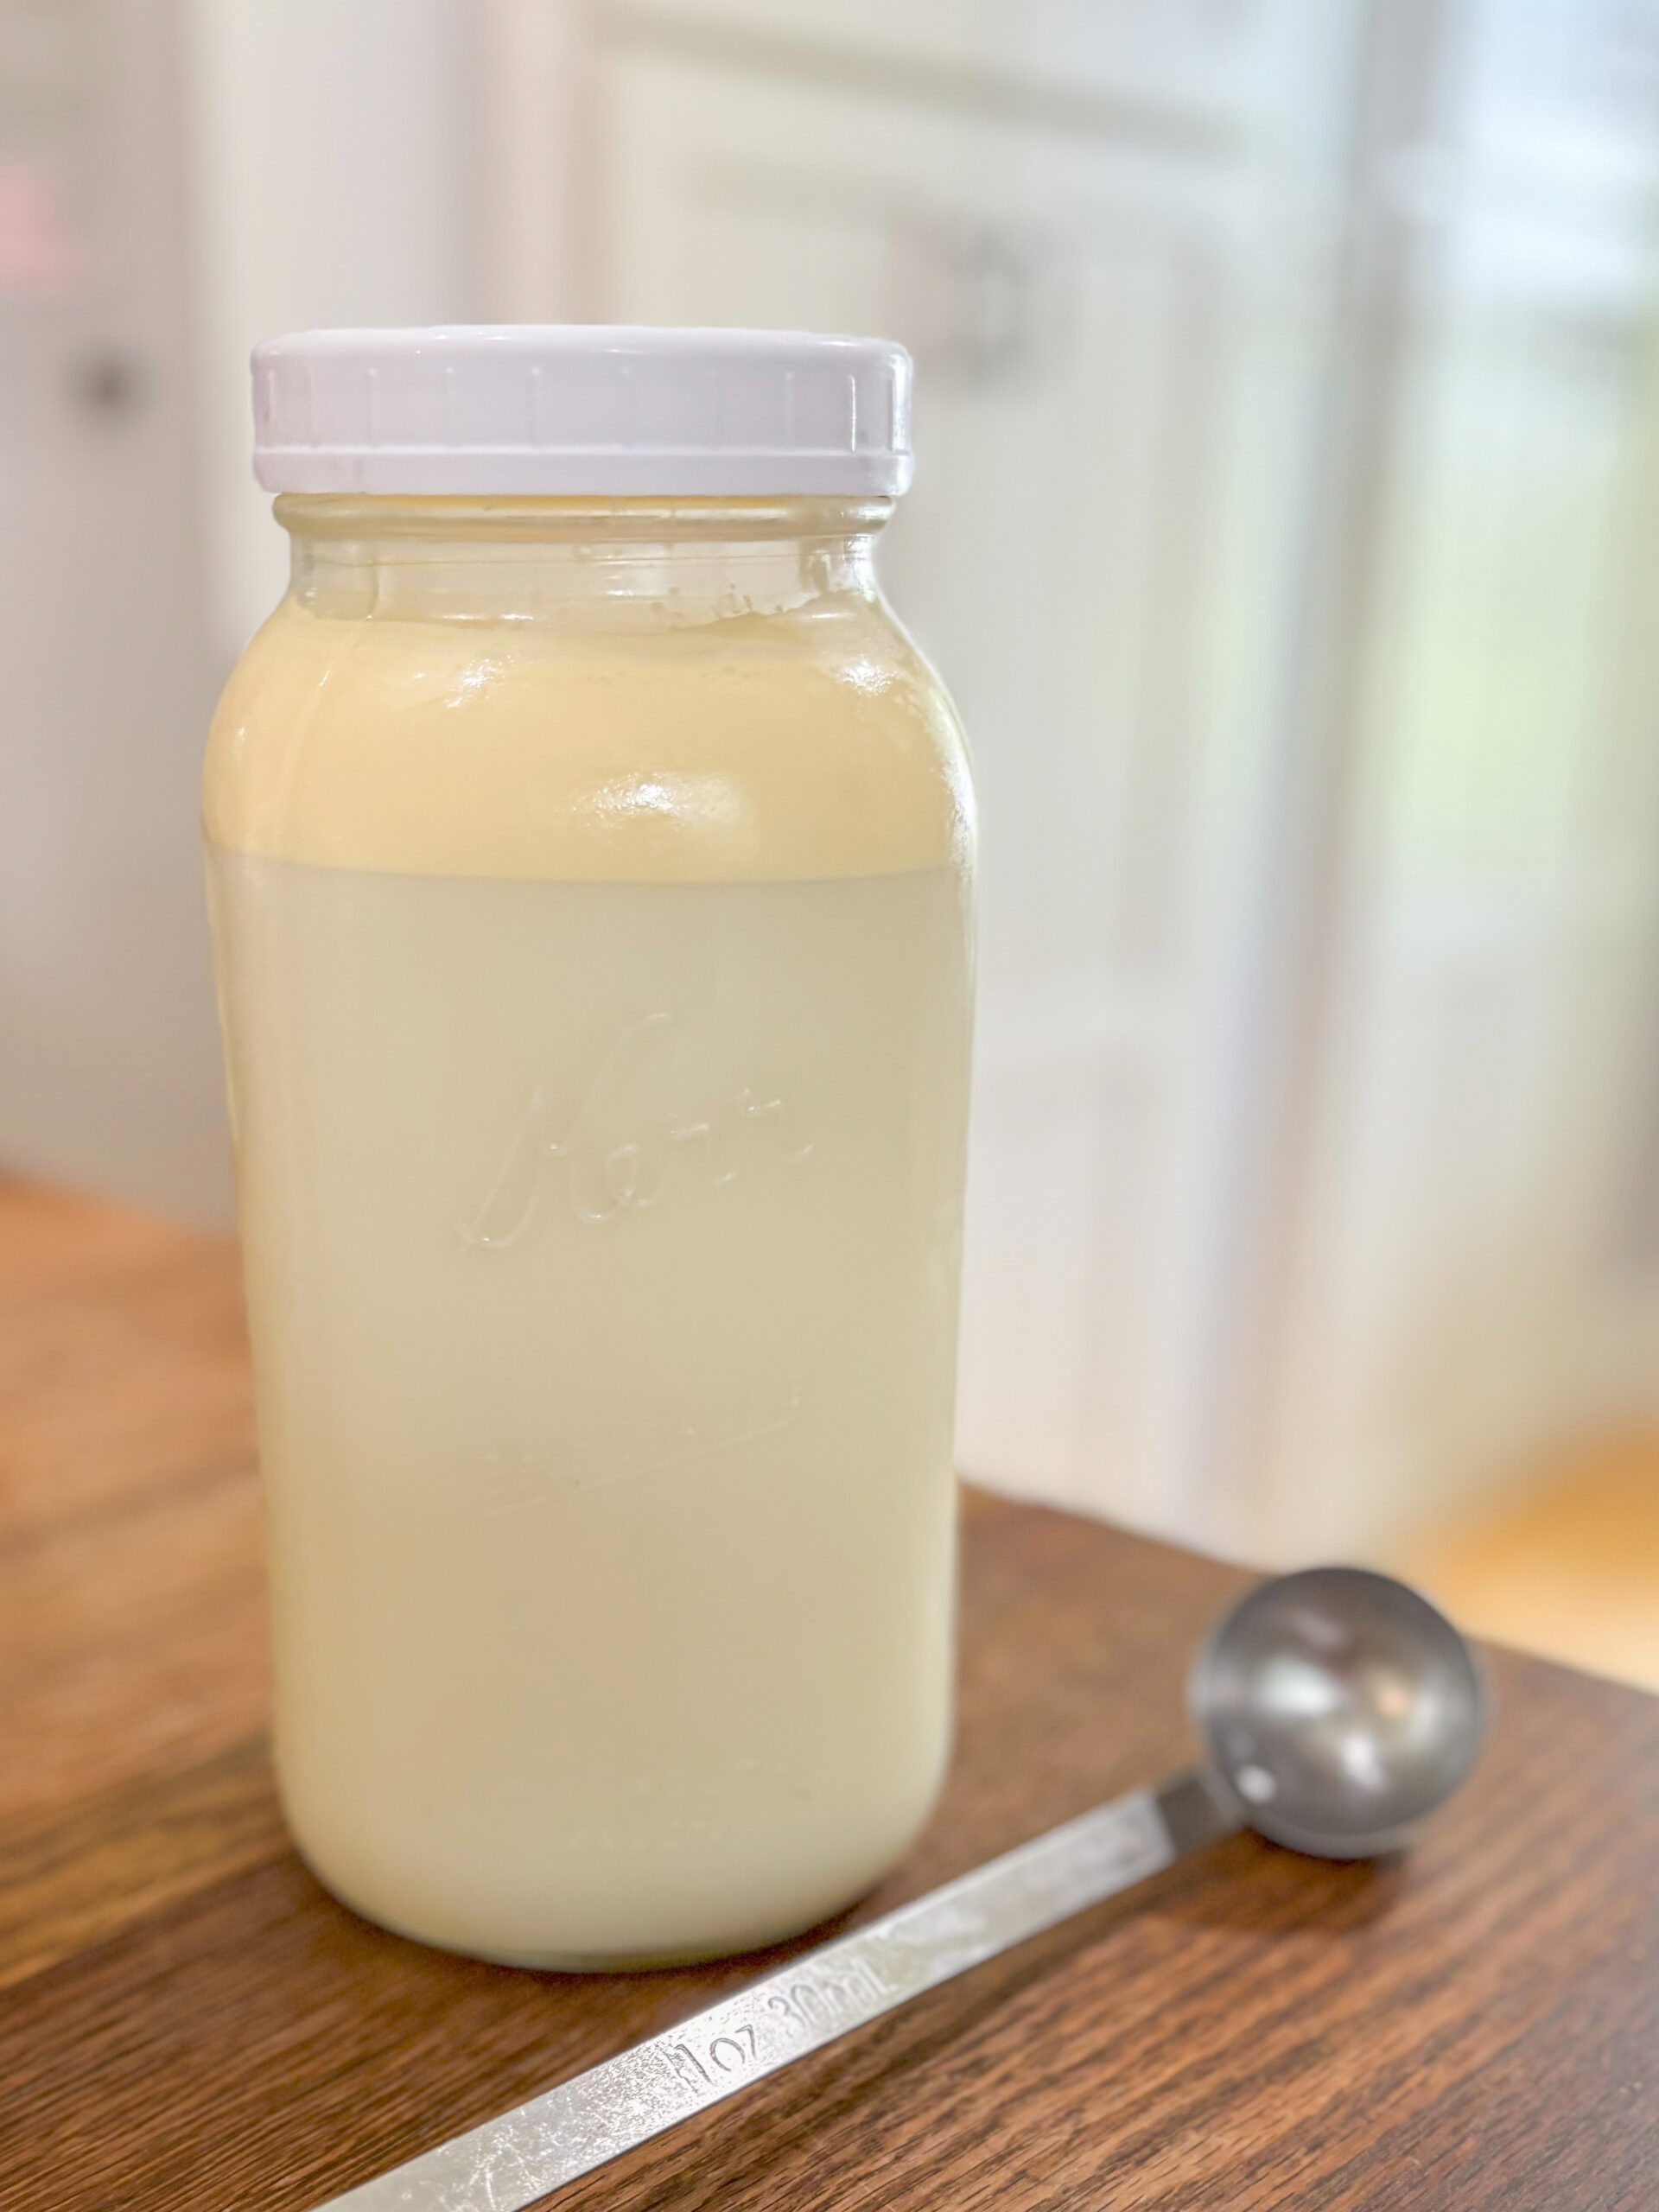
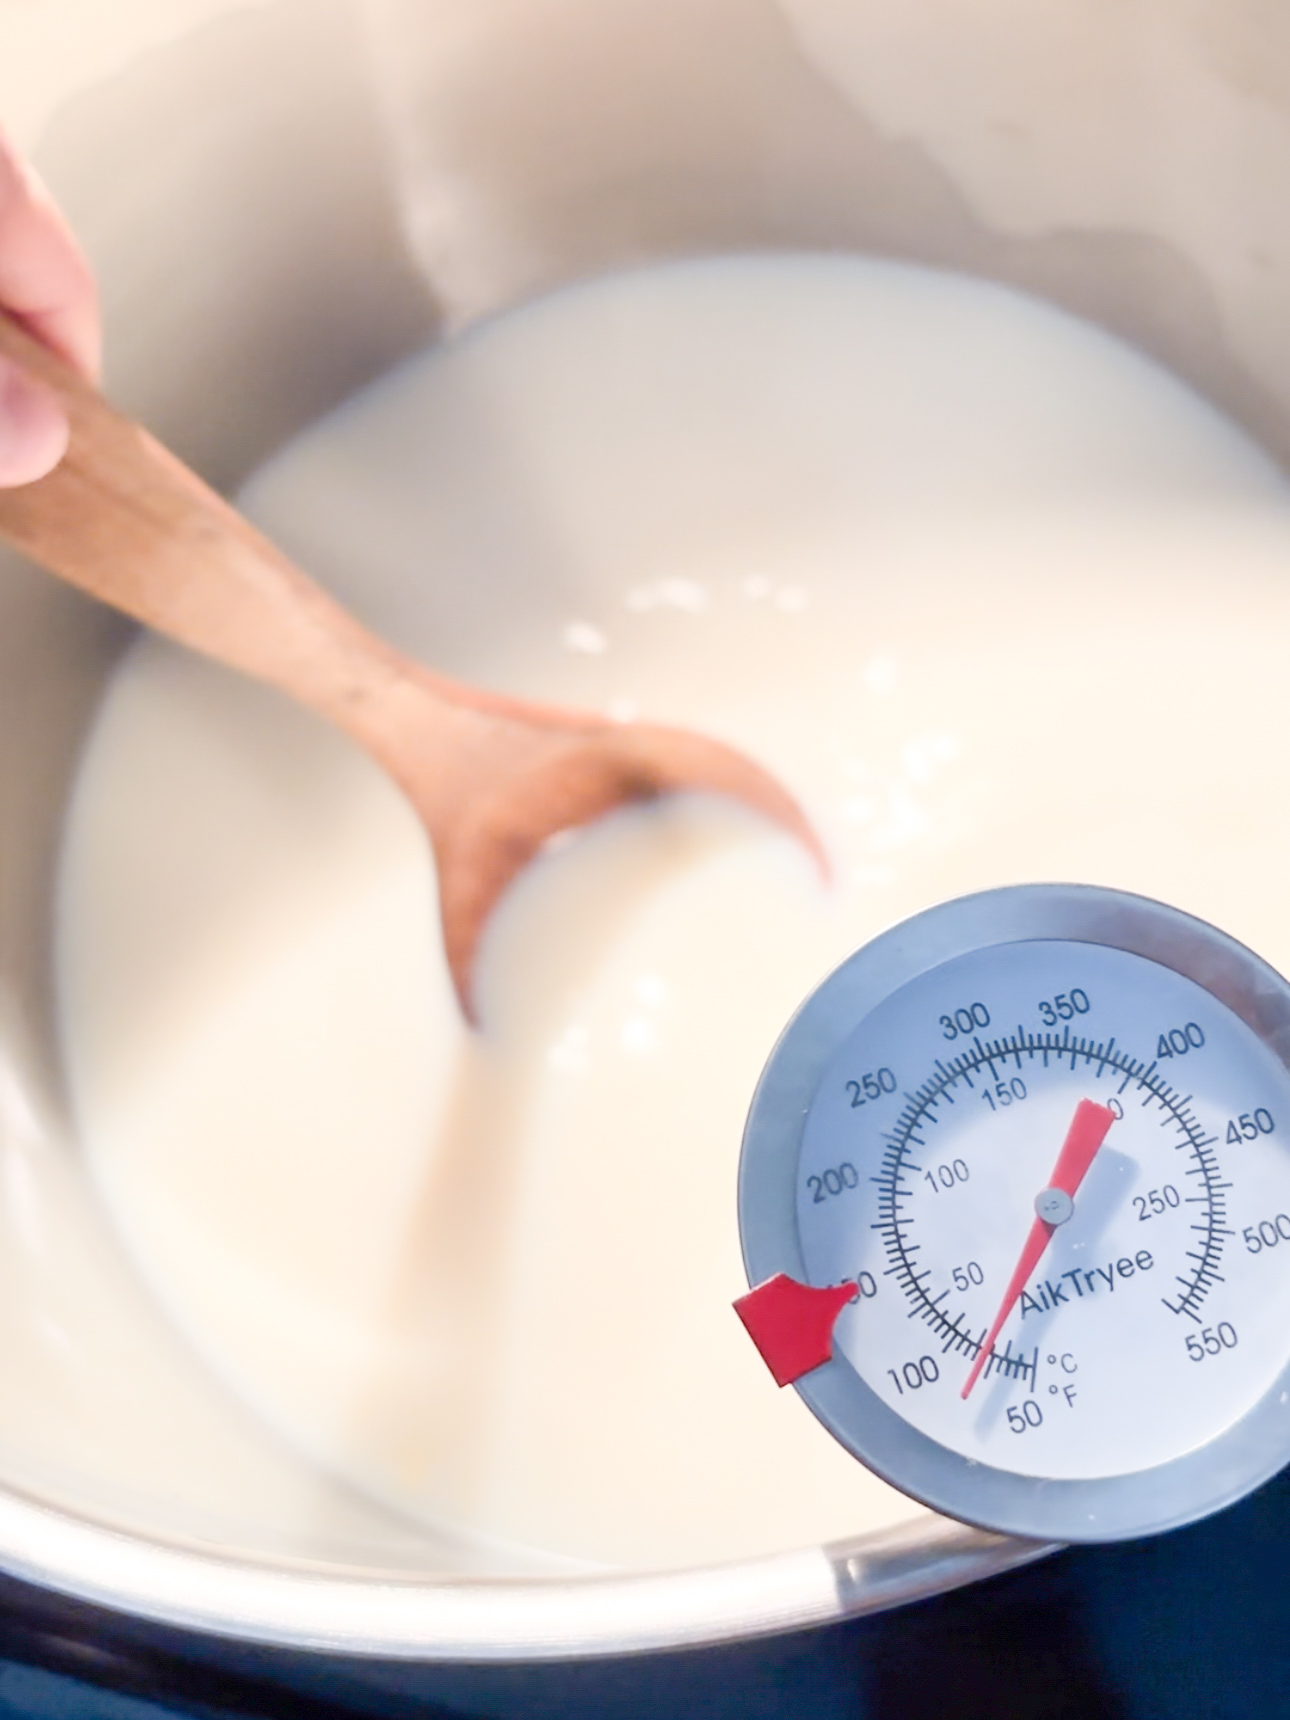
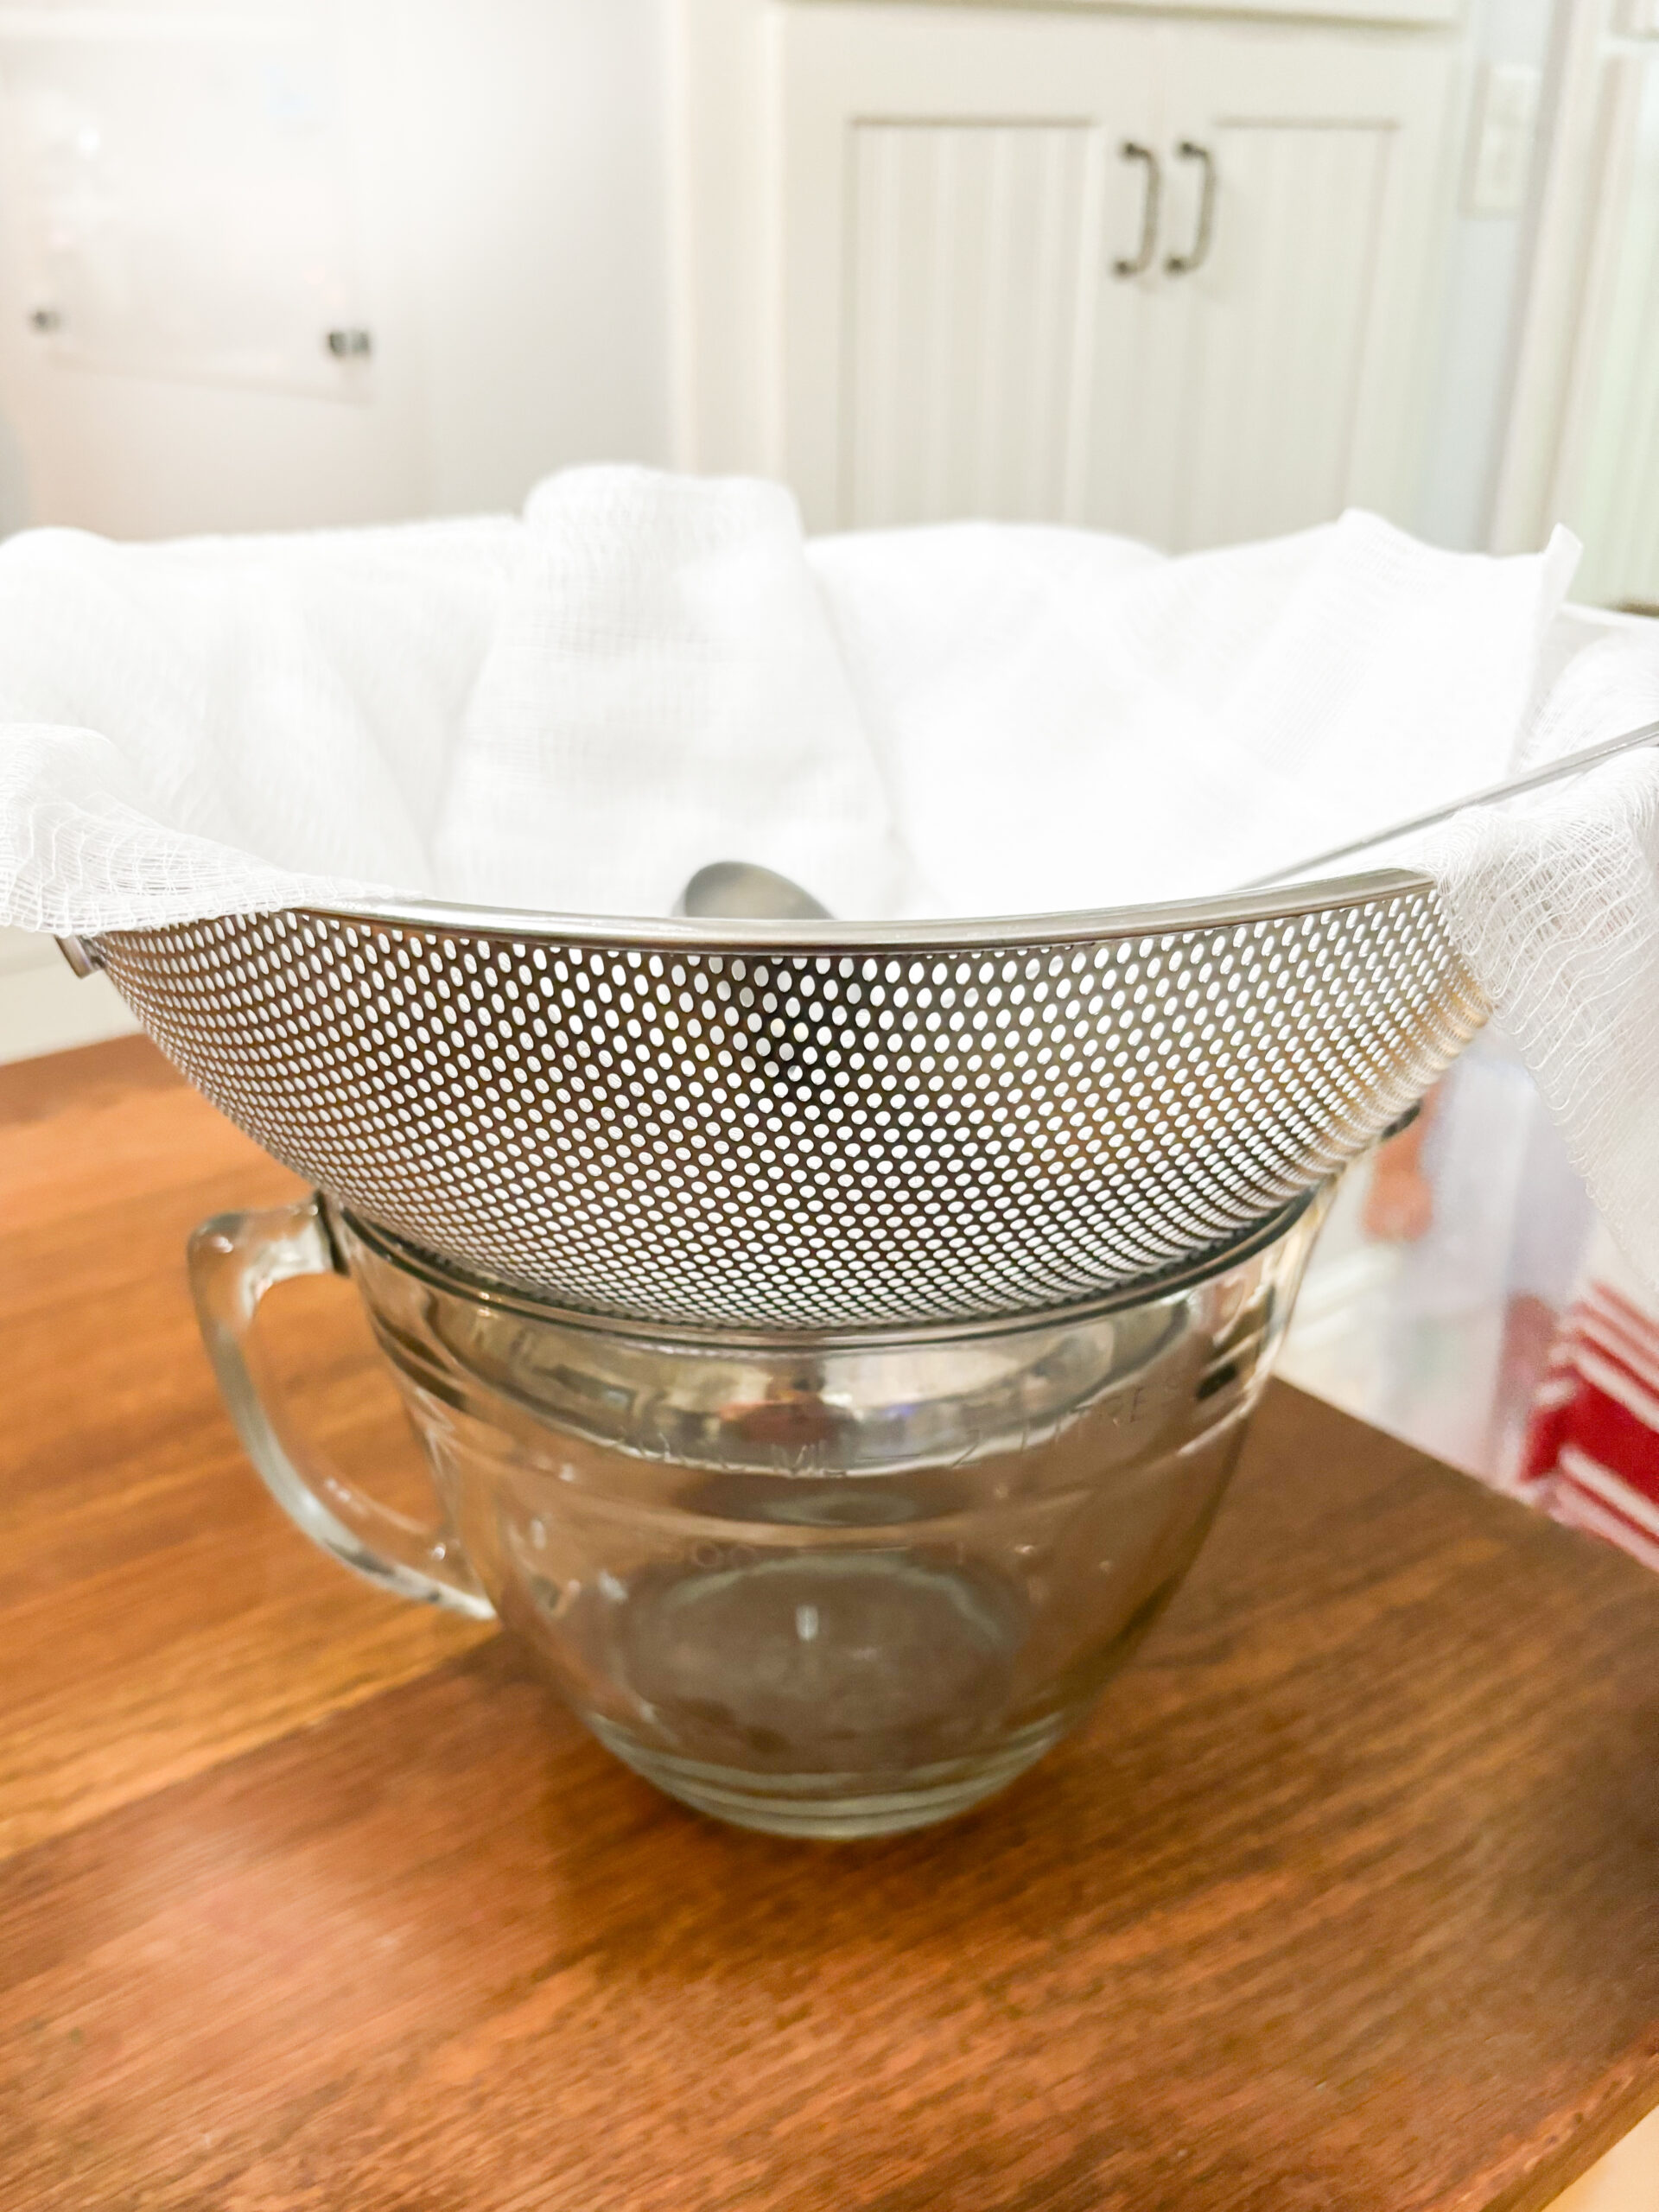
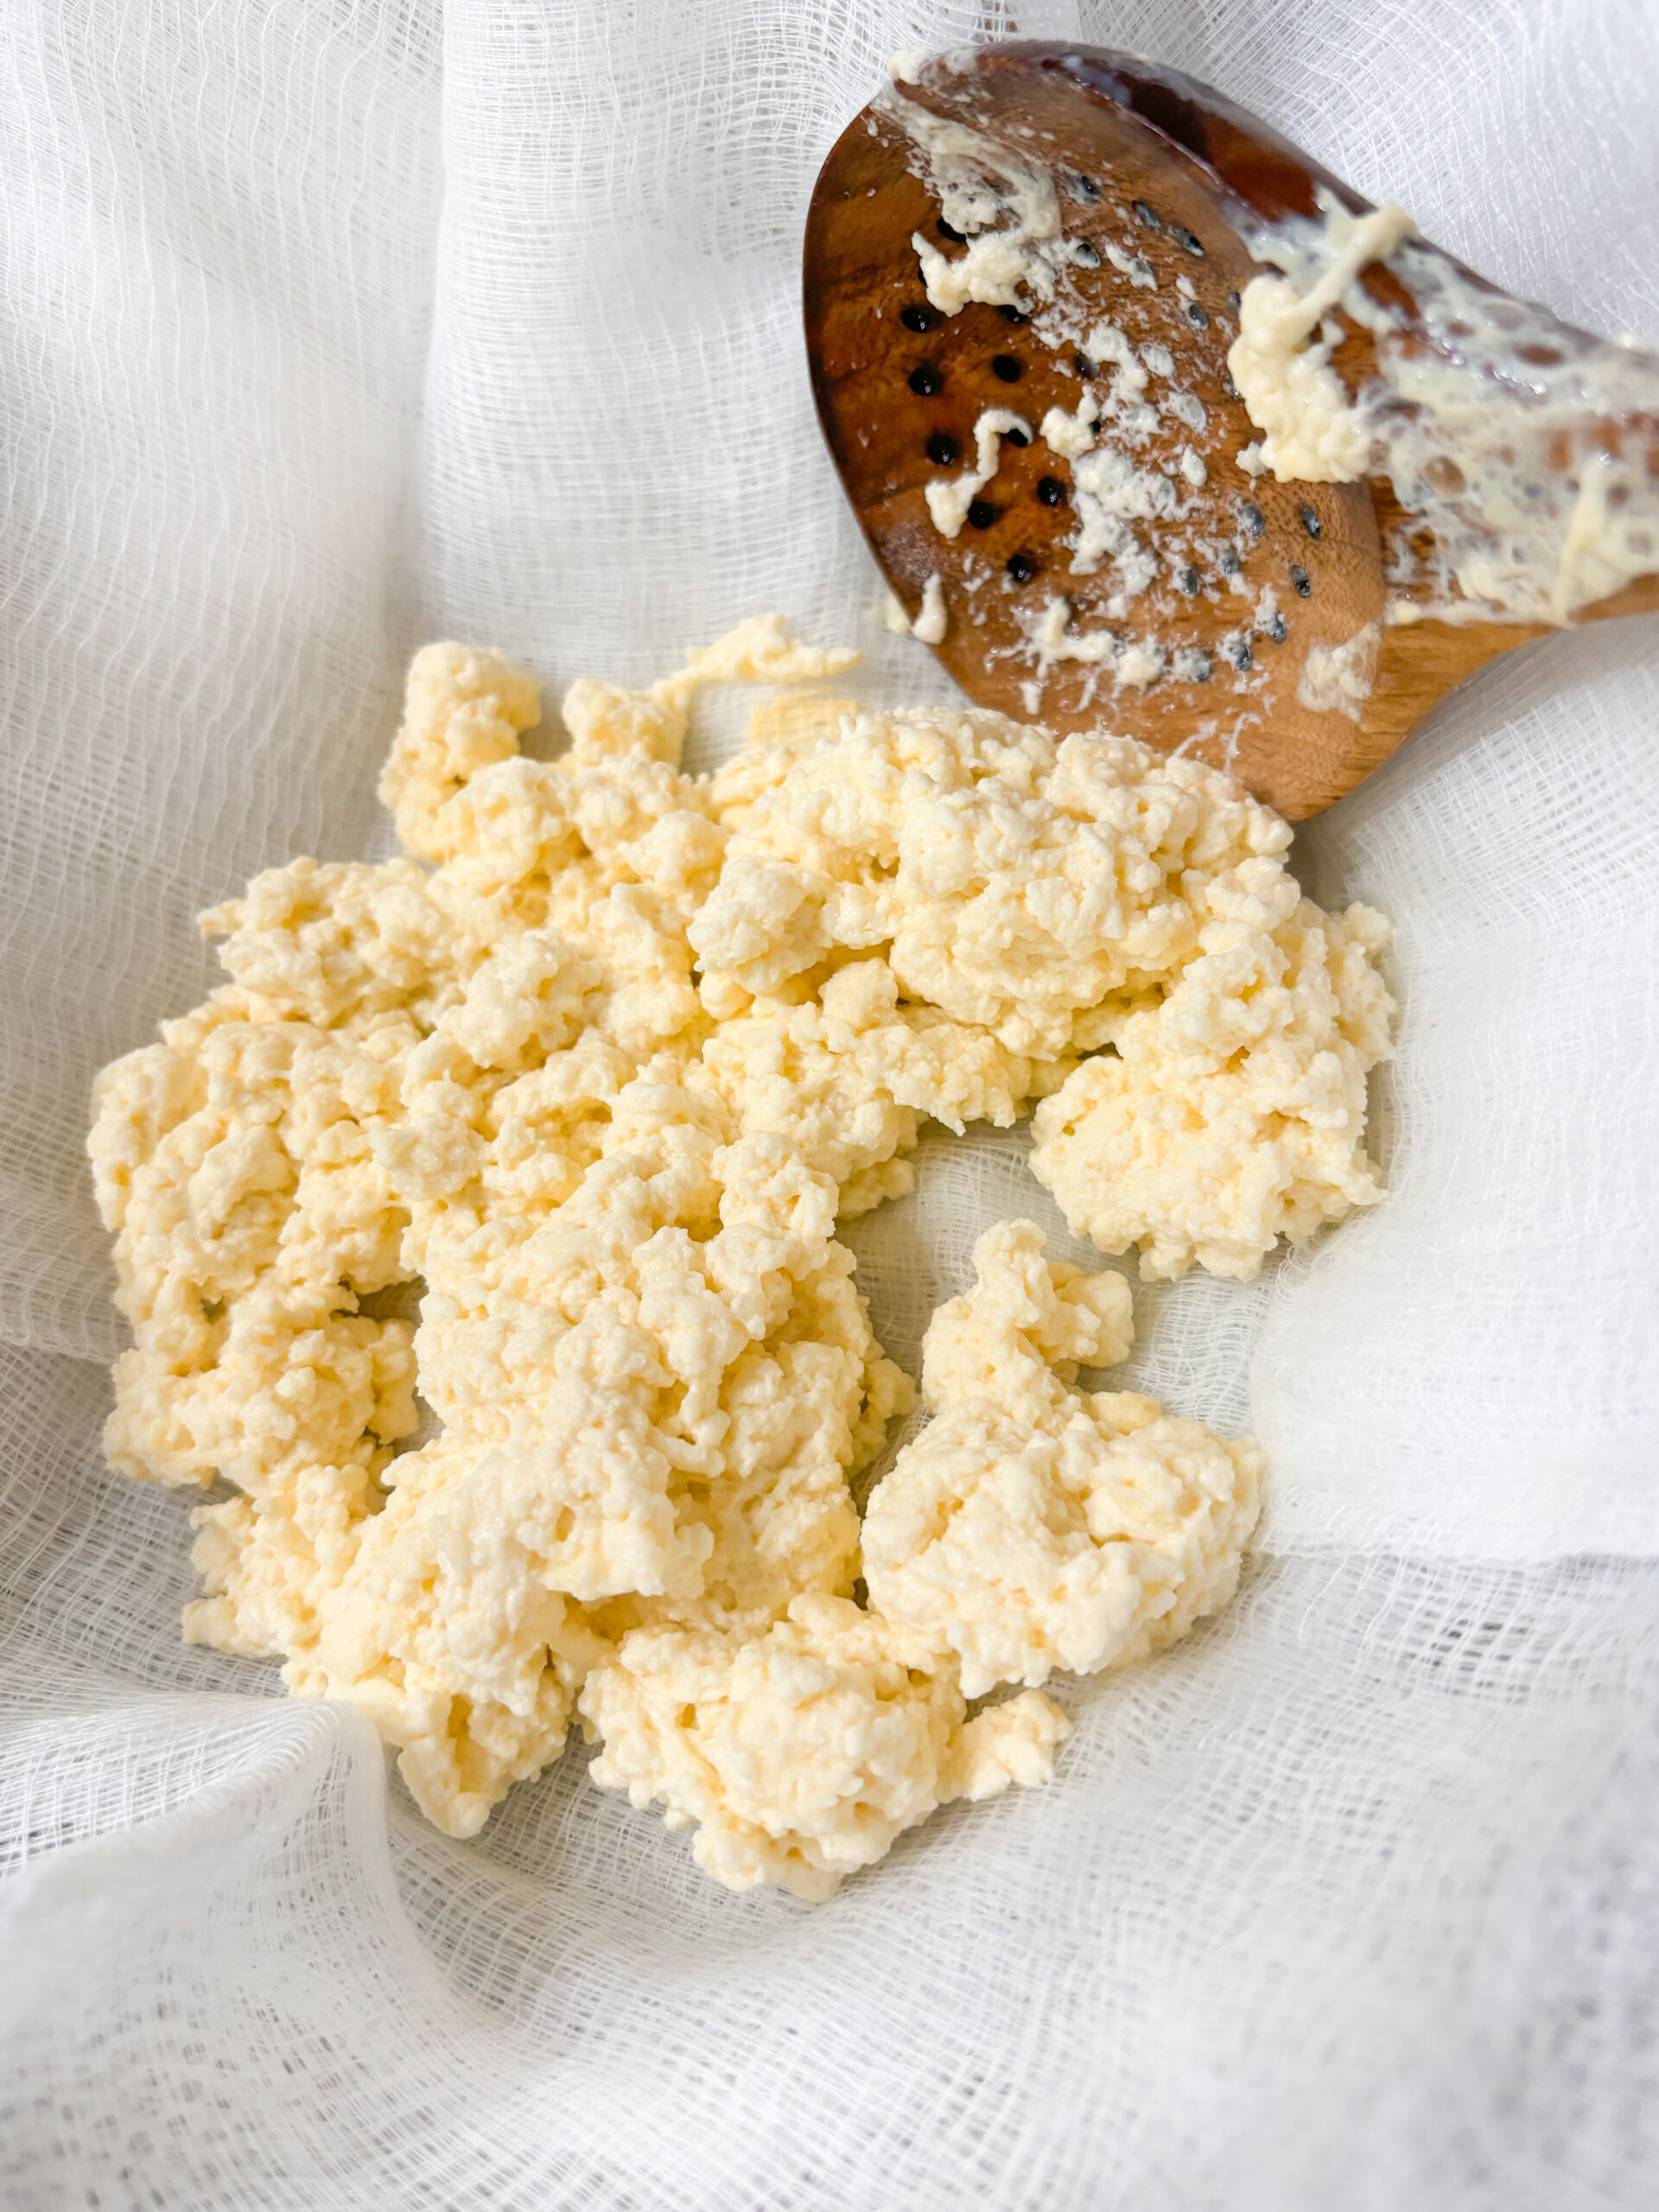
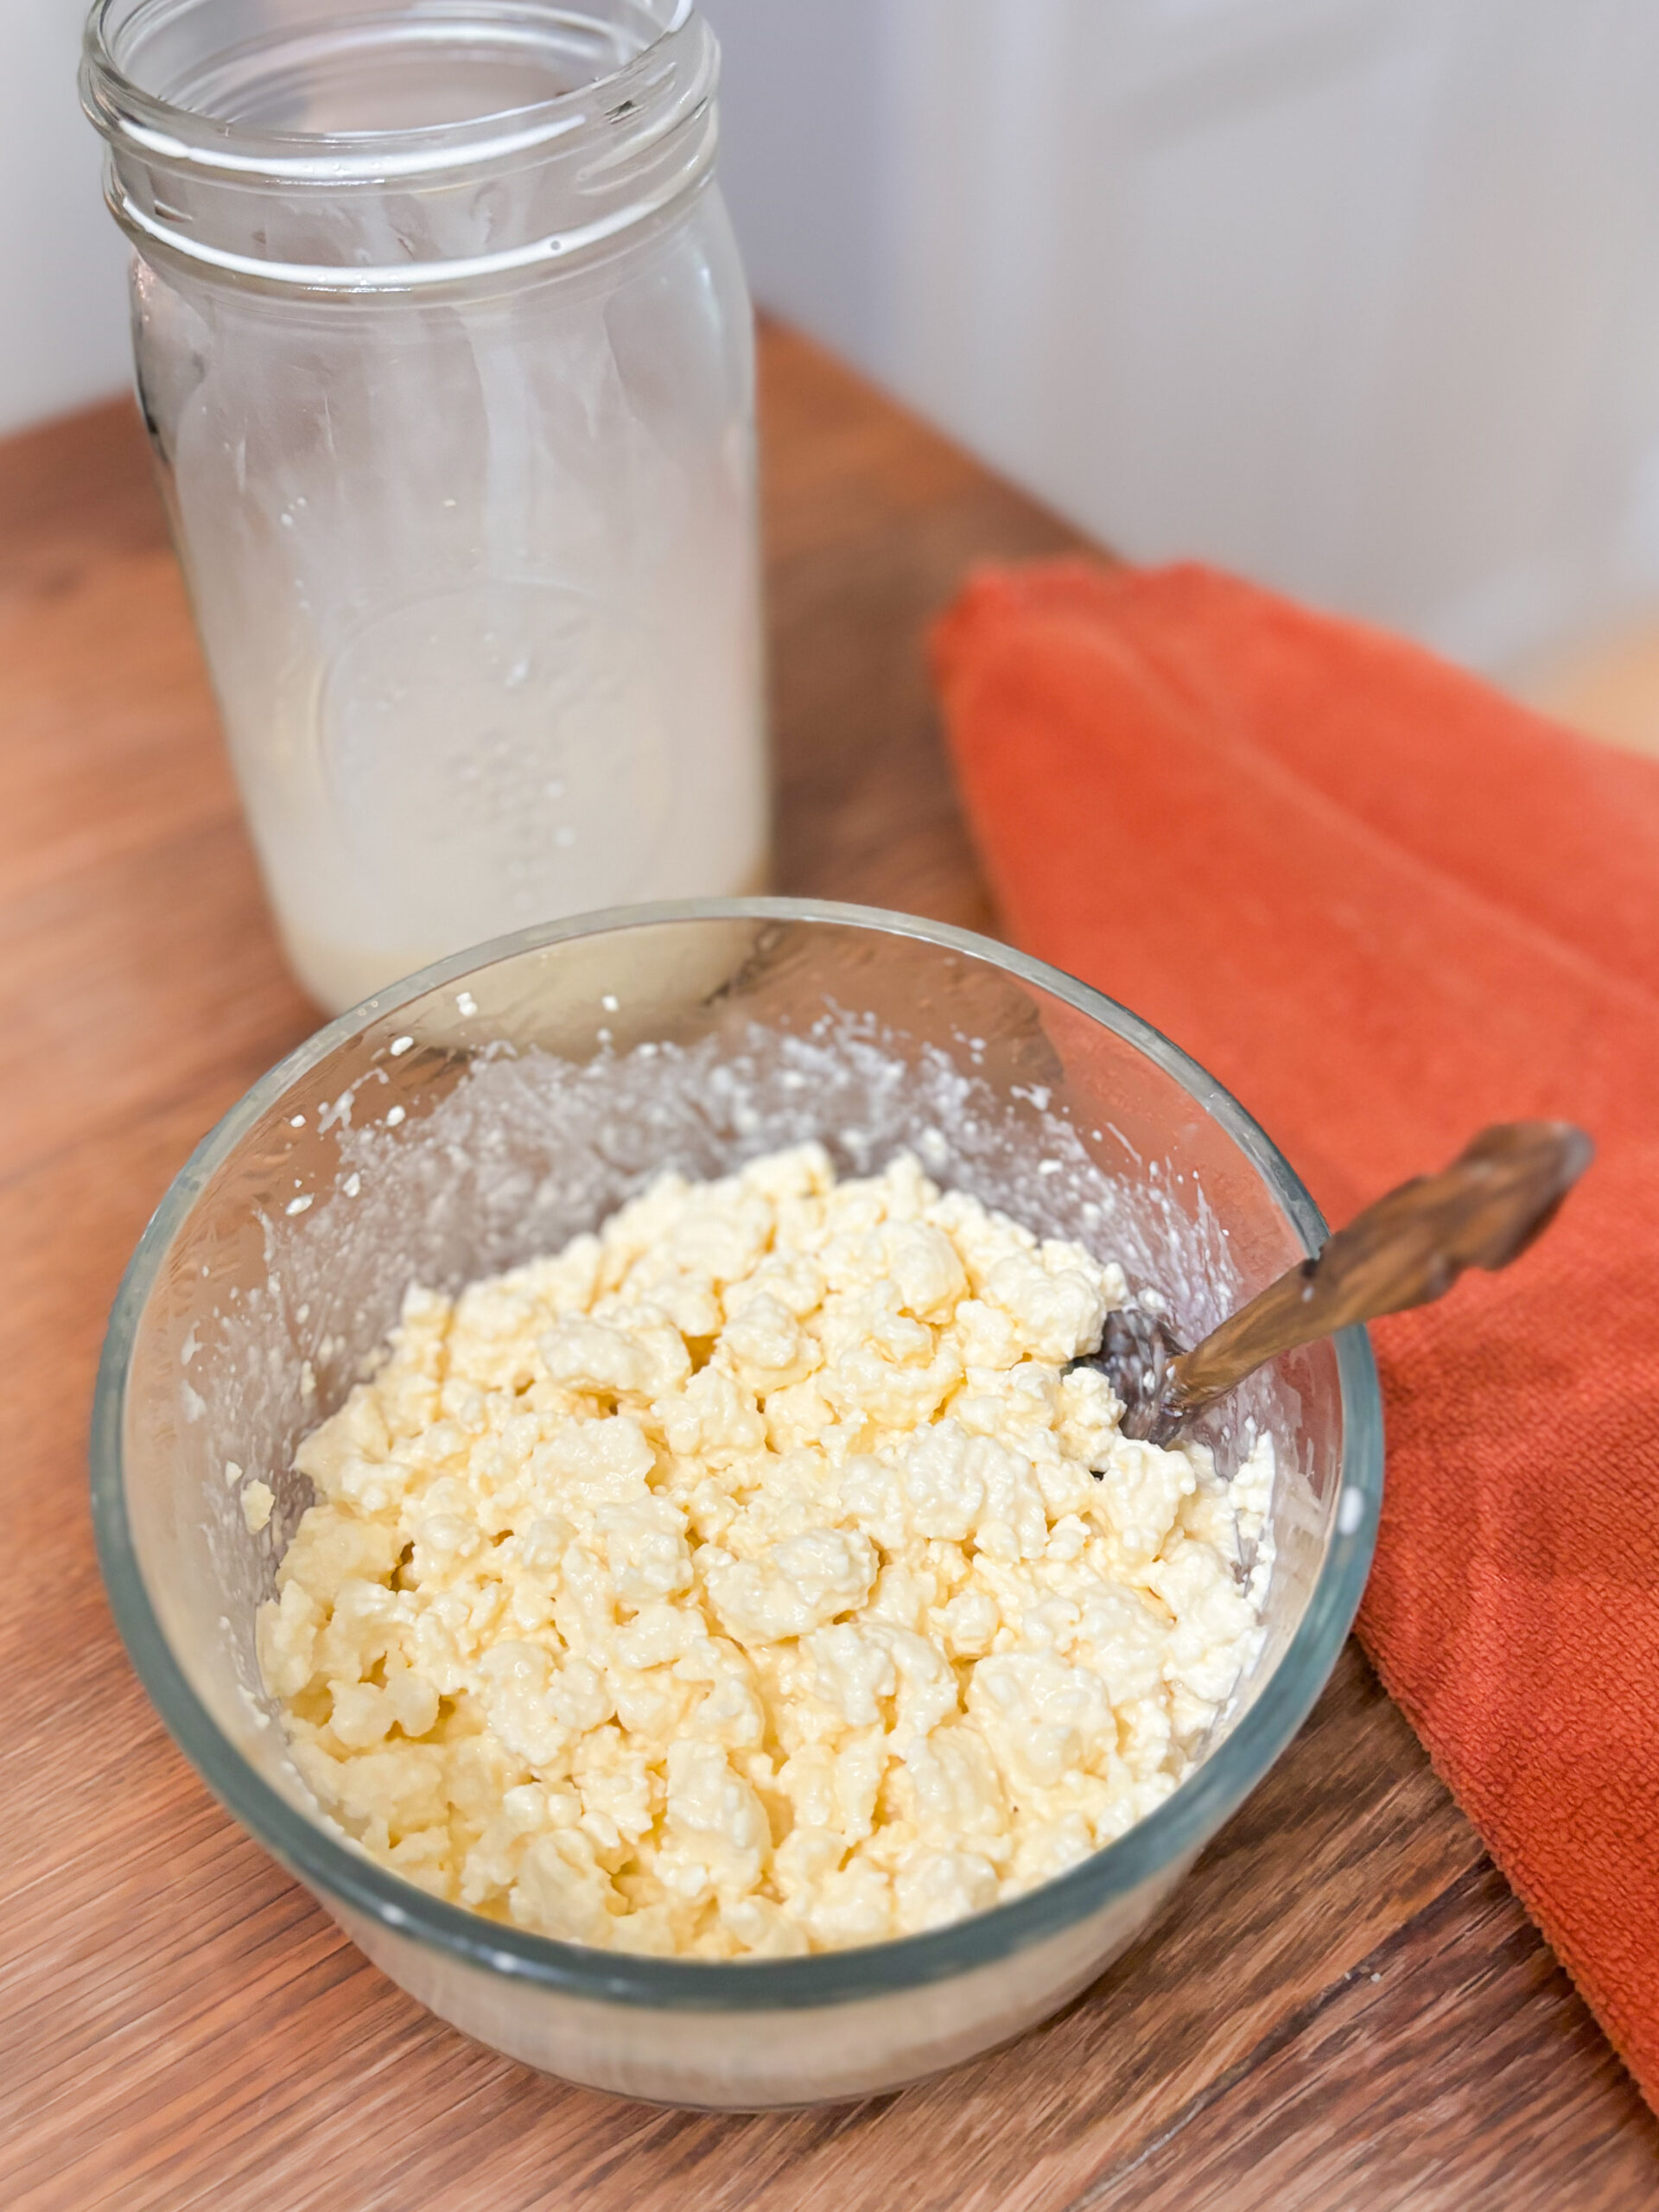
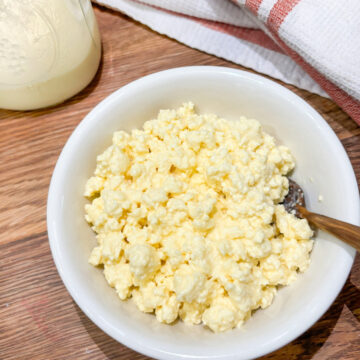
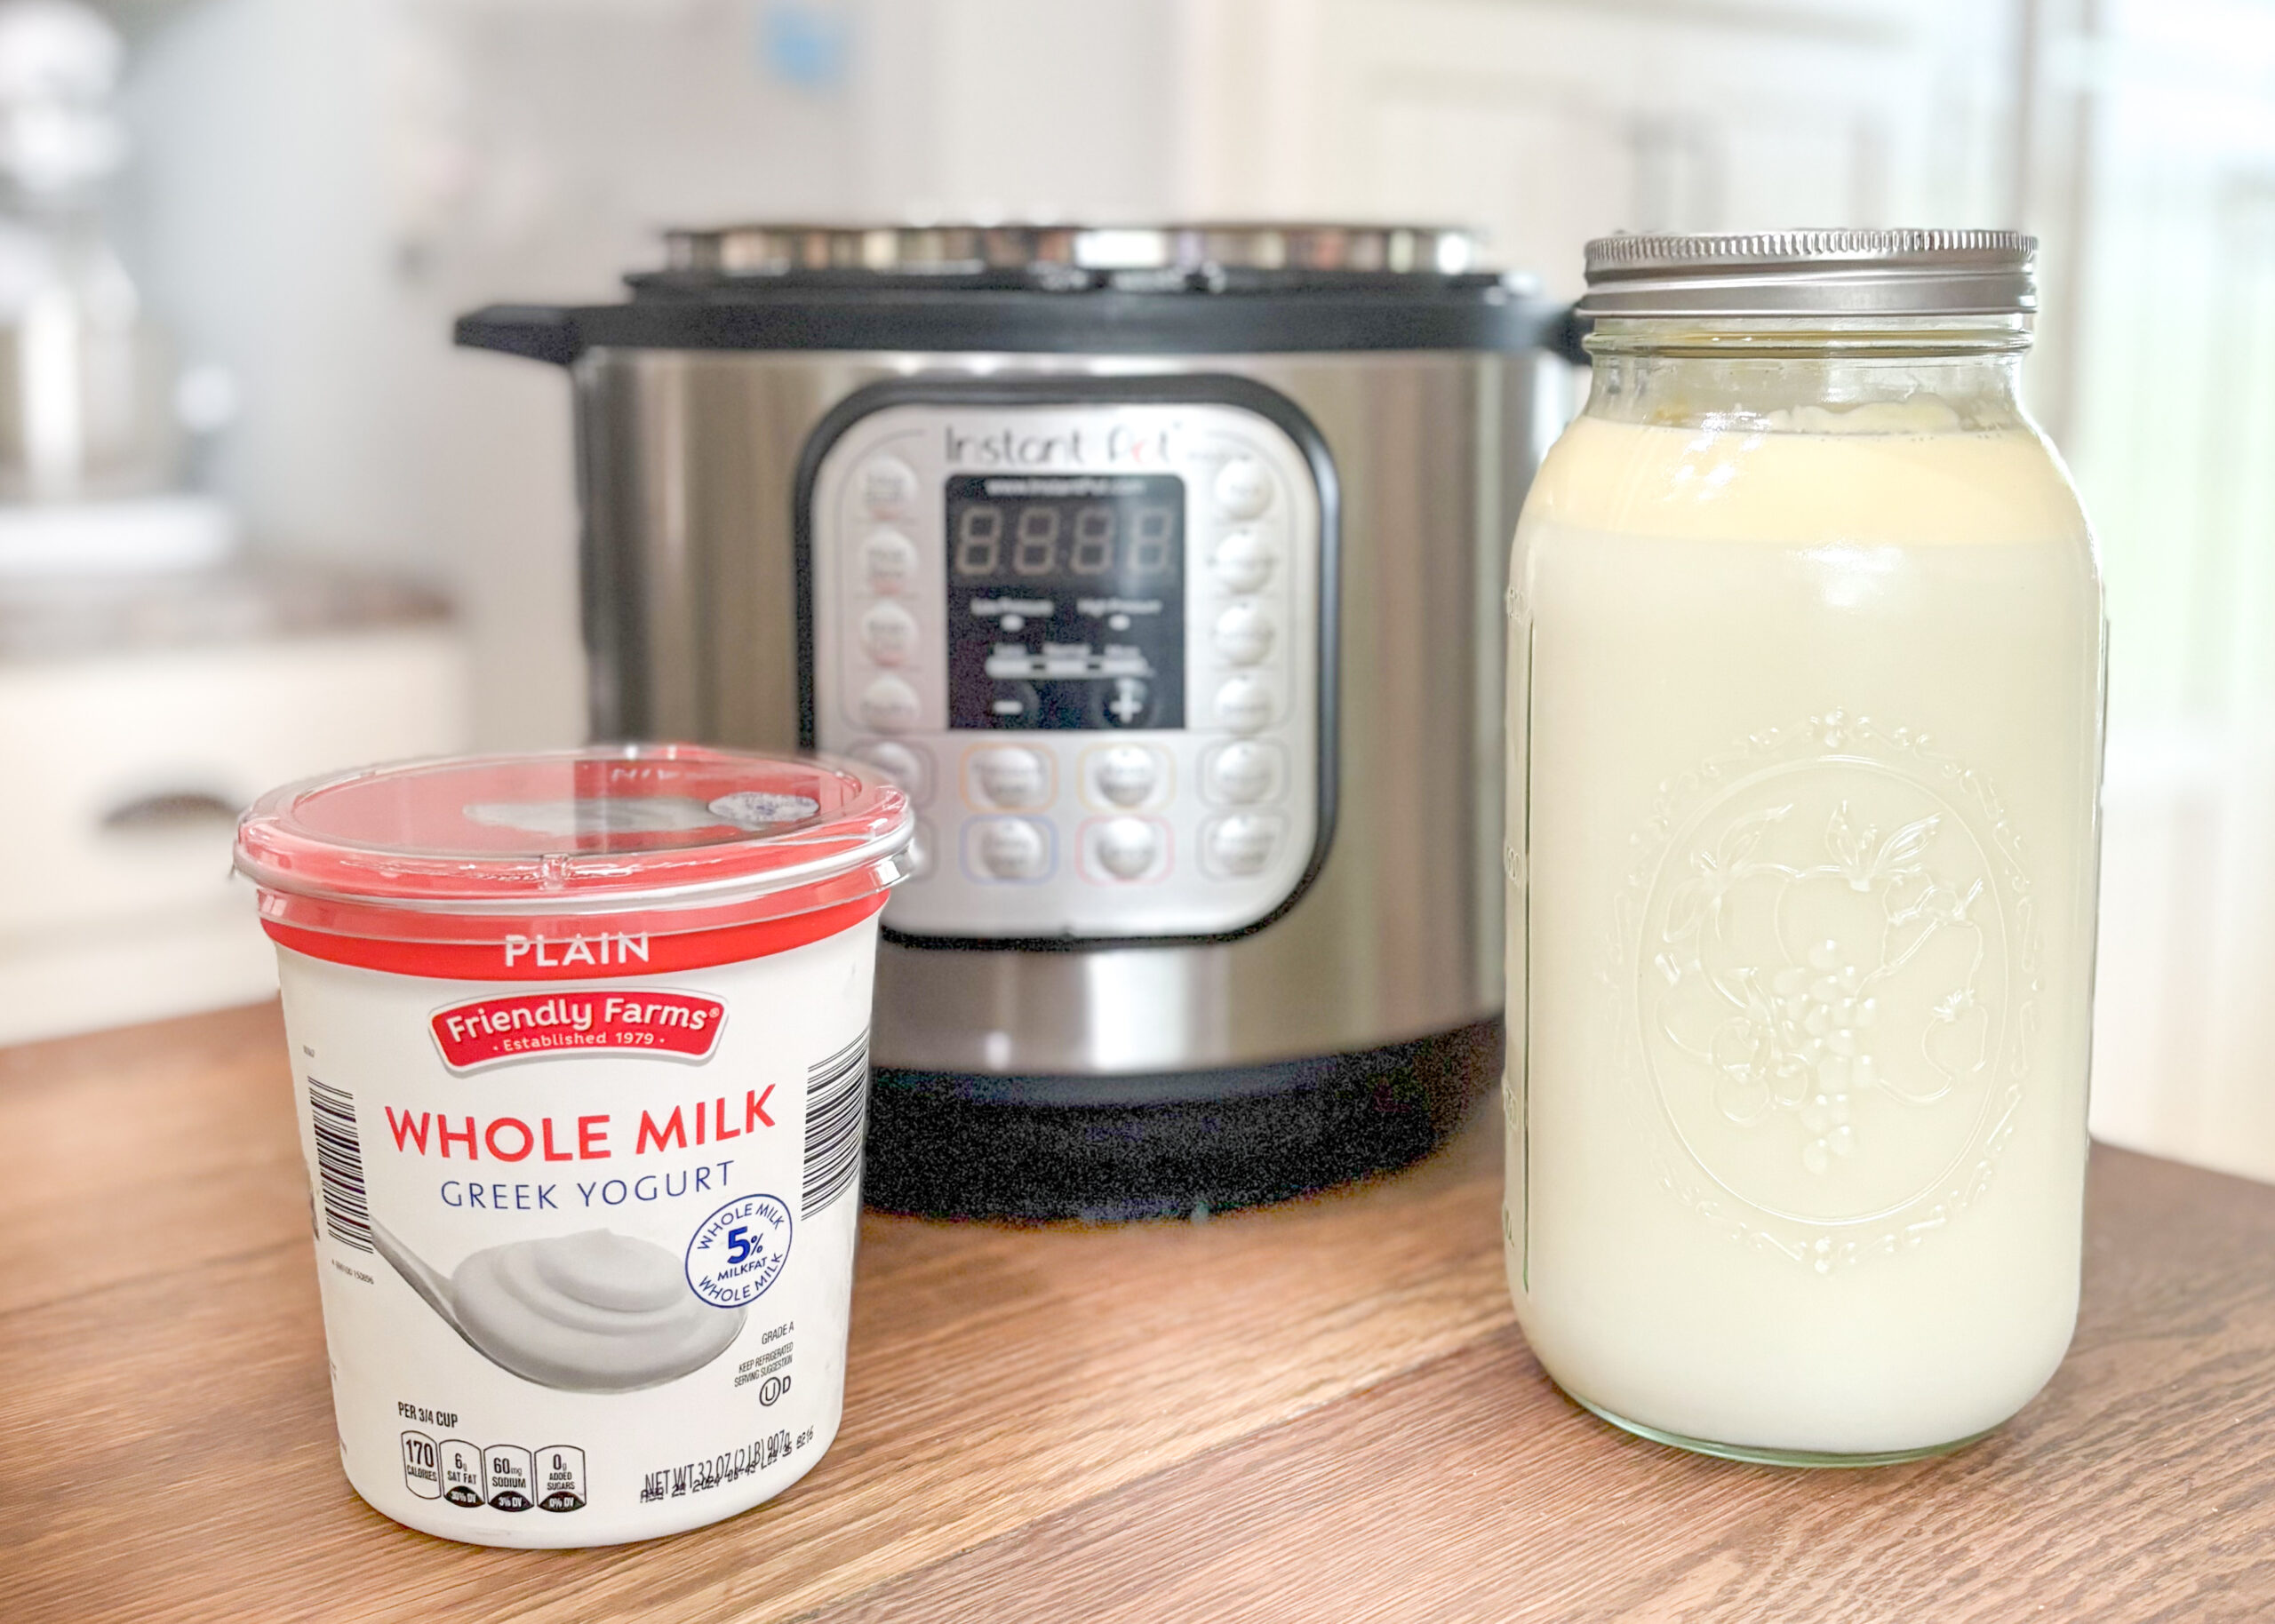
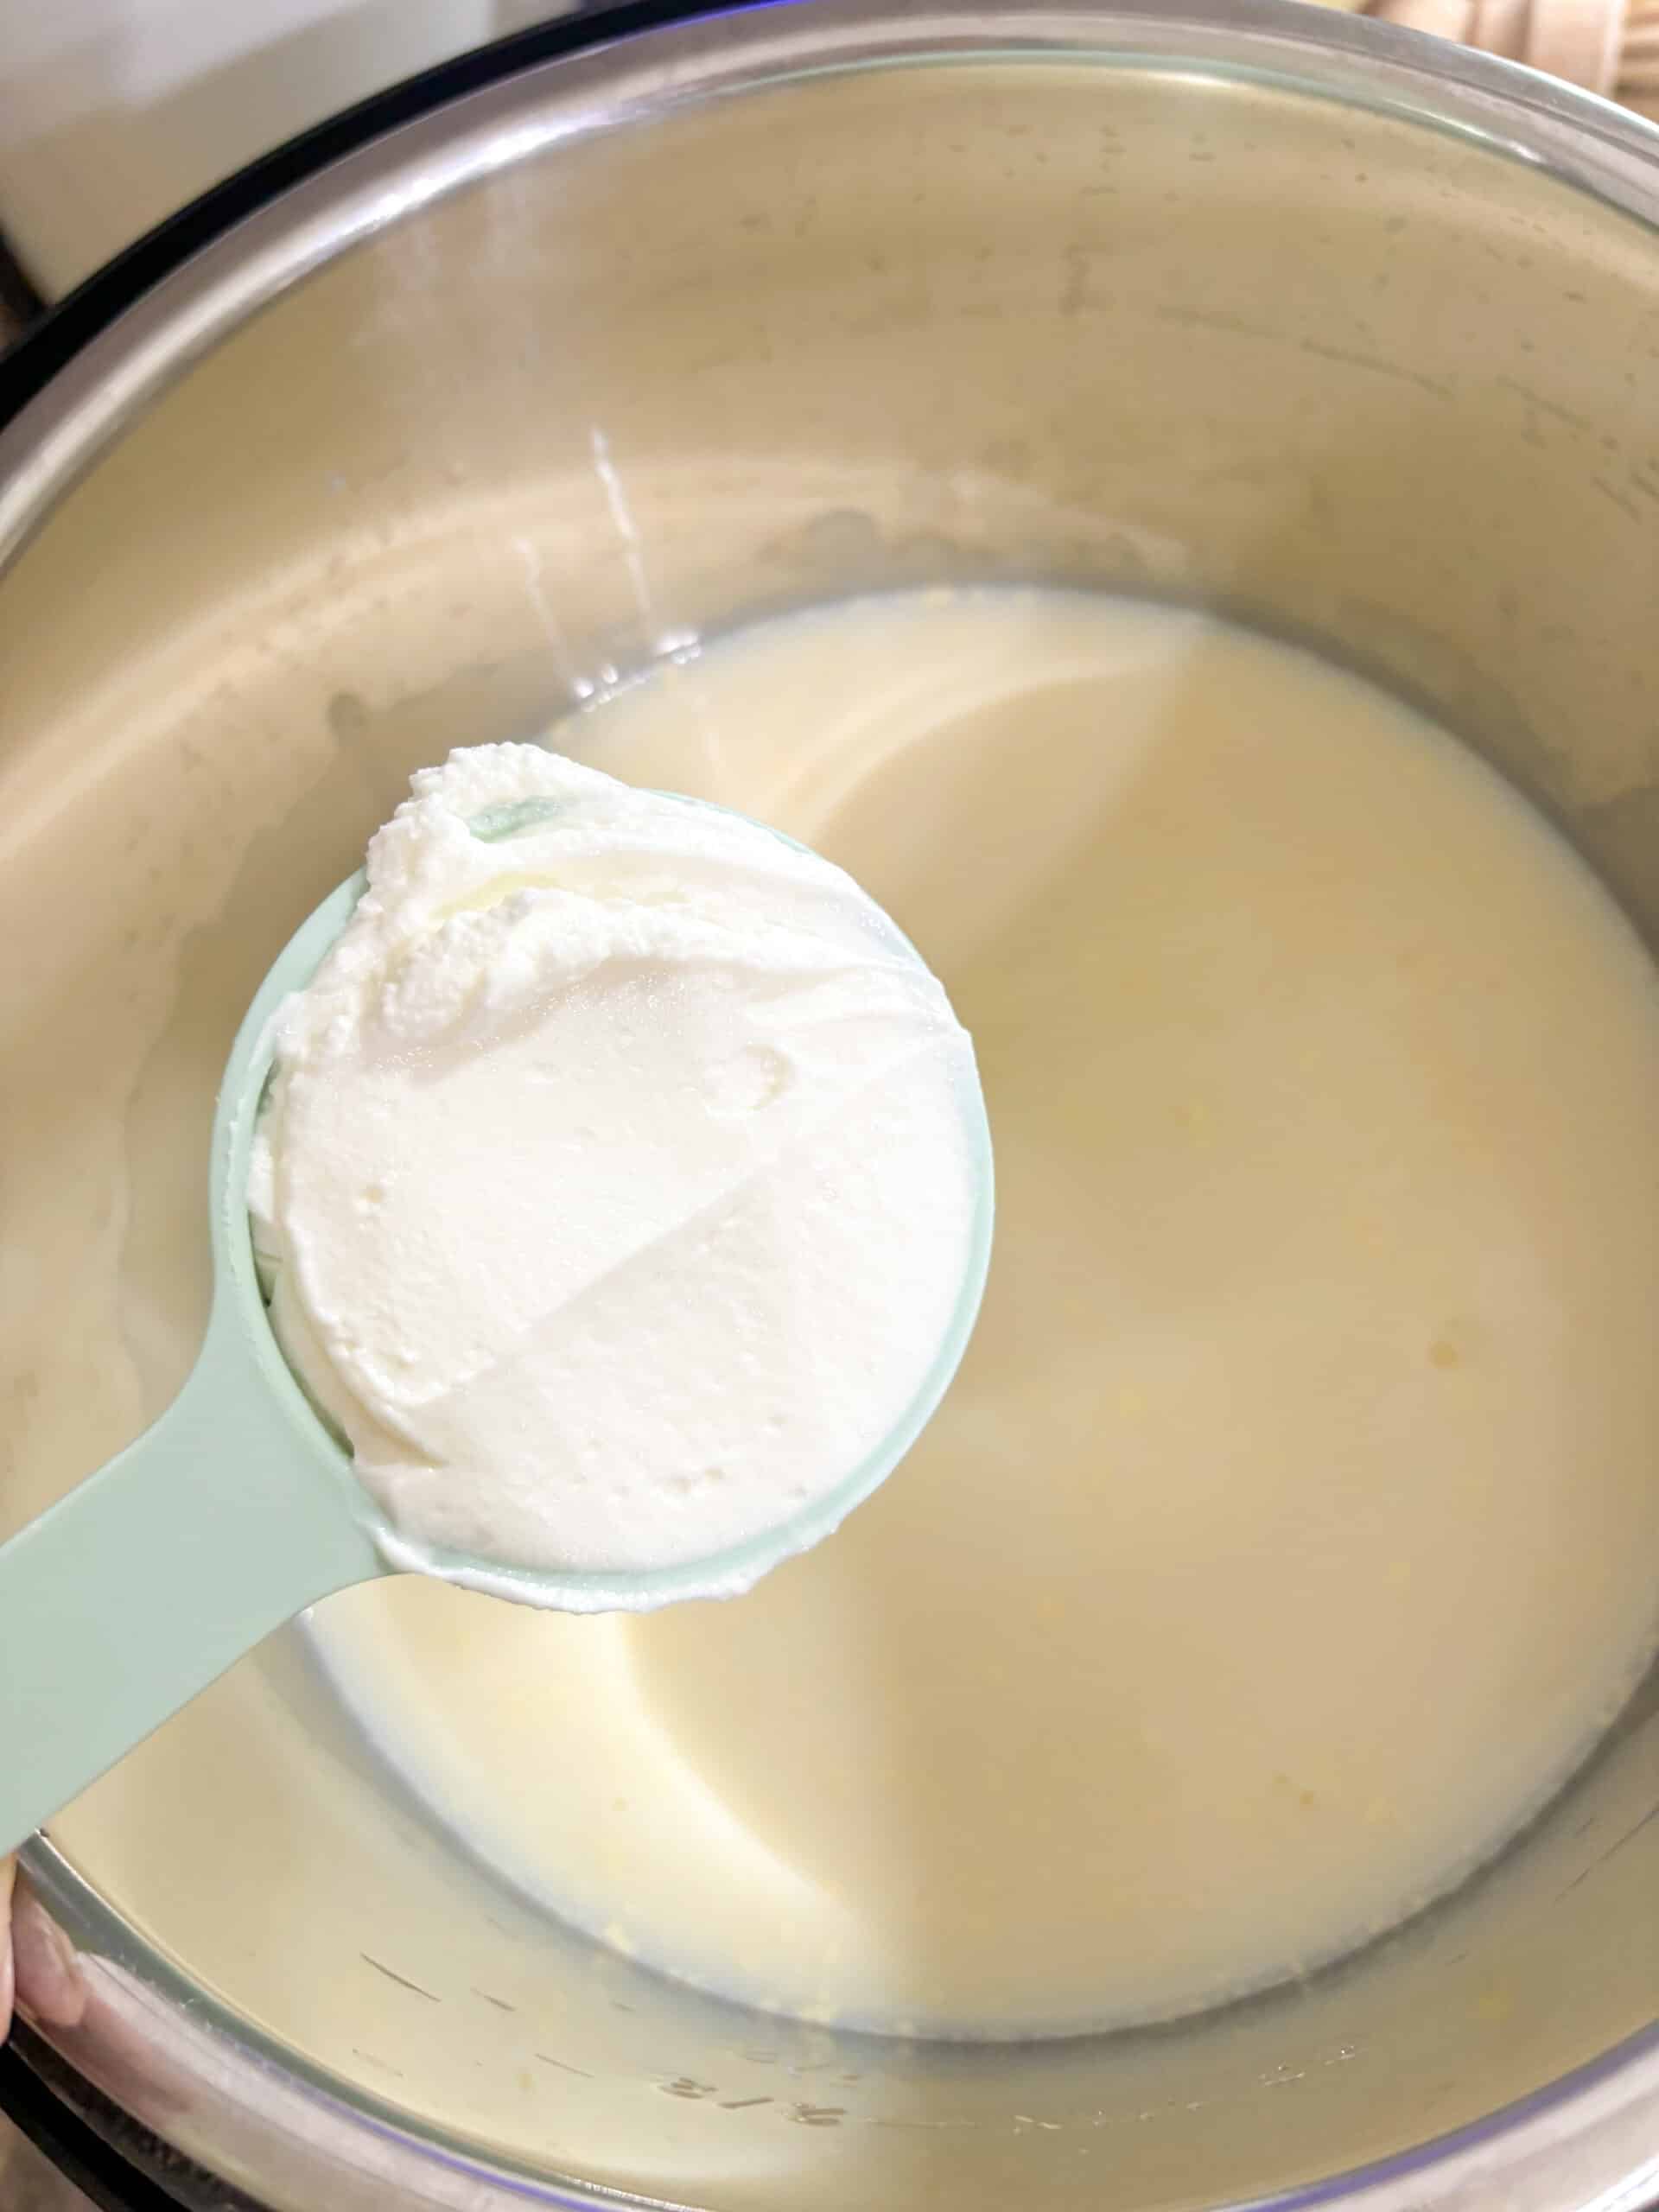
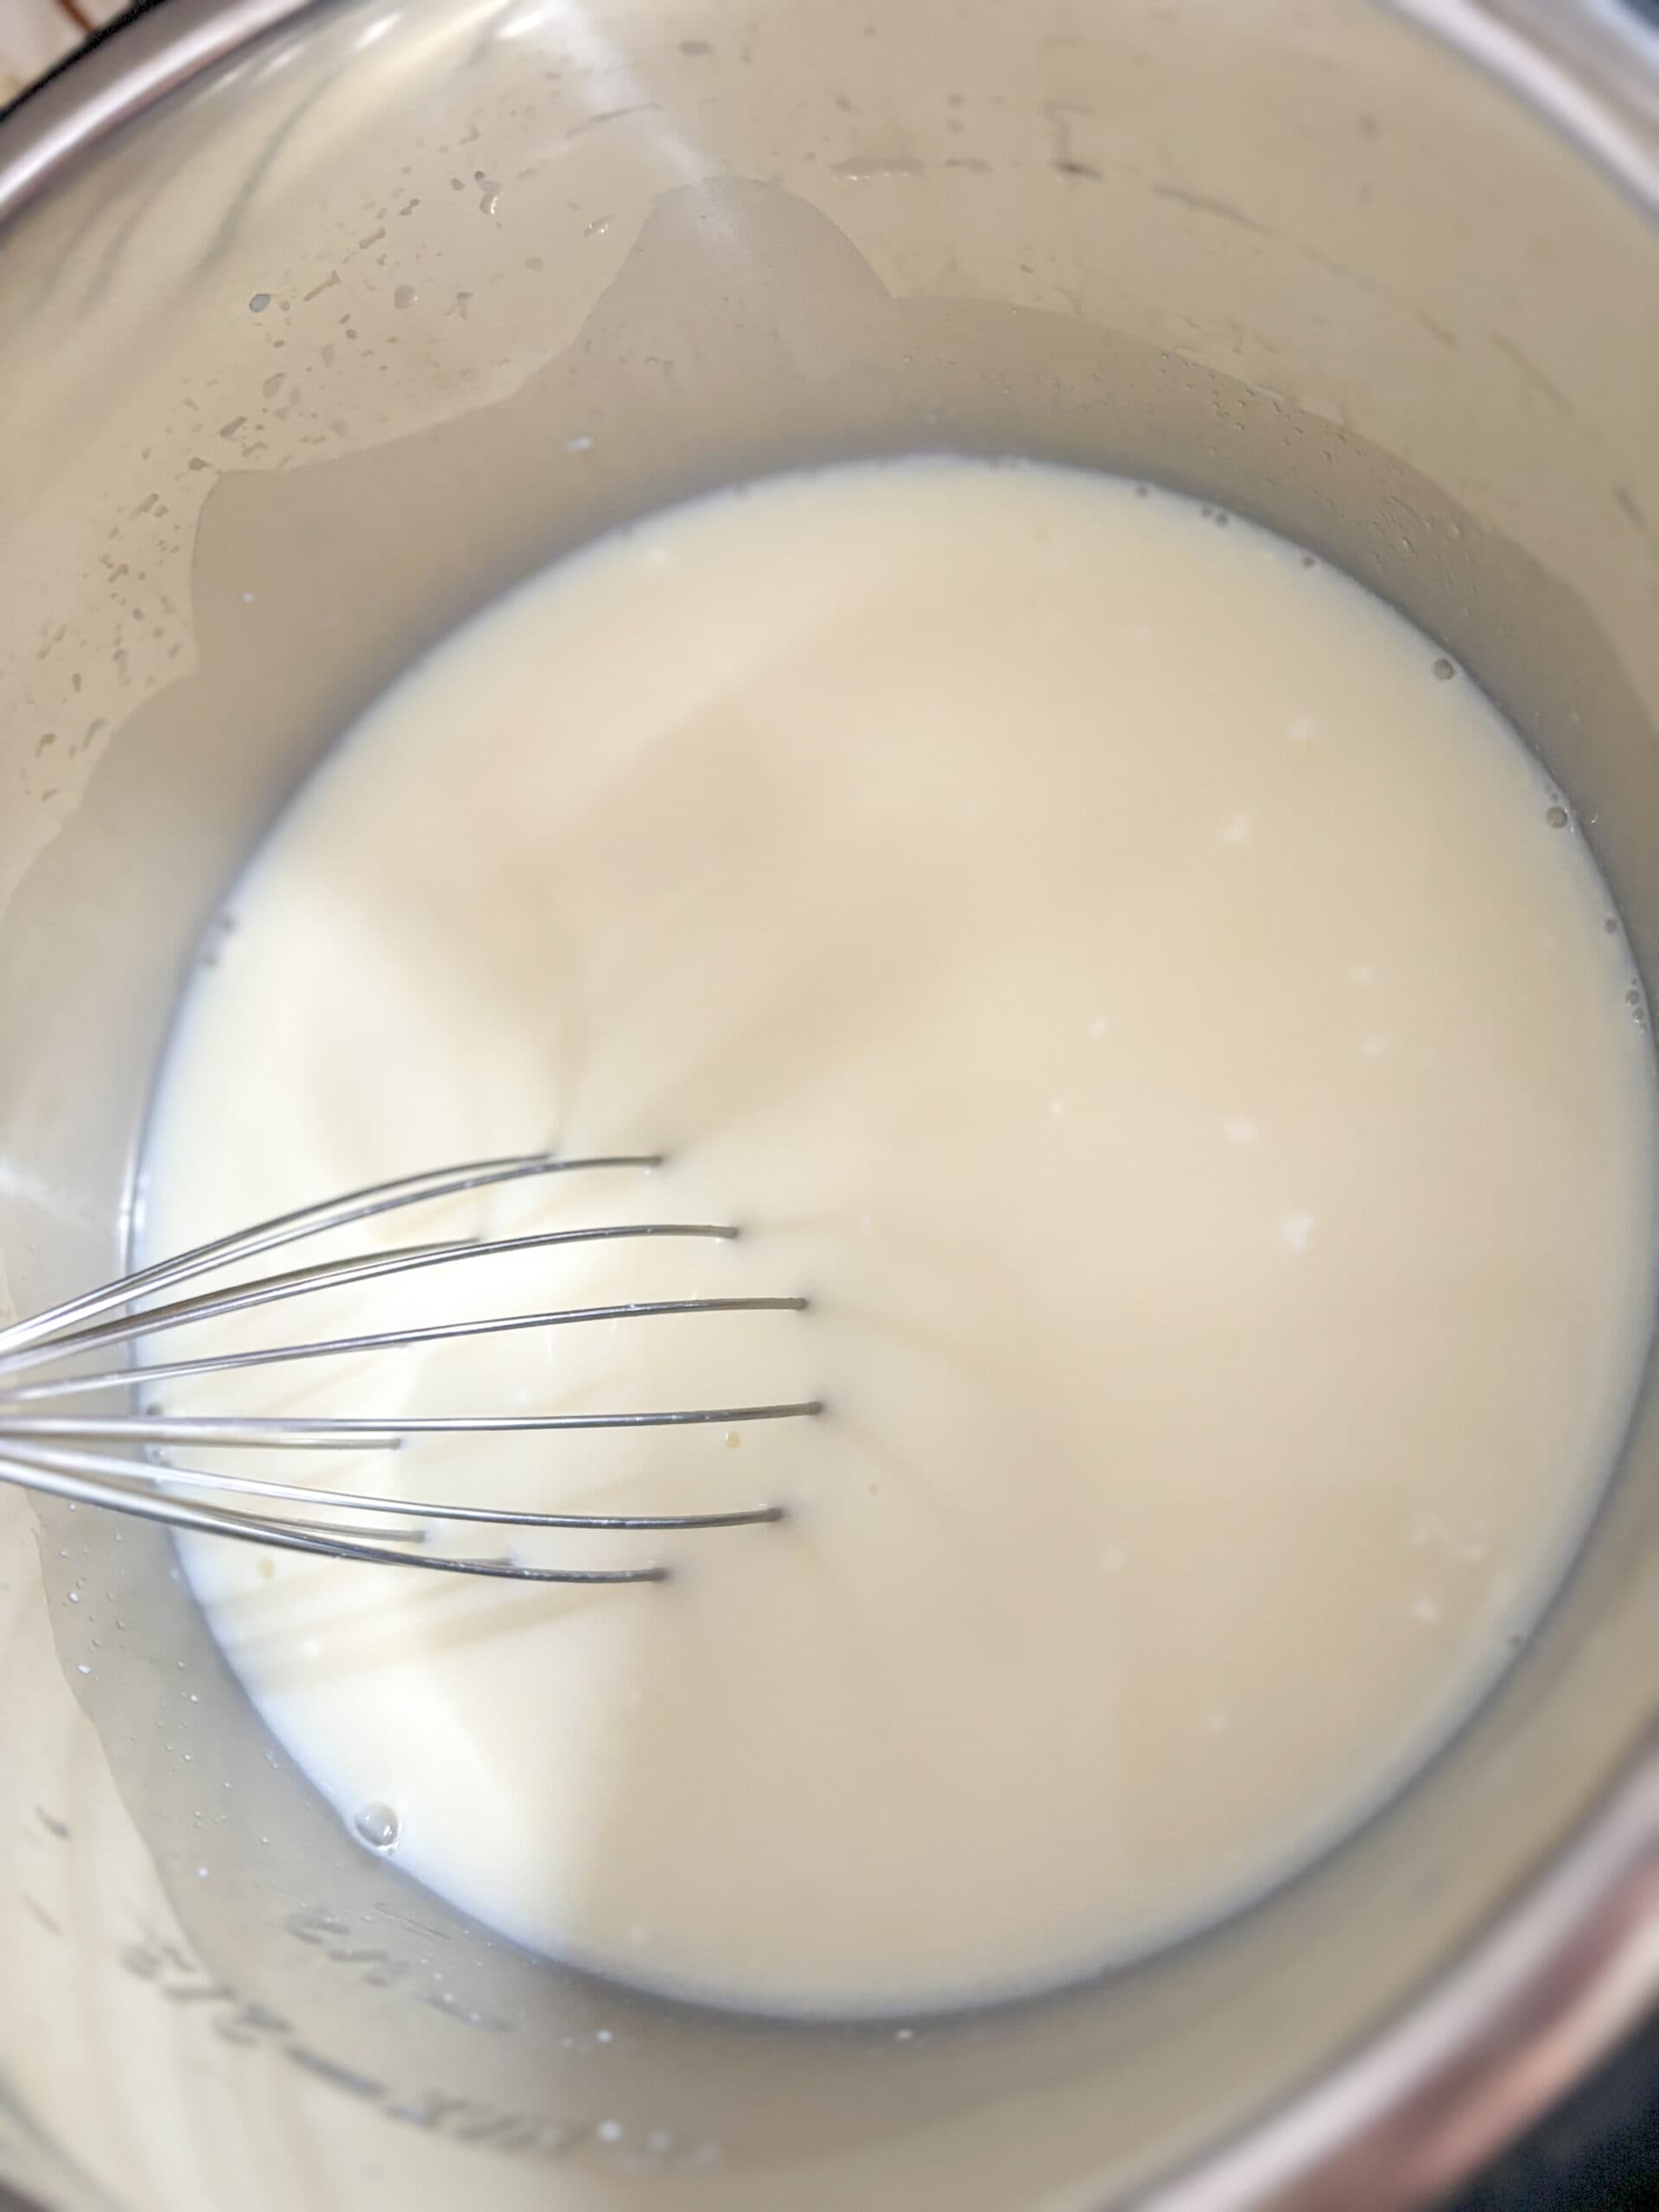
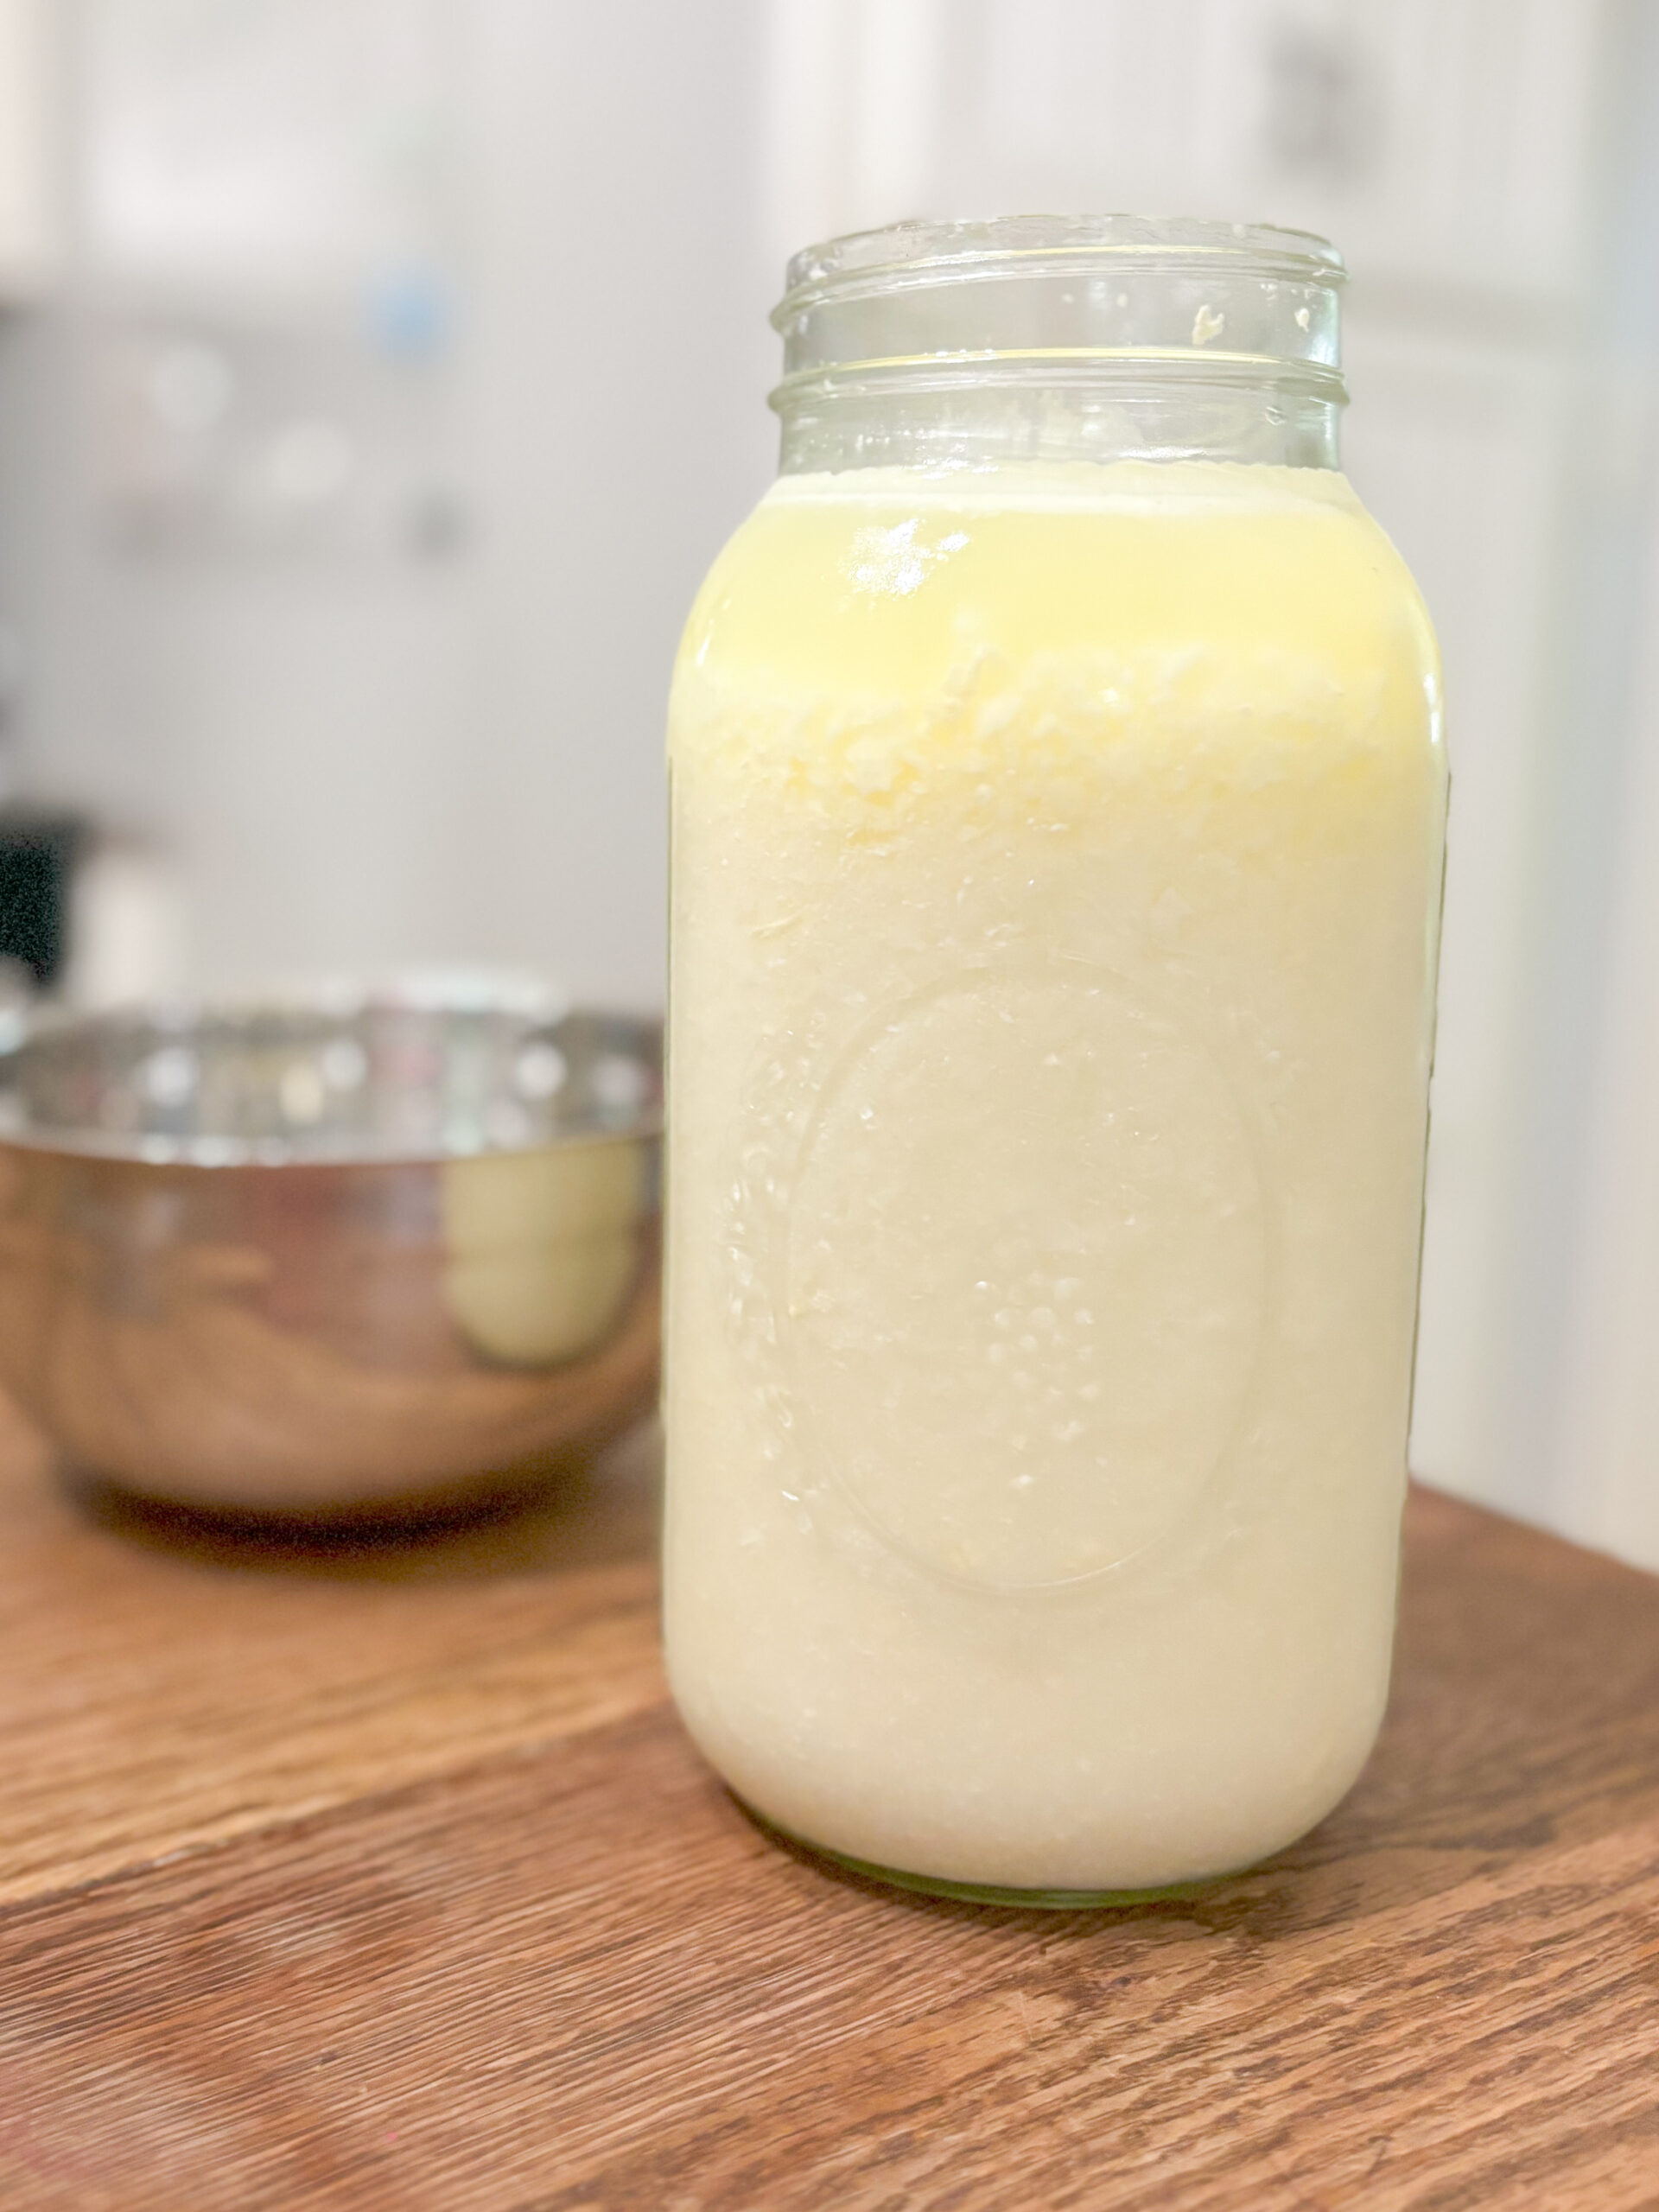
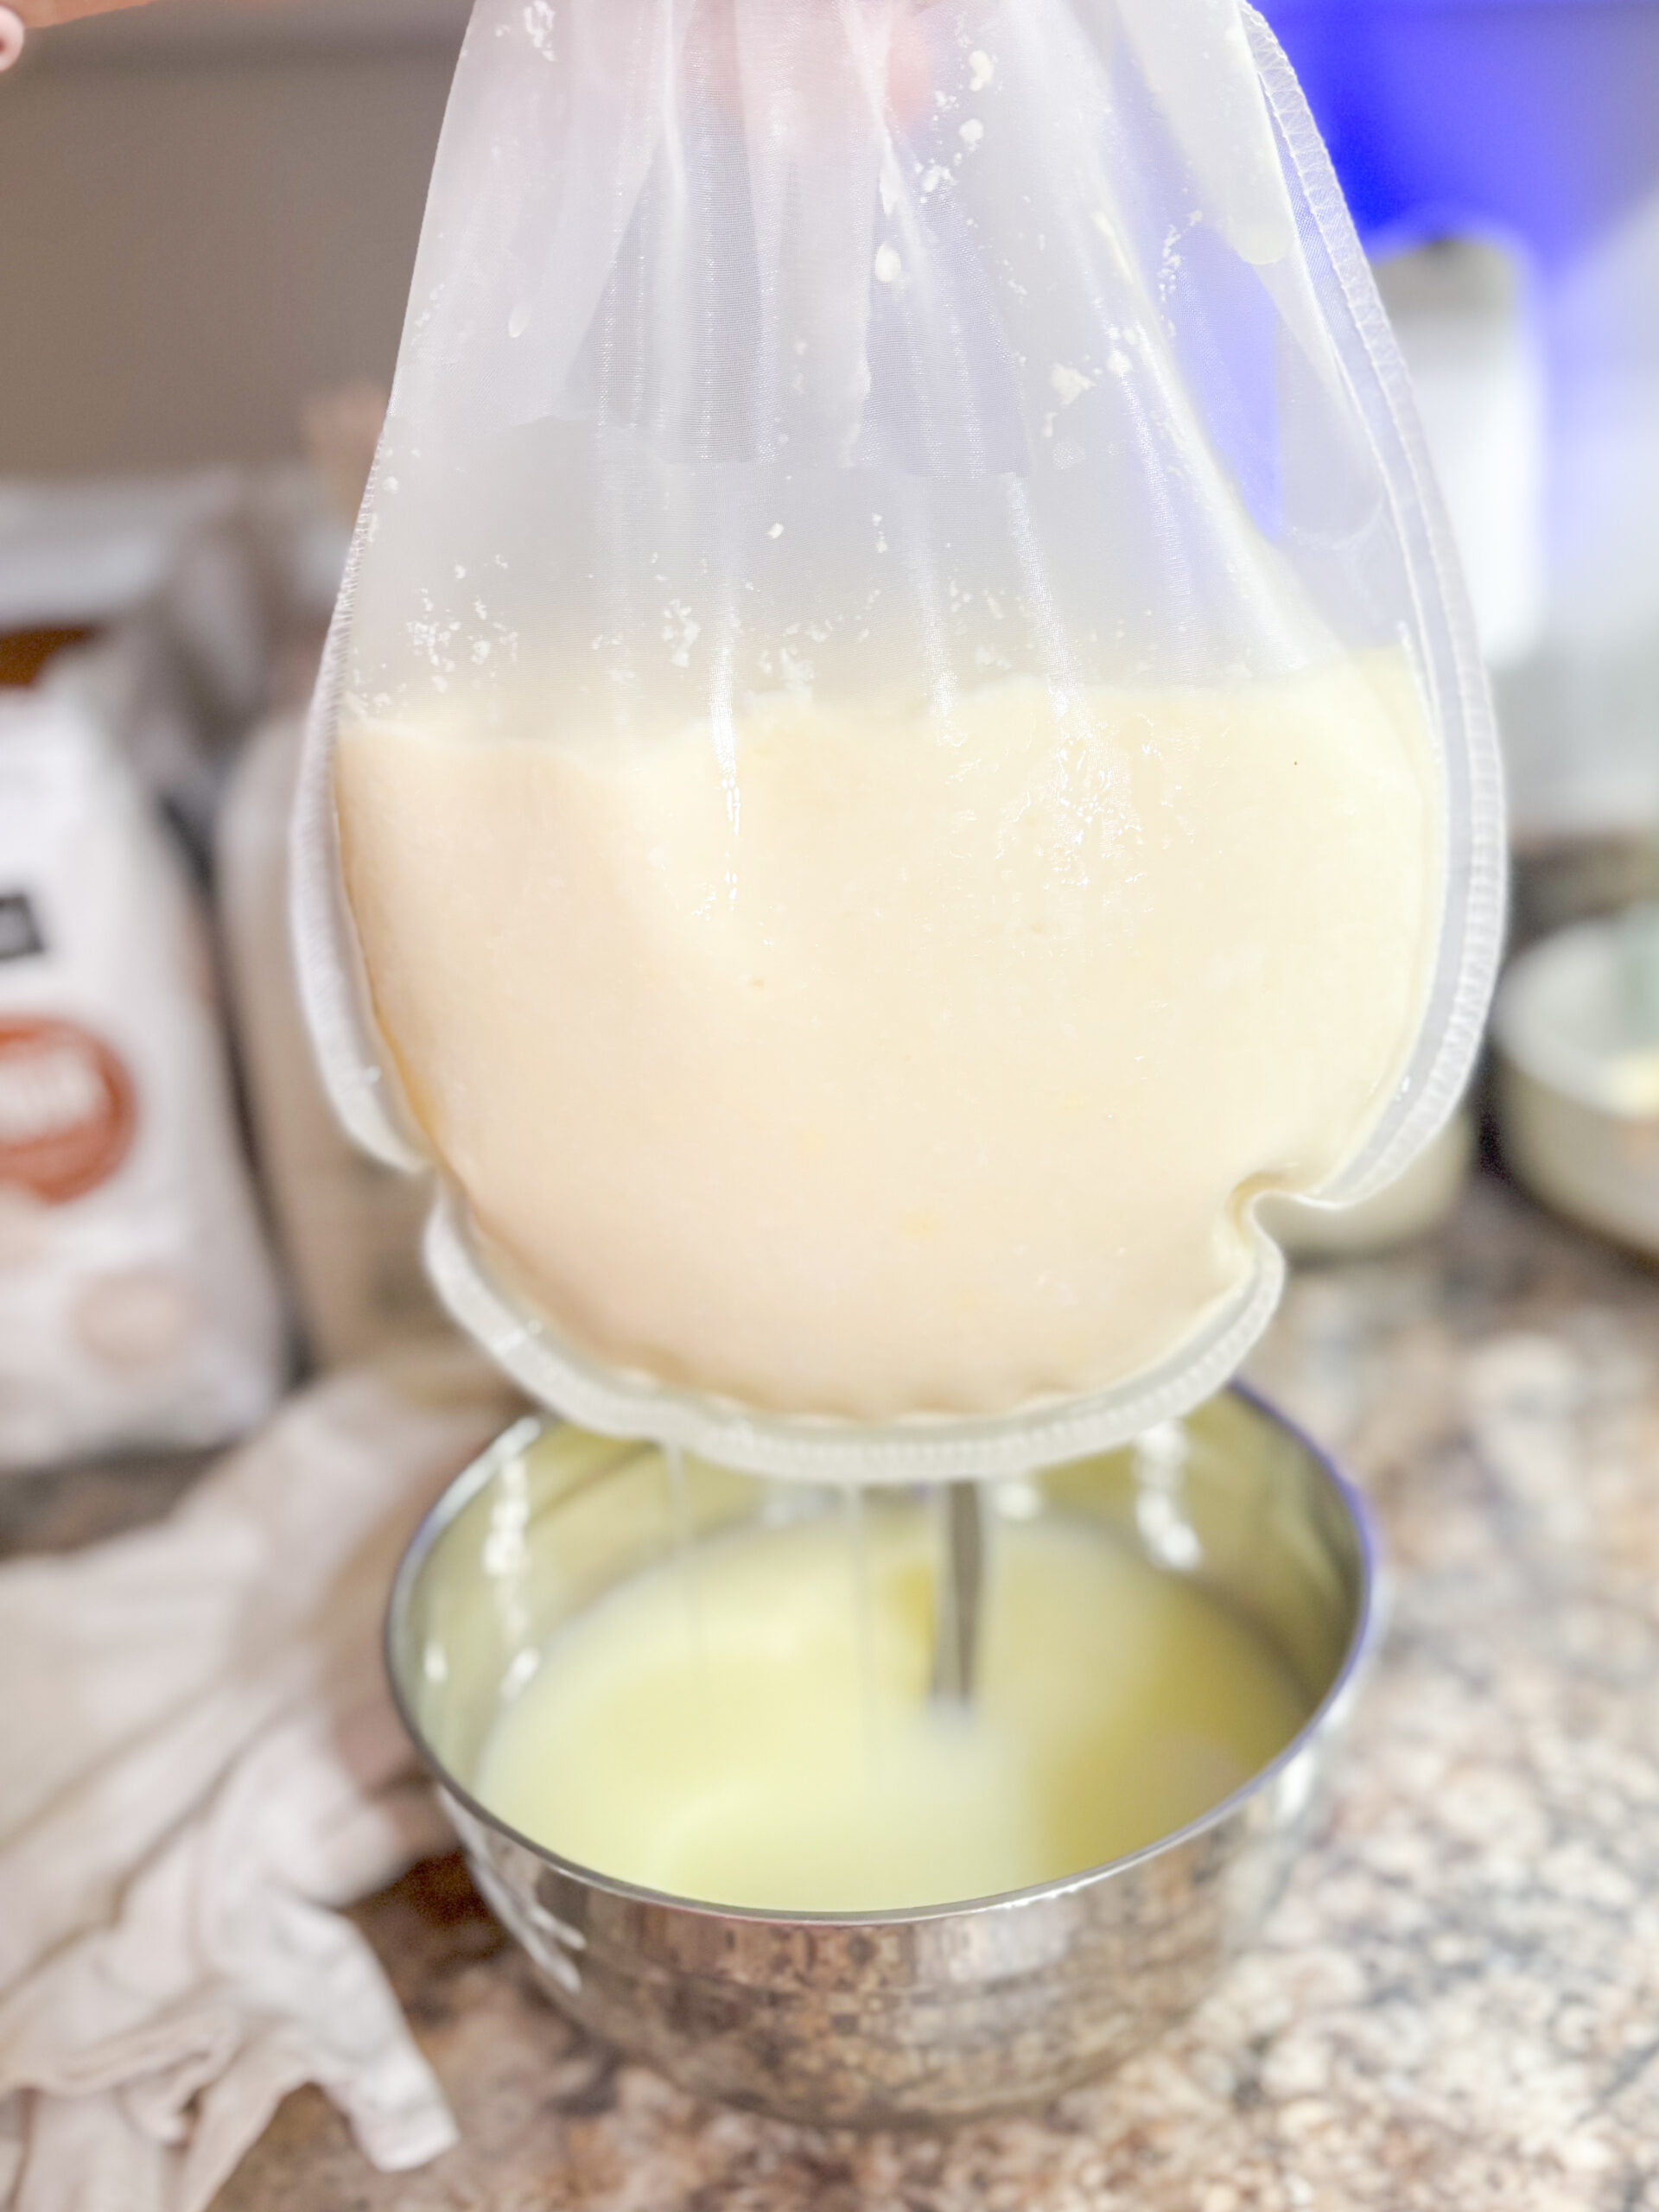
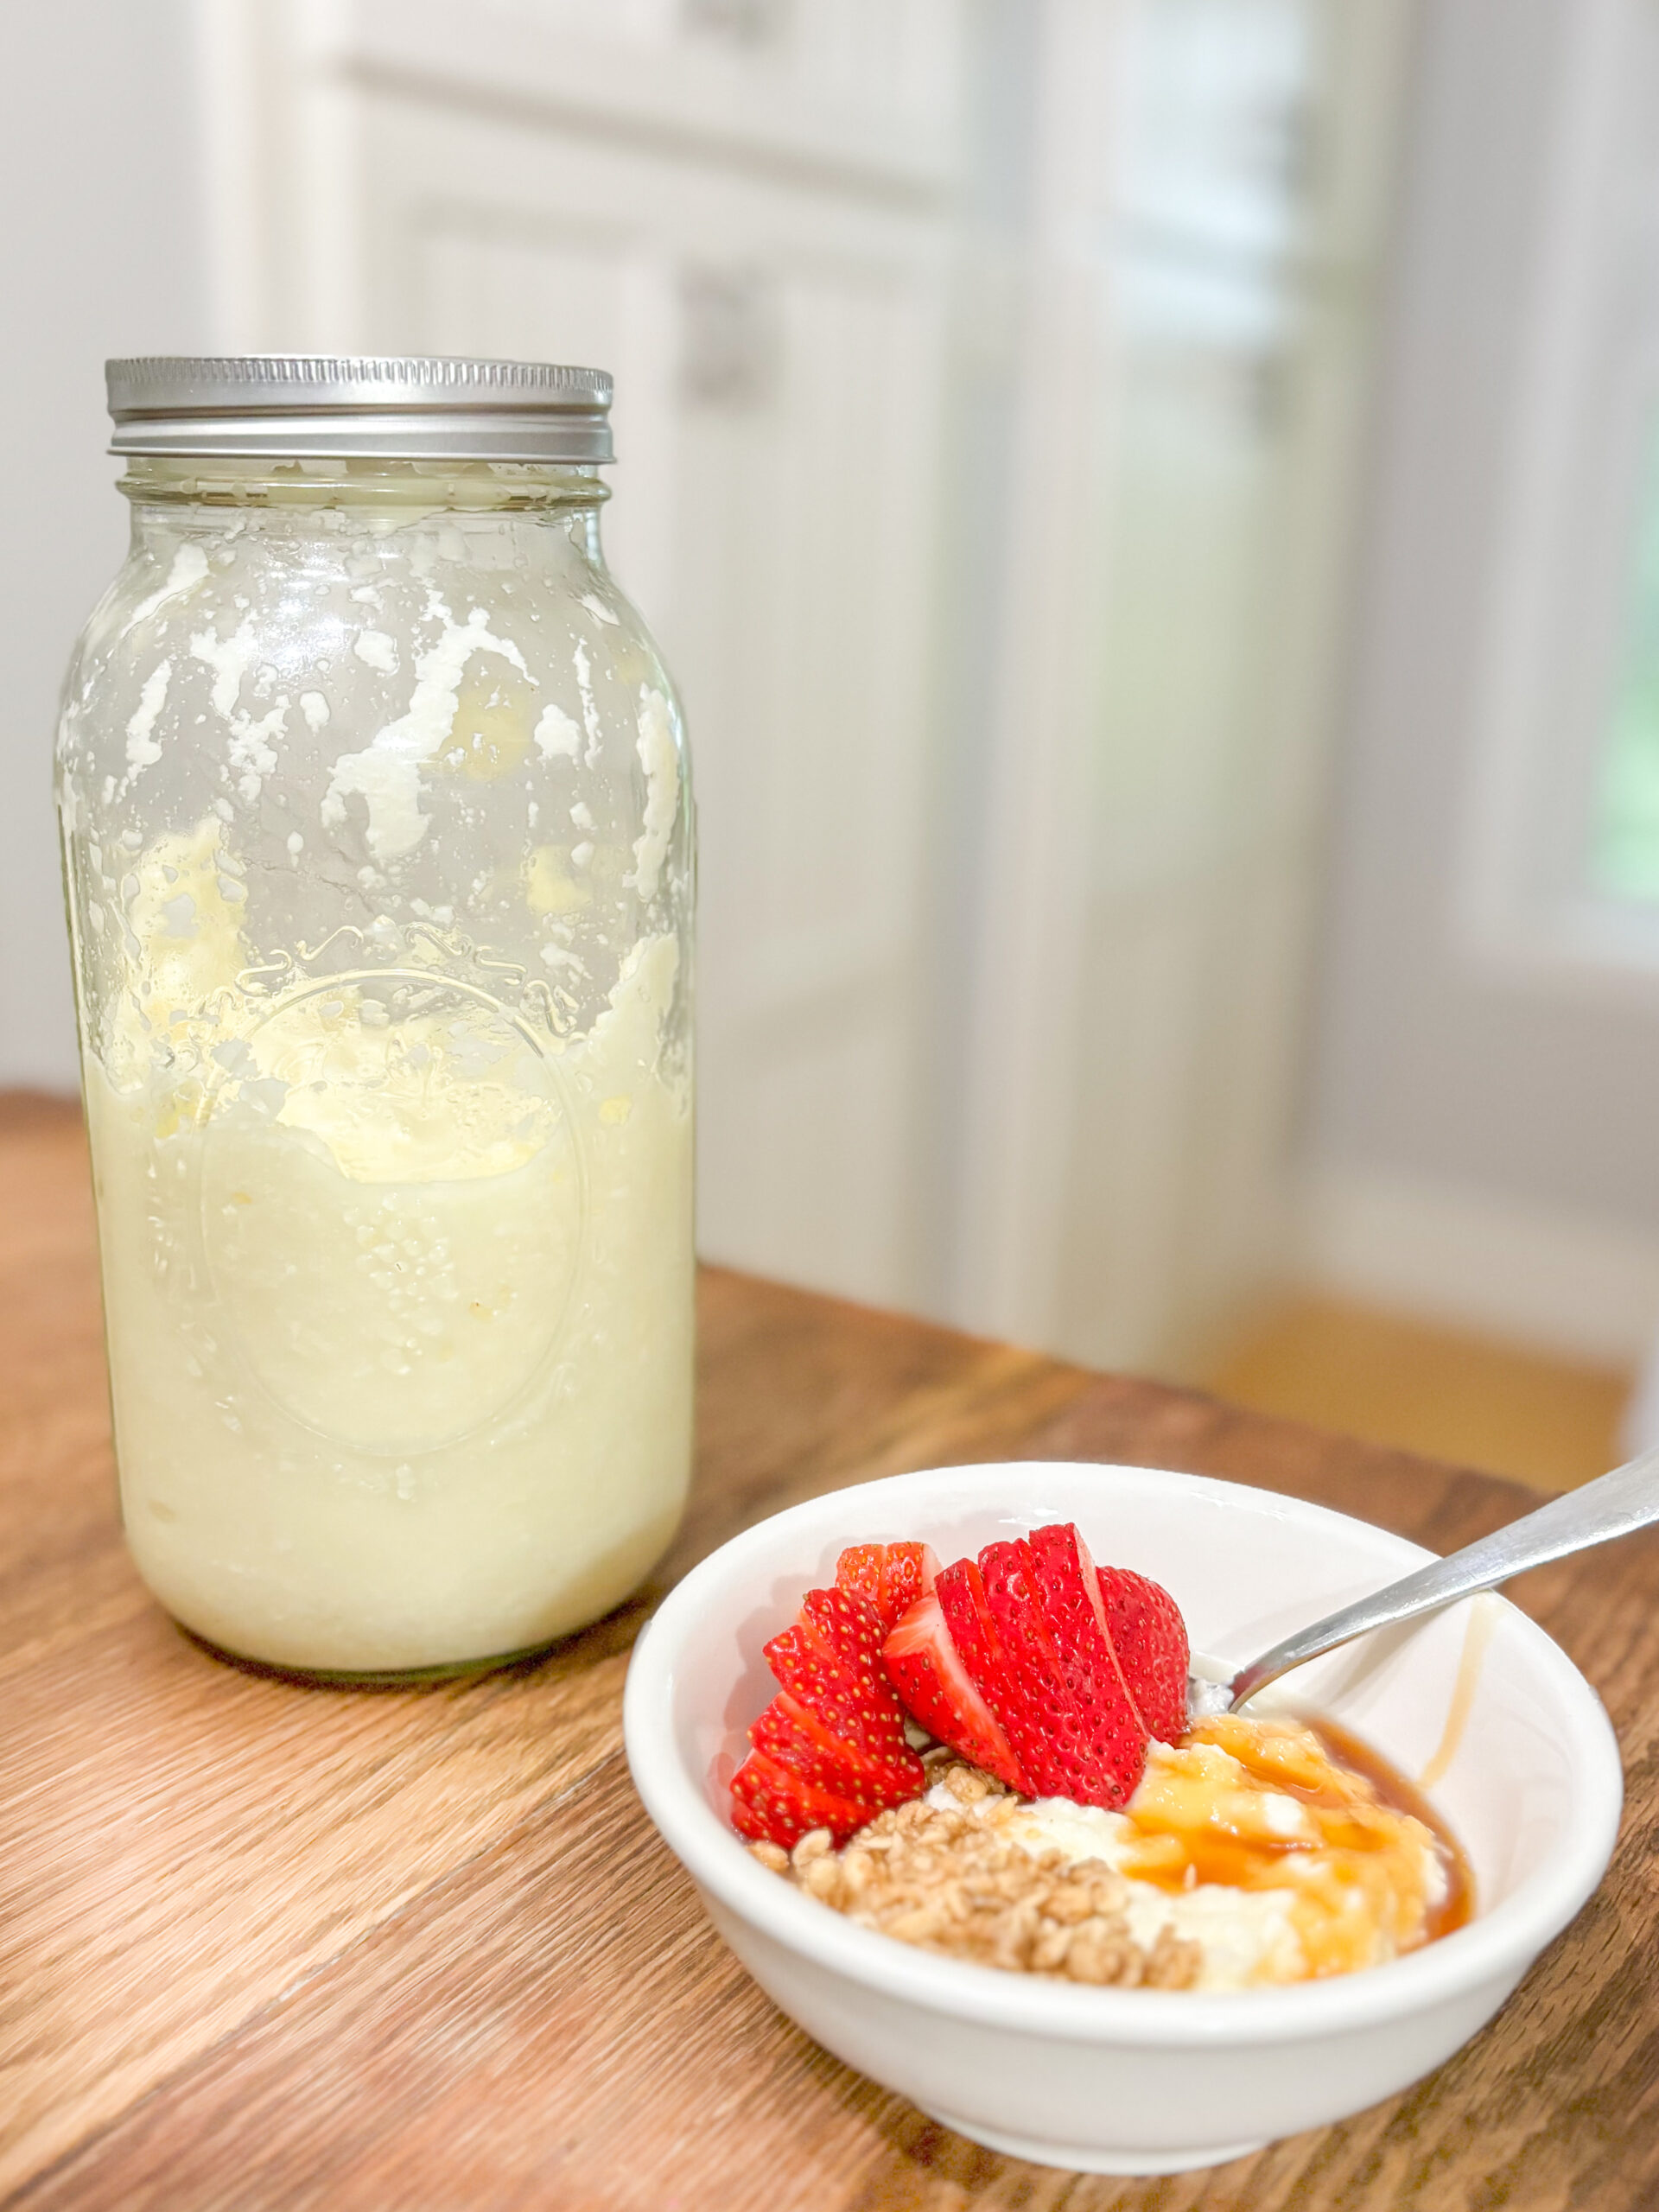
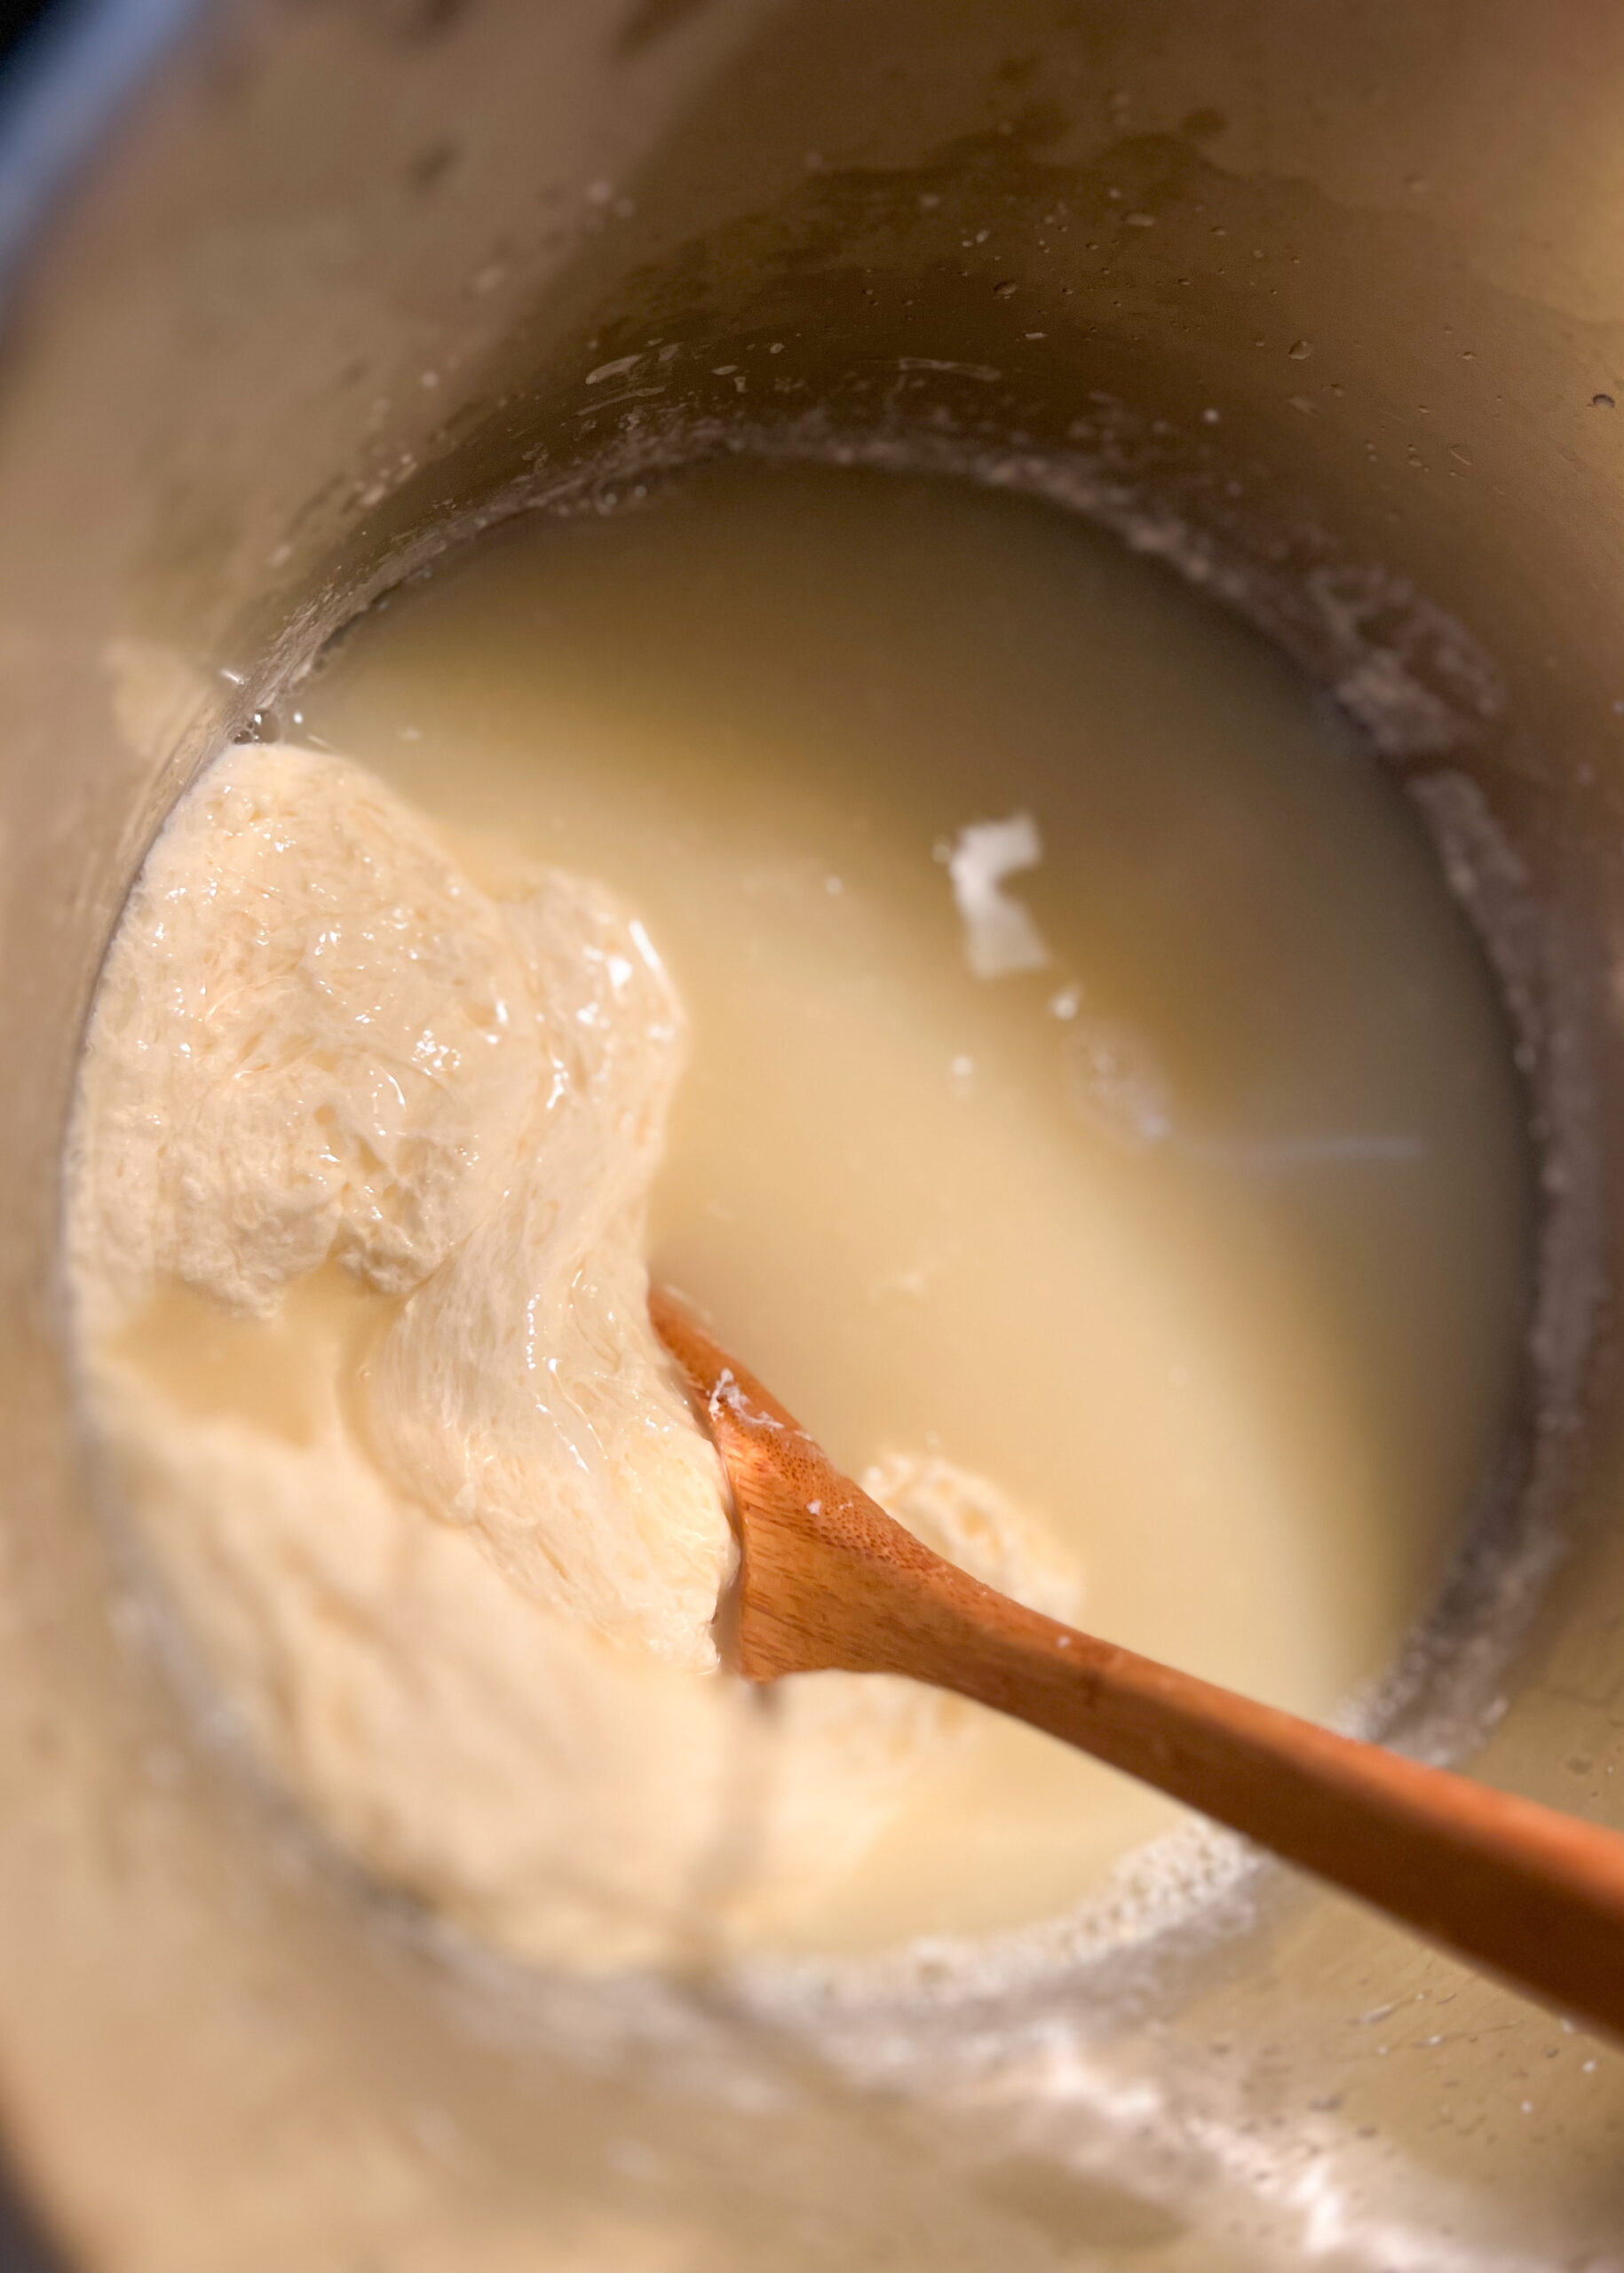
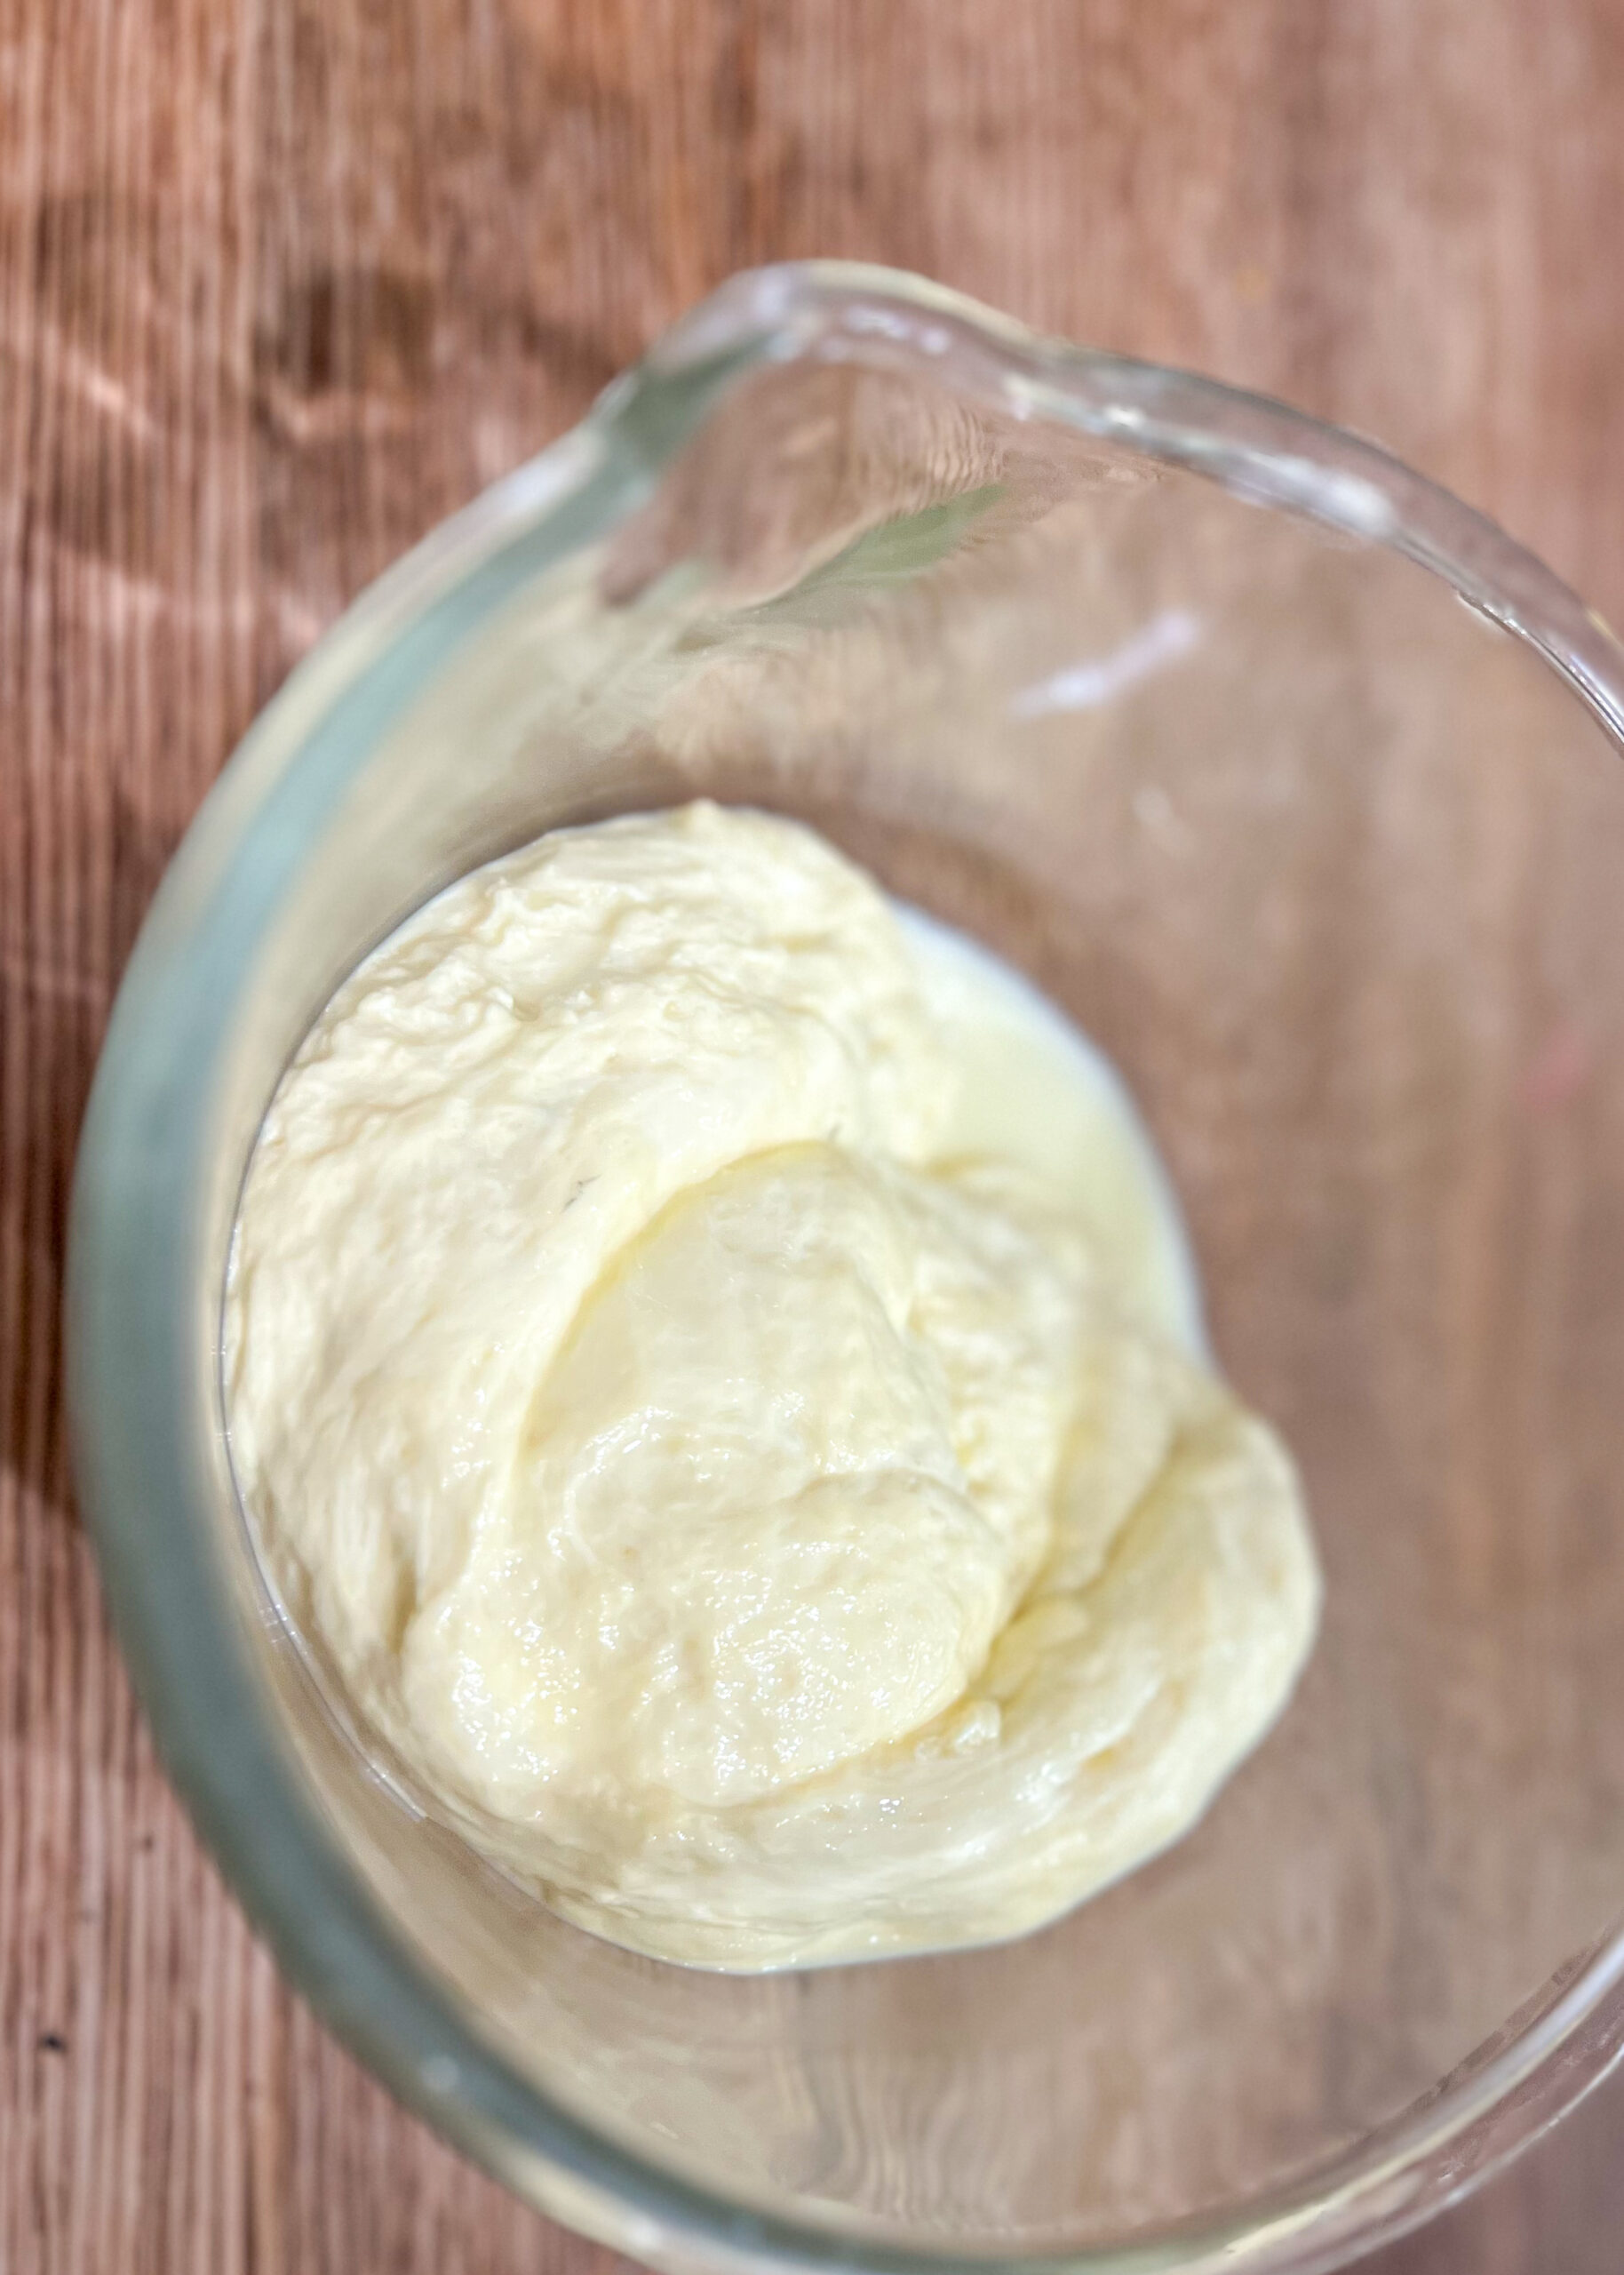
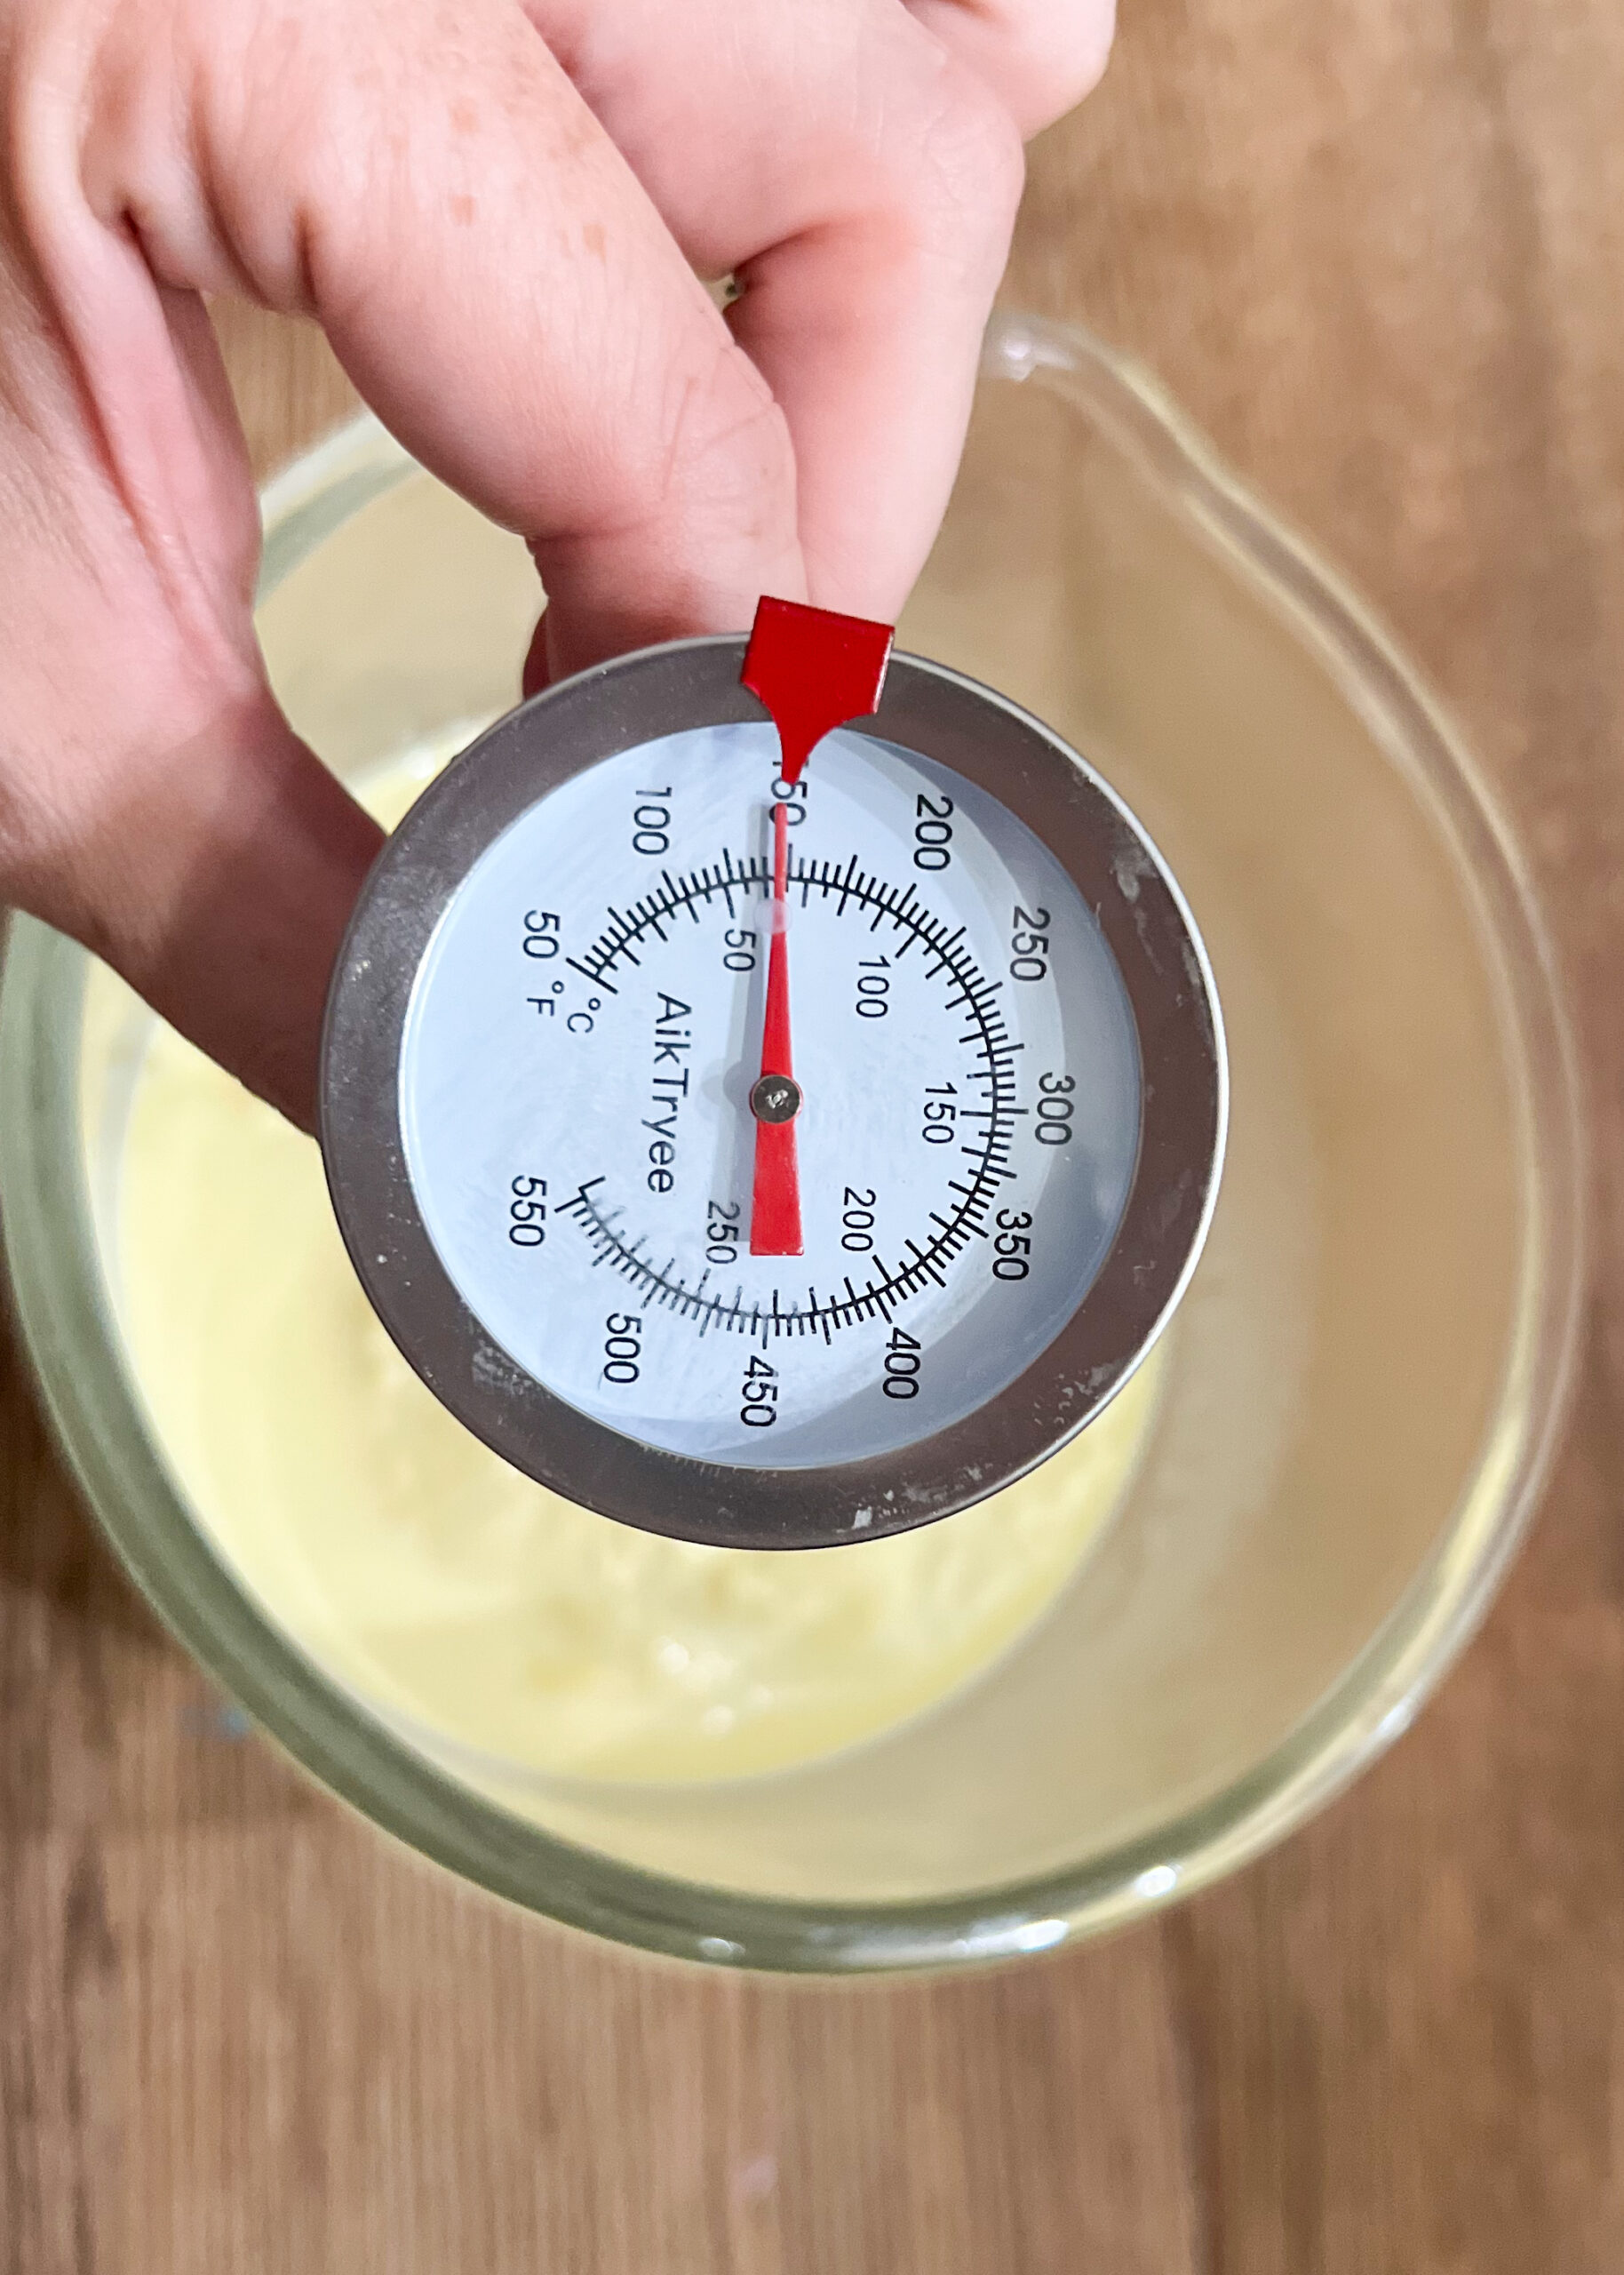
Dairy from scratch can be a great healthy option as well! I buy raw milk from a local micro dairy and make all of the following:
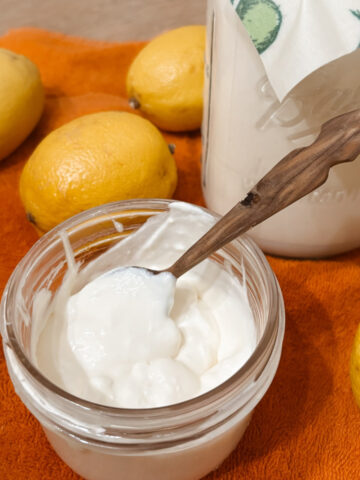
- greek yogurt
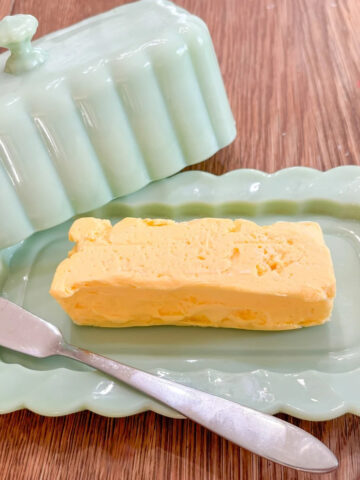
- butter
- cream cheese
- sour cream
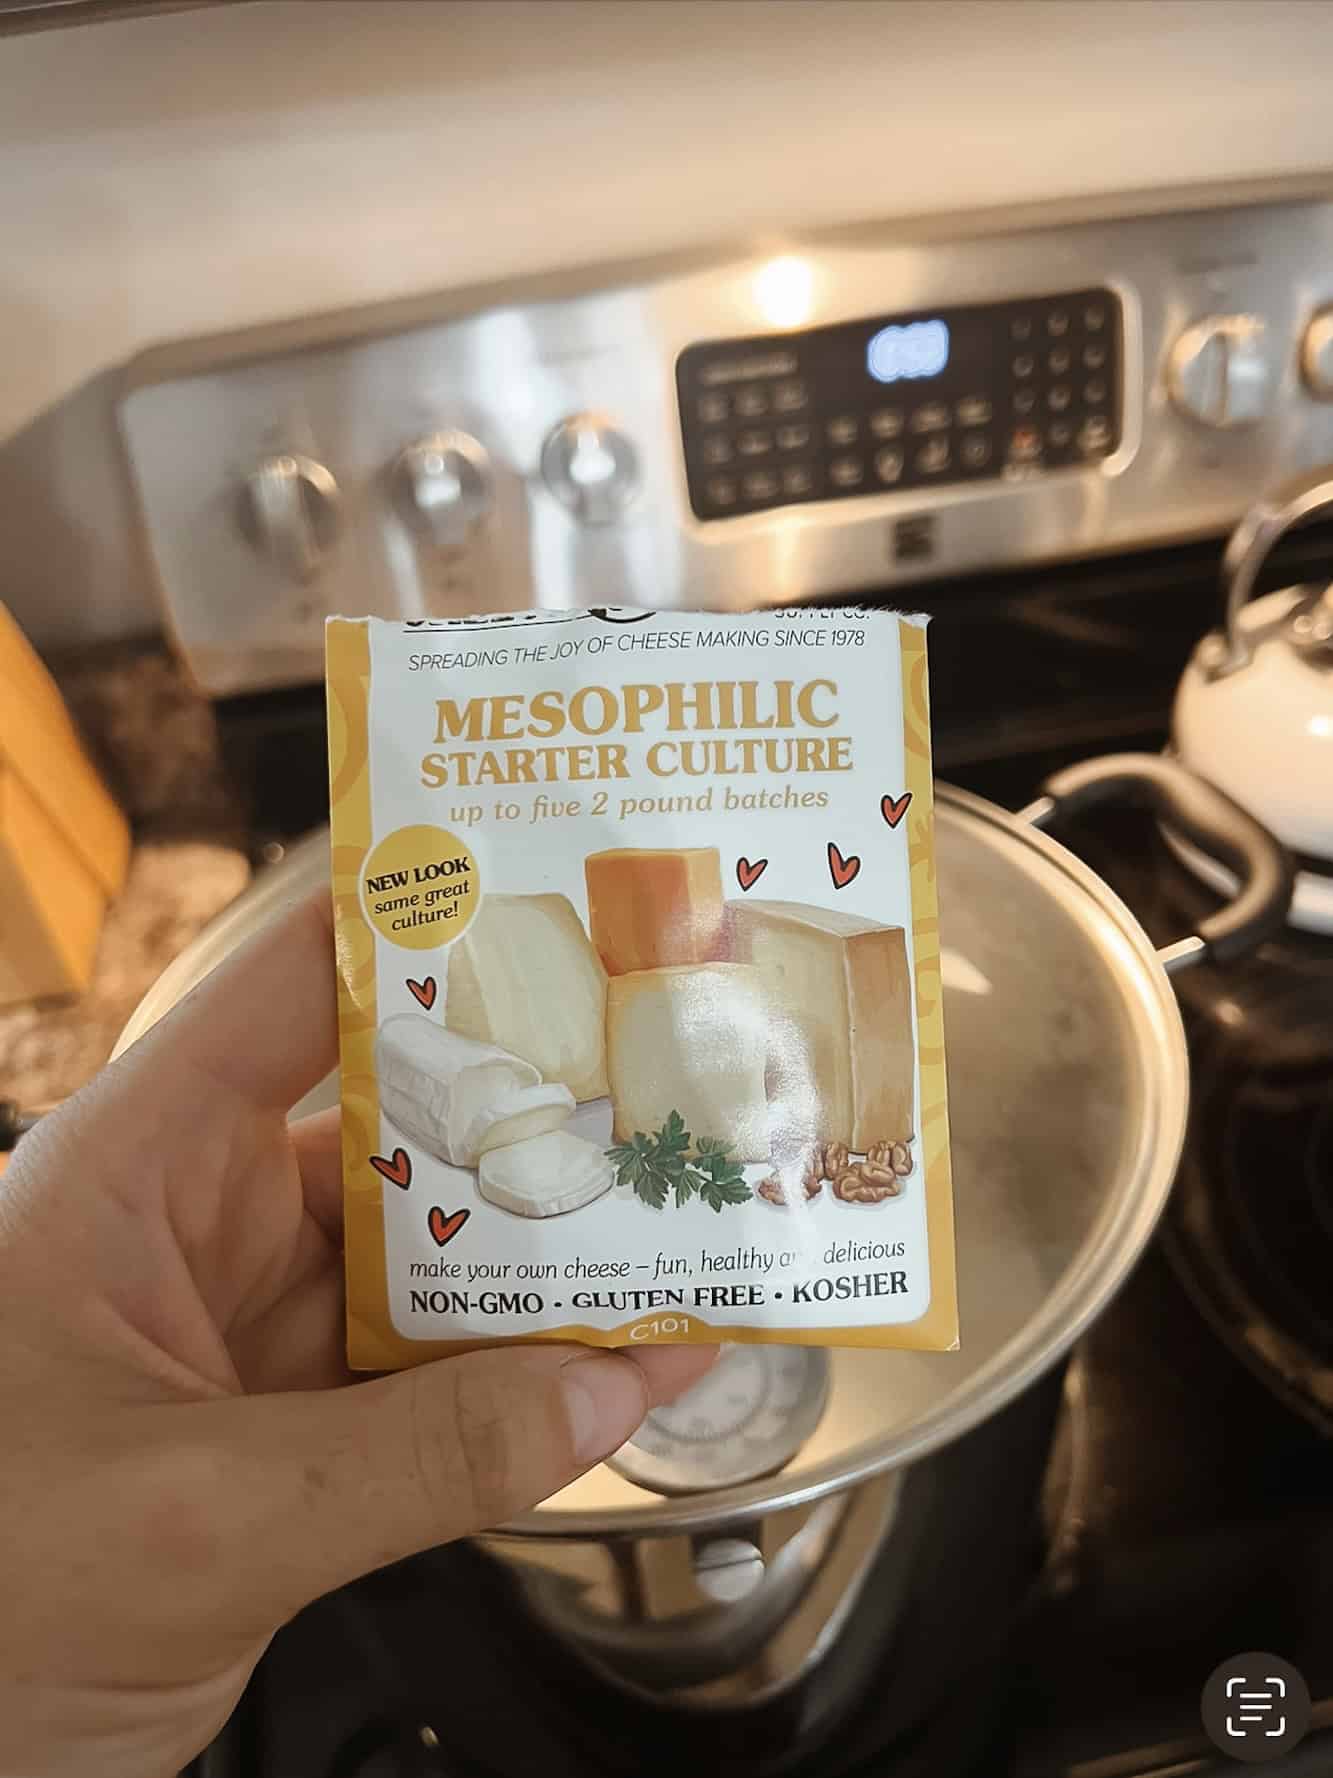
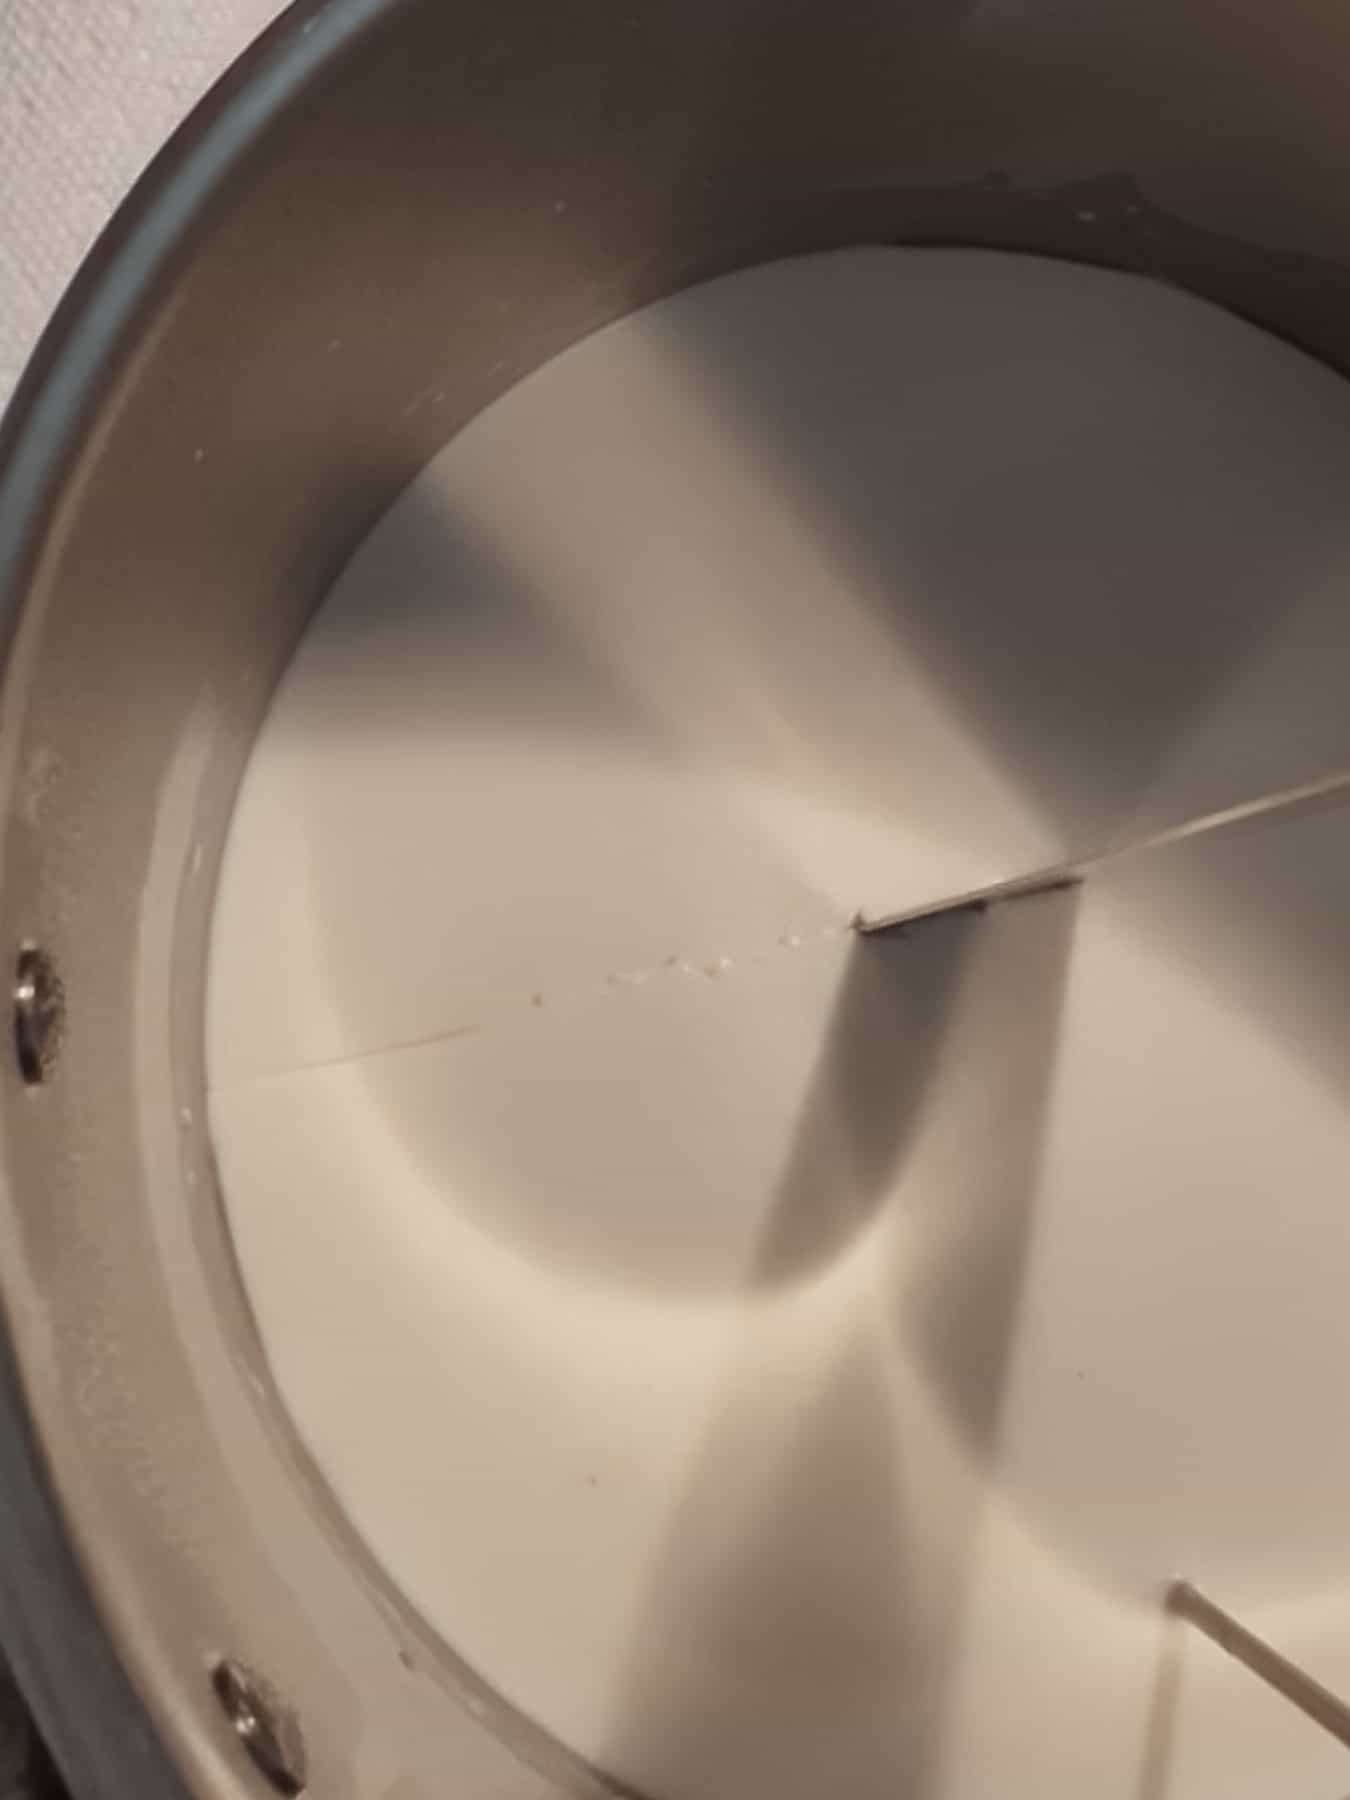
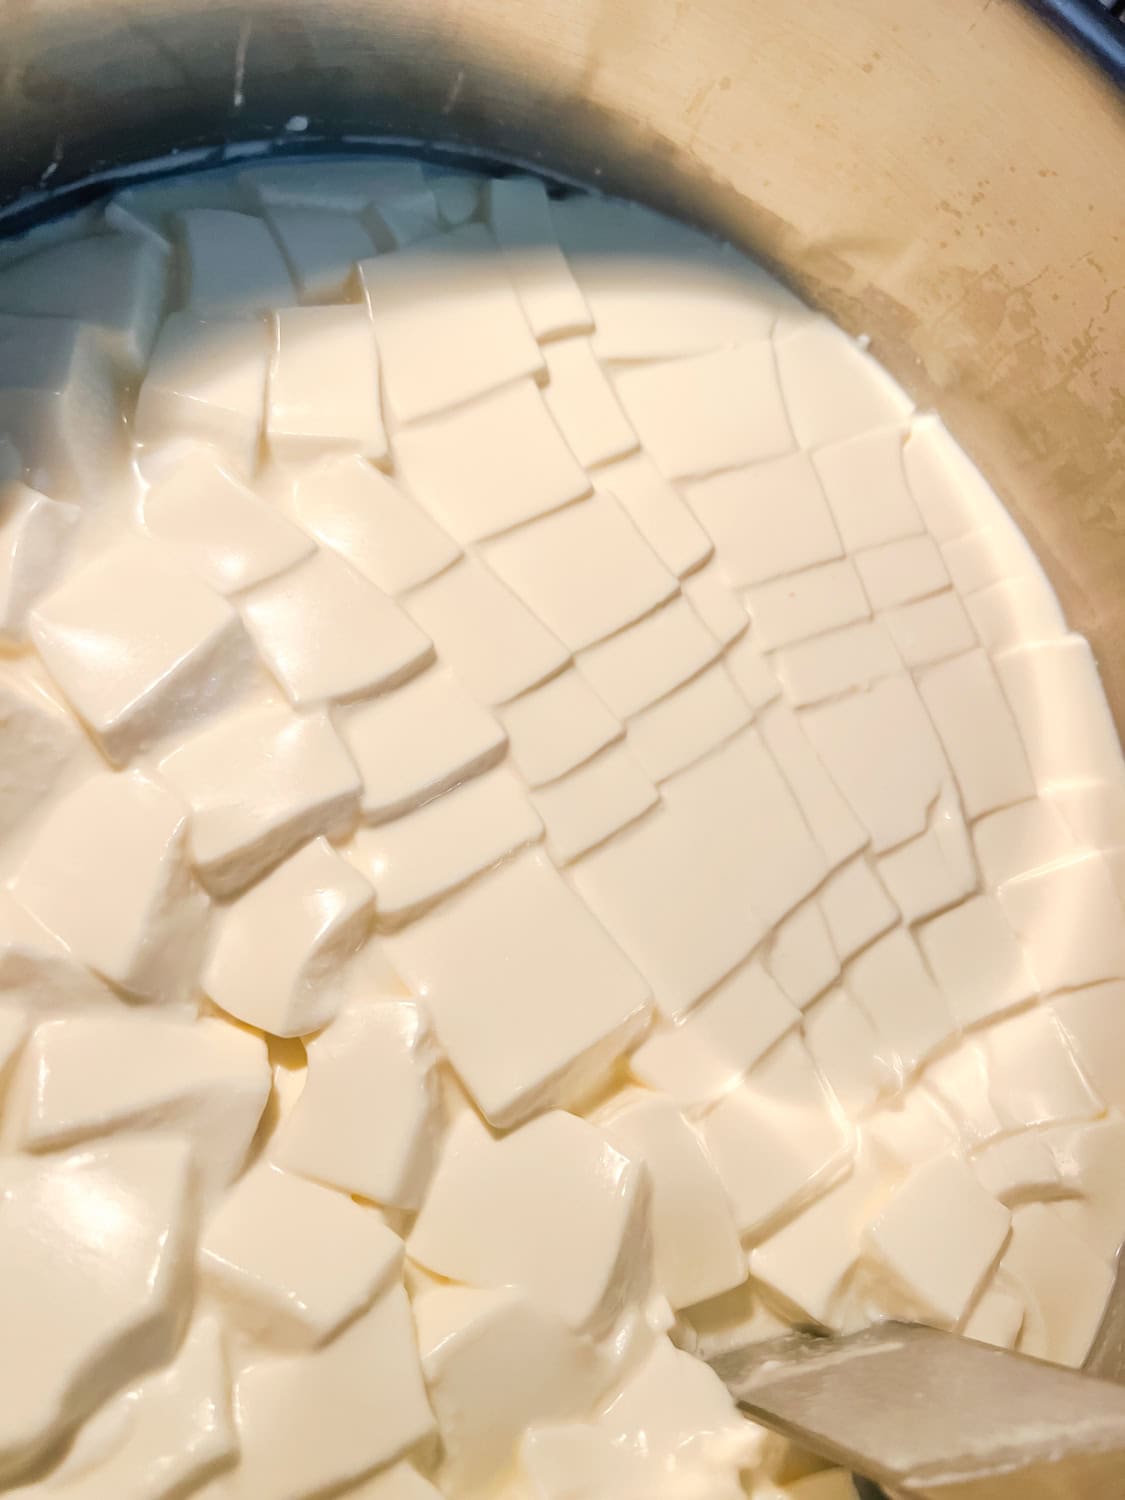
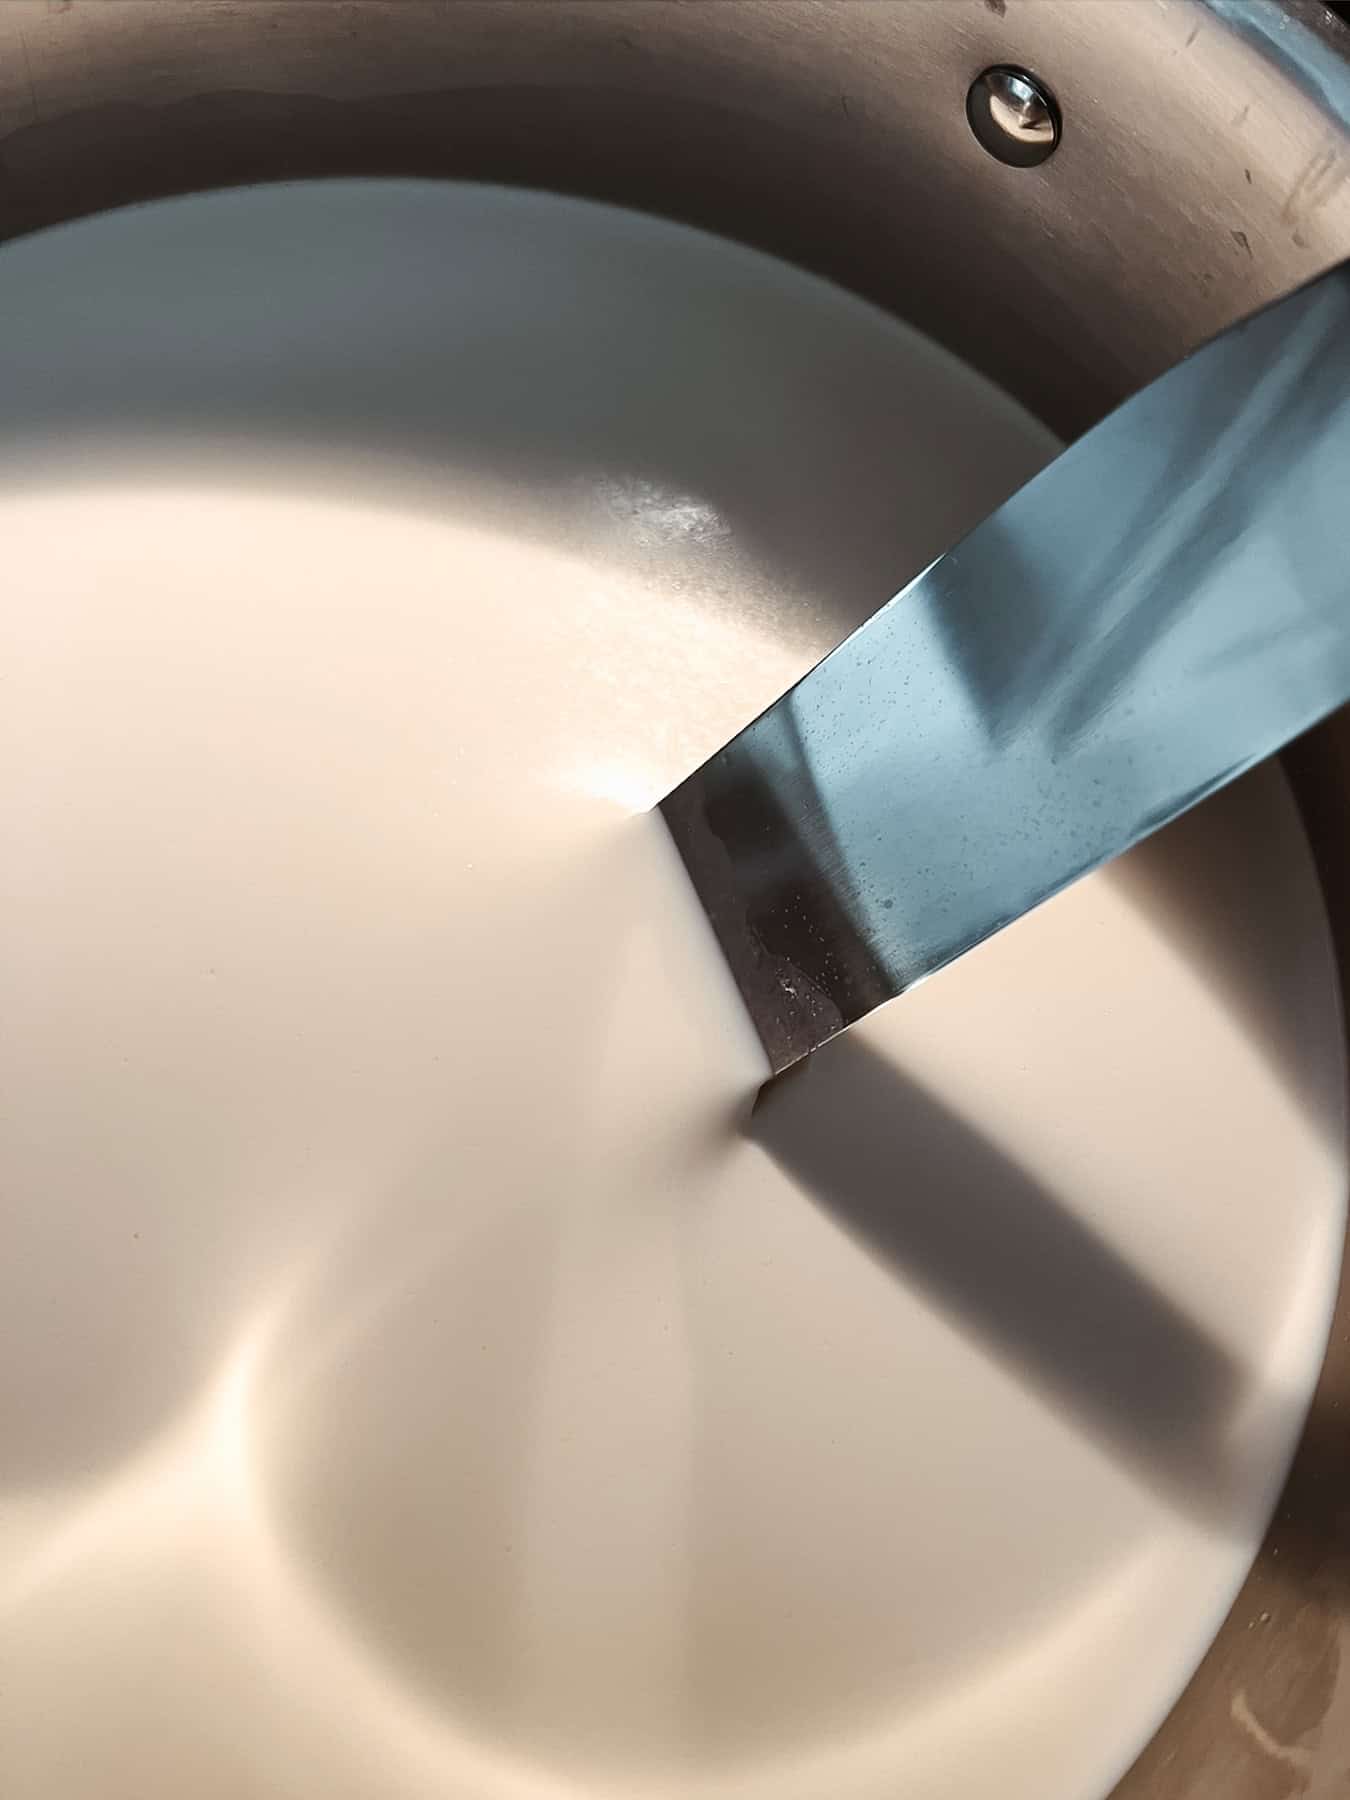
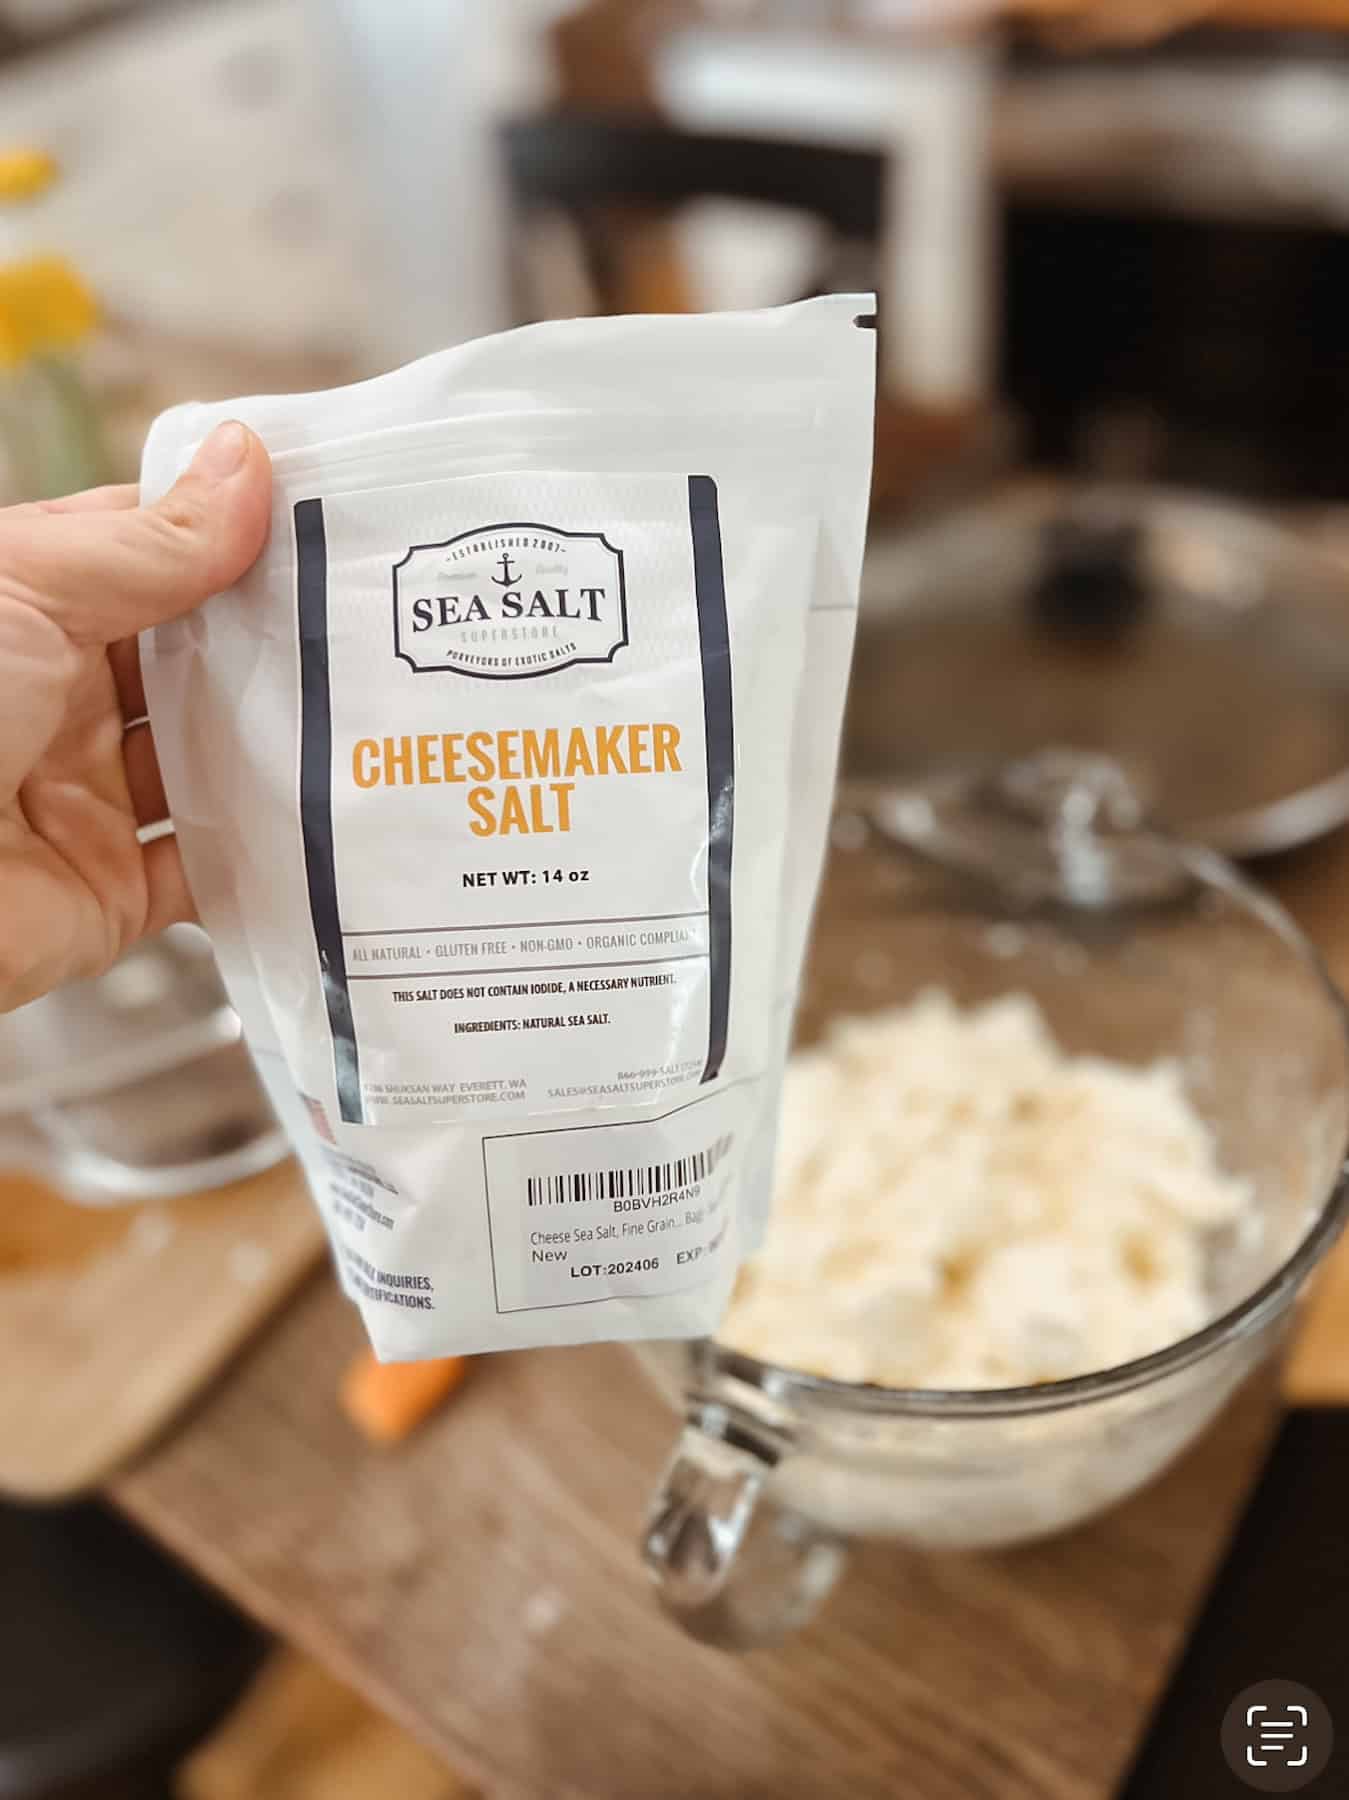
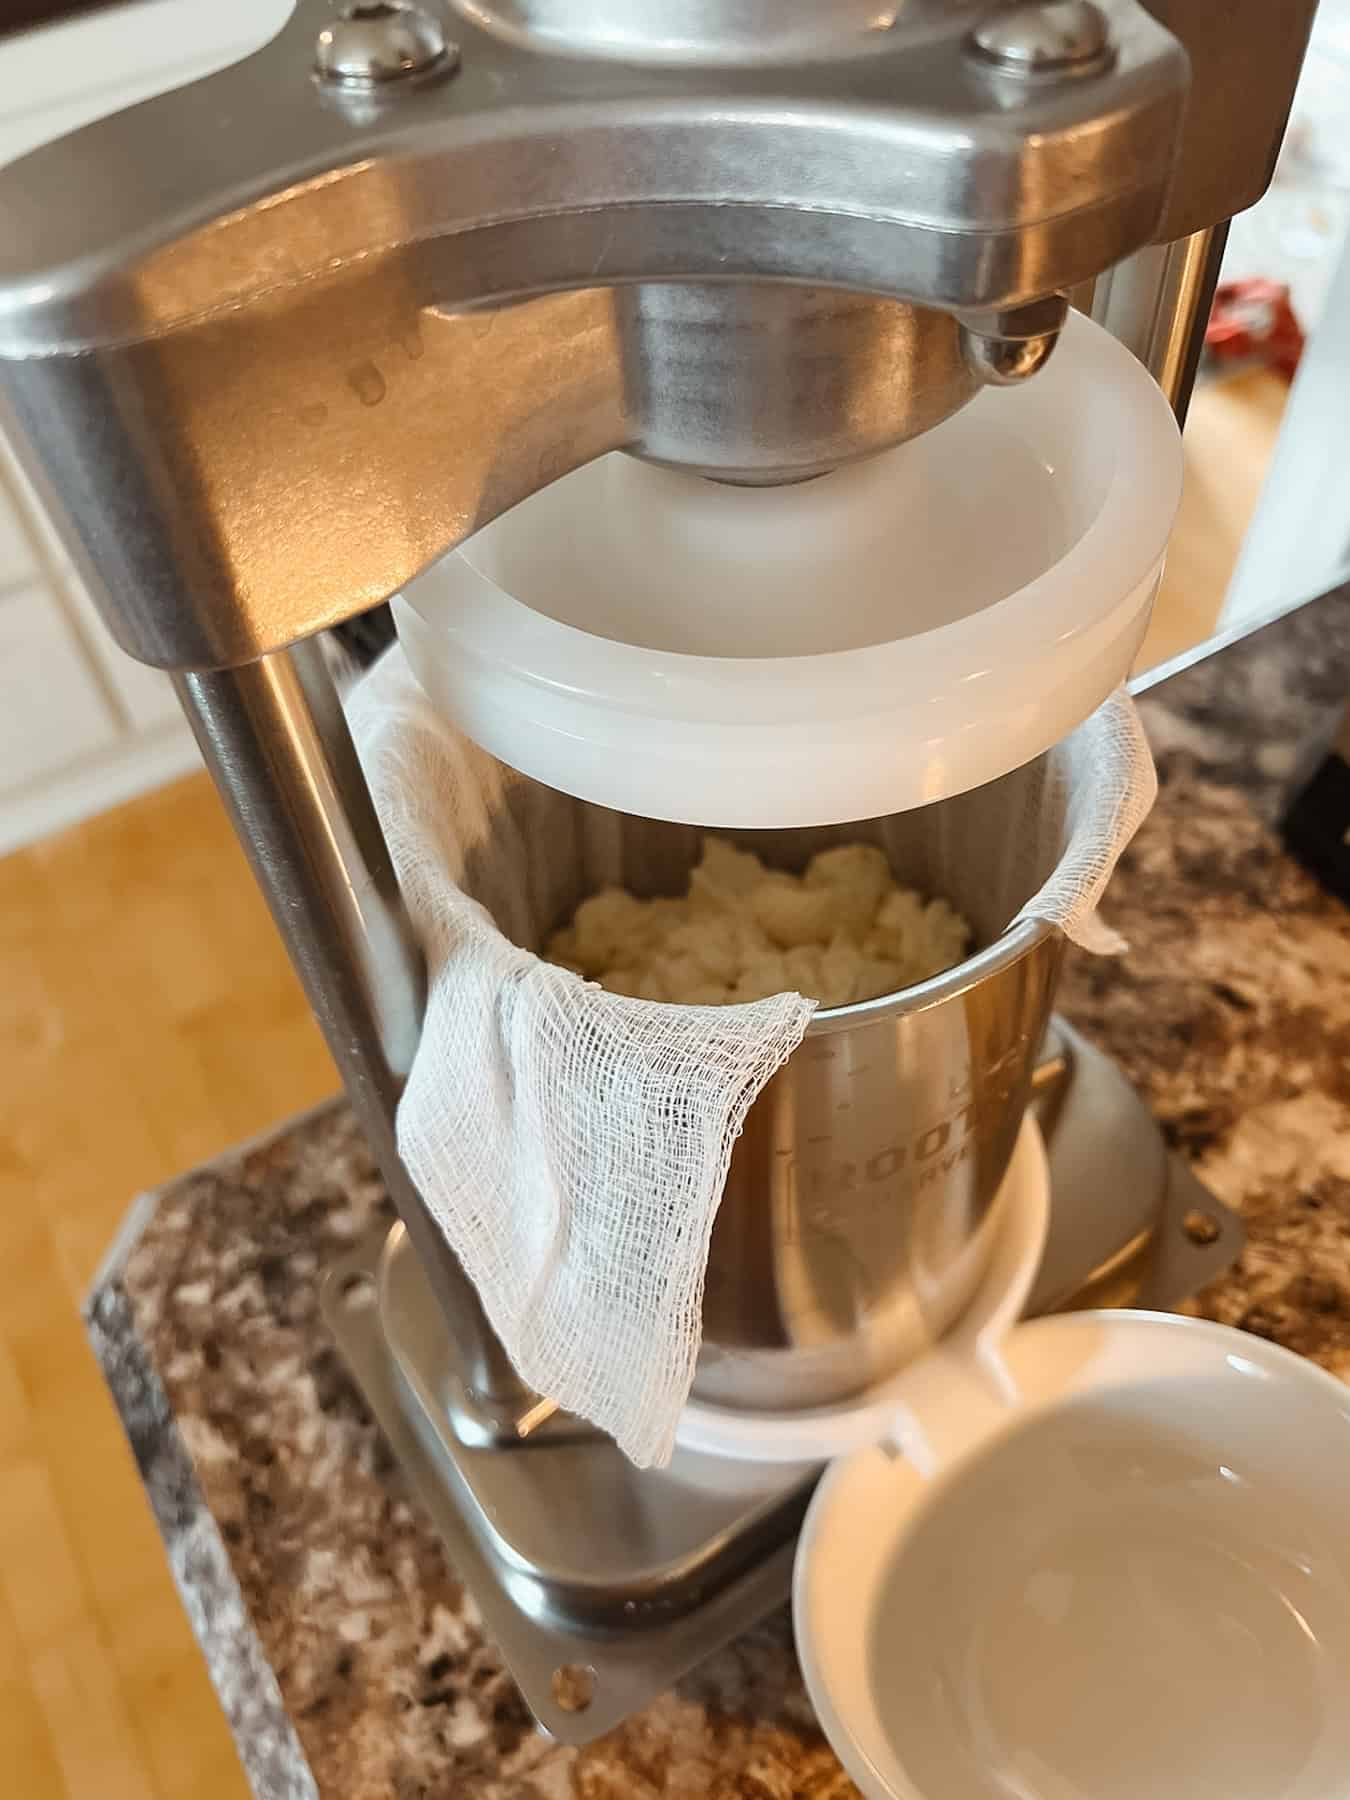
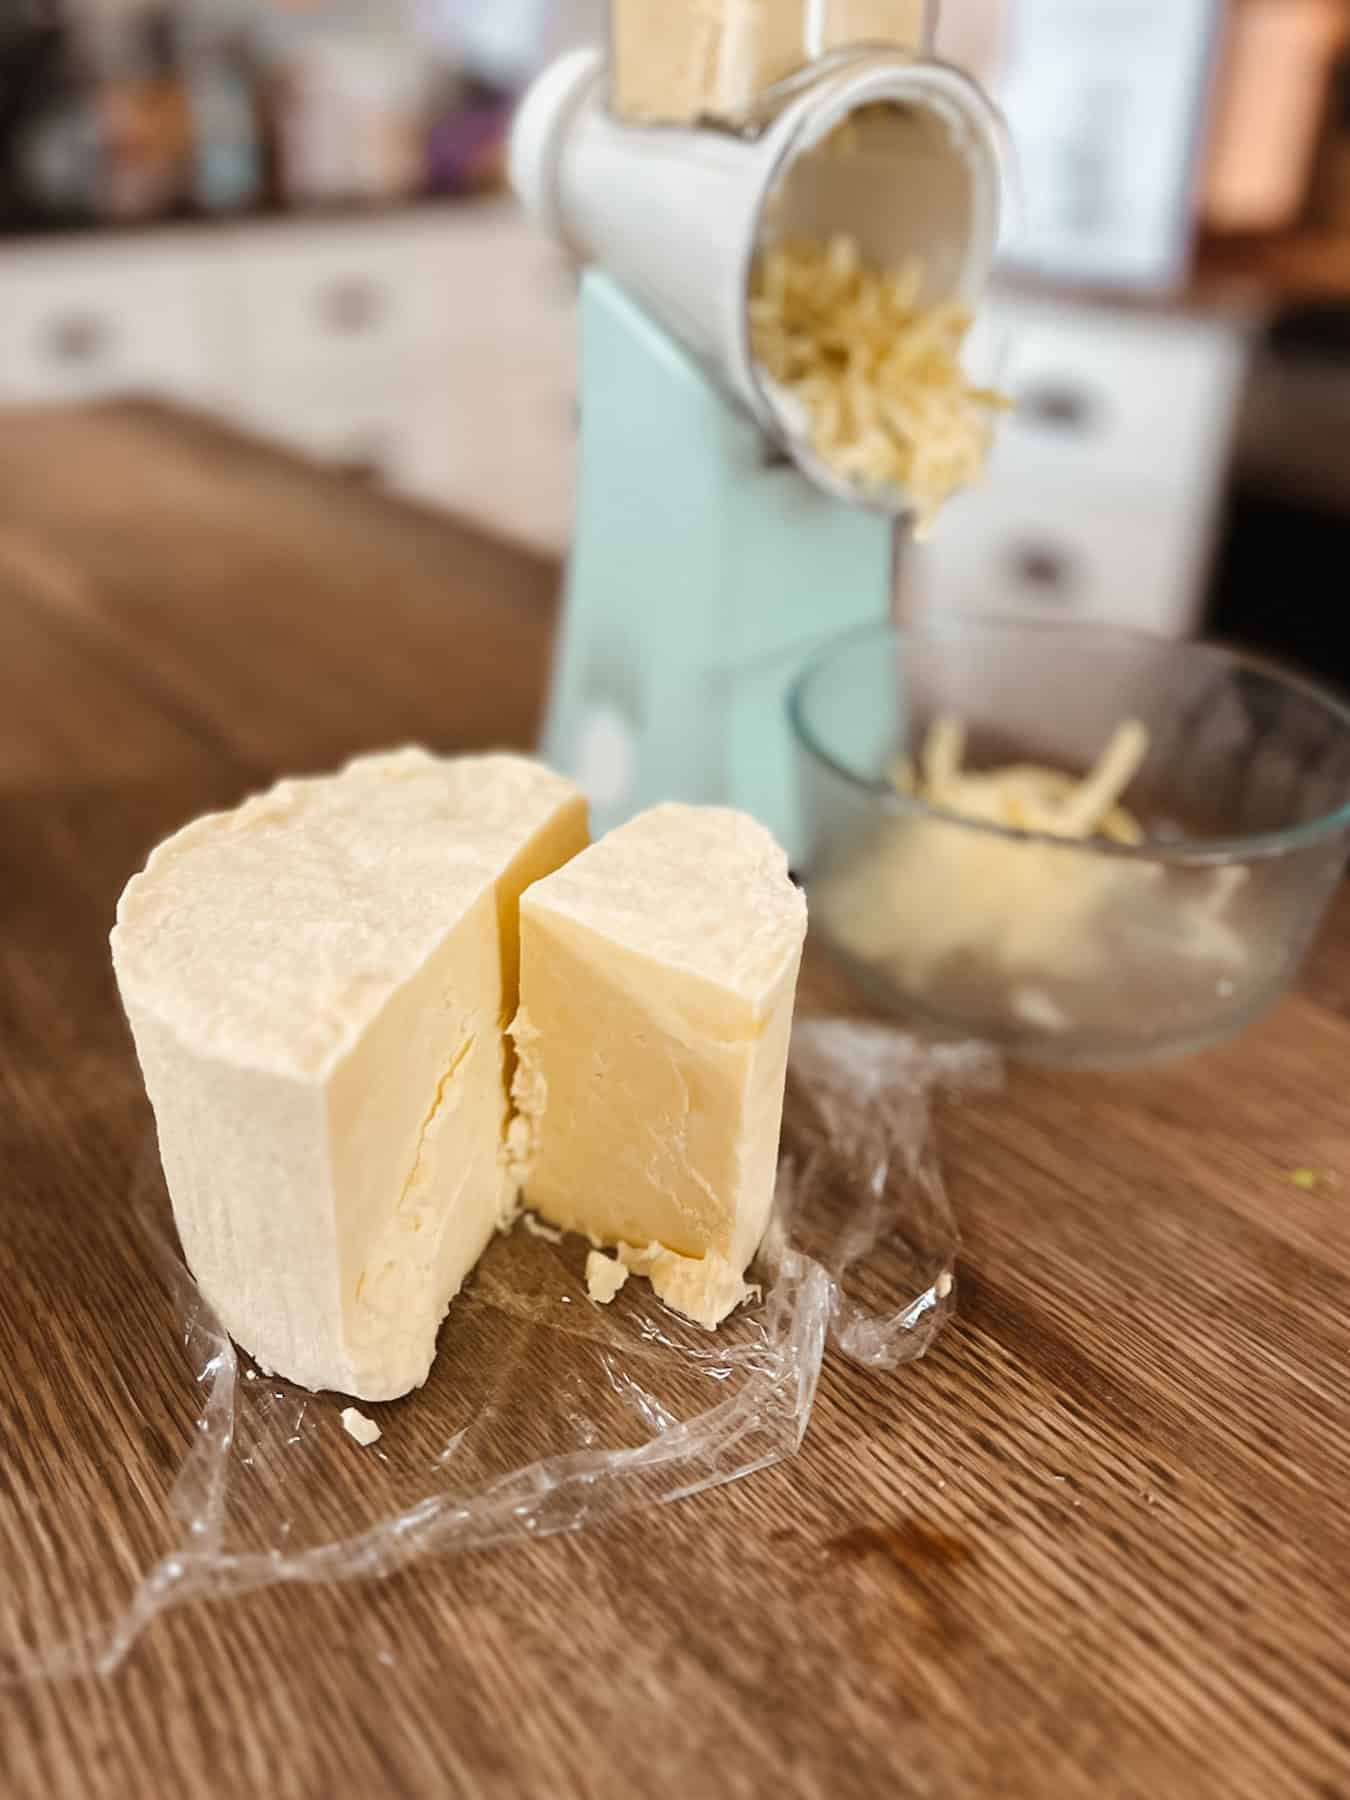
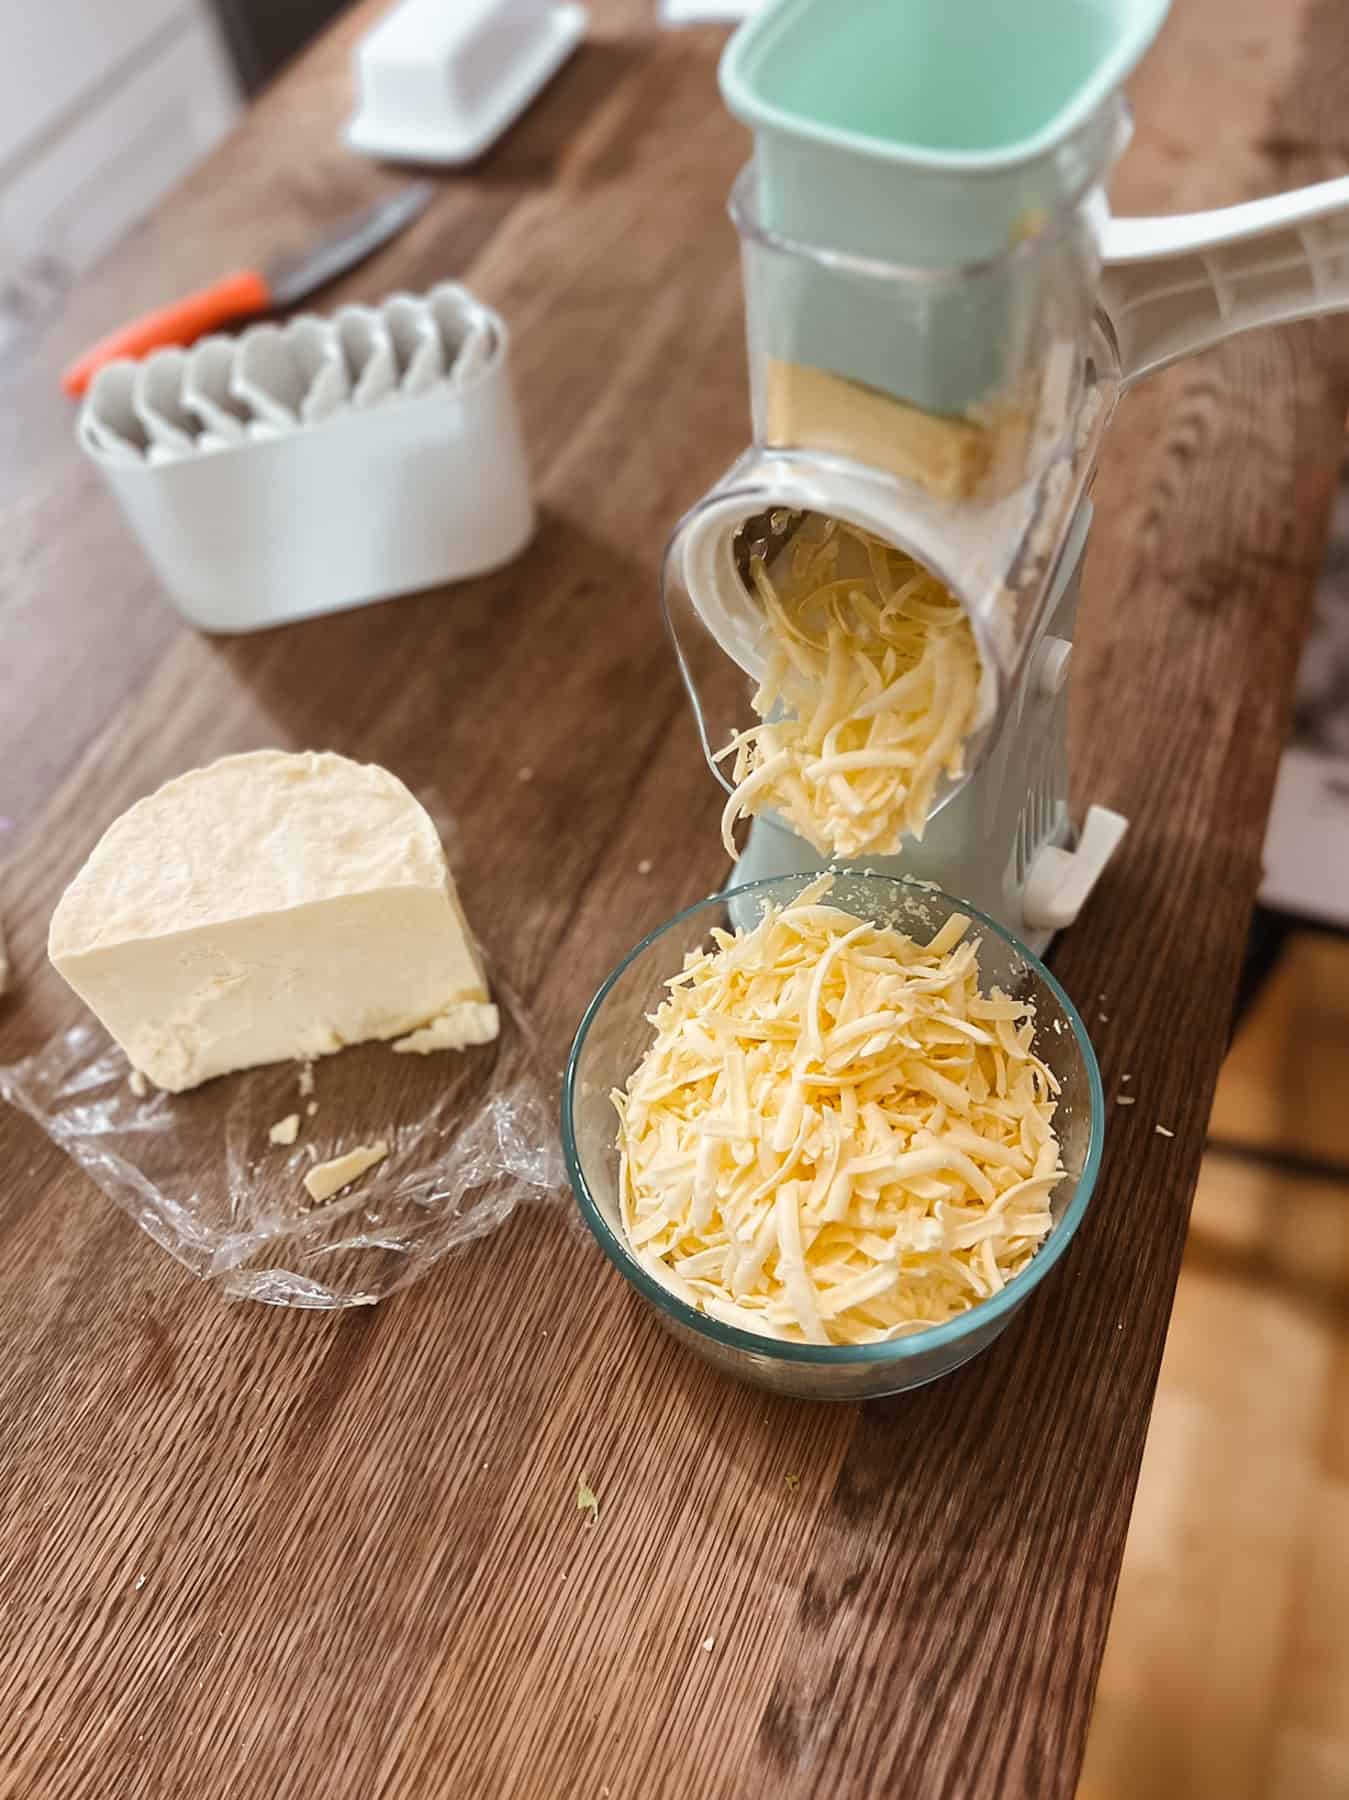
- mozzarella and cheddar cheese (this is a little more advanced)
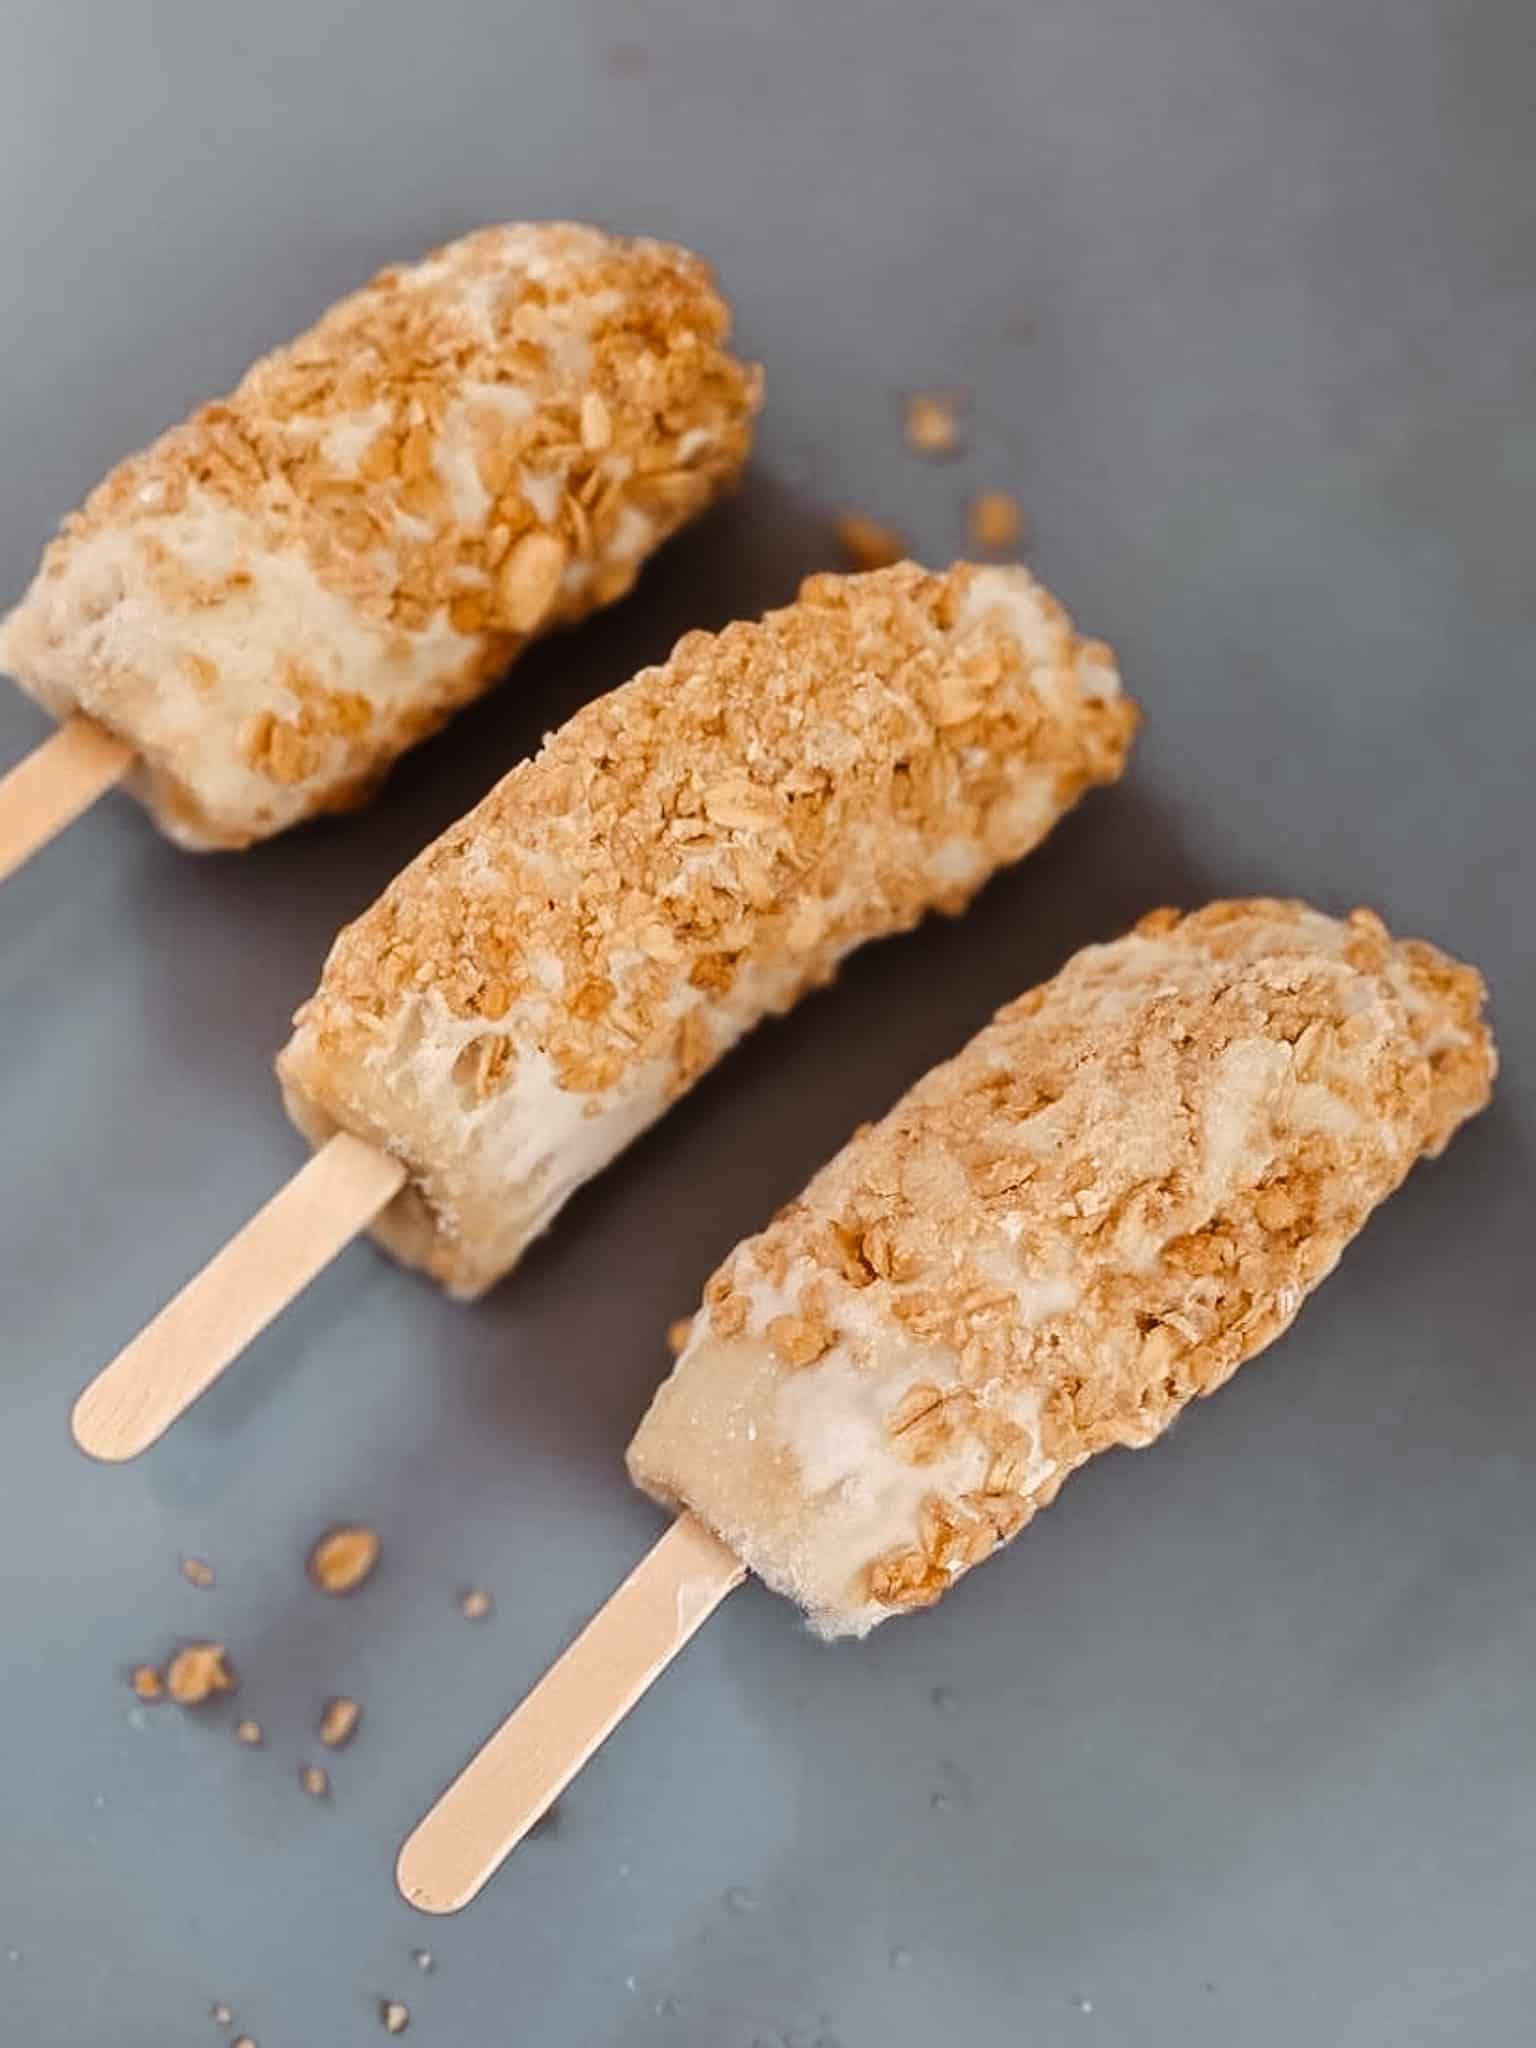
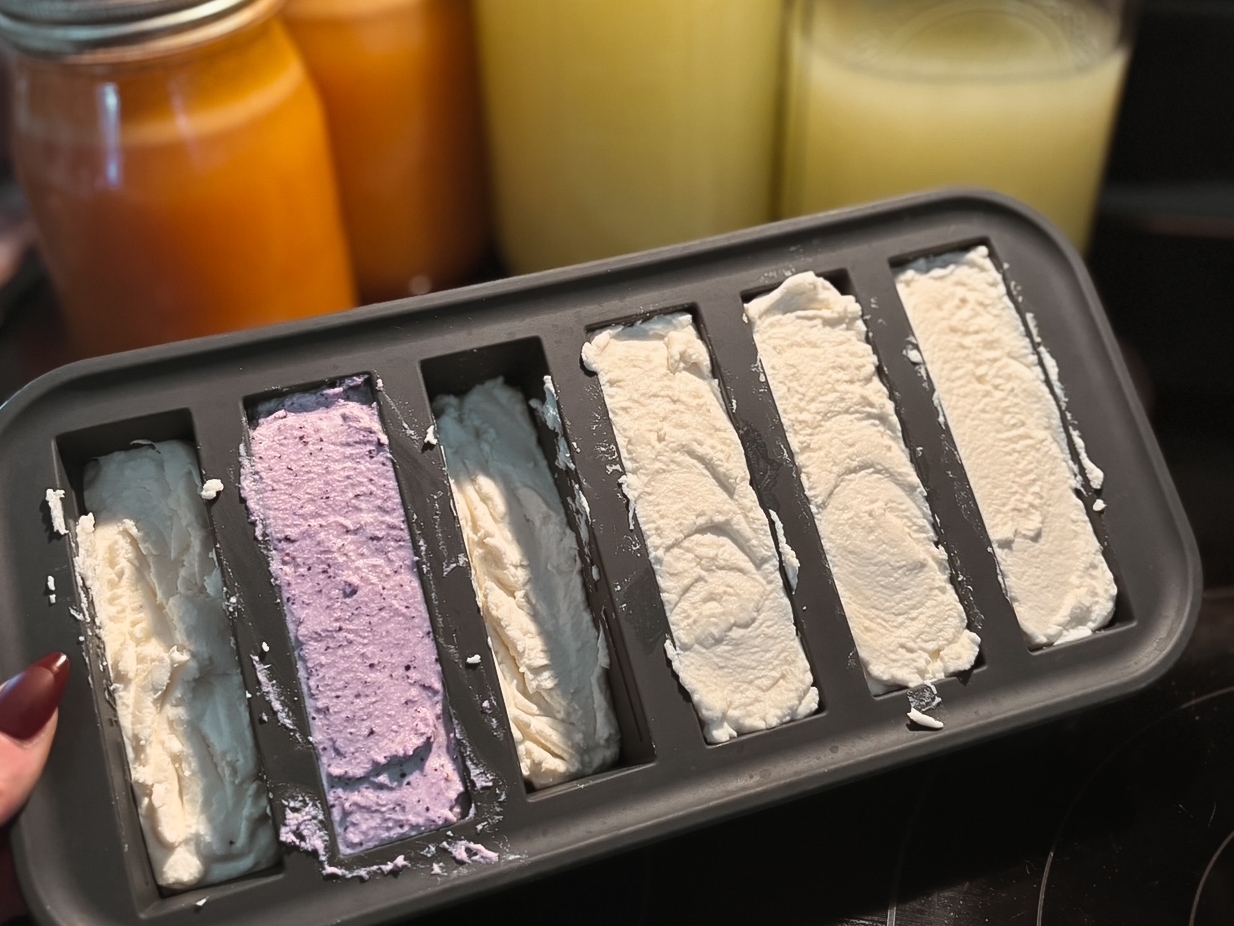
- yogurt pops
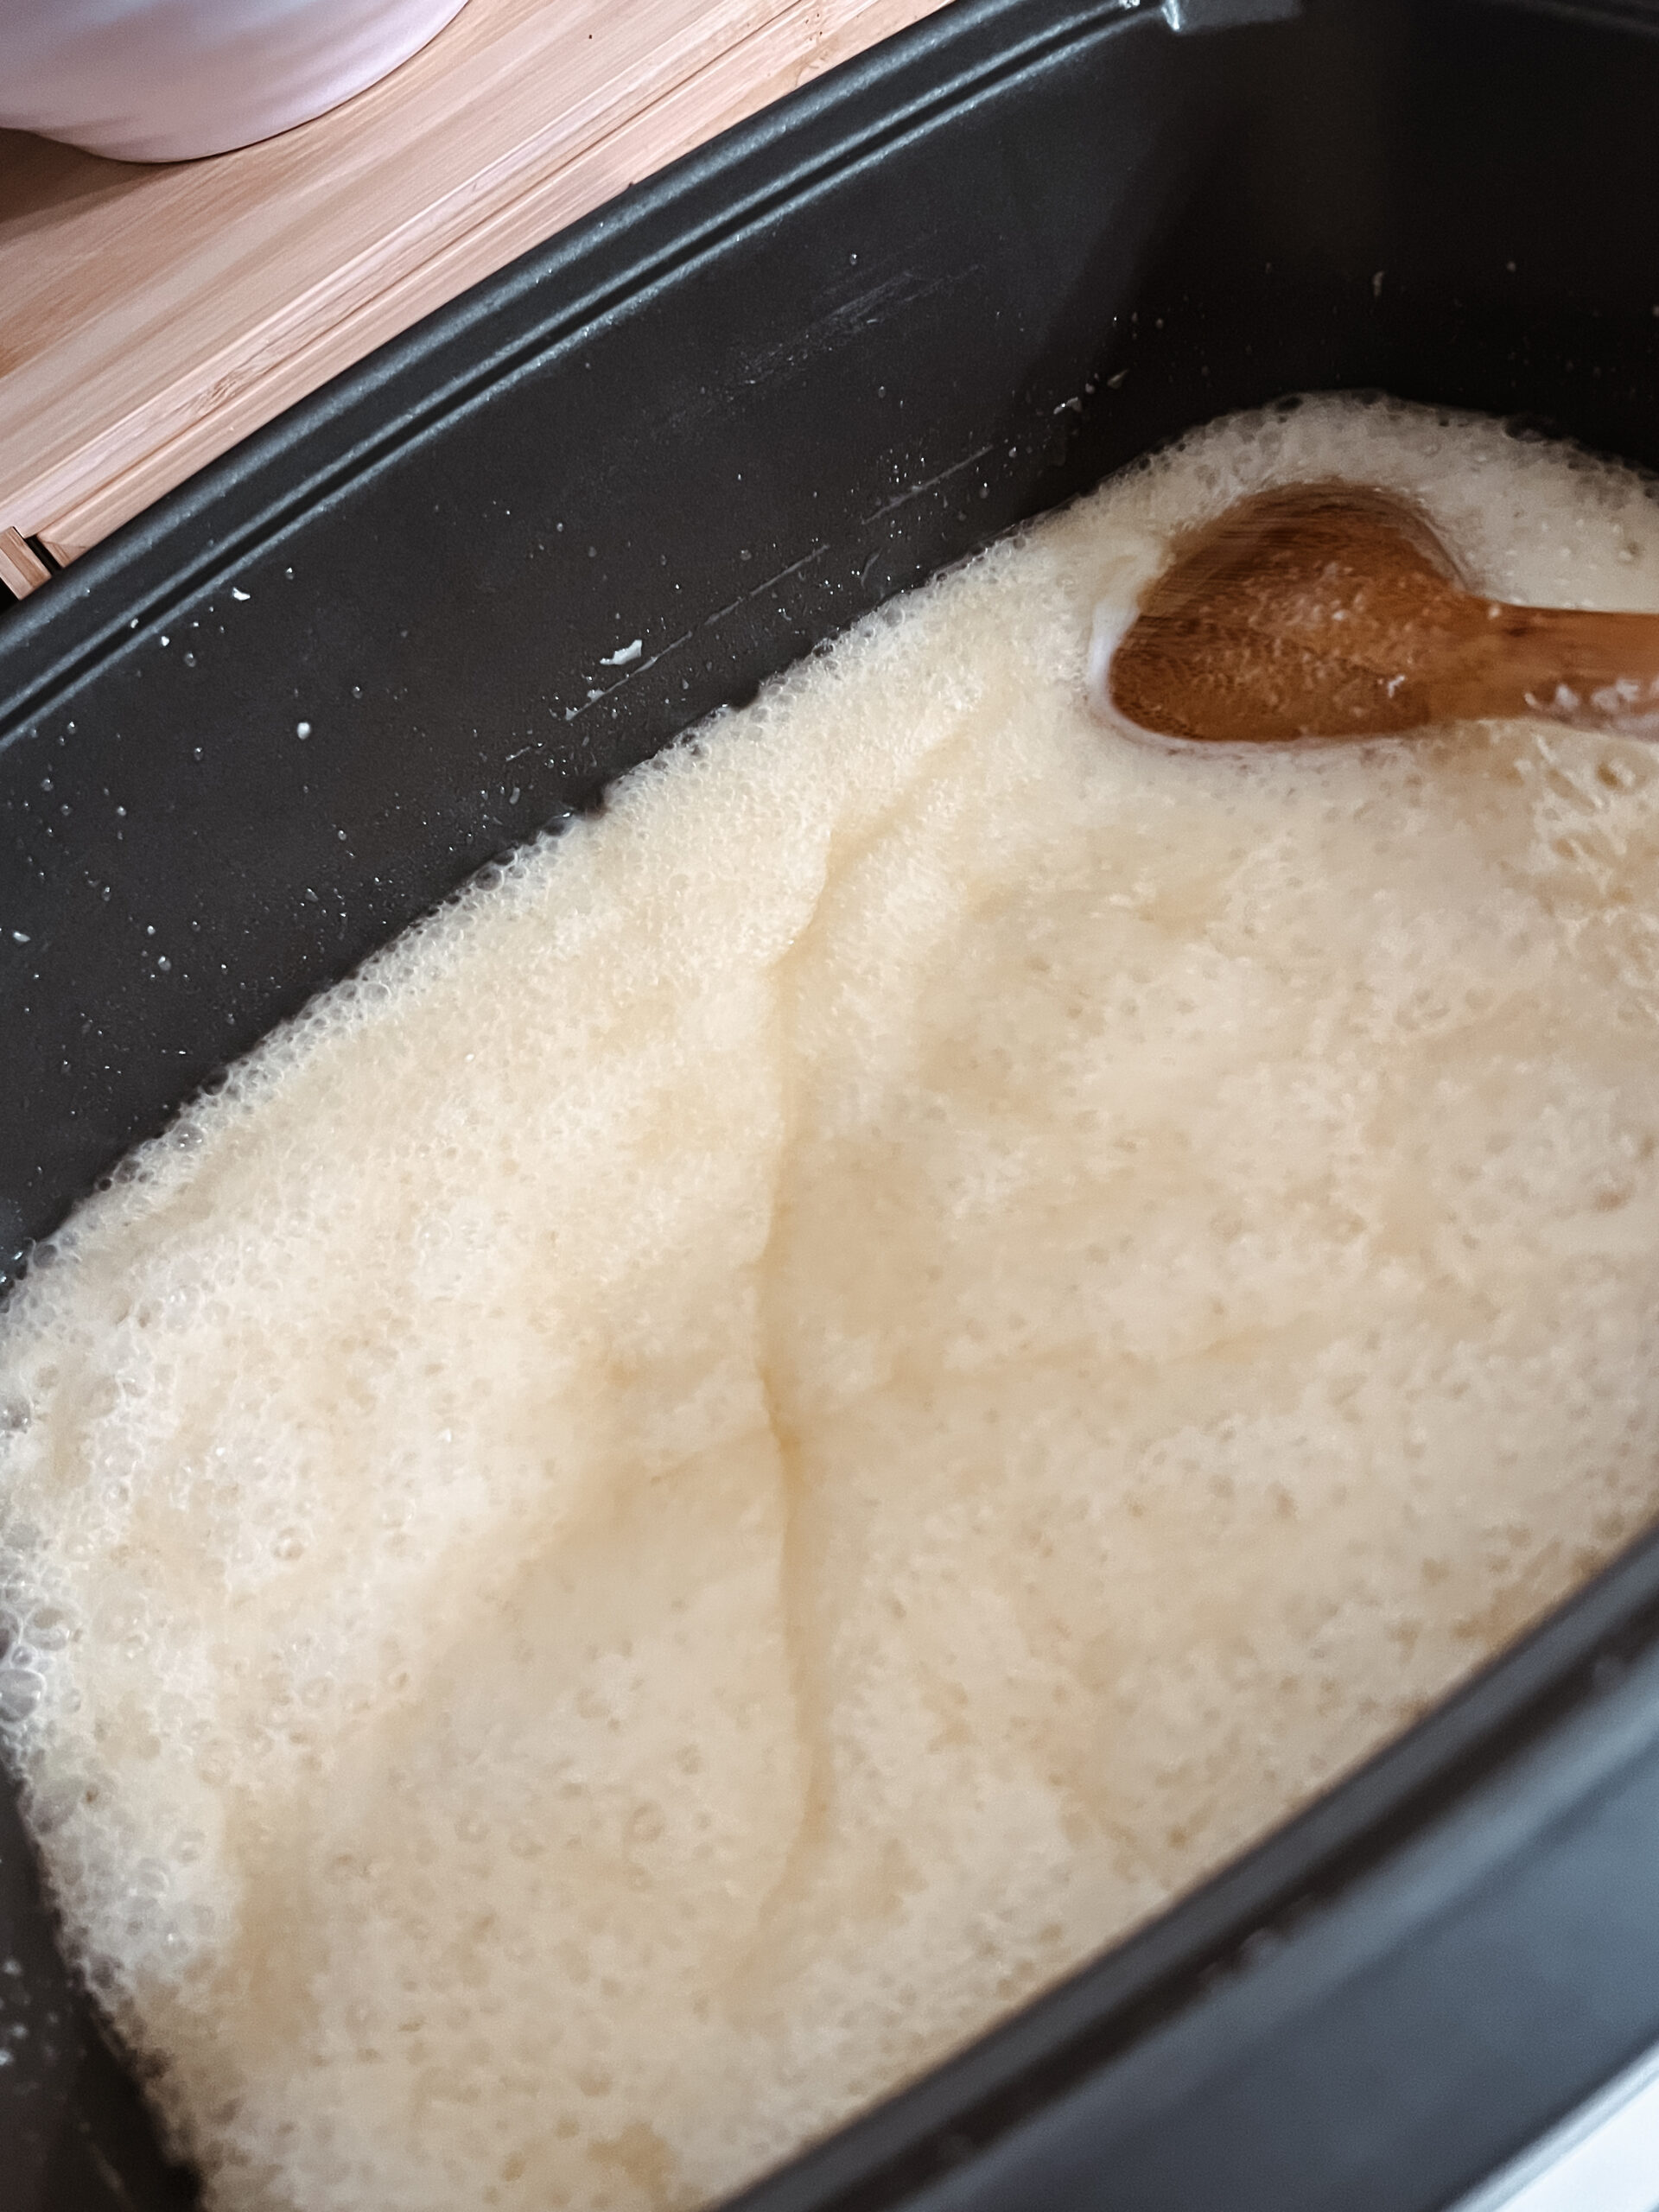
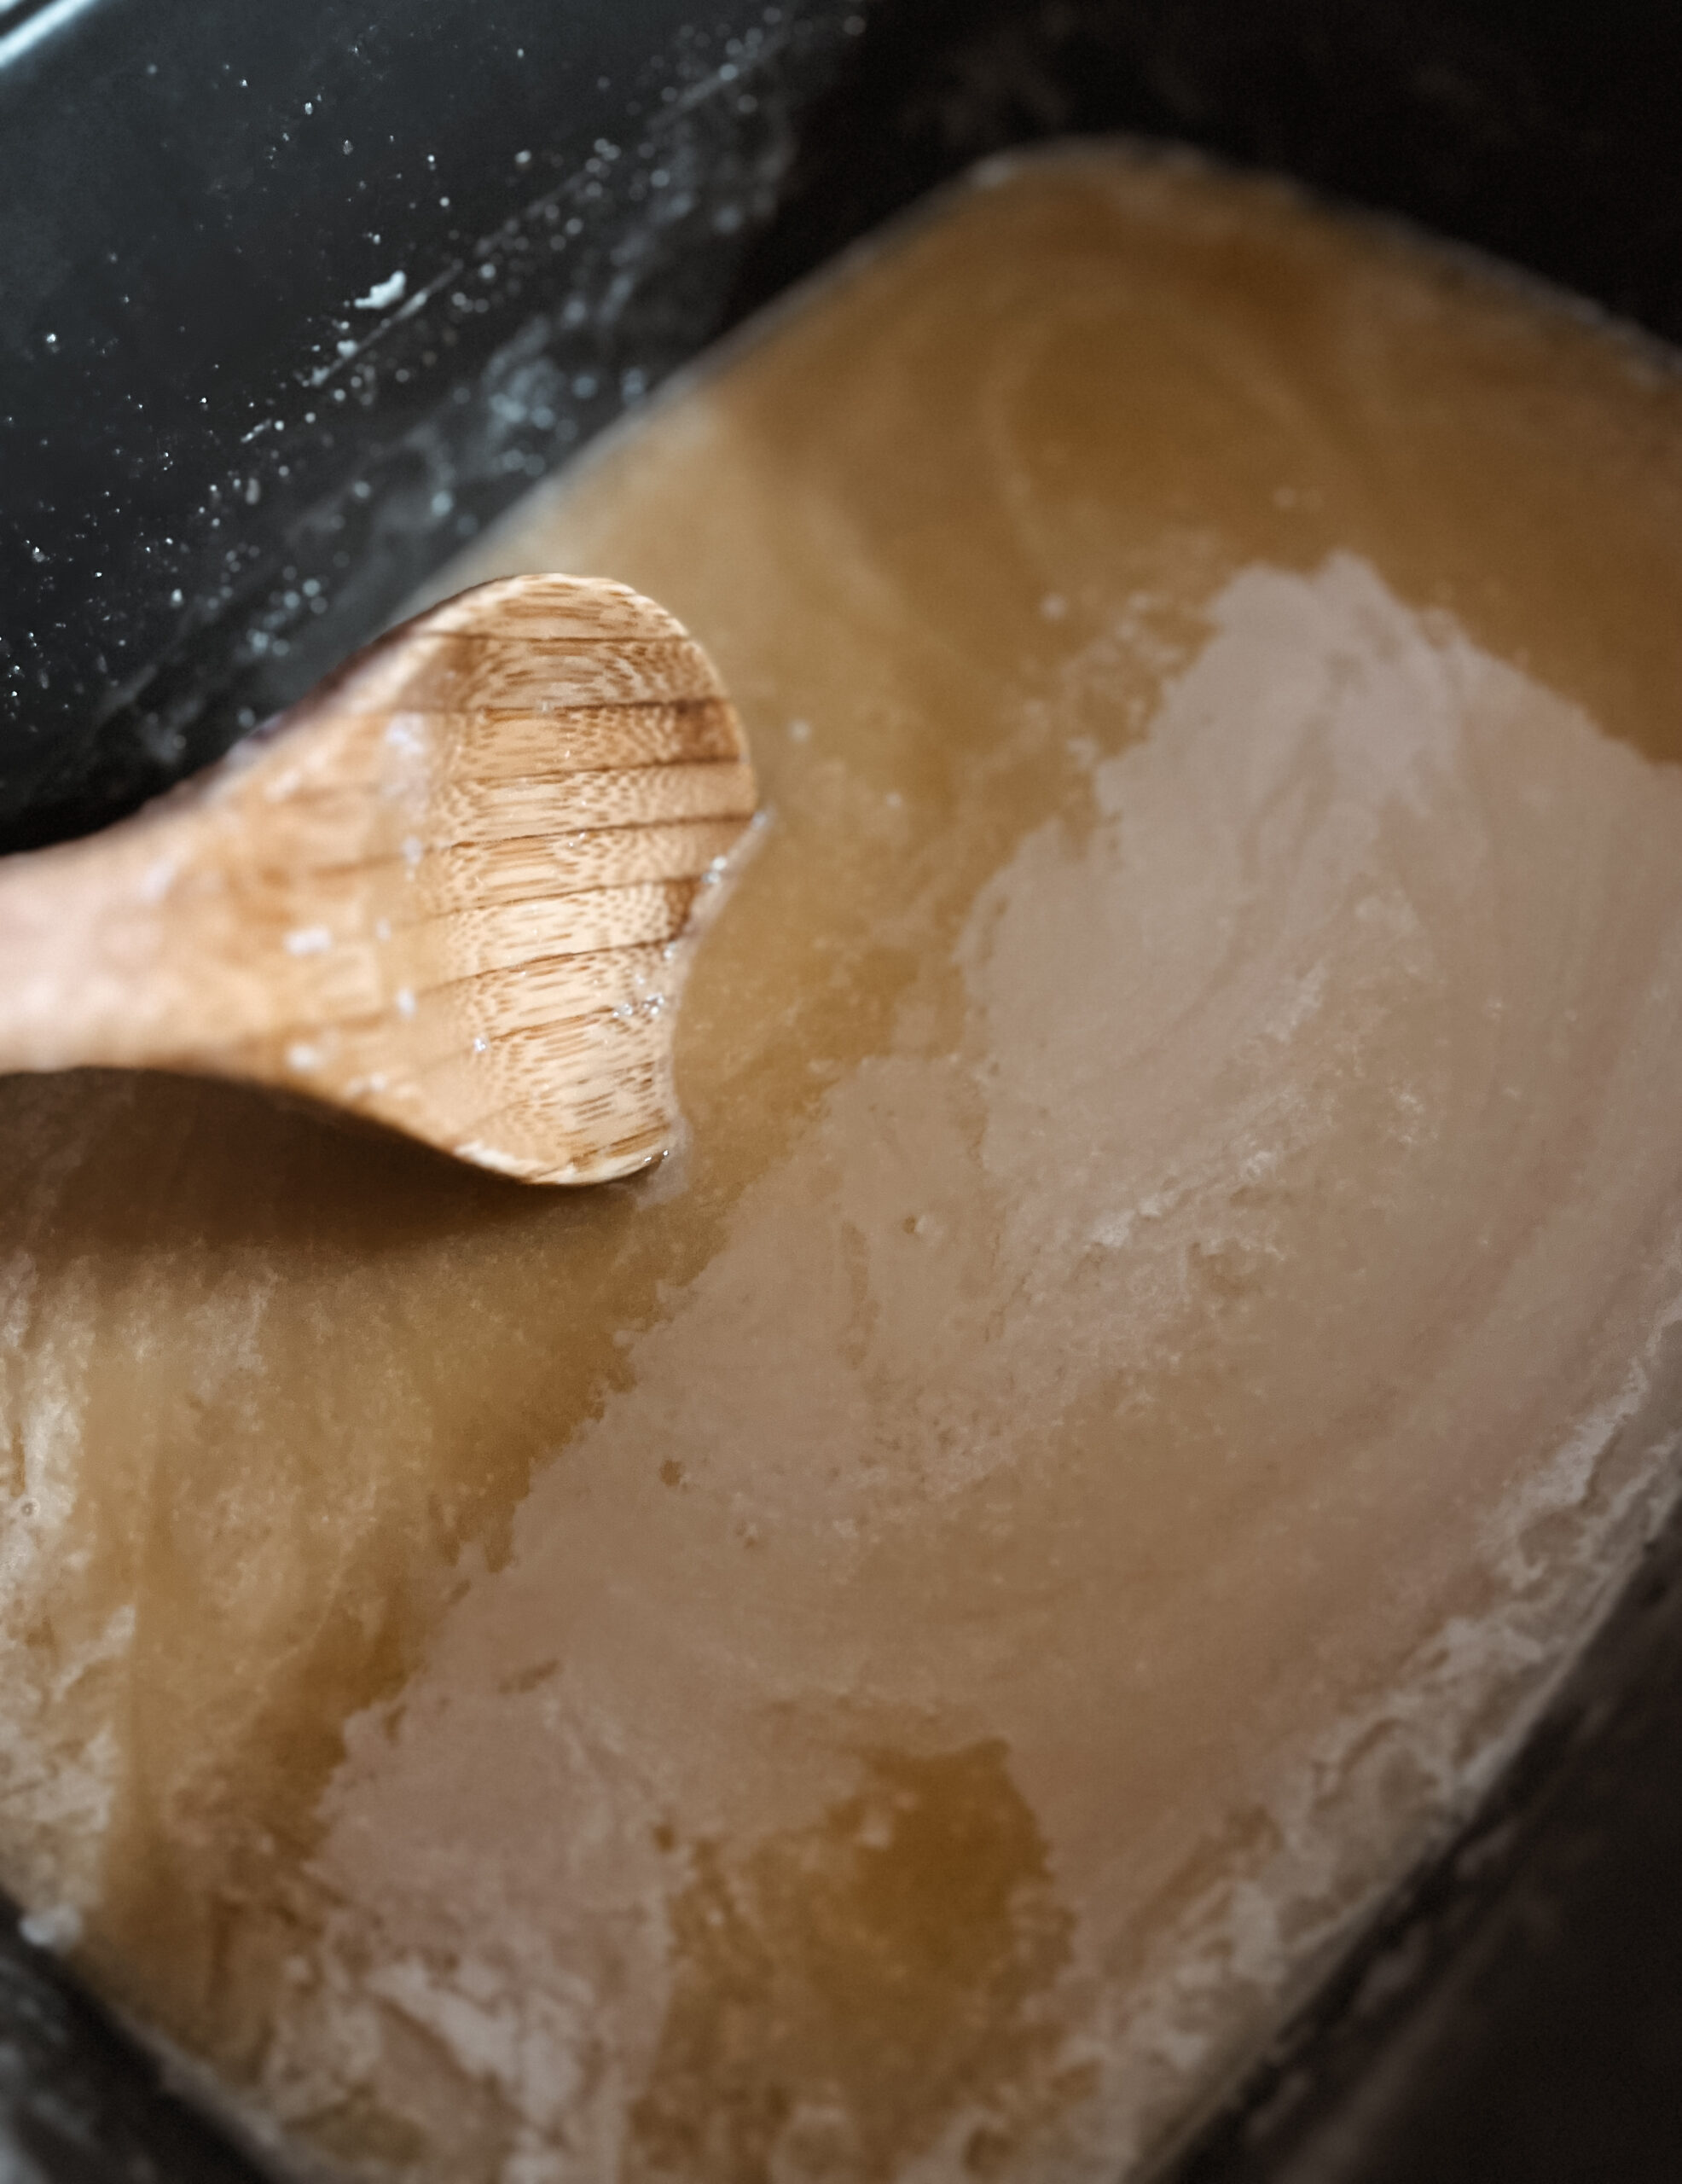
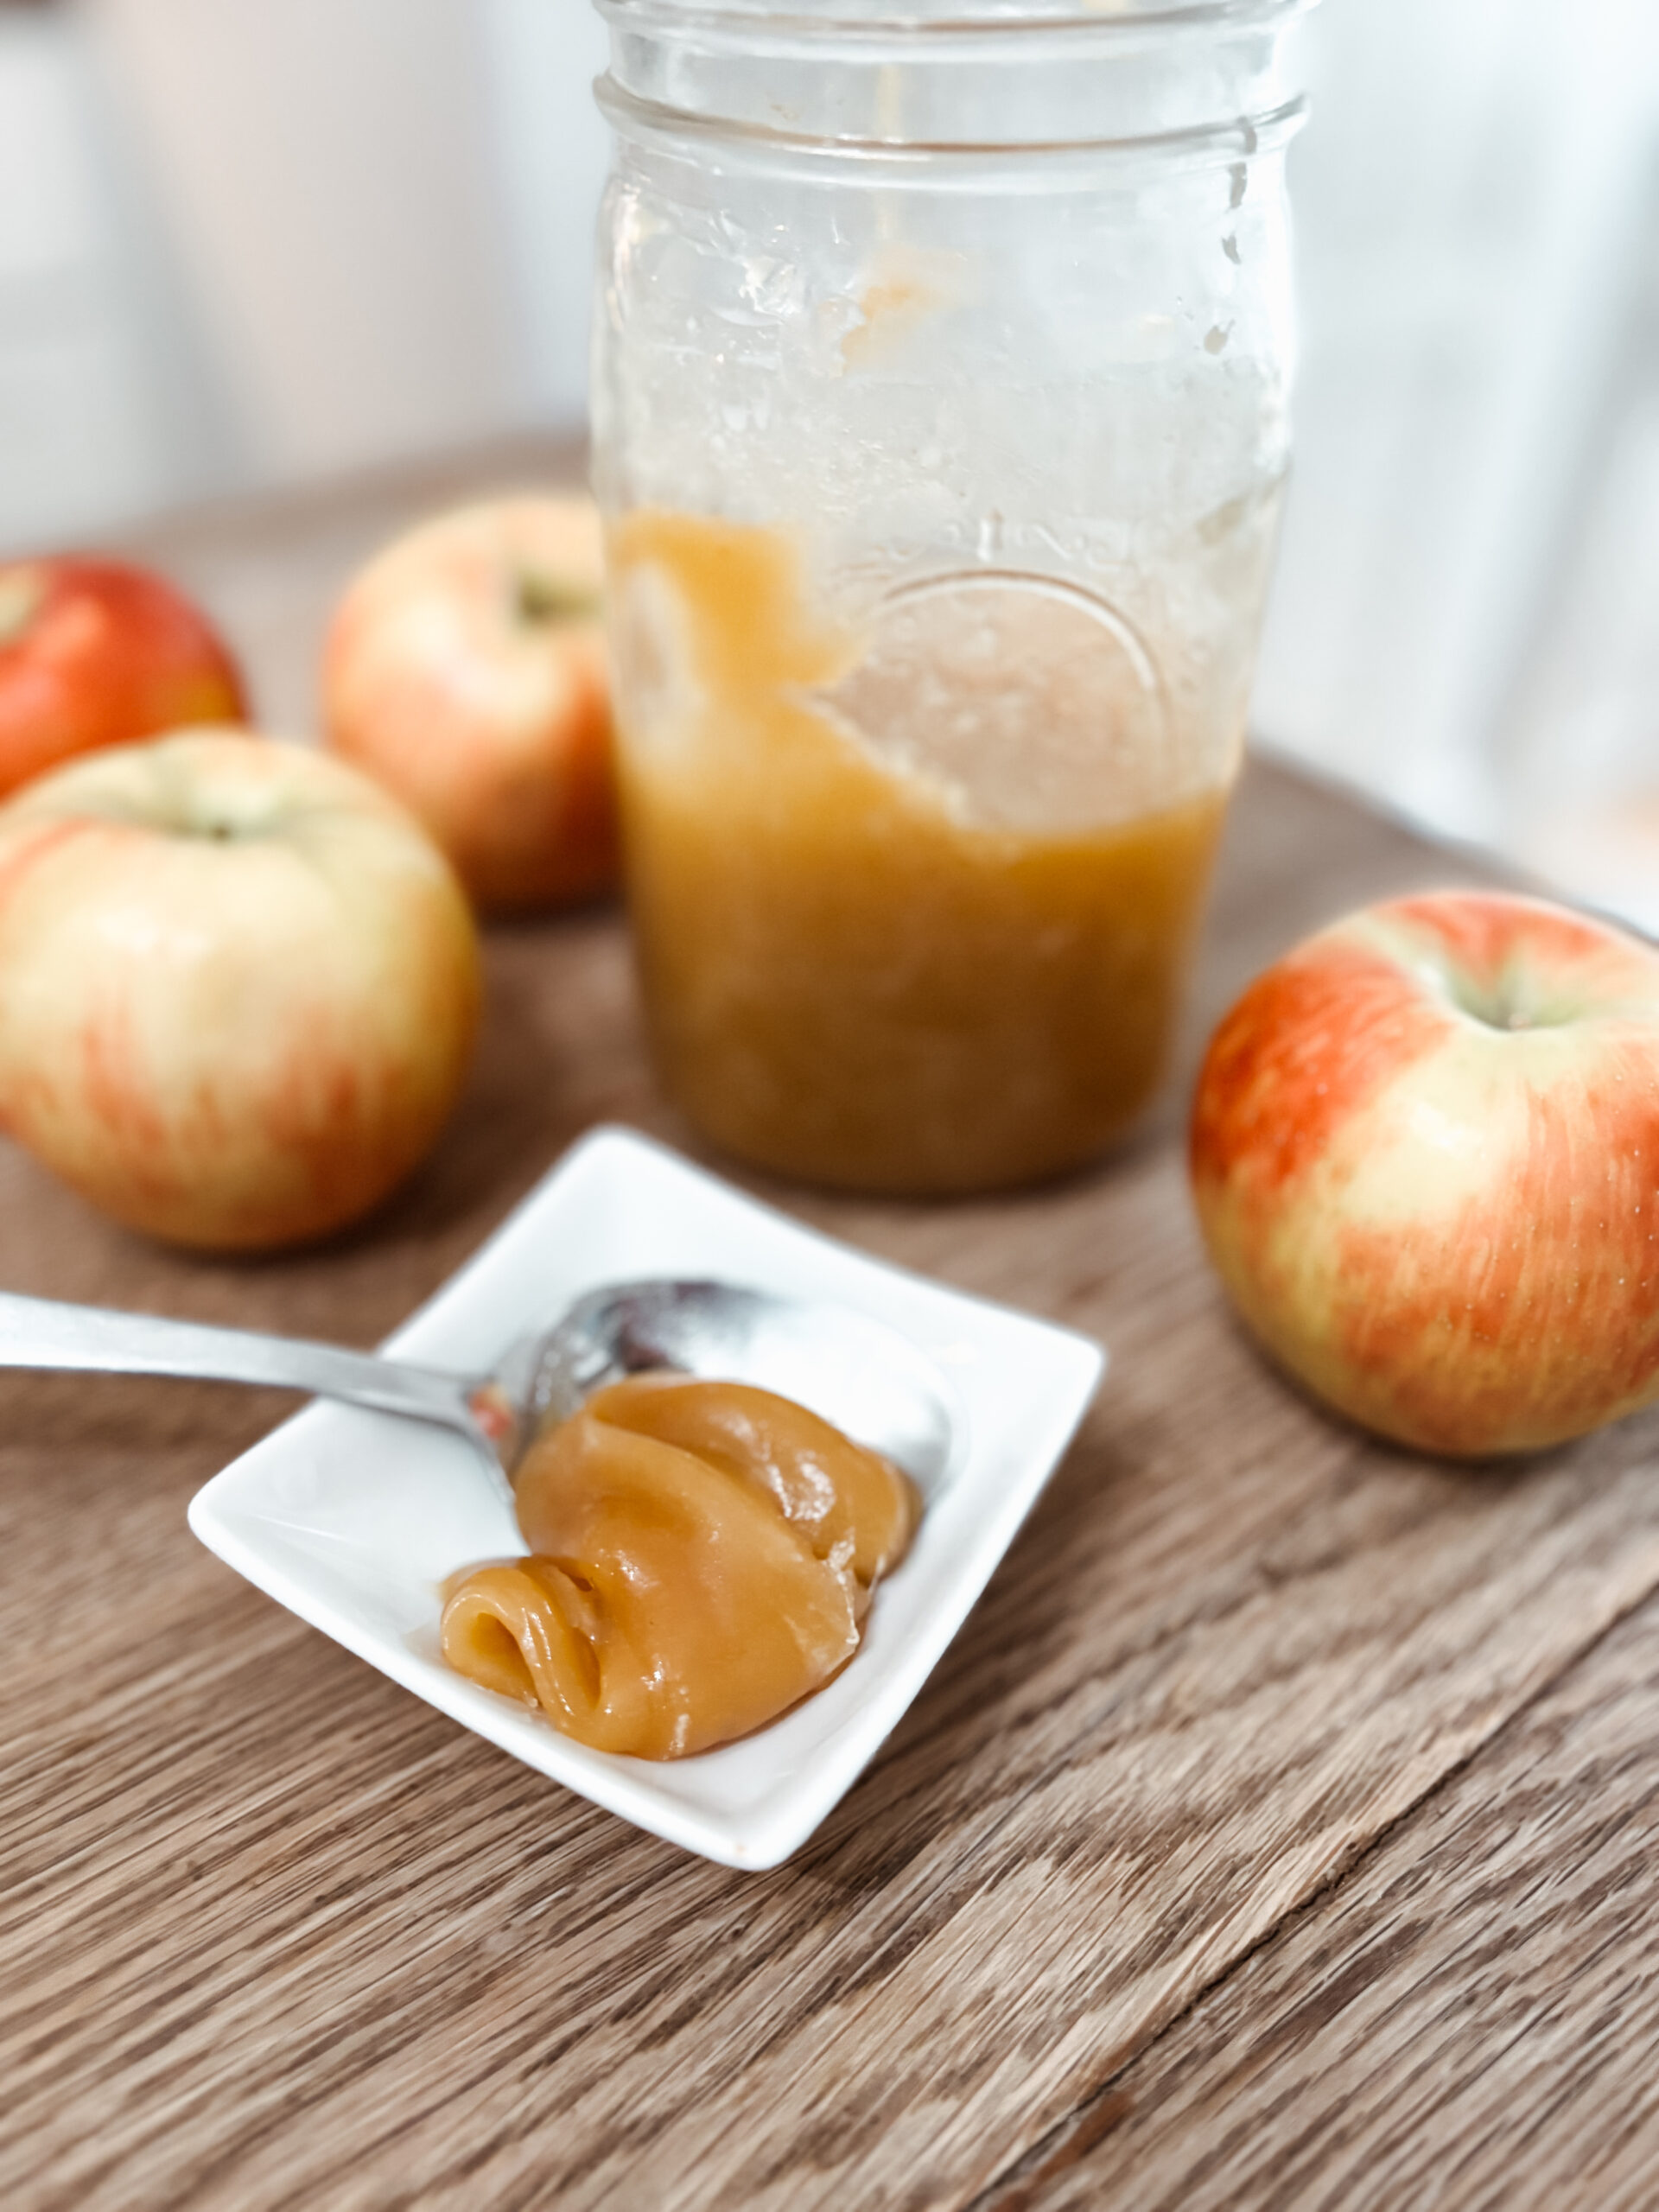
- whey caramel
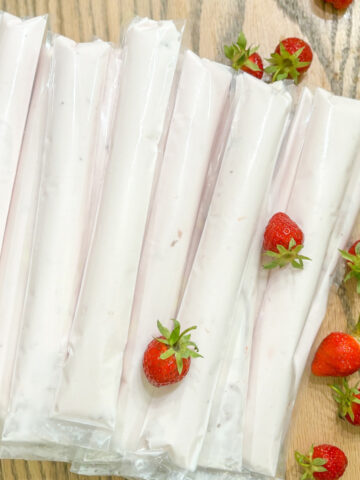
- go-gurt tubes
- yogurt drinks
The neat thing about raw dairy is that there is never any waste. If milk starts to sour I use it for baking.
No Waste Kitchen
Some things we have implemented in the kitchen to minimize waste are:
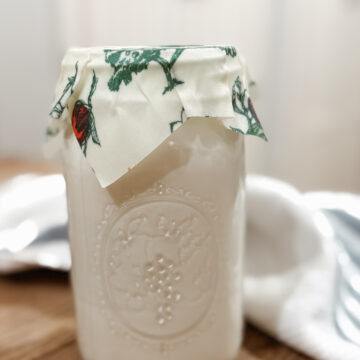
- using beeswax wraps for bowl covers
- reusable snack bags that are dishwasher safe
- washing and reusing plastic baggies
- save grocery bags for small trash can bags
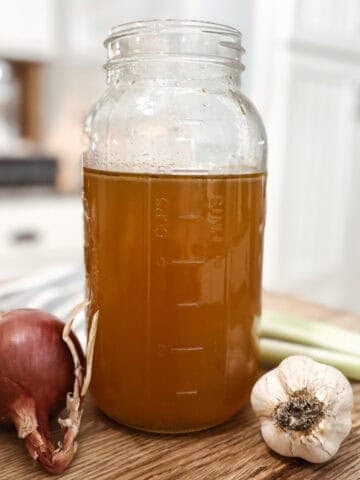
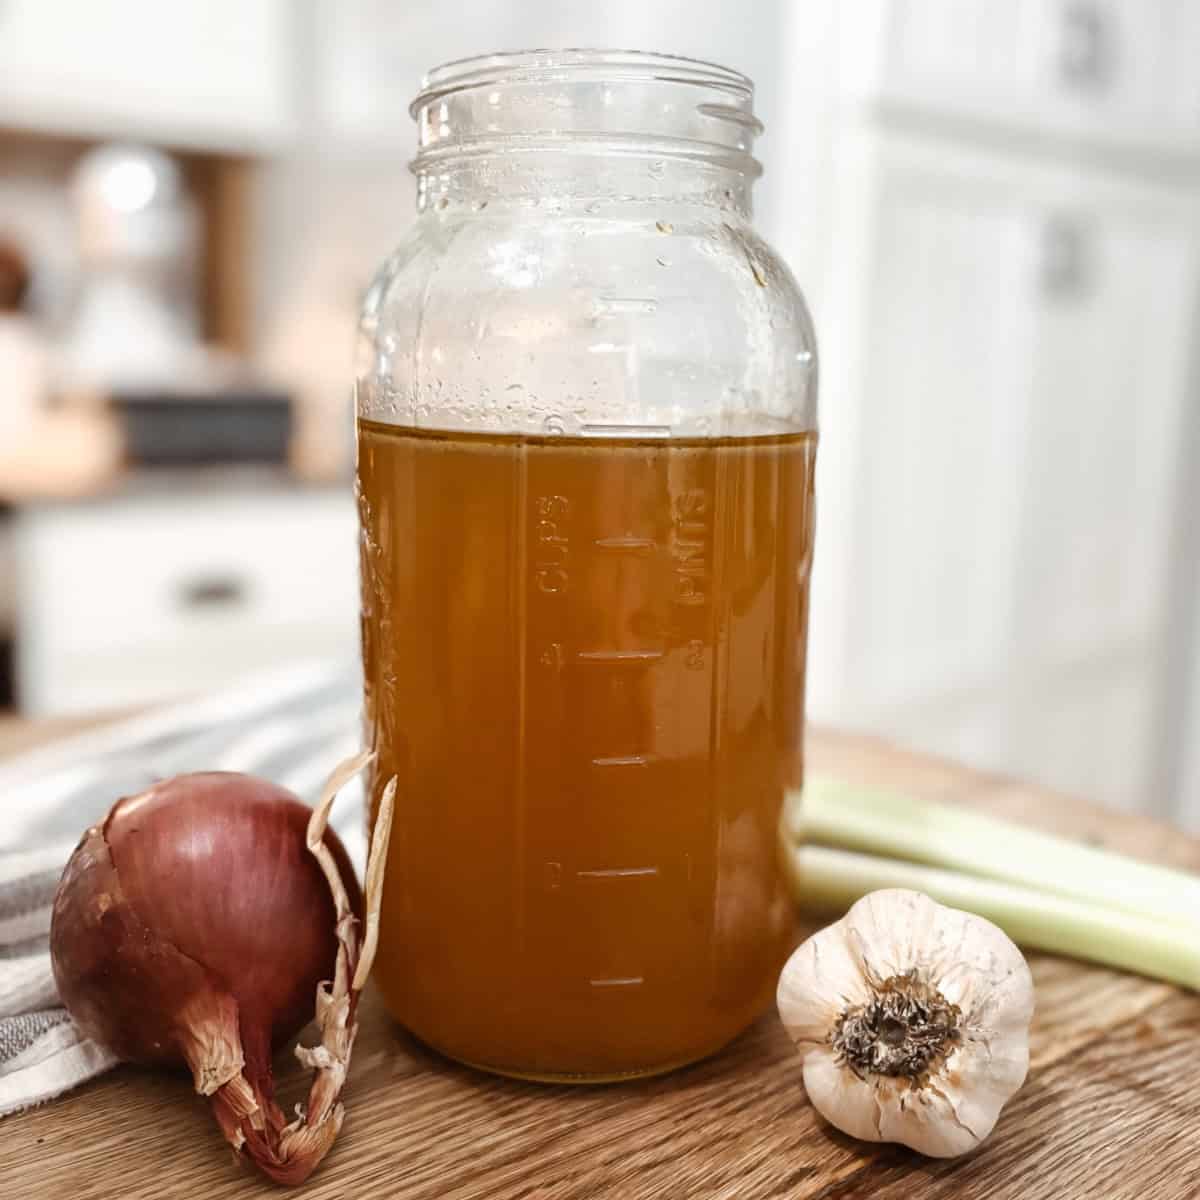
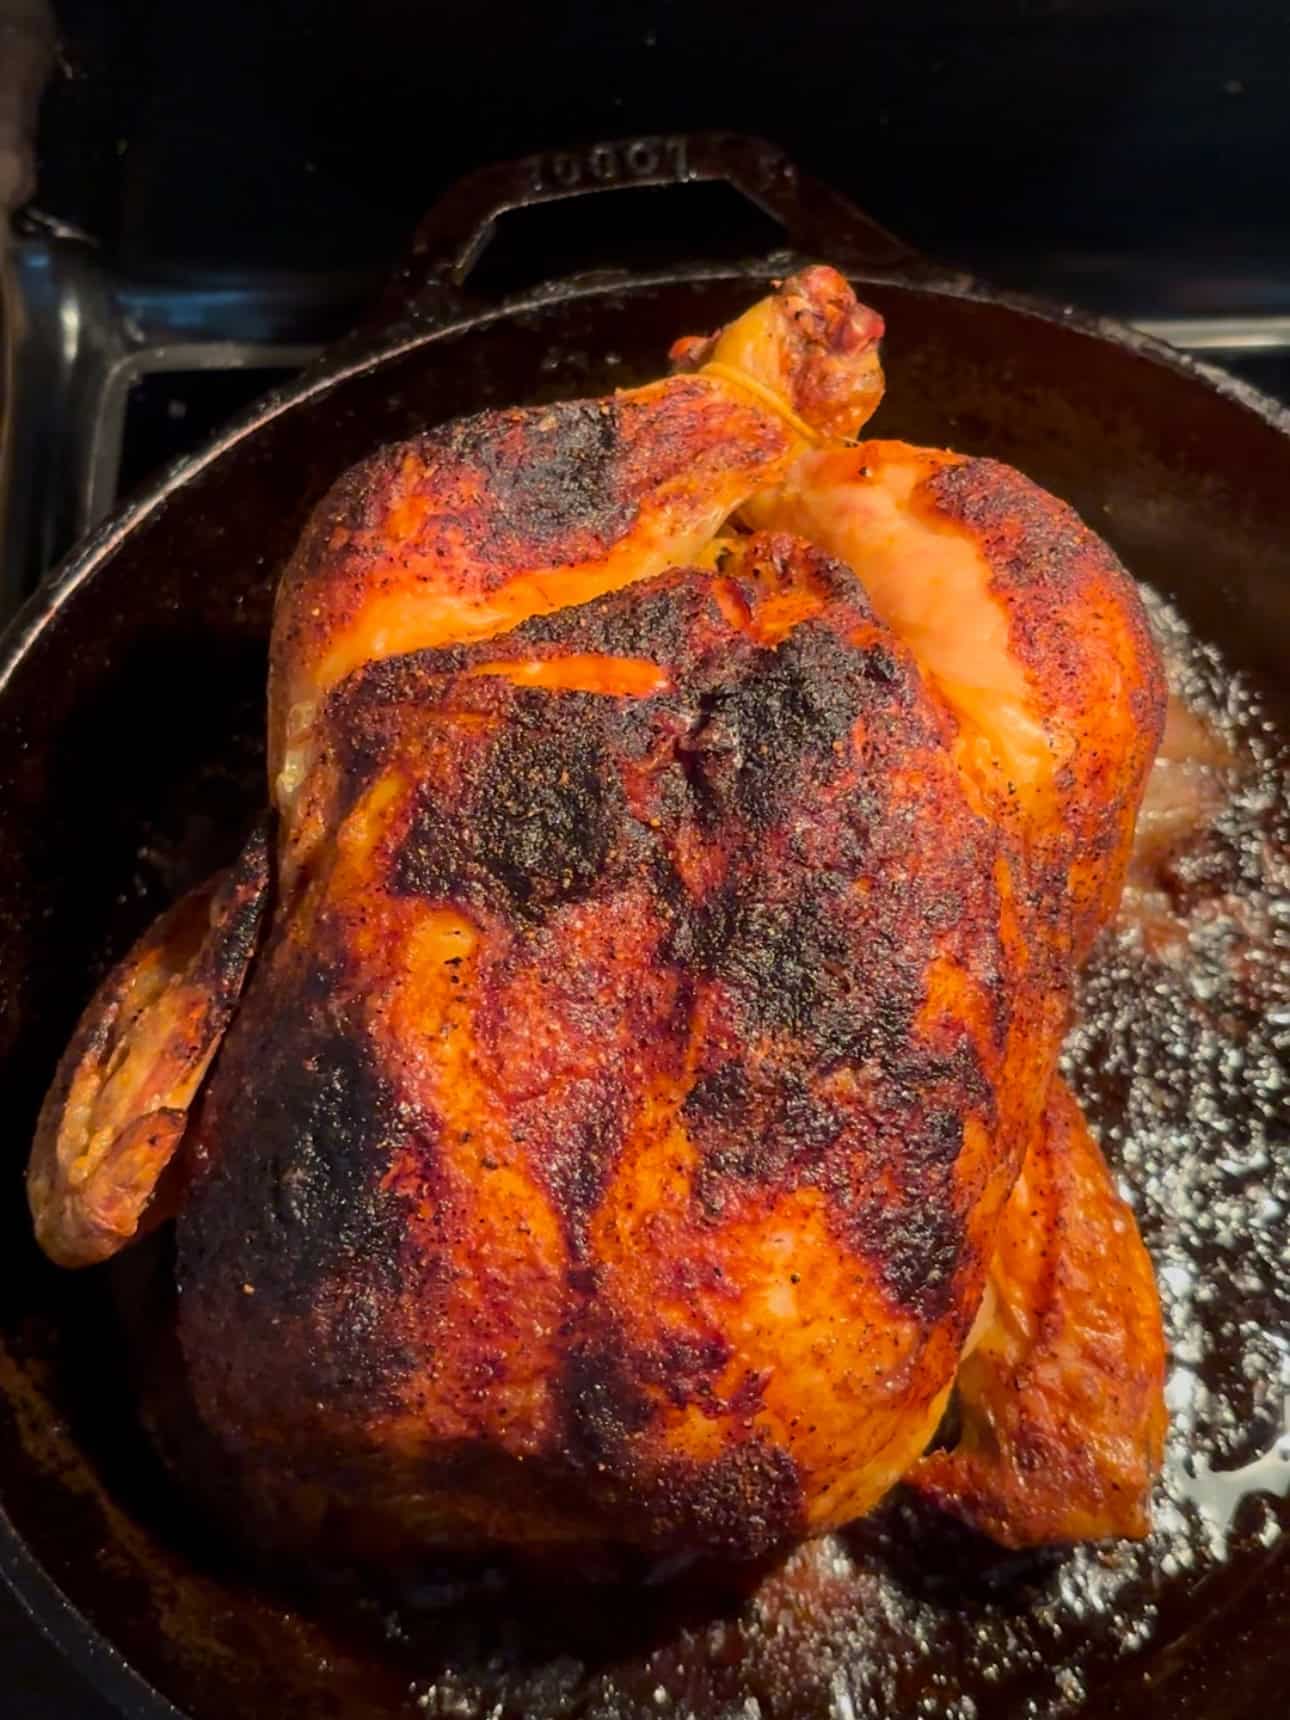
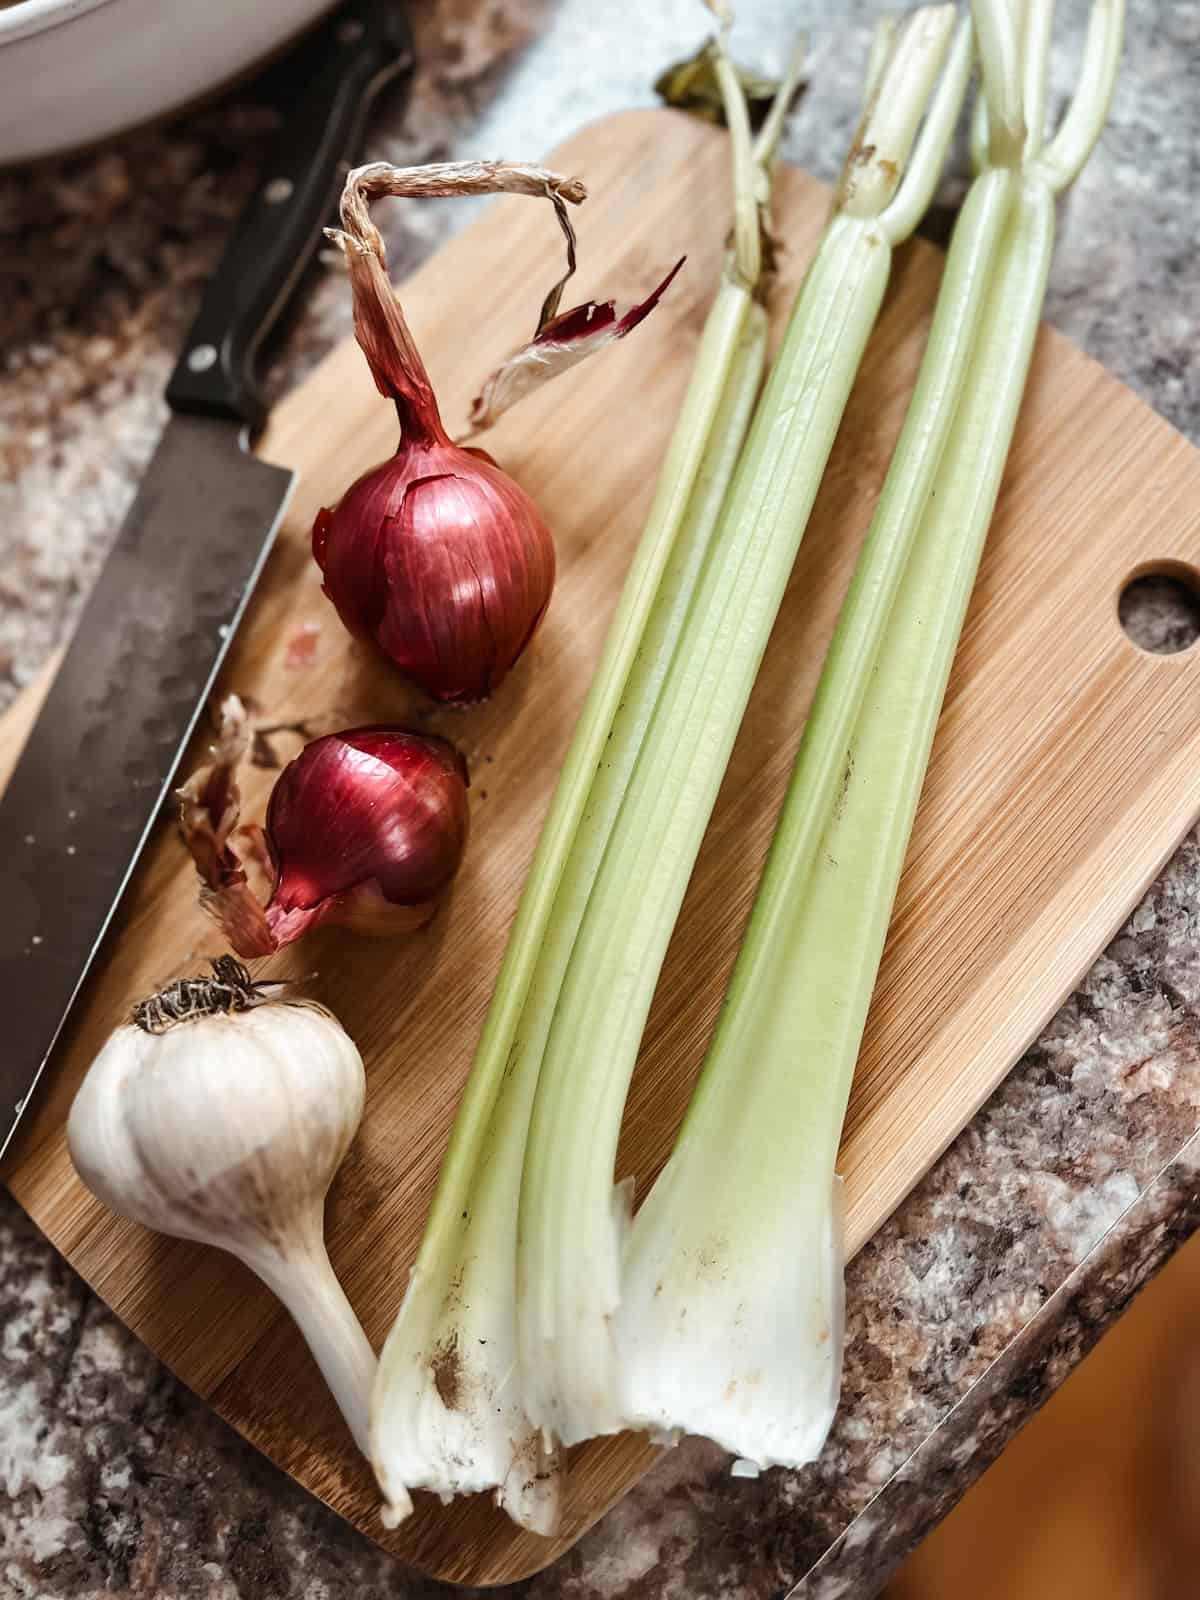
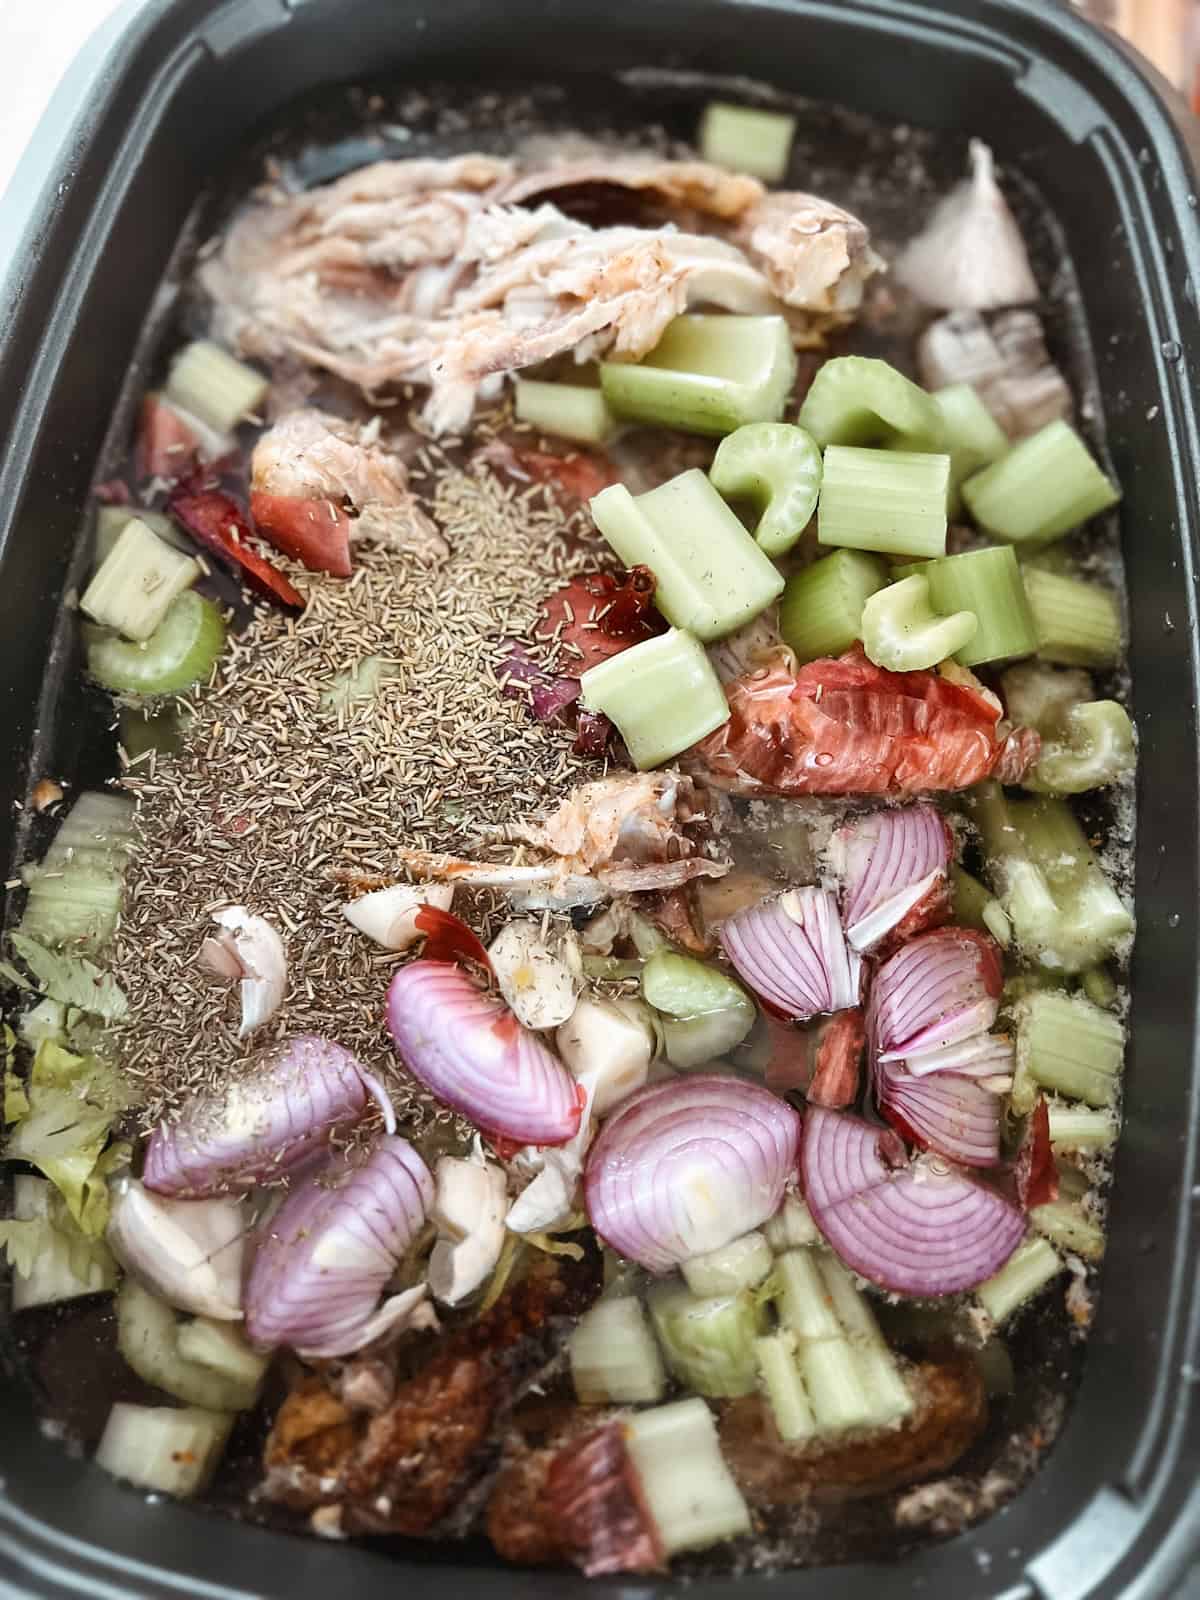
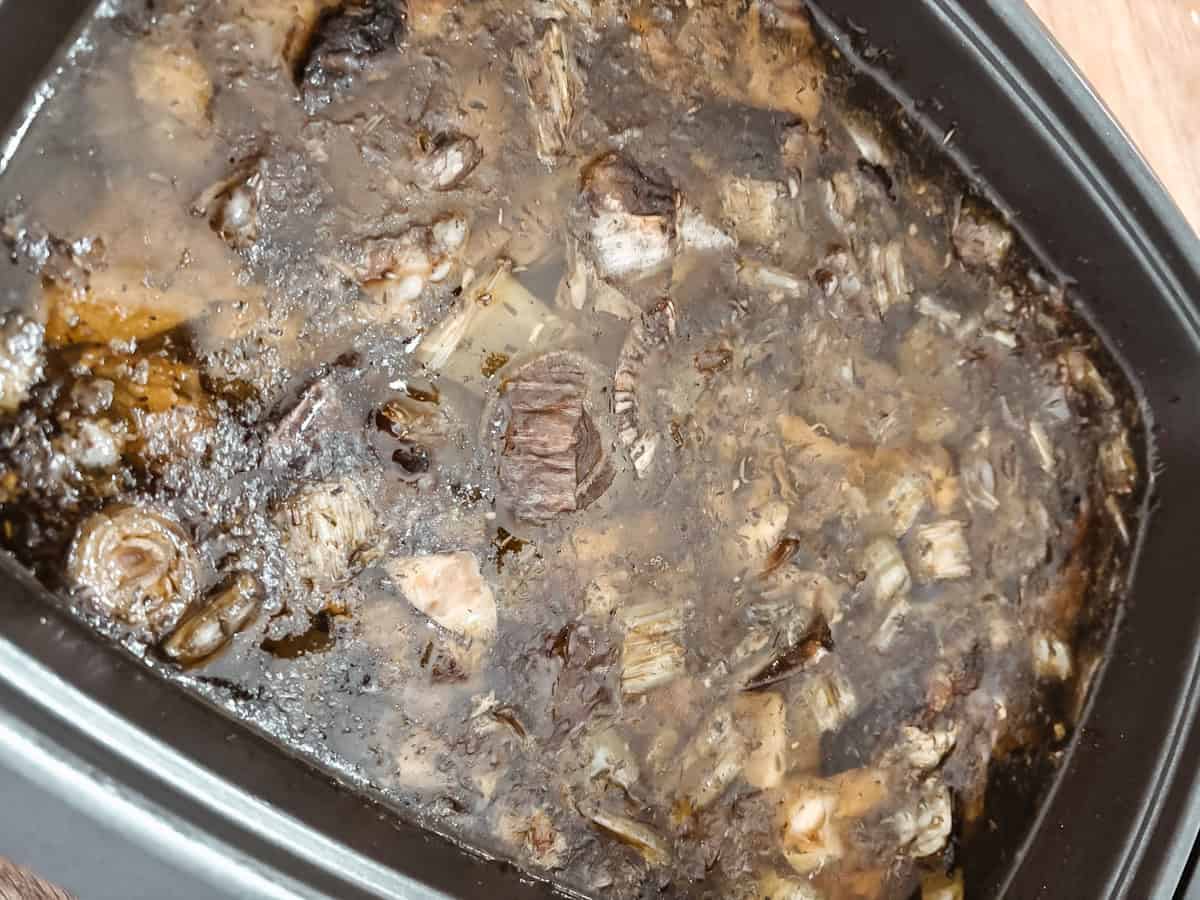
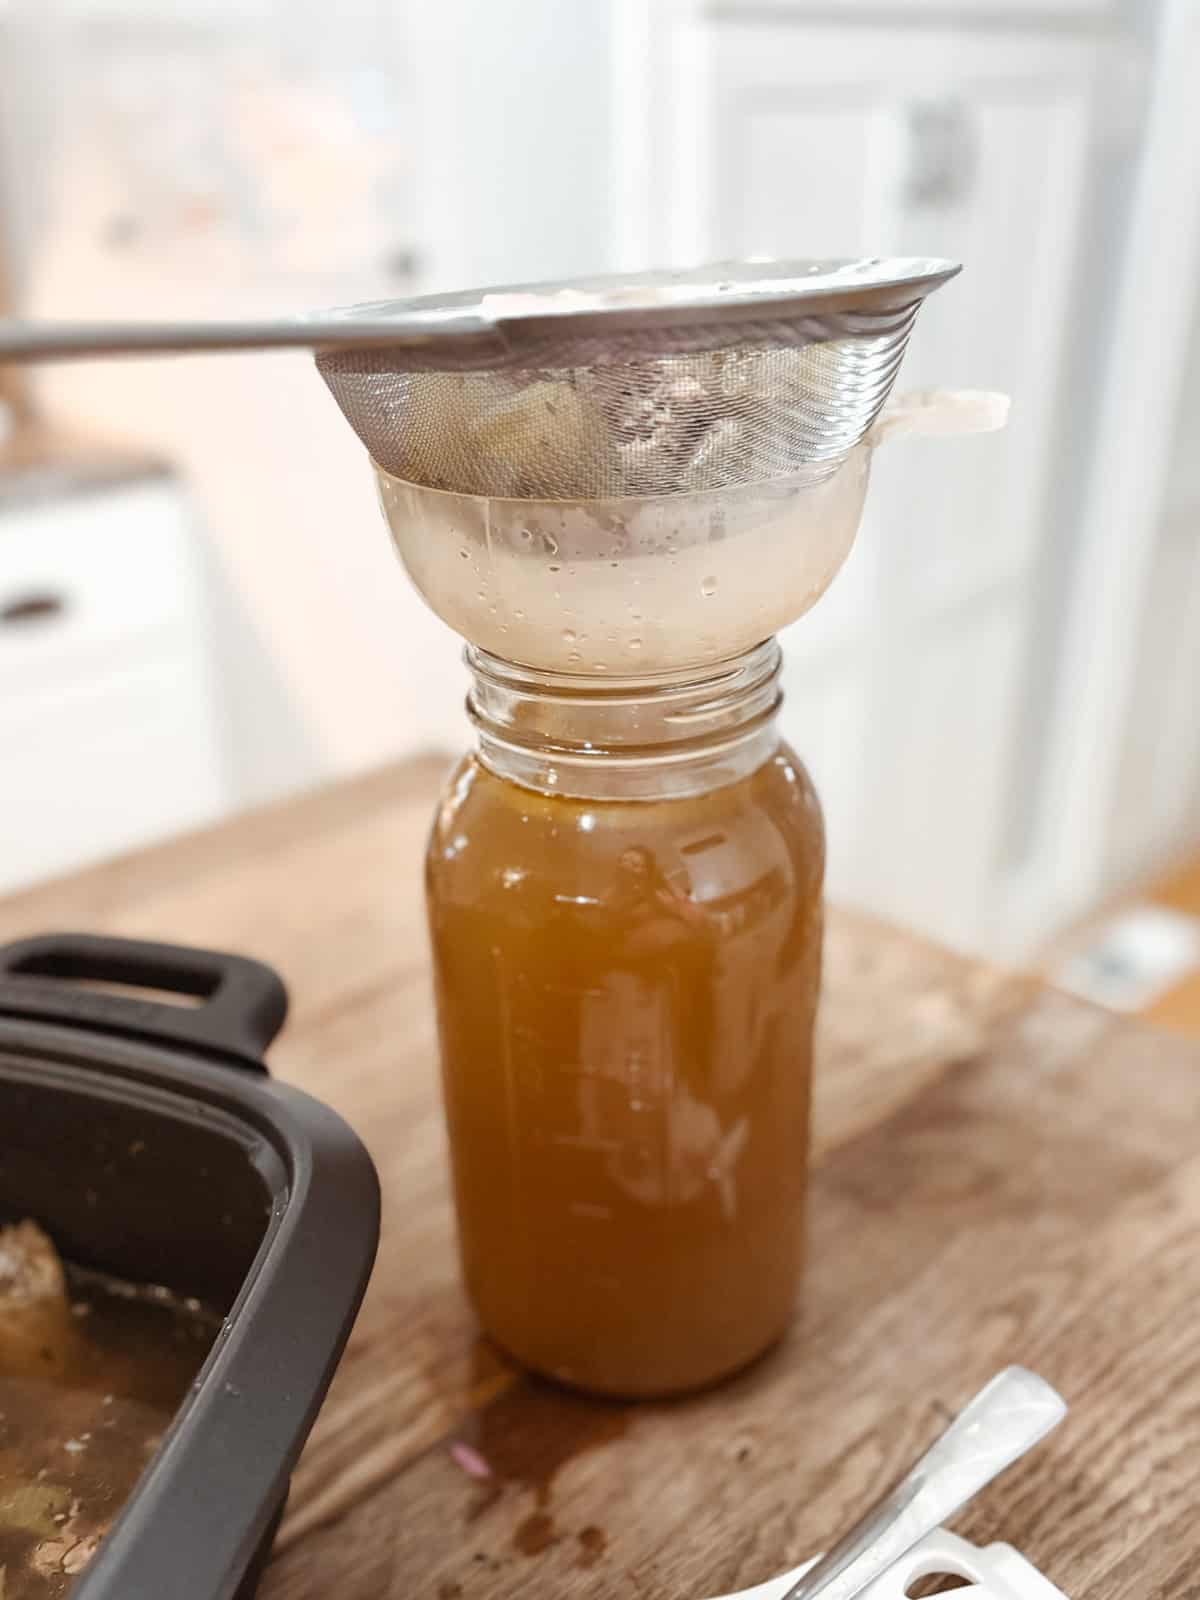
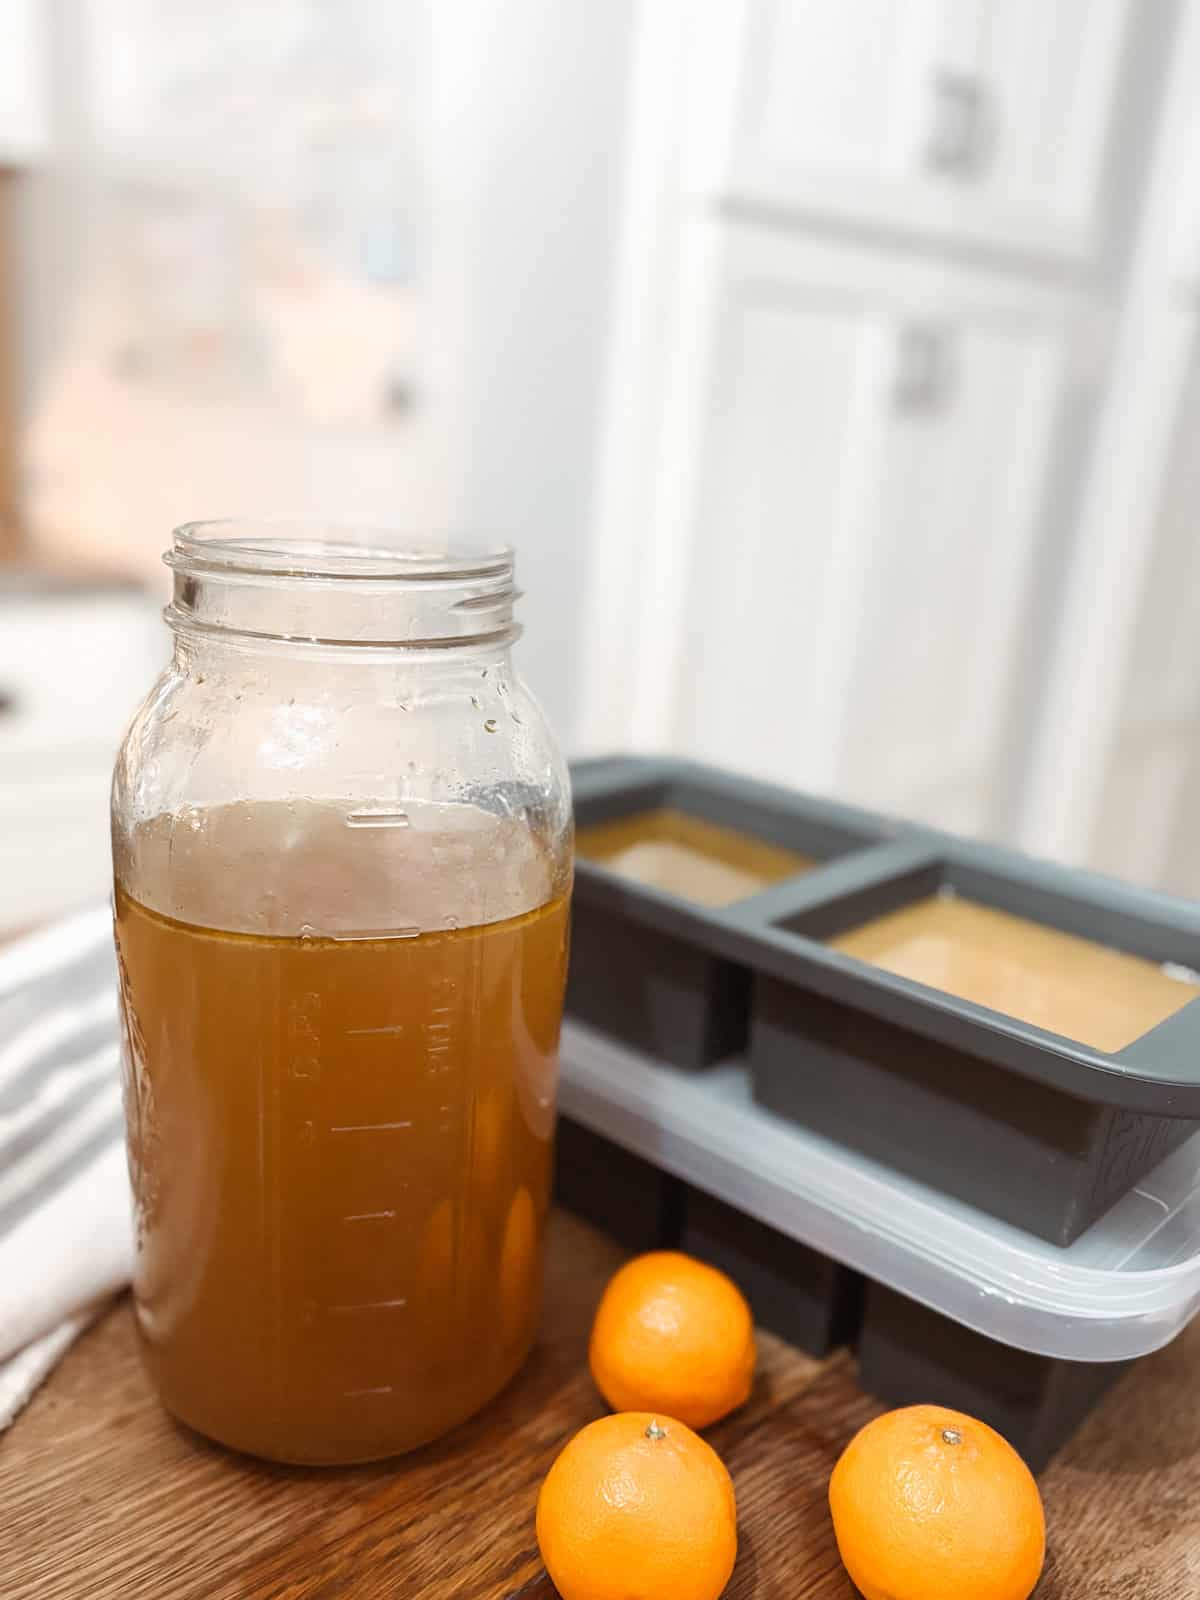
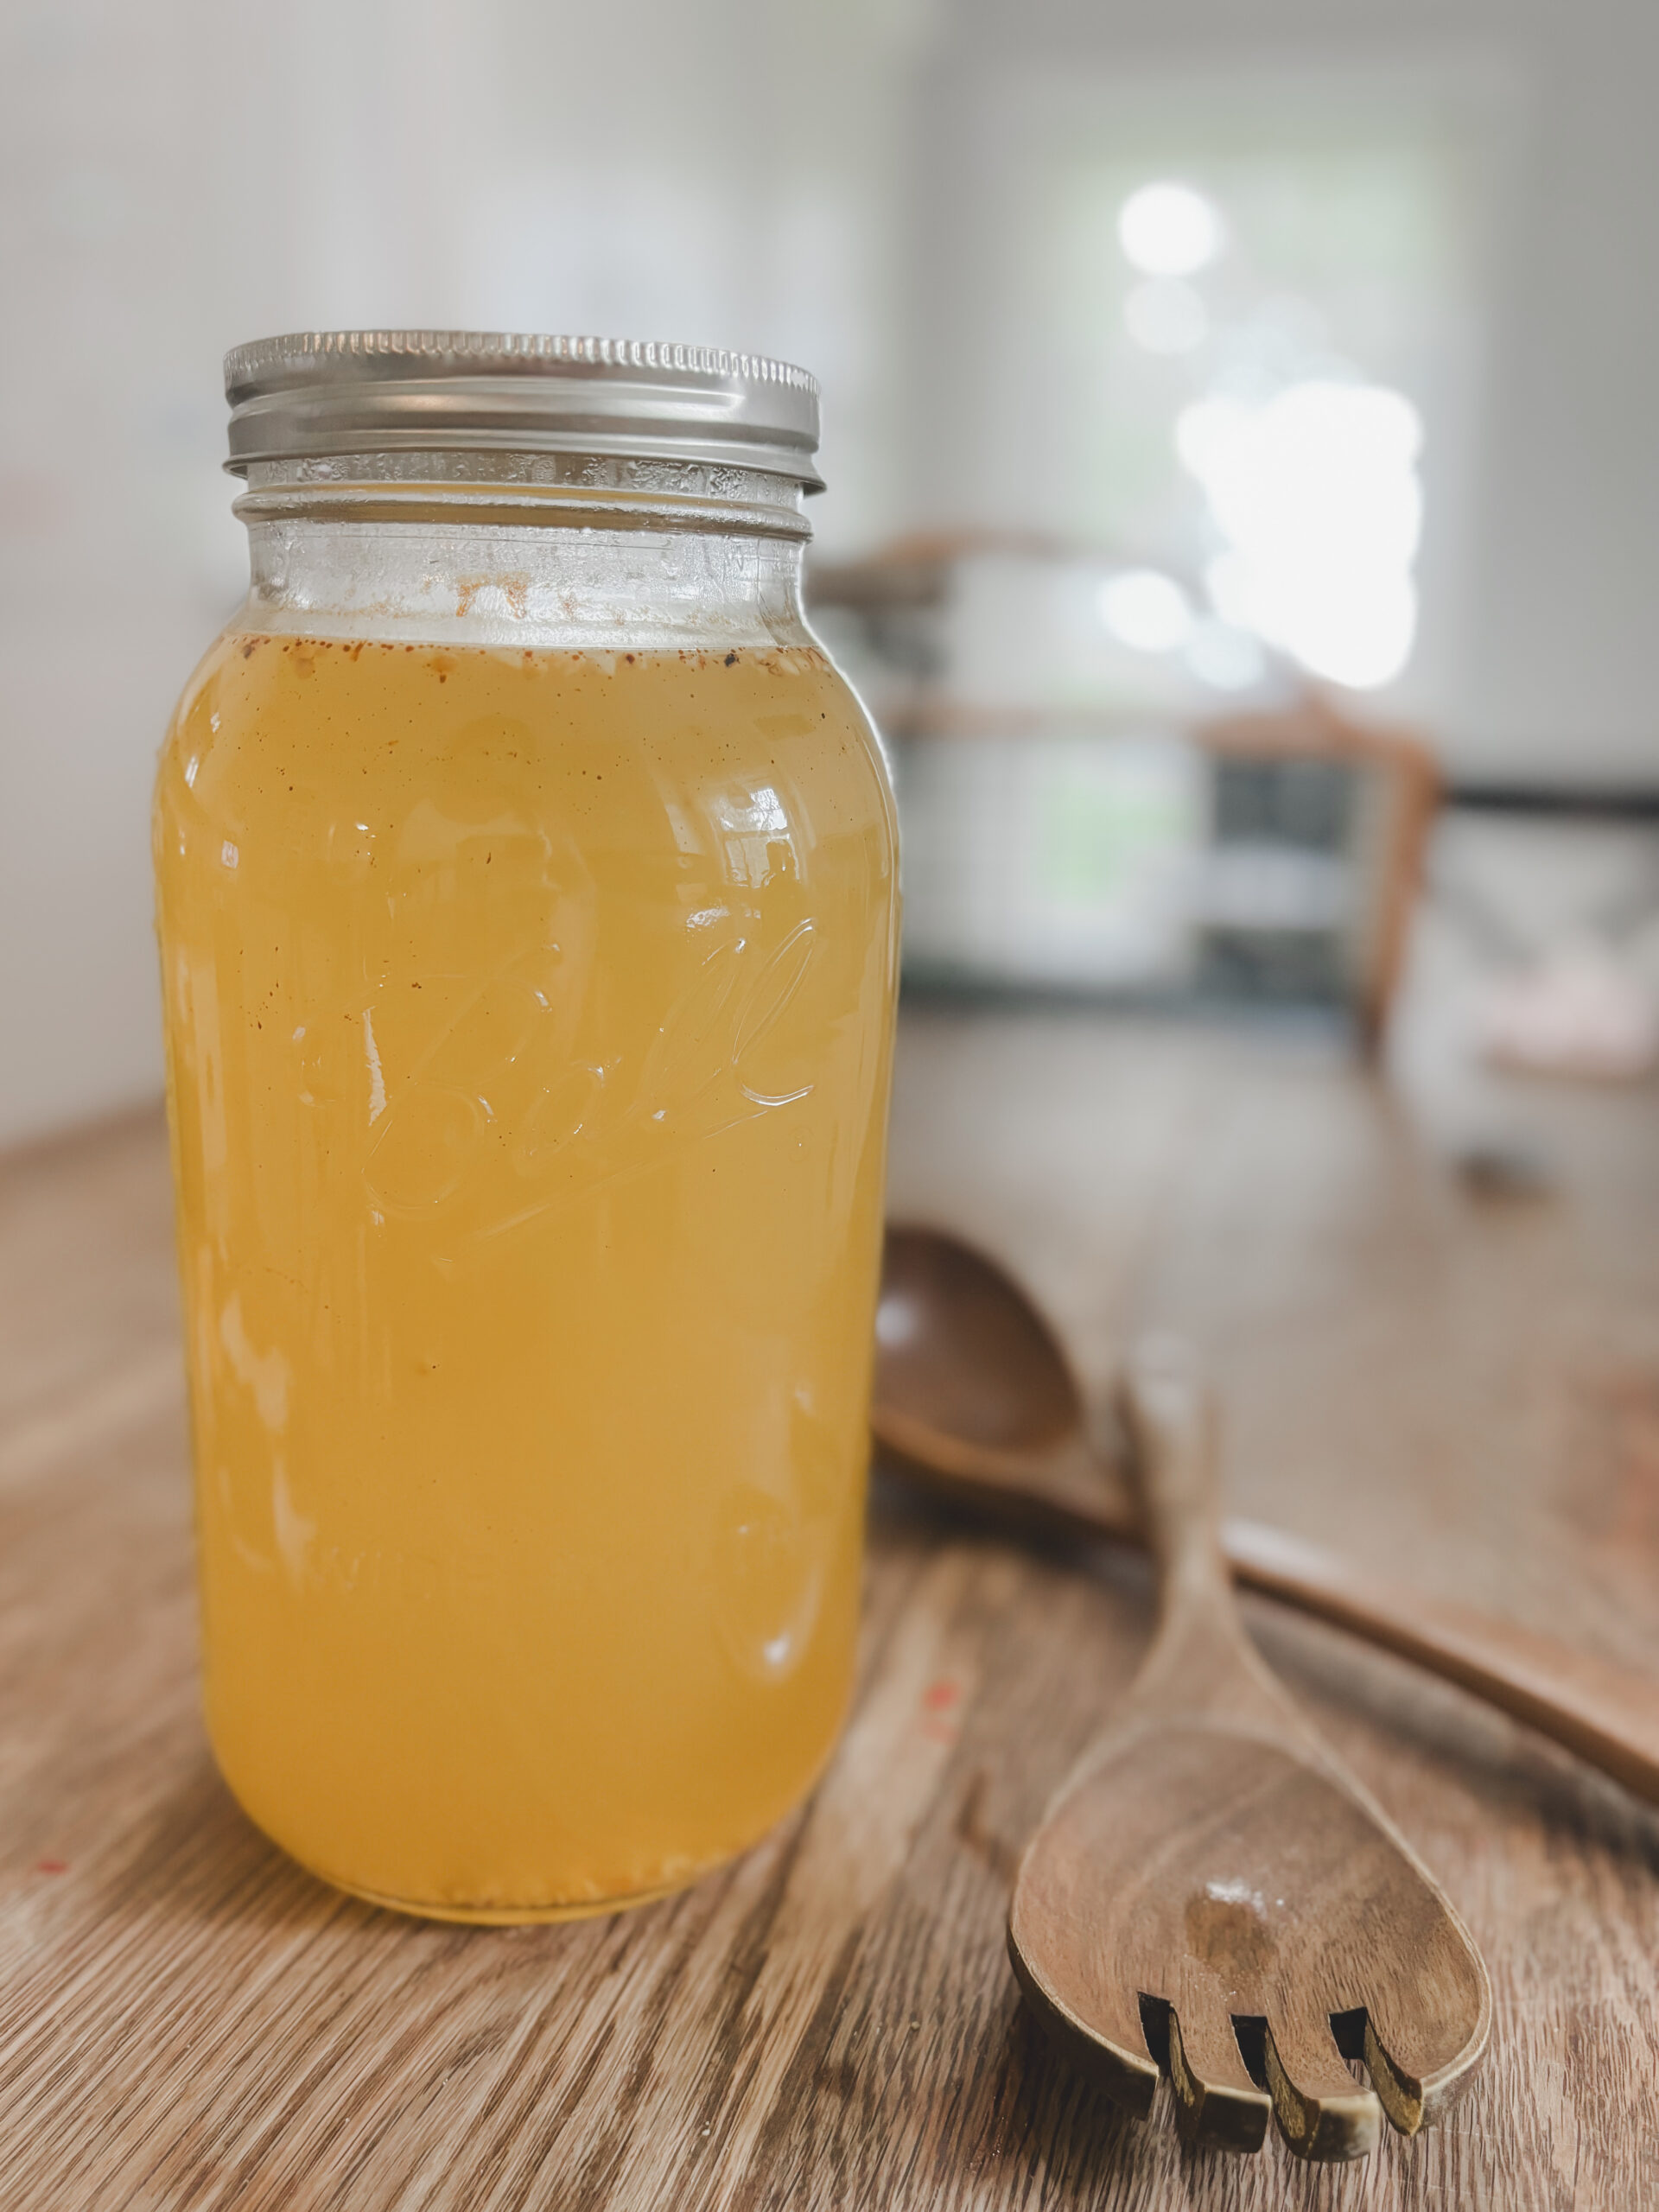
- save chicken carcass and veggie scraps in the freezer until we have enough for homemade broth
- cut up old bath towels to size for wash cloths and minimize paper towel use
- quit buying reusable paper plates and plastic cups or utensils
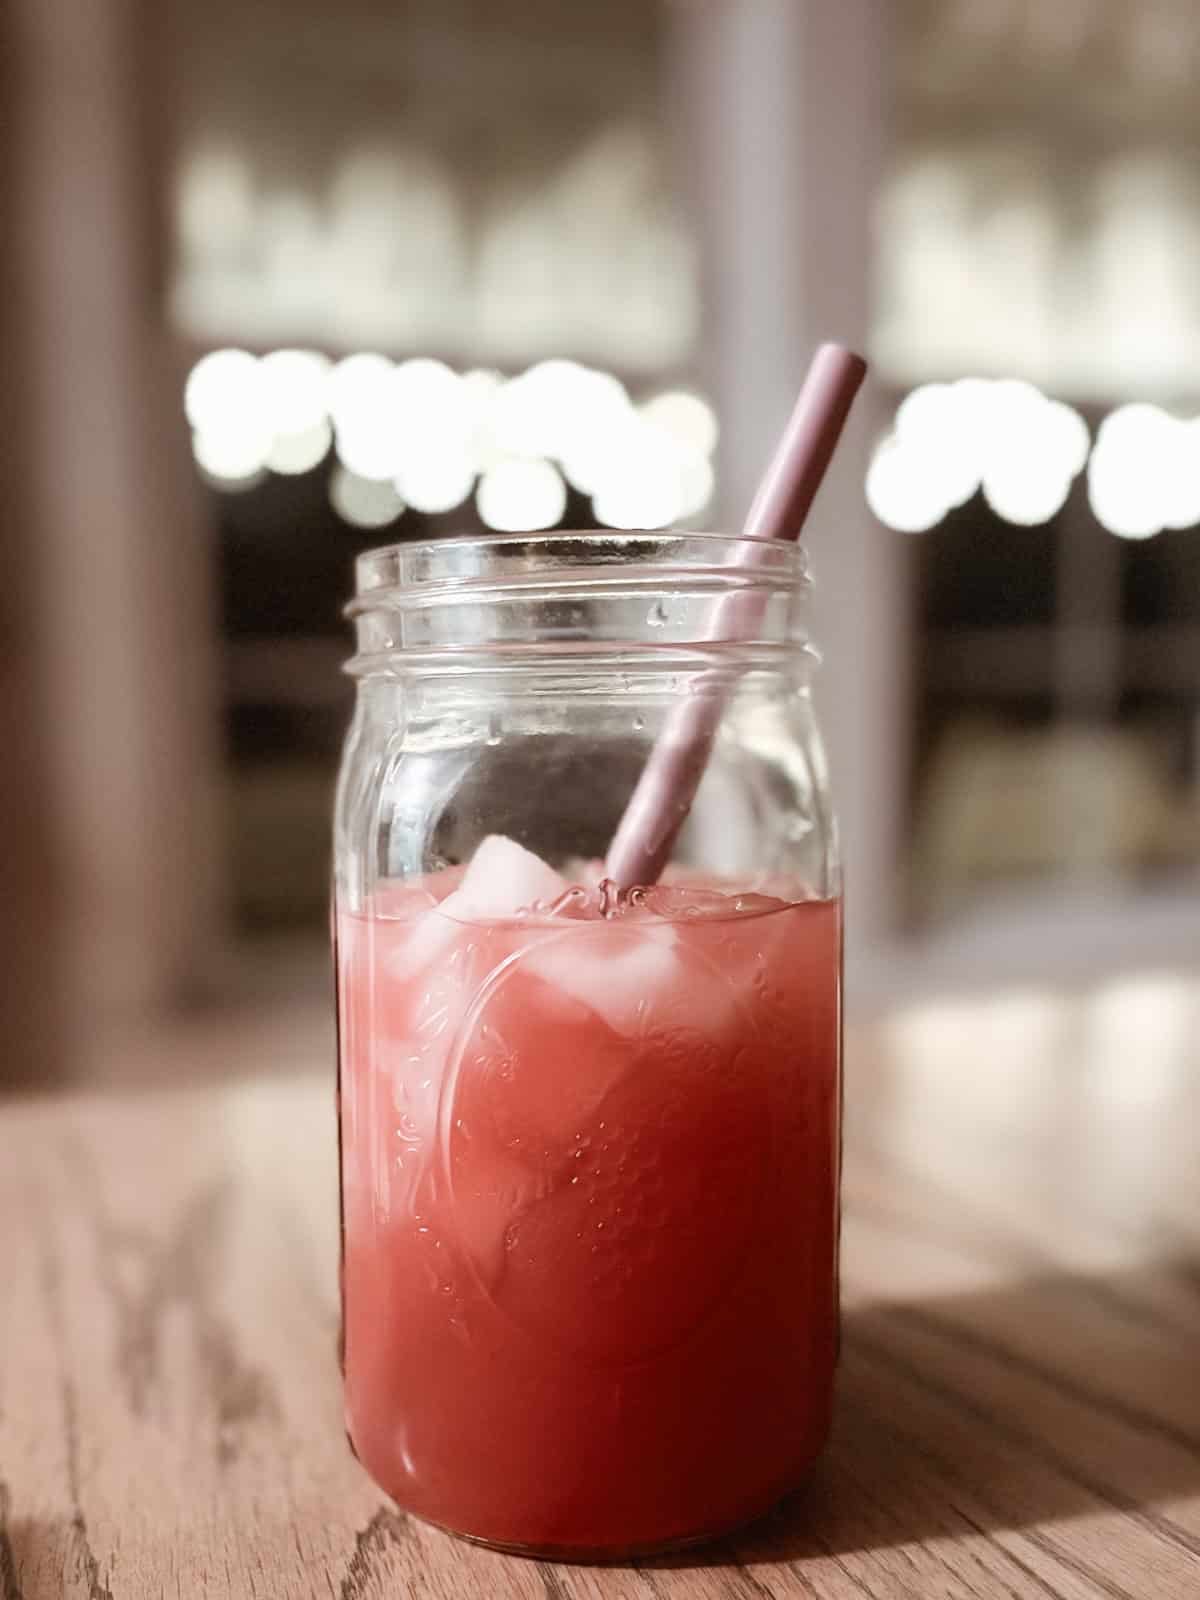
Beverages
My biggest pointer for saving here is to drink plain water. It is amazing how quickly the cost of flavored beverages can add up! Skip the overpriced coffee shops and make your own coffee at home.
Eliminate or minimize alcohol consumption. Sadly, this is a big expense for many.
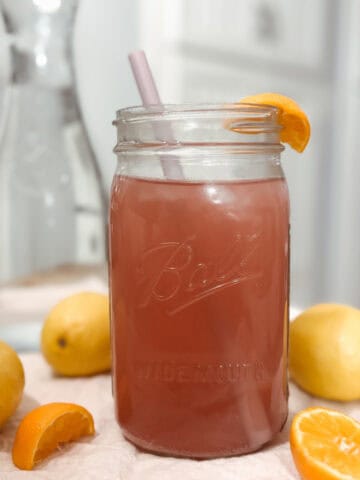
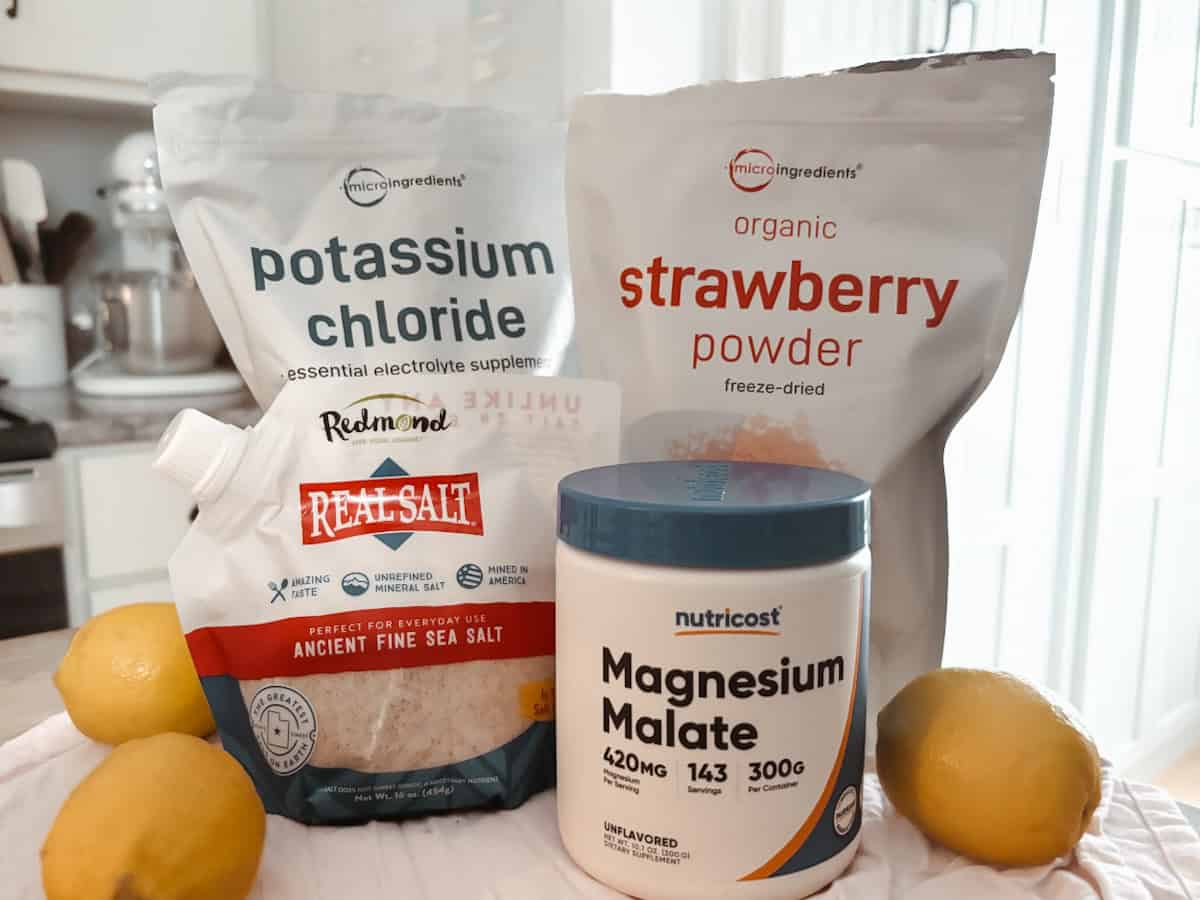
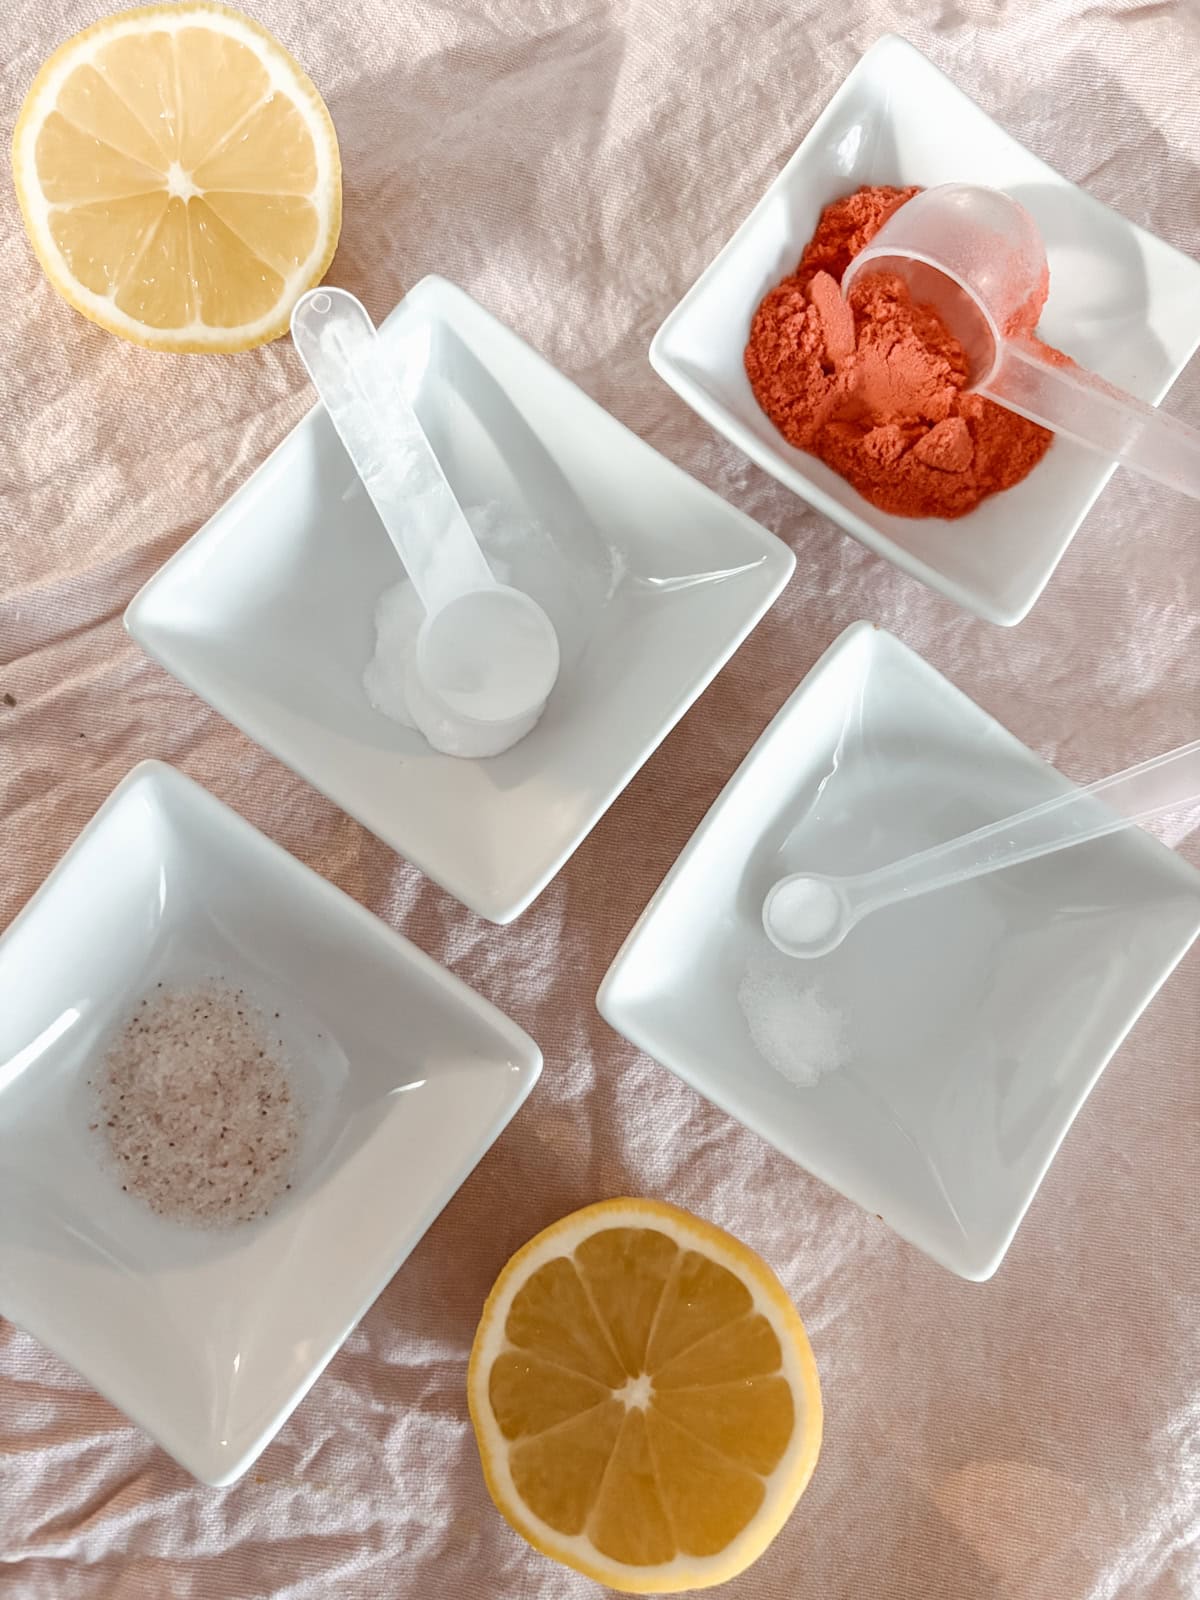
We do like to drink electrolytes, especially in the hot summer months, so typically we keep this super affordable electrolyte drink mix on hand.

Bulk Buying
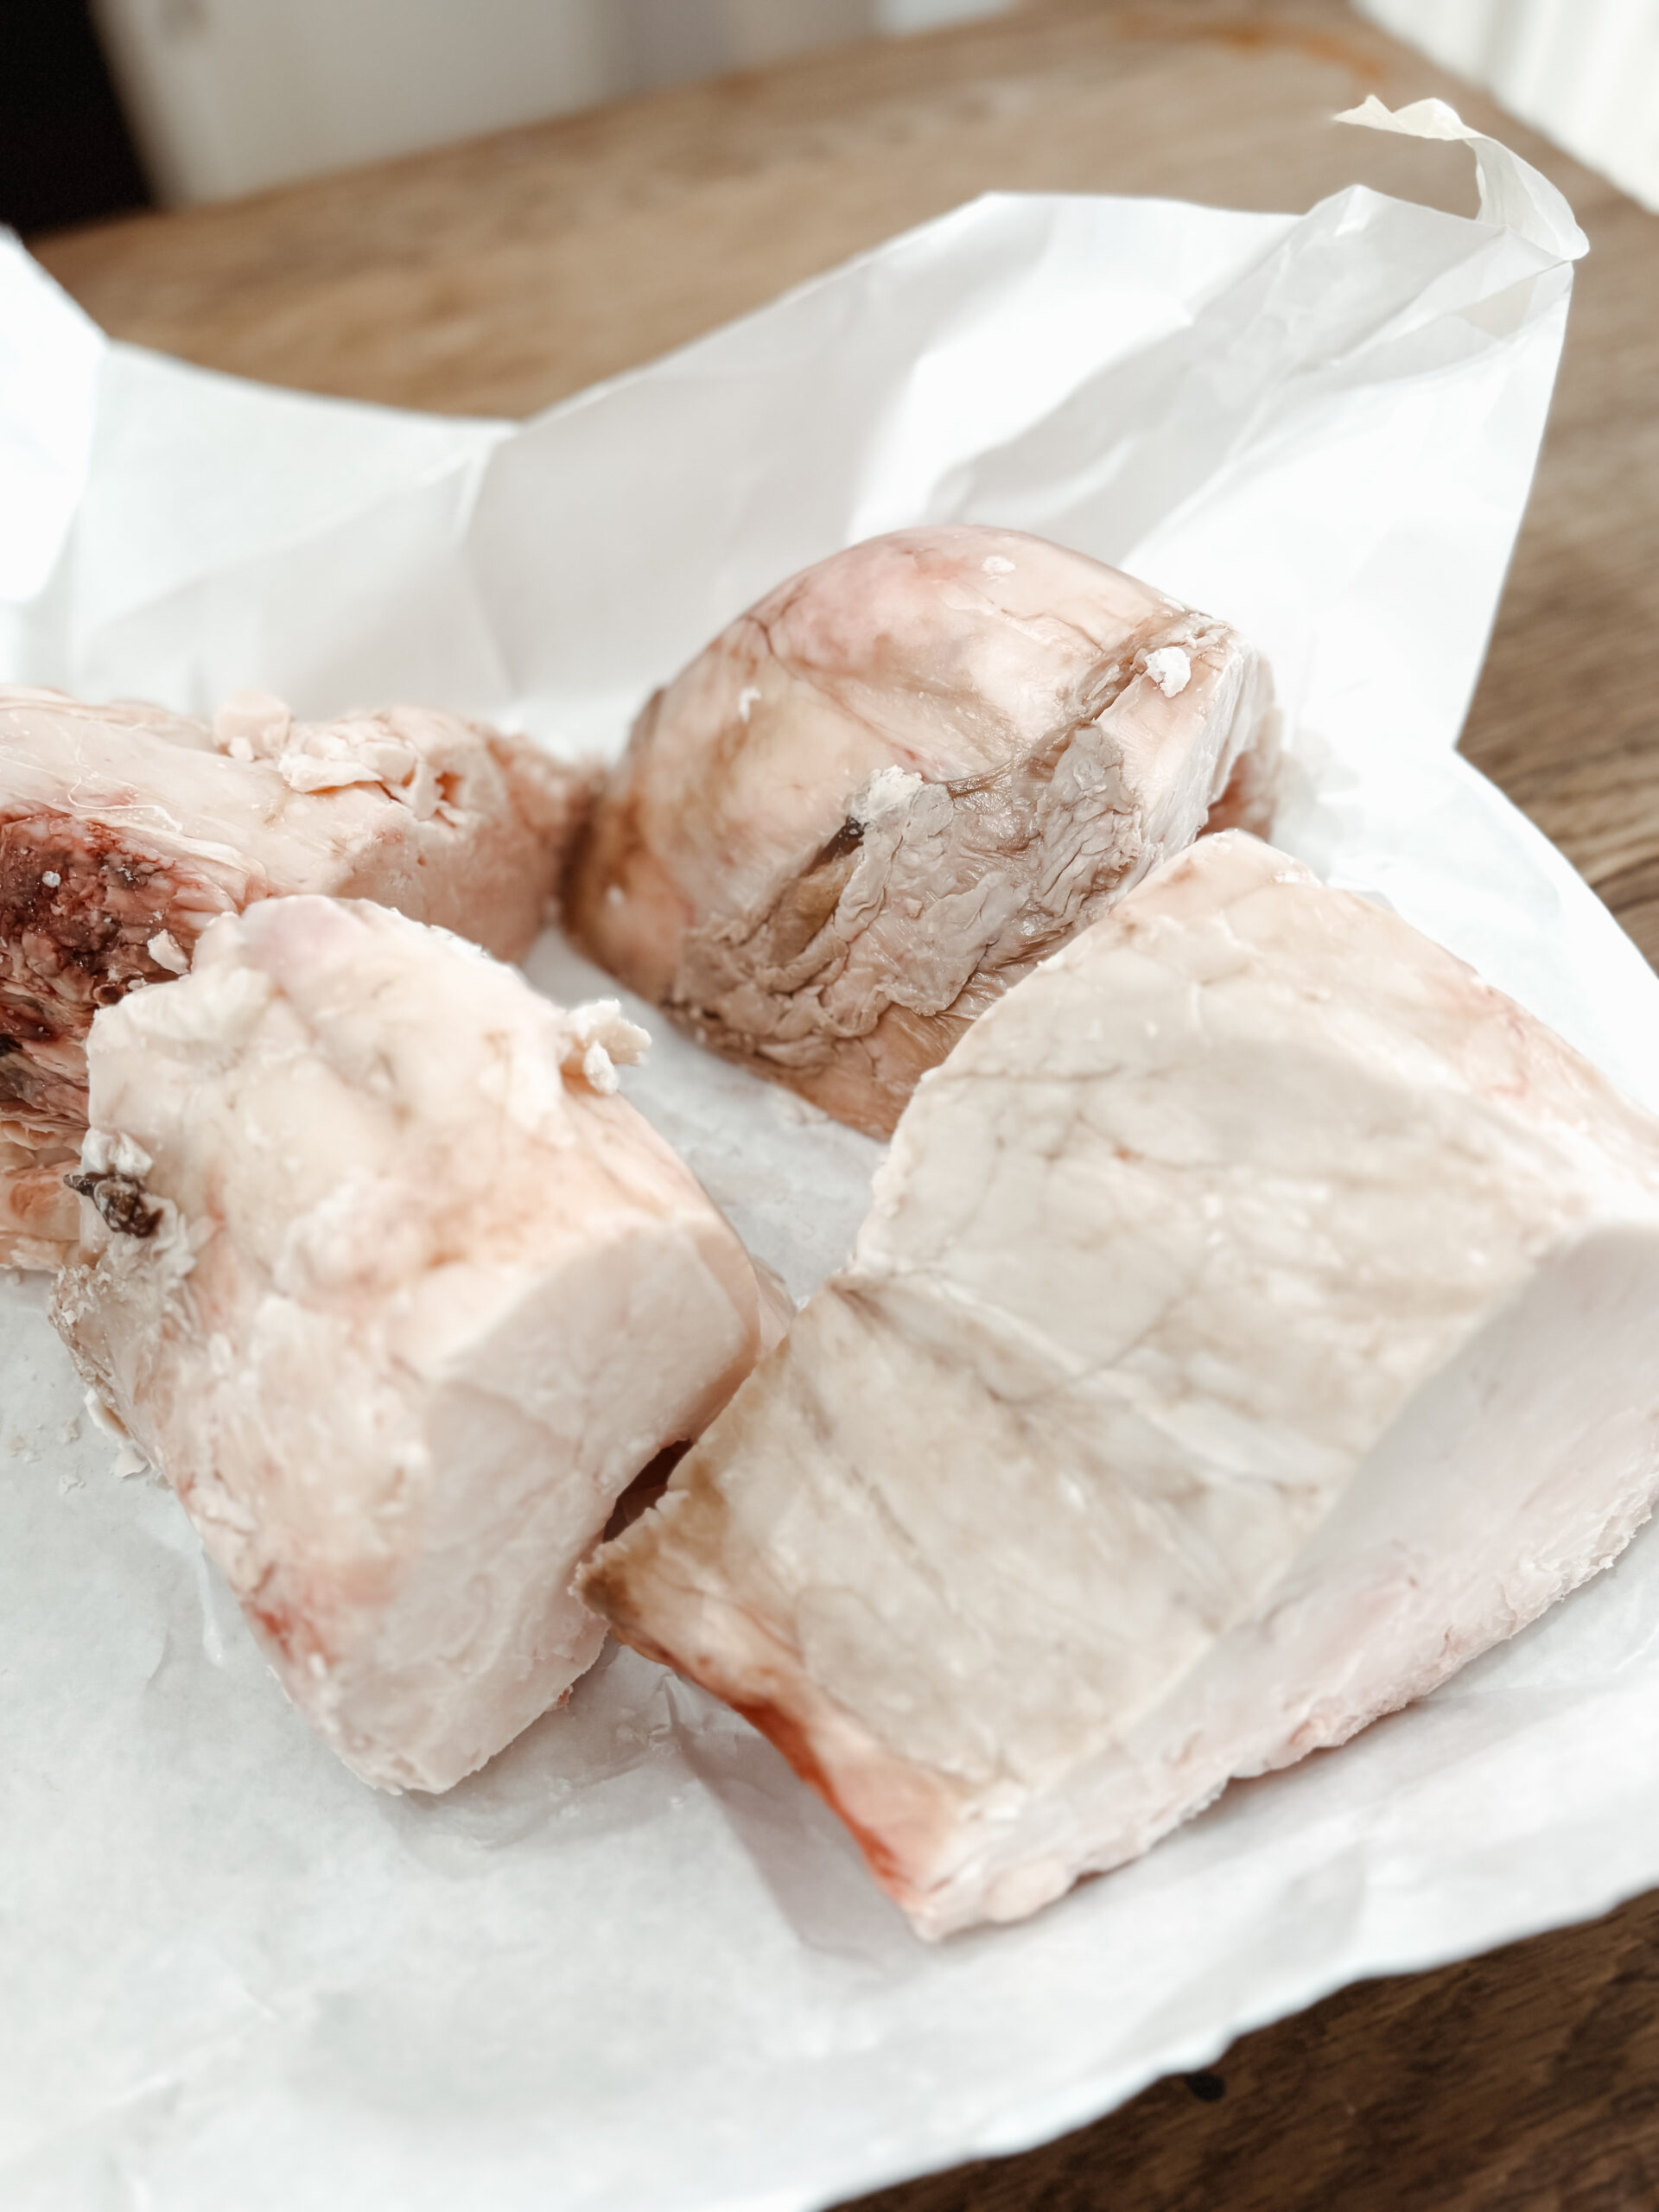
We don't shop at Costco or Sam's Club - there isn't one within a reasonable distance from us. However, we do buy our meat in bulk! Knowing where your food comes from is very important in terms of overall quality.
I highly recommend finding a local reputable cattle farmer and buying a quarter or a half of a cow (depending on family size.) We buy a half a cow and let the meat market (butcher) know how we want it packed. Each week we pull the meat we plan to eat (from our weekly meal plan) from the freezer to thaw in the refrigerator so it is ready to be prepared when we are ready to use it.
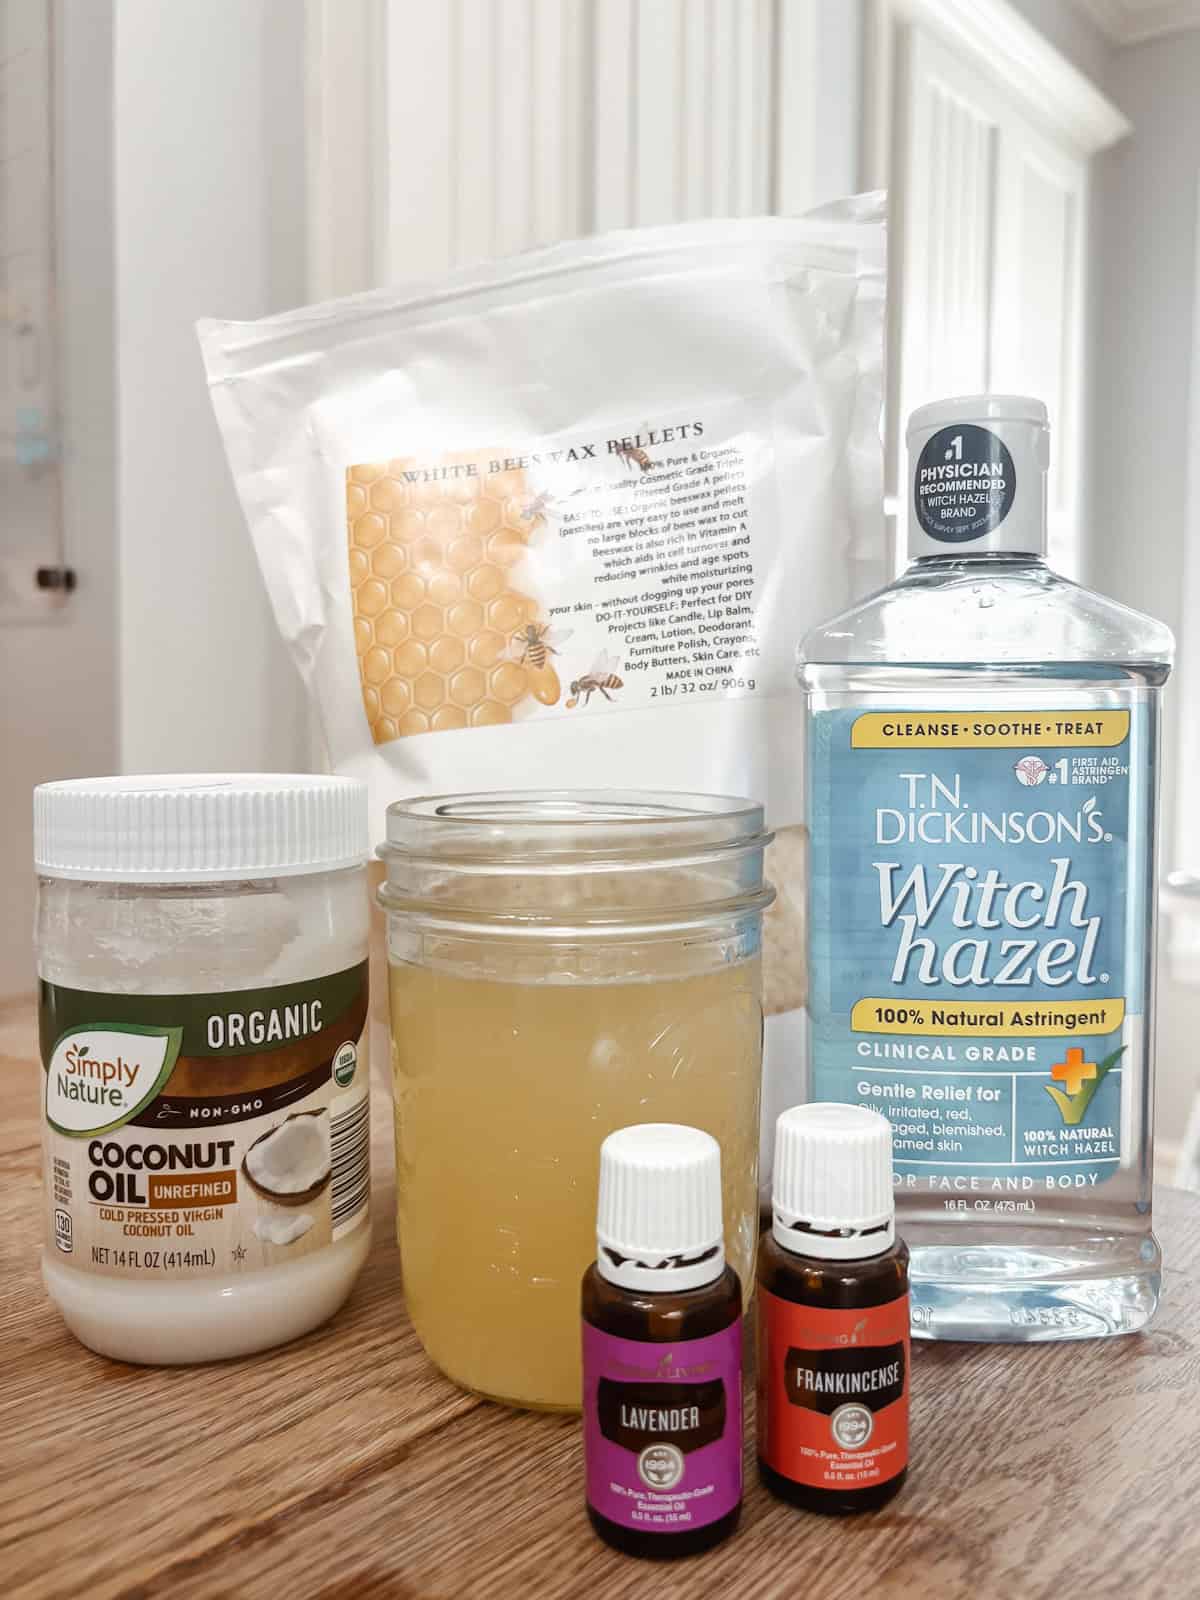
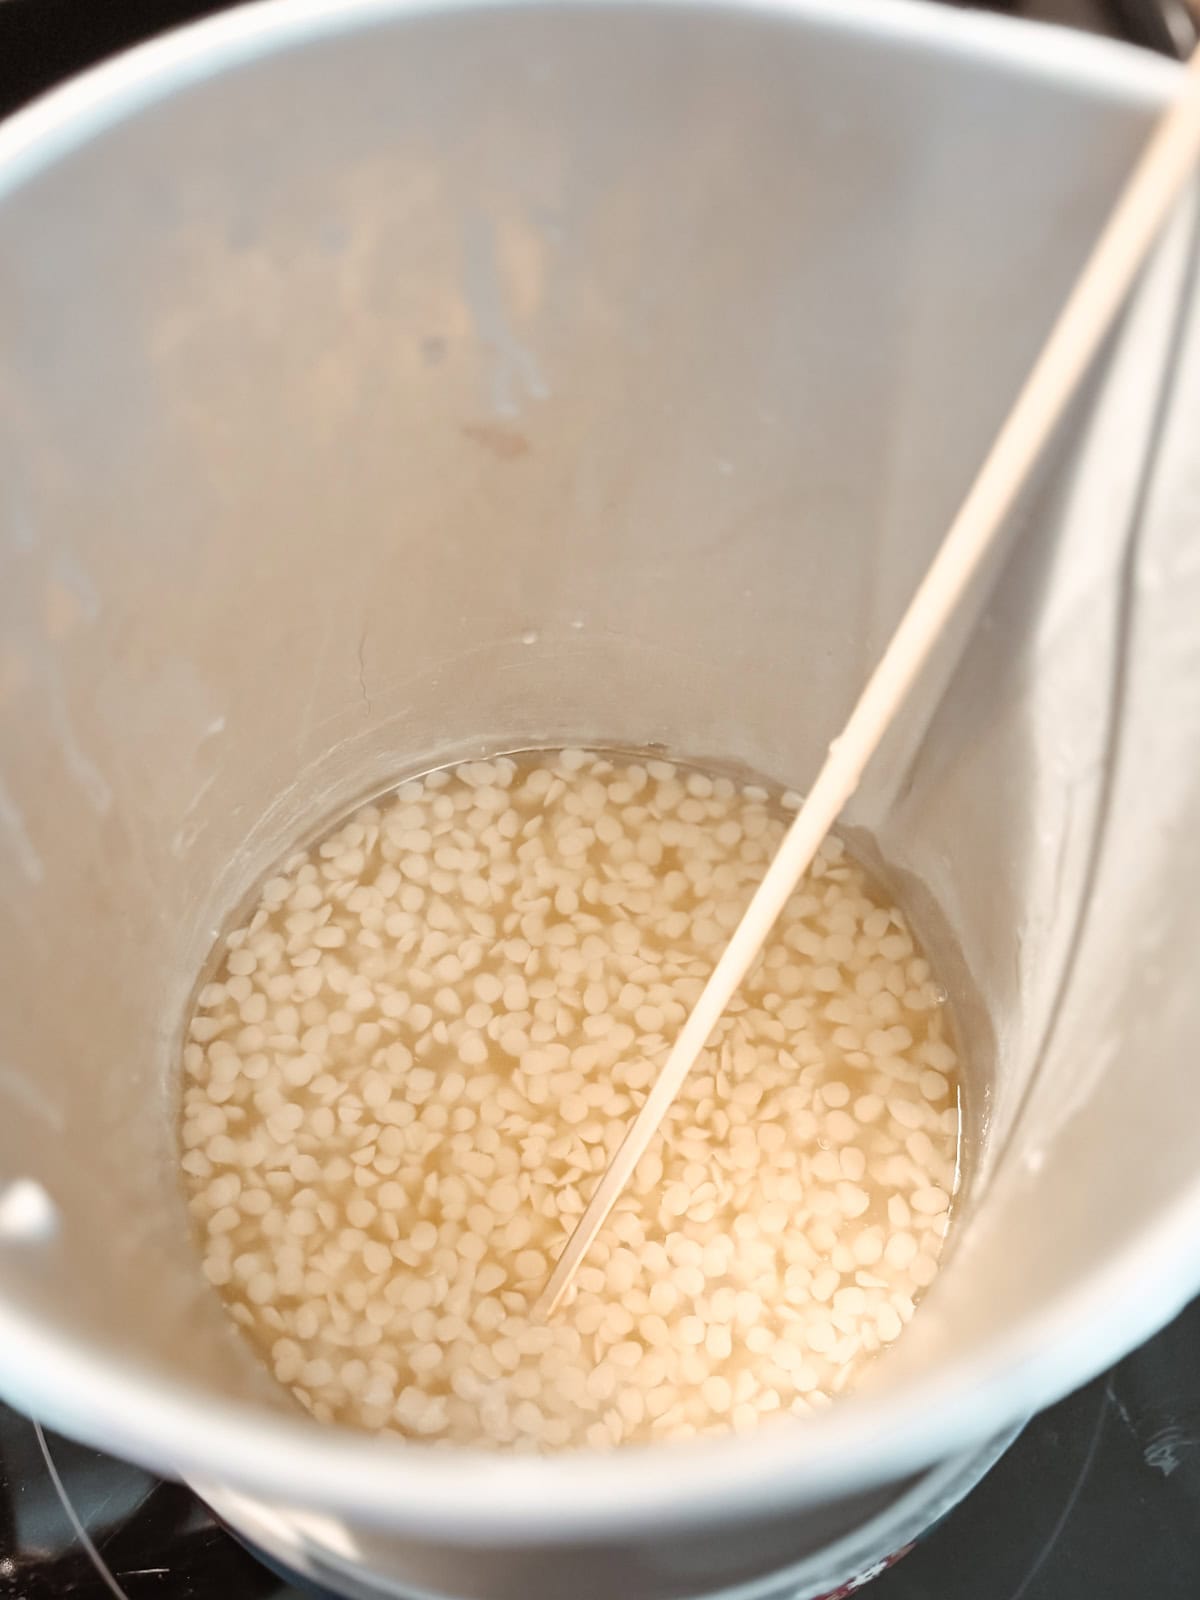
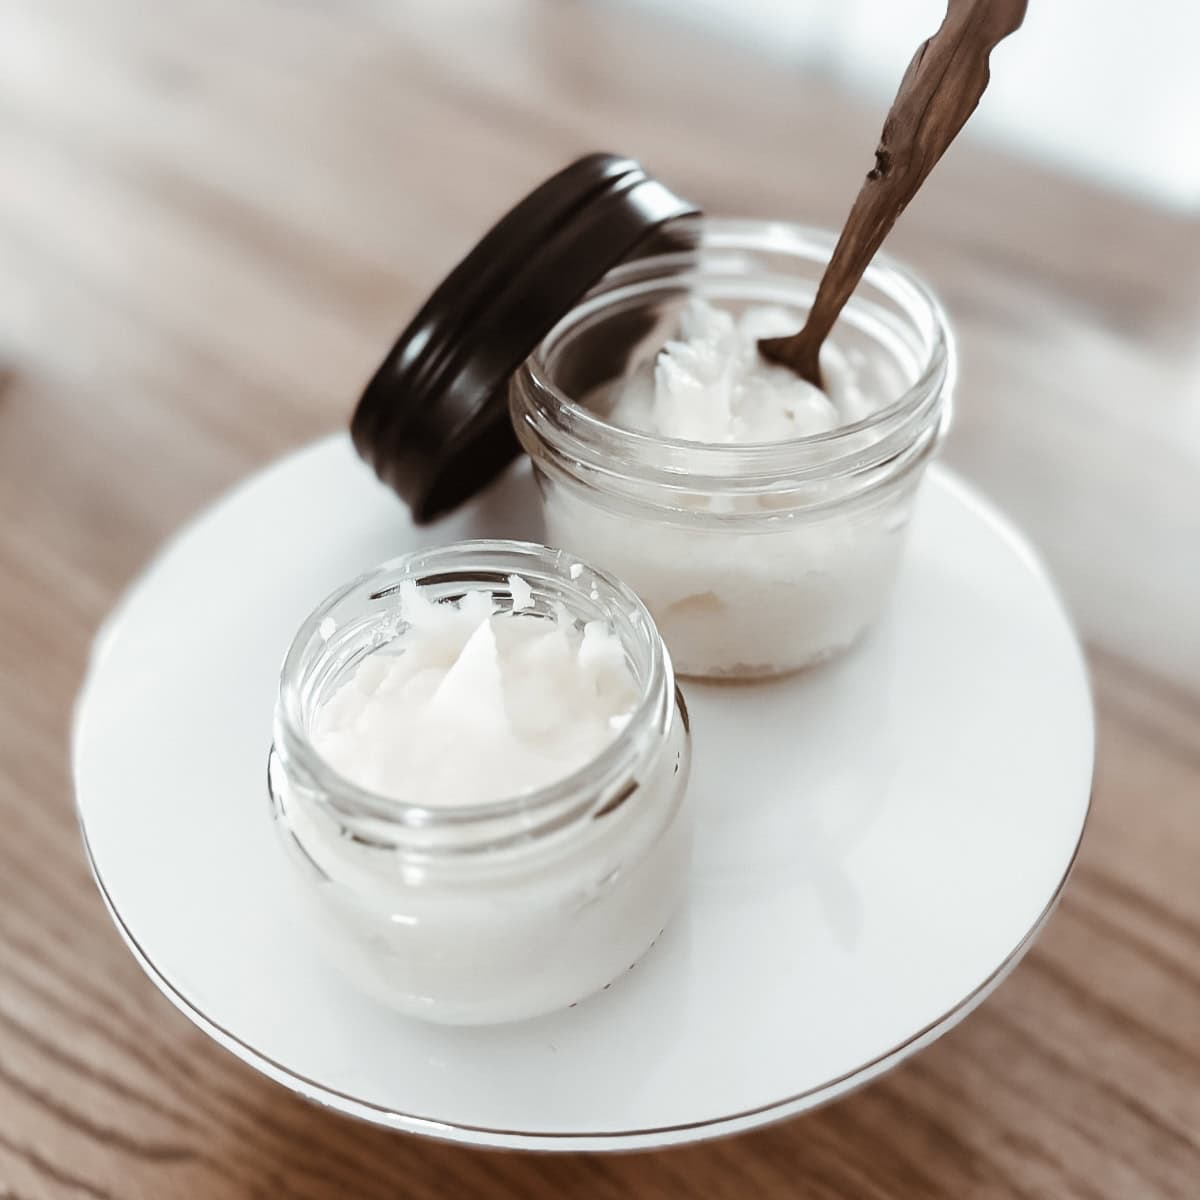
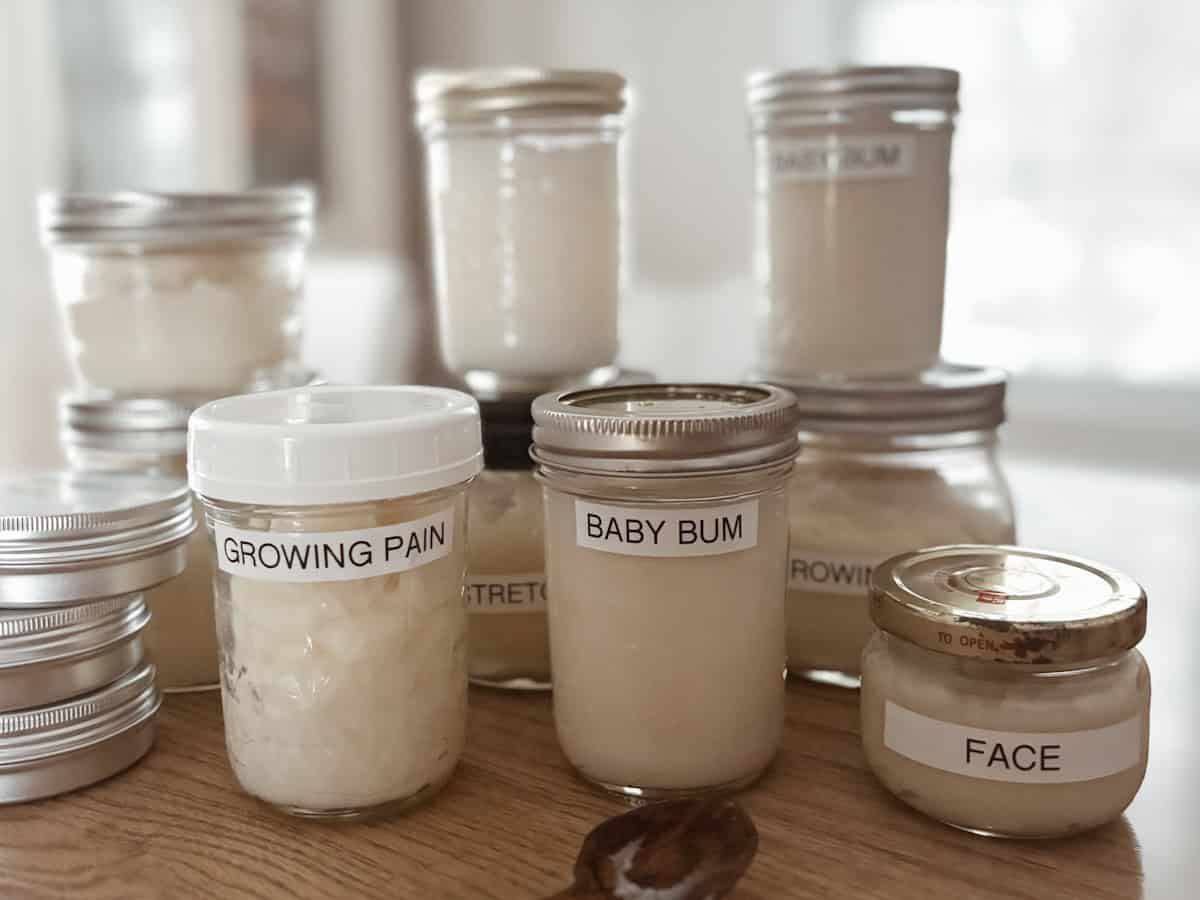
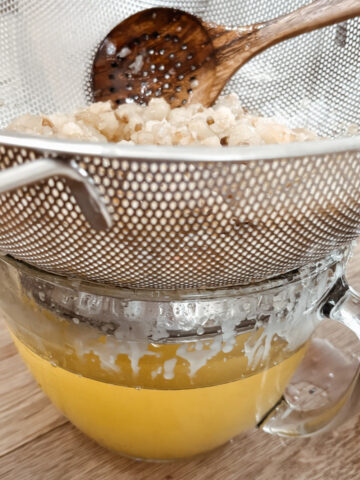
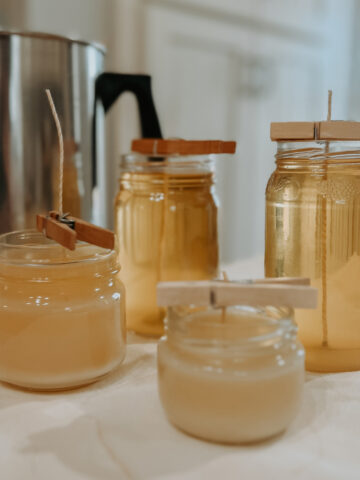
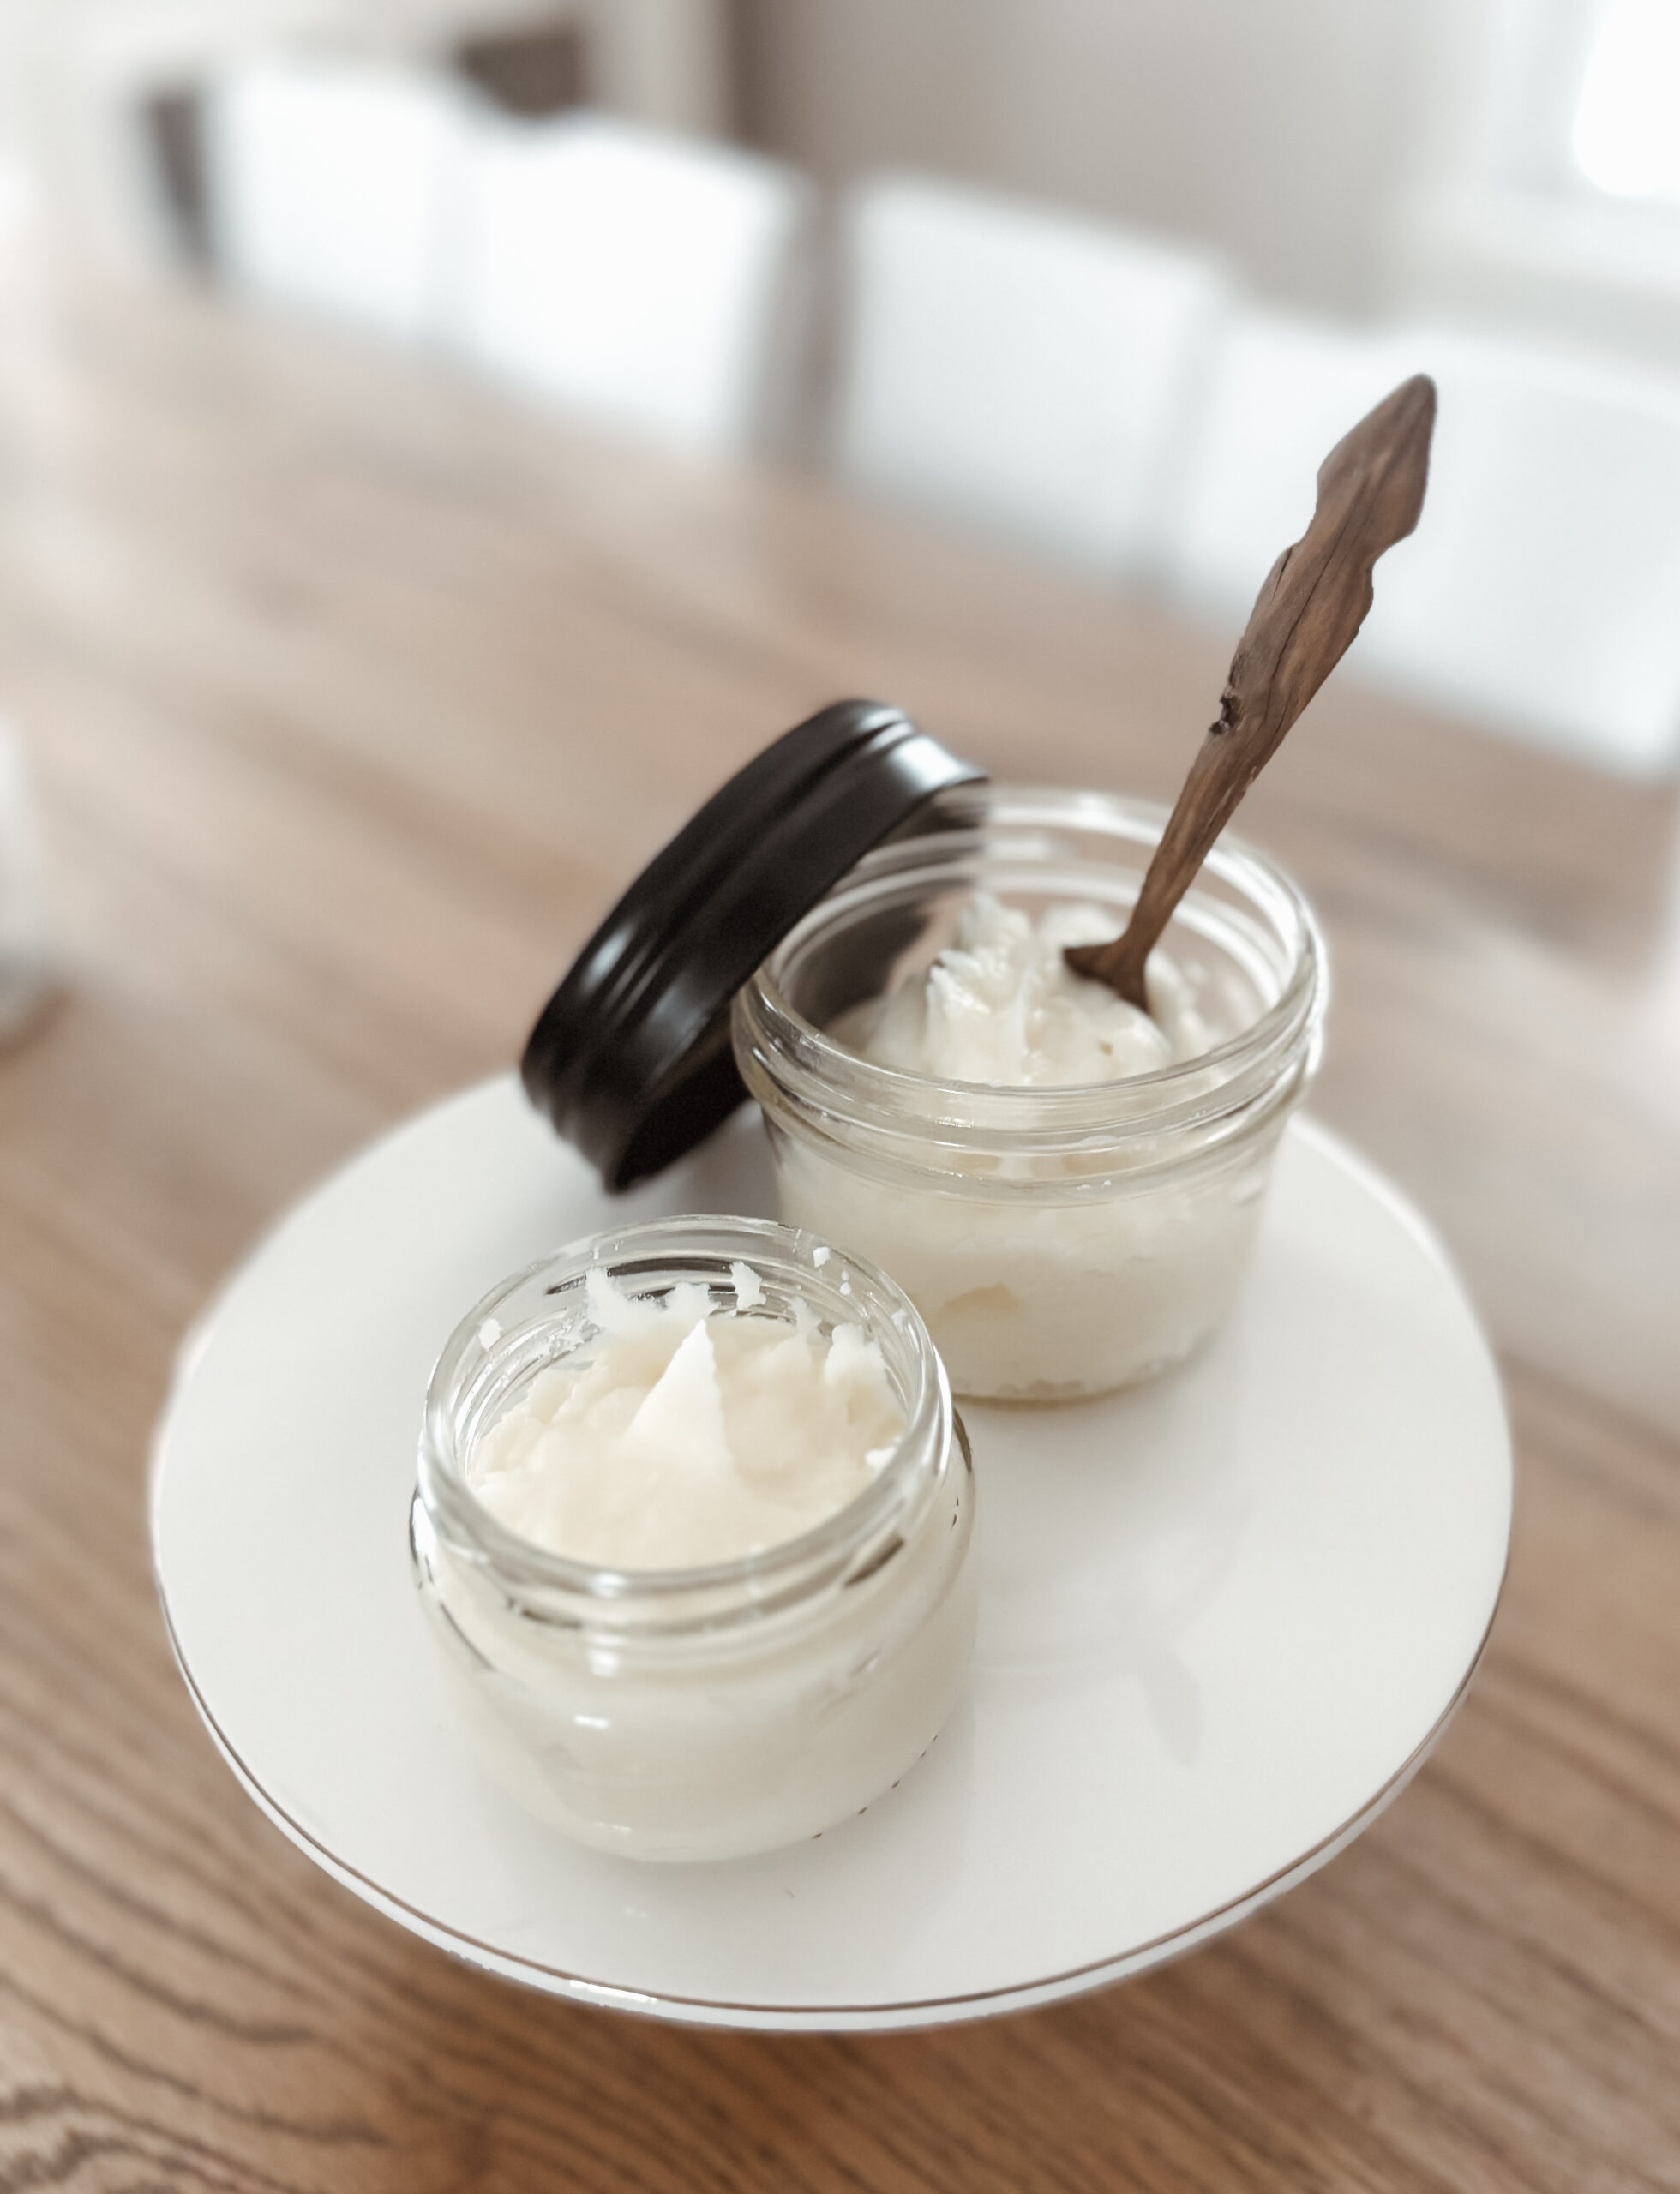
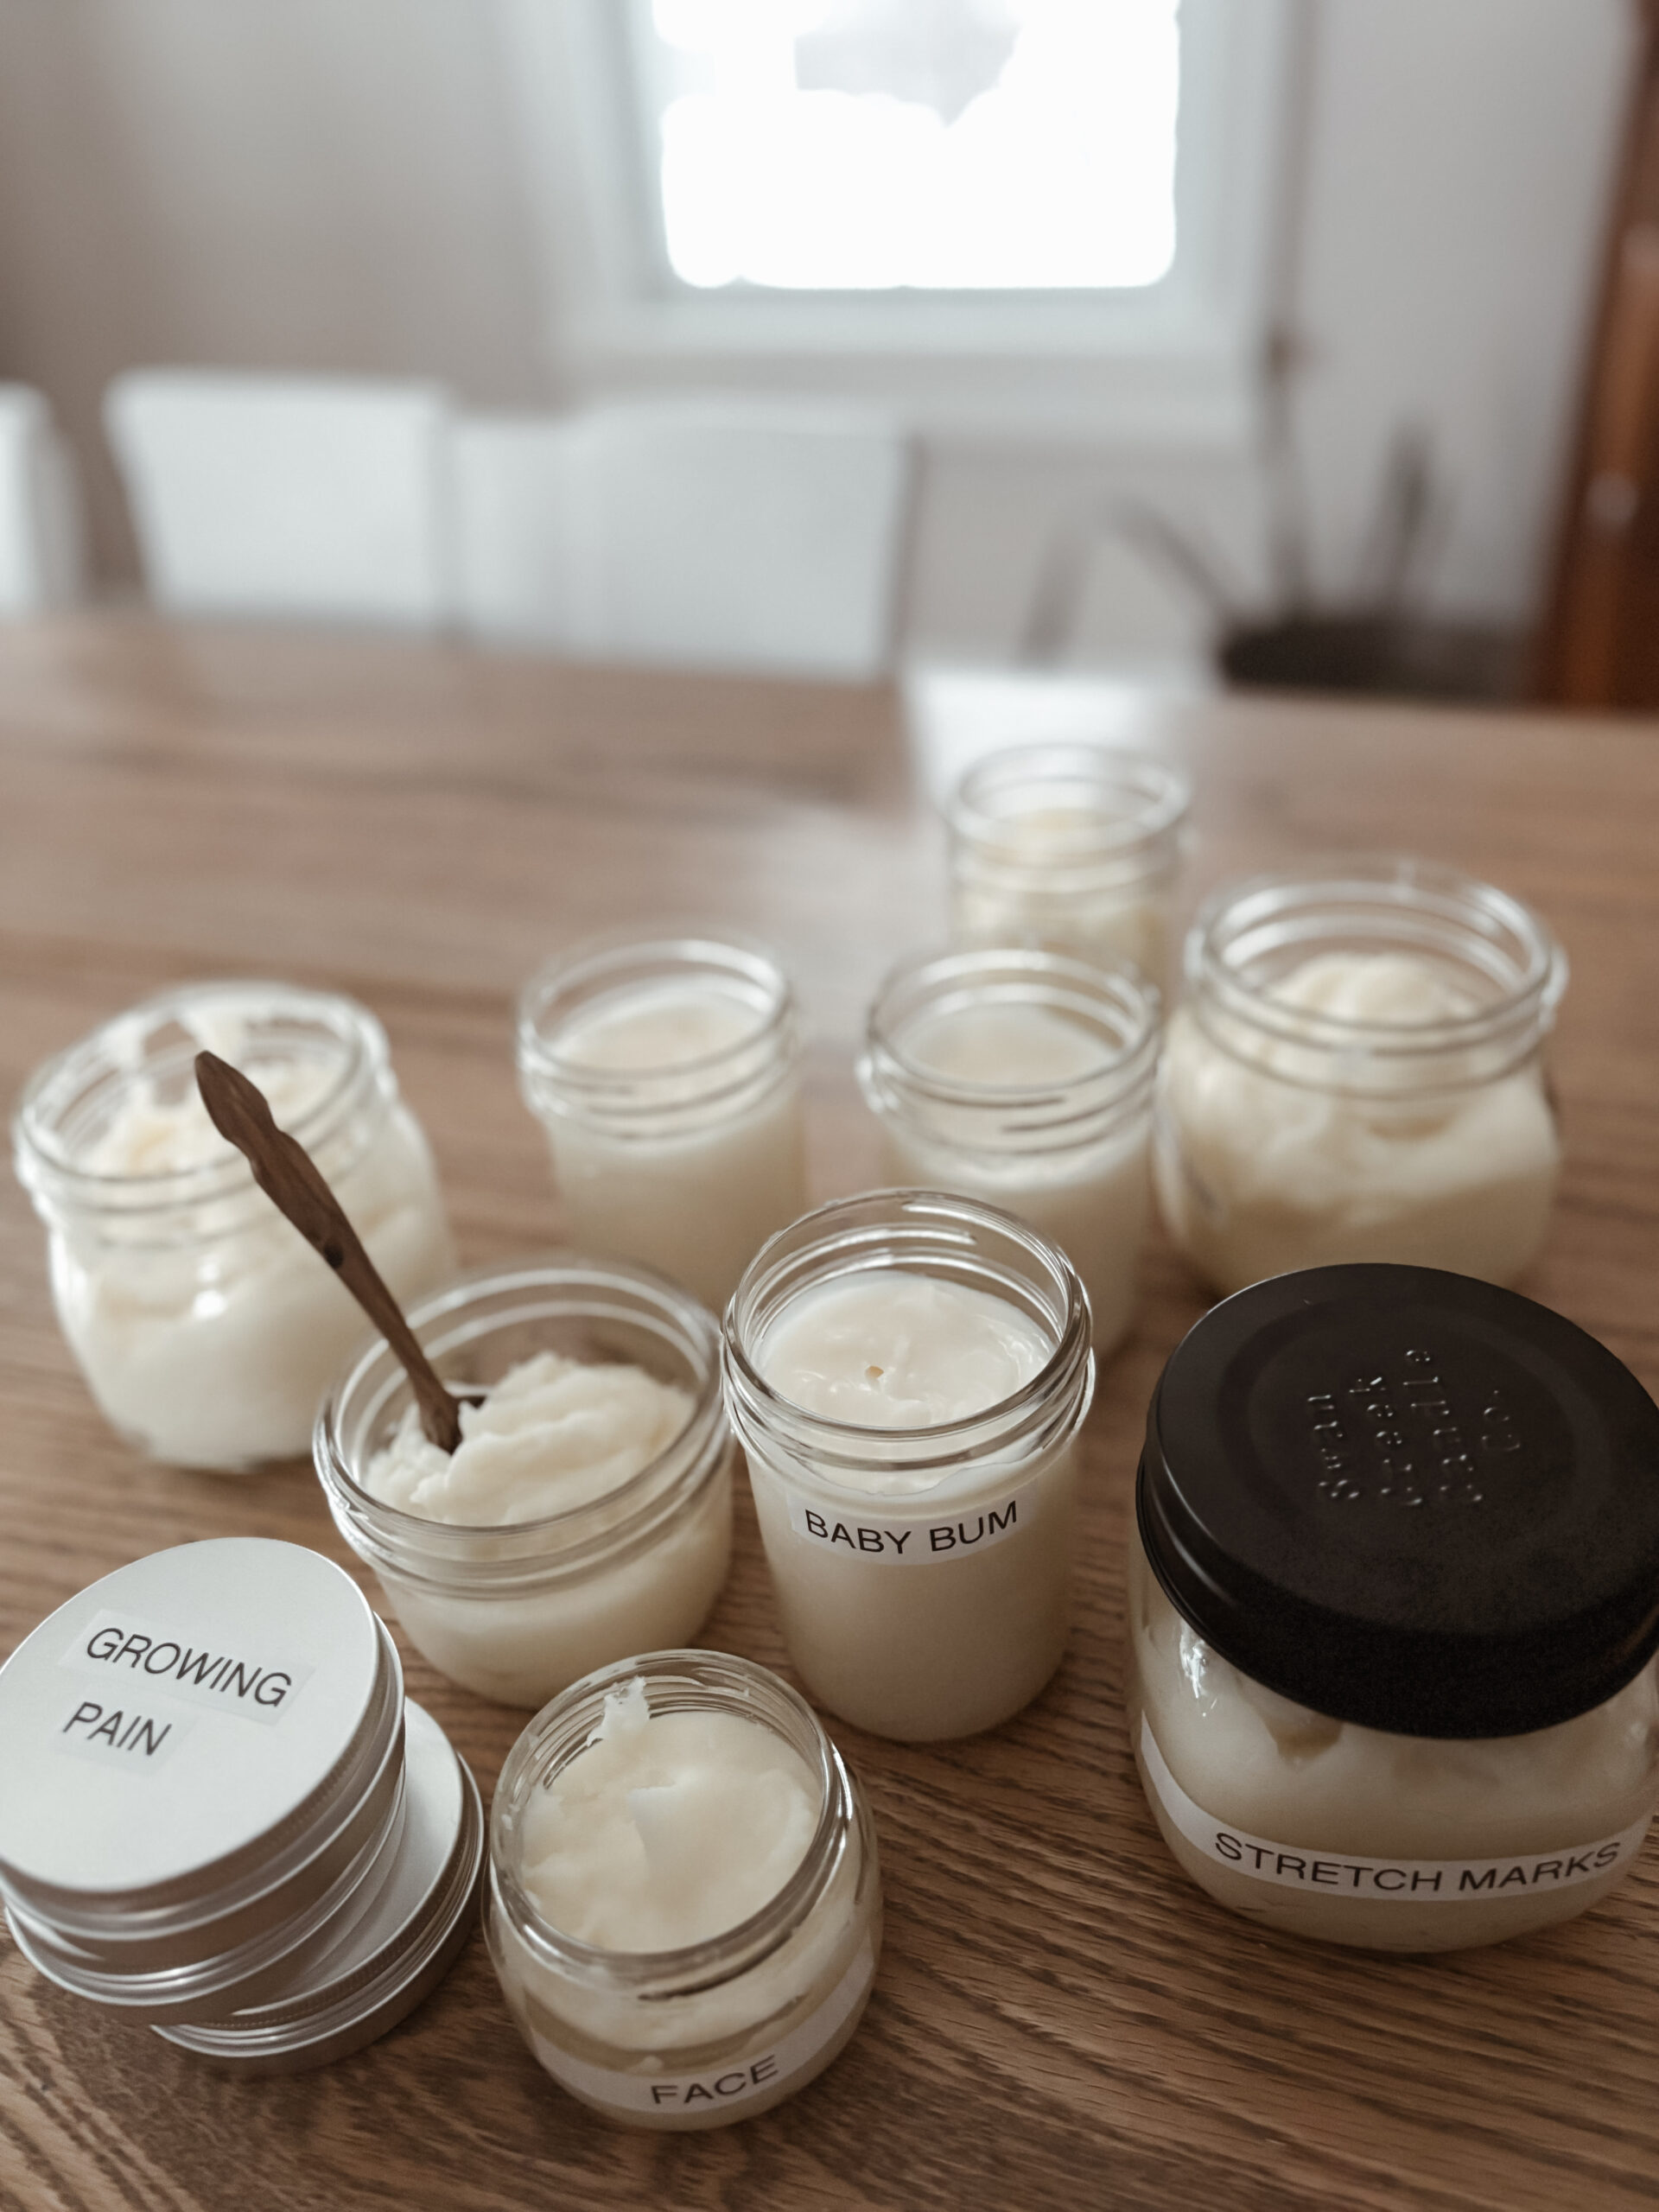
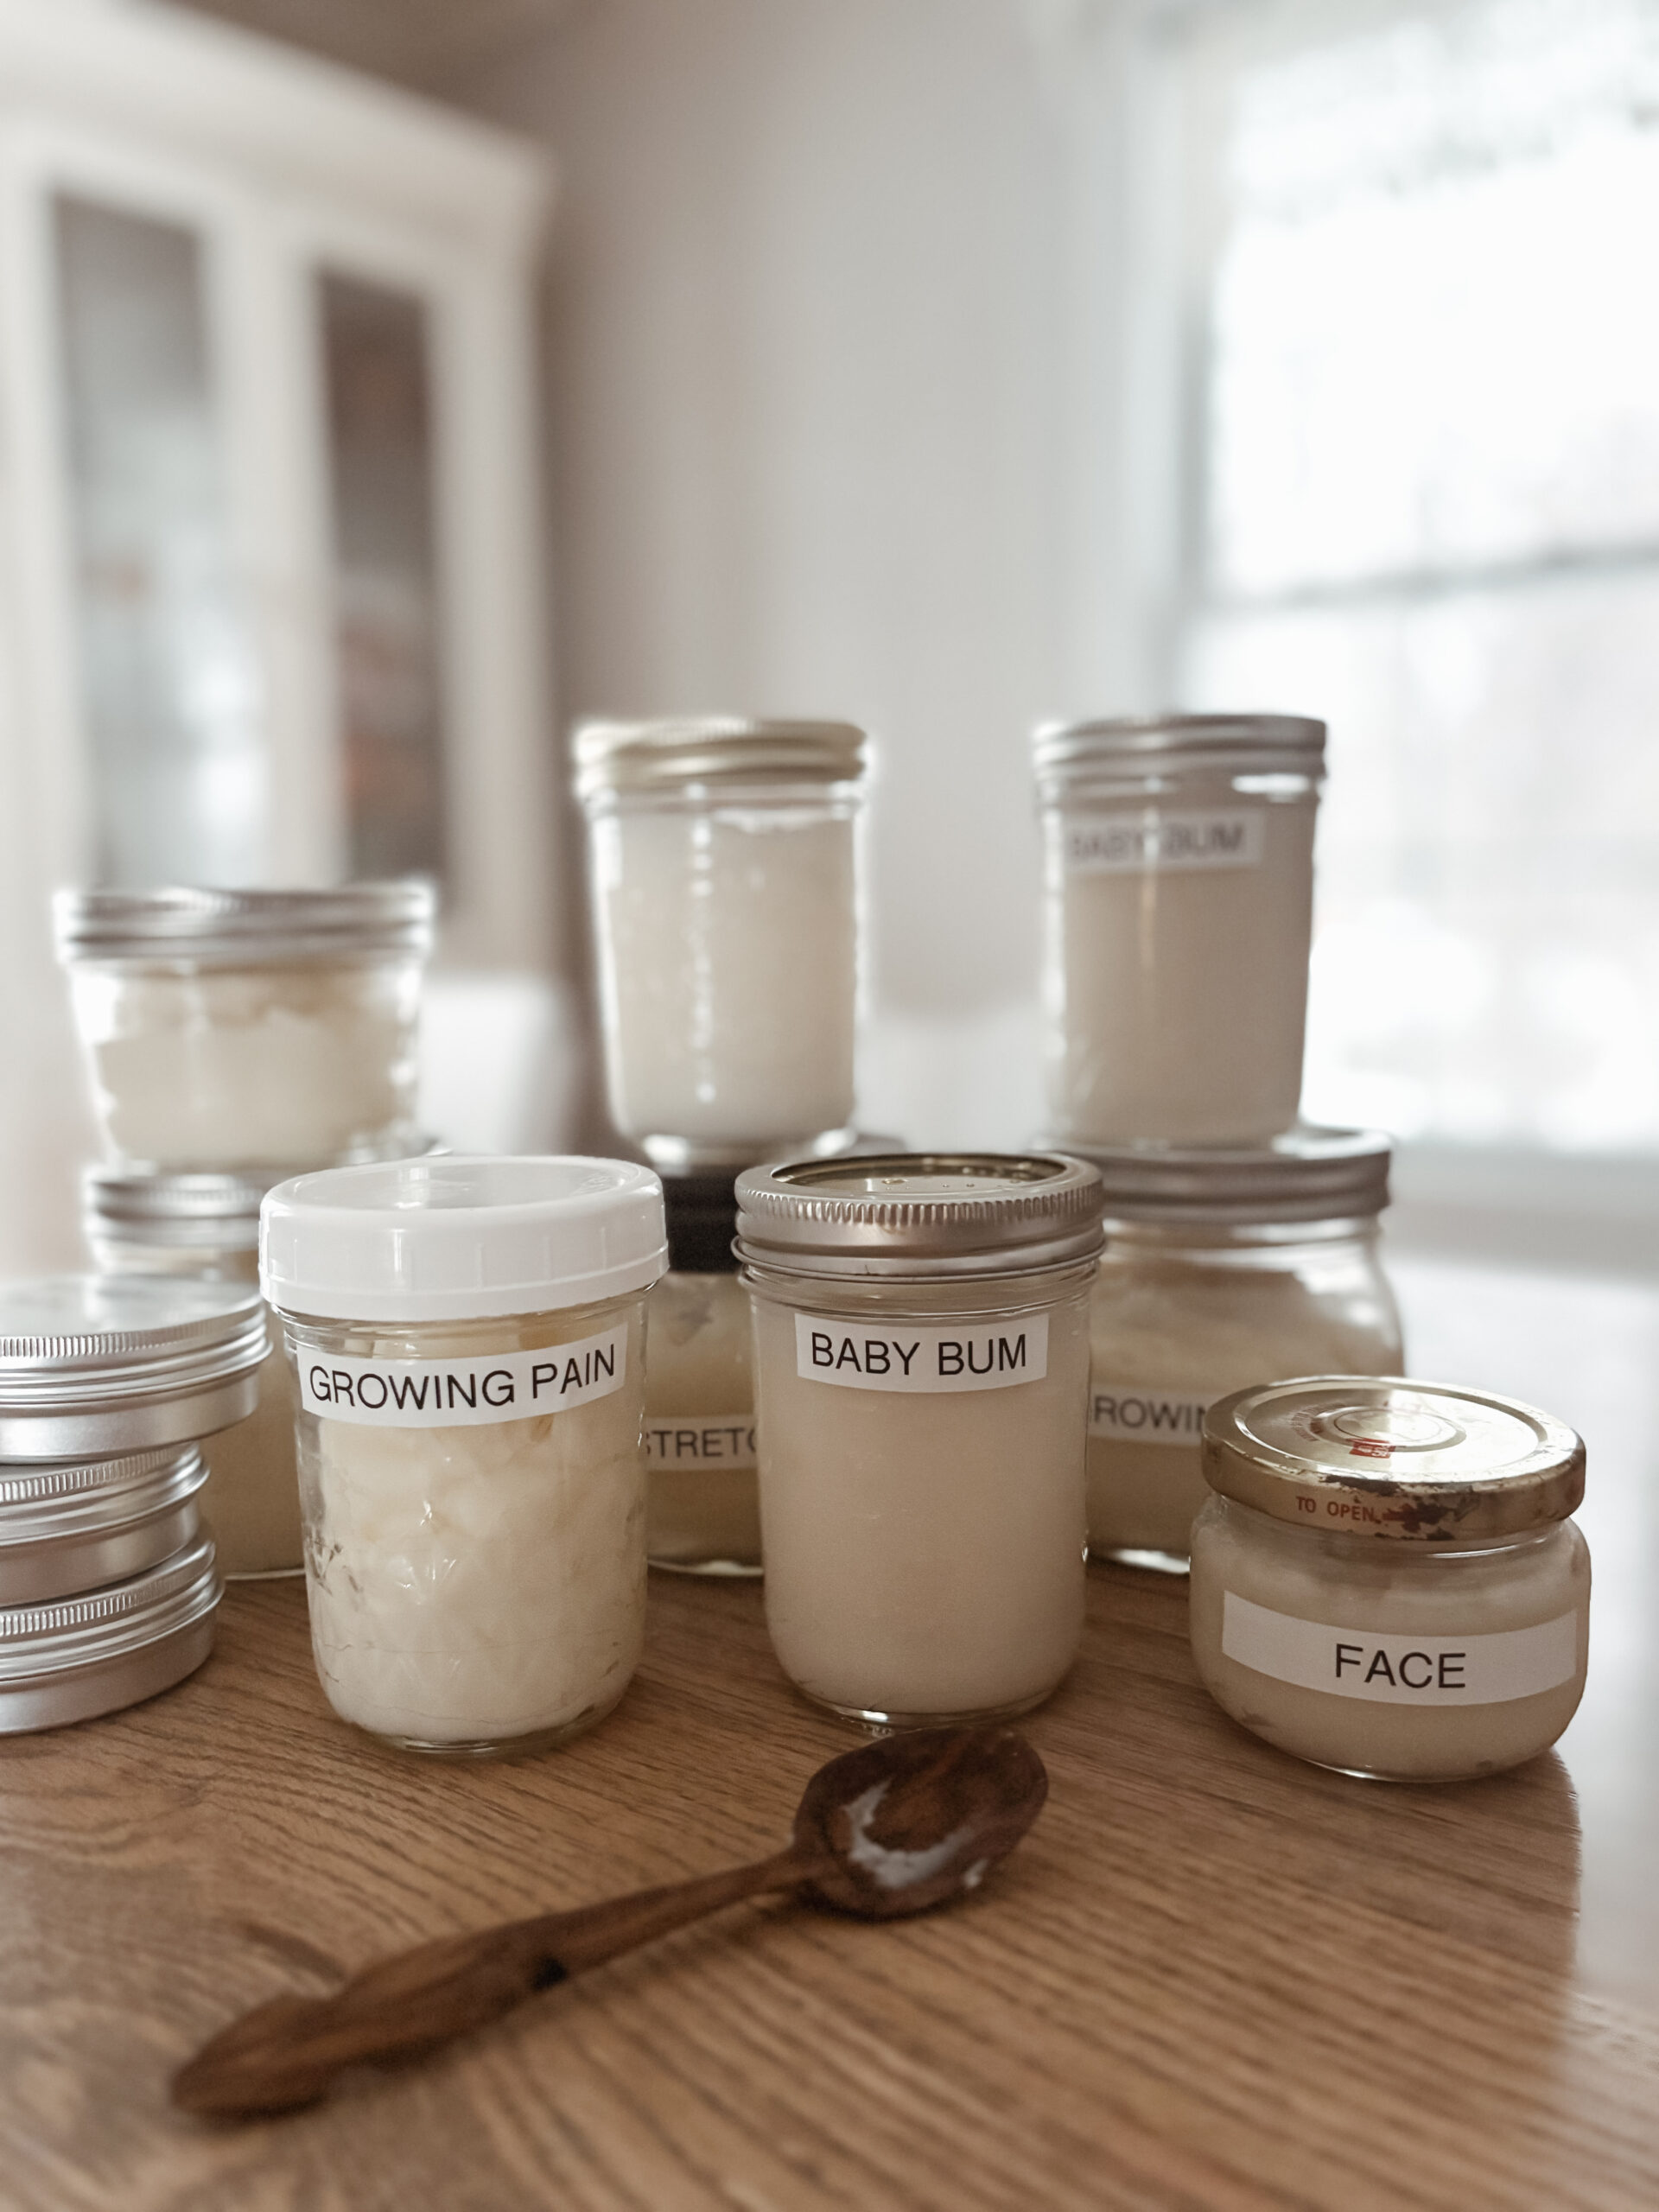
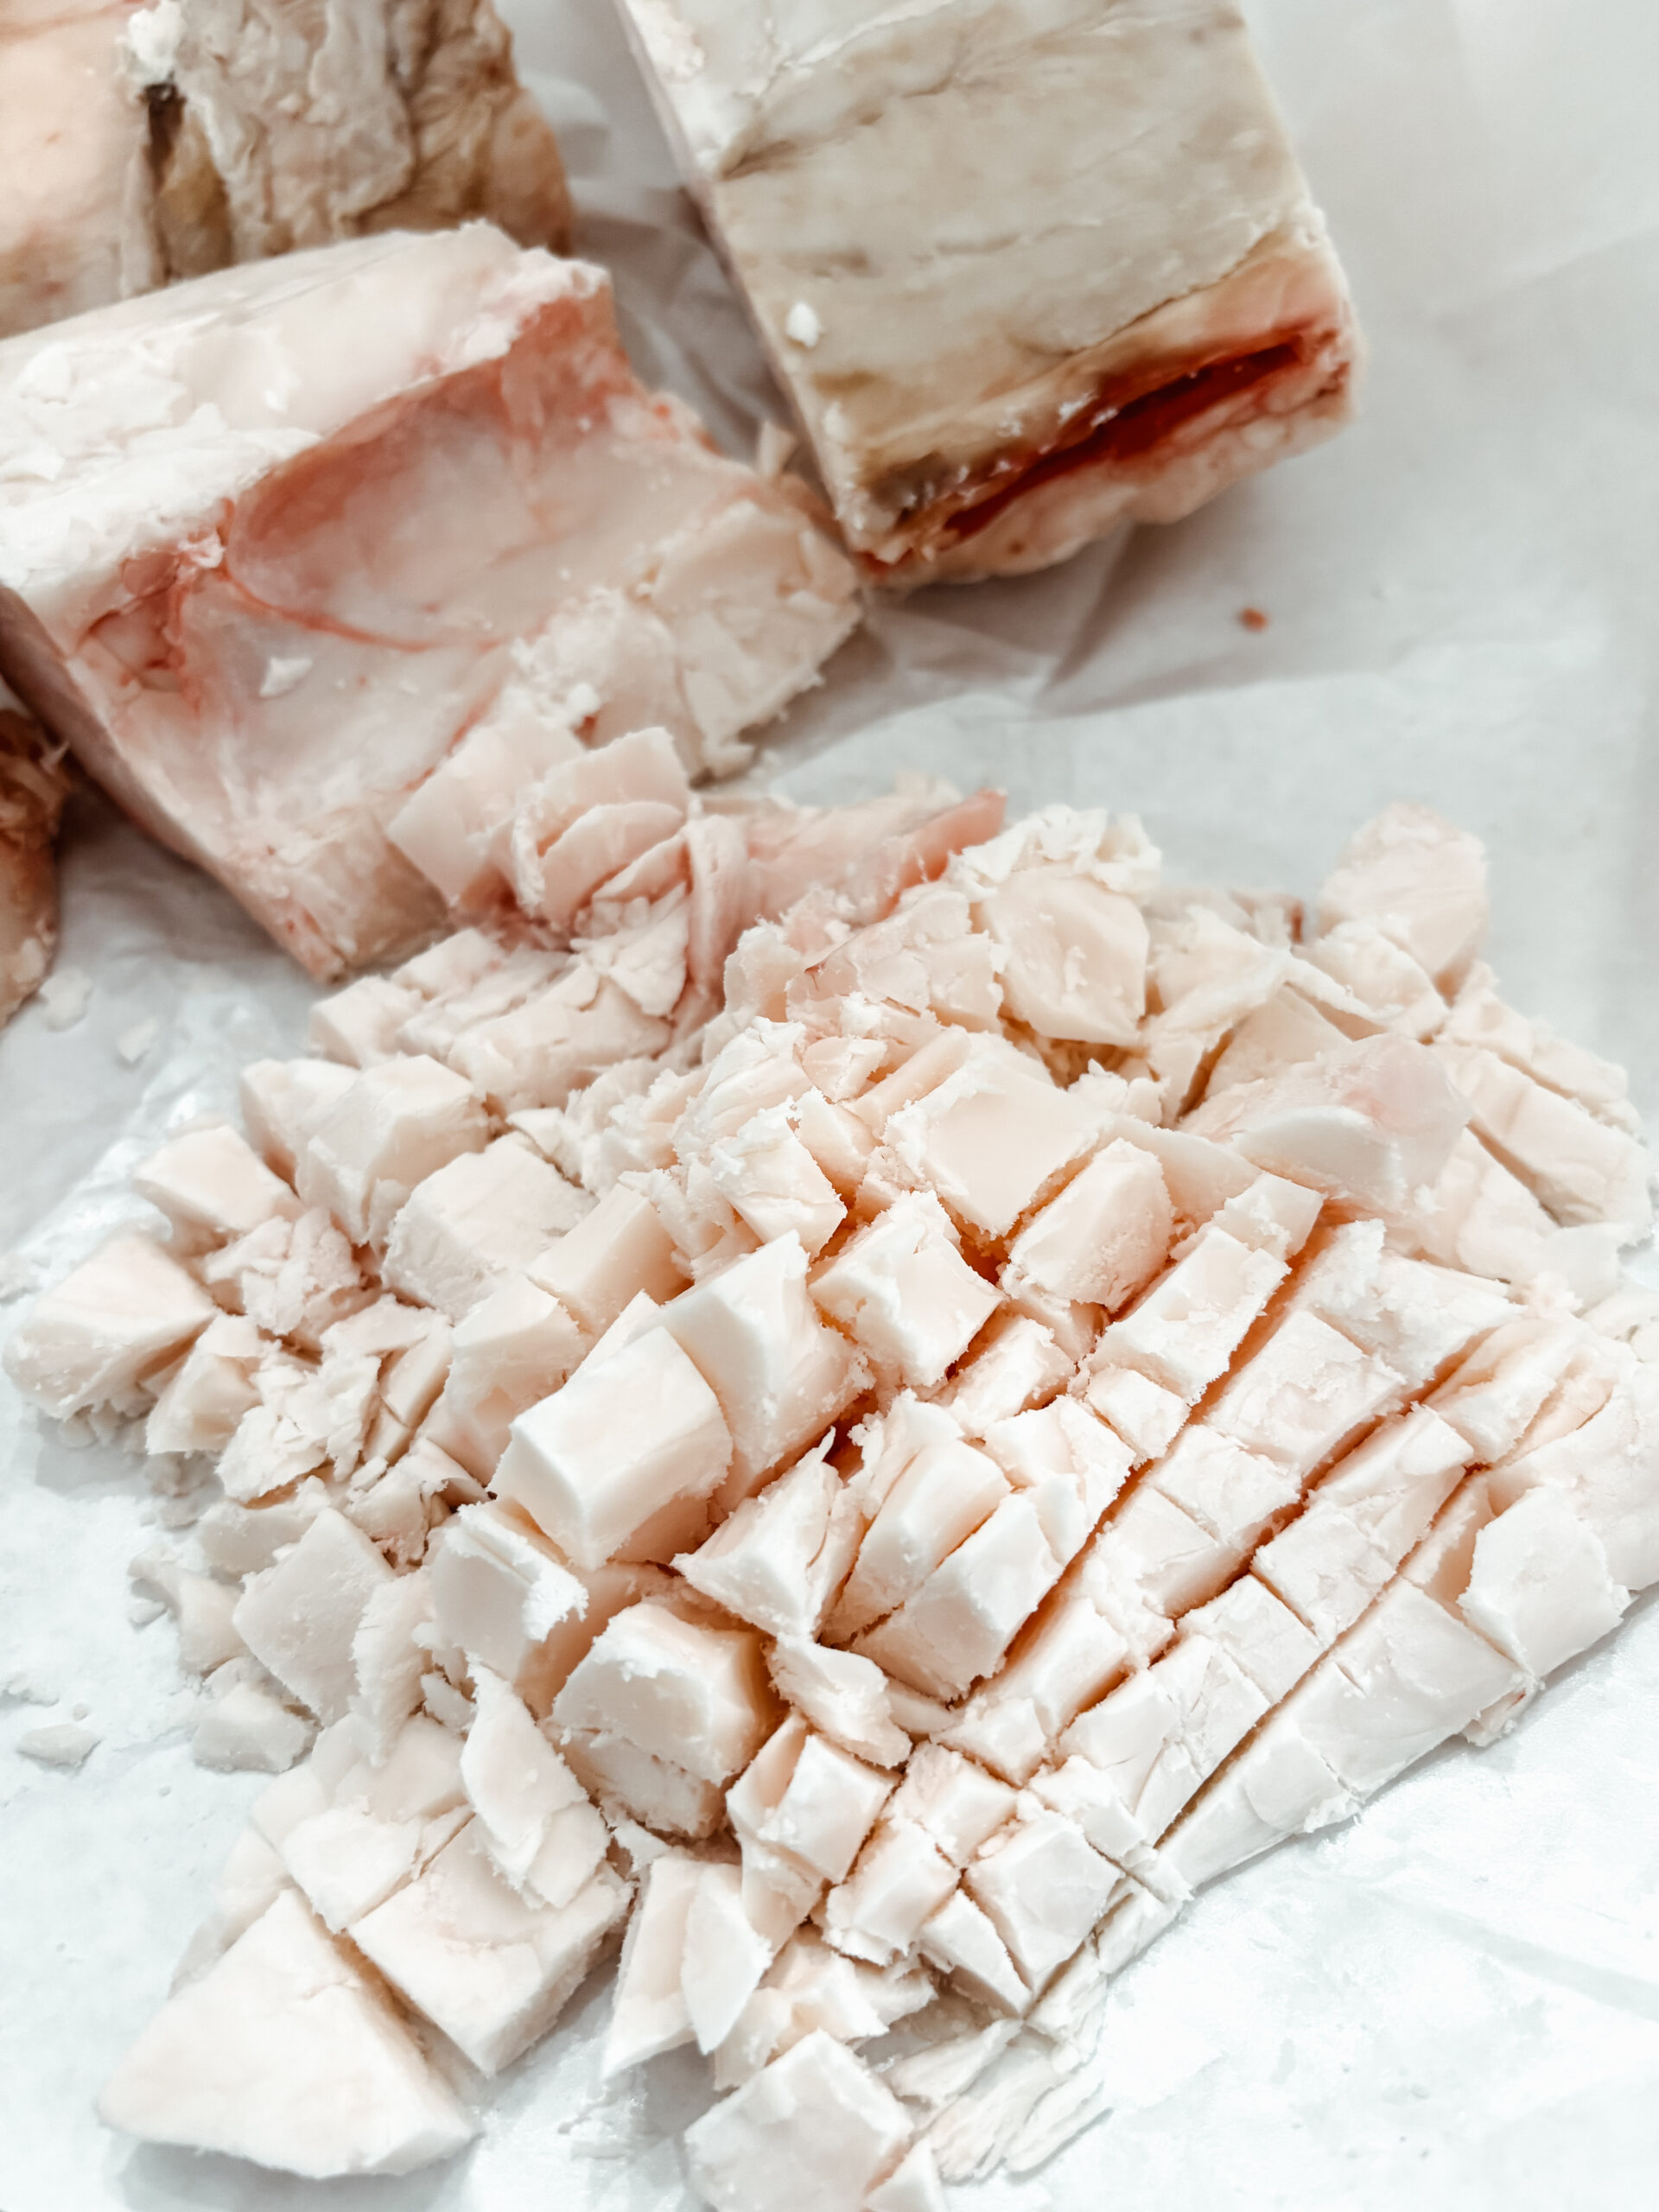
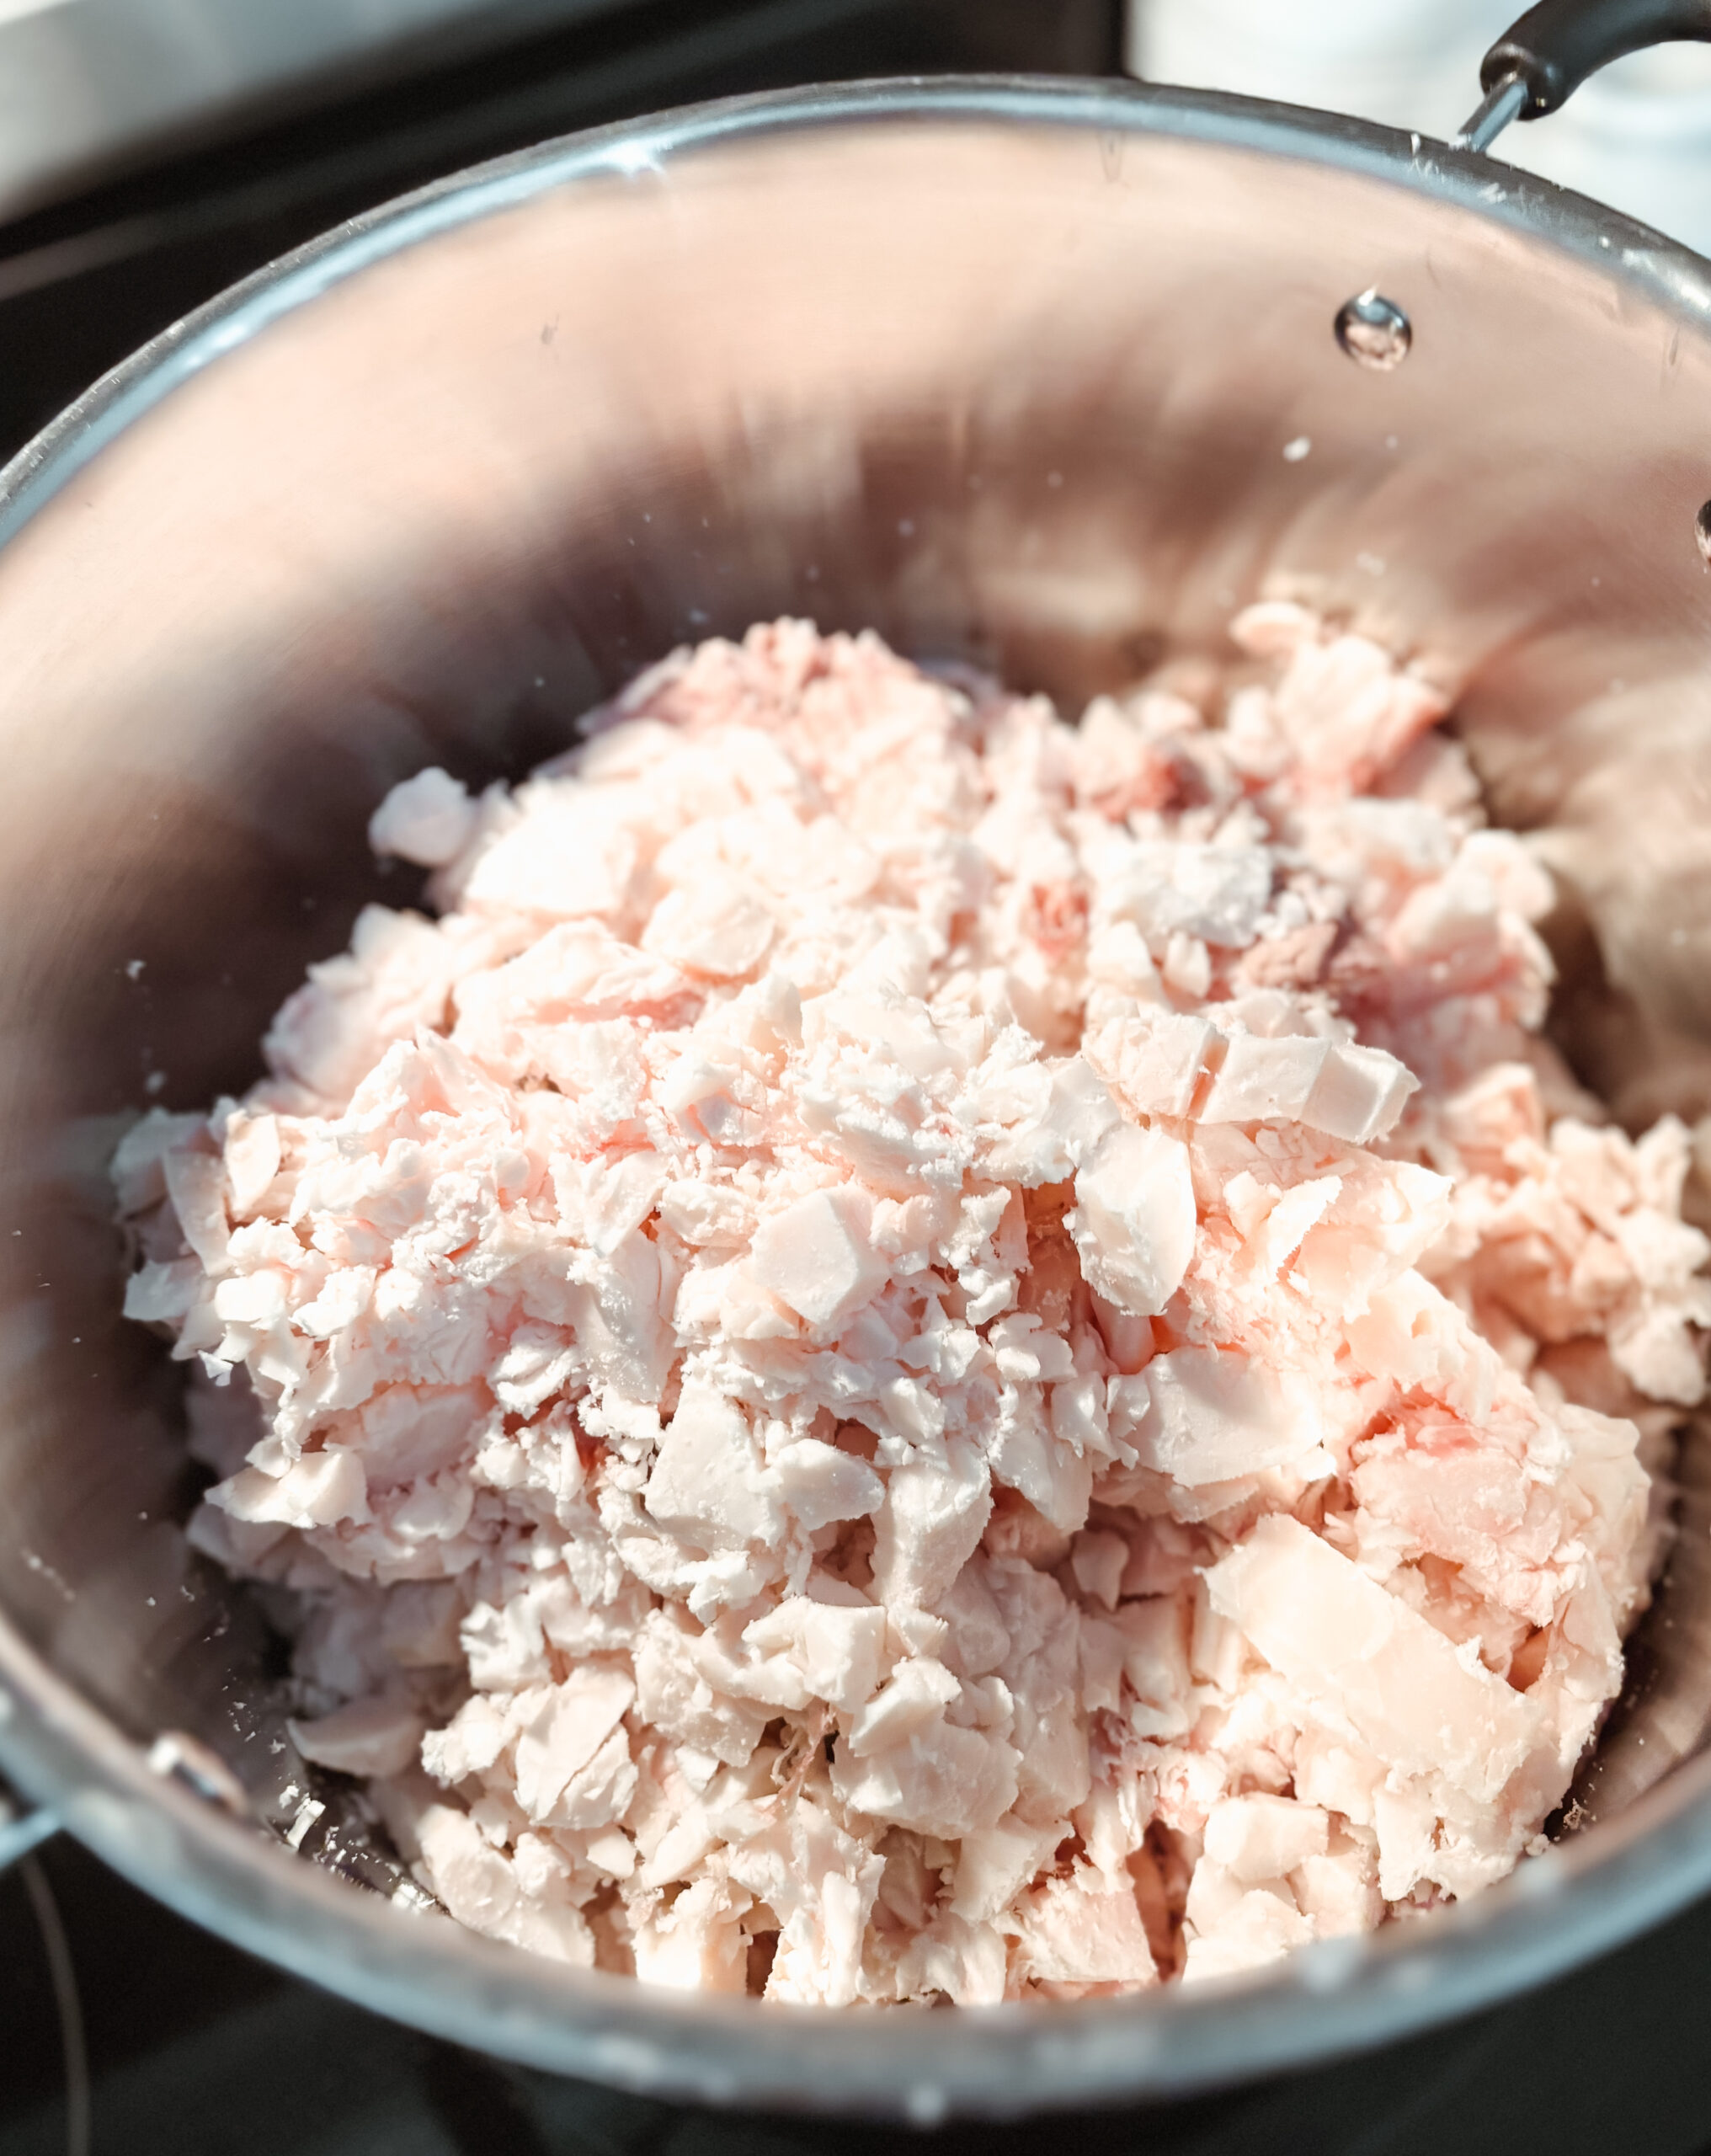
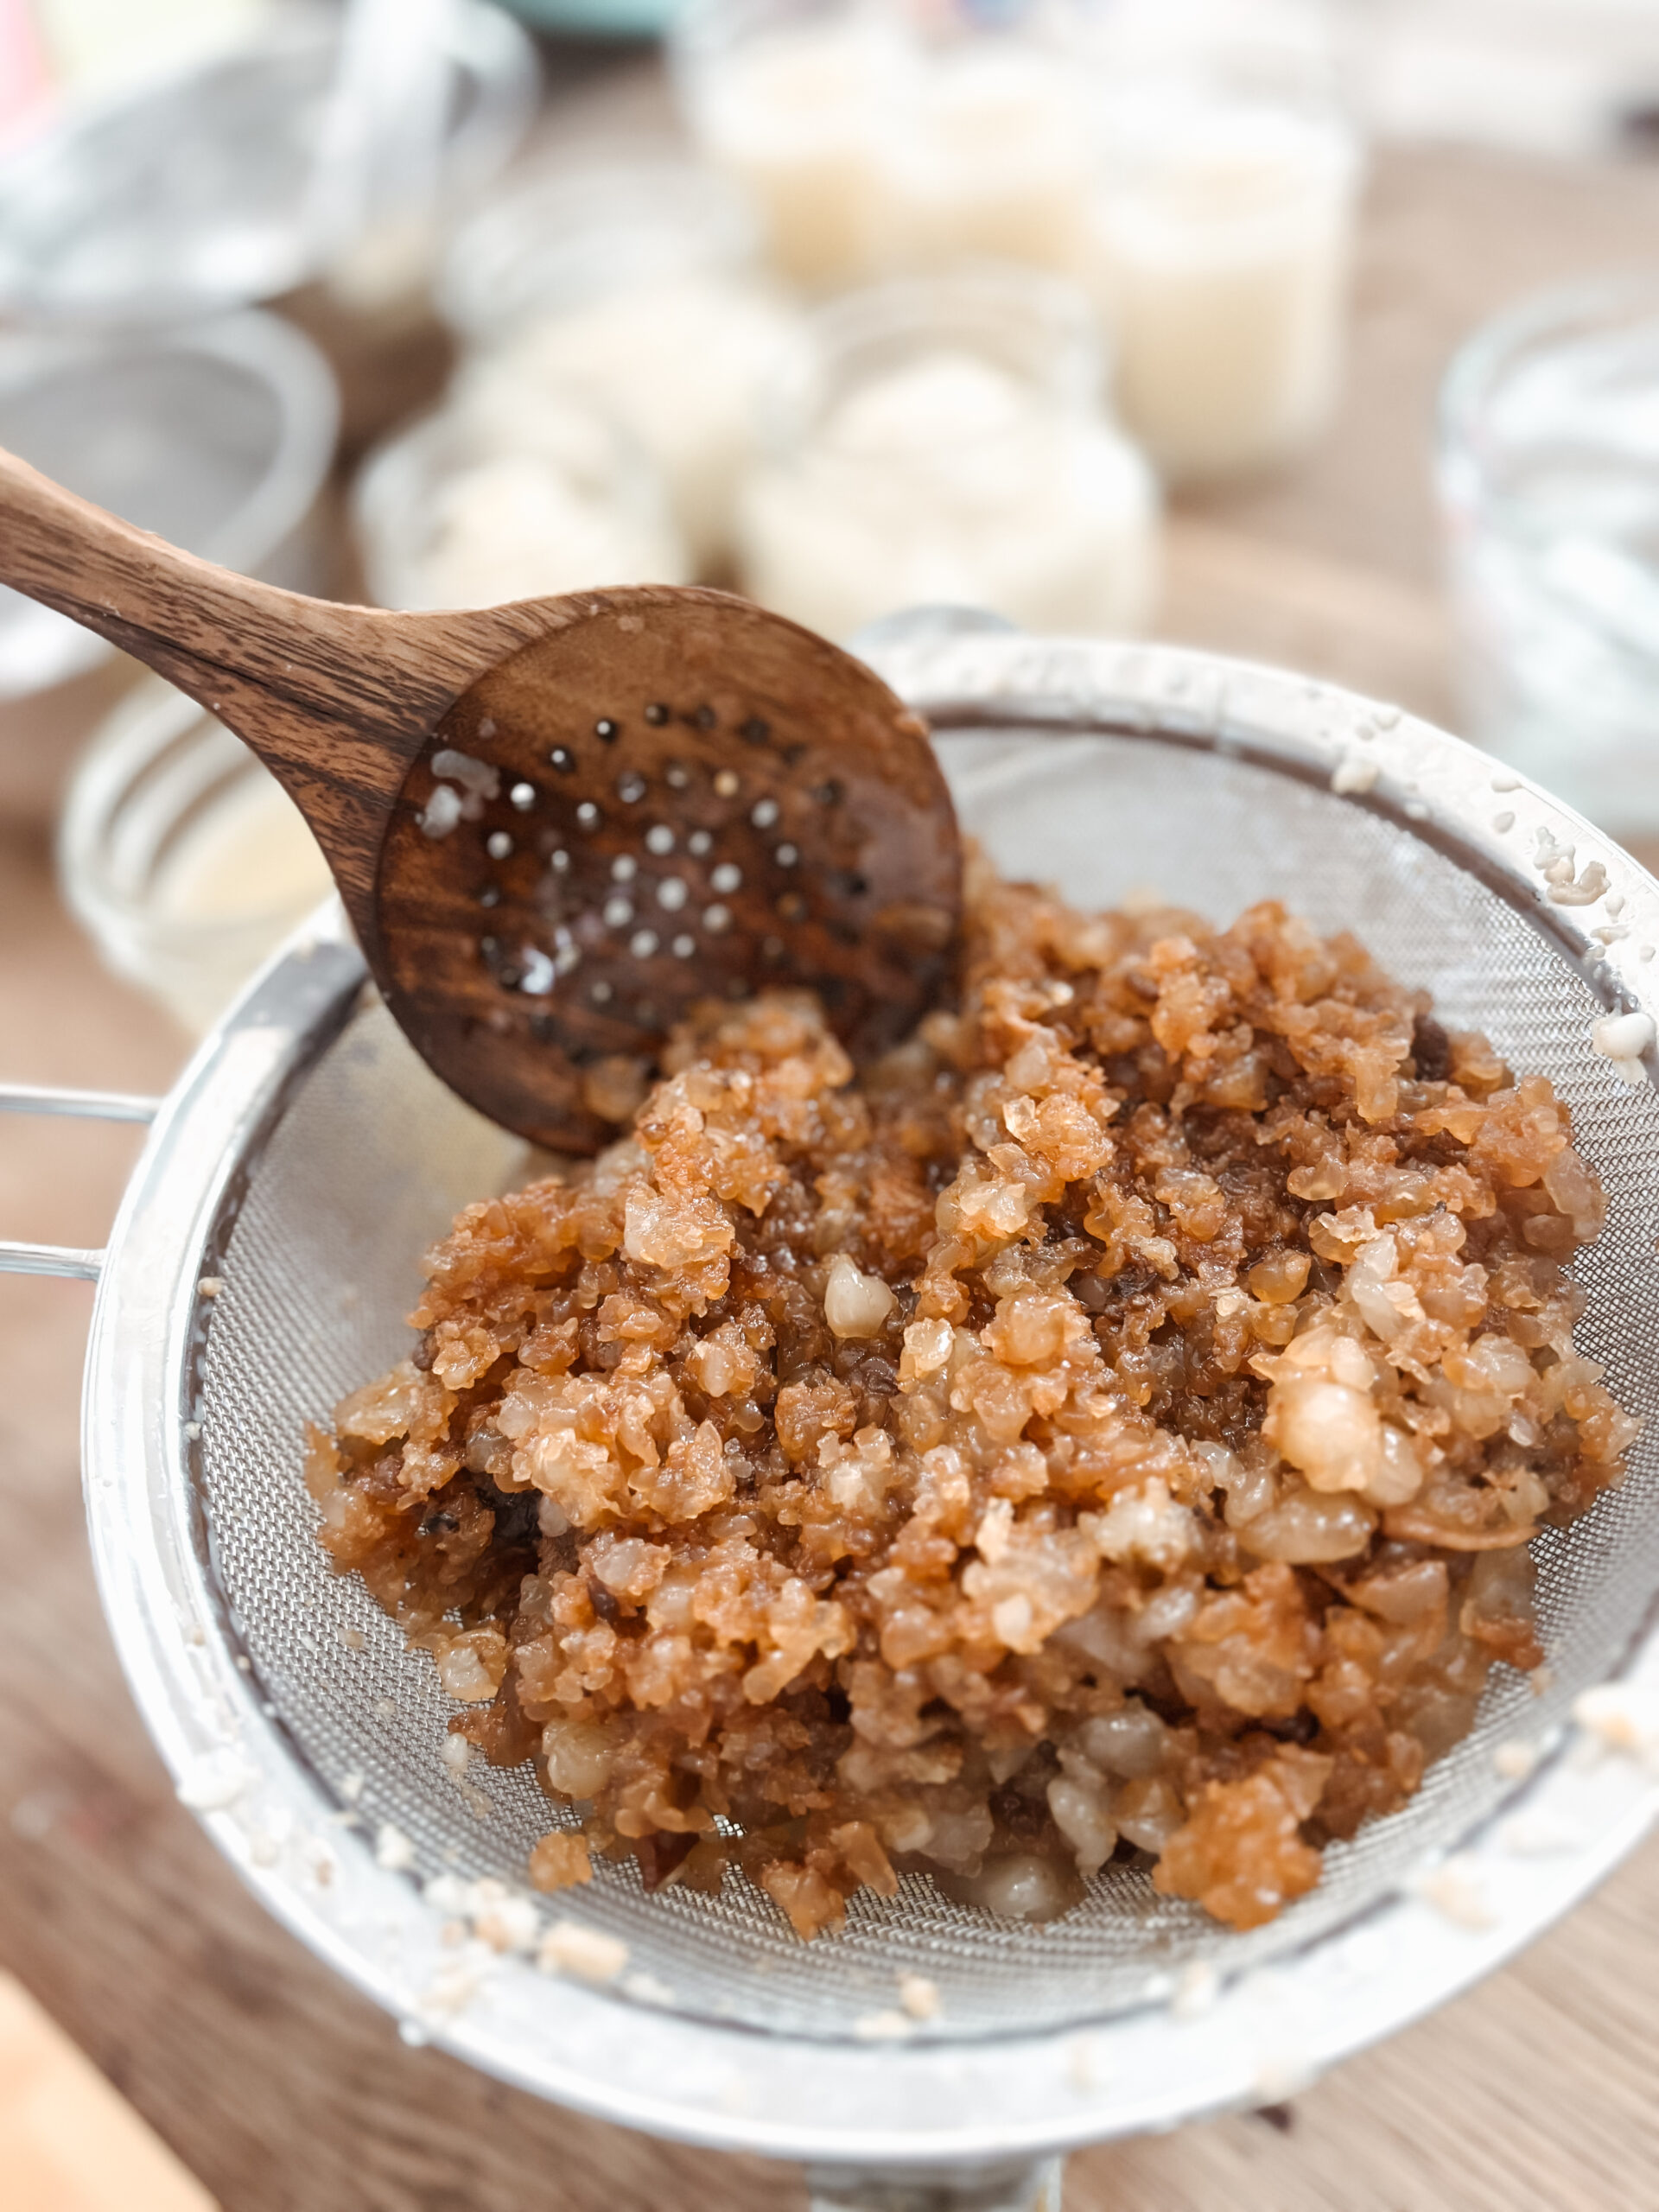
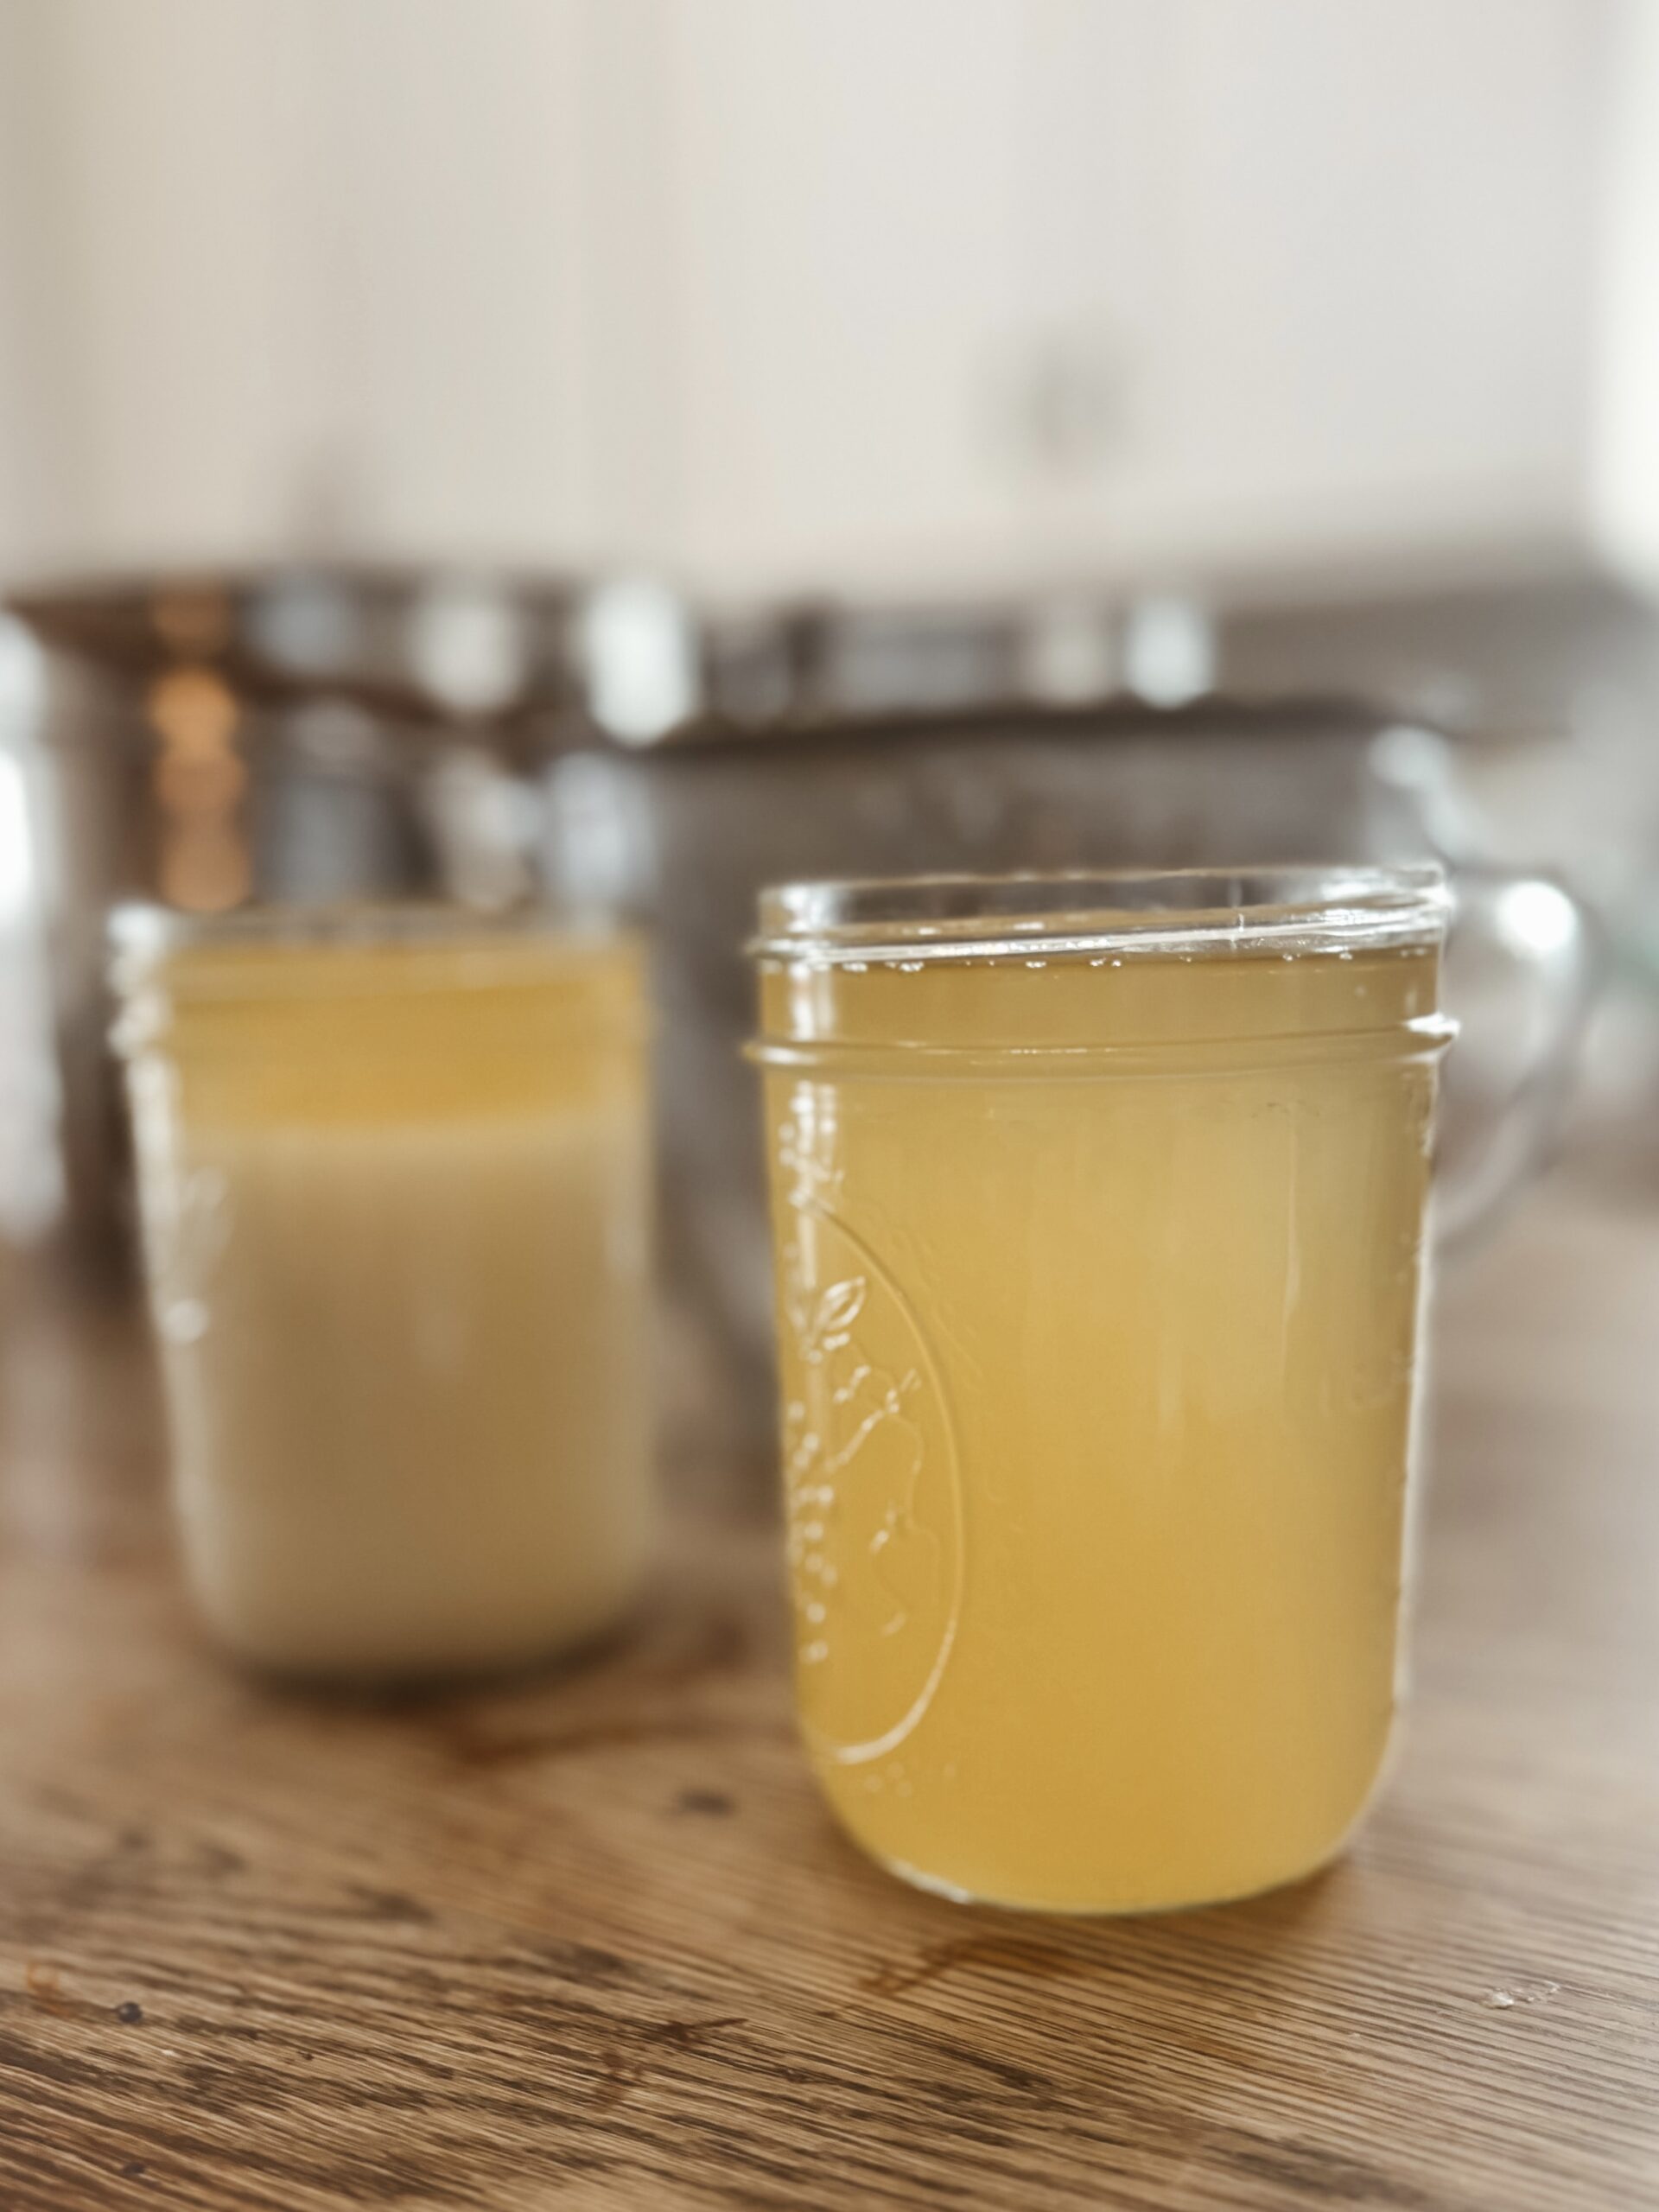
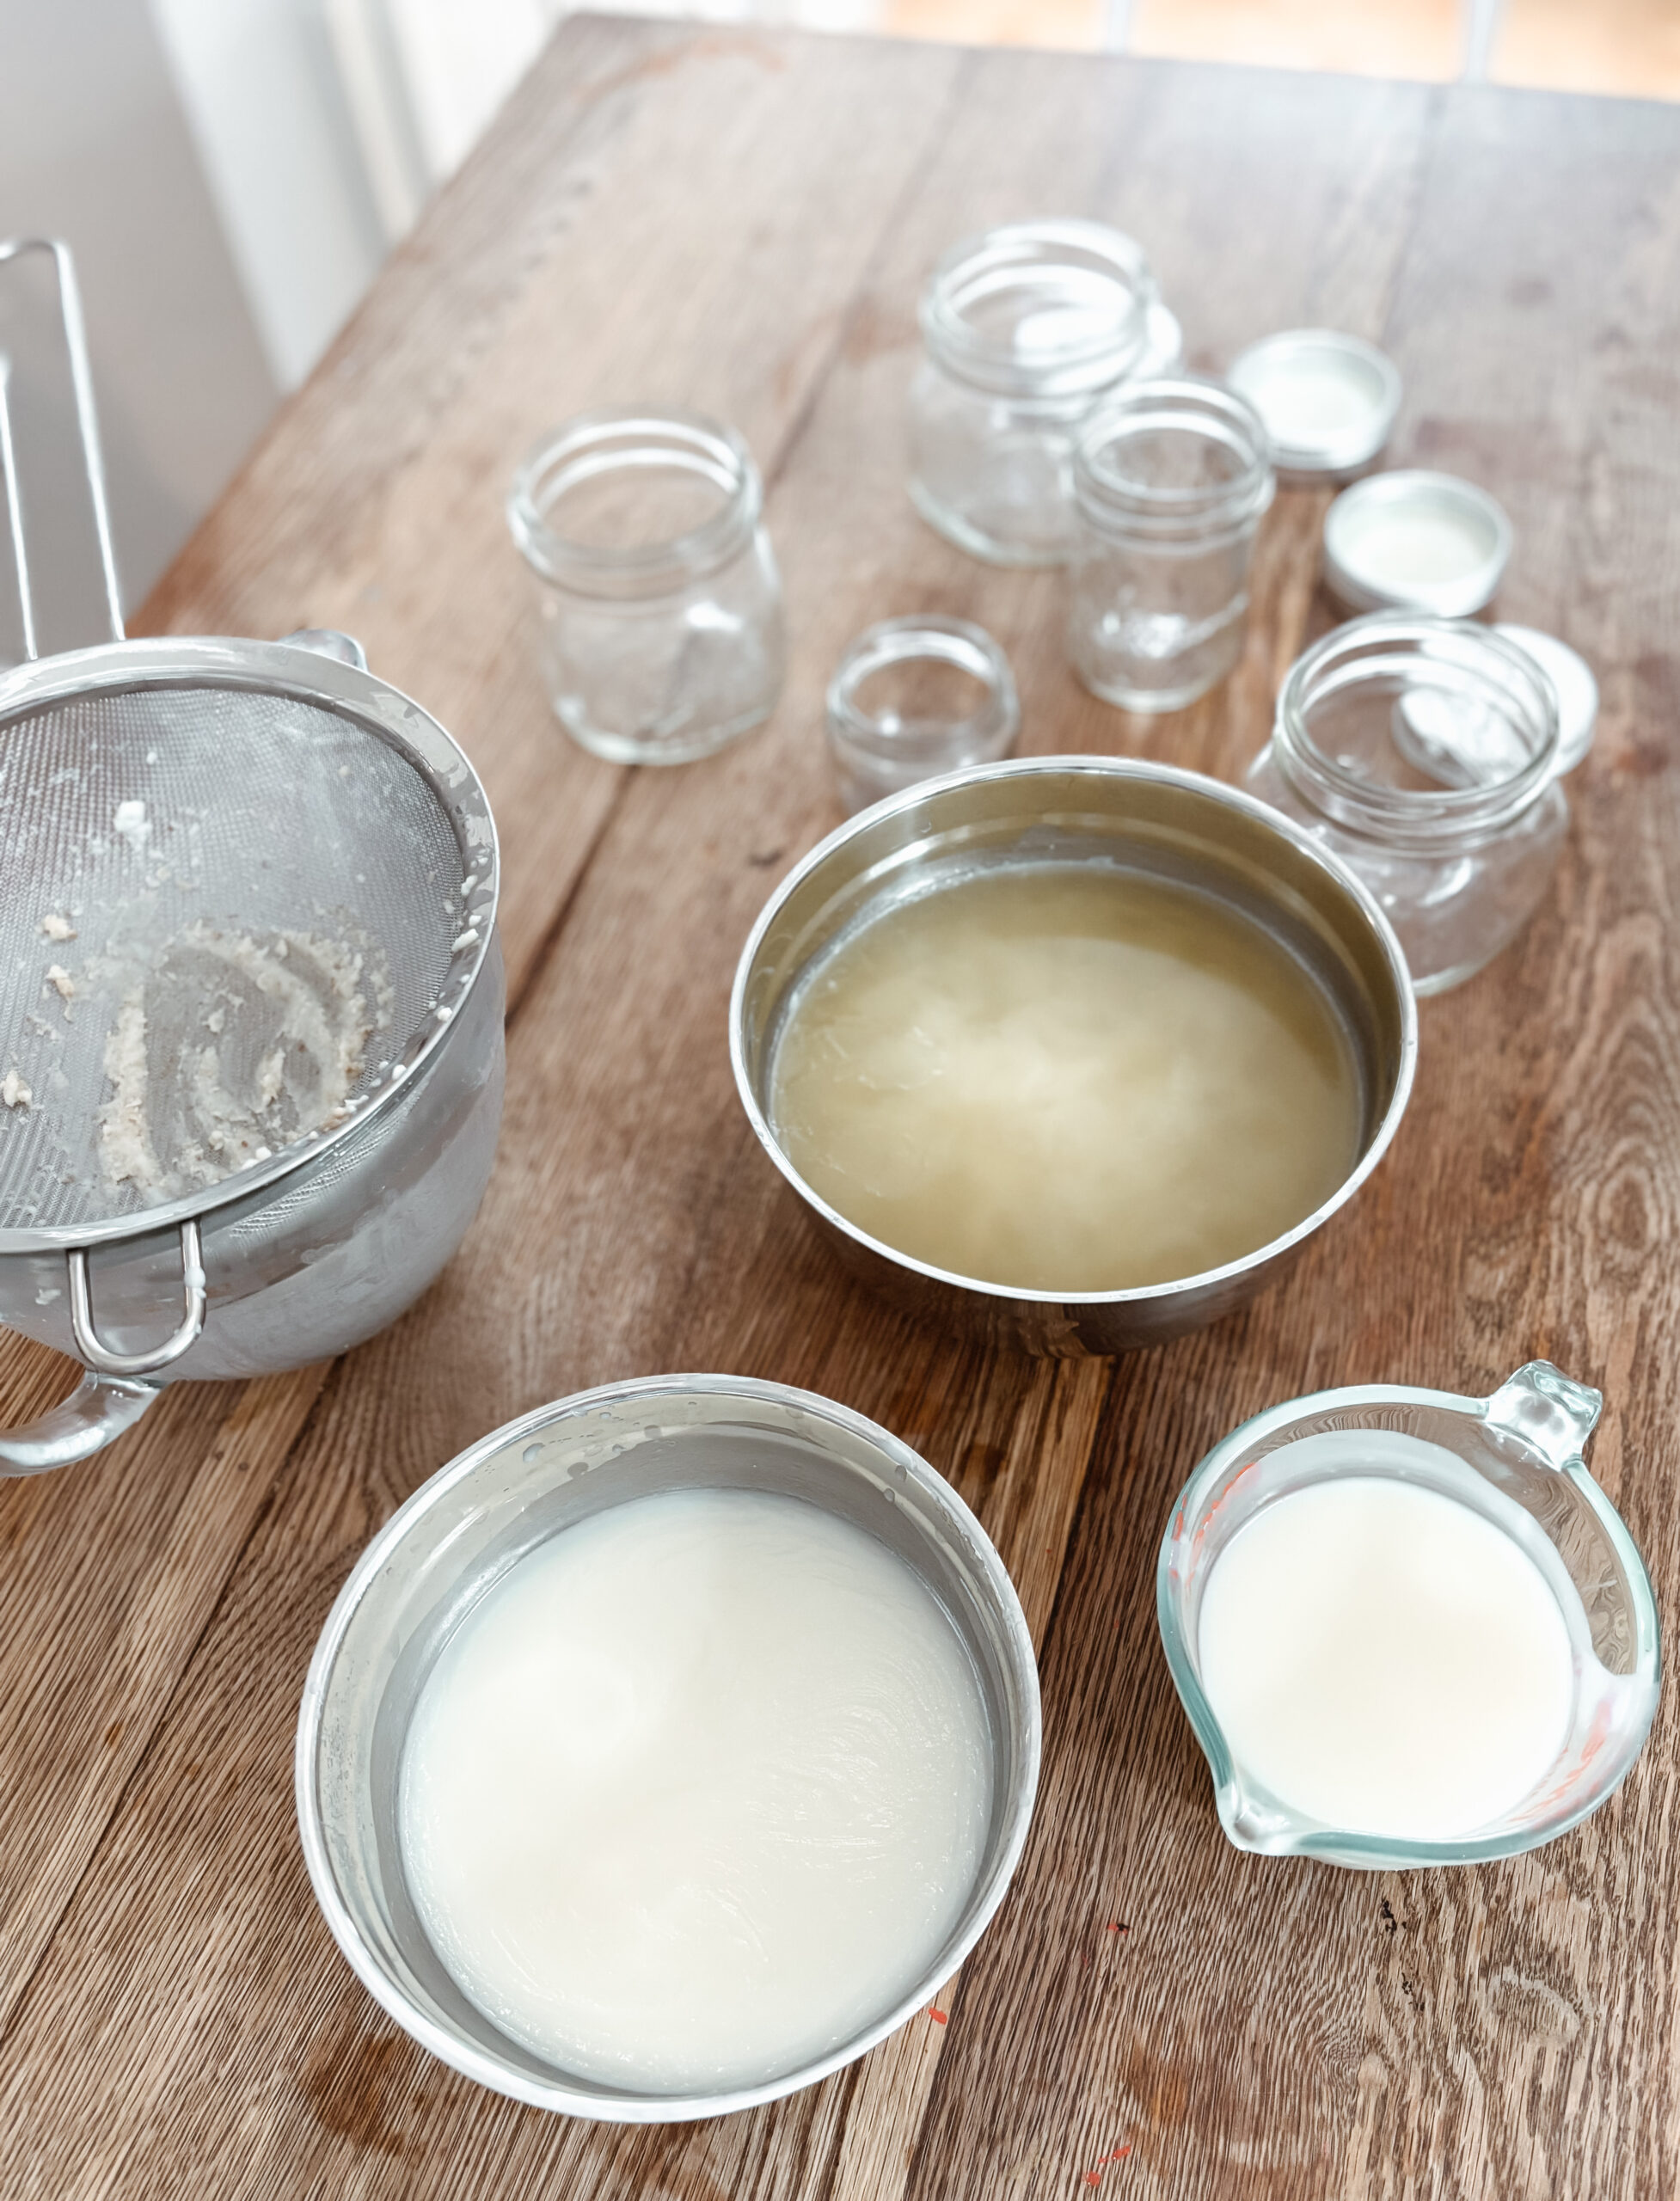
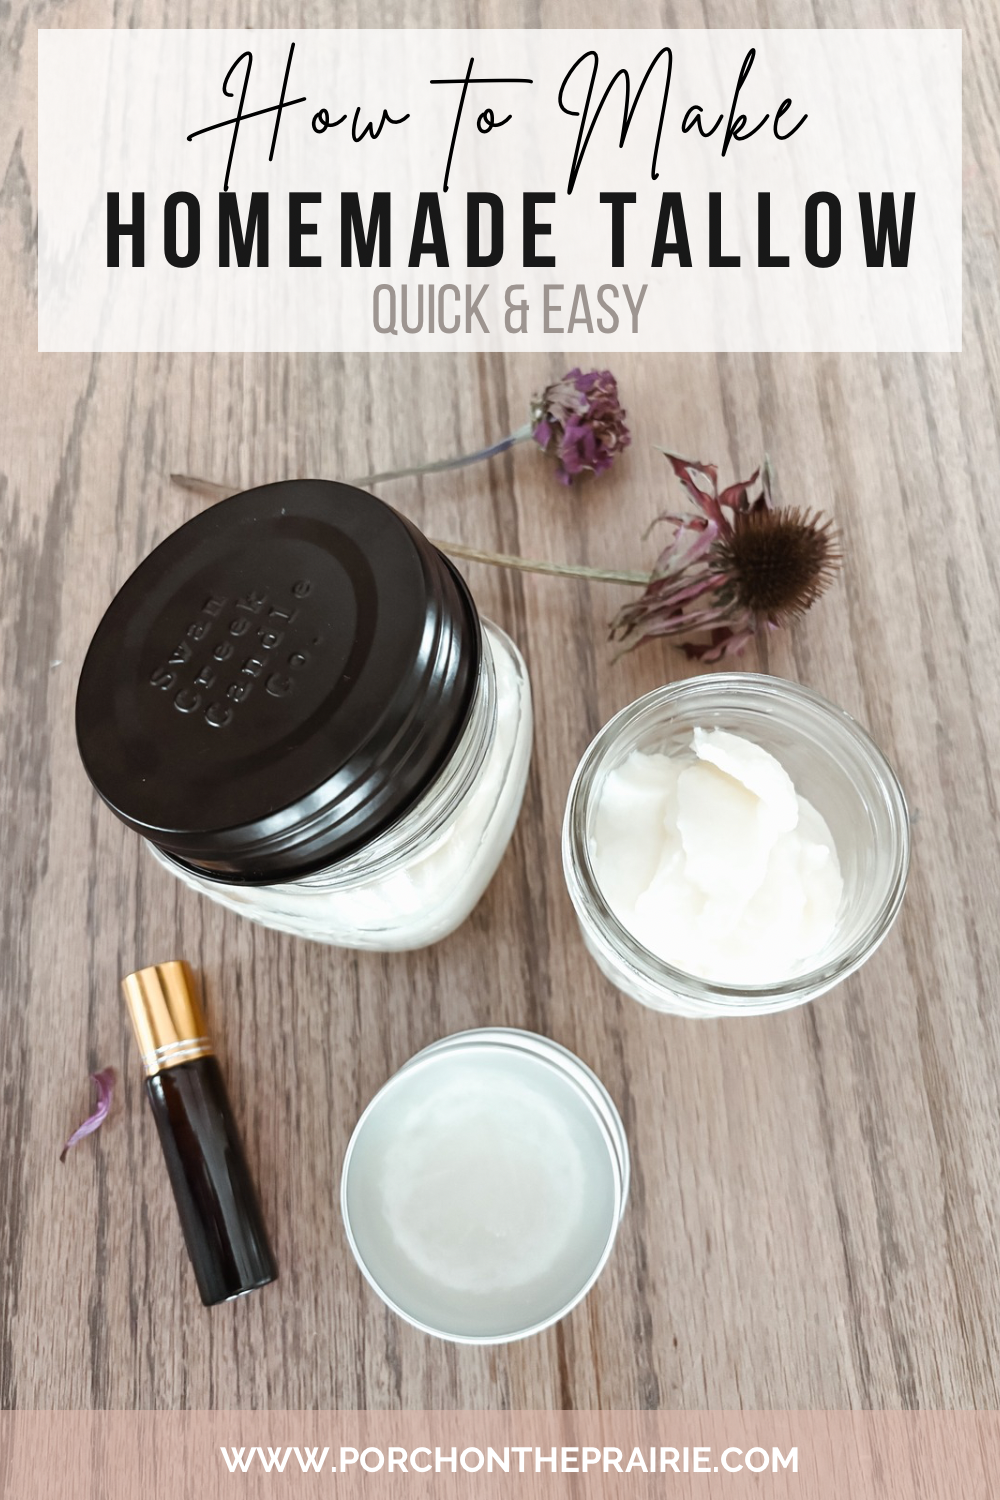
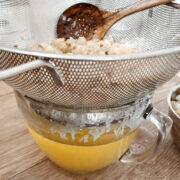
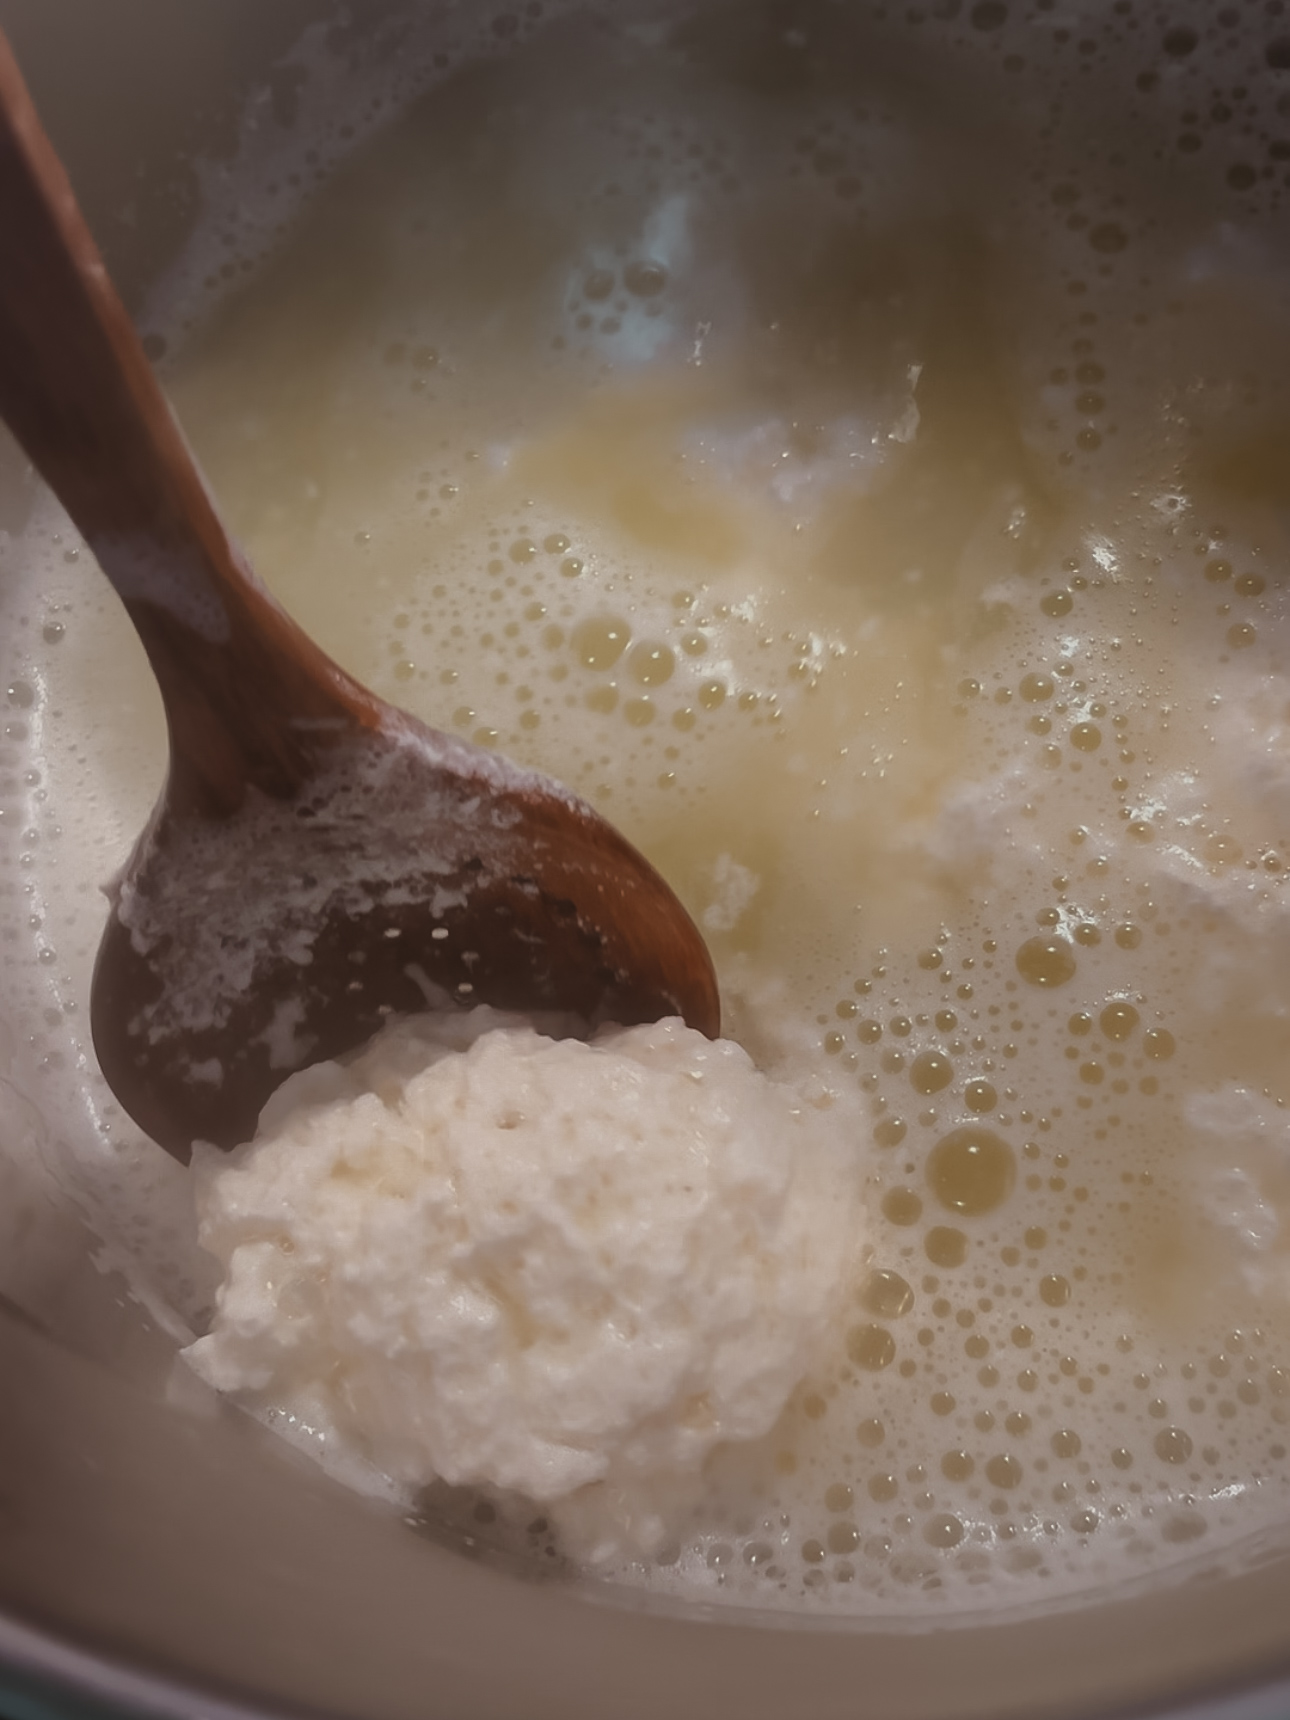
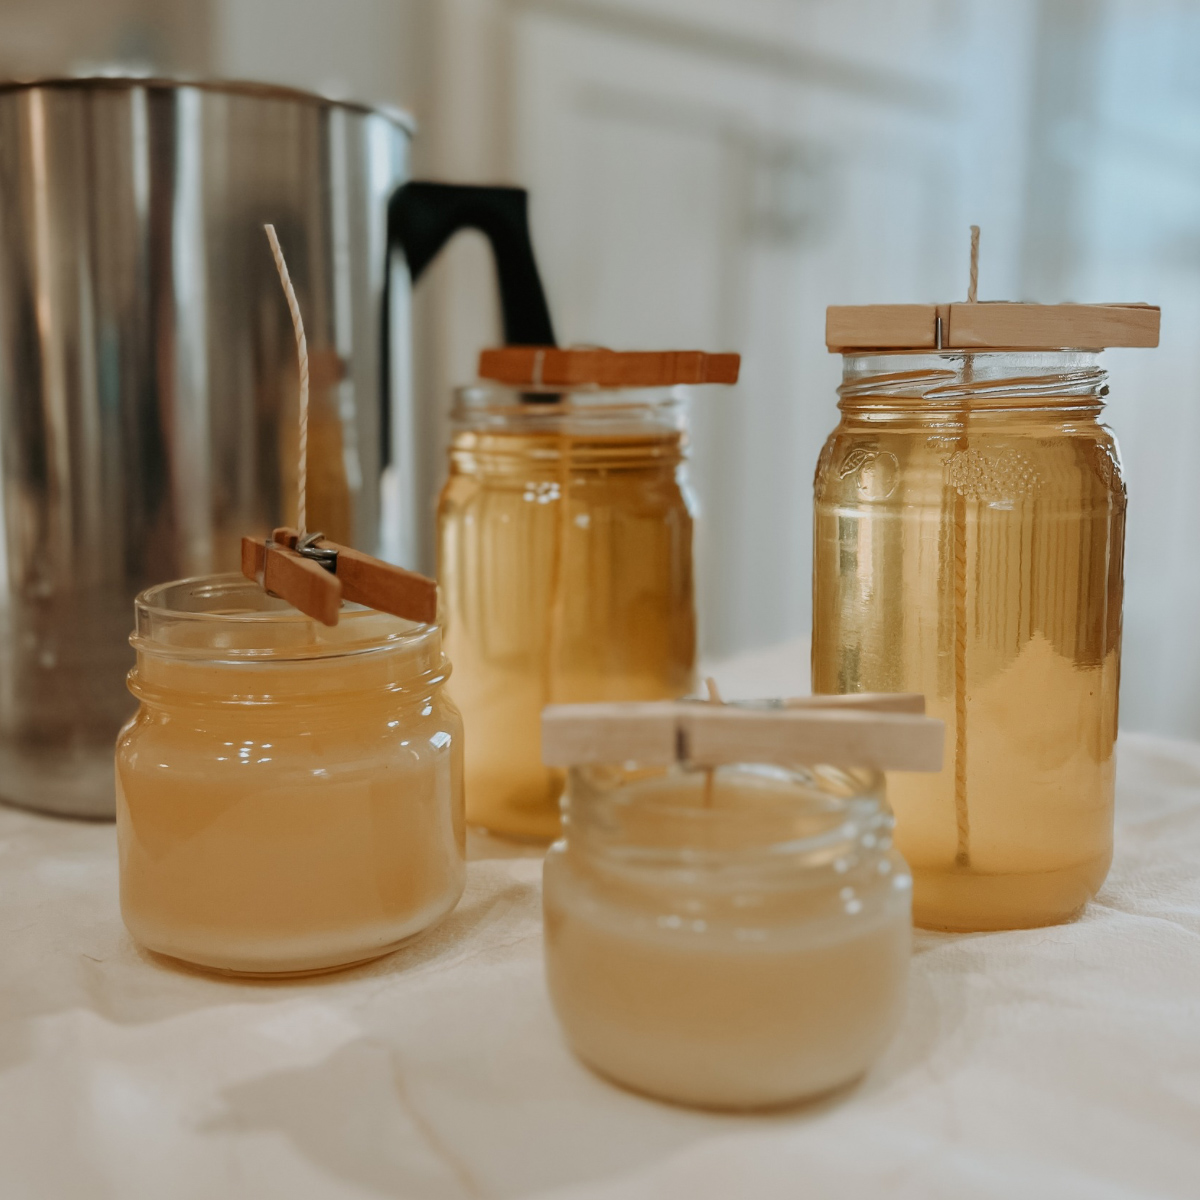
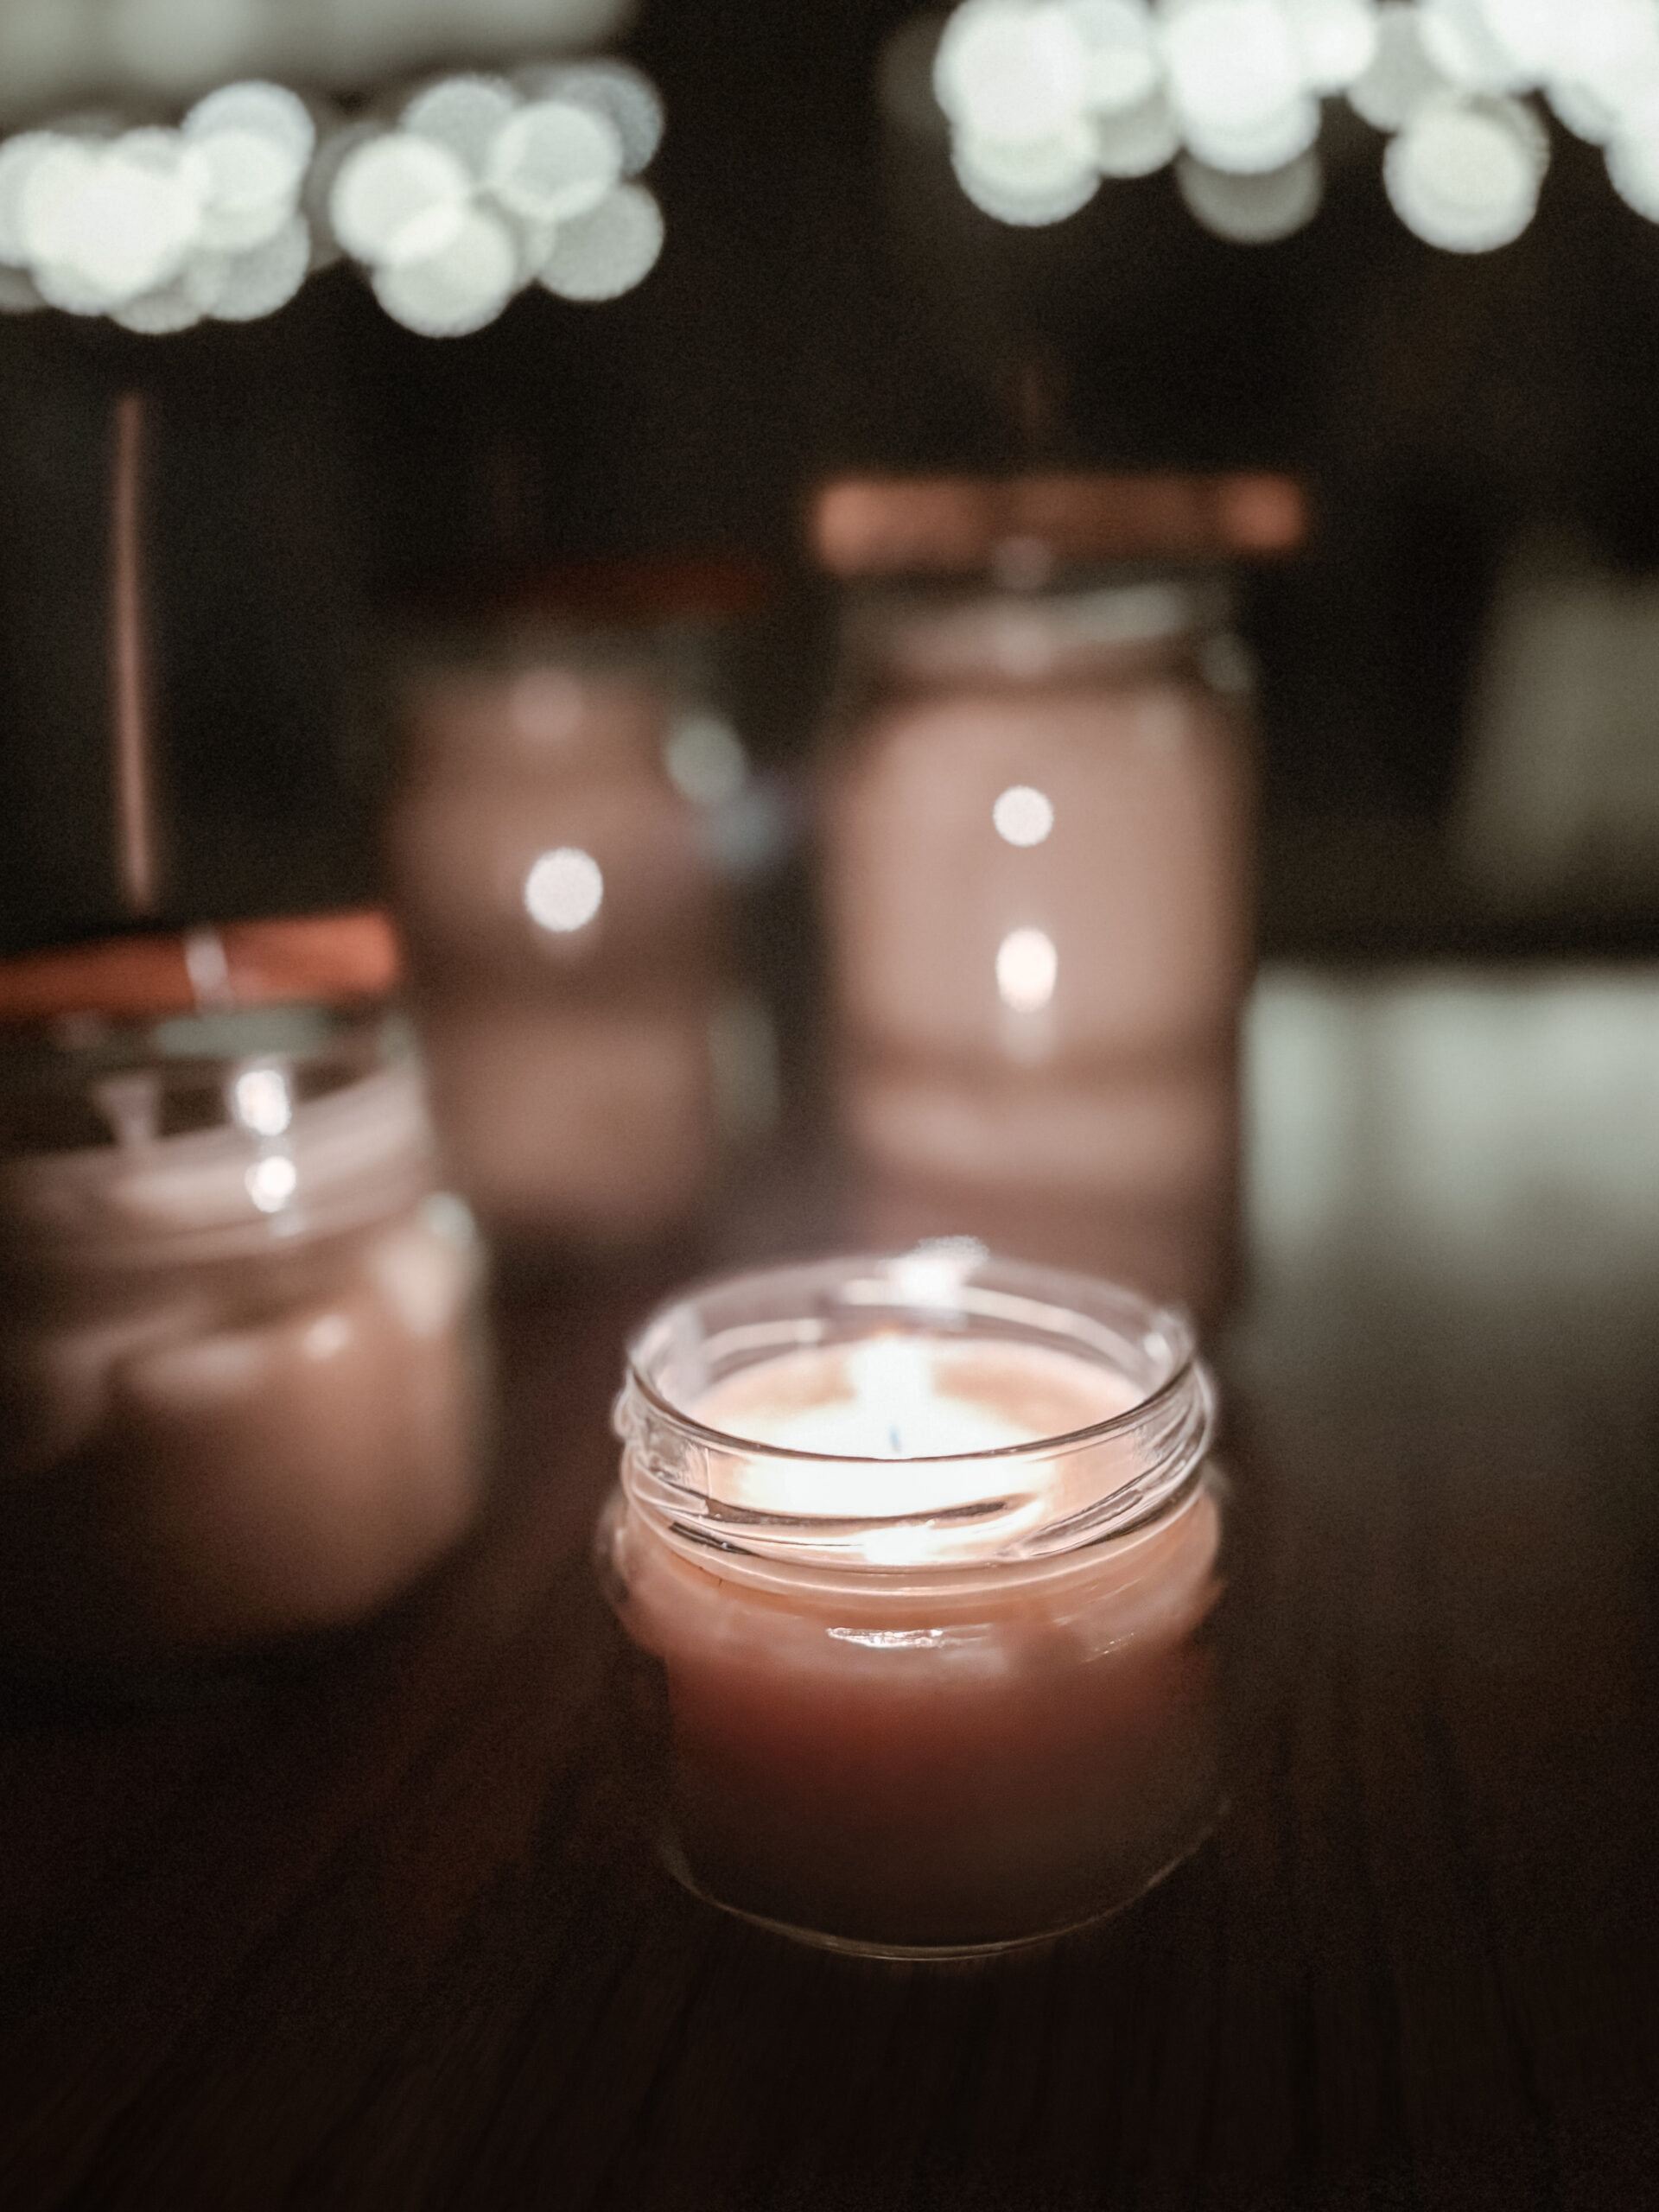
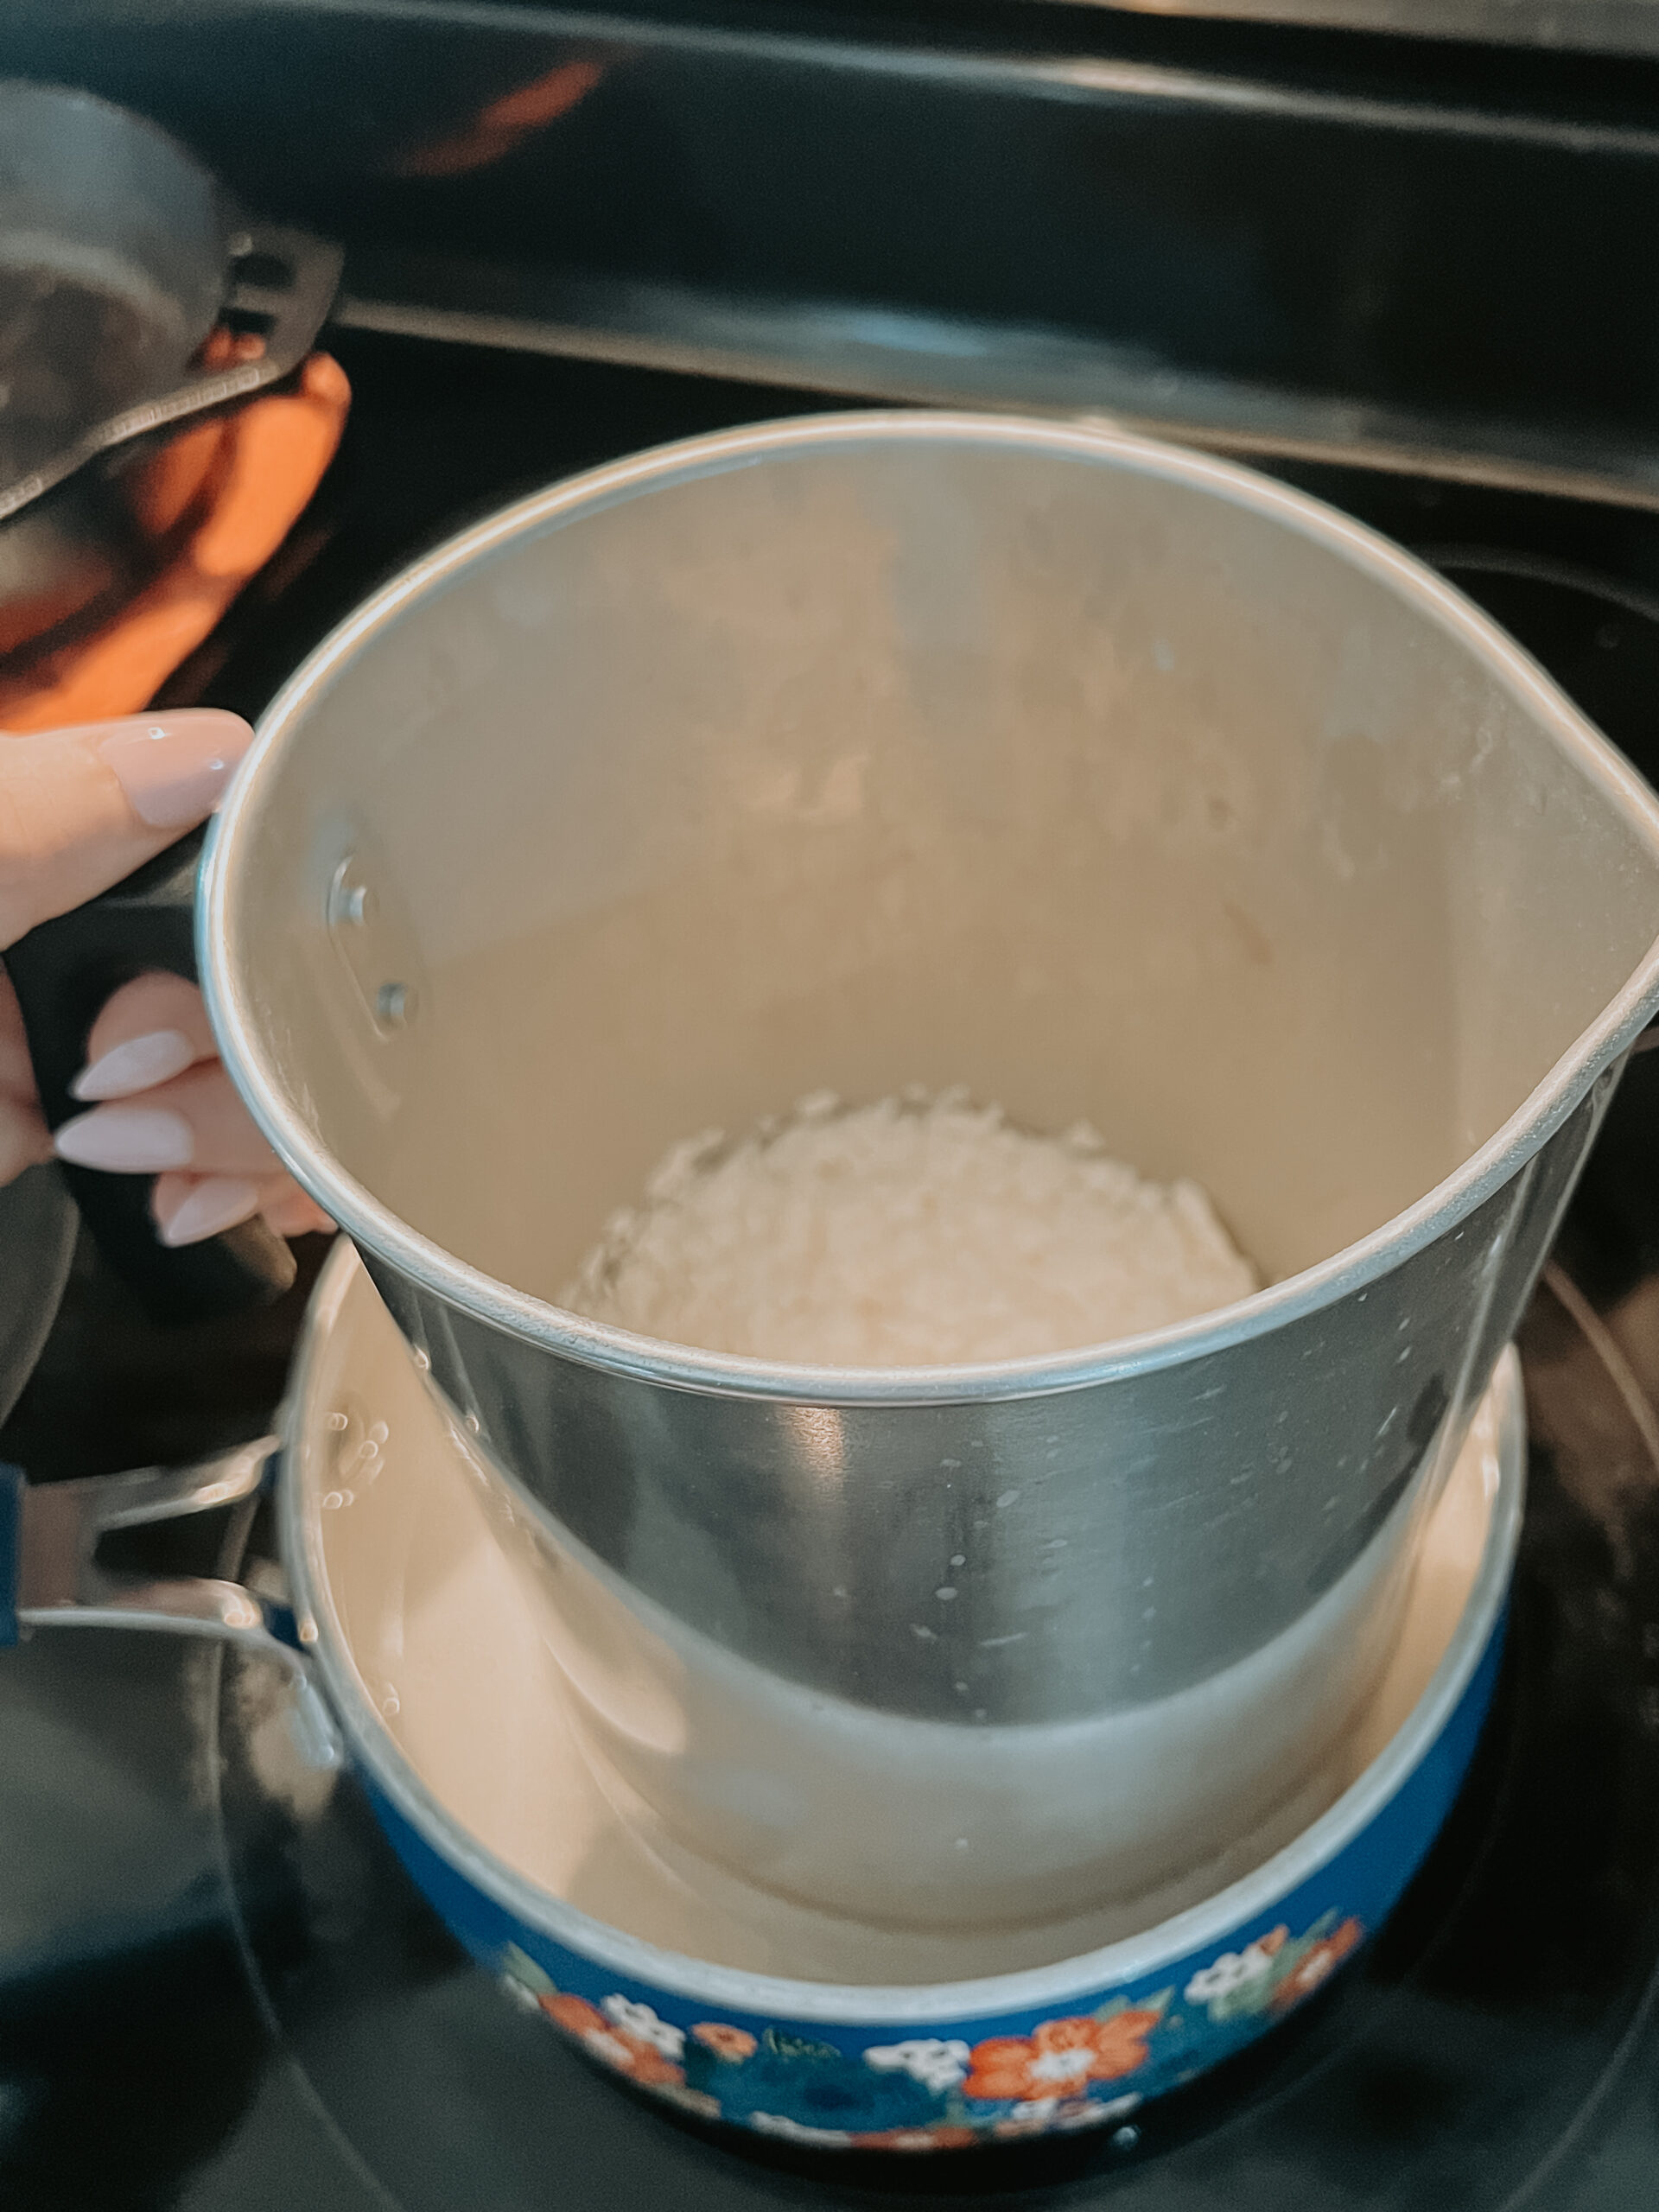
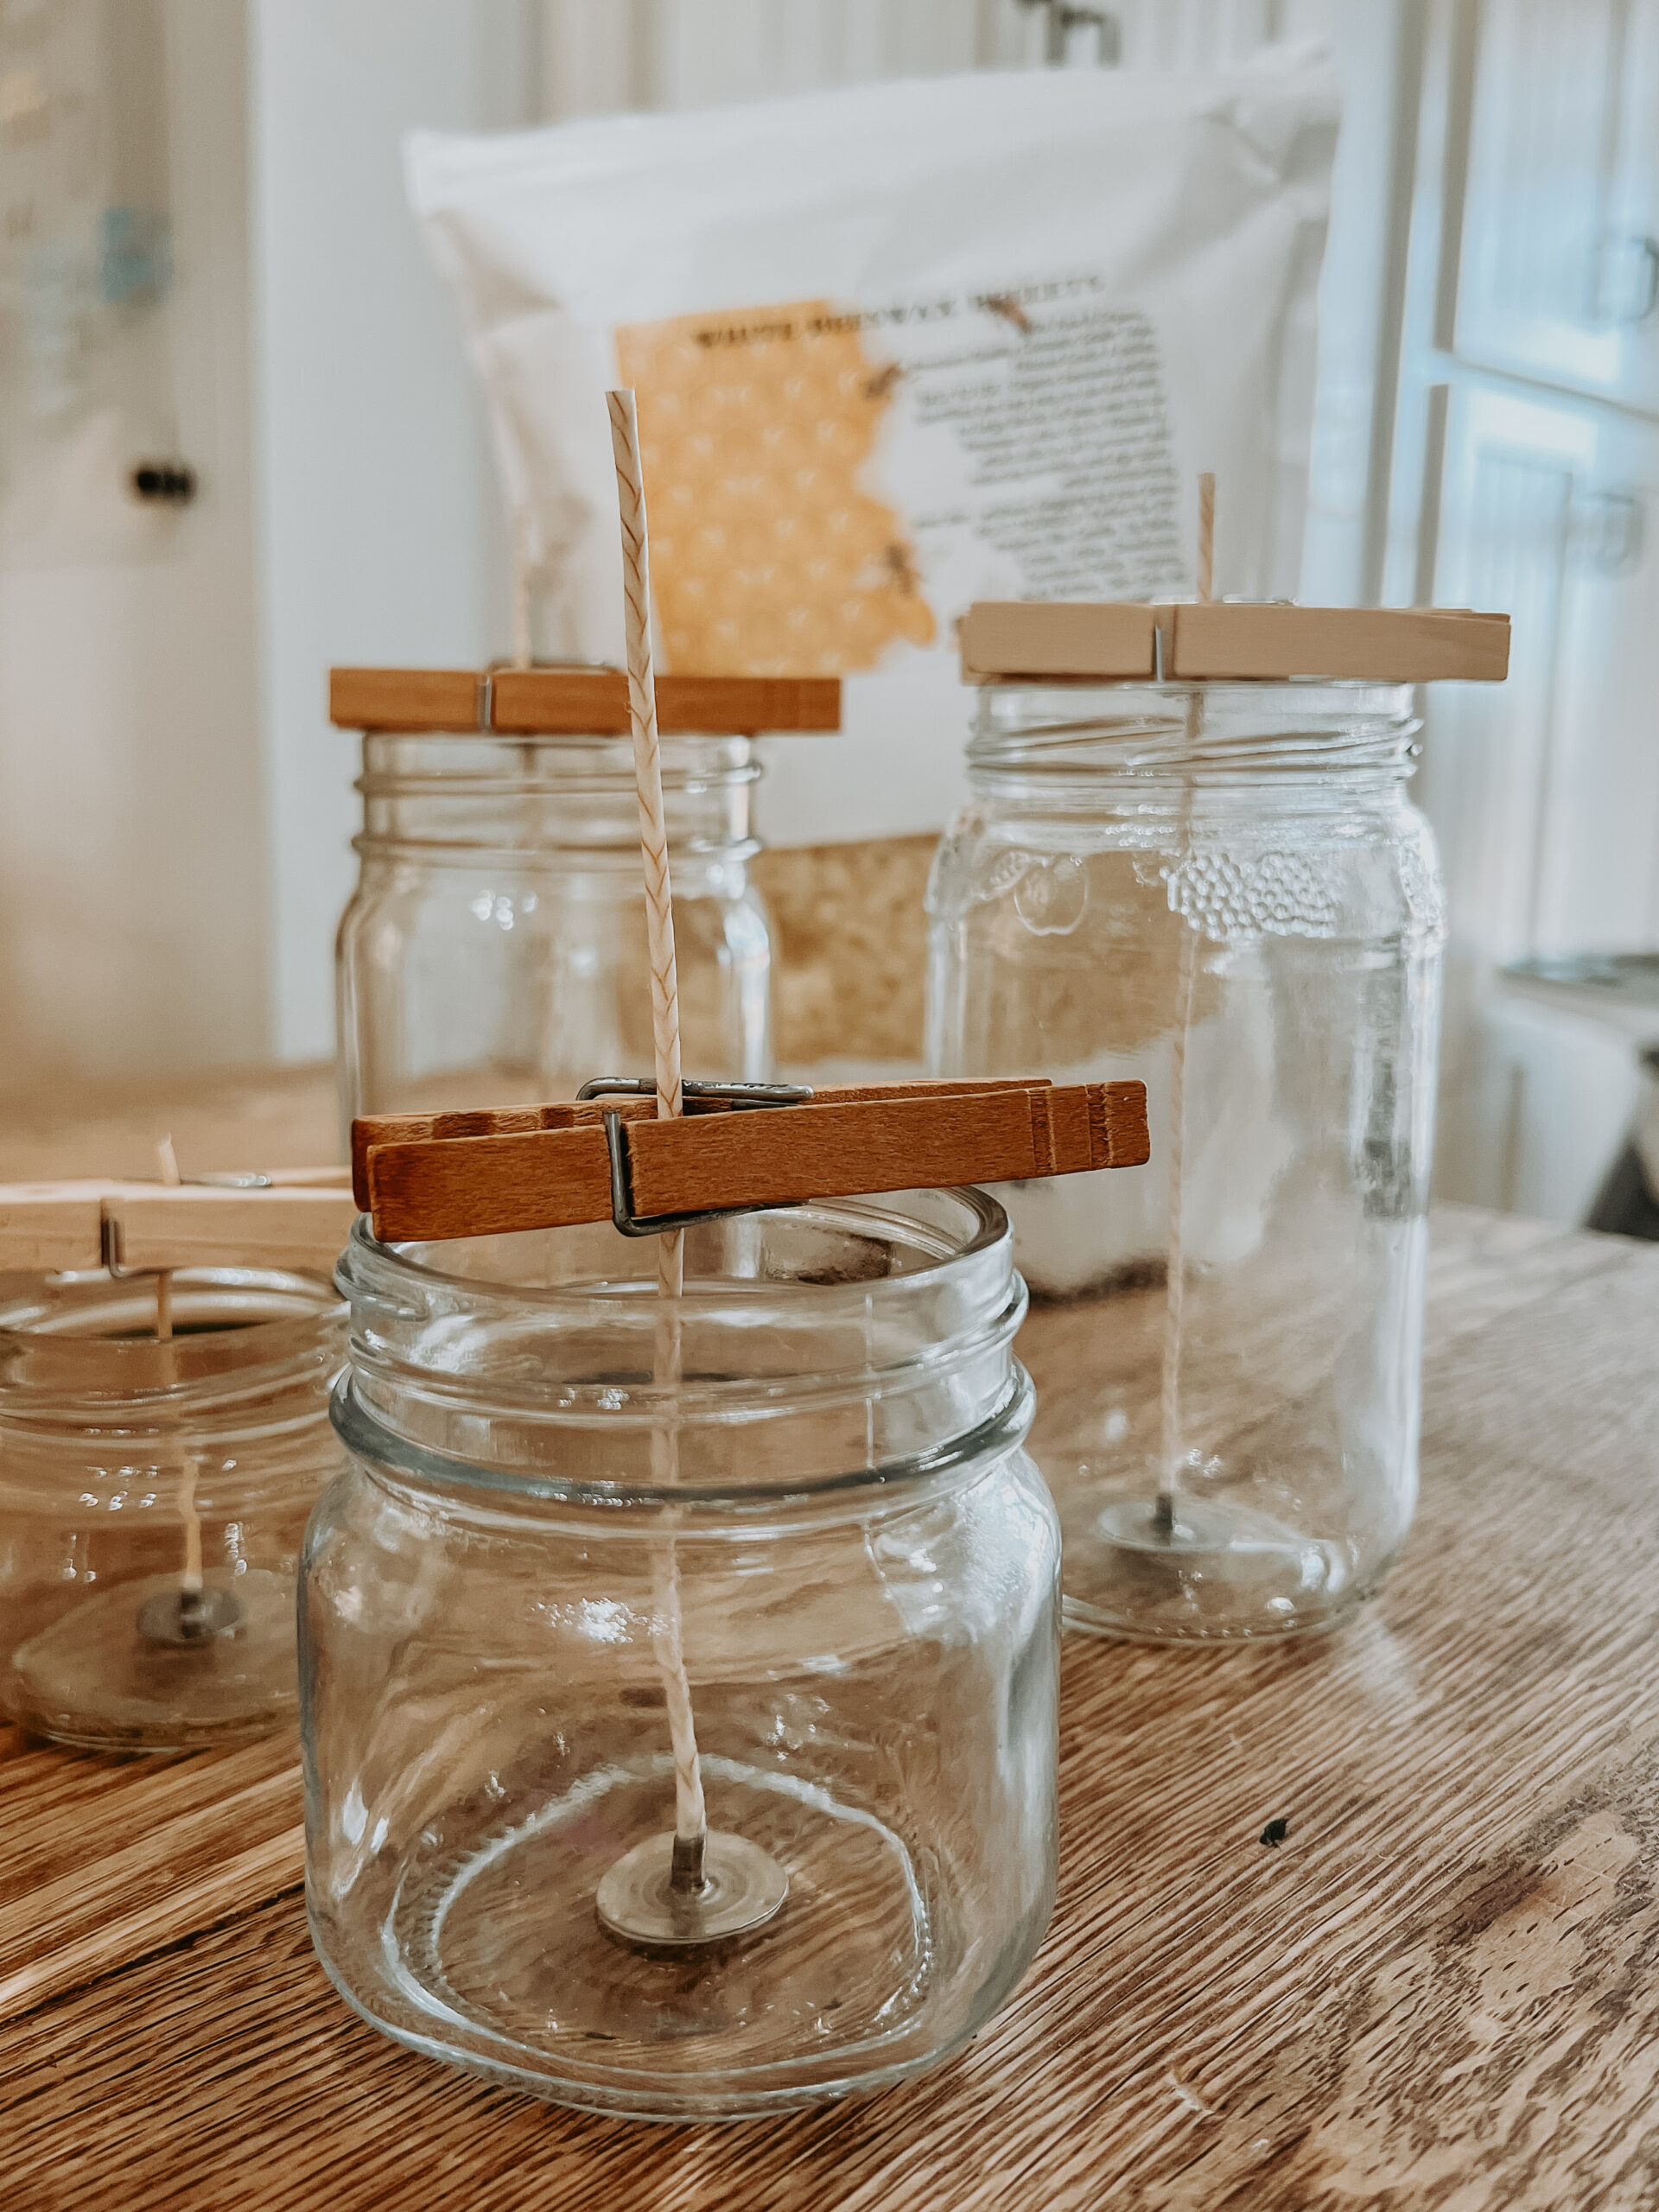
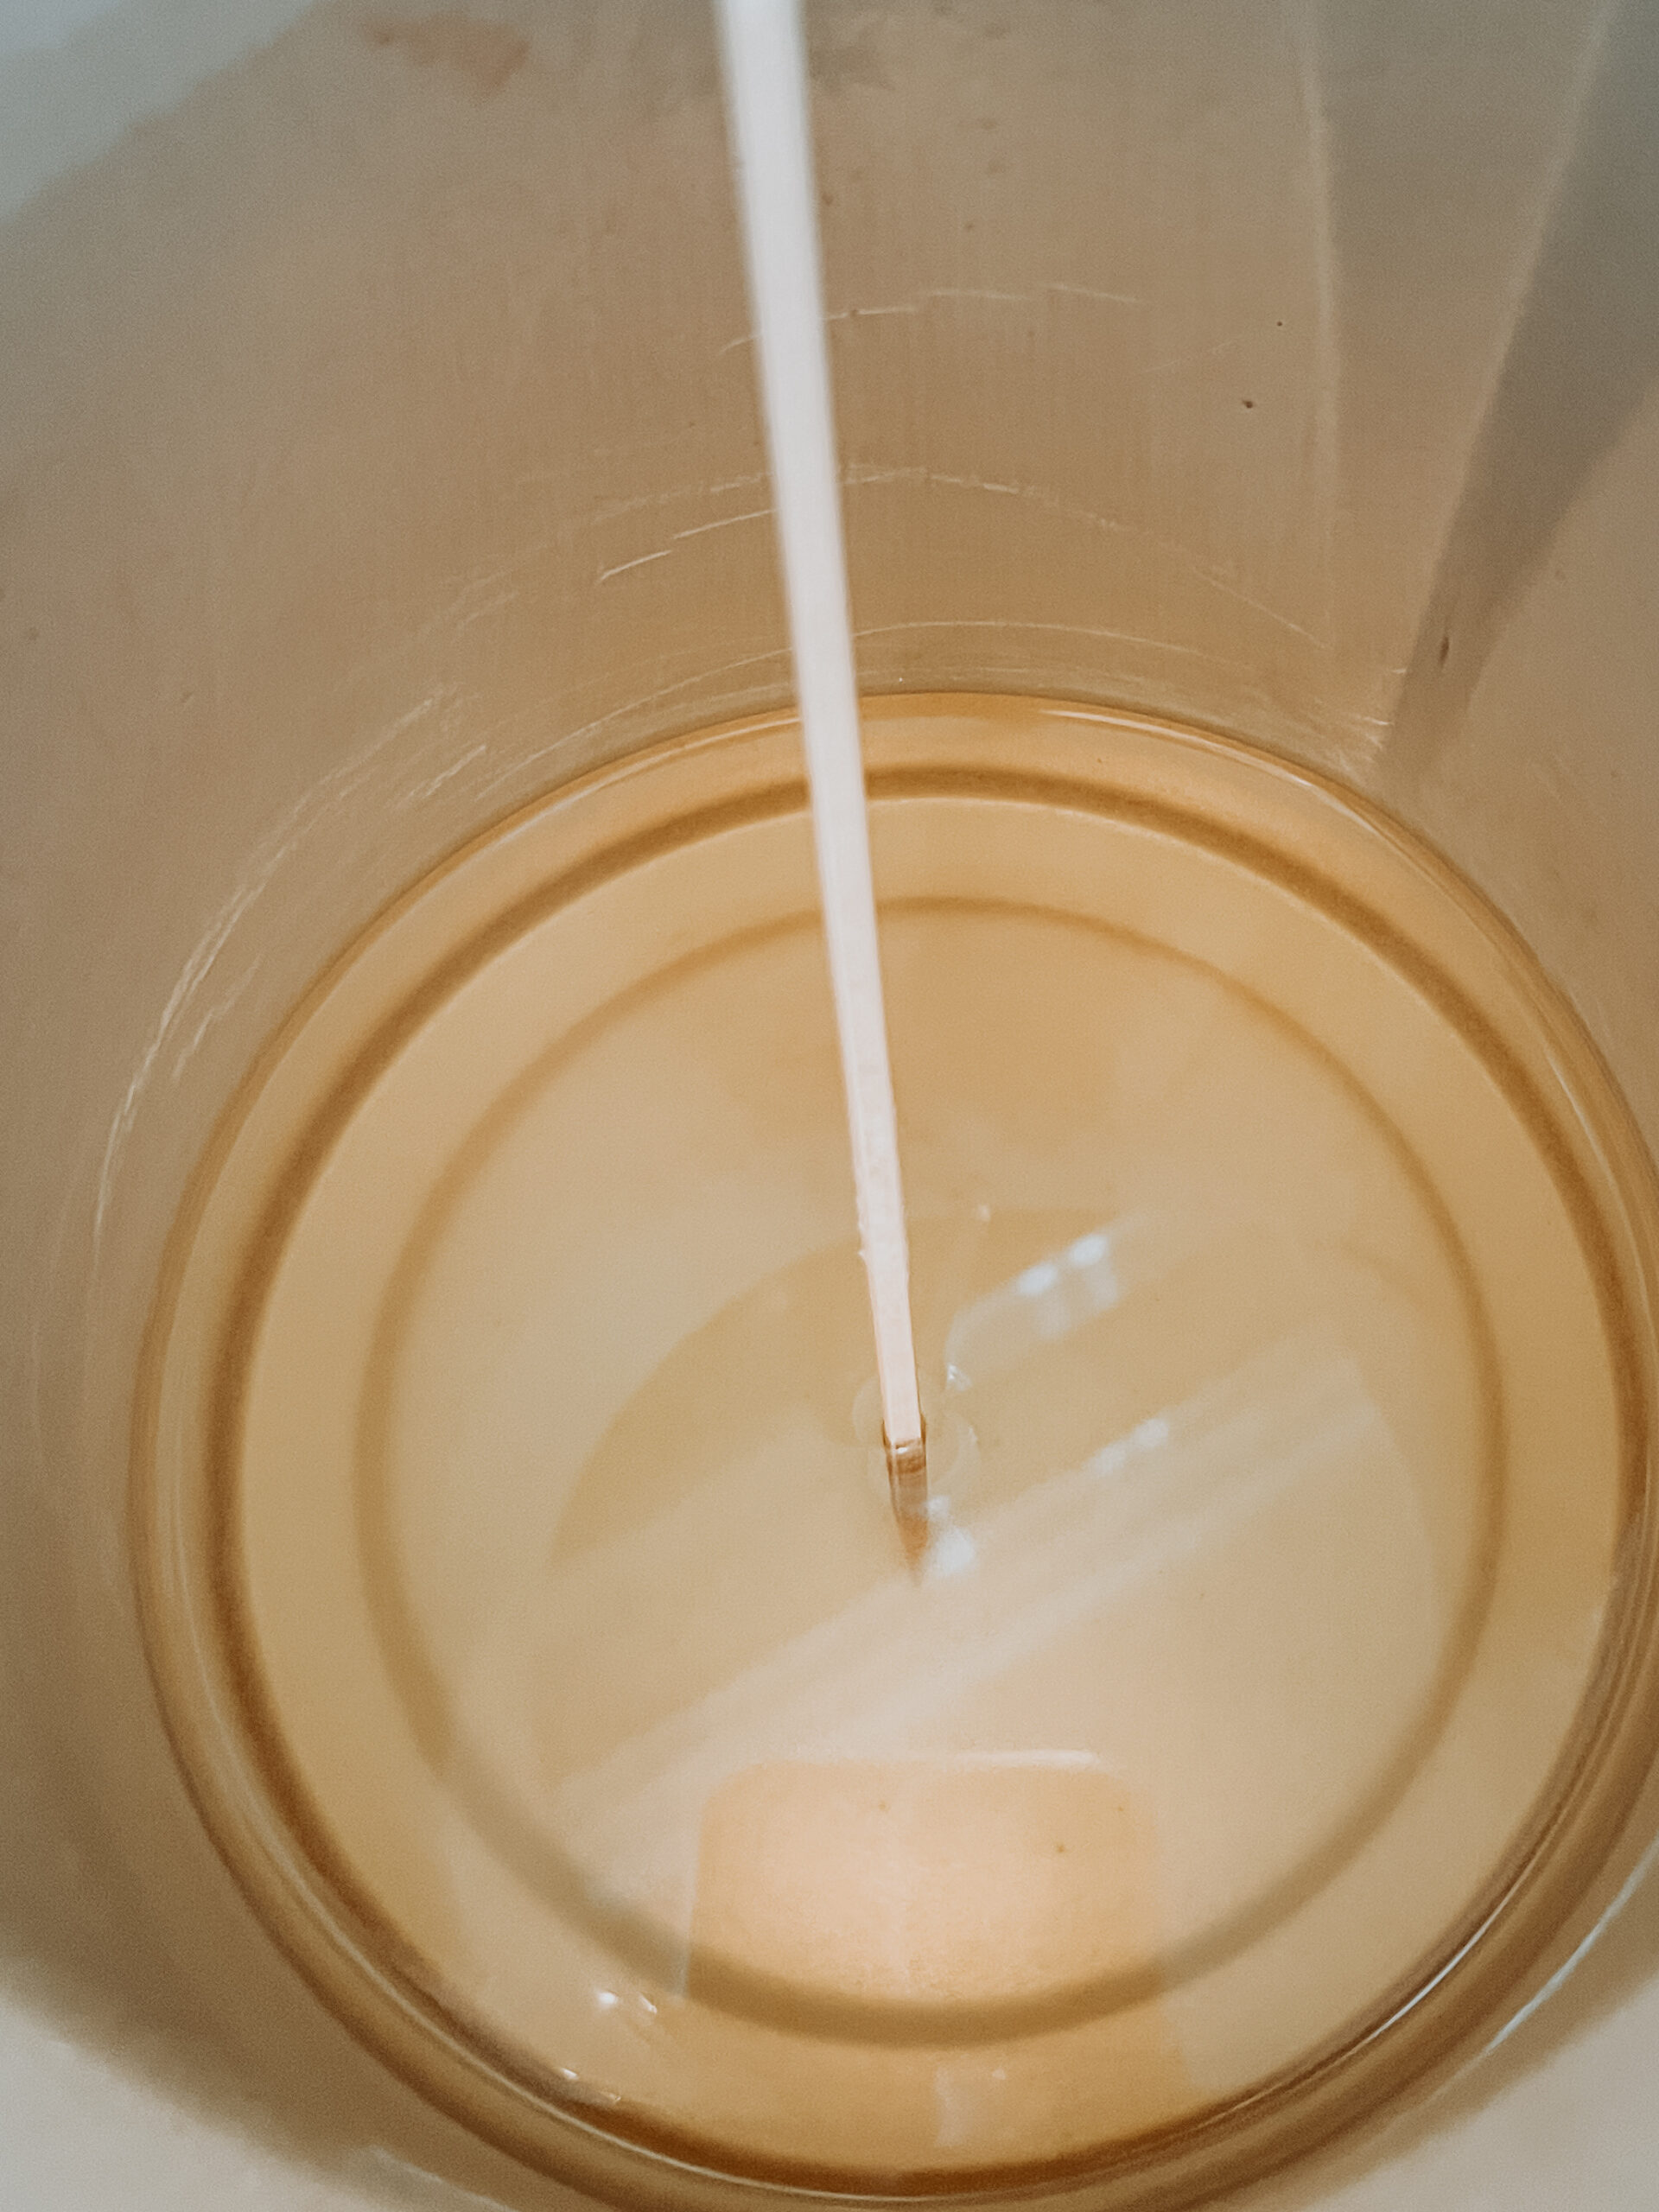
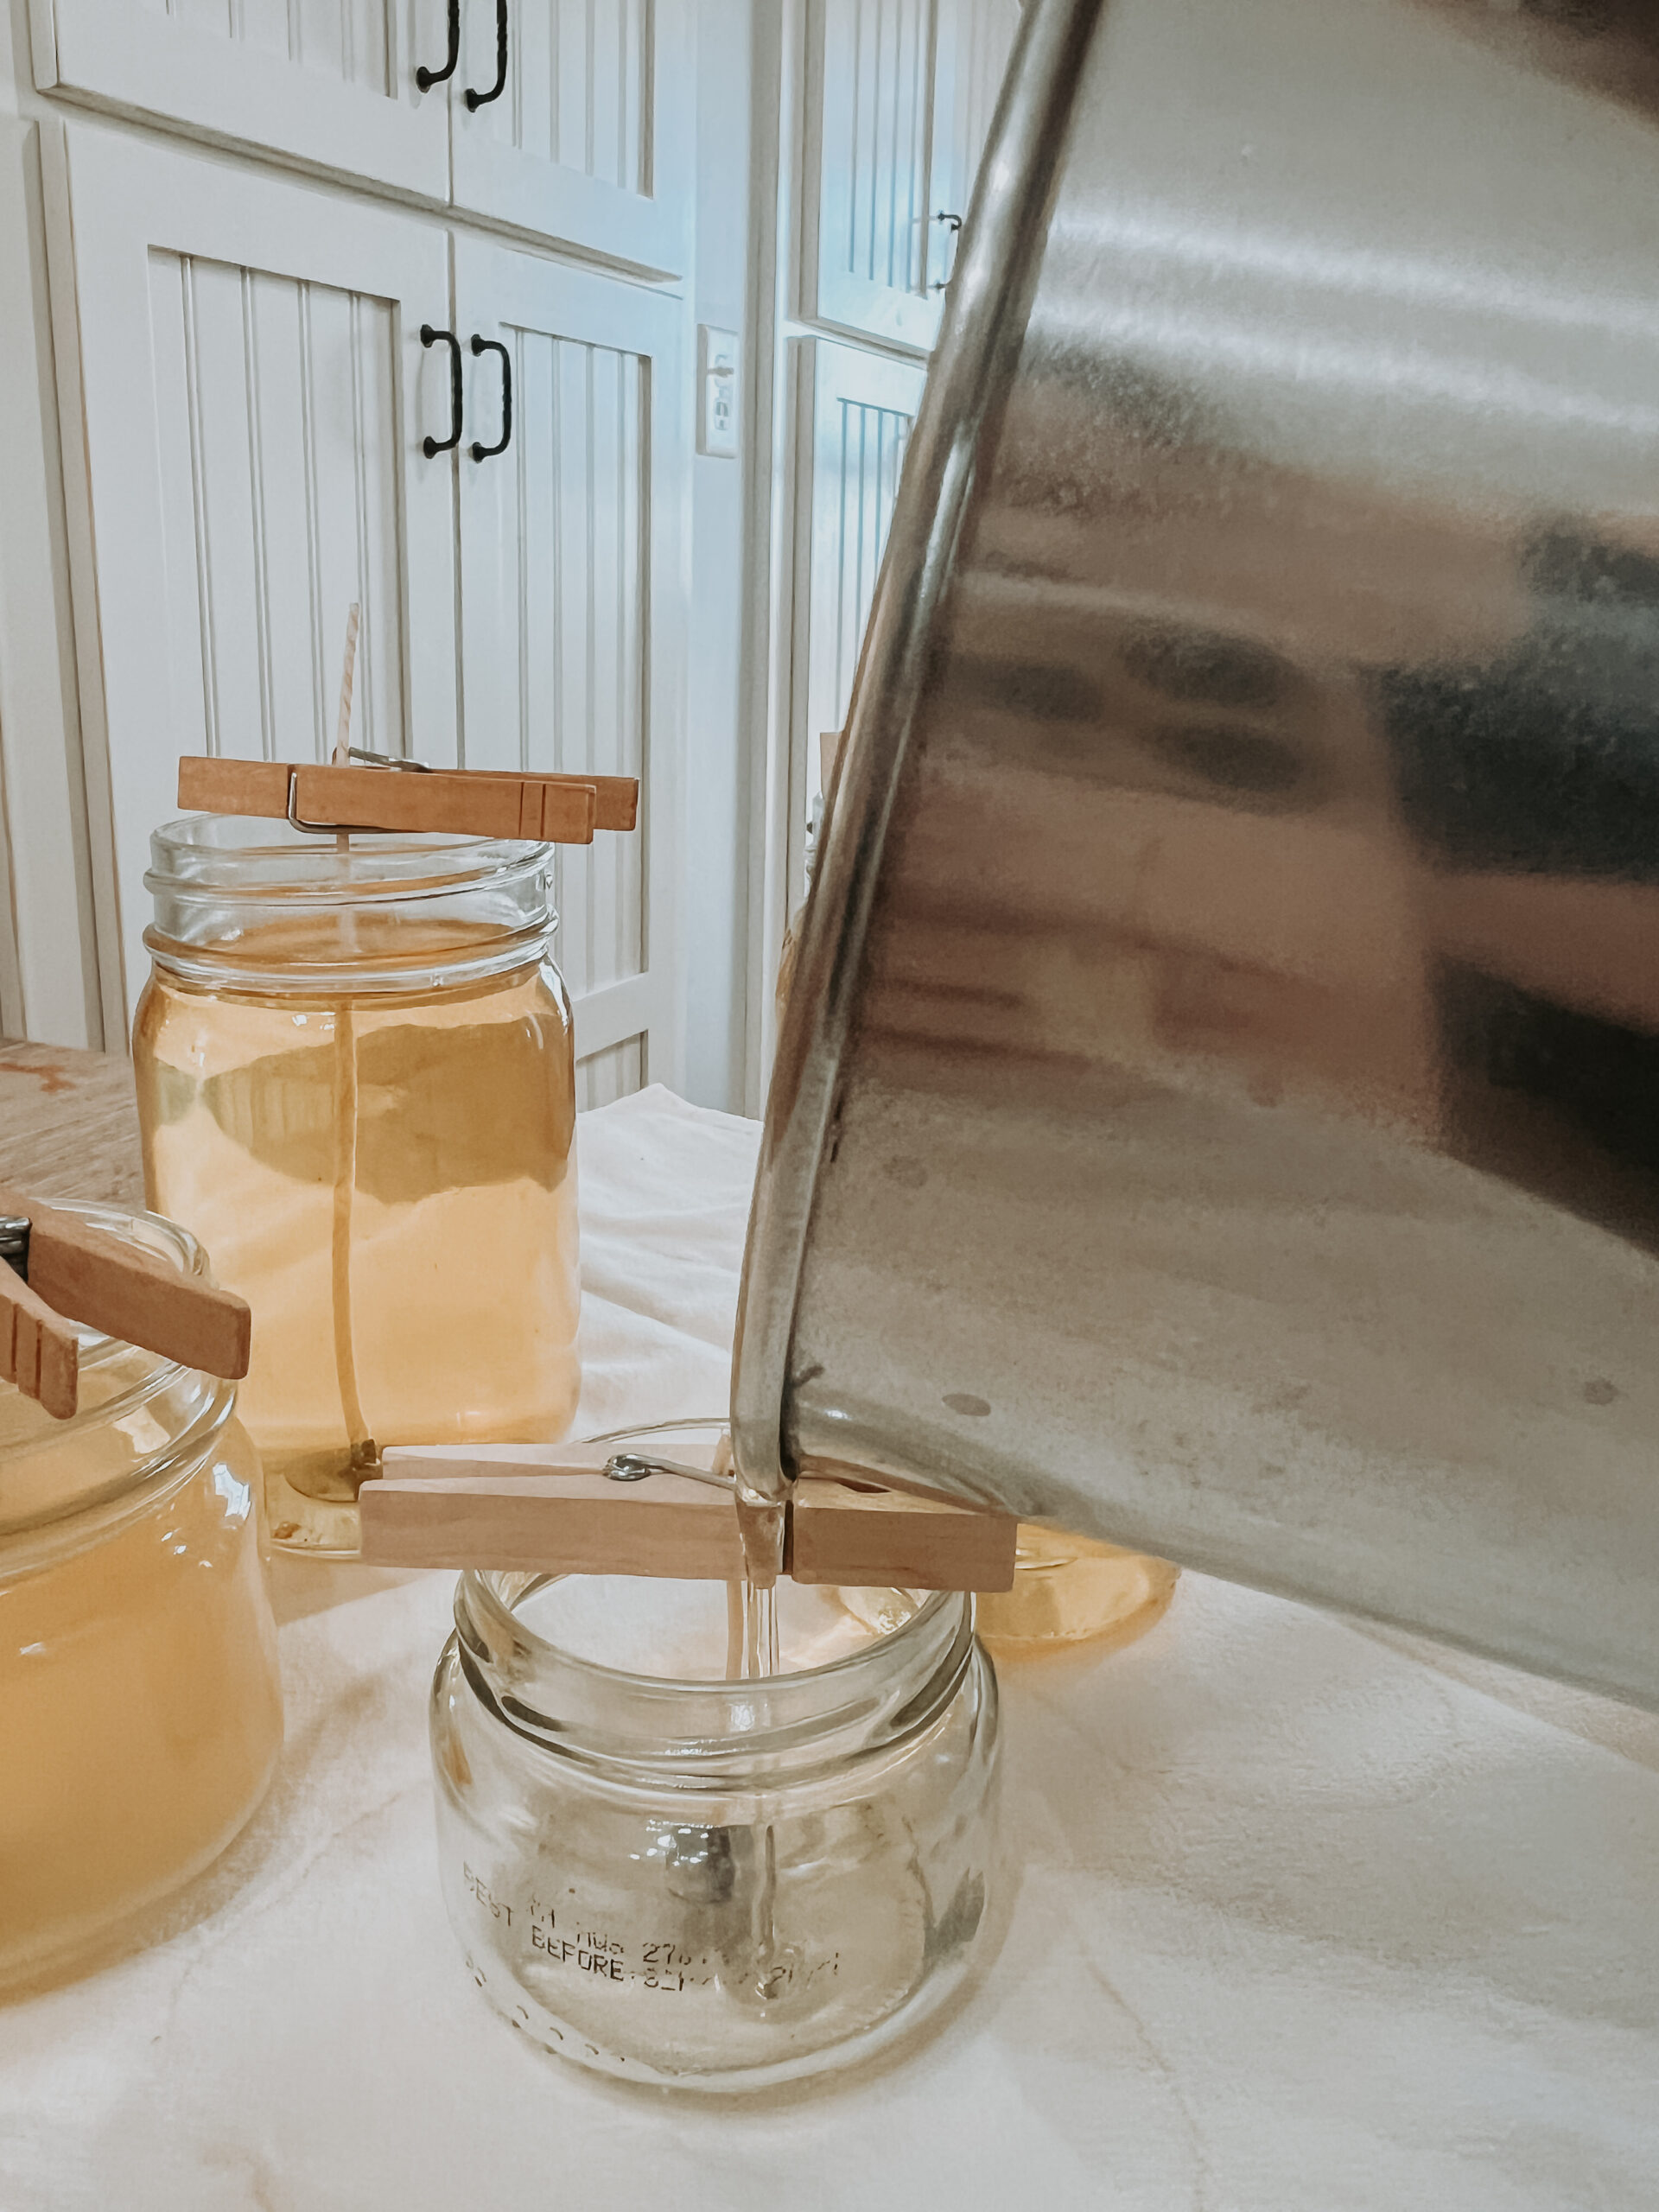
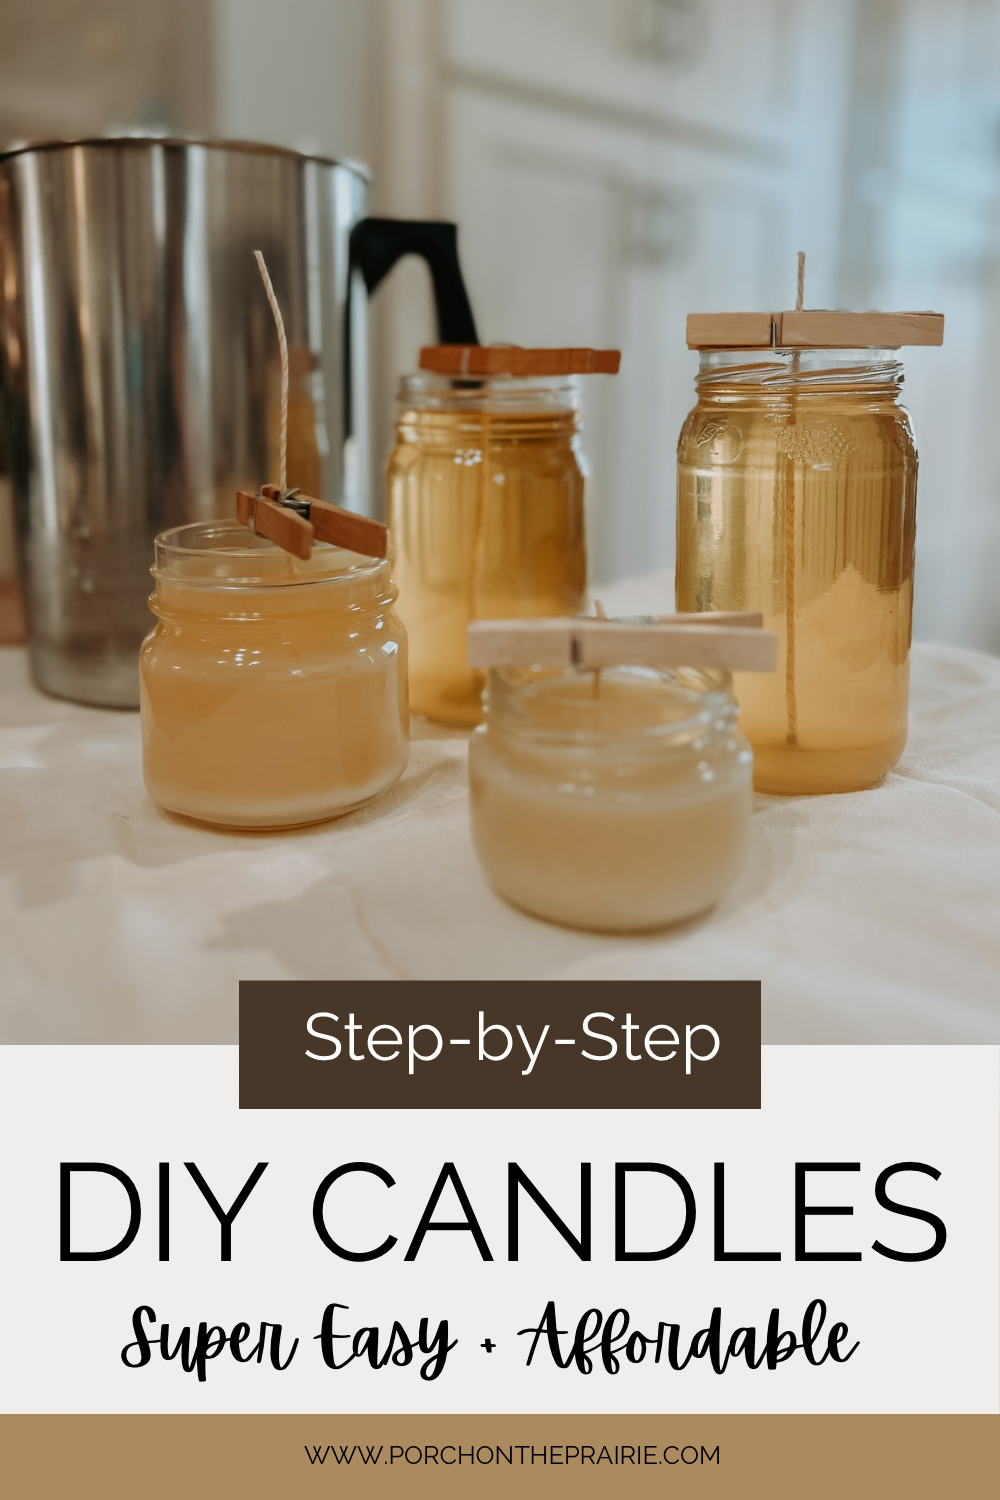
I like to get the suet (fat) from the cow as well and render it into tallow - learn how here. Tallow can be used as cooking fat, or for crafts such as homemade lip balm or candles.

Pork is another good option to buy in bulk. Again, find a local farmer for quality meat.
Household
Household items are often cheaper if bought in bulk. Without a Costco or Sam's Club near I rely on target.
I like to buy toilet paper, paper towels, diapers and baby wipes from Target. I wait until there is an offer of a free gift card with purchase, and use my target card for an automatic 5% off. In addition, I use target pick up or delivery so that I don't end up buying items I haven't intended to.
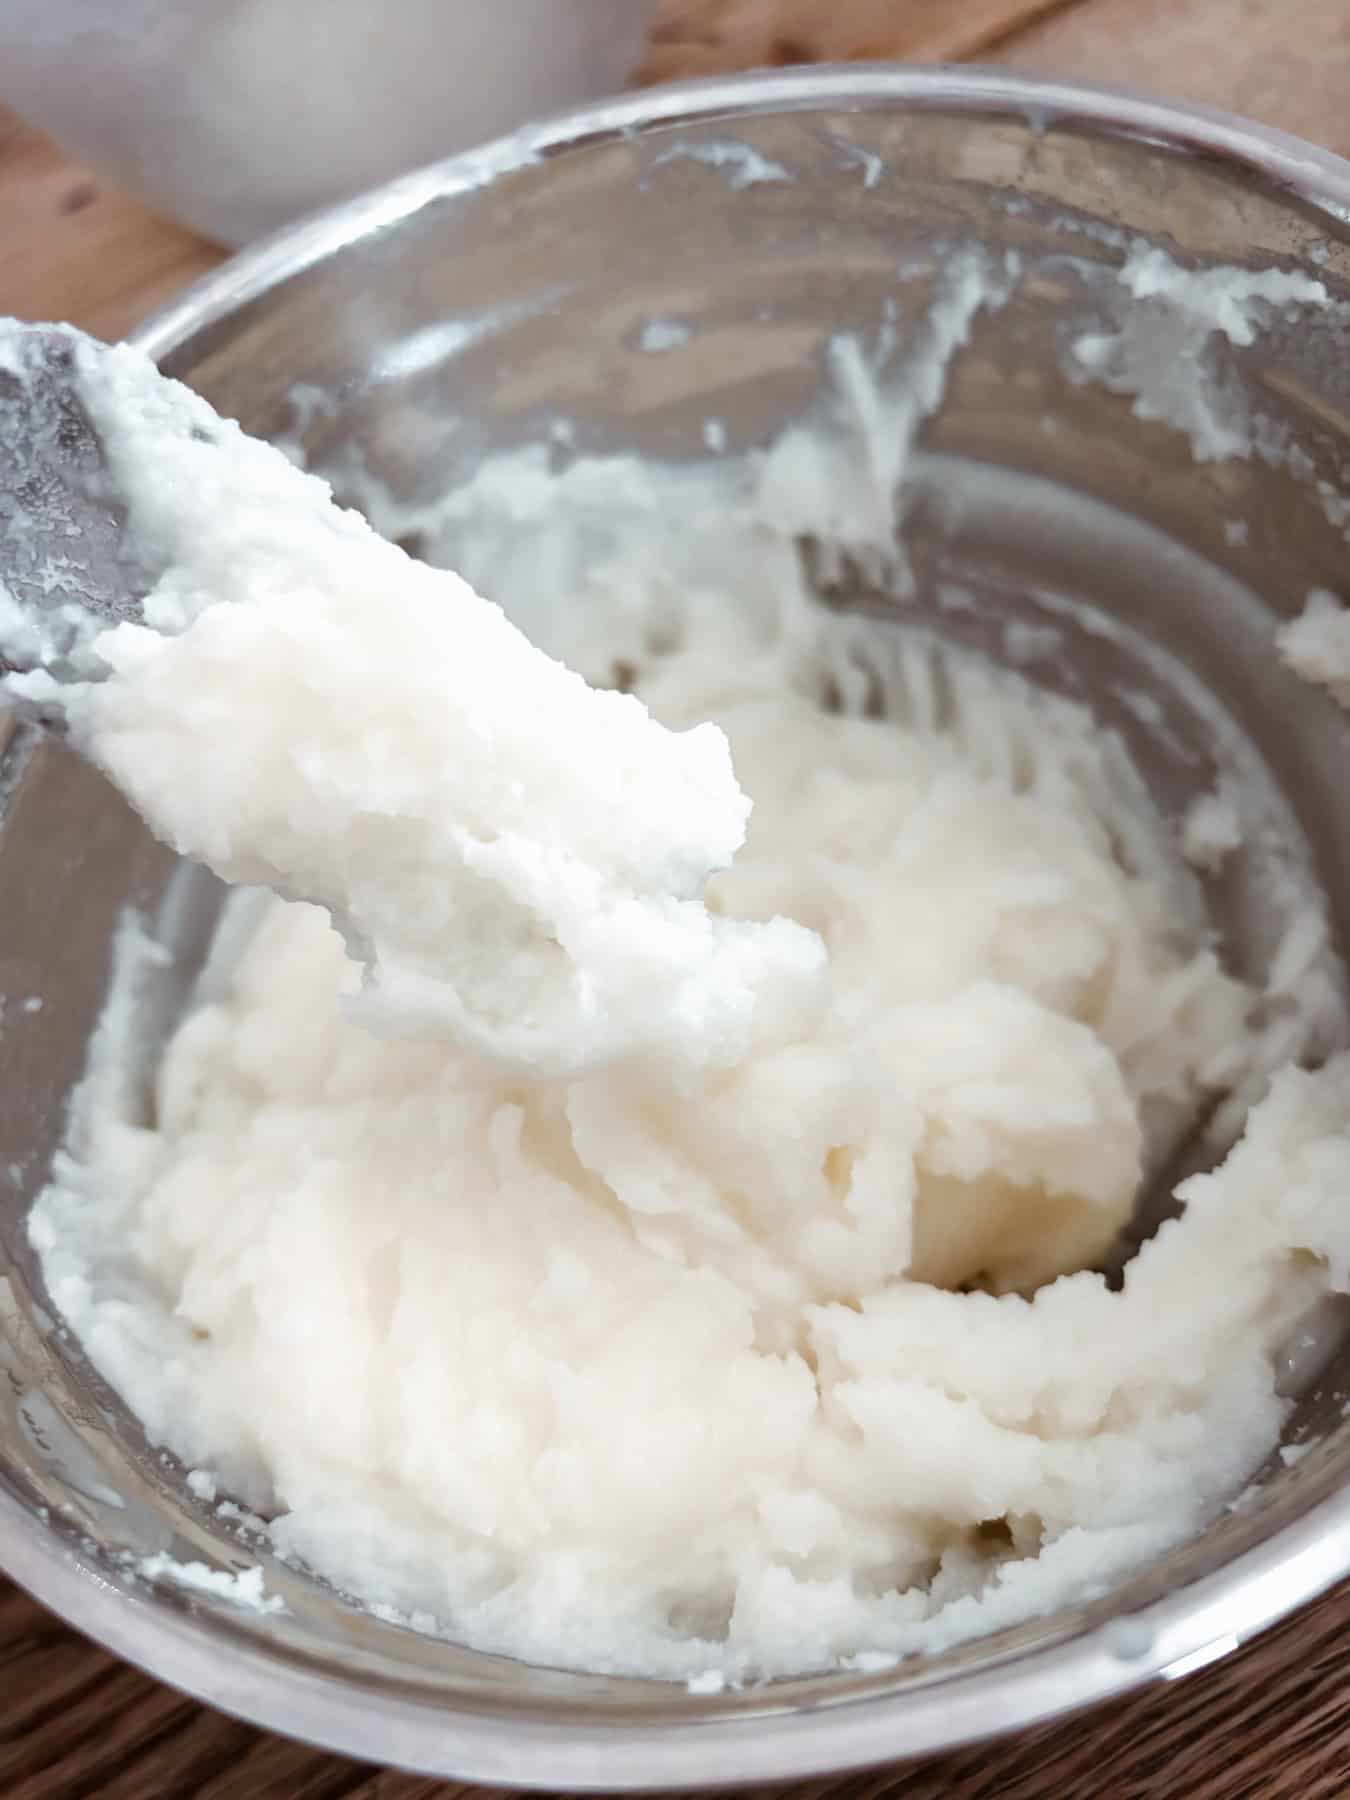
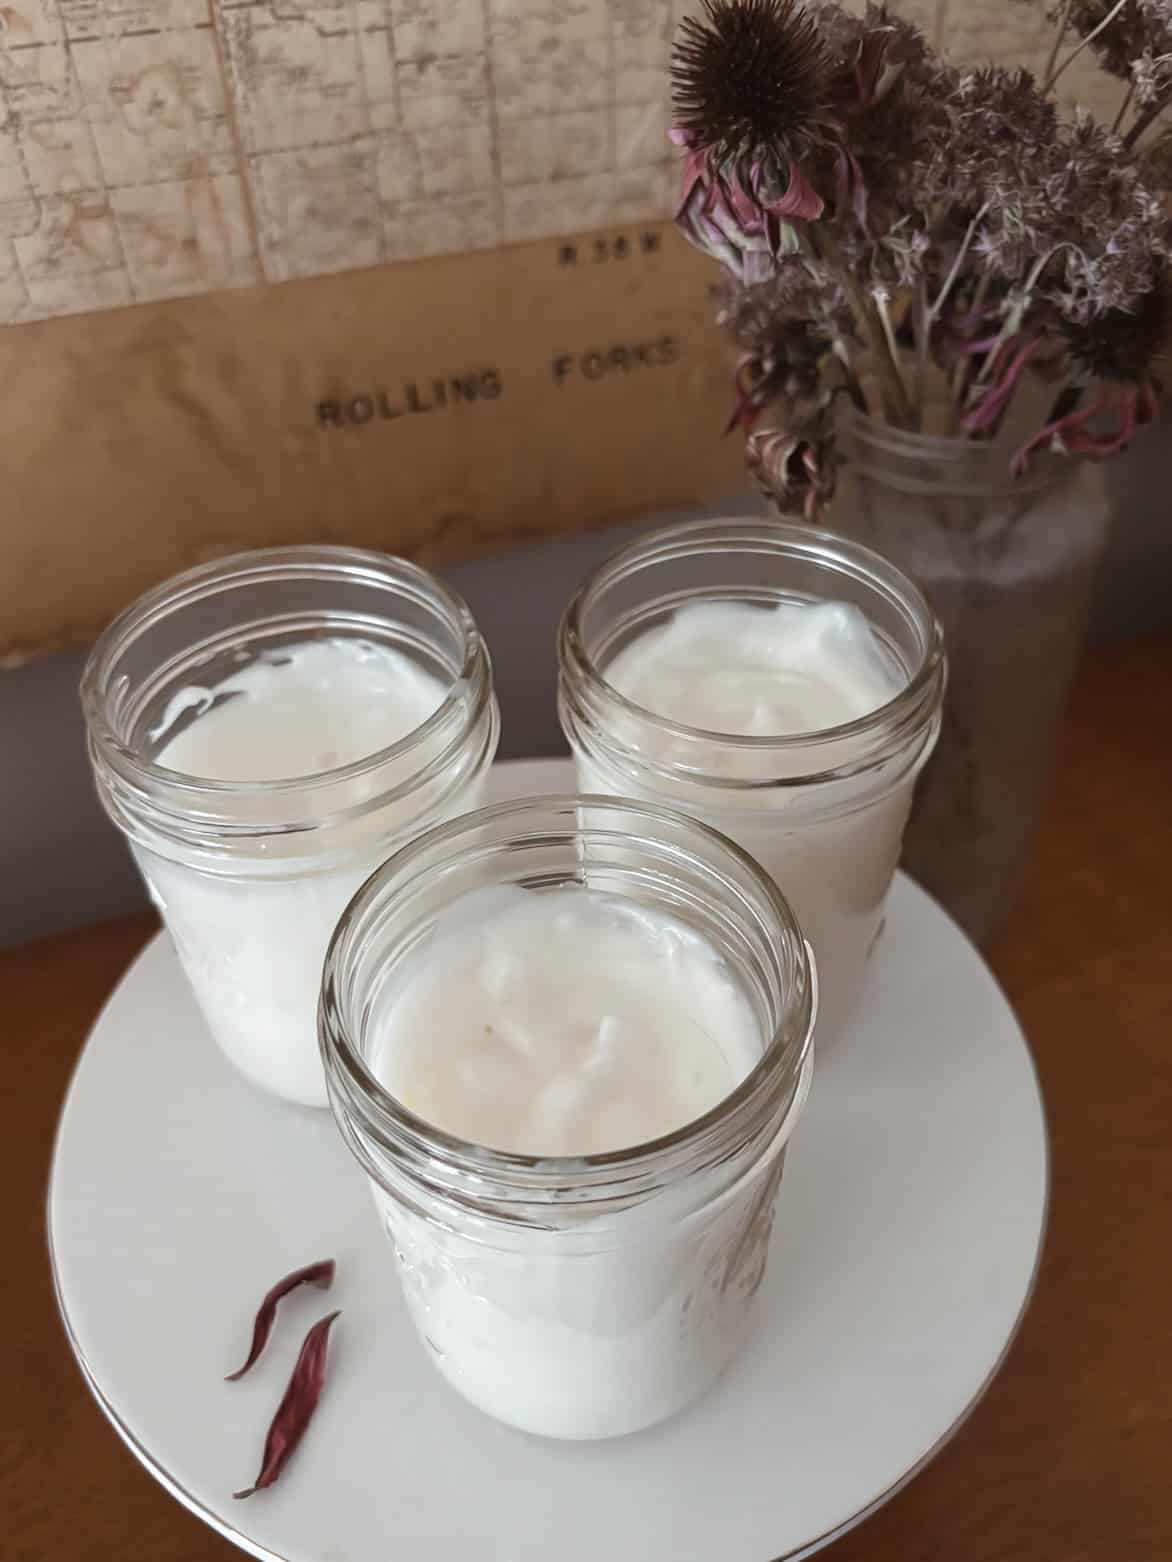
Laundry detergent, dishwasher pods, soap, etc. can easily be homemade for cheaper. If that's not an option, look for sales or buy generic brands.
Hang drying clothes is also a great way to save money! In the summer we hang dry our linens on an outdoor clothes line, and in the winter we hang on a drying rack inside. We figured the average cost of running our dryer is $1.50 a load which adds up quickly!

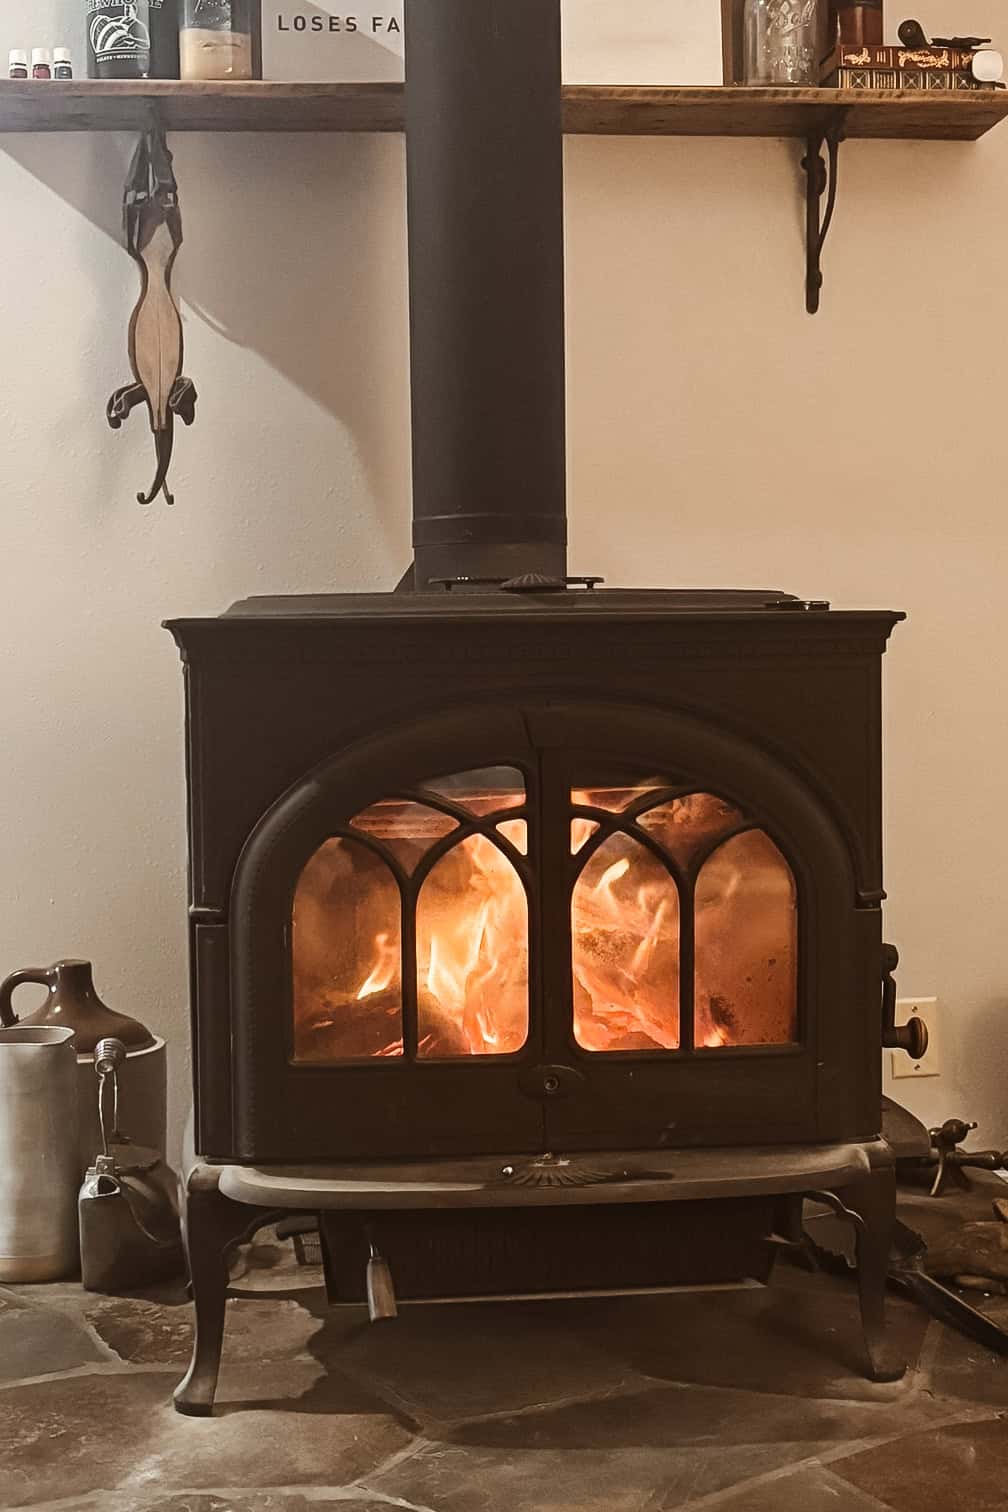
We also save on our heating costs by burning wood in the winter. Of course a lot of work goes into the cutting, splitting, and drying of wood, but the wood heat is amazing!
Beauty
I will admit, I am a little bougie at times - I like to have my hair done a few times a year and I like to have my nails and lashes done. However, I don't love how long these services take in salon (or the cost). So, I have found super quick and thrifty ways to do this.
These methods save my both time and money. I can do my nails and lashes in a single evening, once the kids are in bed, in under 20 minutes.
Hair
My sister went to cosmetology school so does my hair for me at a discounted rate. I buy the products (with her guidance) and pay her for her time. This is much cheaper than getting it done in a salon and is much more fun!
Nails (roughly $15/month)
I found a brand that is affordable on Amazon (about $15 - $20 per pack), comes in a variety of styles/ shapes/ designs, and is super simple to do myself. Most importantly, these nails last me two weeks without popping off (and I wash my hands A LOT at work and home)!
I bought a little electric hand tool on Amazon to take care of cuticles and buff up the nail a bit (this allow the nails to hold well). Glamnetic is the brand of nails I swear by, and each pack comes with enough nails for me to do two sets (so a months worth) if im creative with the sizing of each nail and not too terribly picky. I do recommend the extra strength glue as well for longevity of the nails!

Lashes (roughly $12/month)
I can't let go of the false lashes yet, but couldn't stand spending an hour in salon and over $75 every two weeks for them. I have since switched to Flutterhabit at home lashes and swear by them (it takes a few rounds to get the groove of doing it yourself, but once you get it it's worth it!)
A package of 6 sets is about $35 and, like my nails, I get each set to last me two weeks. If a segment starts to loosen I pull it off, pull off the old glue, and reapply. You can receive $15 off your first order of $50 plus here!
Entertainment
Streaming services can be expensive and add up fast. I recommend sticking to one or two at most. We get Disney plus free with our cell phone plan, so that is what we stick with, along with Netflix.
Take a look at past bank statements to see which subscriptions are being paid for, and cancel any that aren't necessary.
There are many free or cheap activities to enjoy alone or with the family, such as:
- Visiting the local library - book rental is free, and there are often movies and puzzles available too. Many local libraries have fun free kid friendly activities as well!
- Parks - we like to visit the local parks in both the summer and winter months, another free activity.
- Family walks or bike rides
- Indoor Playgrounds - we have a local McDonalds with a play place, so on occasion we will order from the buy one get one for a dollar menu and let the kids enjoy the play area. We also have an indoor playground that sells punch cards, so the kids like to ask for these punch cards at Christmas time or for their birthday.
- Beaches and splash pads - where we live these are free to enjoy, but they're also only available during the warm summer months.
- Ice skating - there is a free outdoor rink near us that the local fire department maintains with a variety of skates to borrow.
- Crafts - we keep an old dresser full of craft supplies, some of which the kids have received as gifts for Christmas or birthdays. Let their imaginations run wild! (try this super simple and cheap homemade playdough craft)
- Volunteer - local animal shelters are always looking for help, and nursing homes typically look for volunteers to help with activities as well.
Miscellaneous Purchases
Cash back apps (such as upside mentioned above) can be a great way to earn money back.

There is a free app called Rakuten where many stores offer large discounts. Free money (such as $50) is often awarded at sign up as well. This is free cash back for a purchase that would otherwise be made directly from the website anyways, no strings attached or hidden requirements.
I also like to use the free apps Mercari and Poshmark (use code anme0801 for a free $ when you sign up). I find all of my kids quality name brand winter gear, shoes, etc. either new or like new at a much lower cost than in store. This app also allows buyers to make offers or negotiate on the cost of items.
In addition, I like to sell our gently used name brand items on Poshmark and Mercari. This is much easier than Facebook marketplace for me - the site will generate a shipping label and you just package it up and drop it off at UPS, FedEx, or the post office (no face to face contact with sellers or buyers.)
Thrift store shopping can be a great option for savings as well, but can take some patience to find specific items in the thrift store. We all wear second hand items and dry our clothes on the line in the summer months. Enter with caution, to ensure money isn't wasted on items that aren't needed.
Now What
Now that you've learned some super simple tips to implement for fast money savings, take a look at the big picture and set some financial goals. Be aware of your spending habits and plan to stay on track.
Budget
I like to lay out my budget in an annual format and a monthly format. The annual format allows me to see at a glance when big expenses will hit, such as insurance or licensing for my business.
First, I plug in all fixed expenses on the day and month they're due to see the whole year at a glance. It's an easy way to see the minimum annual spend and see if any of it can be reduced.
Next, tally each month's fixed expense to see what the fixed expenses are.
Compare the fixed cost each month to your expected income for the month. Income - Fixed Cost = Remainder (variable cost and savings)
To determine a monthly budget for variable expenses it can be helpful to look at the past 3 months of spending to get an idea of your starting point. Expenses such as the utility bills, electric bill, groceries, and household expense can fluctuate. Be realistic, but it is a good idea to assess where cuts can be made.
Set savings goals as well.
Debt
Extra money should be spent tackling any outstanding debts. There are a variety of expert recommended methods for tackling debts, however most experts recommend paying at least the minimum monthly payments balance due for each debt.
The snowball method is where the smallest debts are paid off first. Another method is to tackle the higher interest debts first to minimize the overall spend on interest in the long run. Determine which method is best for you, and start tackling any debts.
To avoid going backwards, many experts recommend establishing an emergency fund first. This should be used for emergencies only, such as car trouble, furnace repairs, etc.
Be sure to revisit the budget at the end of the month and reassess variable costs for the next month.
Credit Cards
Decide whether or not you are someone that can handle having a credit card. Credit cards need to be paid off on time, or the debts can be crippling. I like to put purchases on a credit card for the cash back, but I am disciplined enough to ensure it gets paid on time.
If a credit card is hard to manage, stick to cash or a debit card. Some experts recommend a cash envelope system paired with the monthly budget.
Extra Income
There are simple ways to make extra income without getting a side hustle. Go through the home and closets and minimize the clutter. Consignment shops, poshmark, mercari, eBay, etc. are all great ways to sell high ticket items and earn money back.
Pro Tip
Step away from social media for a while. The best way to avoid the trap of buying unnecessary "stuff" is to step away from the influencer culture. Without social media, I don't see the latest trends or random items on "super sale", therefore I am not tempted to make unnecessary purchases.
If I had a dollar for every time I've seen an influencer post a "must have" item on Amazon Prime I'd be able to quit my day job.
Less money can mean more time for other things!